

**Three6GMC Official Build Thread**

 Apr 16, 2016 | 02:50 PM
#352

Thread Starter


Joined: Mar 2010
Posts: 2,165
Likes: 27
From: Corpus Christi
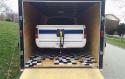
Thanks... My frame was pretty bad. If you look at the pics prior to these you will see it was pretty shitty. Everything is going back new so it was jus bugging the **** out of me how ugly the frame looked, had to do something about it. Glad I went with this 3M stuff, frame came out exactly how I wanted.
Apr 17, 2016 | 01:04 AM
#353

Man, I'll never forget the days I spent doing the entire frame on my truck. Such a nasty pain in the ***. Like you, I found that scraping with a razor blade first worked the best. Then I used varsol soaked rags to wipe it down.
Apr 17, 2016 | 01:14 AM
#354
Thanks... My frame was pretty bad. If you look at the pics prior to these you will see it was pretty shitty. Everything is going back new so it was jus bugging the **** out of me how ugly the frame looked, had to do something about it. Glad I went with this 3M stuff, frame came out exactly how I wanted.
Apr 17, 2016 | 08:45 AM
#356
Formerly ScreamingL
Joined: Oct 2003
Posts: 3,456
Likes: 5
From: From the 412
Anyone with half a brain doesnt listen to him and alot of **** he thinks is new has been done before he was butchering vehicles together
Apr 21, 2016 | 05:08 AM
#357
Thread Starter
Joined: Mar 2010
Posts: 2,165
Likes: 27
From: Corpus Christi
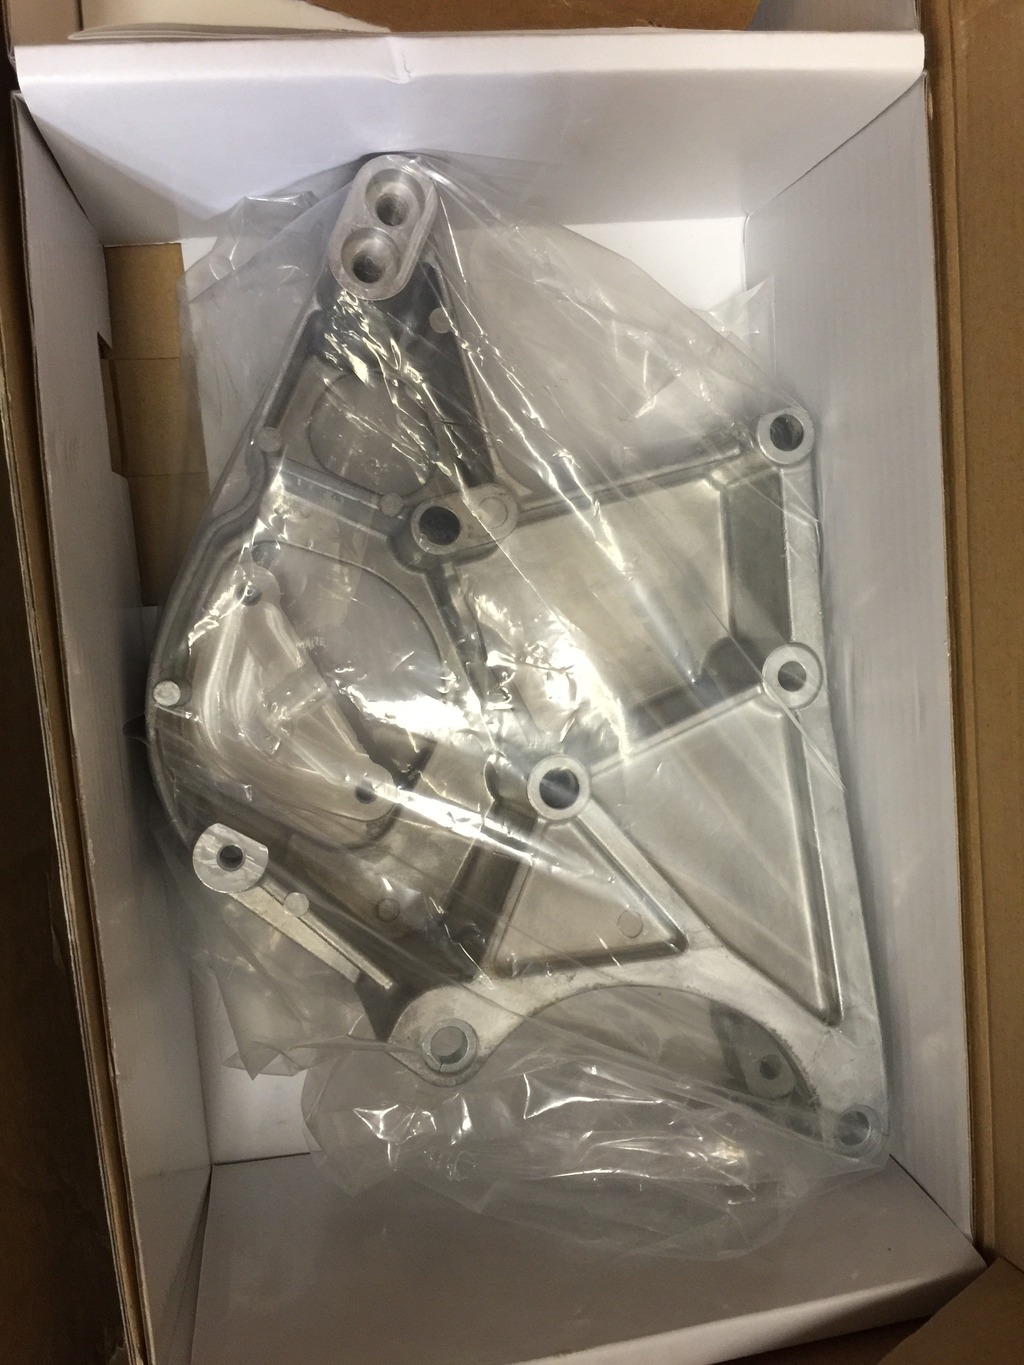
Nothing really special for an update but did get my Holley alternator and power steering pump brackets in... (AC compressor is still going to be in the stock location) Due to how my driver side turbo header crosses over I needed to make some extra room to keep heat off of things. I didn't want to have an issue with being right near or touching anything with a hot header especially since this is still a street truck and do plan on driving it pretty often. So with these brackets should push the alternator out giving room for the driver side fuel rail and fittings and push the power steering pump up and to the side giving plenty of room for the header to cross over under it with plenty of room to keep things cool. Gotta plan everything out as to minimize any potential issues. Something small and for most not worth doing but I plan to spend more time enjoying this truck then constantly working on it and fixing little things that could have been prevented if I just took a little extra time on...


 Apr 21, 2016 | 08:54 AM
#359
Thread Starter
Joined: Mar 2010
Posts: 2,165
Likes: 27
From: Corpus Christi
Yeah pretty much a jazzed up corvette bracket. Went with this Holley bracket since they make the correct adapters to space it out to align with the truck crank pulley.
