

**Three6GMC Official Build Thread**
 Apr 12, 2016 | 03:04 PM
#341

Thread Starter


Joined: Mar 2010
Posts: 2,165
Likes: 27
From: Corpus Christi
Lol yep been so busy with a bunch of different projects updates have been slow. I'm working on the new hot side tonight so I should have more pics to follow in the next couple days.
Apr 13, 2016 | 02:56 AM
#342
Thread Starter
Joined: Mar 2010
Posts: 2,165
Likes: 27
From: Corpus Christi
Hey Atomic took better pics of the space between the intercooler manifolds and back wall. I can fit my whole fist with plenty of space between so going to have plenty of room for fittings. Please excuse the unfinished clearances cowl section and dirt, everything will get a good cleaning before final assembly...


 Apr 13, 2016 | 10:00 AM
#343

Teching In
Joined: Mar 2013
Posts: 19
Likes: 0
Hey, check out Denmah (sloppy mechanics). He put his wastegate in the exhaust housing. Says the boost can be controlled better. He has a YouTube page and website. He just posted the video a couple days ago. He says that's what all the cool kids are doing these days.


 Apr 13, 2016 | 12:42 PM
#347
Thread Starter
Joined: Mar 2010
Posts: 2,165
Likes: 27
From: Corpus Christi
Thanks I'm doing this latest build 100% by me no one else is putting their hand in this one so taking me a little longer to get things done in between work and other projects. Progress is slow but steady
Apr 16, 2016 | 02:41 AM
#348
Thread Starter
Joined: Mar 2010
Posts: 2,165
Likes: 27
From: Corpus Christi
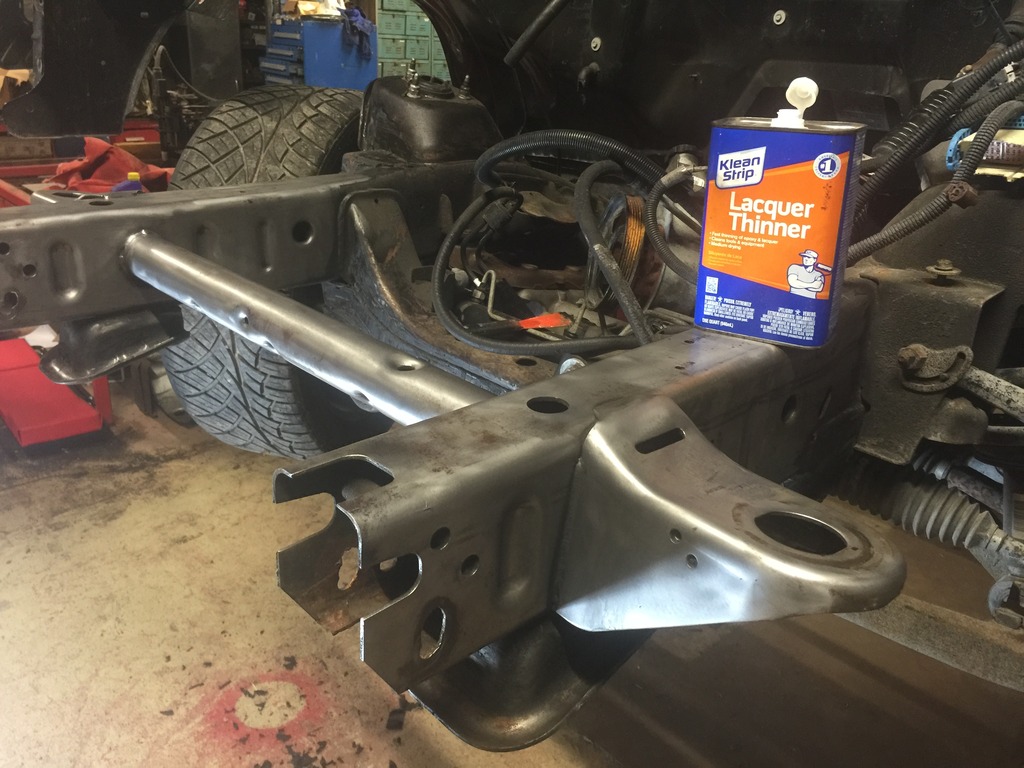
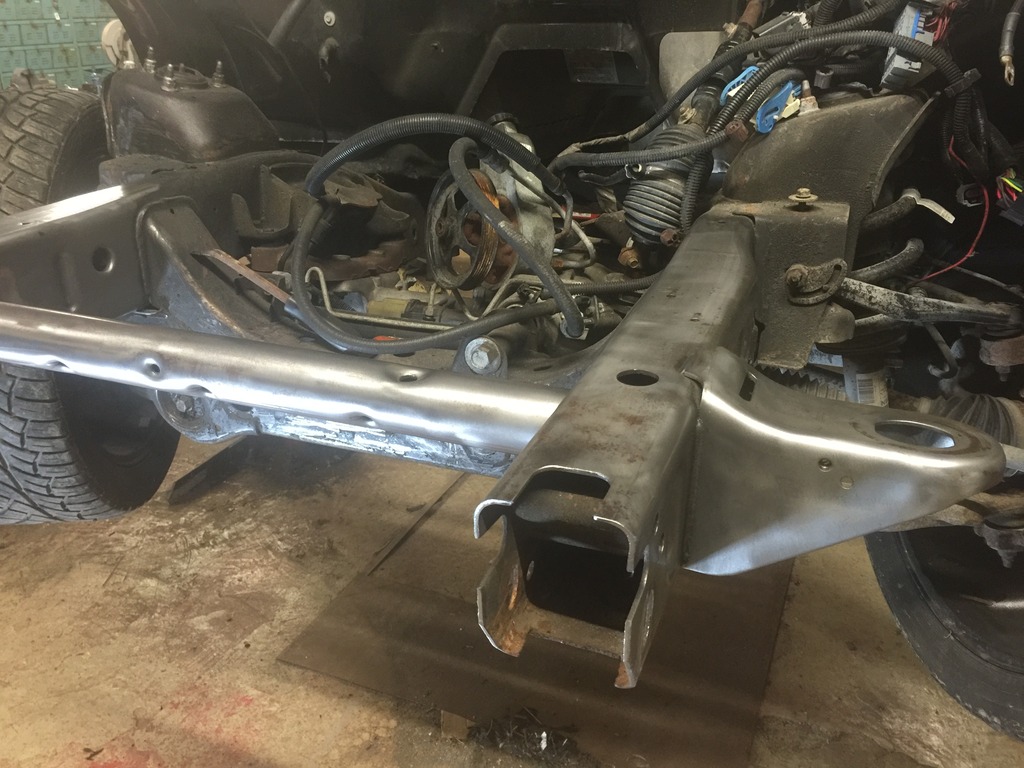
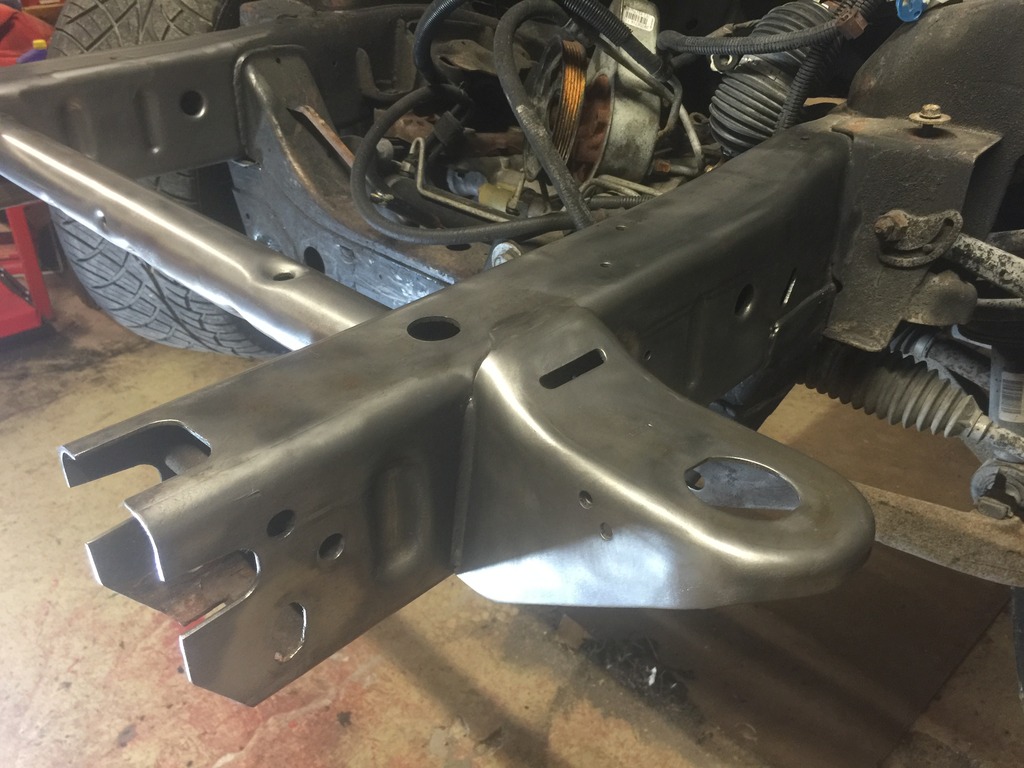
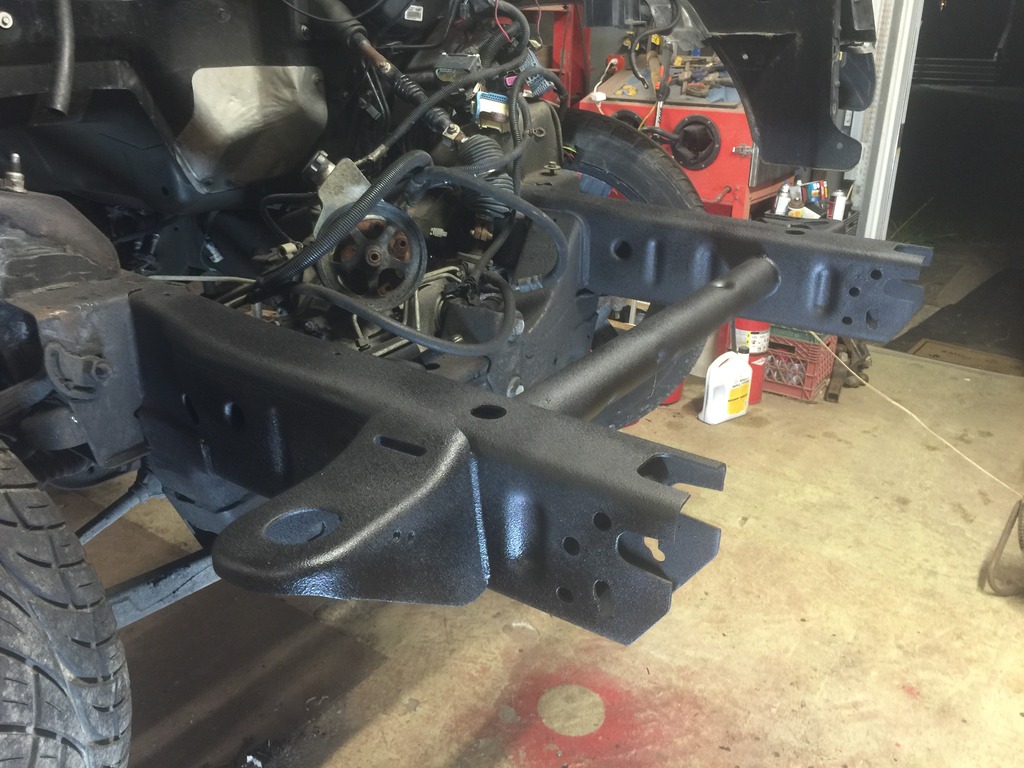
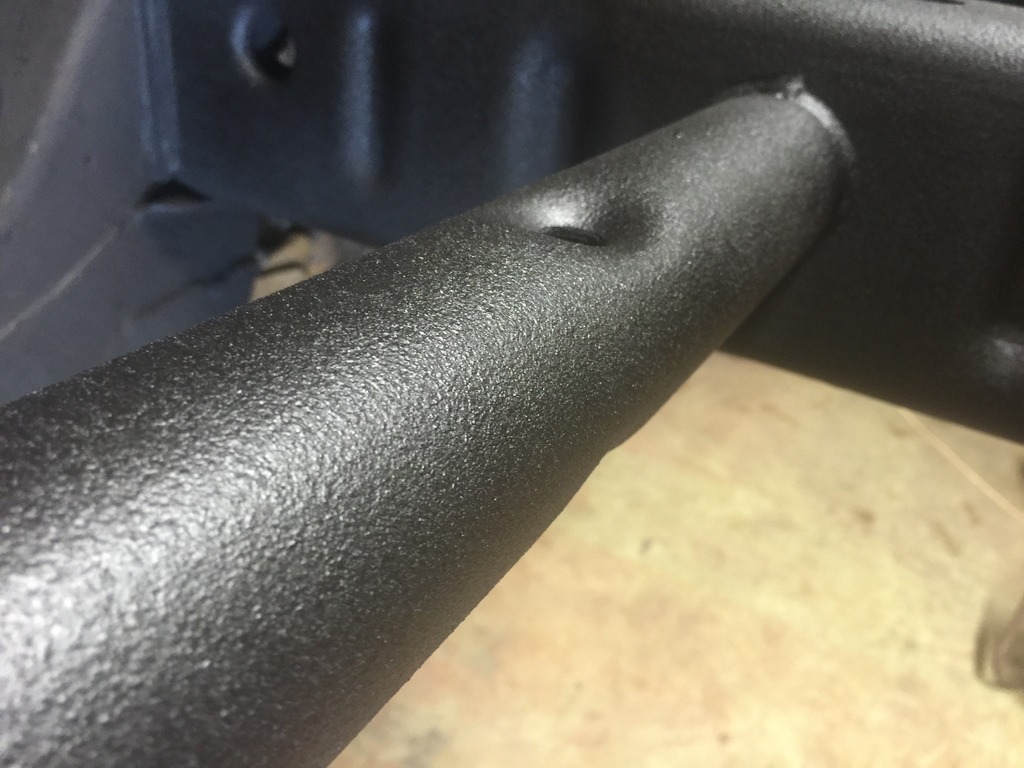
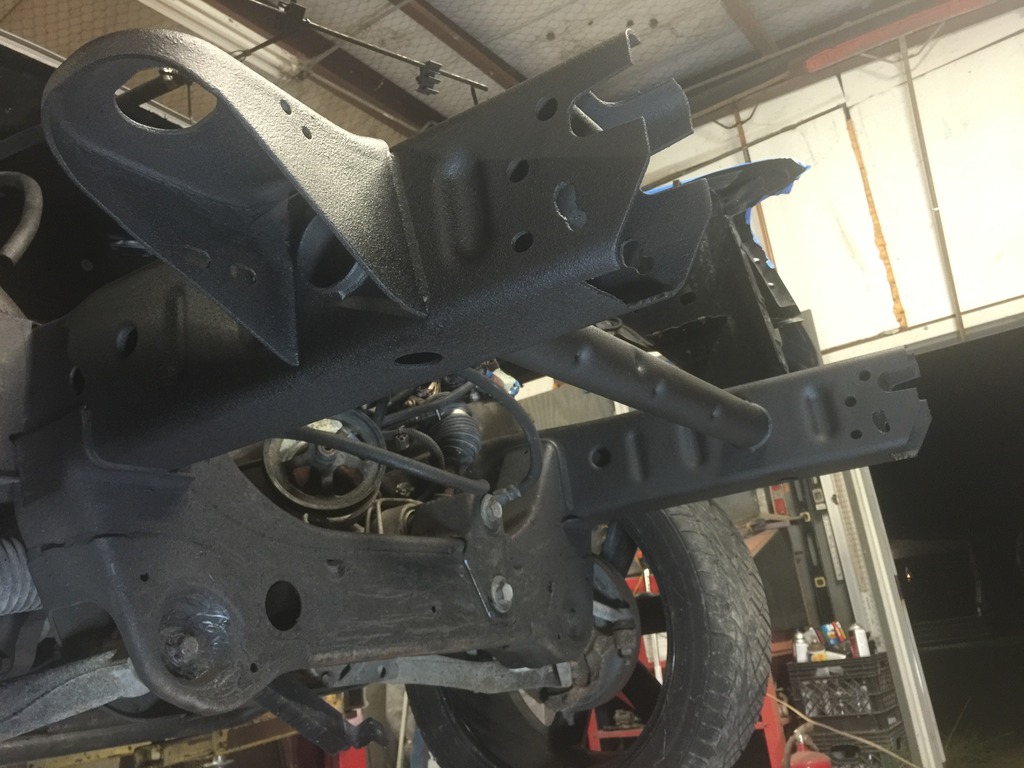
Started cleaning up the front part of the frame tonight and tried out some 3M coating on it. I forgot the damn wheel lock key so wasn't able to pull the suspension and everything off so I could get all the way to the cab but still got a good idea of how to deal with this nasty wax coating. The best and by far the easiest thing I found was scraping off most of the coating with a small scraper and some lacquer thinner on a rag. Stuff comes right off. A lot easier then I though it was going to be. I just did the front frame horns tonight but am really happy with how this 3M...


Last edited by Three6GMC; Apr 16, 2016 at 02:48 AM.


 Apr 16, 2016 | 02:44 AM
#350
Thread Starter
Joined: Mar 2010
Posts: 2,165
Likes: 27
From: Corpus Christi
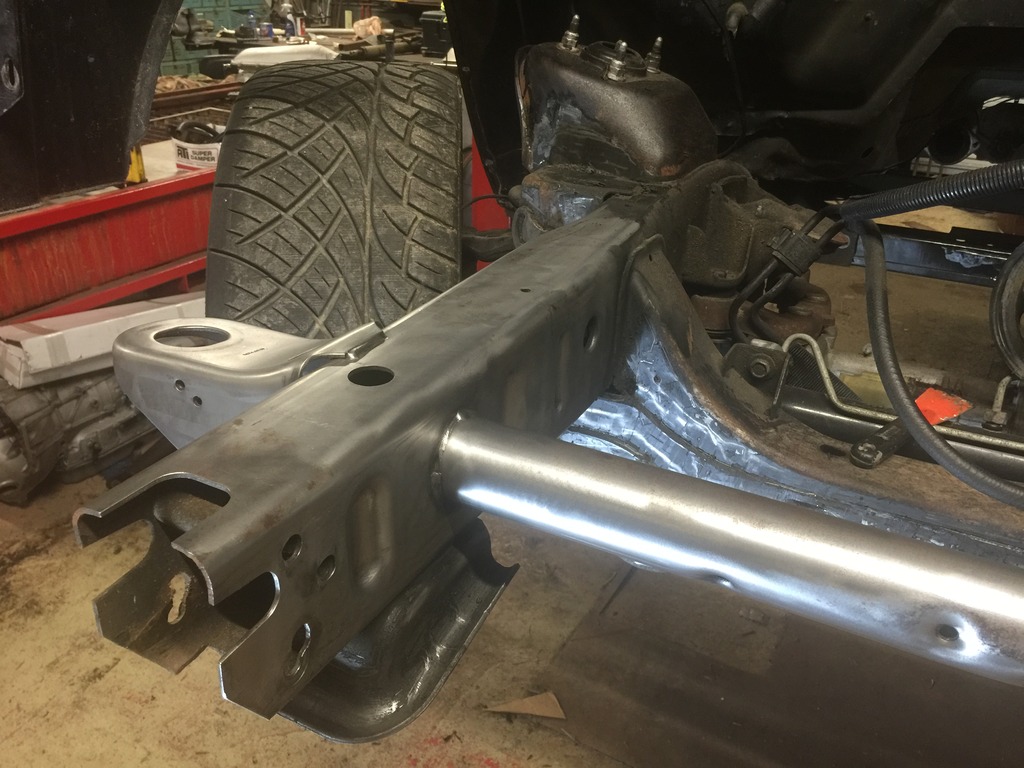
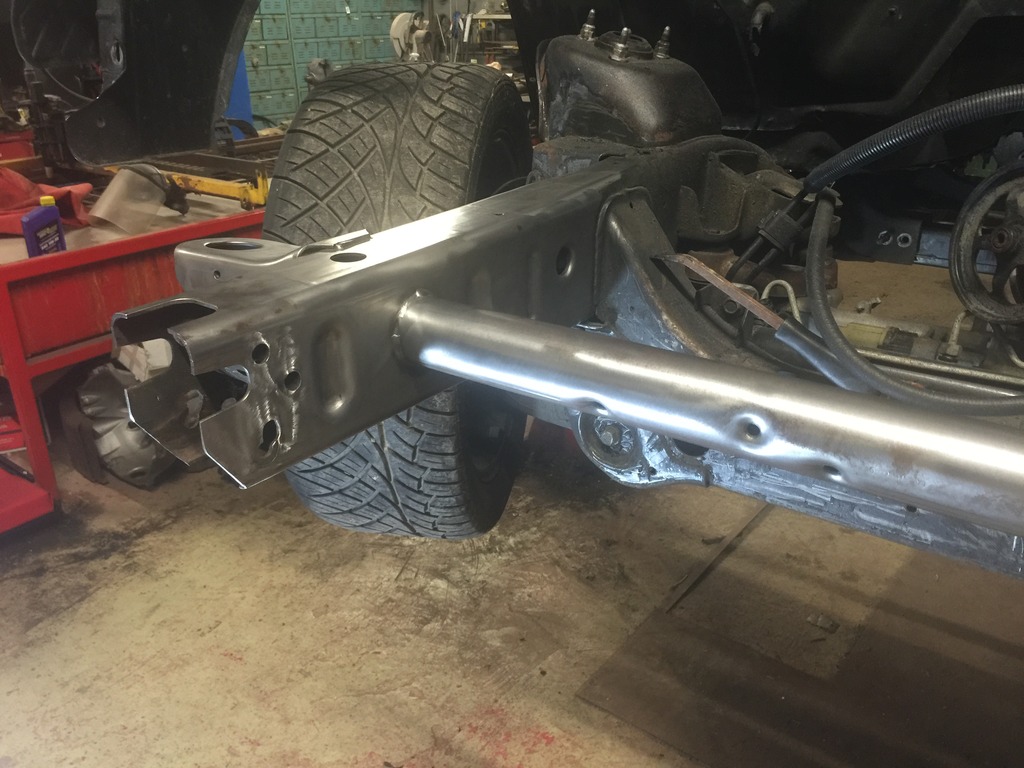
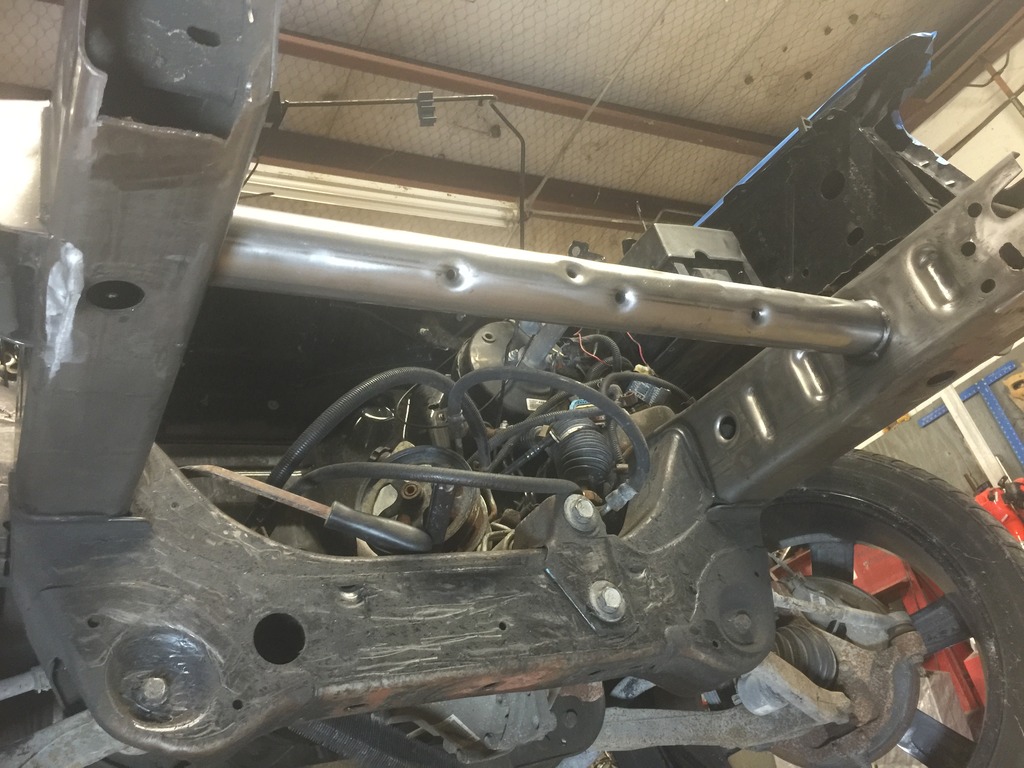
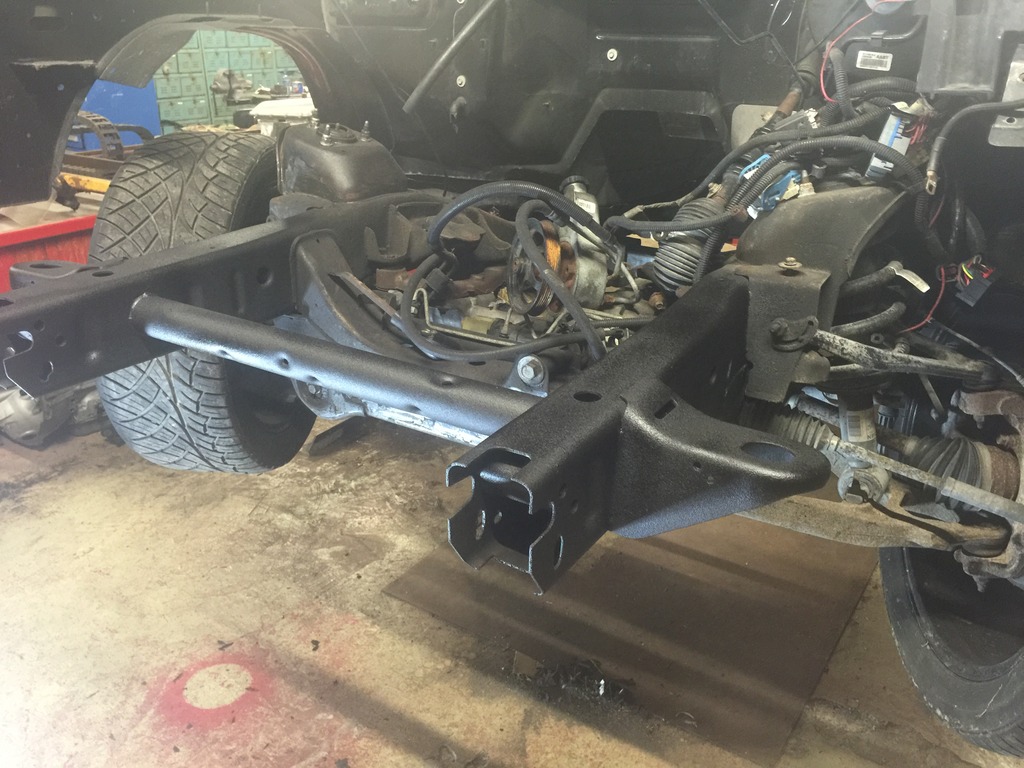
Damn Wireing harness fell on that one piece near the driver side coil over mount when it was still wet so ill fix that on my next days off when I prep and coat the rest of the front frame section. Overall very happy with how well the coating sprays and lays flat. The first few pictures it looks kinda blotchy but only because it was still drying. Ill have more updates in a few days...