99-02 led swap and instructions
 Feb 10, 2013 | 06:13 PM
#1
Thread Starter
TECH Fanatic
iTrader: (11)
Joined: Mar 2009
Posts: 1,579
Likes: 3
From: Machinegun Valley KS
Ive done tons of research on this and nothing really for 99-02 which is just as simple. I did find some help from gmfullsize but was for a tahoe which is close but not the same. After pming couple people and learning which leds to buy this is what I cam up with. I did the window lock switches first since those looked to be the easiest. I ordered the prewired leds on ebay with 680 resistors I ended up using red since my truck is red... you will need 20 of pre wired 5mm and 1 3mm without wire plus resistors I ordered 50 5mm 50 3mm and 100 resistors all totaled to be 20 bucks to my door on Ebay
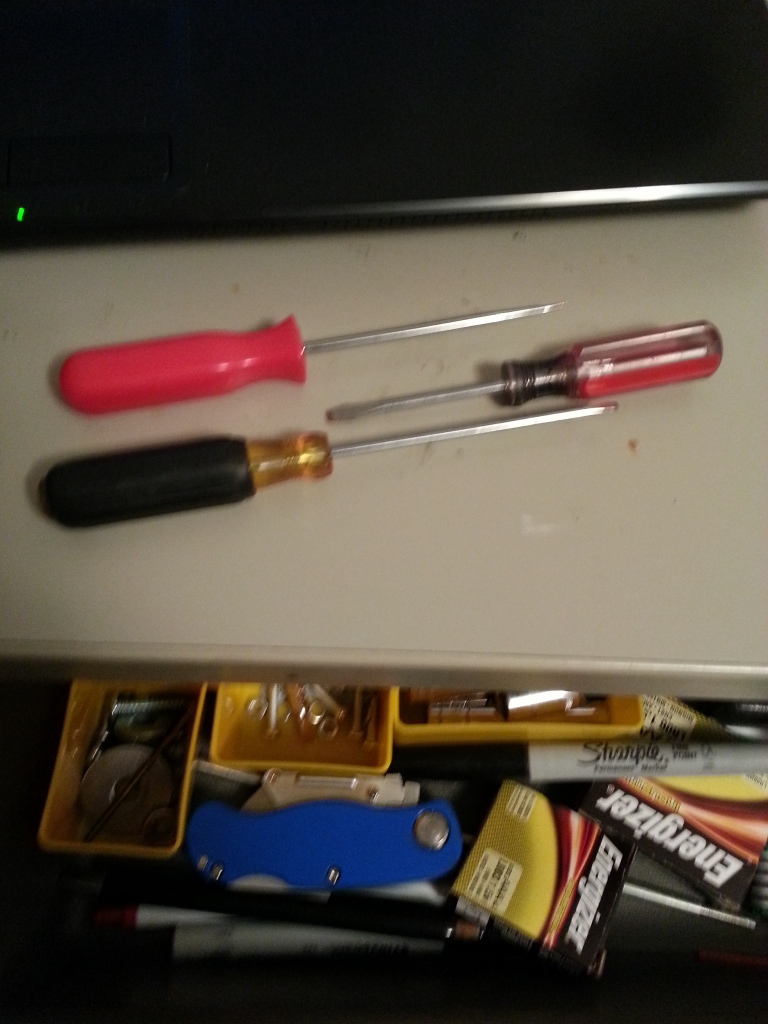
Tools needed (you dont need battery and test leads unless you want to check)
3 small screw drivers for taking swithes apart
Razor knife
Battery 12v for testing
2 wires with aligator clips for testing
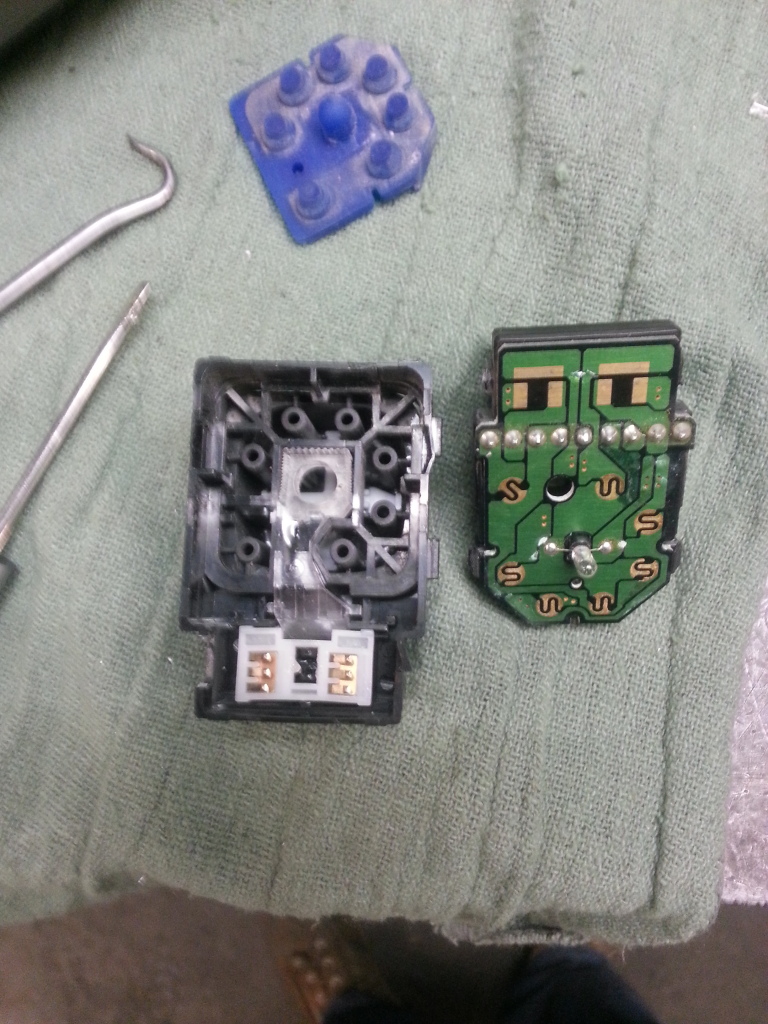
When taking apart use small screw driver to pop off the window switchs go from the side where it pivots and pry up will pop right off same for locks as well. the clear part you will see is the light diffuser and will have not be used in the this part of the led swap
in this pic is passenger lock and window i marked the + and - for the wiring set up
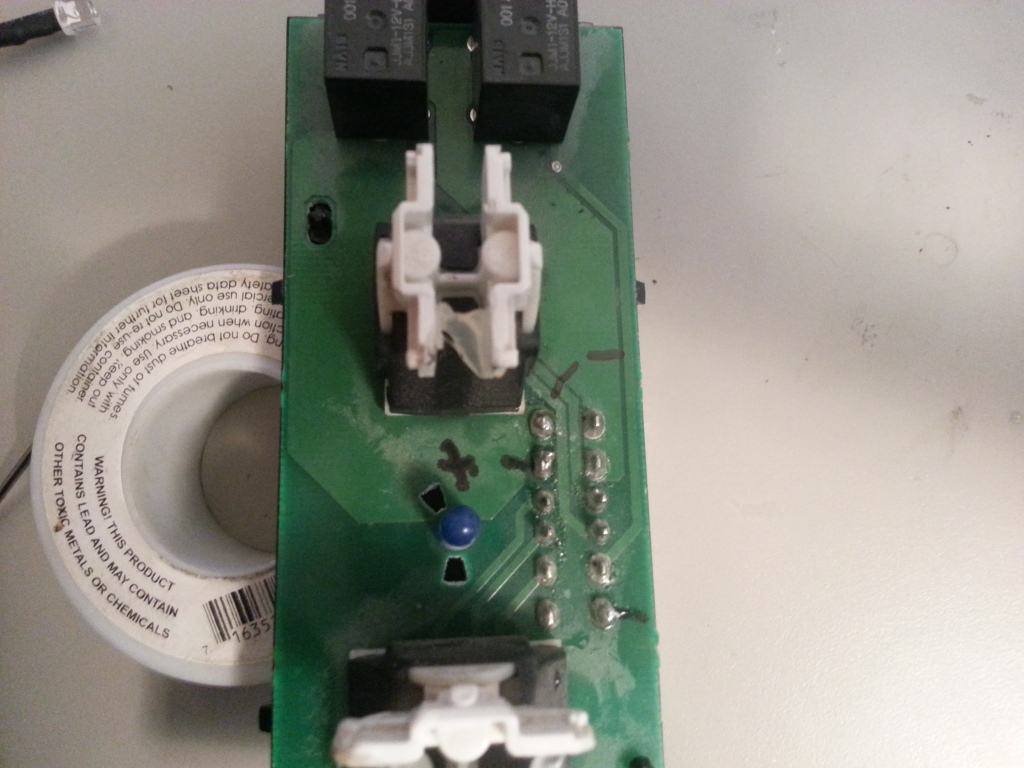
I used 3 leds for the passenger side 2 for the lock and 1 for the window the window I did it this way for the led to fire straight up towards the switch. No light diffuser in this part
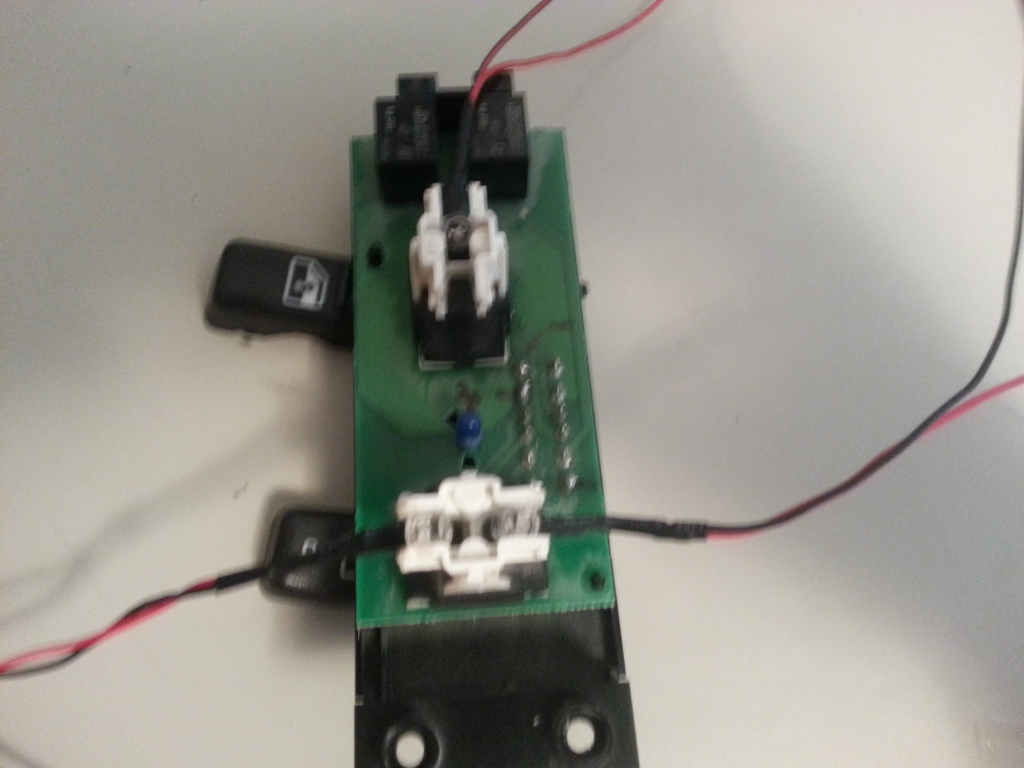
Now after everthing is soldering in put all back together and test
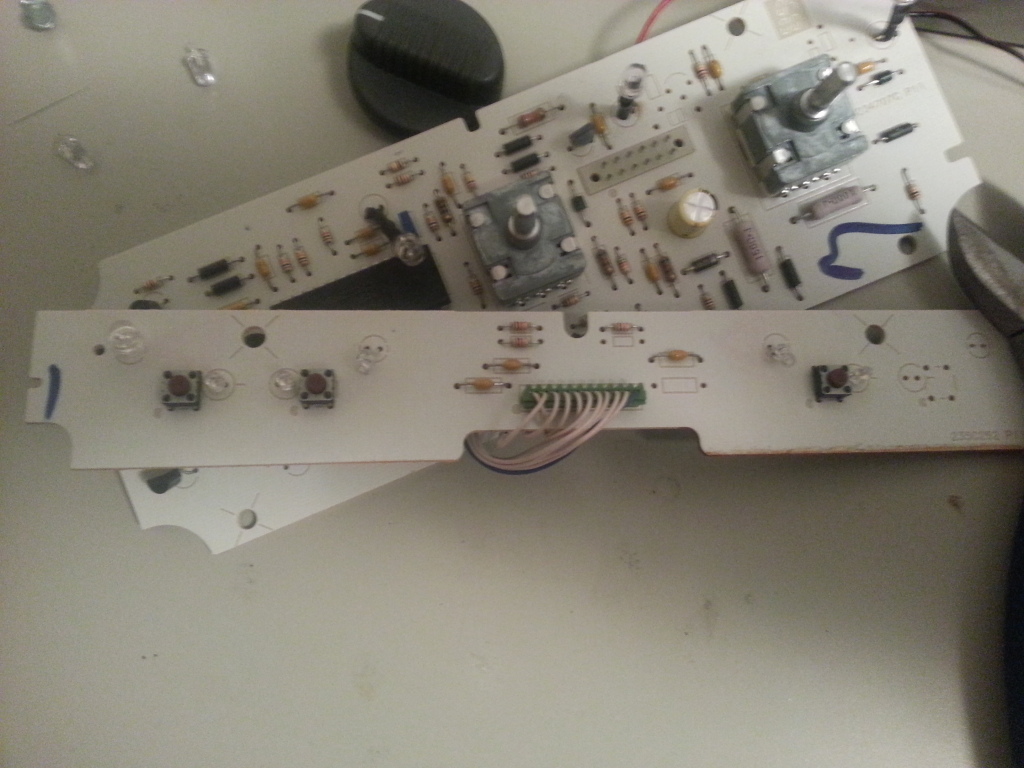
The drivers side was just as easy and took some trial and error on finding the + and - for ya. I ended pulling the stock bulb out of its position and soldering in some short stiff wires from a extra resistor. I had forgot to take the pic of pulling stock bulb but I broke it with pair of pliers and used soldering iron to pull out the wires. As you can see the top hole from stock bulb is the + and the bottom is the - and this is how I positioned my leds and wires so far I cut them to length and soldered together then soldered to the spot on the board. I took out the light diffuser and didnt use it in the window or locks
The mirror switch will need a 3 mm led and 680 resistor
In this pic the left side is the + right is the -
When you put back toghter you will have to cut out some of the blue matarial from the center for the resistor and wire from led
Final product after installation
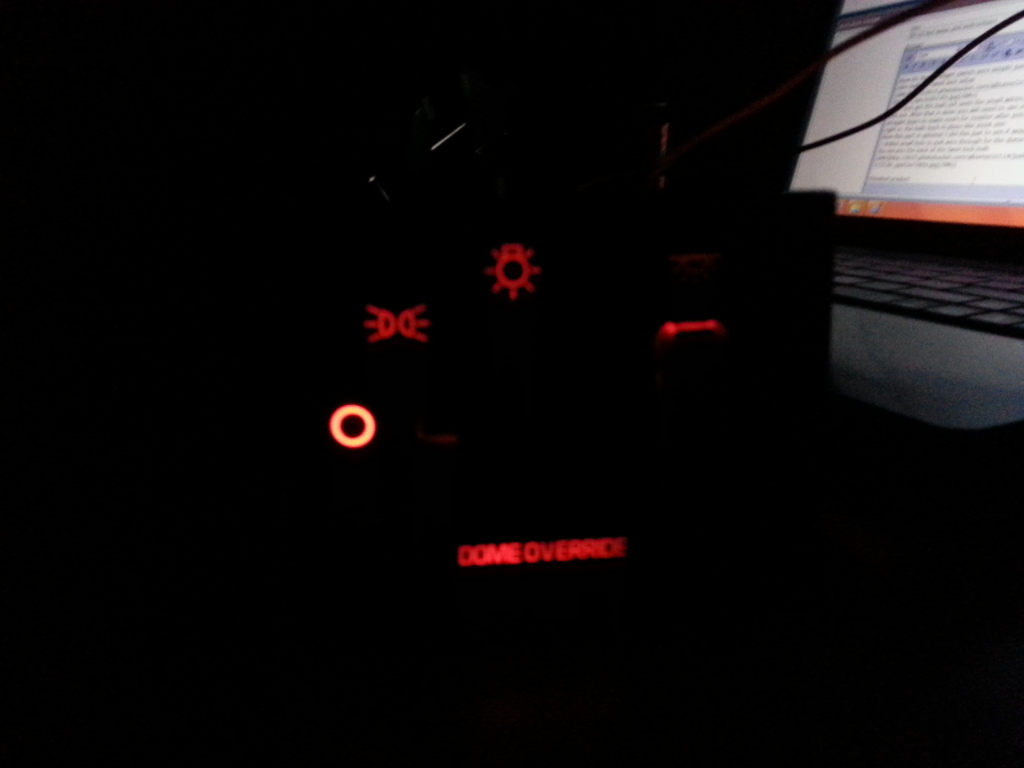
Now for the headlight switch very simple just use small screw driver and take bulb out twist lock setup
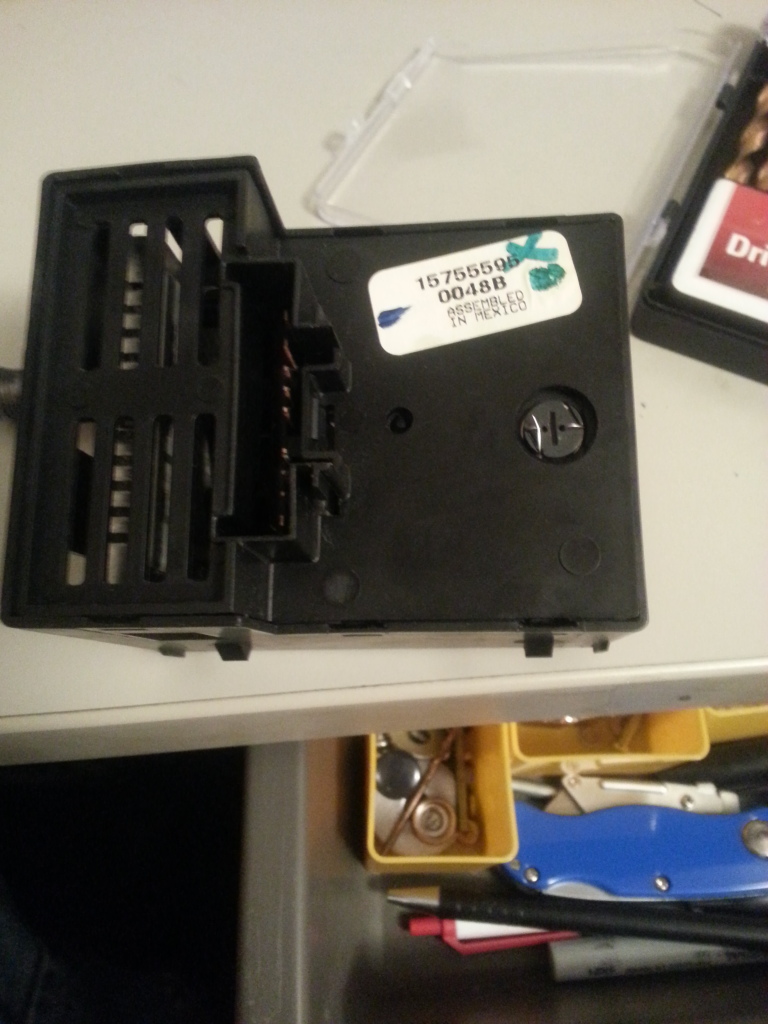
After you get the bulb out undo the small wires from the back side and it will pull out. After that is done you will need to use a 5/32 drill bit and drill straight down to make room for resistor after you do that your led will slide right in. Put bulb back in place like stock one
Now this part is optional I did this just to see if would work and it did
I drilled small hole to pull wire through for the dome light and just soldered the led into the back of the twist lock bulb

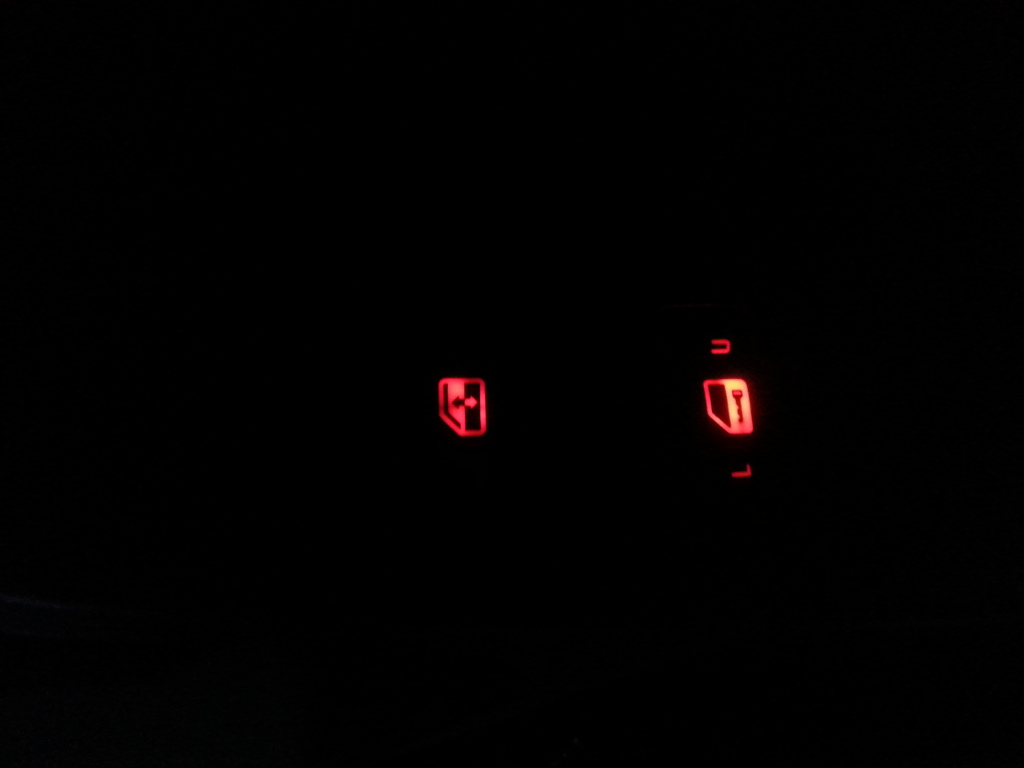
Finished product
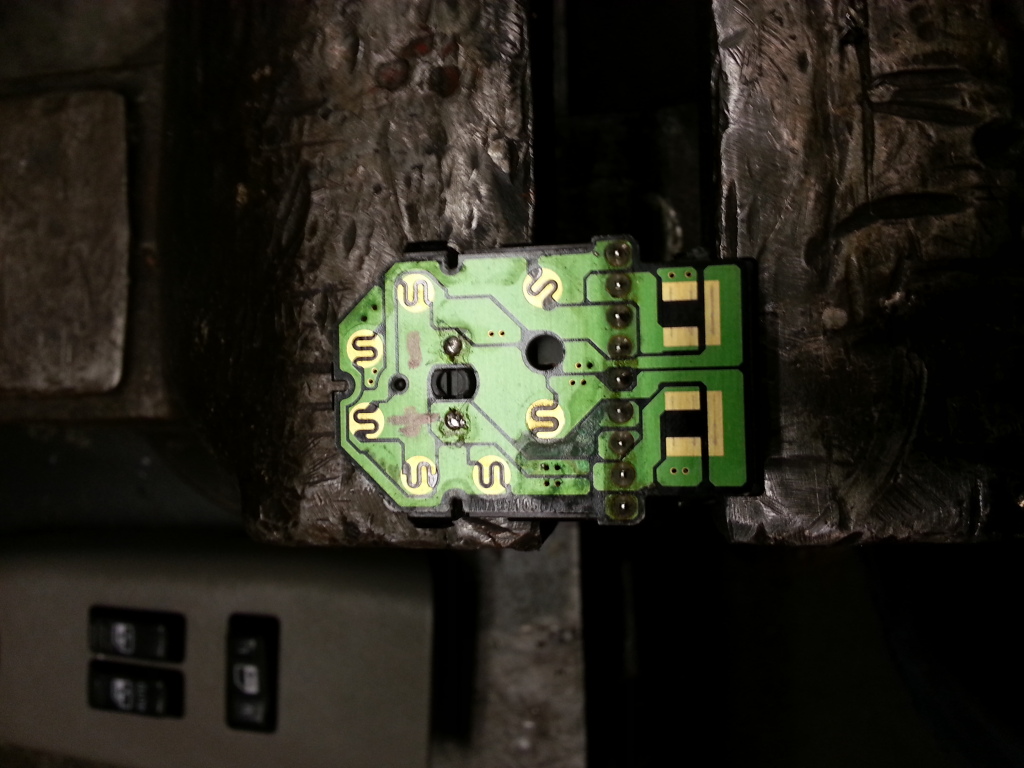
Now for the 4x4 switch
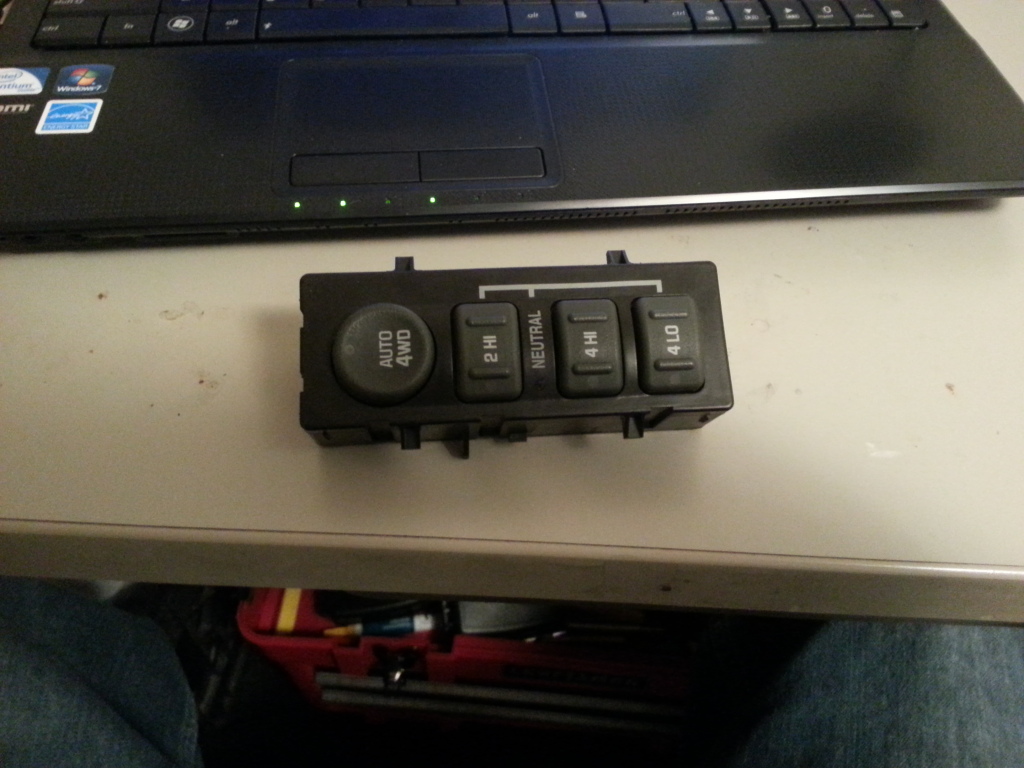
Taking this apart is basic
Now just unsolder stock bulbs and replace with led with resistor already soldered the + will be closest to the black buttons for the 4x4 switches.. You will still want to use the light defusser in this part
More to come as I am waiting for it to get dark outside
Tools needed (you dont need battery and test leads unless you want to check)
3 small screw drivers for taking swithes apart
Razor knife
Battery 12v for testing
2 wires with aligator clips for testing
When taking apart use small screw driver to pop off the window switchs go from the side where it pivots and pry up will pop right off same for locks as well. the clear part you will see is the light diffuser and will have not be used in the this part of the led swap
in this pic is passenger lock and window i marked the + and - for the wiring set up
I used 3 leds for the passenger side 2 for the lock and 1 for the window the window I did it this way for the led to fire straight up towards the switch. No light diffuser in this part
Now after everthing is soldering in put all back together and test
The drivers side was just as easy and took some trial and error on finding the + and - for ya. I ended pulling the stock bulb out of its position and soldering in some short stiff wires from a extra resistor. I had forgot to take the pic of pulling stock bulb but I broke it with pair of pliers and used soldering iron to pull out the wires. As you can see the top hole from stock bulb is the + and the bottom is the - and this is how I positioned my leds and wires so far I cut them to length and soldered together then soldered to the spot on the board. I took out the light diffuser and didnt use it in the window or locks
The mirror switch will need a 3 mm led and 680 resistor
In this pic the left side is the + right is the -
When you put back toghter you will have to cut out some of the blue matarial from the center for the resistor and wire from led
Final product after installation
Now for the headlight switch very simple just use small screw driver and take bulb out twist lock setup
After you get the bulb out undo the small wires from the back side and it will pull out. After that is done you will need to use a 5/32 drill bit and drill straight down to make room for resistor after you do that your led will slide right in. Put bulb back in place like stock one
Now this part is optional I did this just to see if would work and it did
I drilled small hole to pull wire through for the dome light and just soldered the led into the back of the twist lock bulb
Finished product
Now for the 4x4 switch
Taking this apart is basic
Now just unsolder stock bulbs and replace with led with resistor already soldered the + will be closest to the black buttons for the 4x4 switches.. You will still want to use the light defusser in this part
More to come as I am waiting for it to get dark outside
 Feb 10, 2013 | 08:20 PM
#3
Thread Starter
TECH Fanatic
iTrader: (11)
Joined: Mar 2009
Posts: 1,579
Likes: 3
From: Machinegun Valley KS
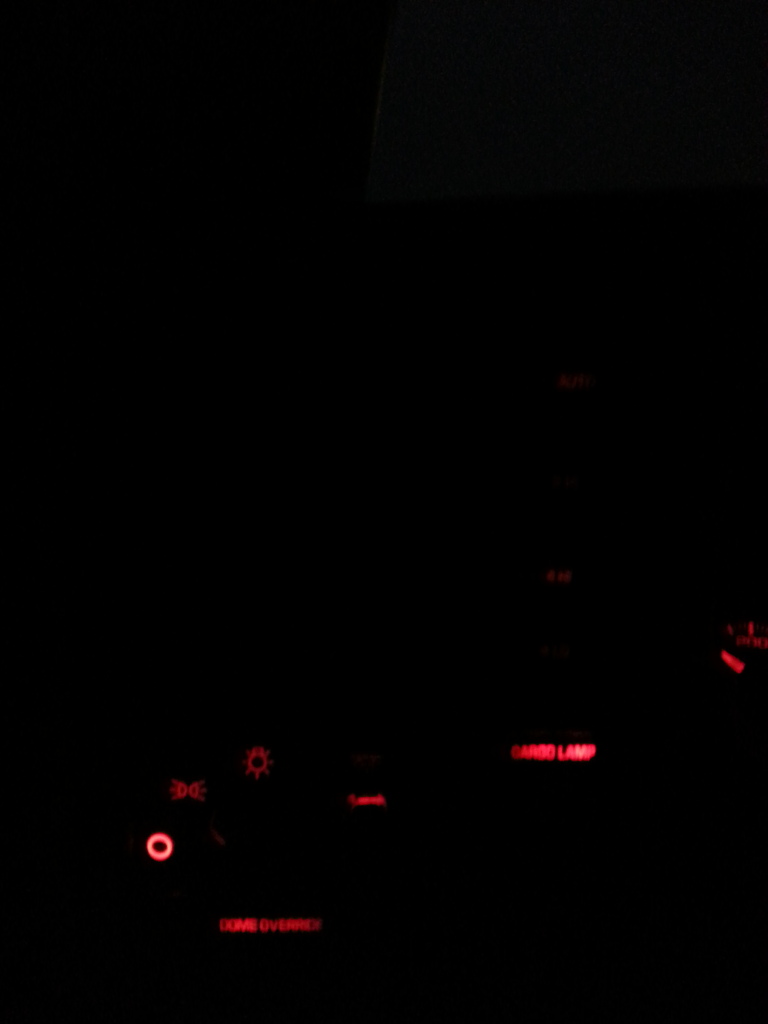
For the cargo light which is one of the easiest I used two leds that were prewired and soldered them together and soldered to the board I had them sitting next to each other pointing towards the cargo lumination spot to get better covarage. As you can see in the pic which one is + and -
finished product installed
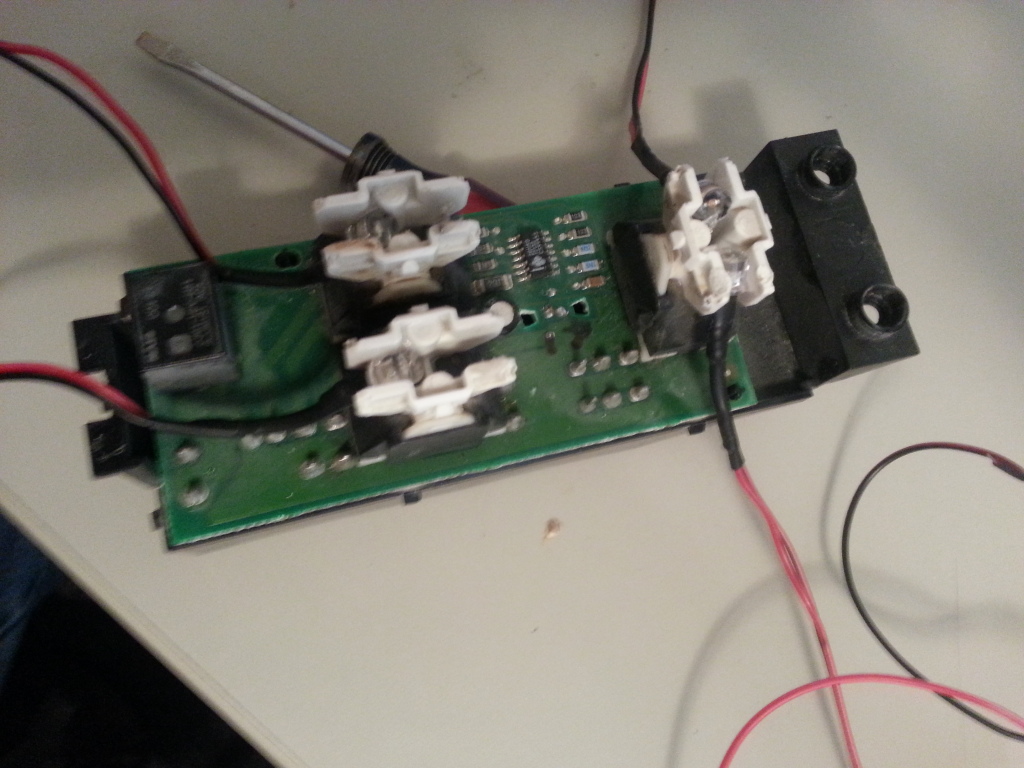
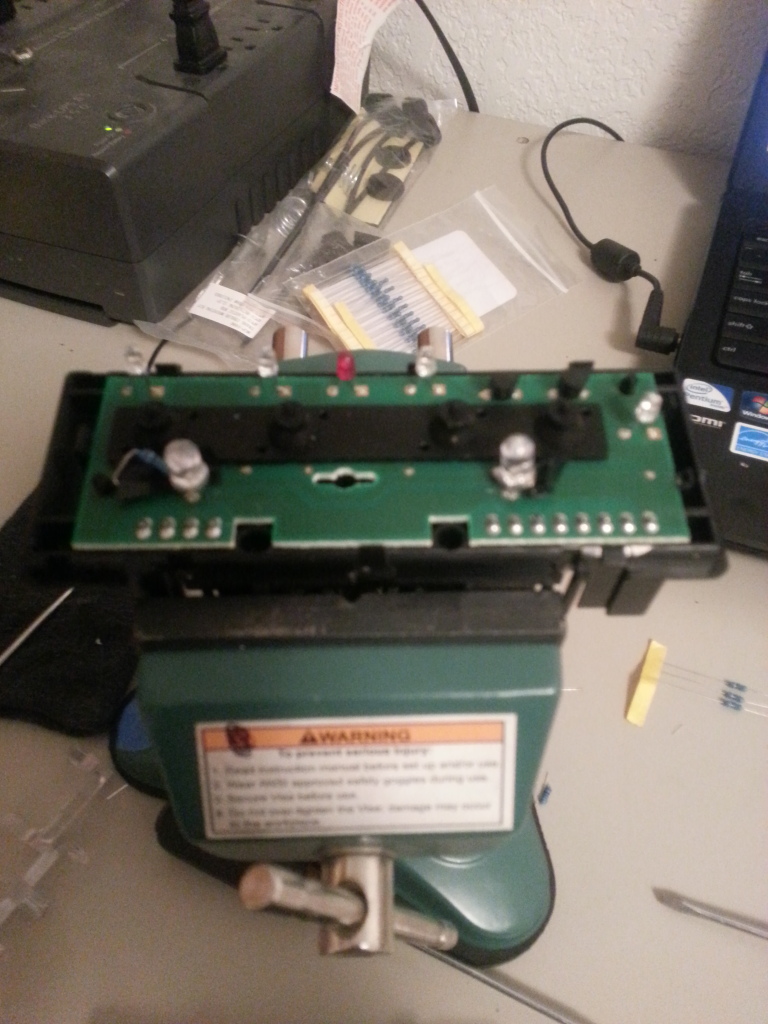
The HVAC was the most difficult tracing where the hots and negs where. I used the 5mm on the main part and the 3mm on the push buttons for the ac recirculation and fresh air.
On this i marked which ones are the postive so that will take out some time geussing for ya. Be very carefull not to get the board to hot with soldering iron youll be doin what i will be replacing it cause of trial and error trying to not have hot spots.
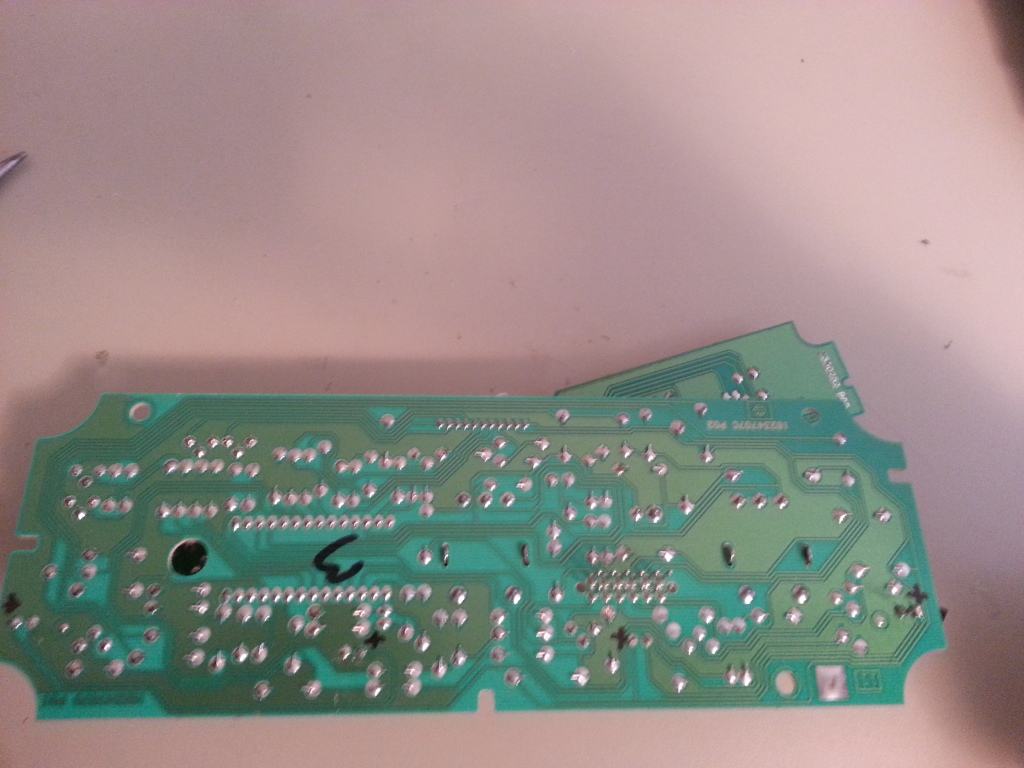
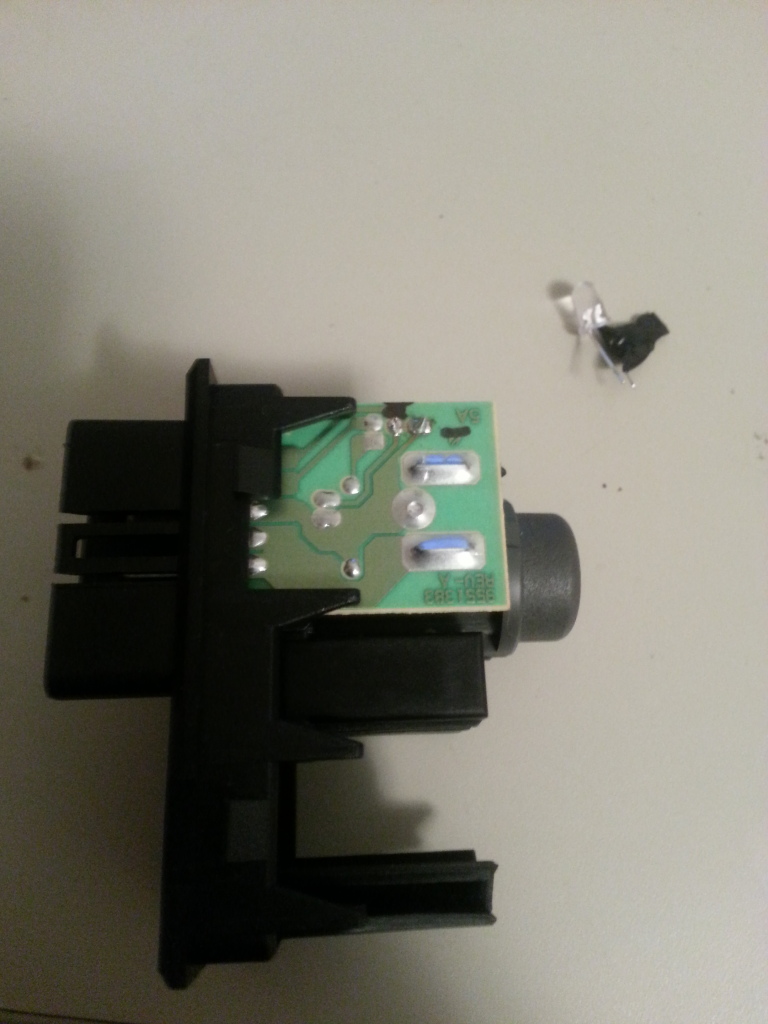
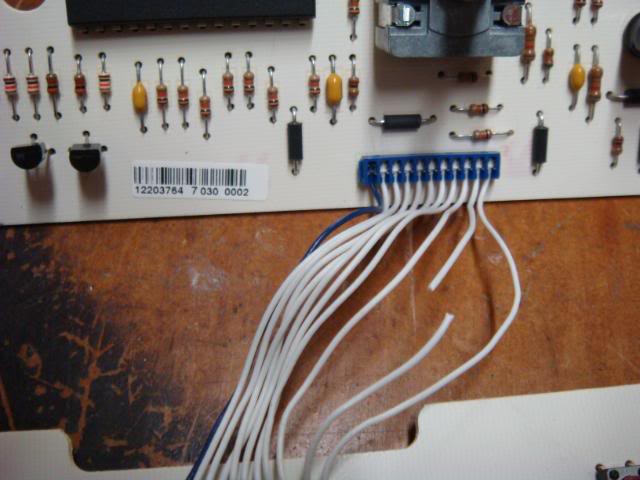
In this pic I used 2 3mm leds due to they just spread the light out better the ac and recirculation is ones i used the 3mm ones. on this small board you will want to solder in a resistor on the 2nd wire from the right since these are ran in series and using 1/4 watt resistor you can use up to 4 leds depending on wattage draw leds you get.
As due to still having to redo mine cause I got mine to hot trying to fix hot spots so many times and red doesnt show well with my camera this is how it turned out
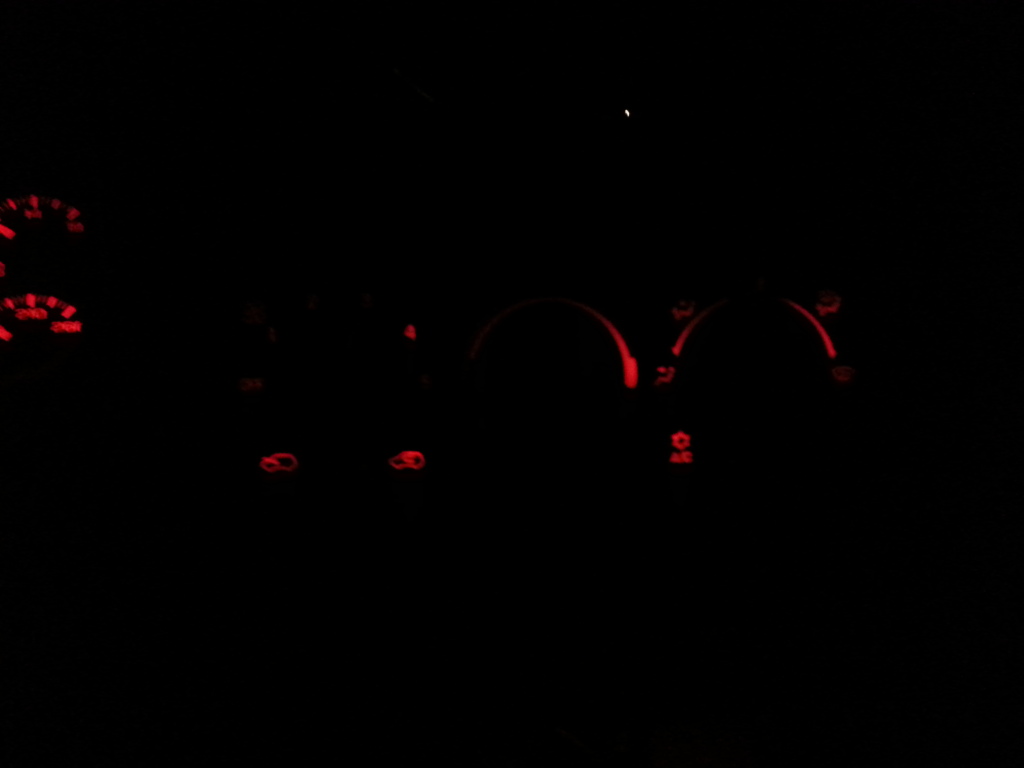
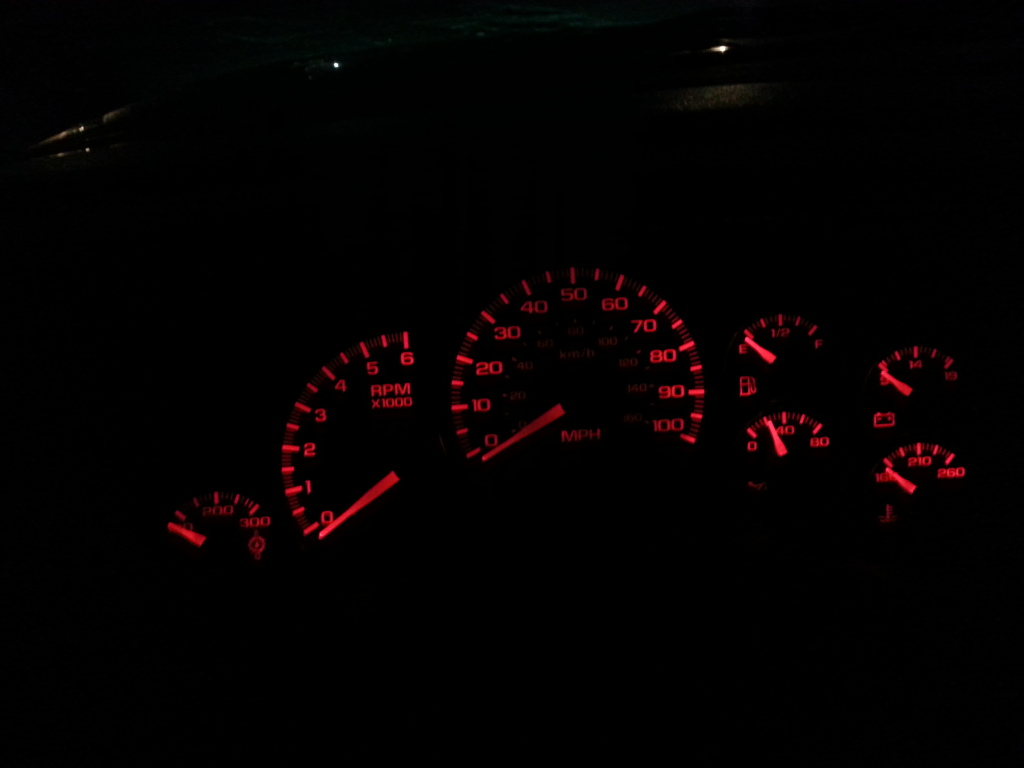
As for the gauge cluster I have a thread wrote on that as well
https://www.performancetrucks.net/fo...r-swap-512789/
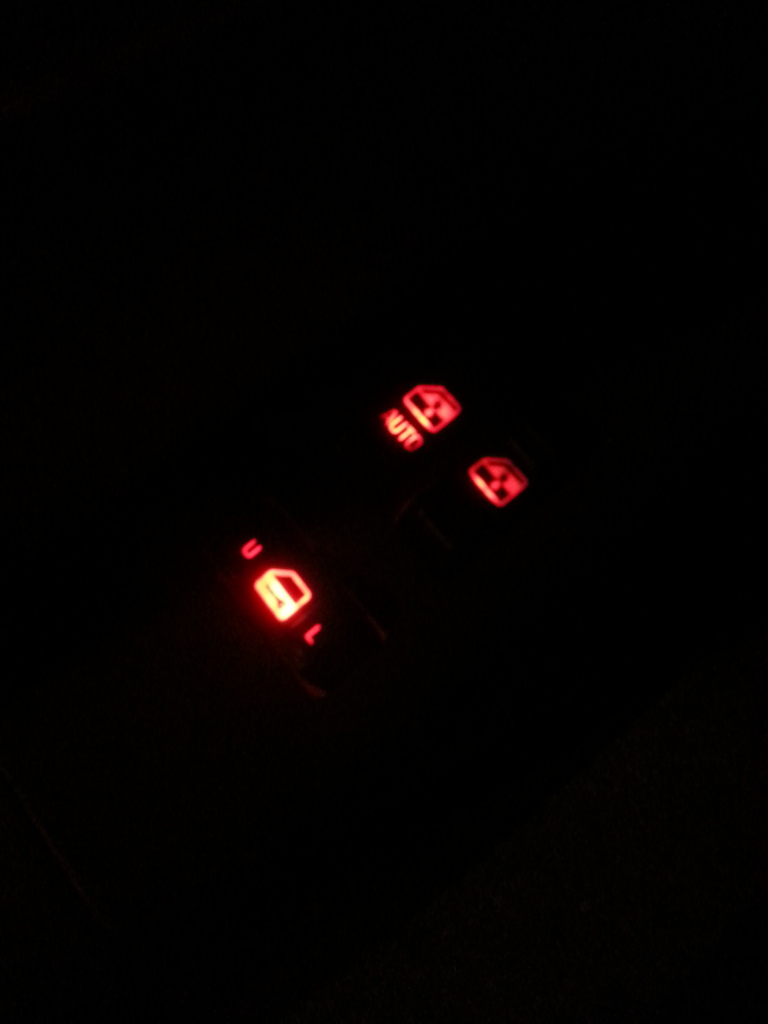
Completly finished and installed


finished product installed
The HVAC was the most difficult tracing where the hots and negs where. I used the 5mm on the main part and the 3mm on the push buttons for the ac recirculation and fresh air.
On this i marked which ones are the postive so that will take out some time geussing for ya. Be very carefull not to get the board to hot with soldering iron youll be doin what i will be replacing it cause of trial and error trying to not have hot spots.
In this pic I used 2 3mm leds due to they just spread the light out better the ac and recirculation is ones i used the 3mm ones. on this small board you will want to solder in a resistor on the 2nd wire from the right since these are ran in series and using 1/4 watt resistor you can use up to 4 leds depending on wattage draw leds you get.
As due to still having to redo mine cause I got mine to hot trying to fix hot spots so many times and red doesnt show well with my camera this is how it turned out
As for the gauge cluster I have a thread wrote on that as well
https://www.performancetrucks.net/fo...r-swap-512789/
Completly finished and installed