

Petro's Project ERL Superdeck 427 w/ Whipple 2.9L
 Jun 13, 2017 | 01:16 PM
#371


First I've ever cracked the bag open. The deck surfaces are all deburred and chamfered. All the bolt holes, water passages, cylinder bores etc. so this surprised me. They still make marine engines so they're still in business just not with building car engines. I've read some other threads about piston rings filed improperly and some other issues with ERL builds. I hope none of that is true when I disassemble it here soon.
Jun 16, 2017 | 03:23 PM
#372
The piston rings look good. They are filed nice and straight and aren't pointed. The ring lands are nice and deburred/chamfered along with the piston top. But there are burrs on the oil ring land where it meets the wrist pin. I'll take those off before I apply the coatings though. I'll be coating the ring lands, skirts, and underside with Cerakote Mircoslick and the tops with Cerakote Piston Coat thermal barrier. I plan on using E85 after break in and the alcohol has less lubricity than regular pump gas so the moly in the ring lands should help with oil rentention which is good because the crank scraper also means less oil flying around and hitting the cylinder walls. The retained oil film with help with lubrication, better combustion seal, and prevent micro welding of the rings.

Don't mind the paper towel "dust". The burrs really tore into it with just a light wipe.


Don't mind the paper towel "dust". The burrs really tore into it with just a light wipe.
 Jun 18, 2017 | 12:19 AM
#374

Are you really doing this at home on a shoe string budget or do you have access to a facility with the equipment to make these sort of treatments profitable? I have business and like I said, may be looking for a new vendor to send my parts and money to.
Jun 18, 2017 | 09:43 AM
#375
I didn't mean to come off as a *** if I did but yeah I'm using the tools I mentioned. I'm also using my bench top buffer with various wheels and rogues to polish. I cannot get anywhere near the quality of REM polishing. The microblue stuff I've seen online looks too notch. The parts in my pics look every so slightly different after burnishing and polishing the coating. Whatca have in mind for parts?
Last edited by Petraszewsky; Jun 18, 2017 at 10:09 AM.
Jun 19, 2017 | 02:23 AM
#376
I didn't mean to come off as a *** if I did but yeah I'm using the tools I mentioned. I'm also using my bench top buffer with various wheels and rogues to polish. I cannot get anywhere near the quality of REM polishing. The microblue stuff I've seen online looks too notch. The parts in my pics look every so slightly different after burnishing and polishing the coating. Whatca have in mind for parts?
I recently did a pretty radical motocross engine build where everything got sent for his treatment. Don't know if it made an difference power wise, but will say this....the bike shifts smoother than any other bike I have ridden in my entire life.
I have a thread of the build here in the projects section with lots of pics if you would like to see what his stuff looks like in real life.
Jun 19, 2017 | 12:11 PM
#377
Those trans pieces don't look anything like the pics I've seen of people's crankshafts etc with mircoblue. Barely looks like any coating is on it at all. A lot of guys on yellowbullet have had theirs done and it's looks way different than your pieces. Just check out this guys stuff:
Rod Bearing Treatment with MicroBlue - BMW M3 Forum.com (E30 M3 | E36 M3 | E46 M3 | E92 M3 | F80/X)
Like I said I can't achieve REM polished quality but I can polish pretty decent. I also have enough Mircoslick and Piston Coat to do probably 20 engines worth (seriously). I didn't think it would cover as well as it does haha. I have to use all the Cerakote products within 12months or it's all worthless. I also have Cerakote Glacier Black to coat my headers with. Probably enough of that to do like 20 sets of headers haha.
If some people are interested in having their stuff coated I could do it for very fair price. Shipping is what would cost the most I believe.
Last edited by Petraszewsky; Jun 19, 2017 at 01:20 PM.


 Jun 19, 2017 | 01:20 PM
#379
I got all air cure stuff....only thing i use the oven for is to purge the oils from the pieces prior to and after blasting. Like machined parts have tons of oil in their pores. The headers would just be blasted and cleaned with acetone then coated. It takes 5 days for a full cure.
I may even turn them into roller headers....
I may even turn them into roller headers....
Jun 21, 2017 | 12:16 PM
#380
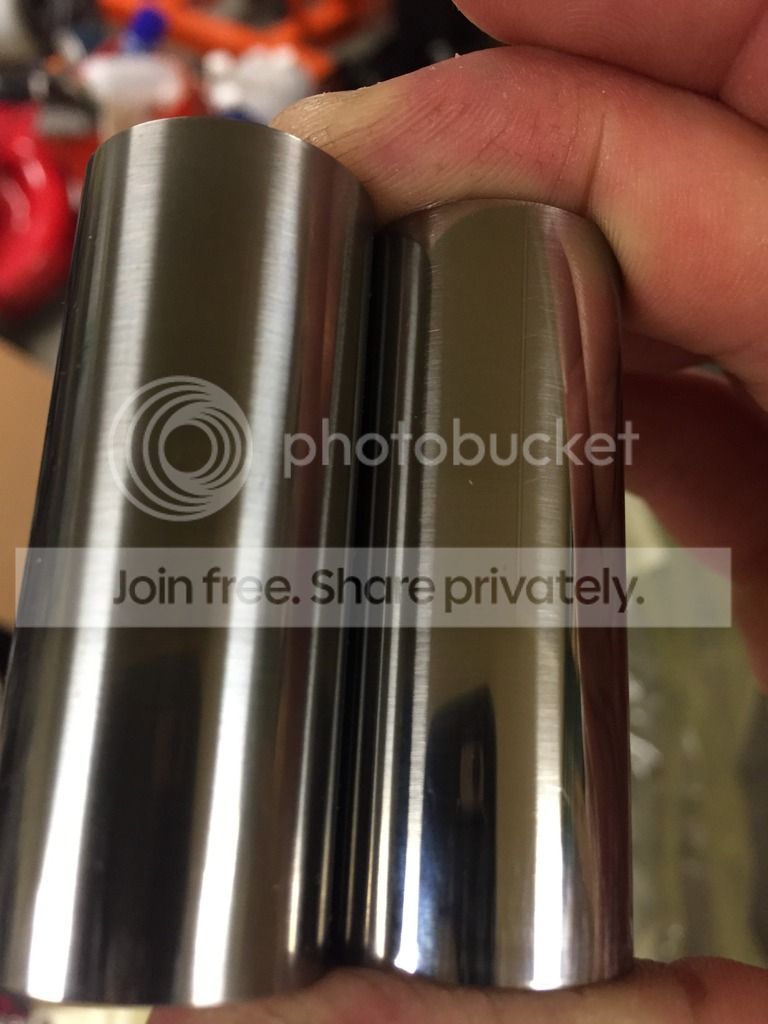
Polished the wrist pins and it revealed marks/scratches that go from side to side that weren't visible before. The scratches are from the burrs left on the oil ring land that dug into the wrist pin as they were inserted. I will be polishing these to a mirror finish and then blasting and coating them.
The one on the right was after just a quick polish probably a total of a 1-2minutes on the buffing wheel. The scratches I mentioned that weren't visible before you could clearly see (not pictured) and catch a fingernail on after the brief polish.They are now smoothed over.
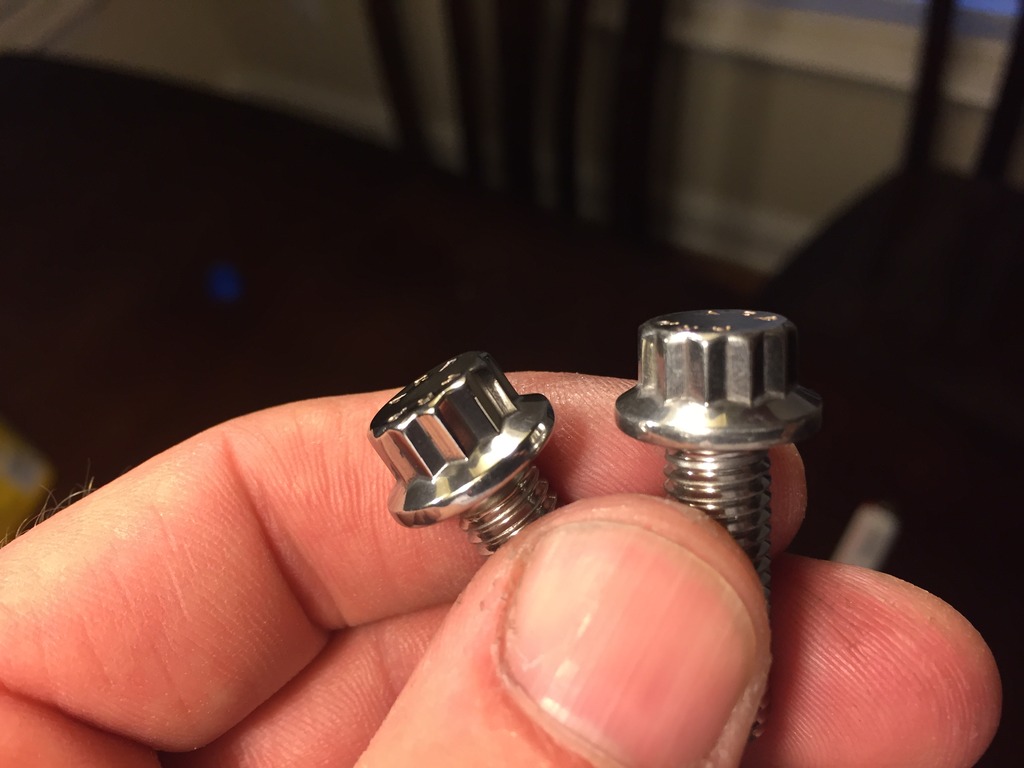
And the stainless ARP hardware for the block will all get polished as well. A quick 10 seconds on each of the two wheels and much better looking. Polishing the tips is just for looks while polishing the threads helps achieve proper torque.
