ILuvJDM's 2007 NBS RCSB Build - Turbo/4L80e/Coilovers/Wilwoods
 Jan 13, 2018 | 11:49 AM
#1

So I got tired of the gray truck and my priorities and tastes changed since I bought the gray truck. I wanted something I could daily and still be practical for work, but the truck was just too beat up to even get excited about.
I searched for a few months for a low mileage V8 RCSB with power accessories, and finally found one in Indiana. I spoke to the guy for a few minutes and bought it sight unseen and had it shipped to Texas. Paid $13,900 for it, or $14,500 total with shipping.
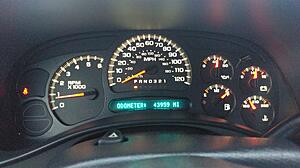
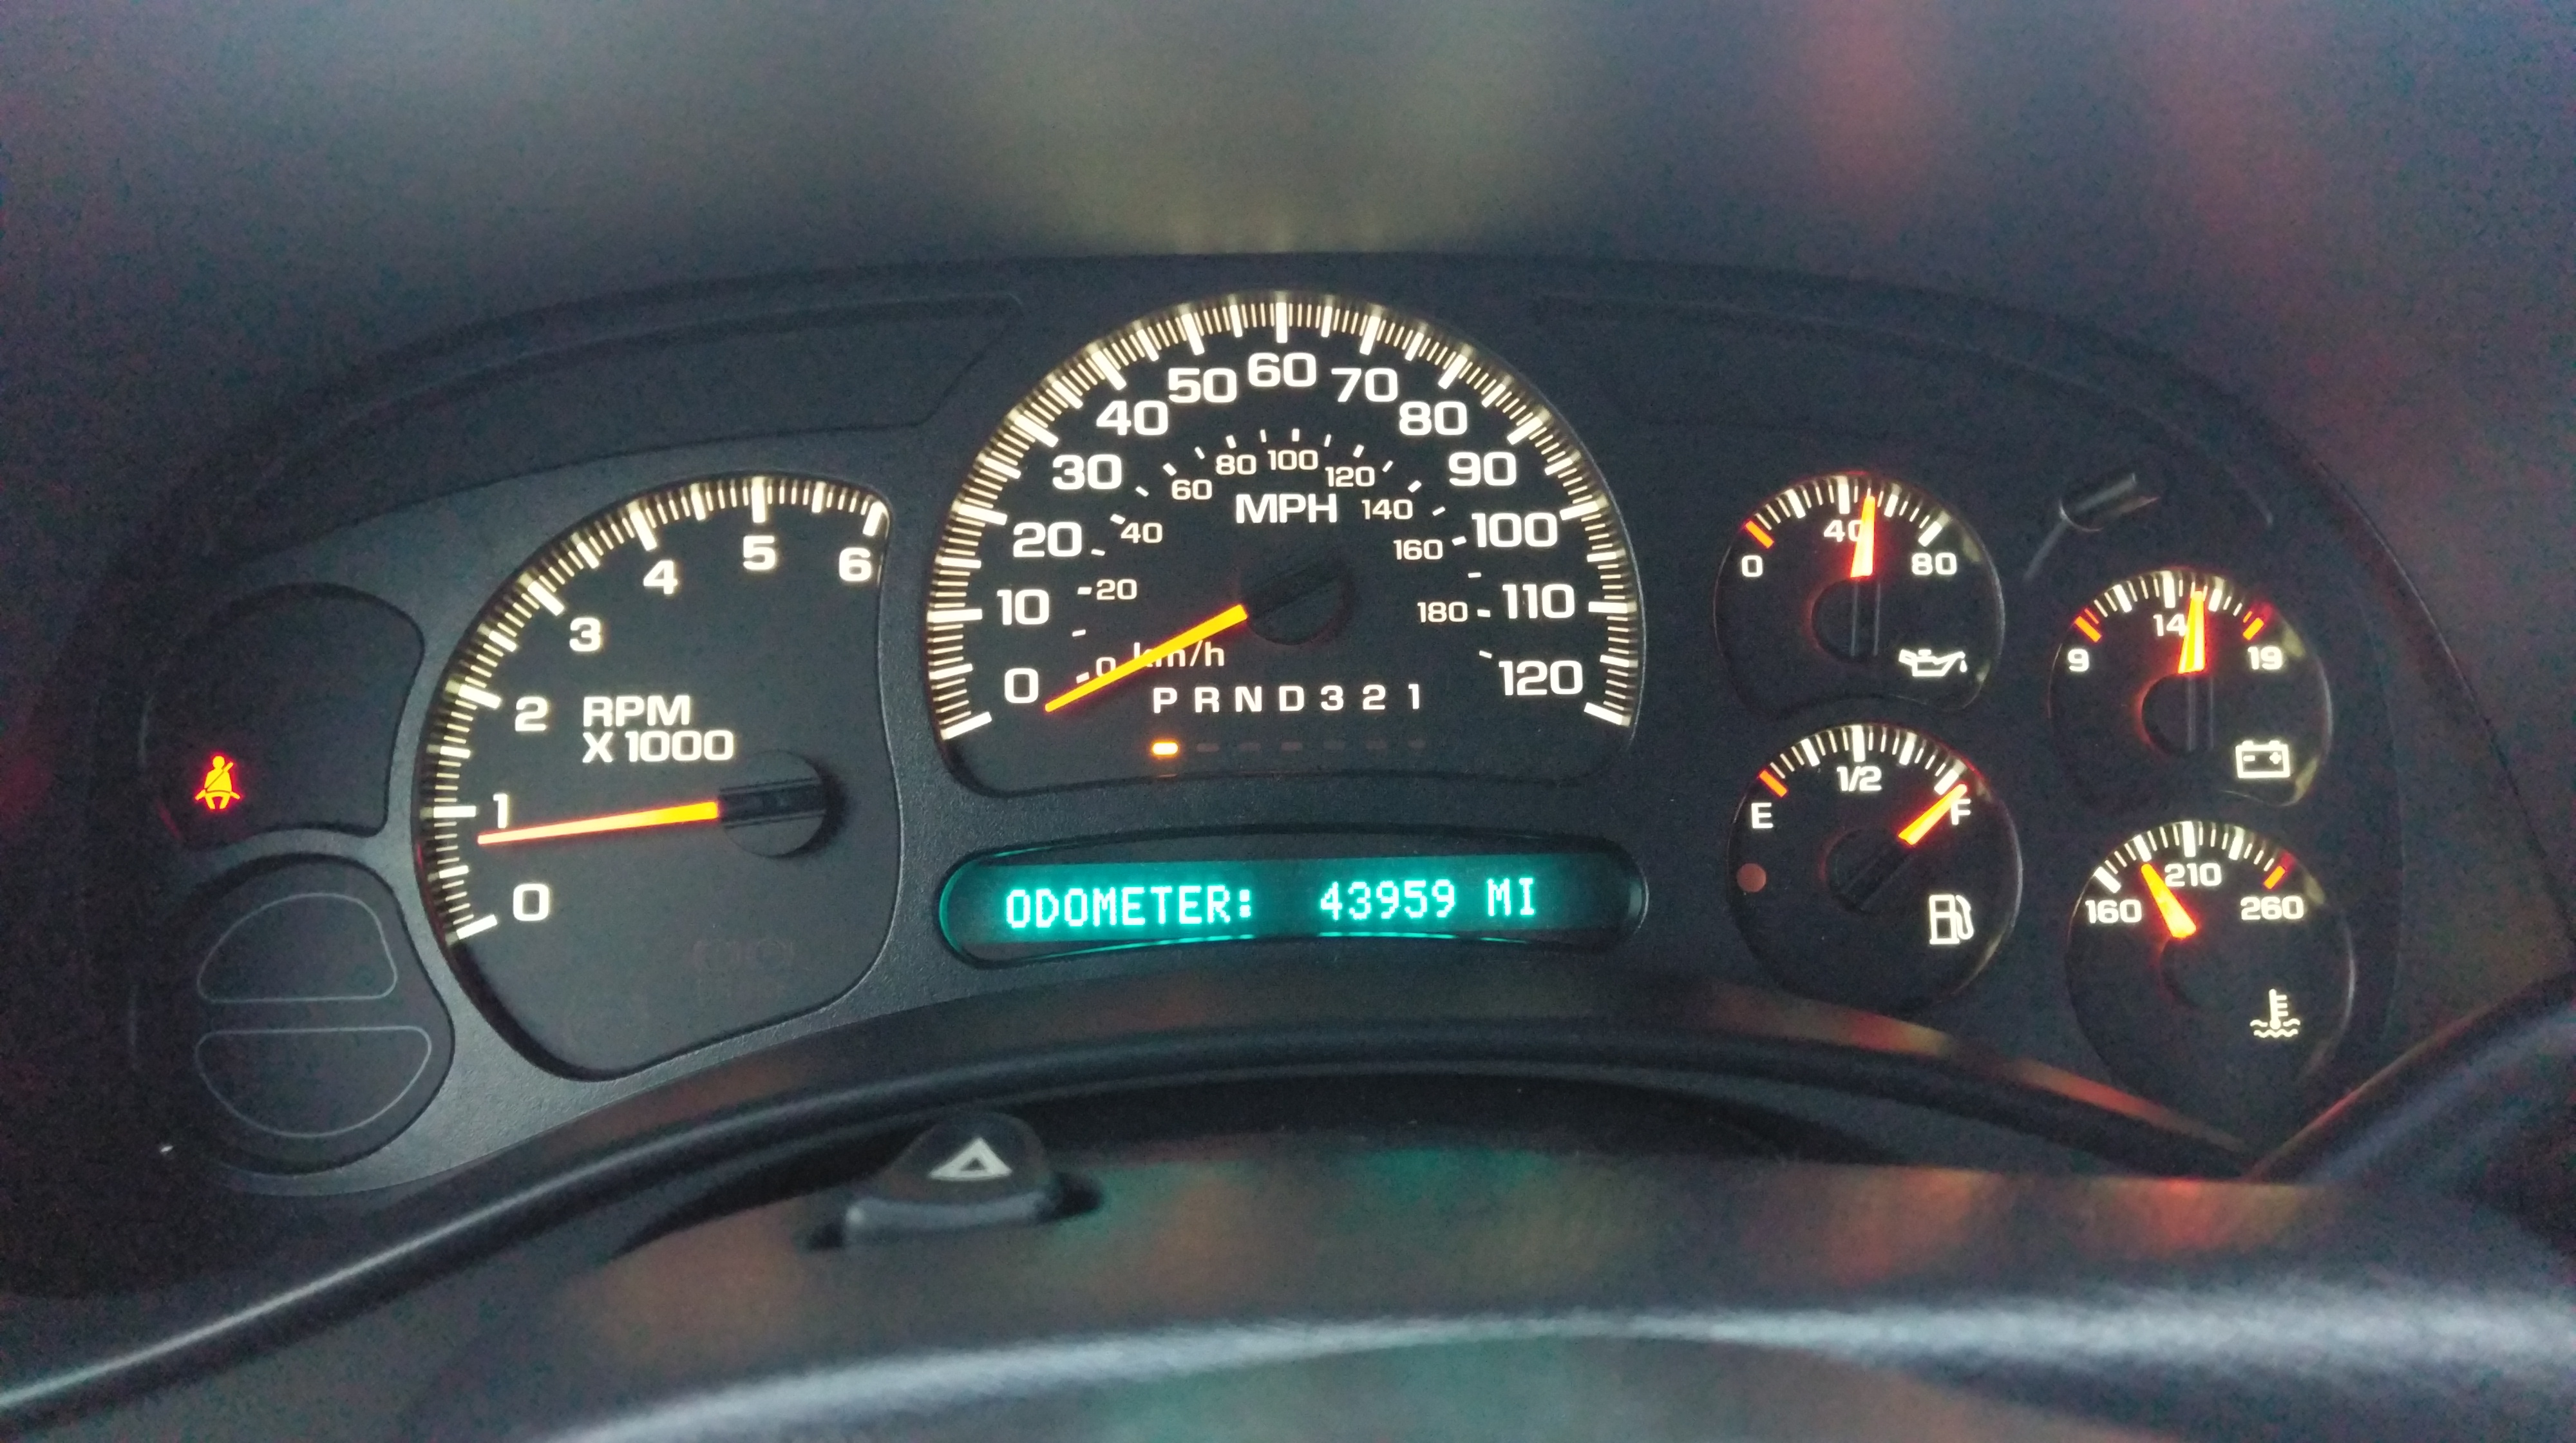
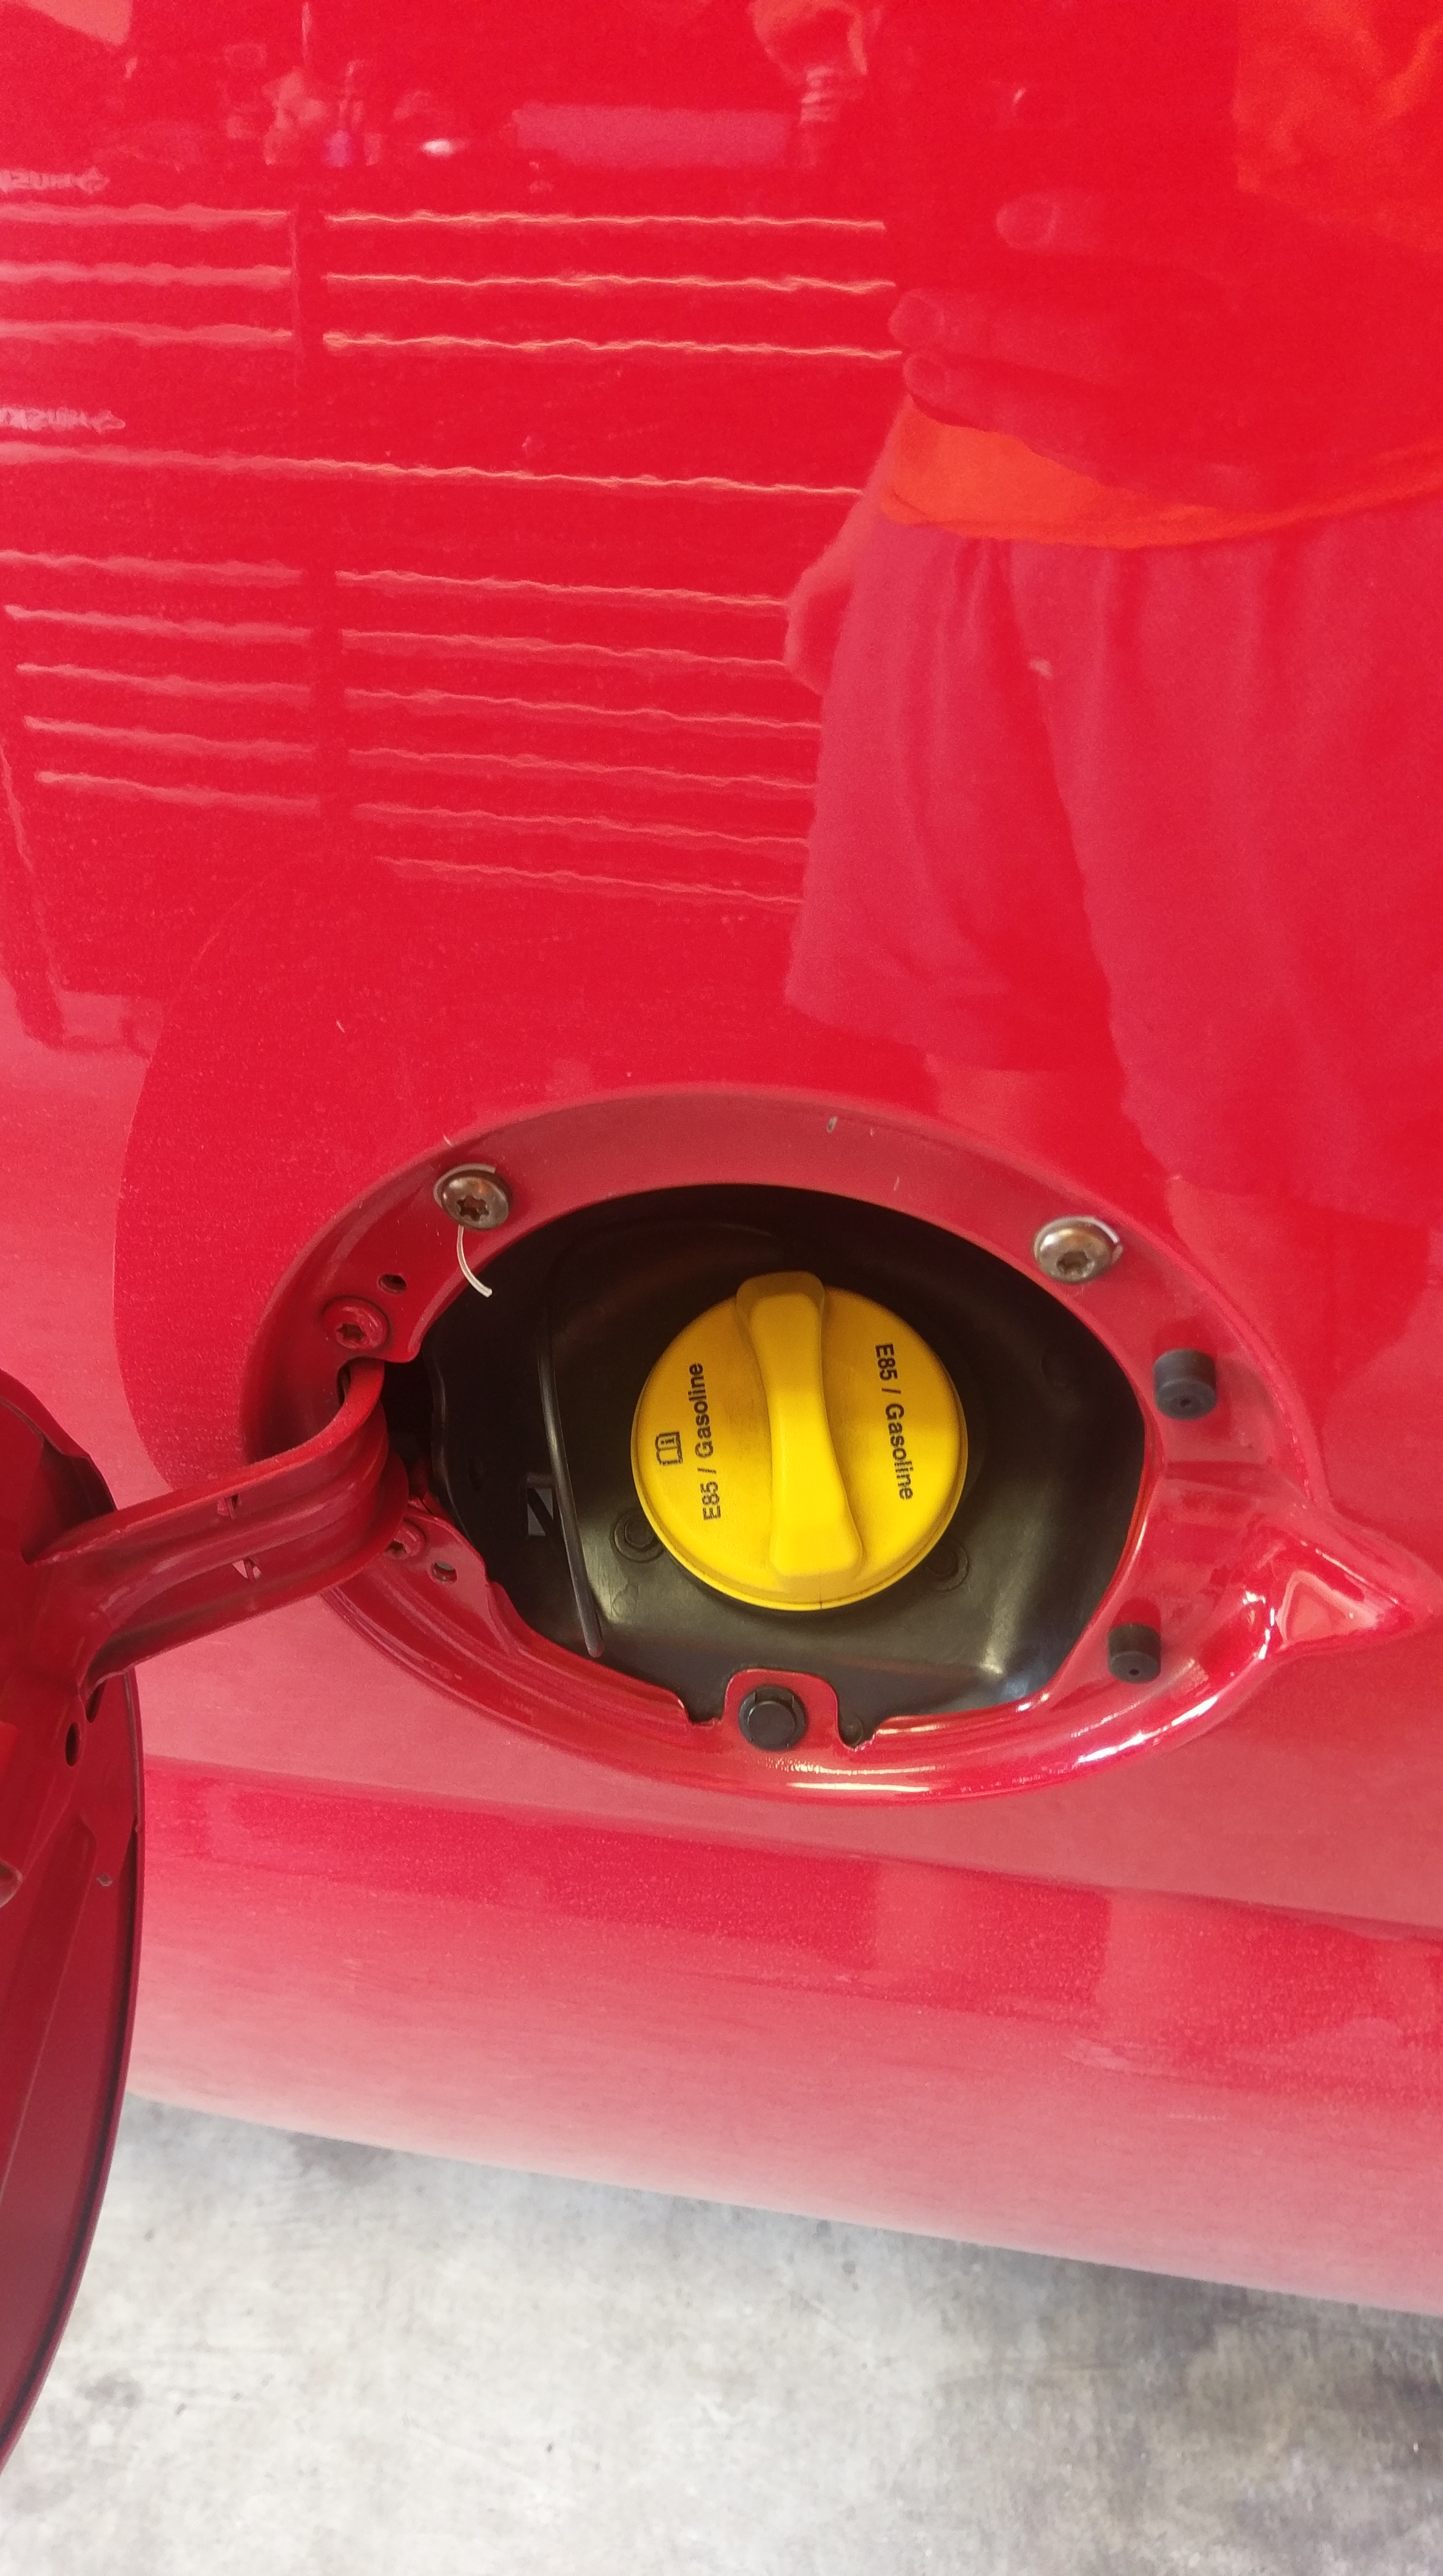
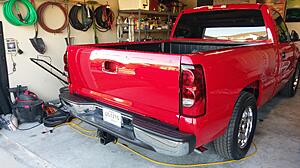
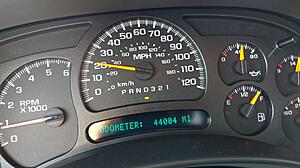
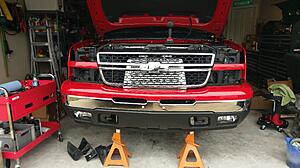
Details: 2007 classic with 44k miles, 5.3L, 2wd, power windows and locks, dark charcoal interior, flex fuel. It was owned by an older guy in his 70s who seemed to take very good care of it.
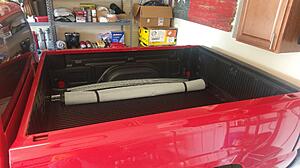
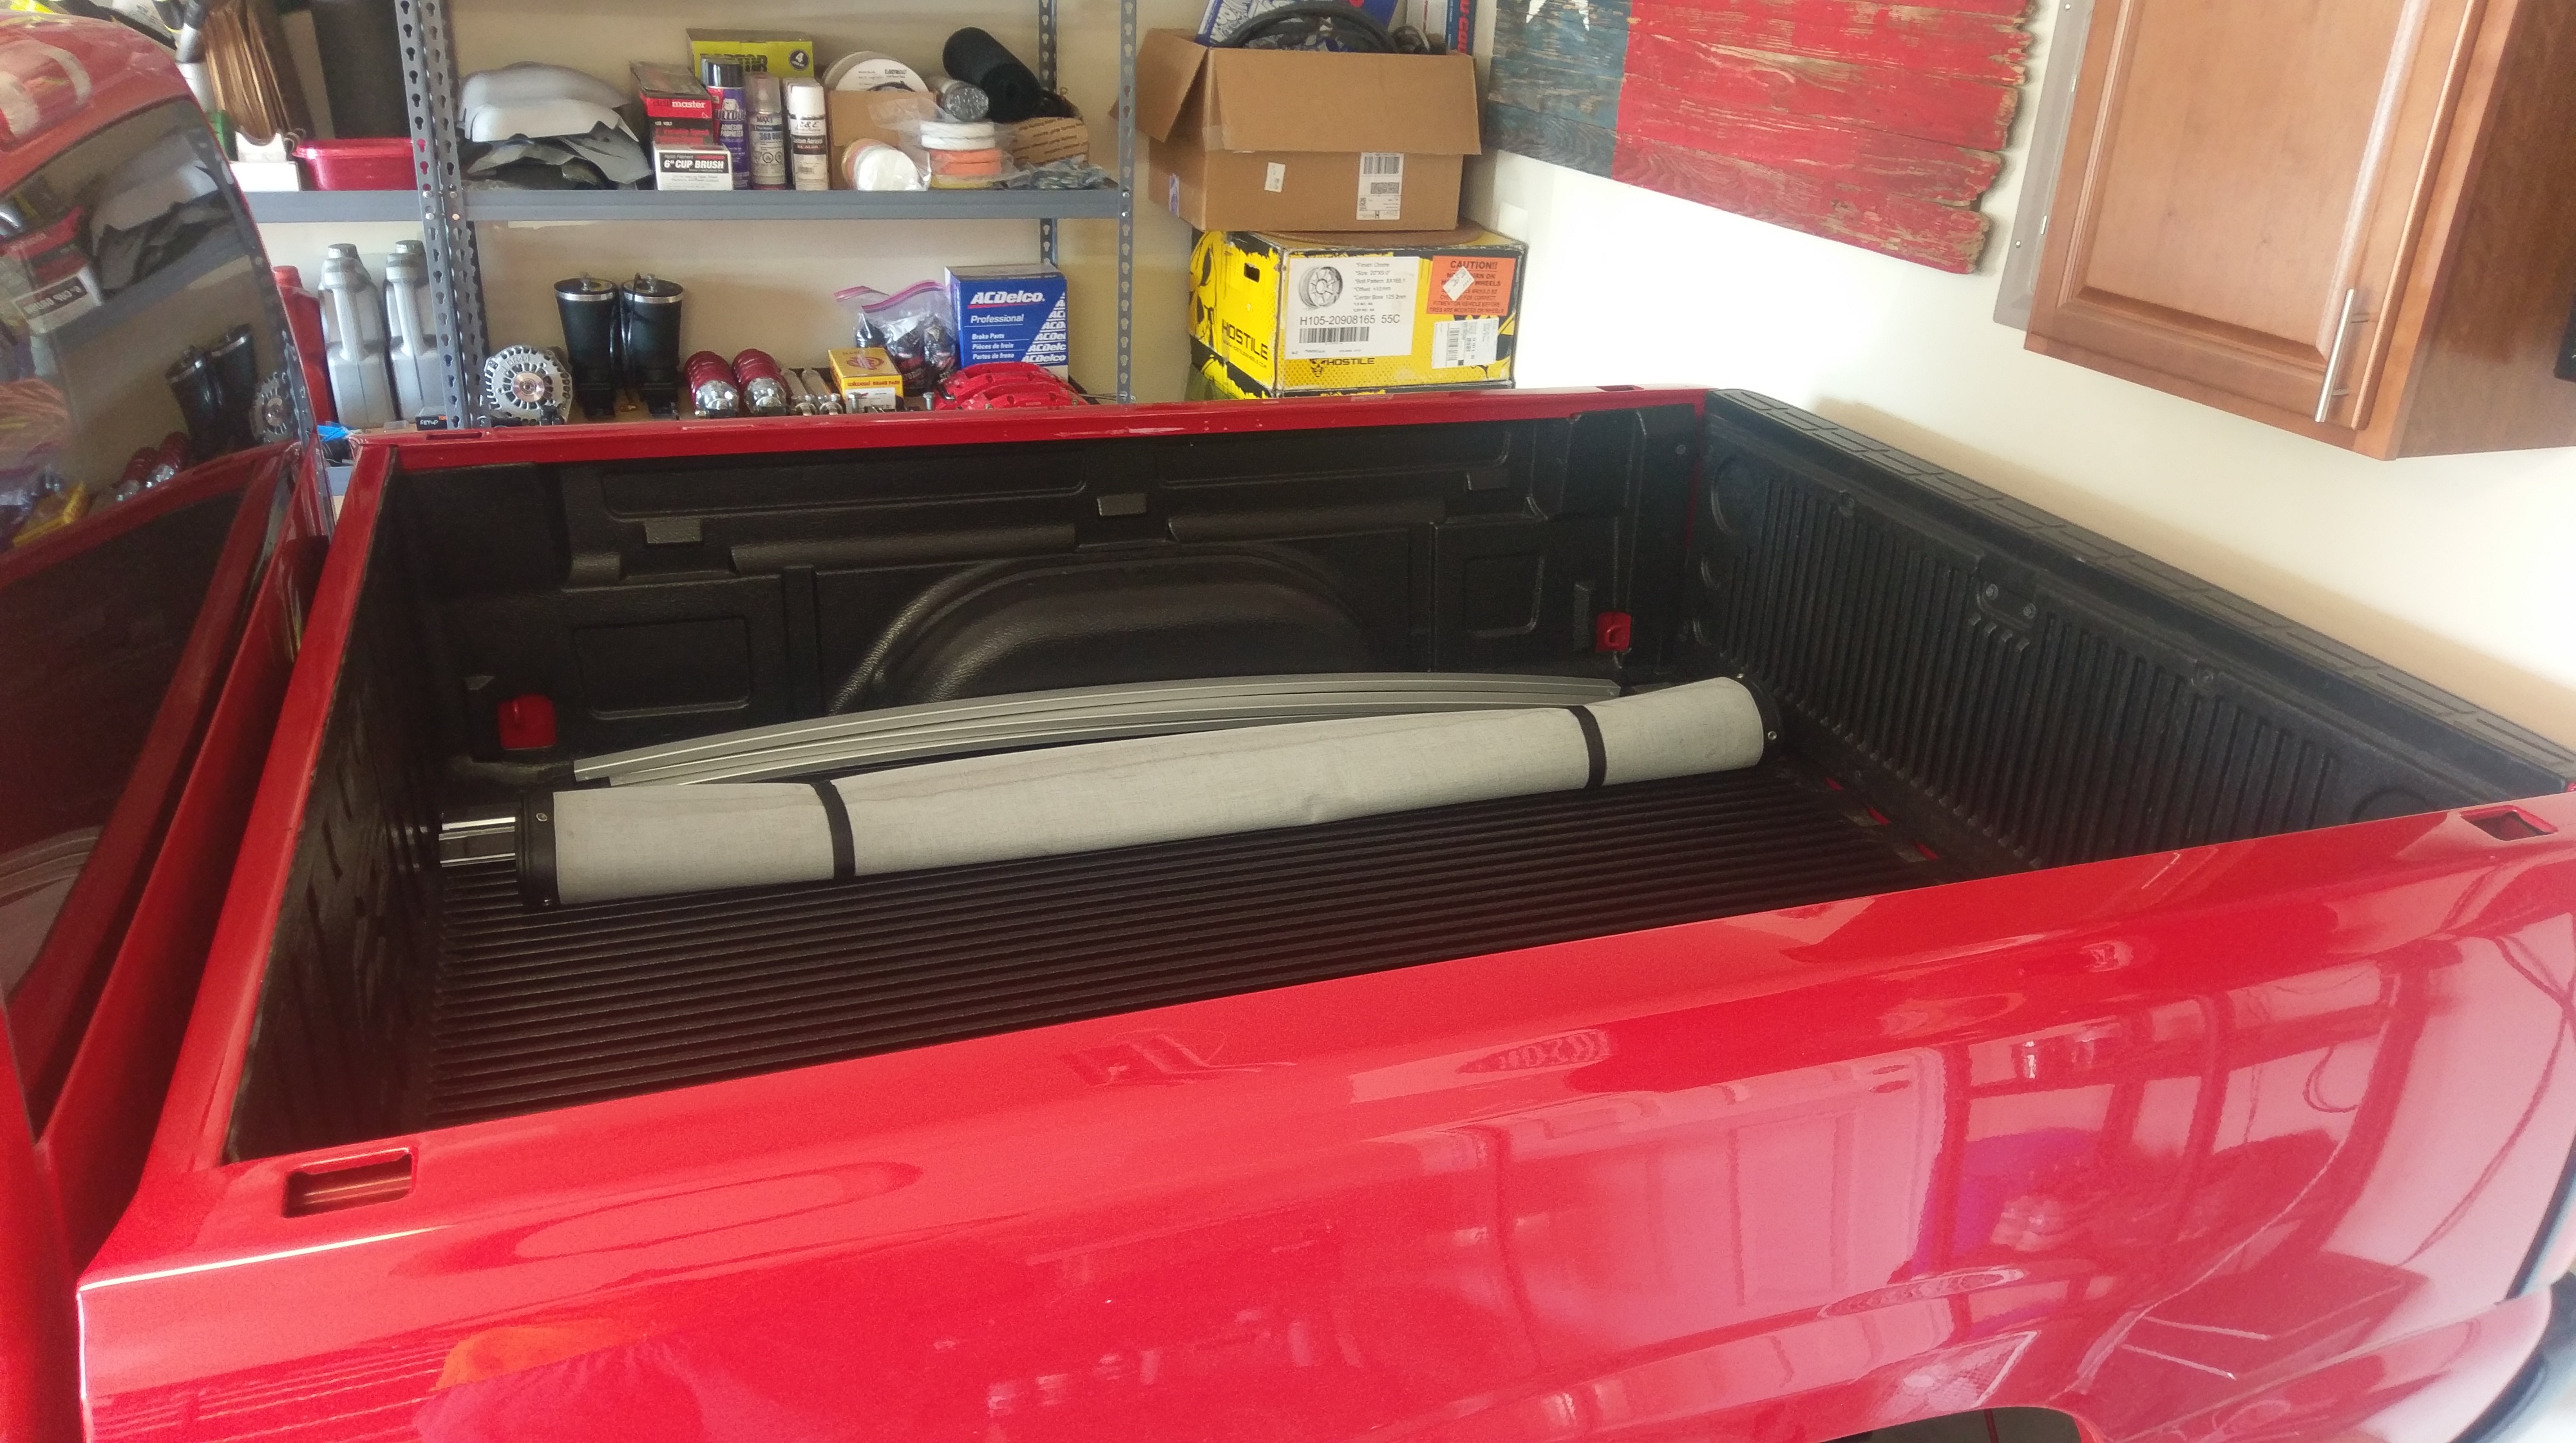
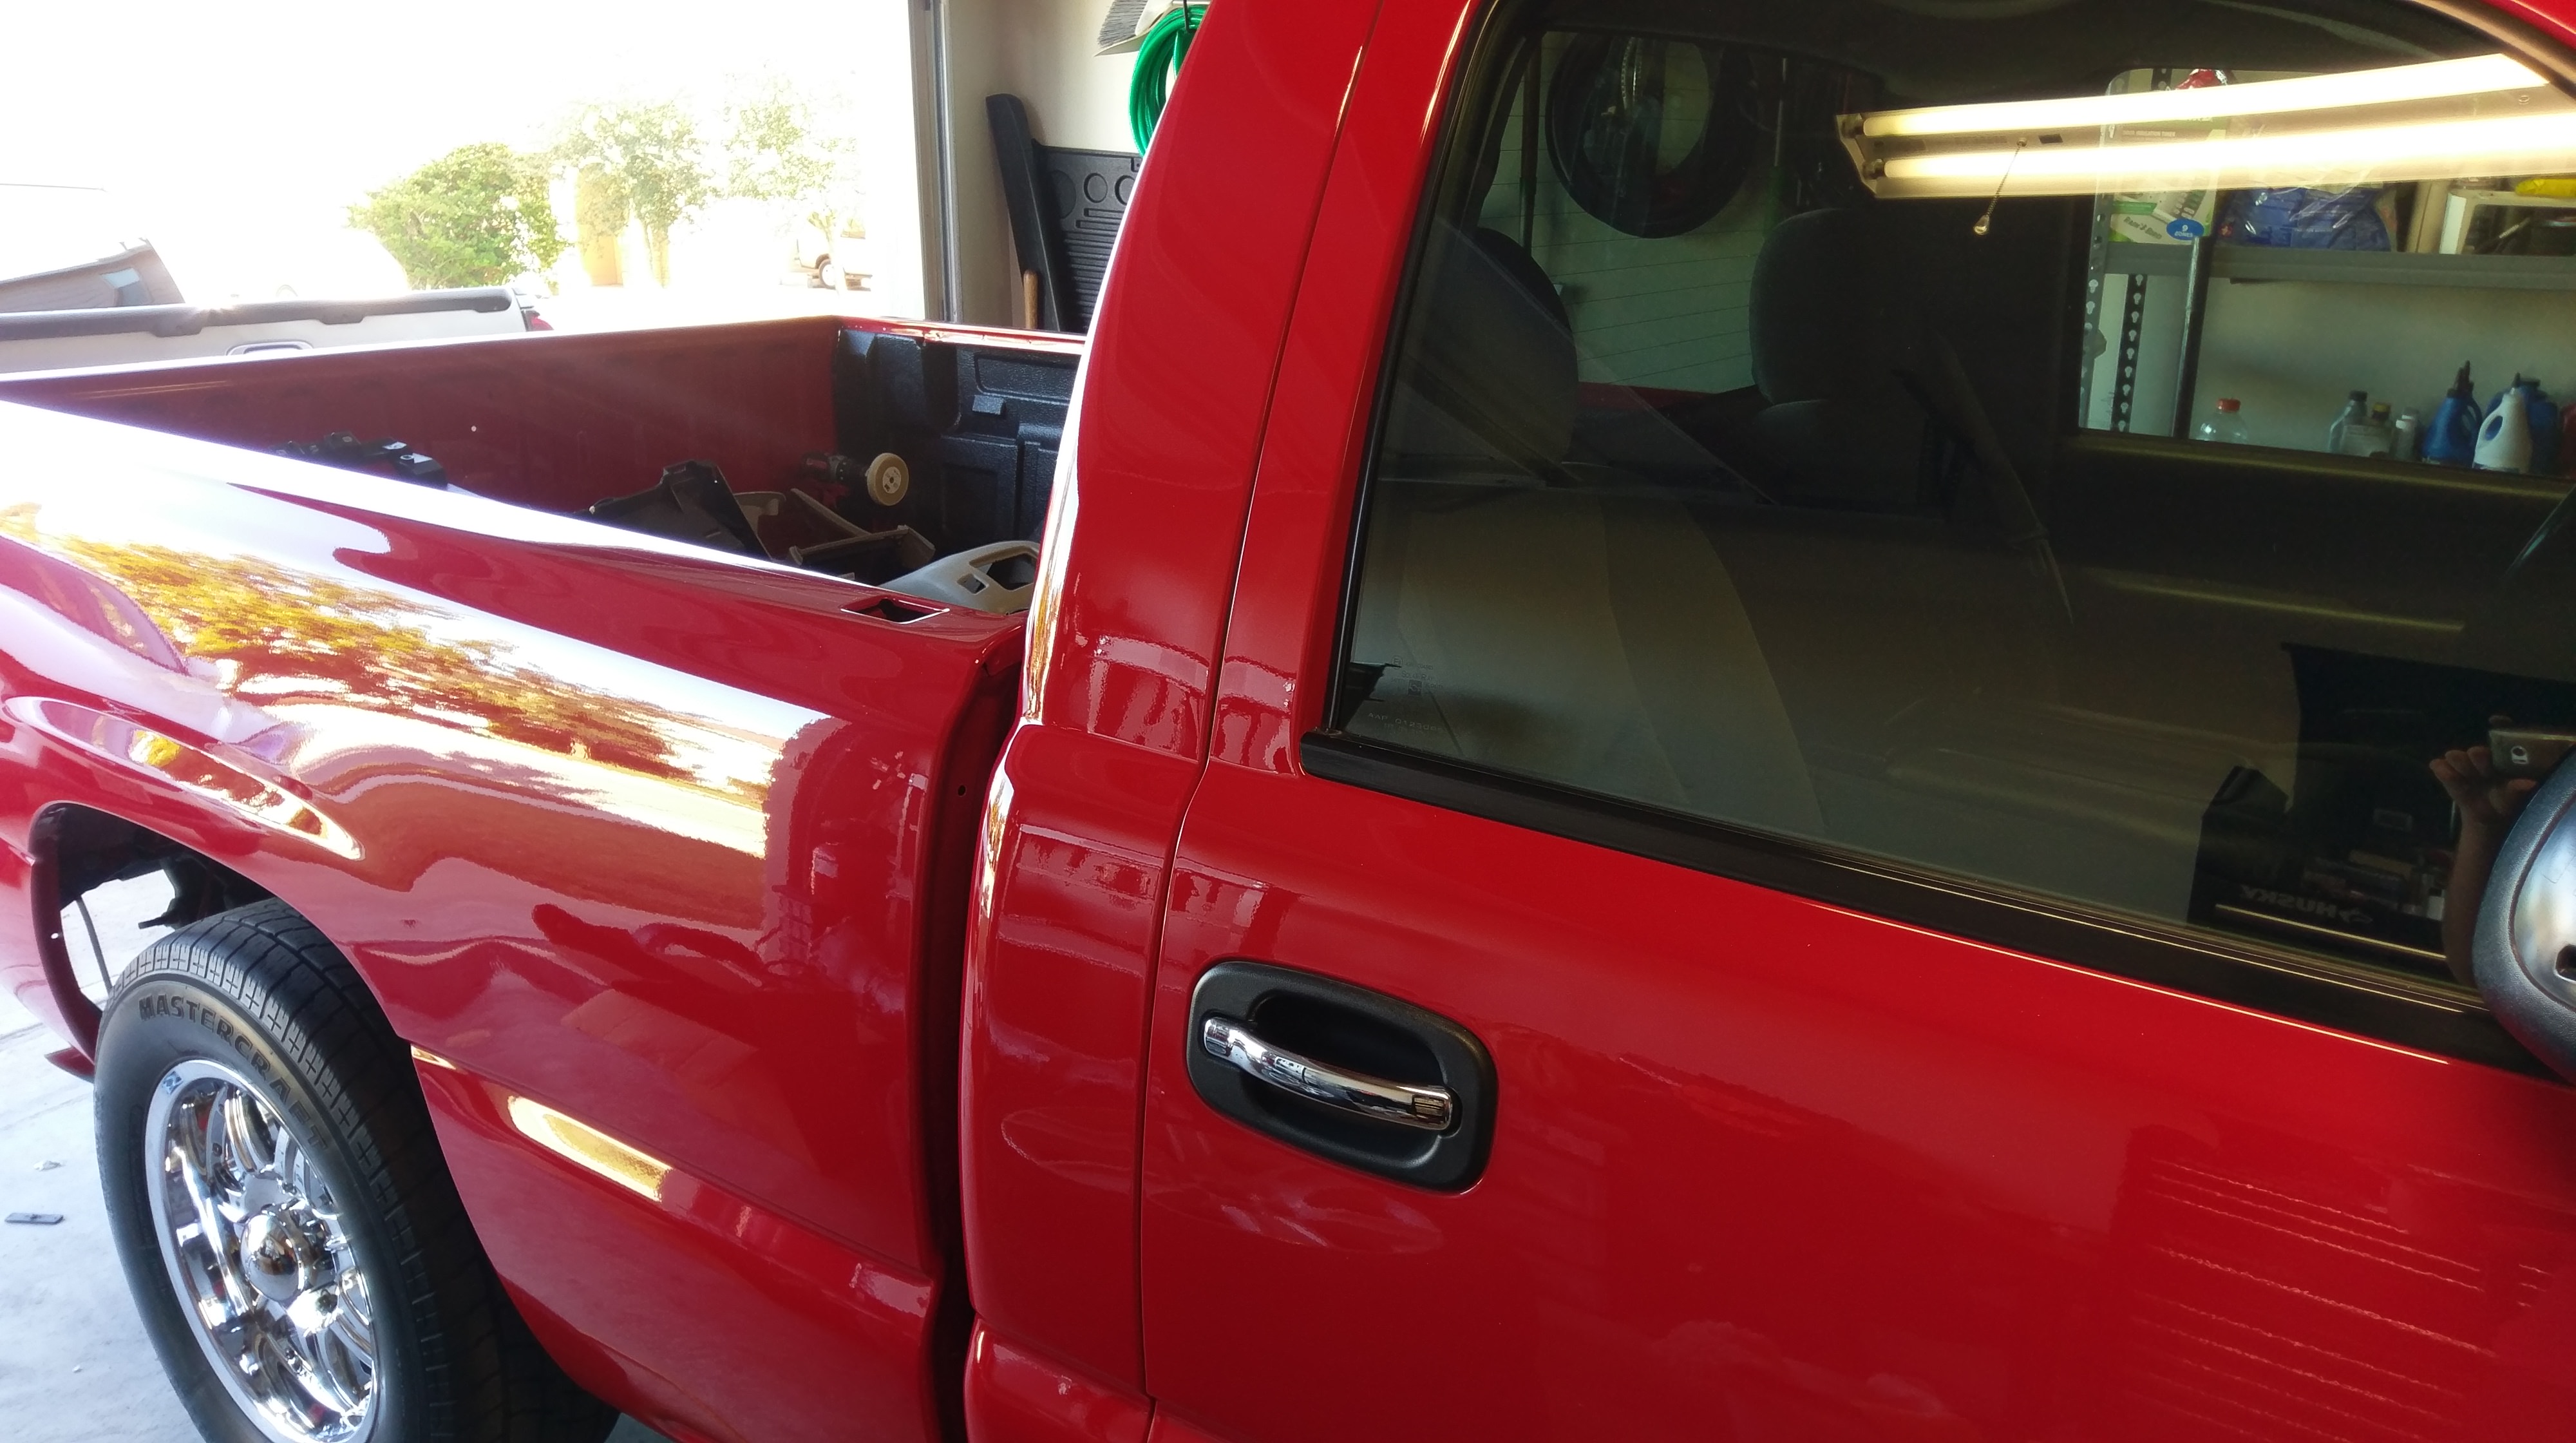
Grandpa status with the wheels and bedcover

Took that off the next day
Overall, pretty clean

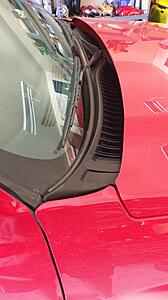
Antenna delete and escalade panel cover
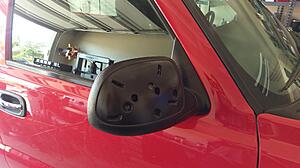
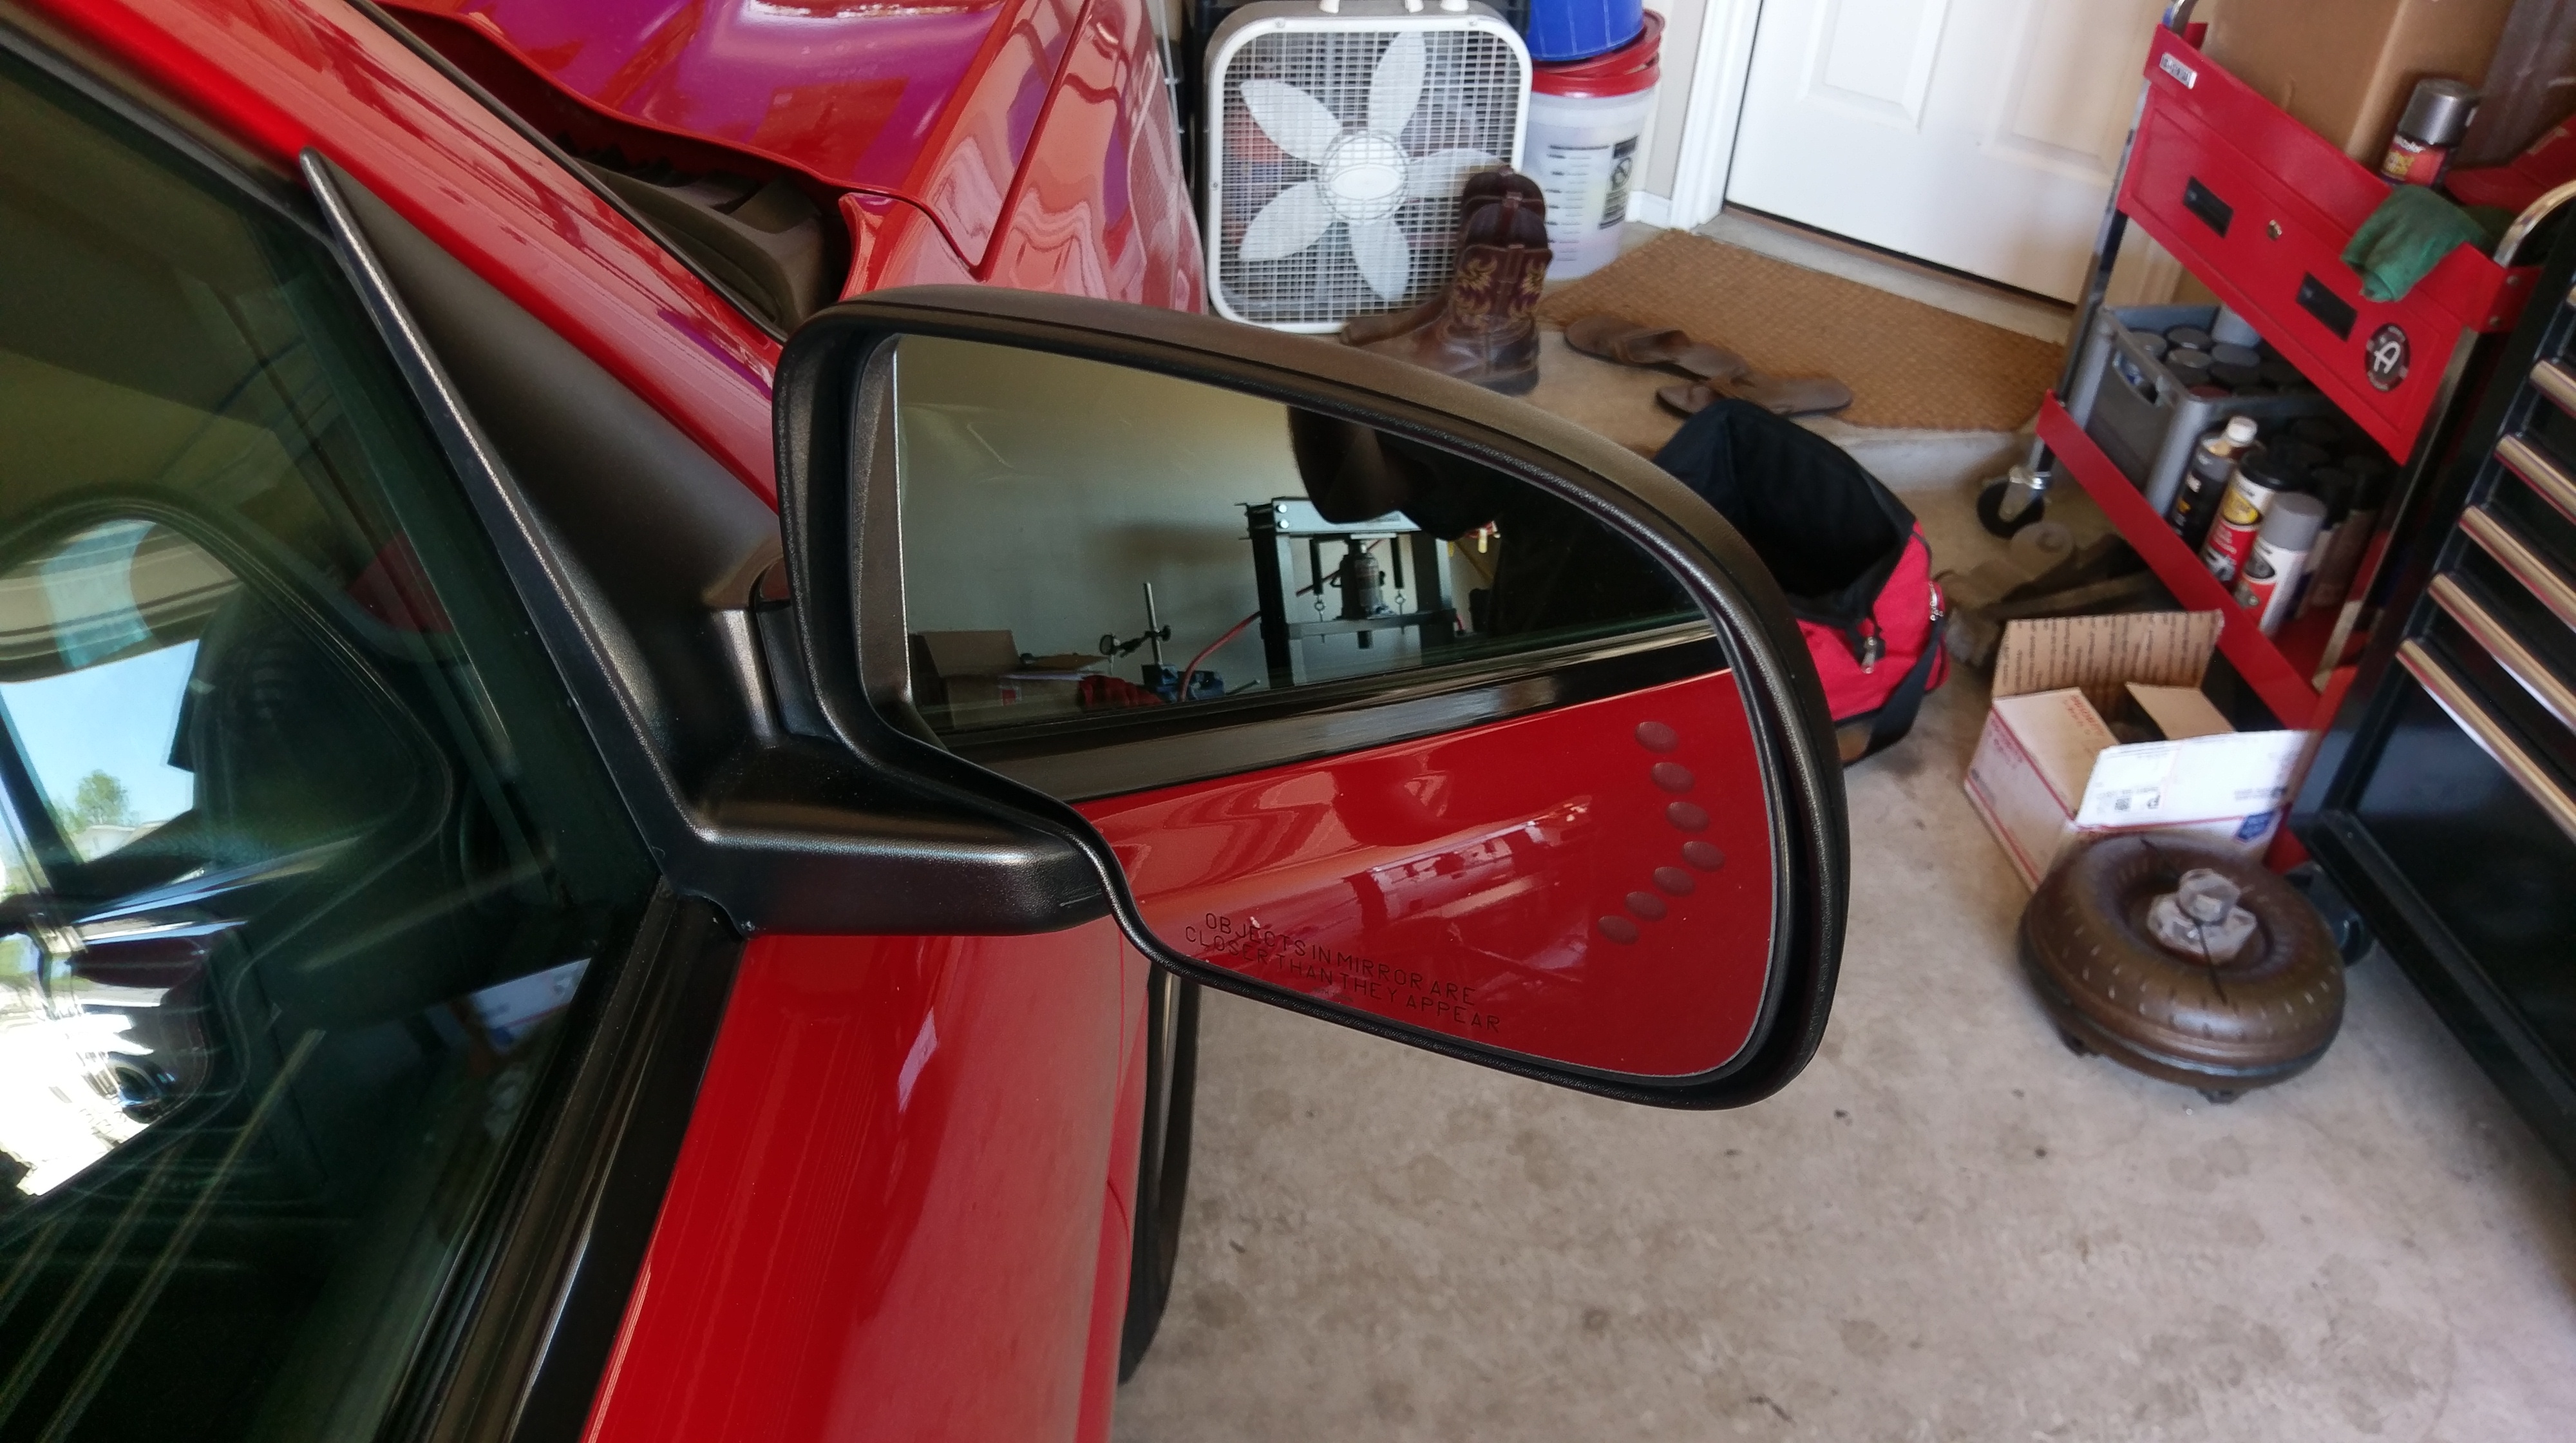
Added my DL3 mirrors and took caps off to paint red

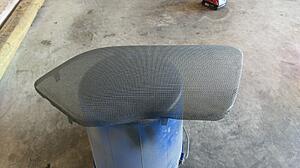
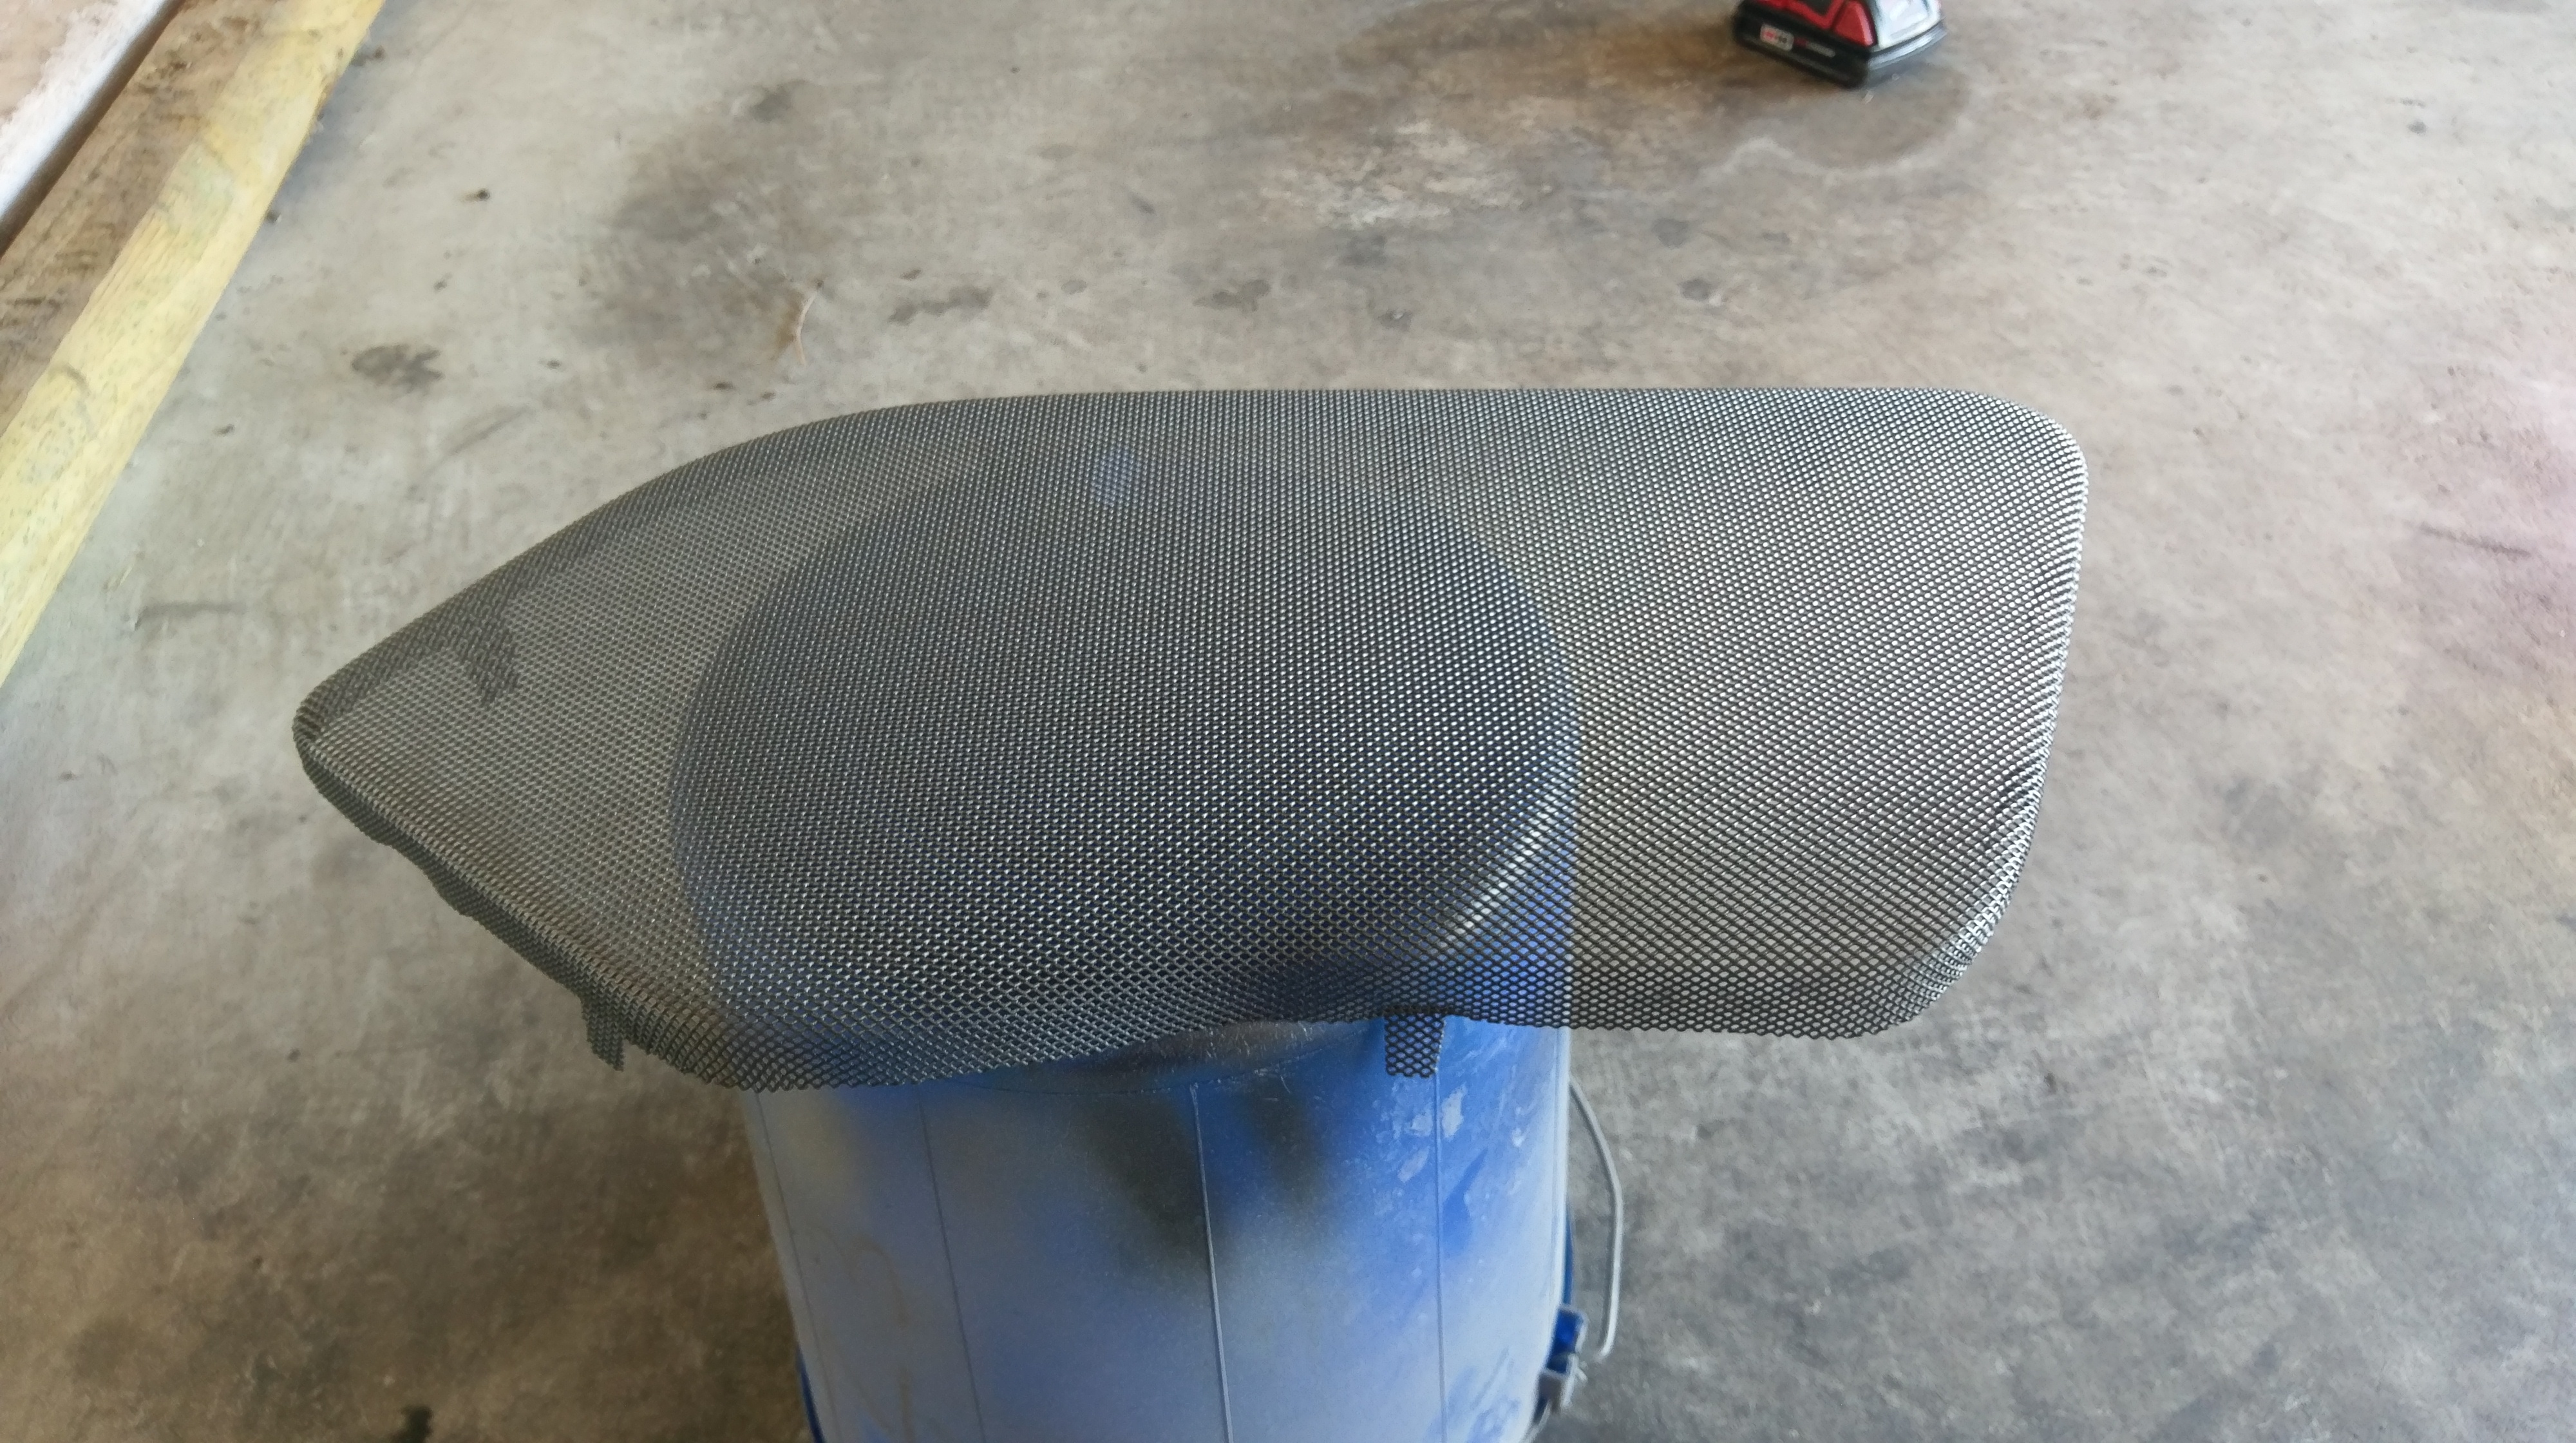
Door speaker grills had surface rust
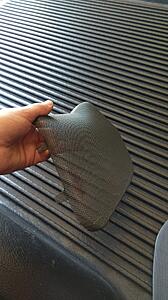
Painted with my Graystone Metallic which is a good match
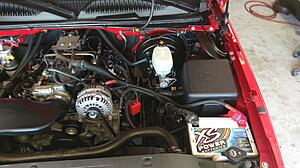
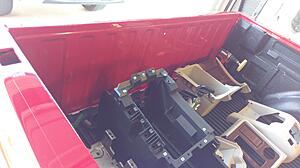
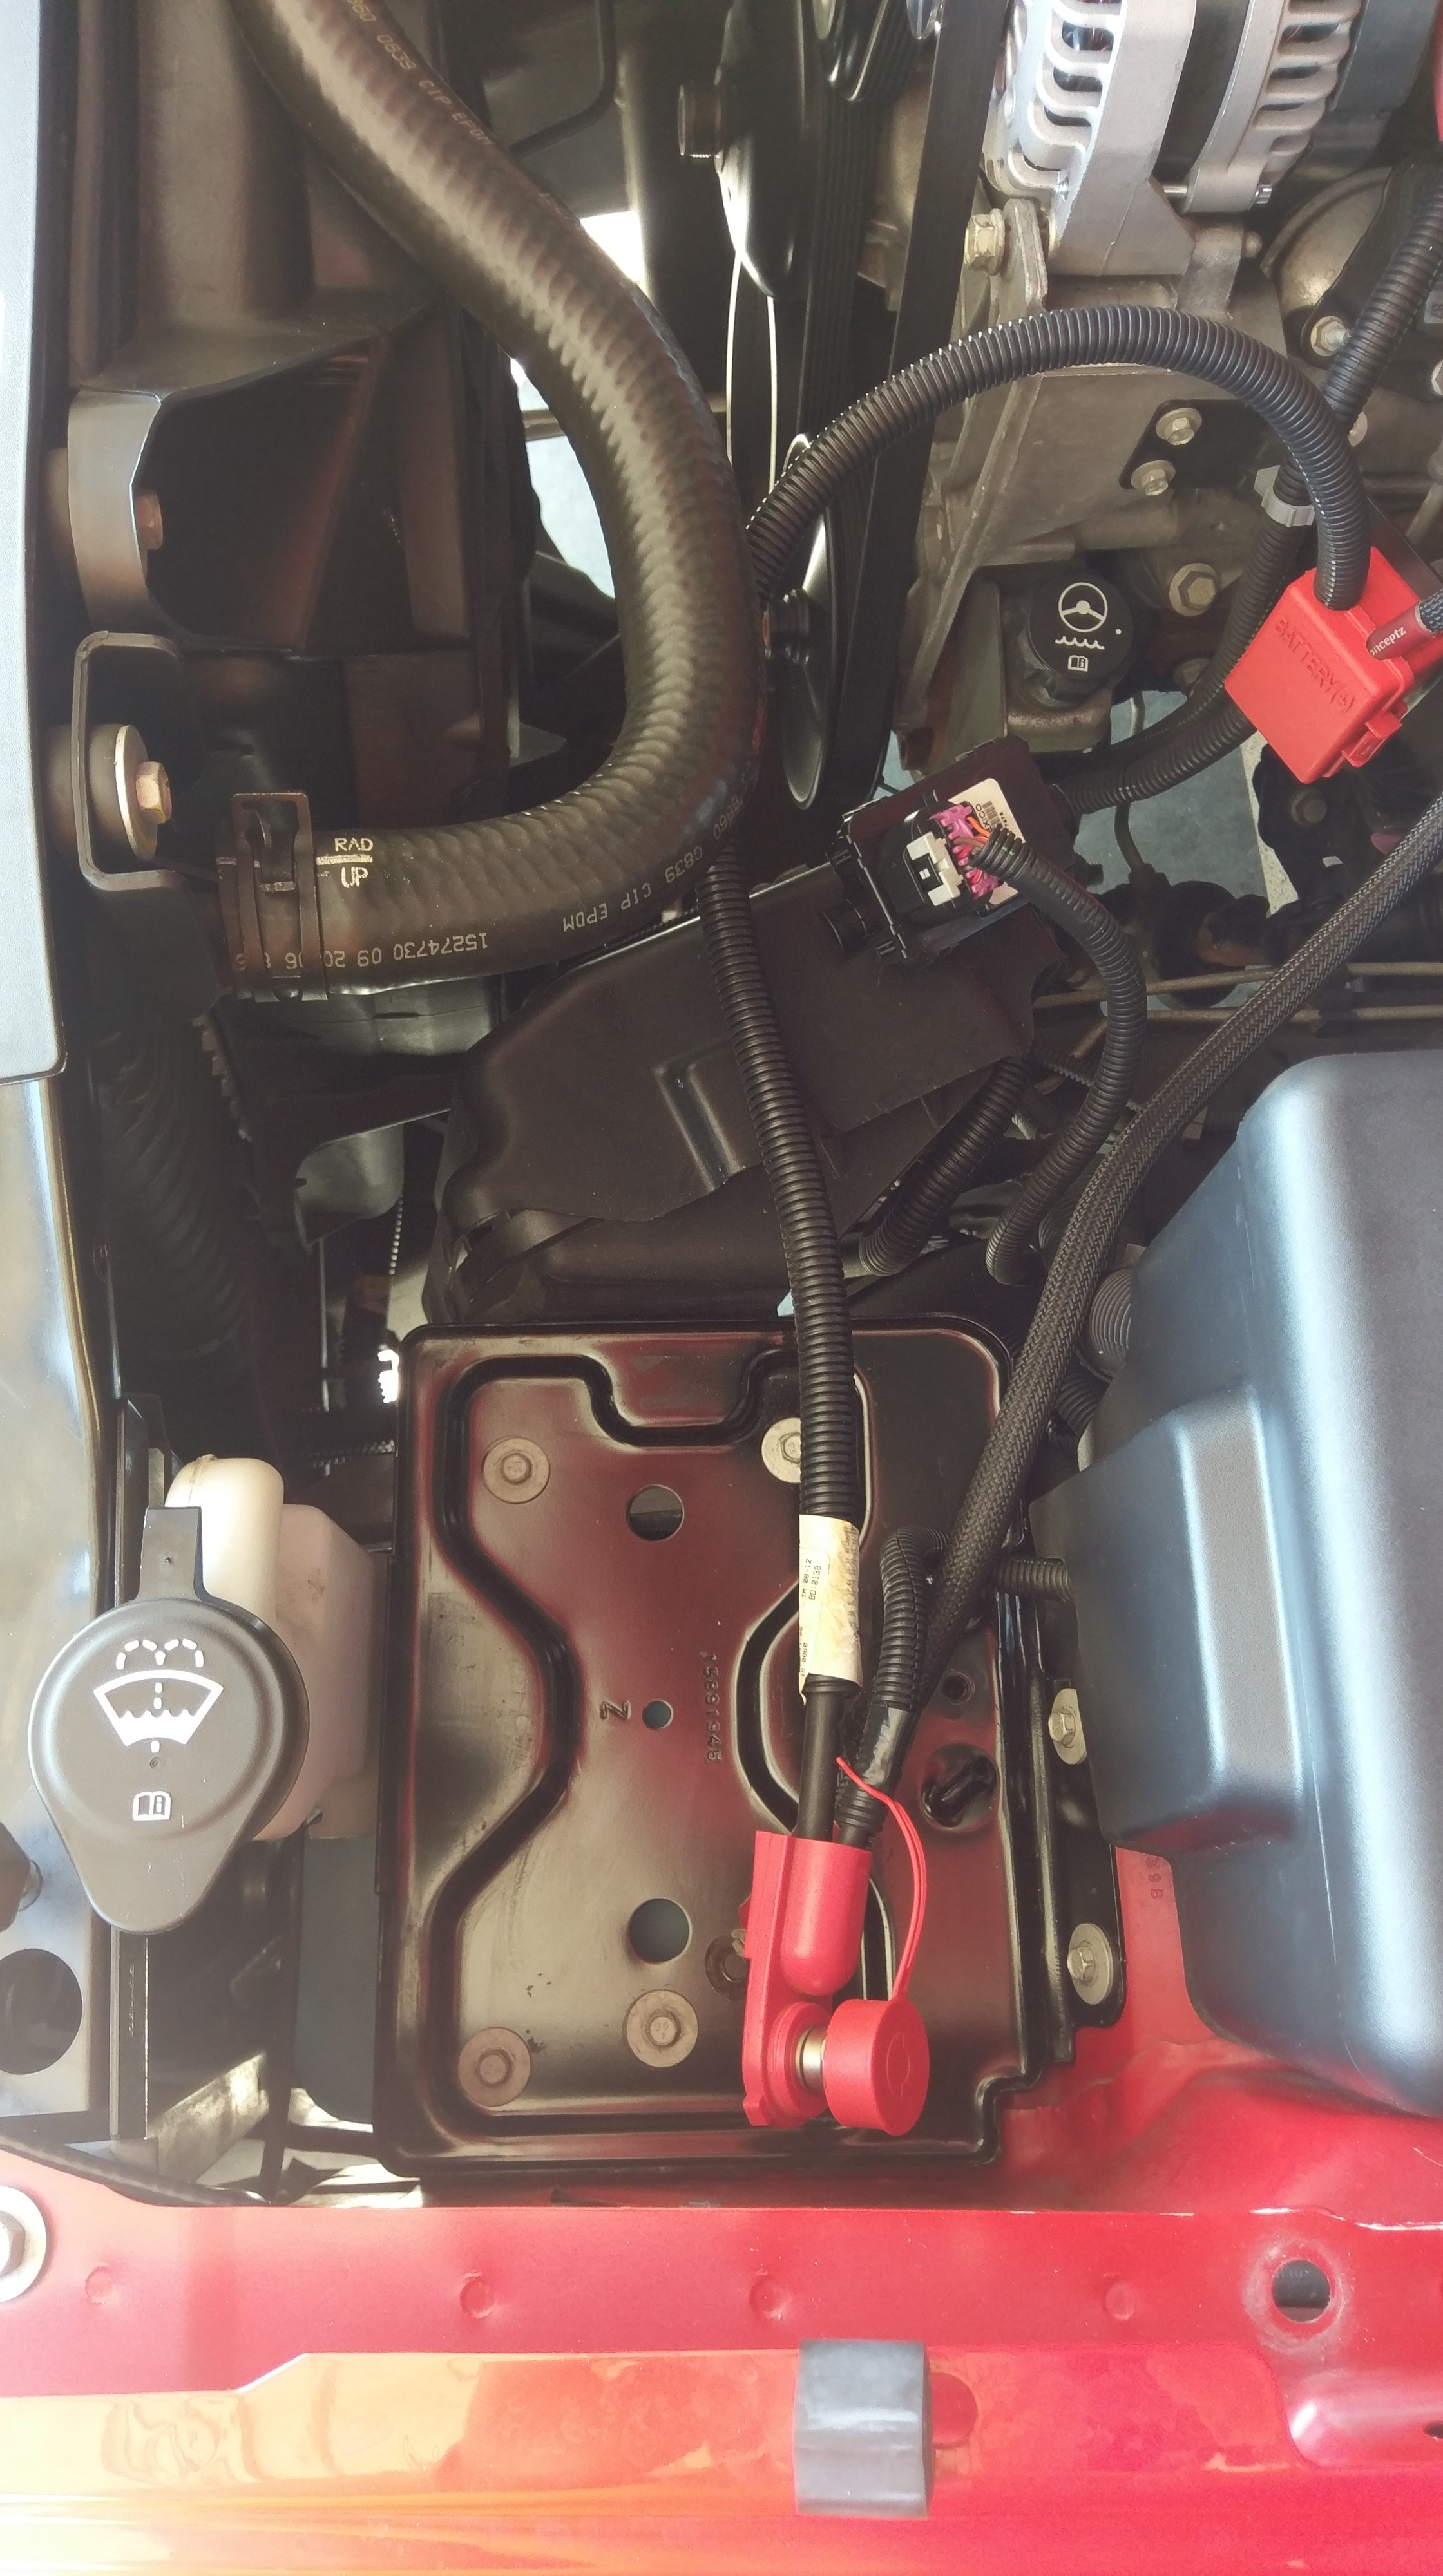
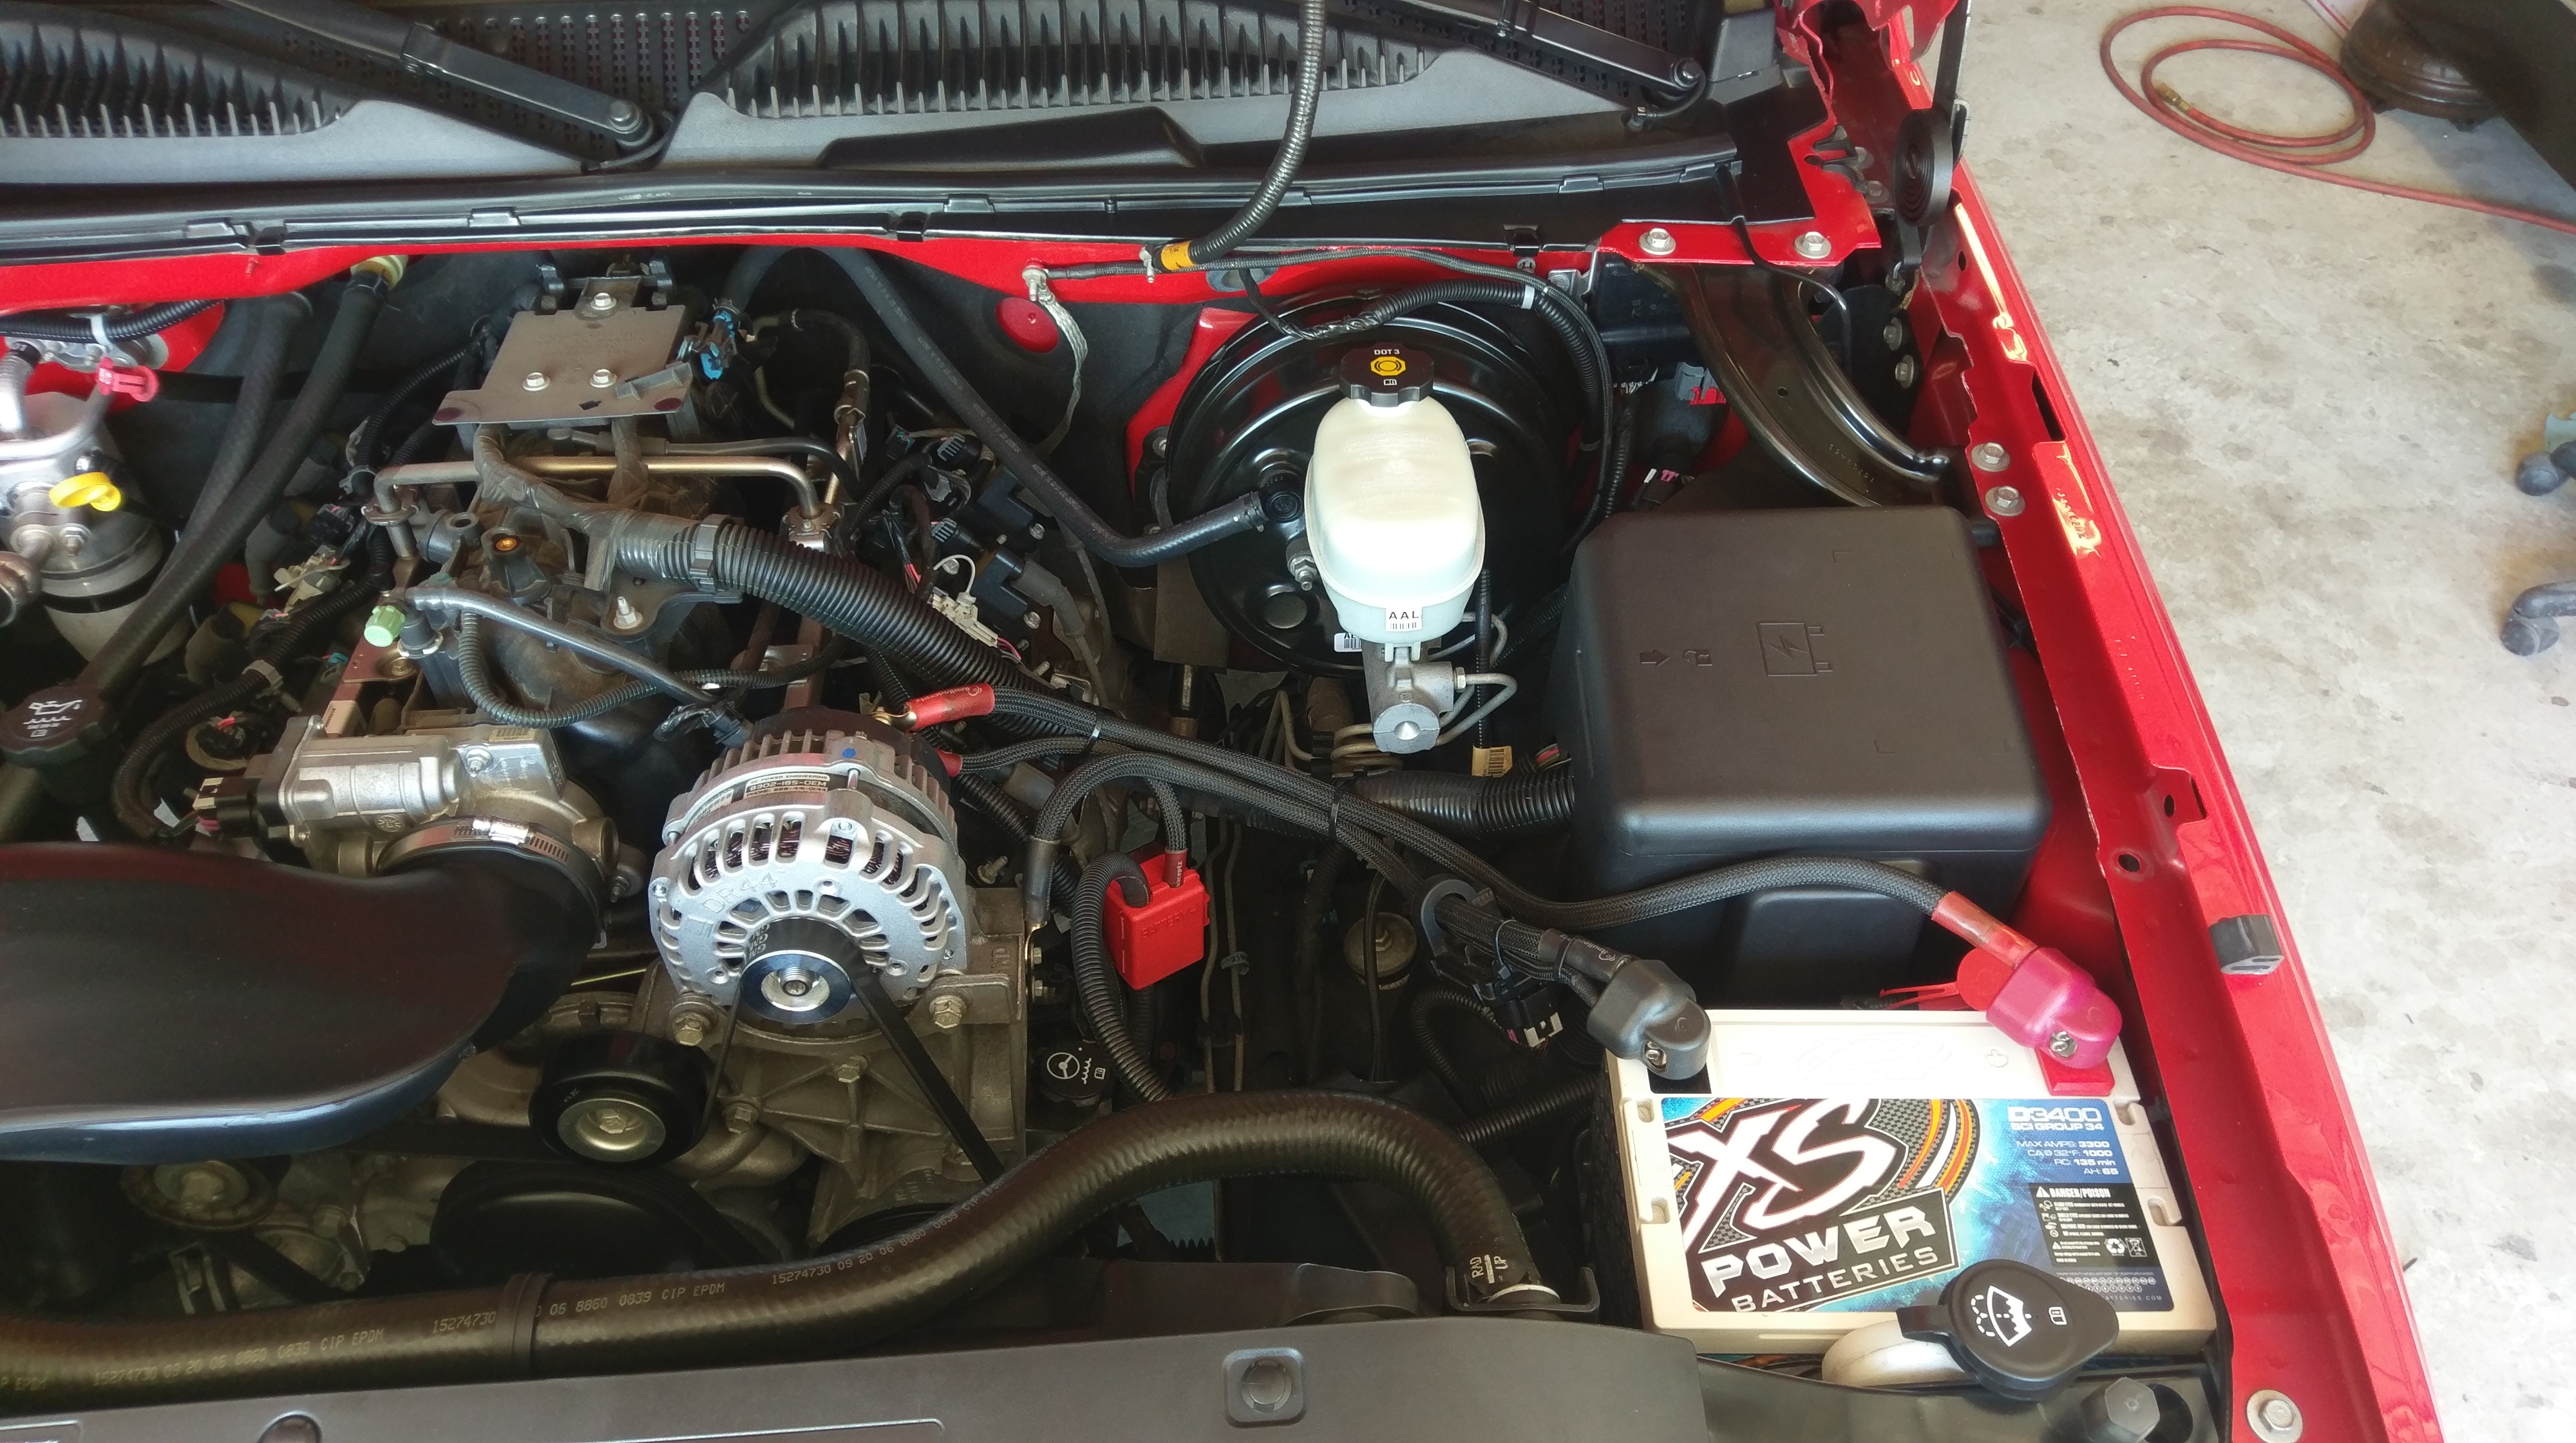
A lot of the parts were taken from my gray truck, since they were new OEM parts like this battery tray
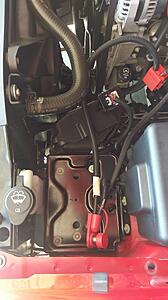
Swapped my XS D3400 battery and some wiring
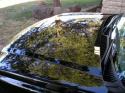
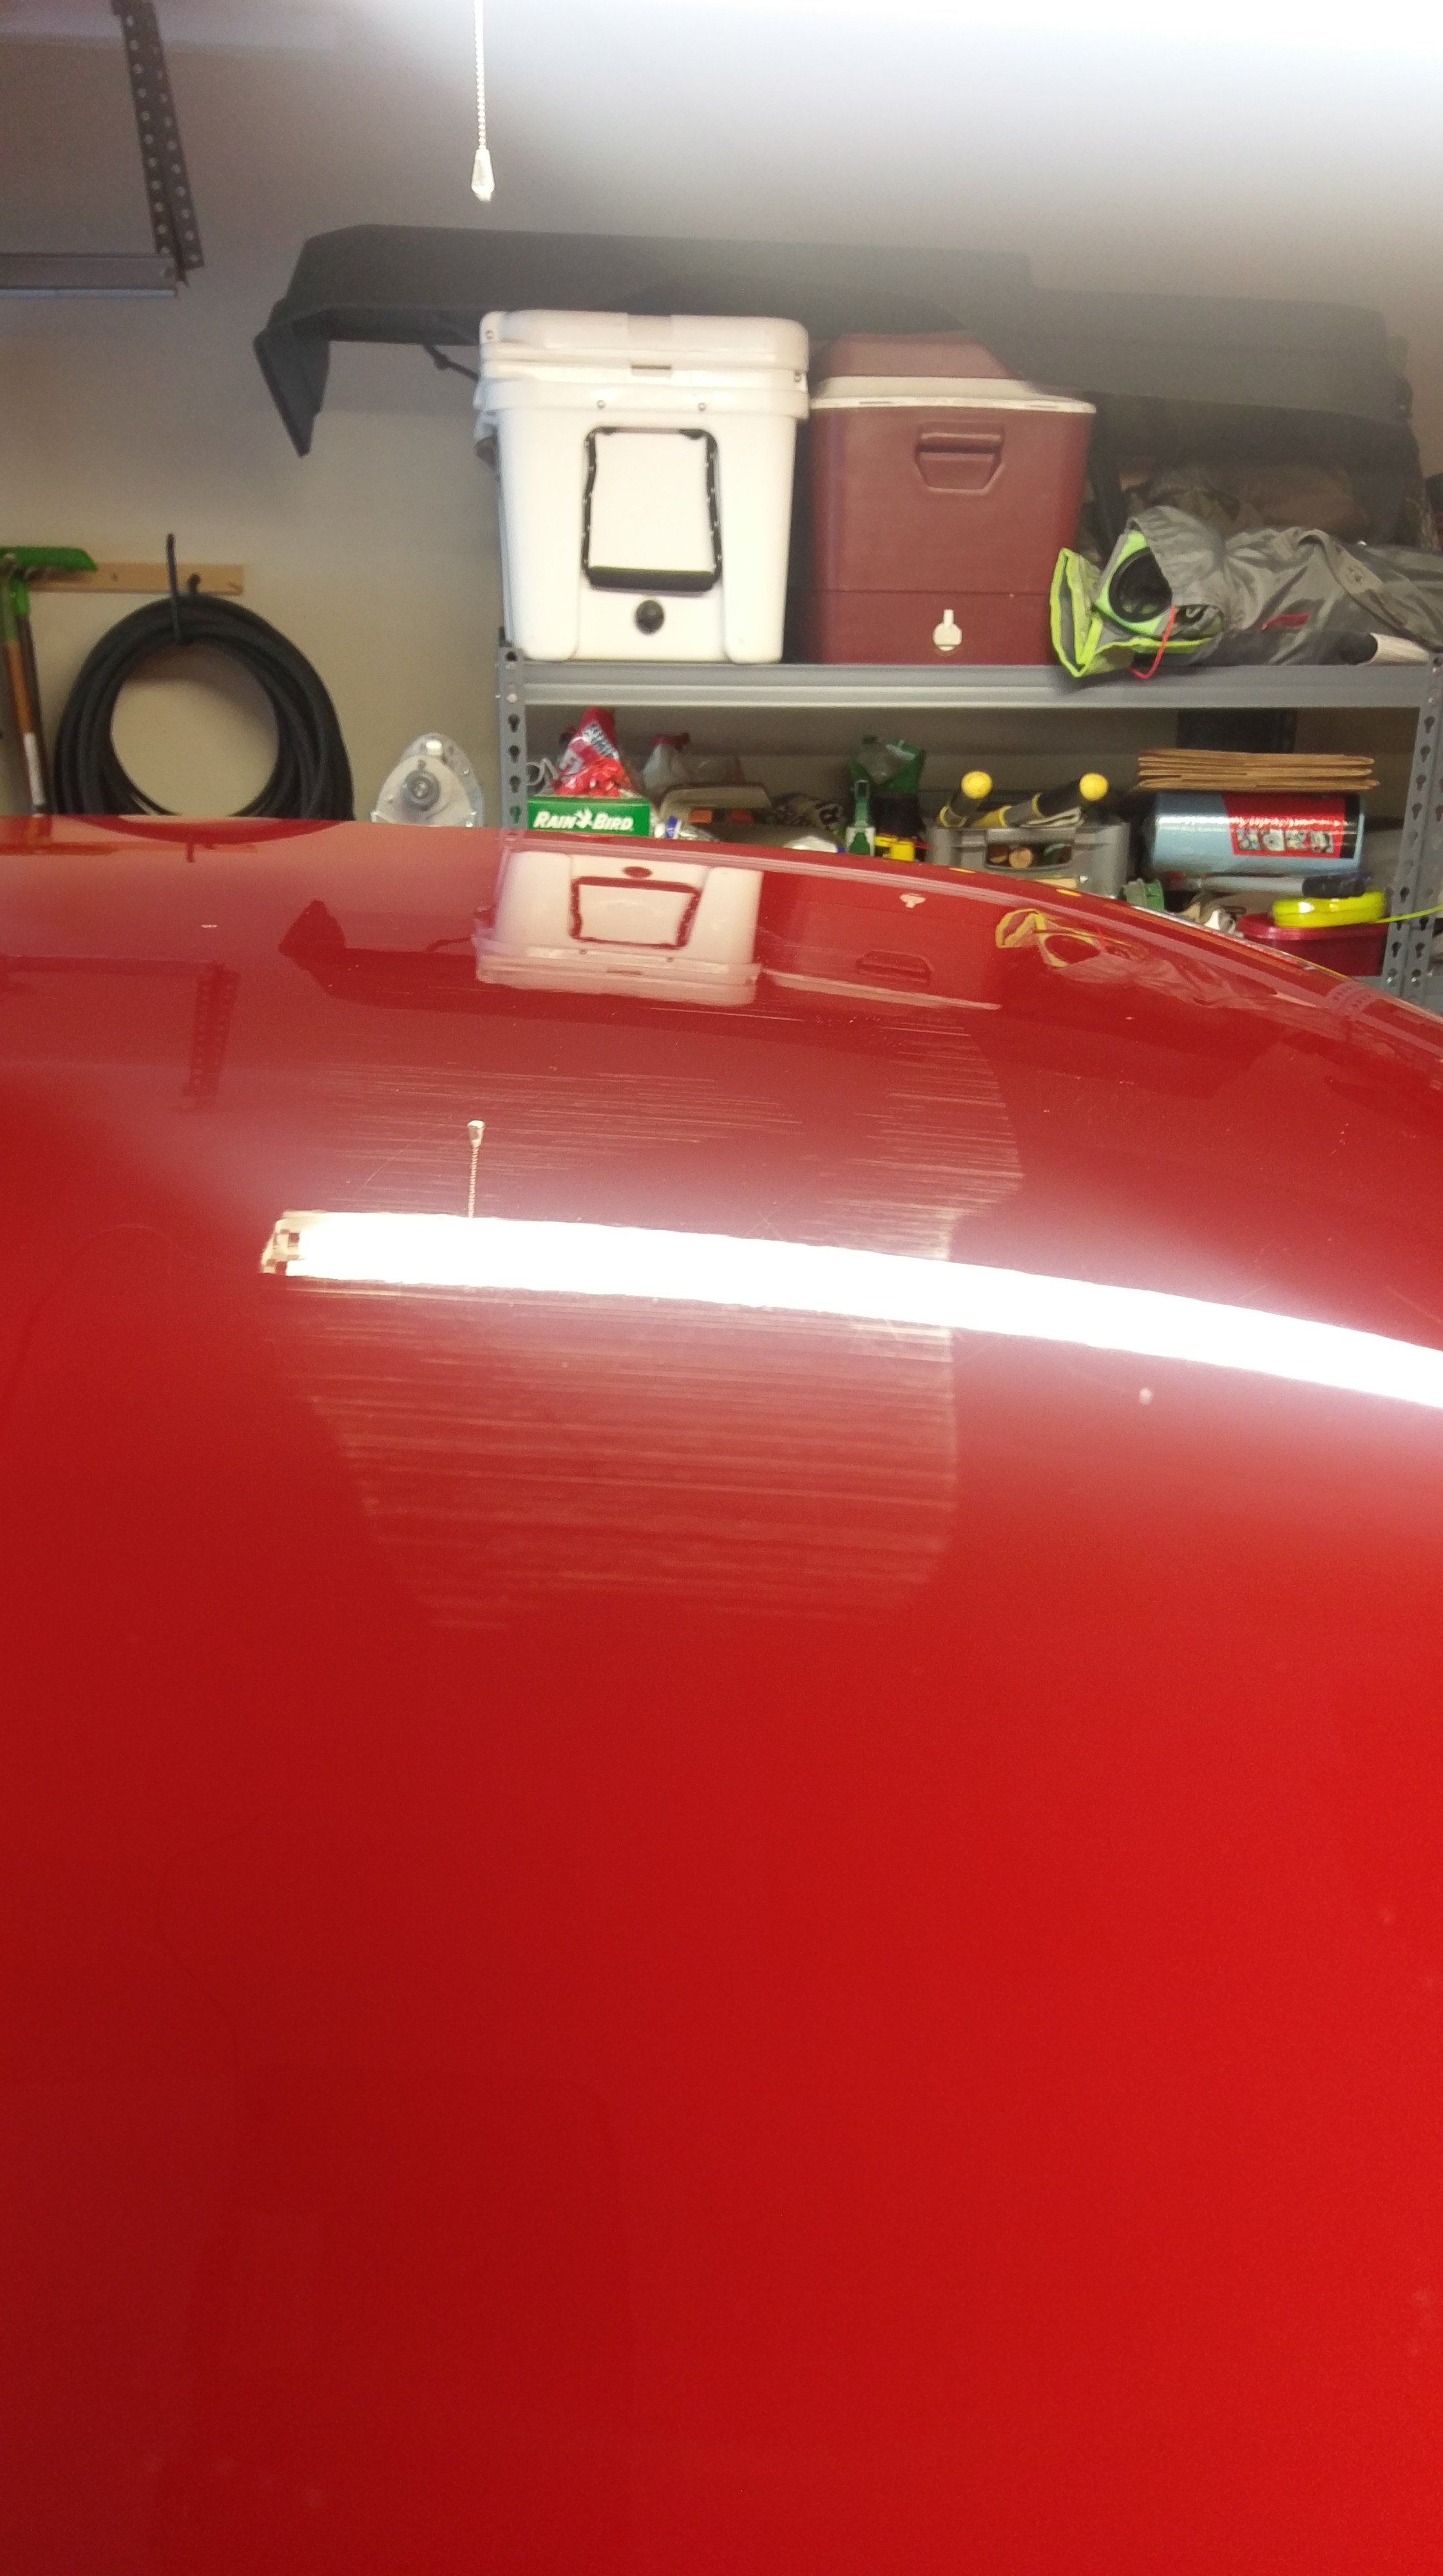
Roof was scratched by the tarp in shipping, but should buff out

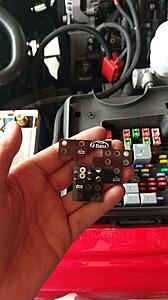
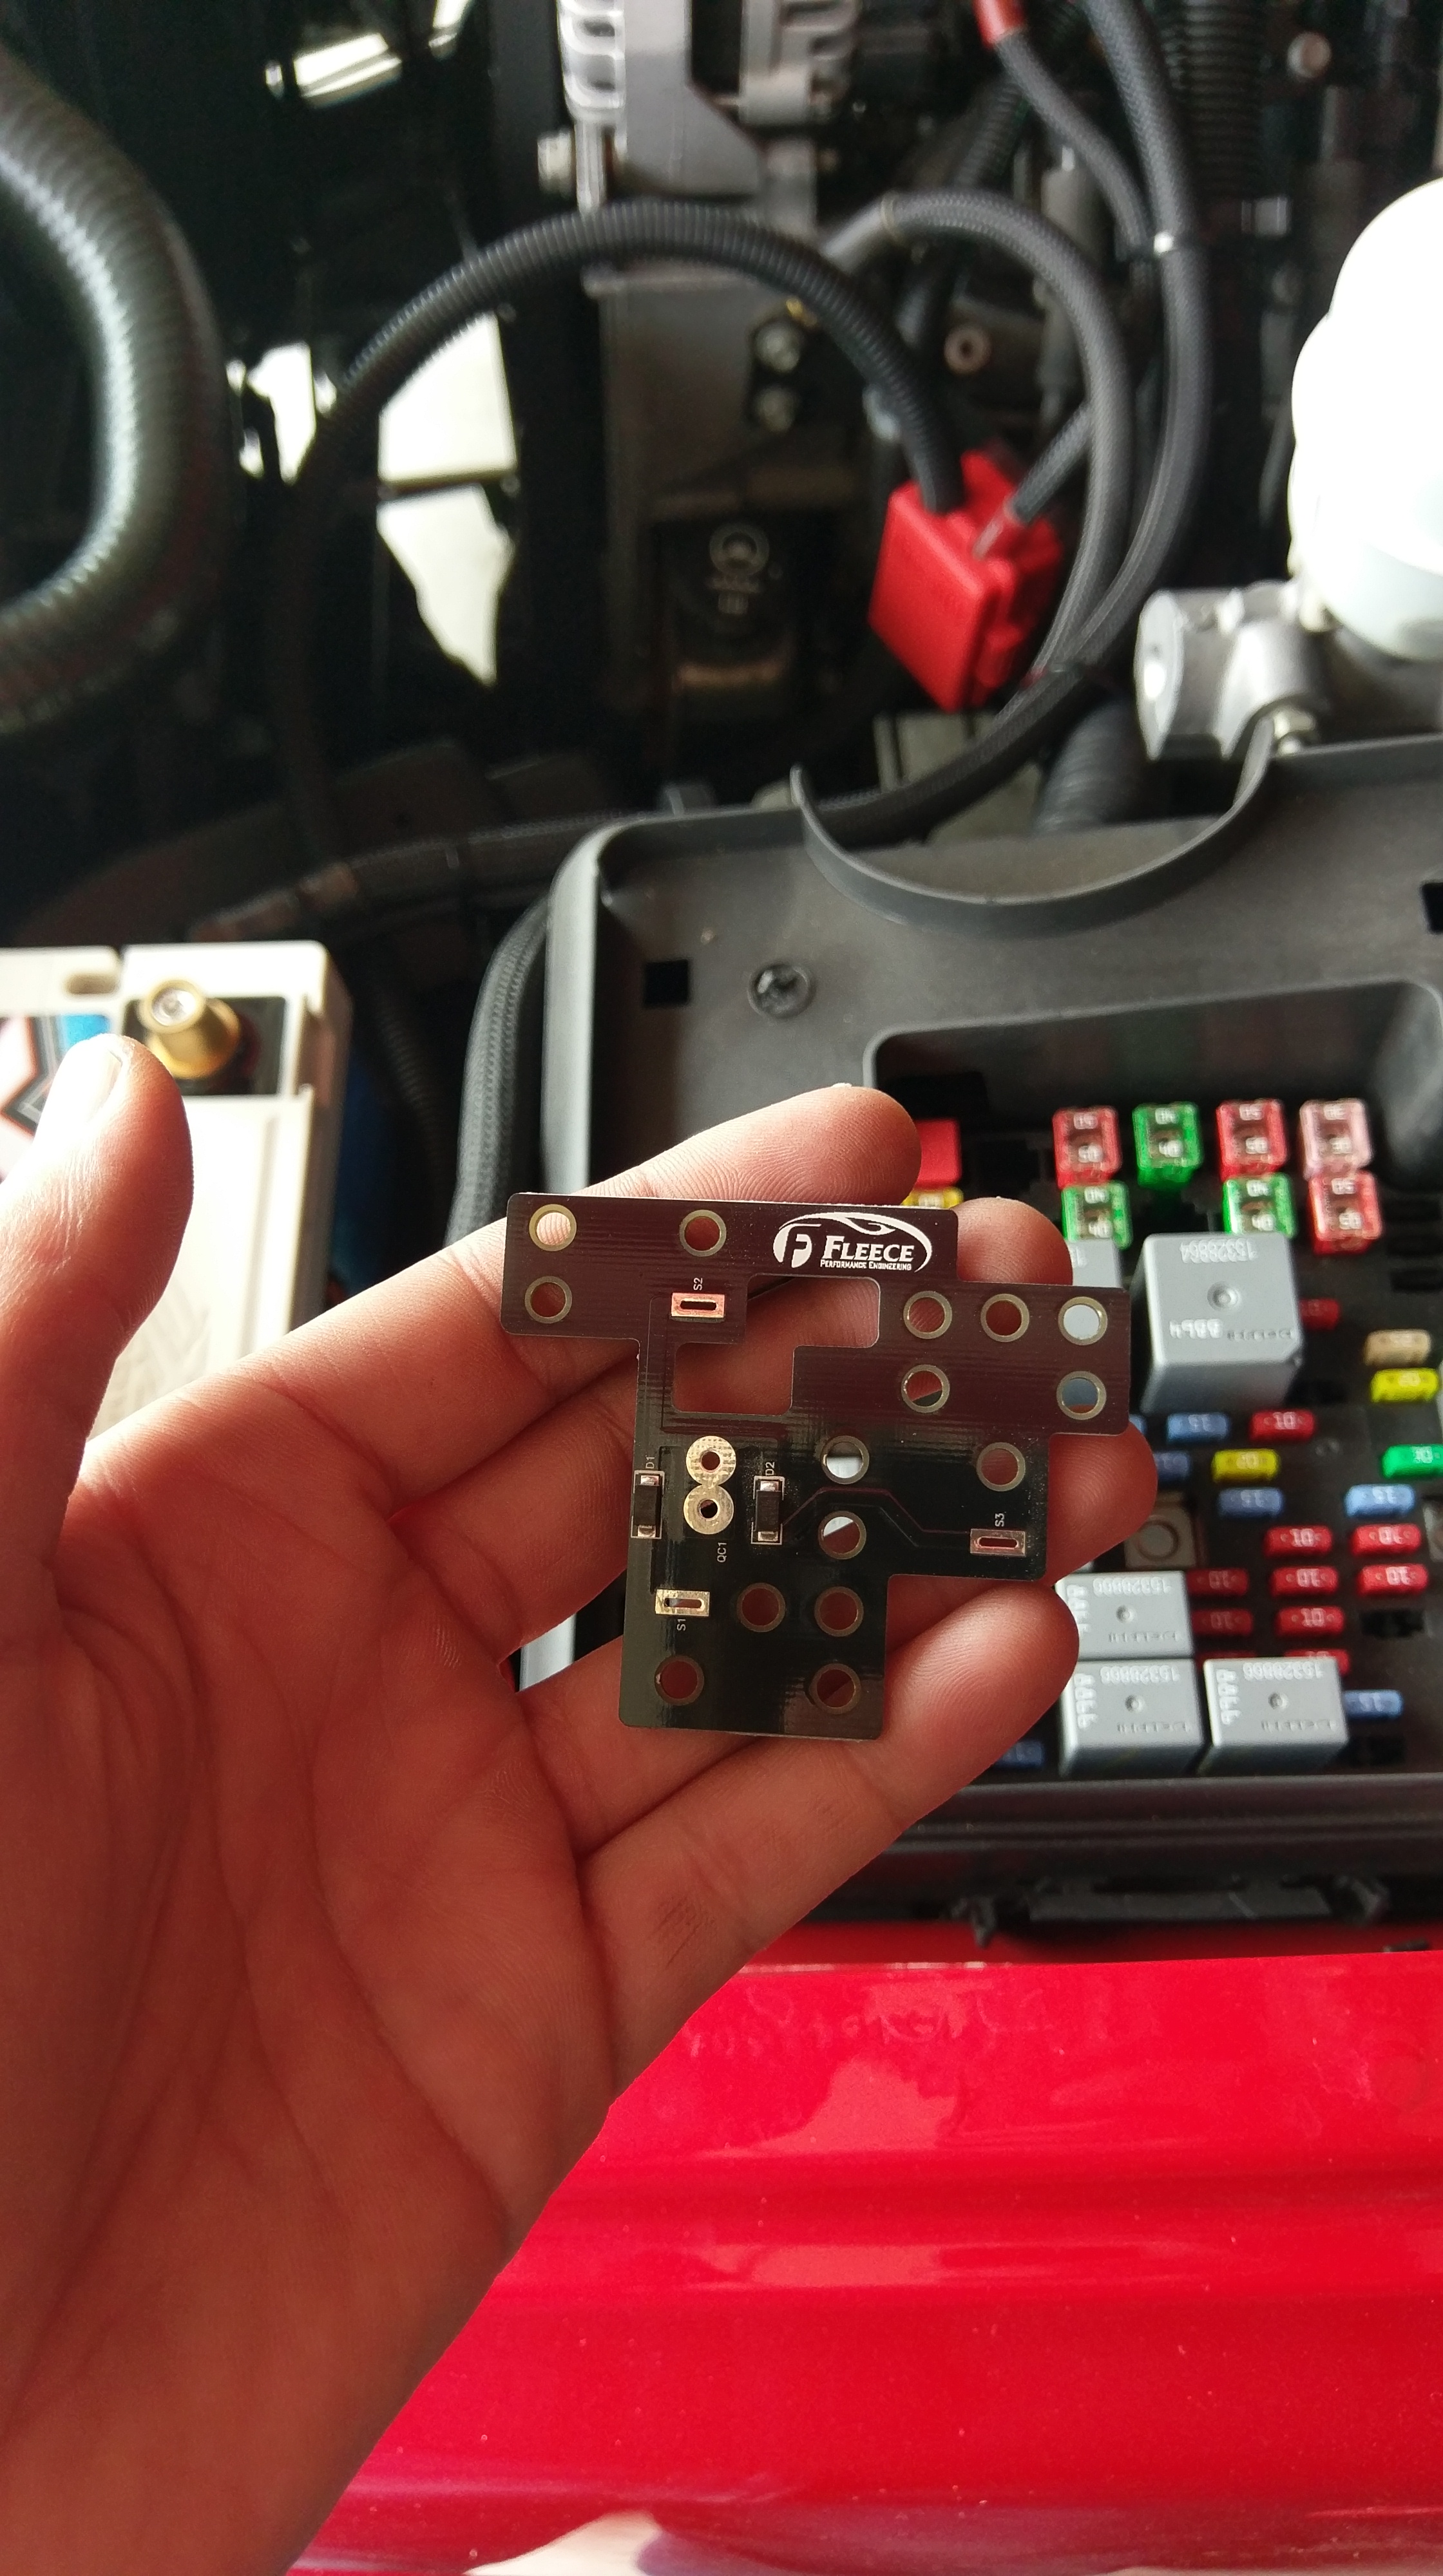
Fleece module, much nicer than diodes
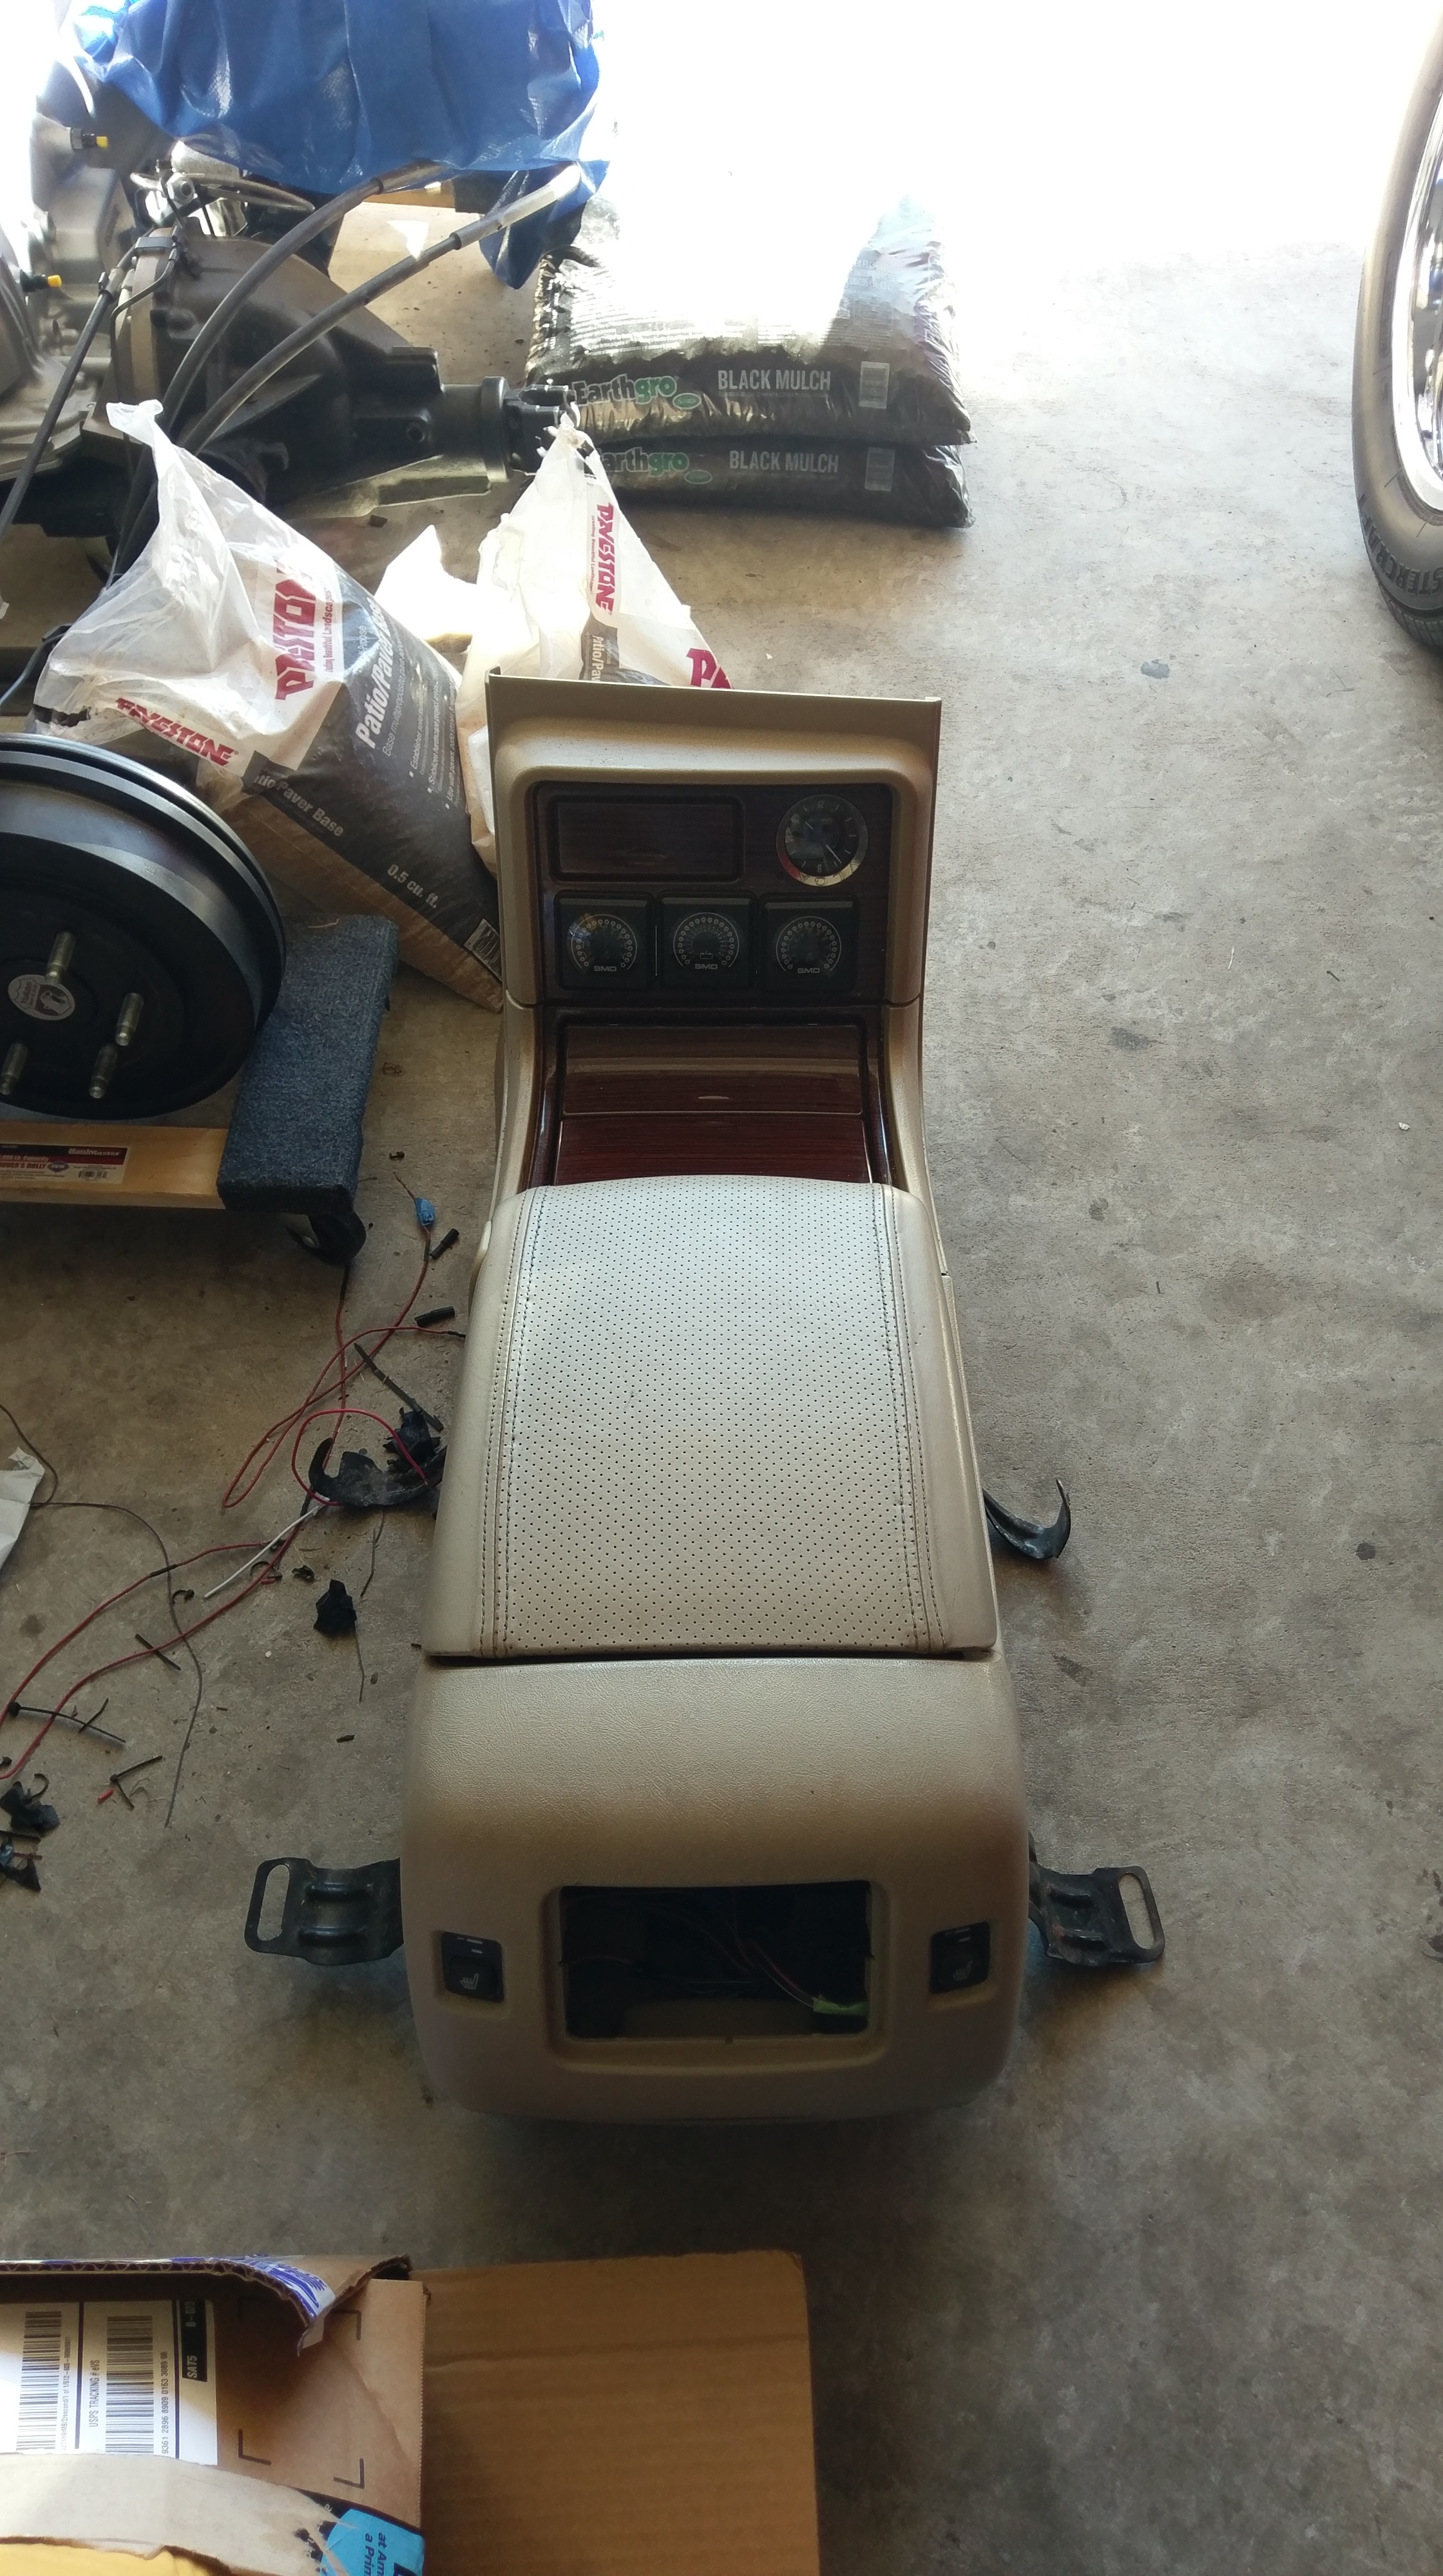
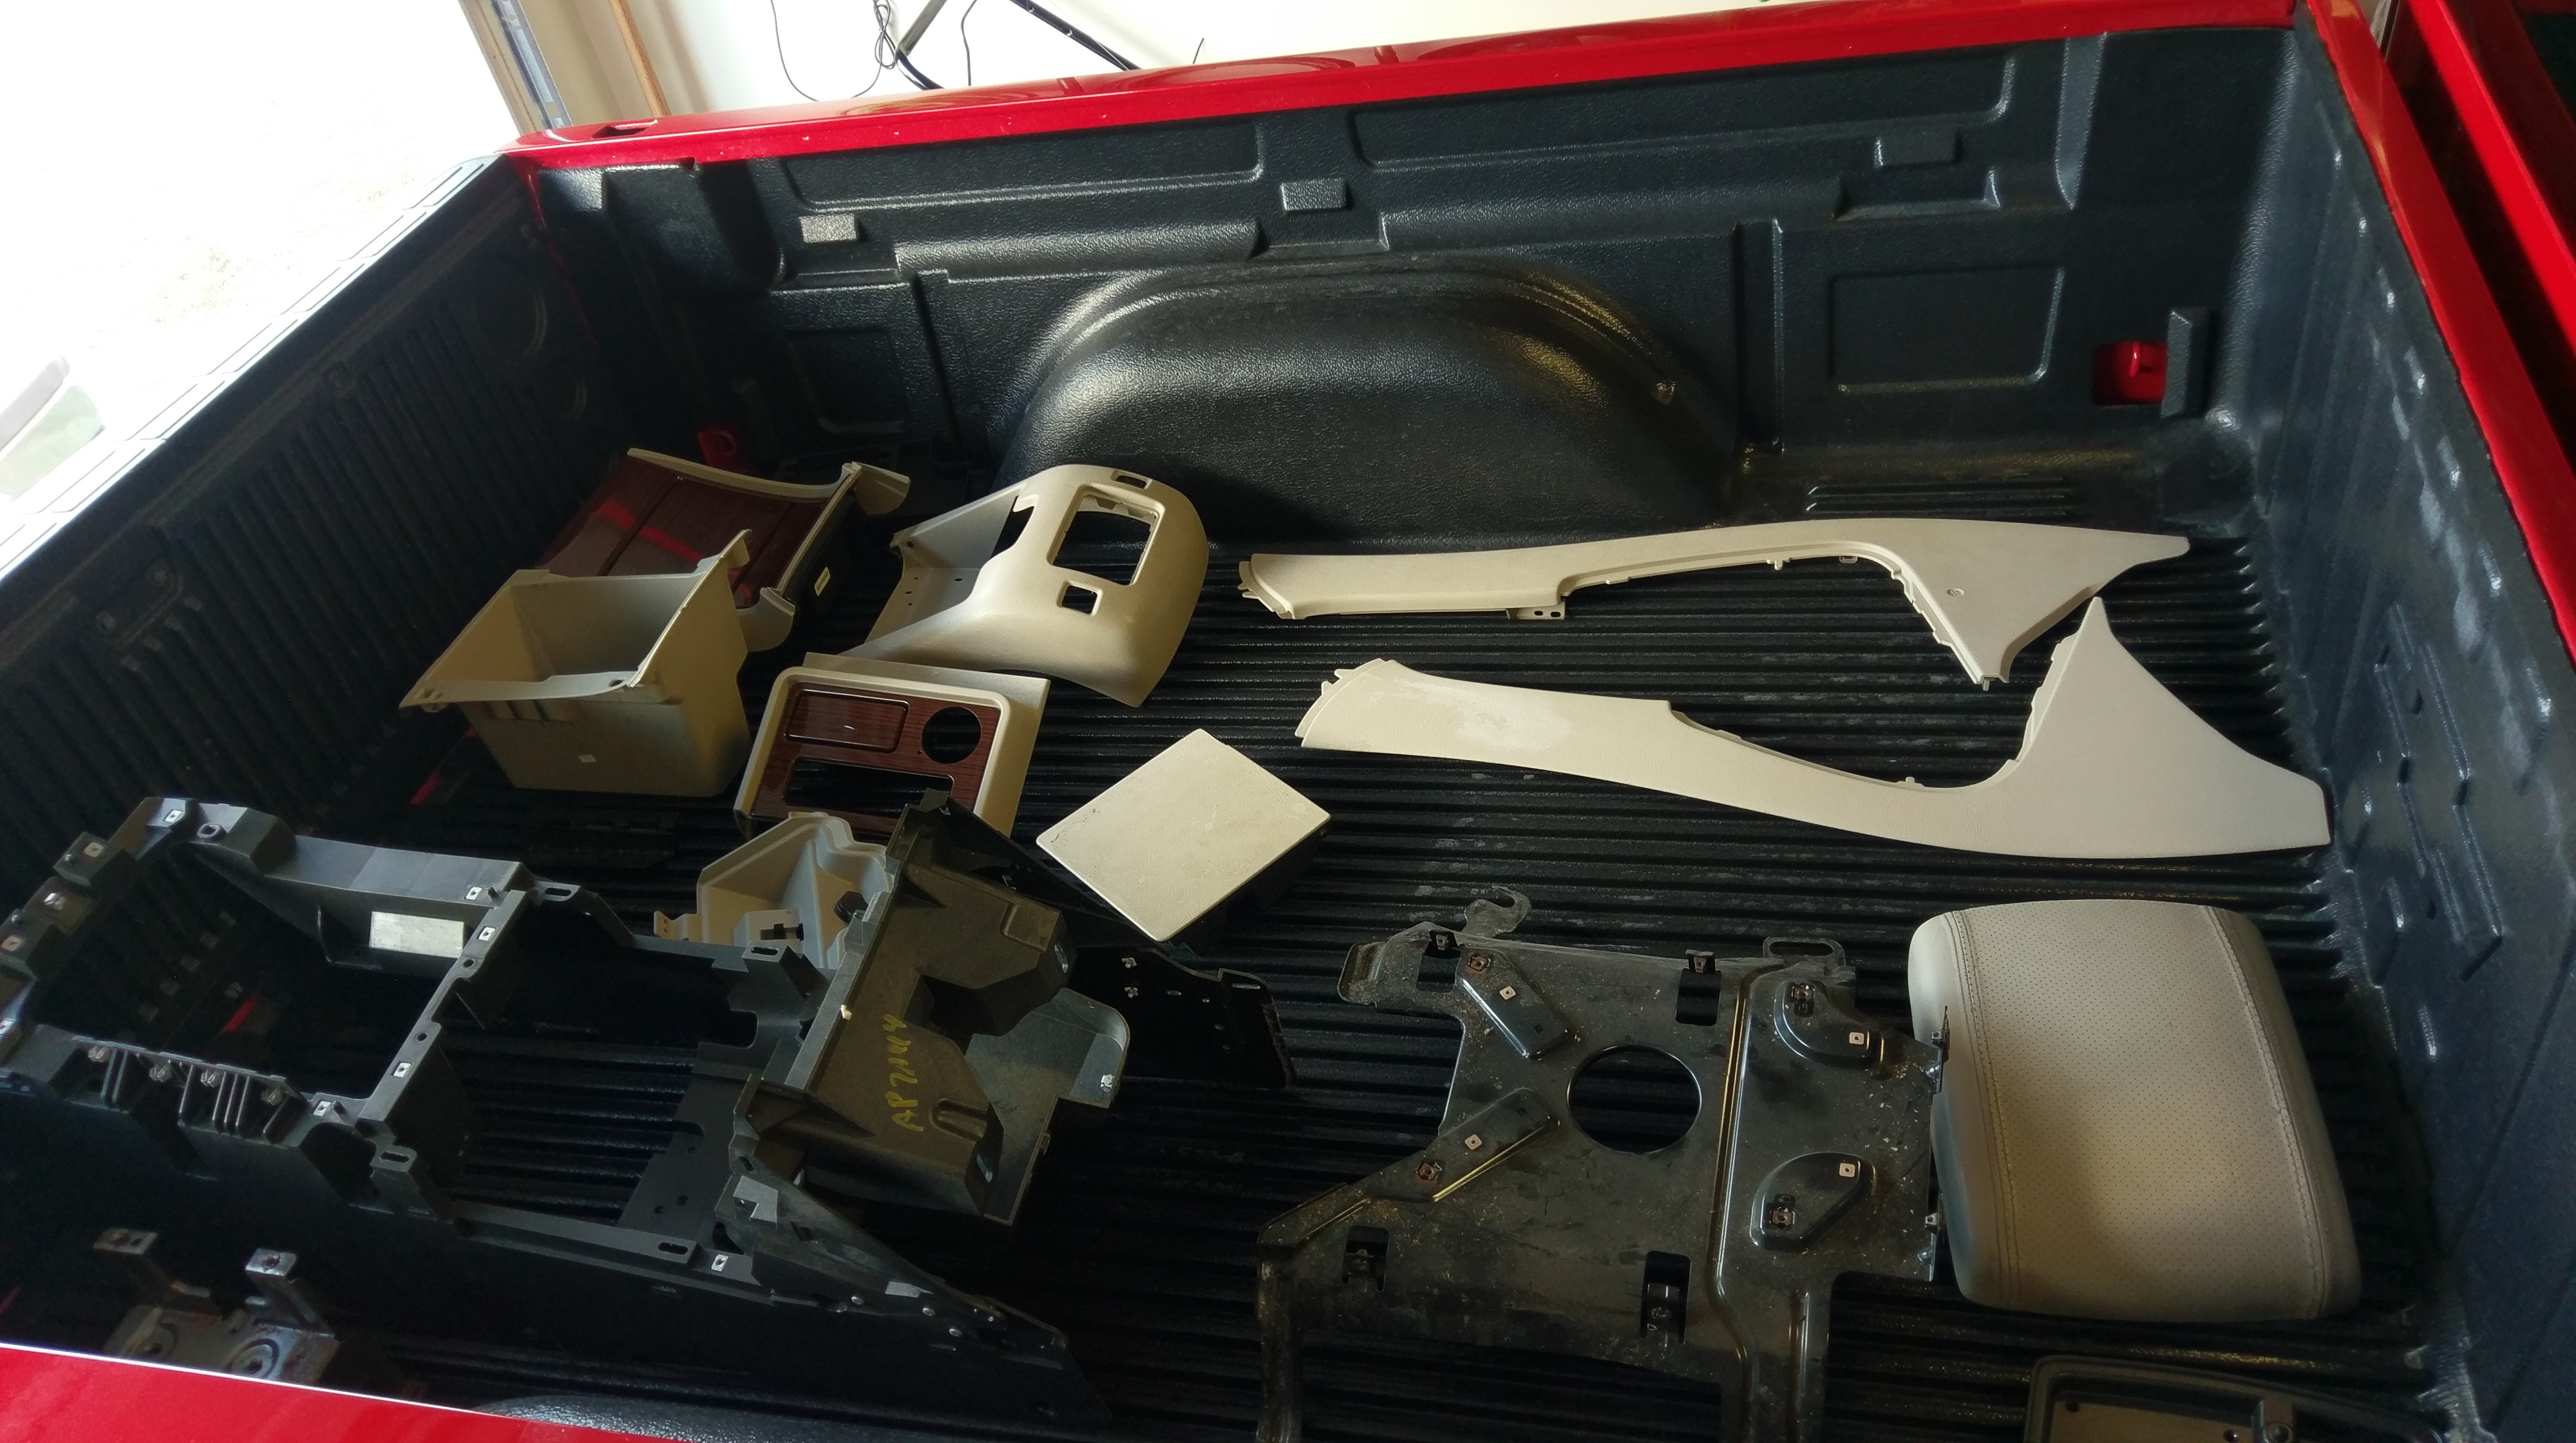
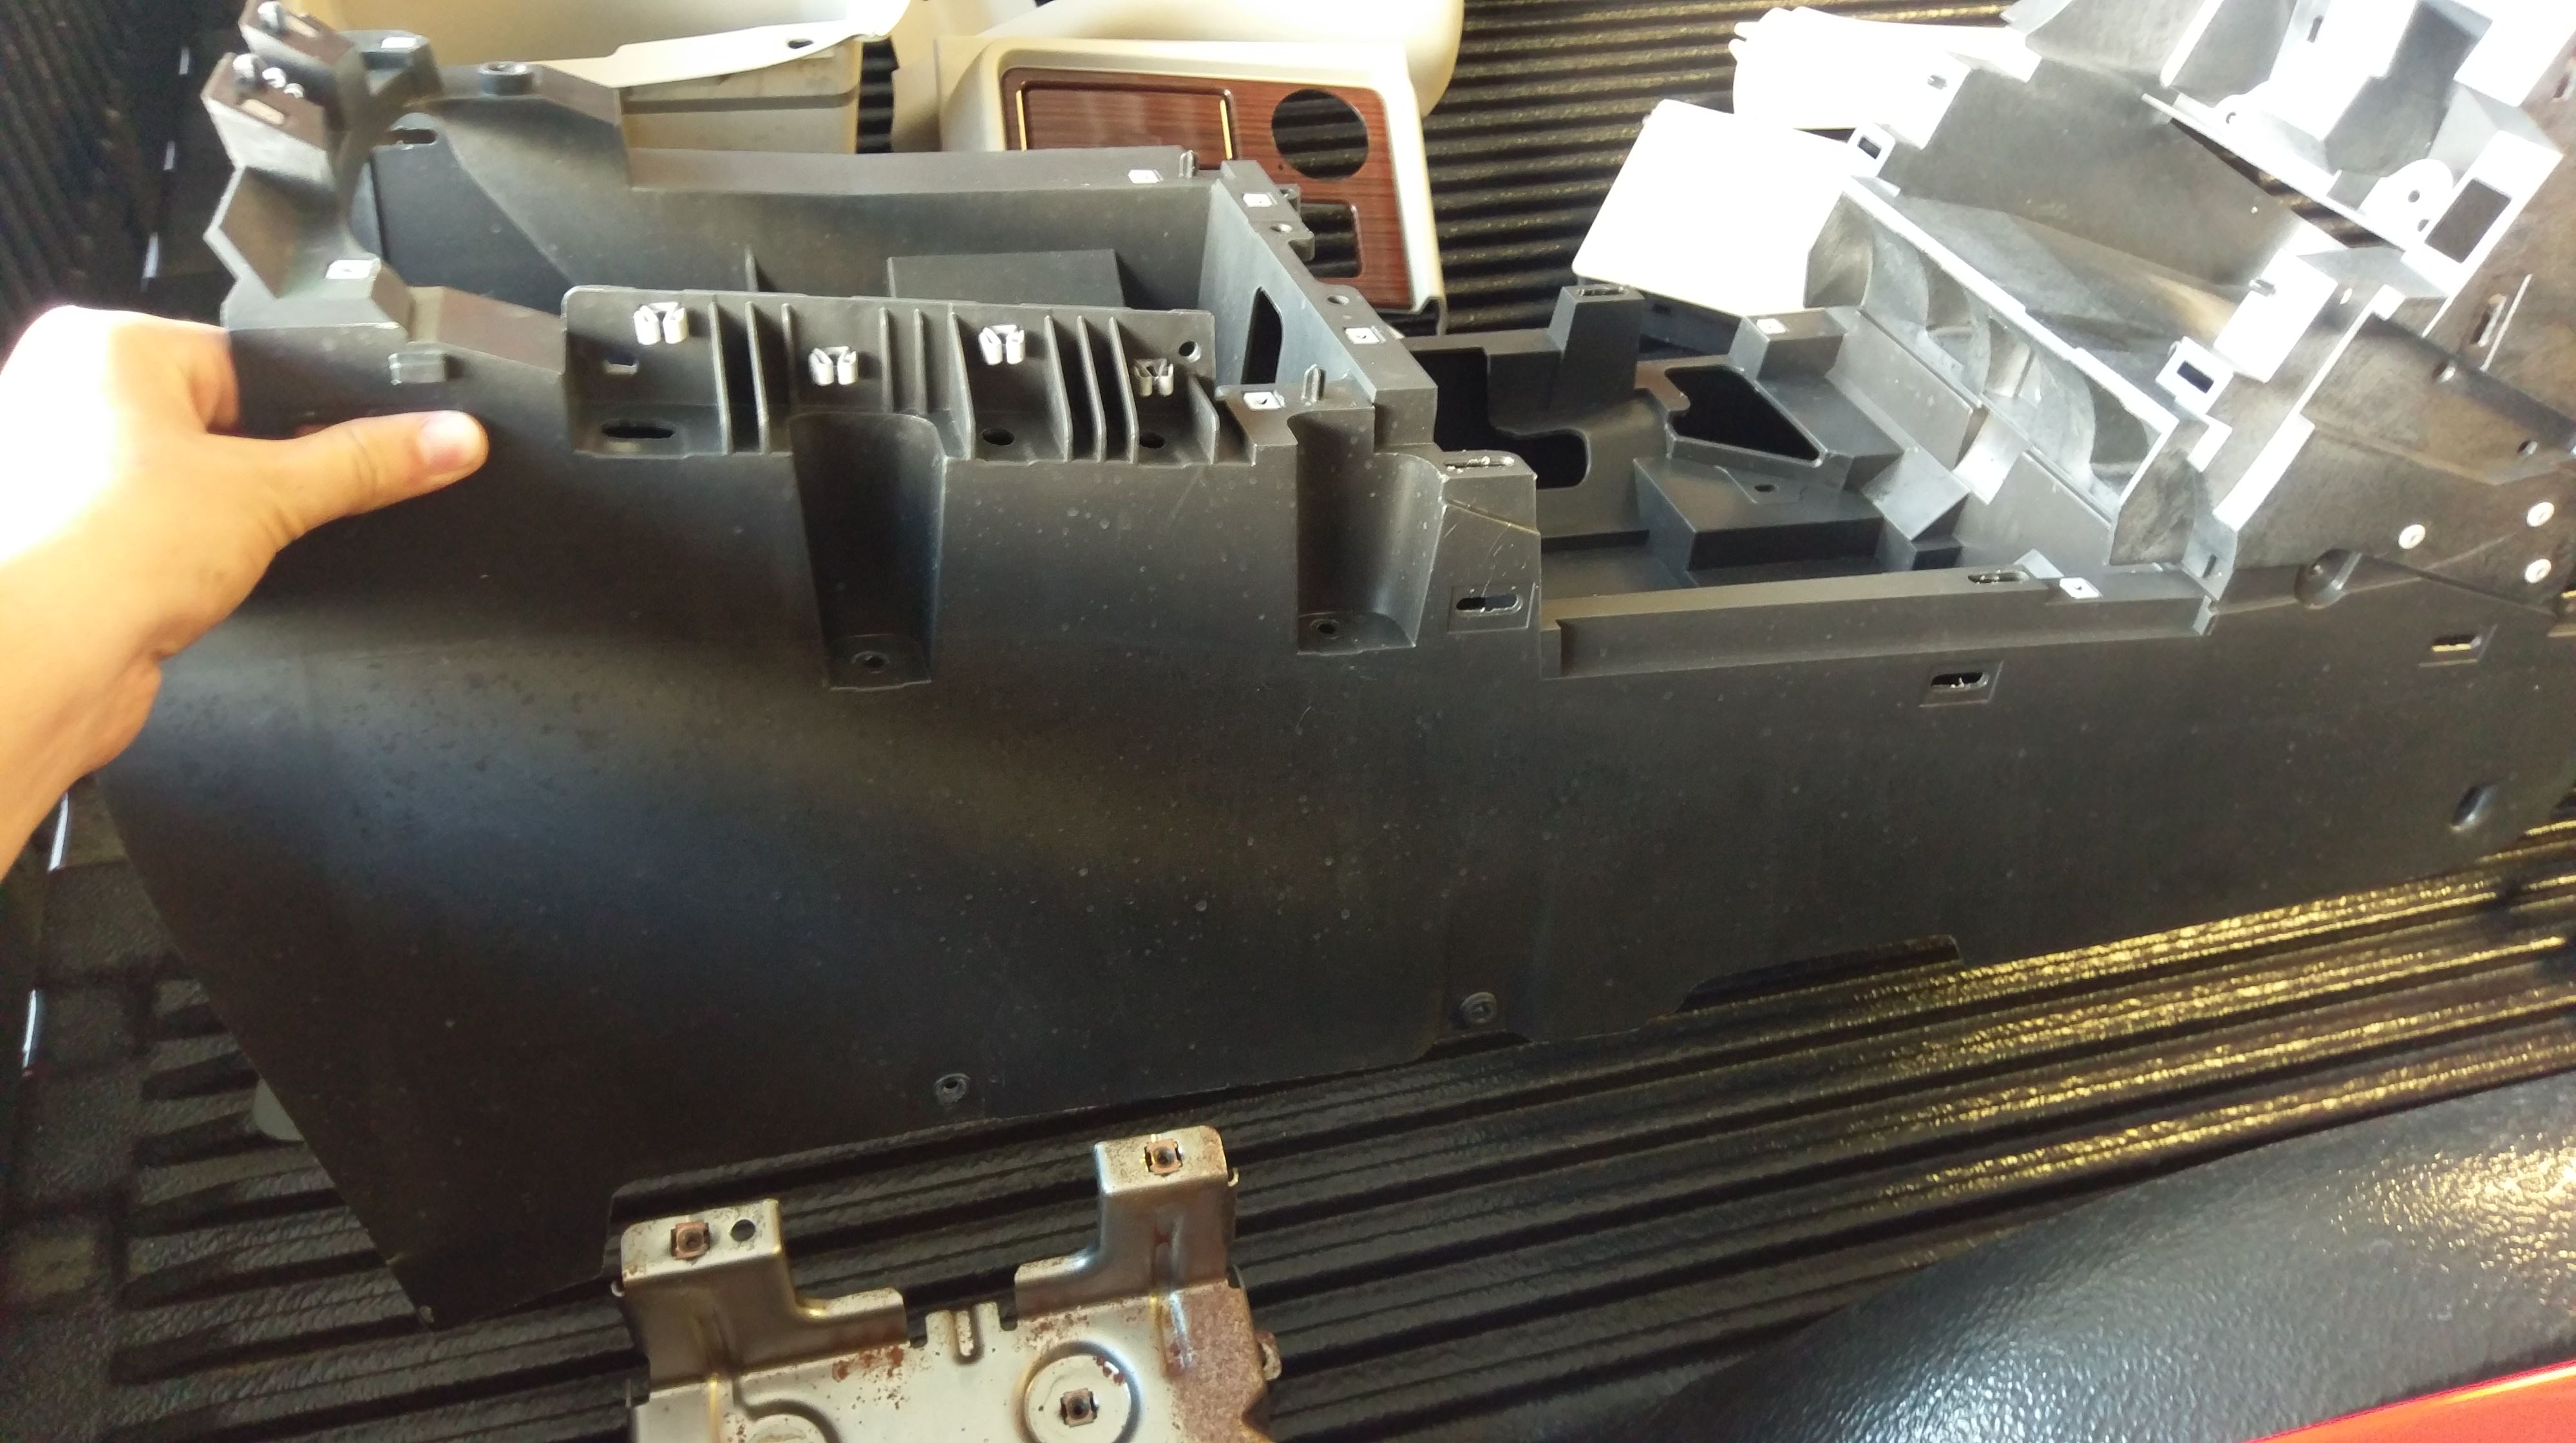
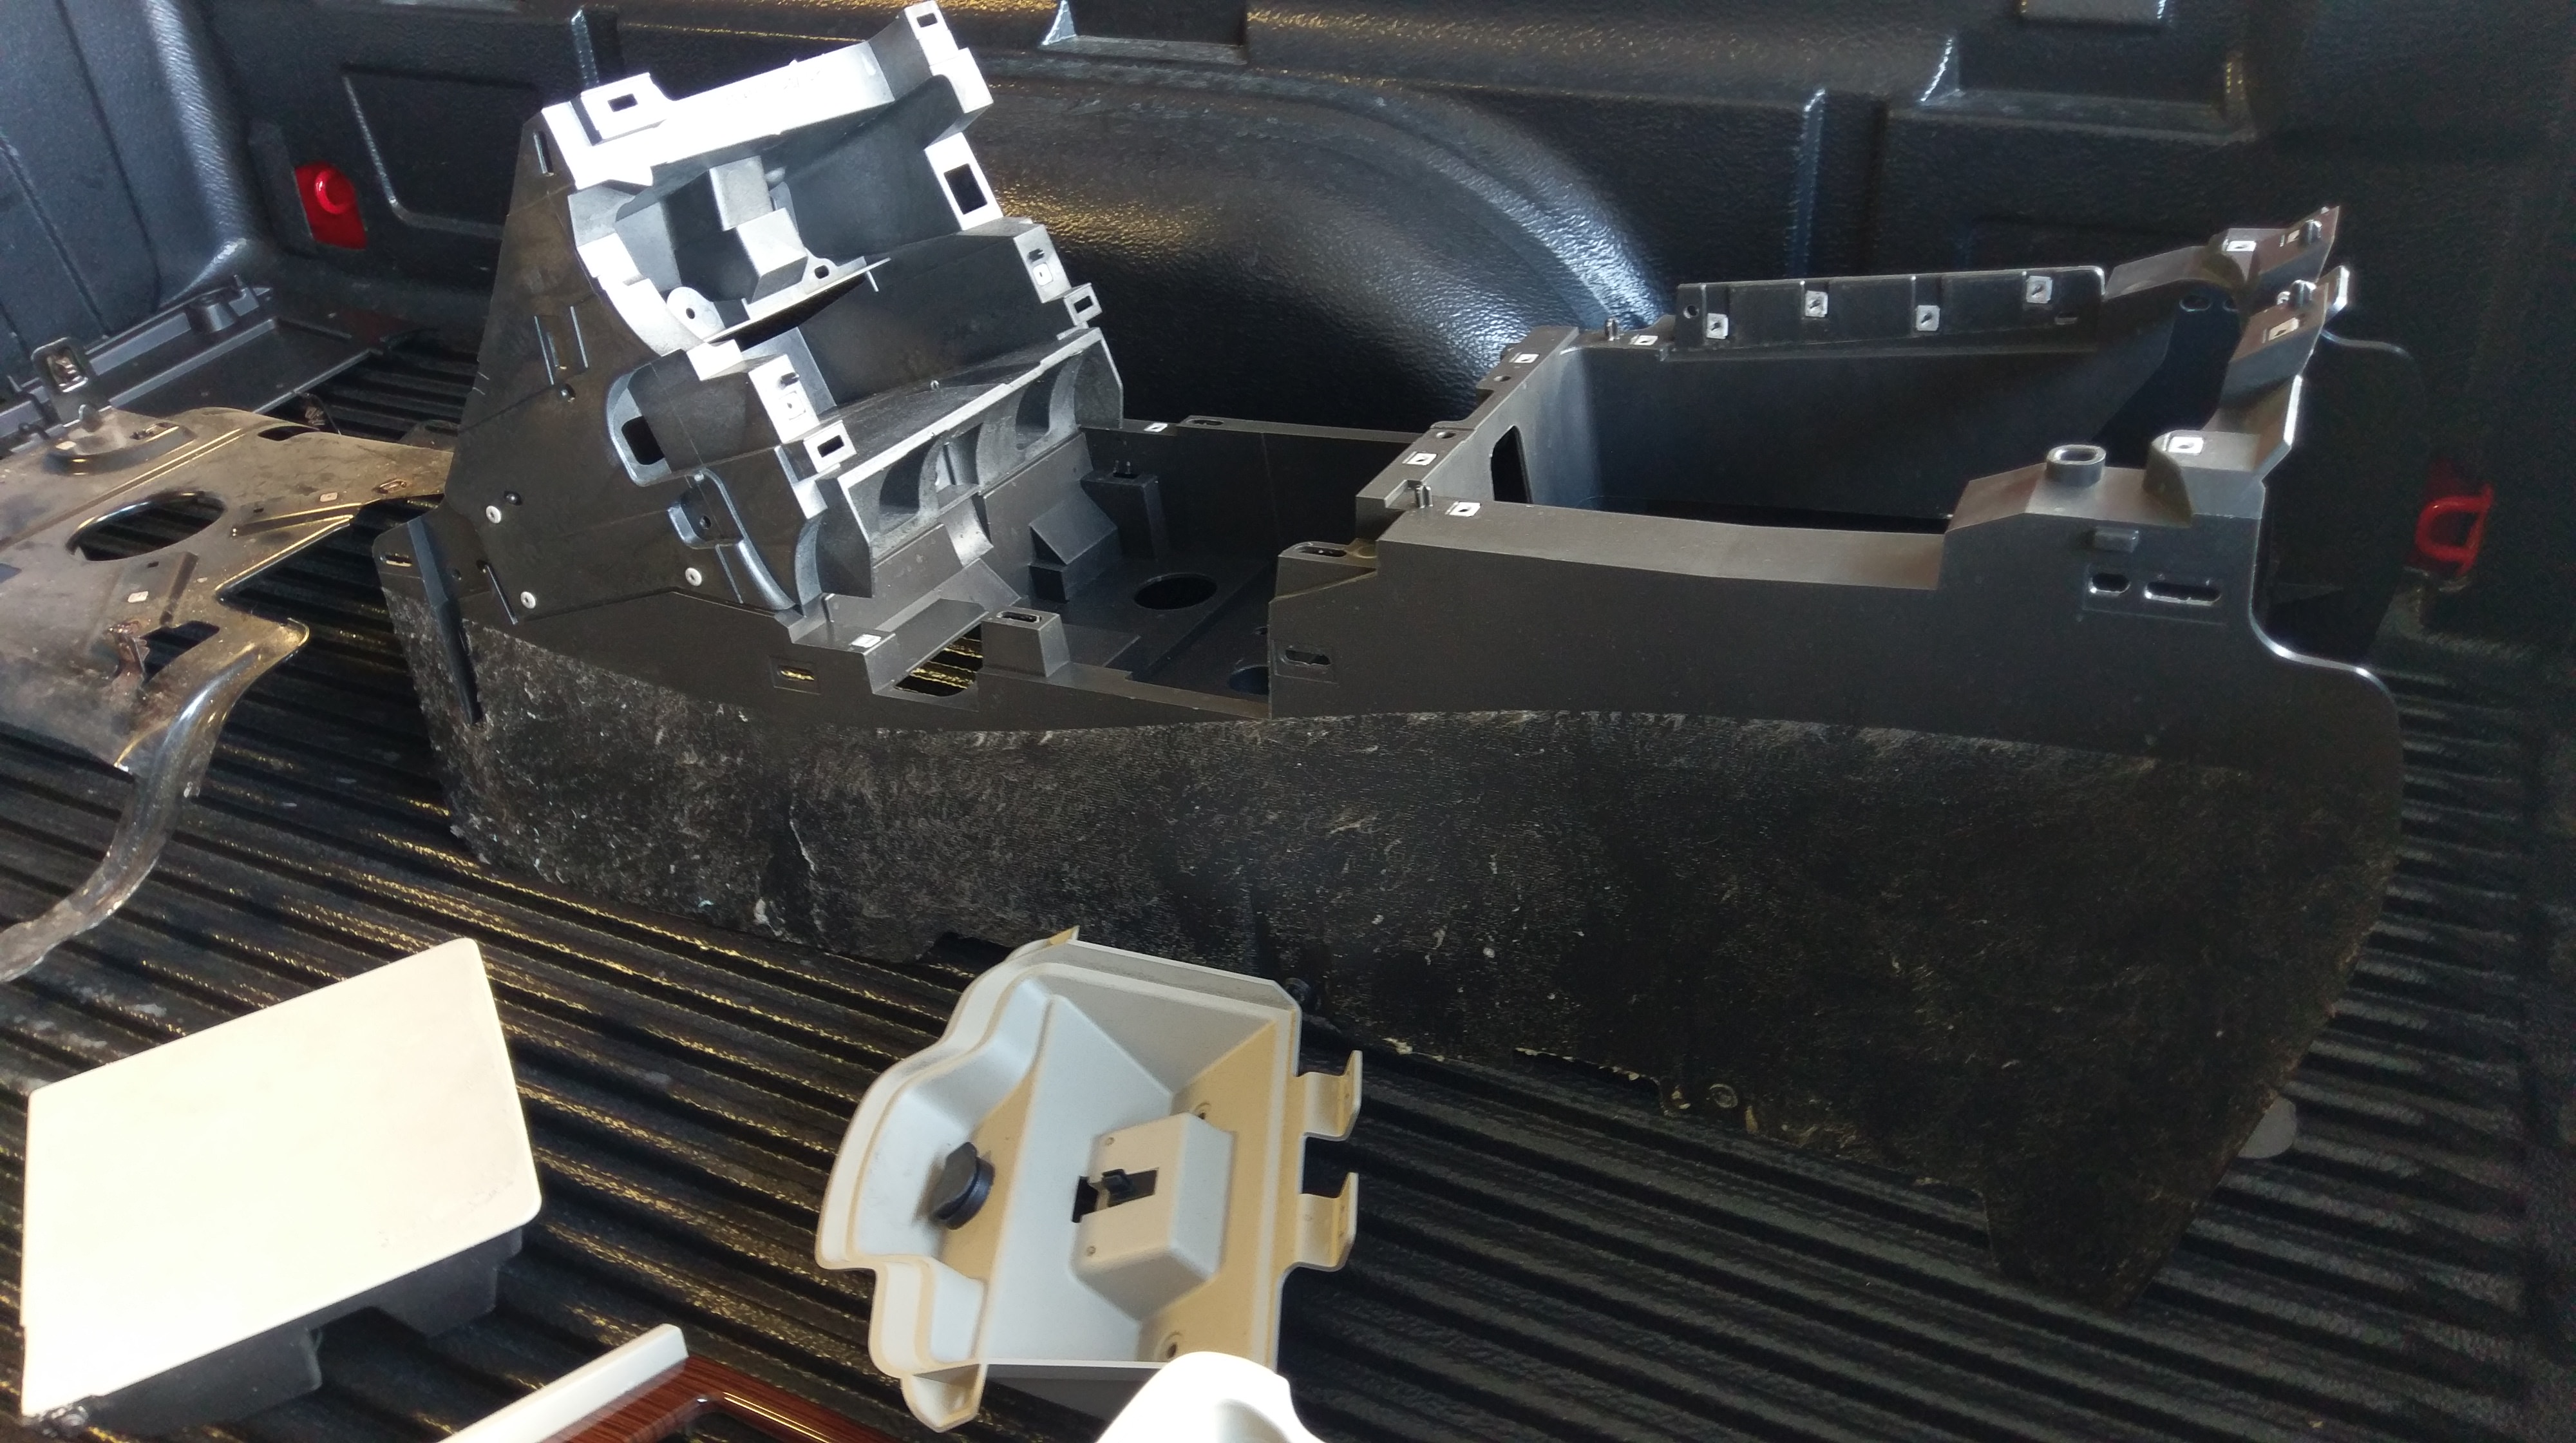
Bought an escalade center console for a project

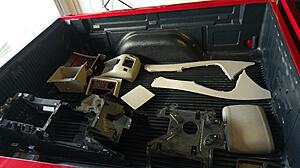
The carpet came off super easy on this side, but not the other
I searched for a few months for a low mileage V8 RCSB with power accessories, and finally found one in Indiana. I spoke to the guy for a few minutes and bought it sight unseen and had it shipped to Texas. Paid $13,900 for it, or $14,500 total with shipping.
Details: 2007 classic with 44k miles, 5.3L, 2wd, power windows and locks, dark charcoal interior, flex fuel. It was owned by an older guy in his 70s who seemed to take very good care of it.
Grandpa status with the wheels and bedcover
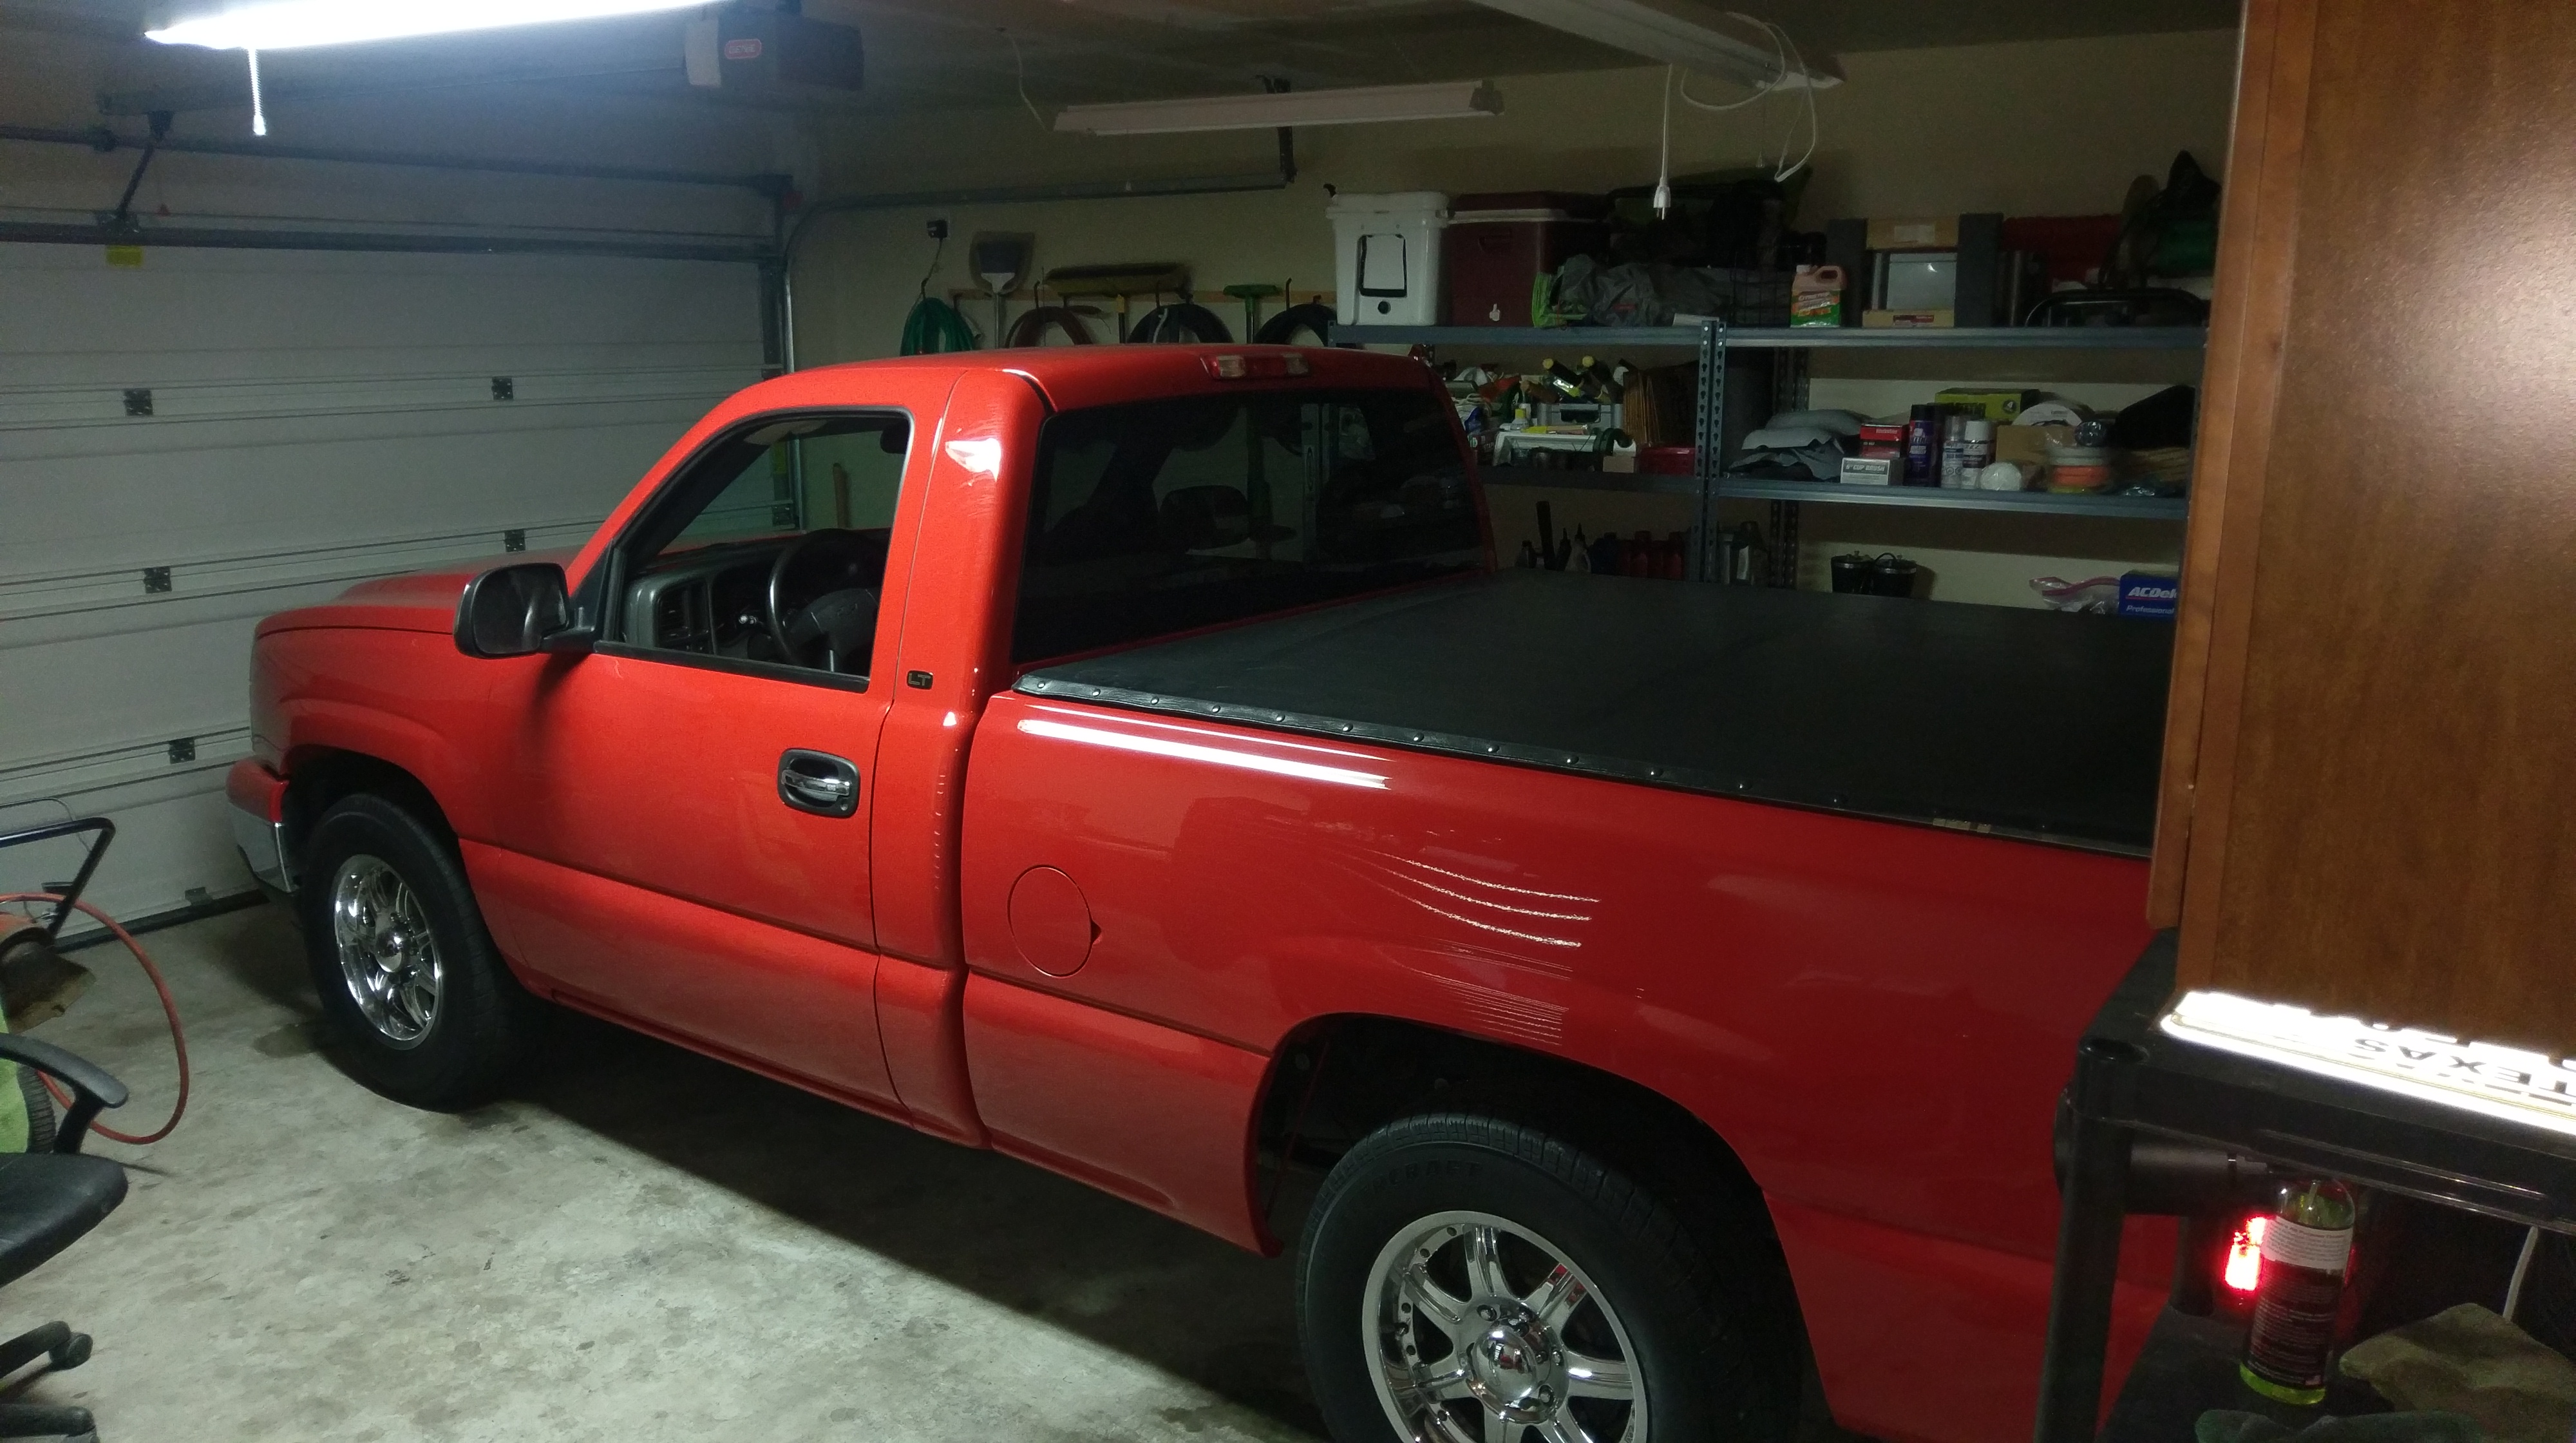
Took that off the next day
Overall, pretty clean
Antenna delete and escalade panel cover

Added my DL3 mirrors and took caps off to paint red

Door speaker grills had surface rust

Painted with my Graystone Metallic which is a good match
A lot of the parts were taken from my gray truck, since they were new OEM parts like this battery tray
Swapped my XS D3400 battery and some wiring
Roof was scratched by the tarp in shipping, but should buff out
Fleece module, much nicer than diodes
Bought an escalade center console for a project

The carpet came off super easy on this side, but not the other
 Jan 13, 2018 | 11:49 AM
#2
Debadged the LT emblem

And the tailgate
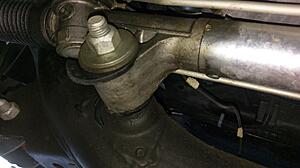
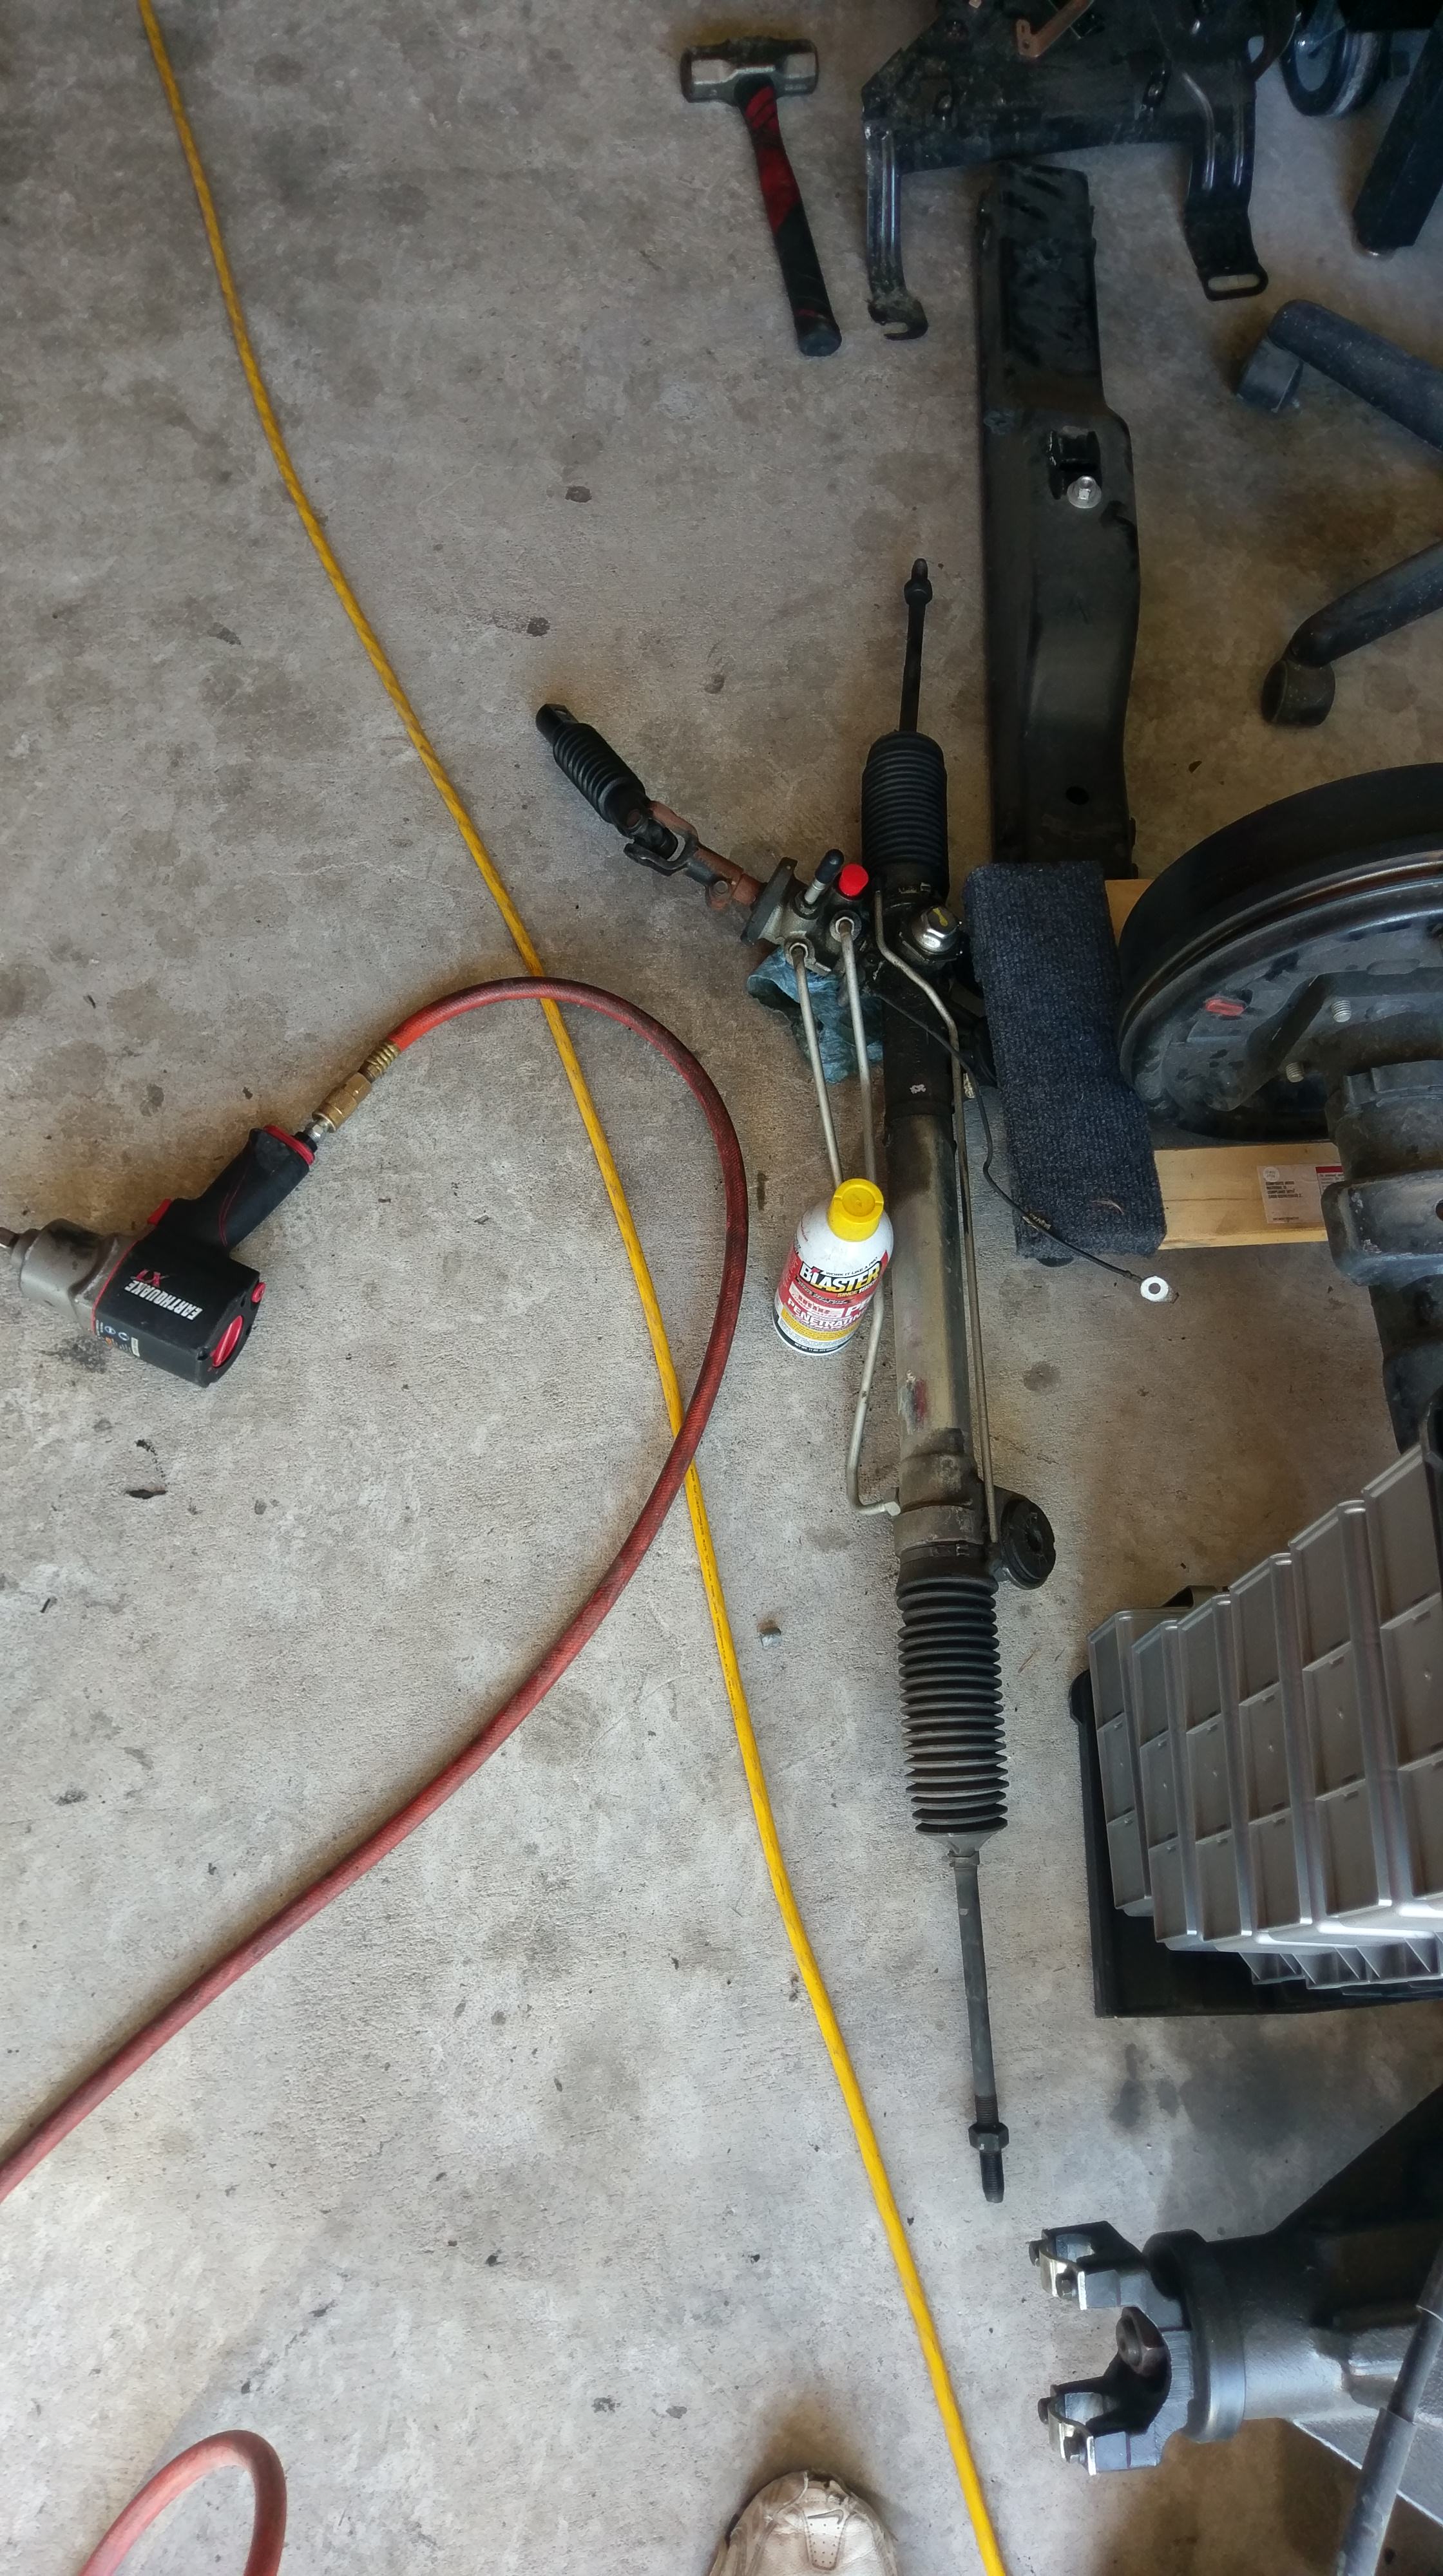
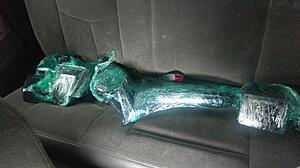
Originally thought the bushings were bad, so I ordered the daystar poly ones, but this was actually just a rubber washer that was damaged. Either way, swapped the daystar bushings in because the rack was out anyway
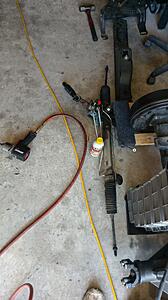
Tore the interior apart to install a steering wheel with radio controls, new clockspring, my remote start and alarm, etc..

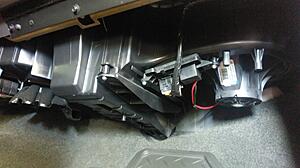
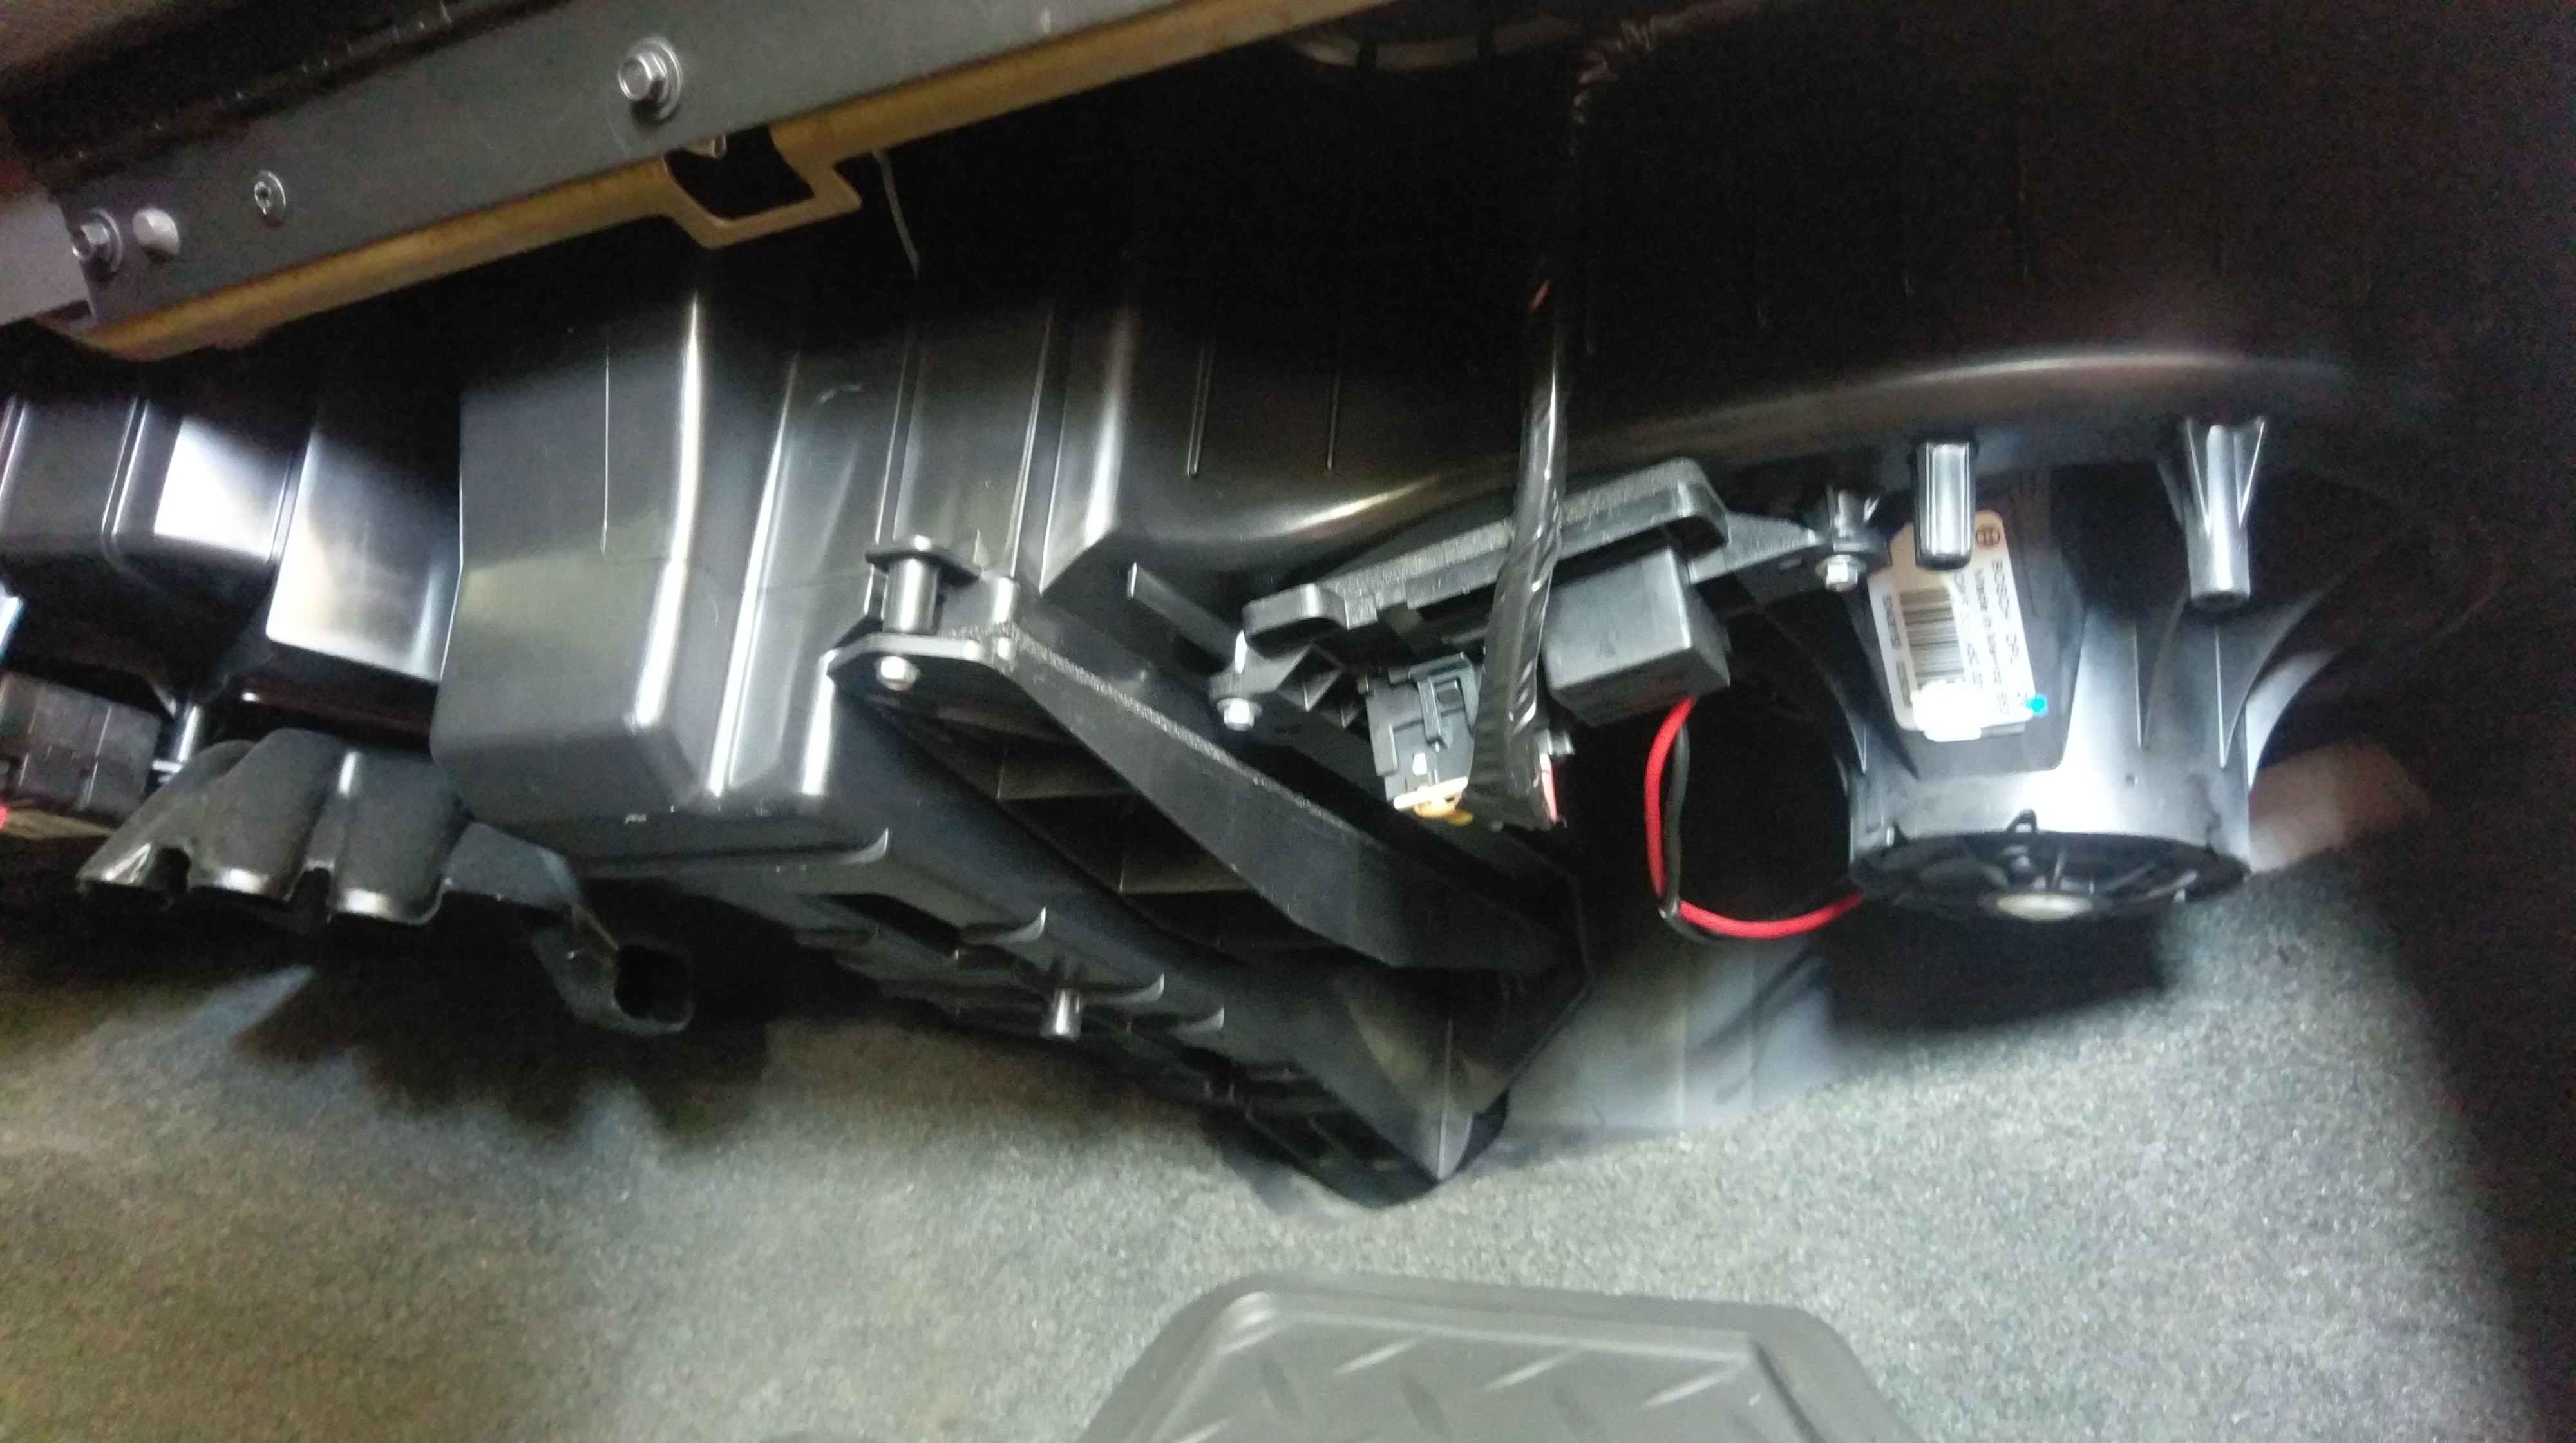
Added a cabin filter and door
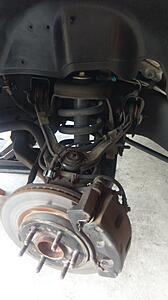
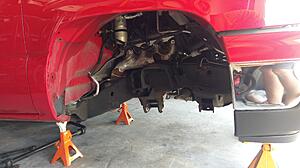
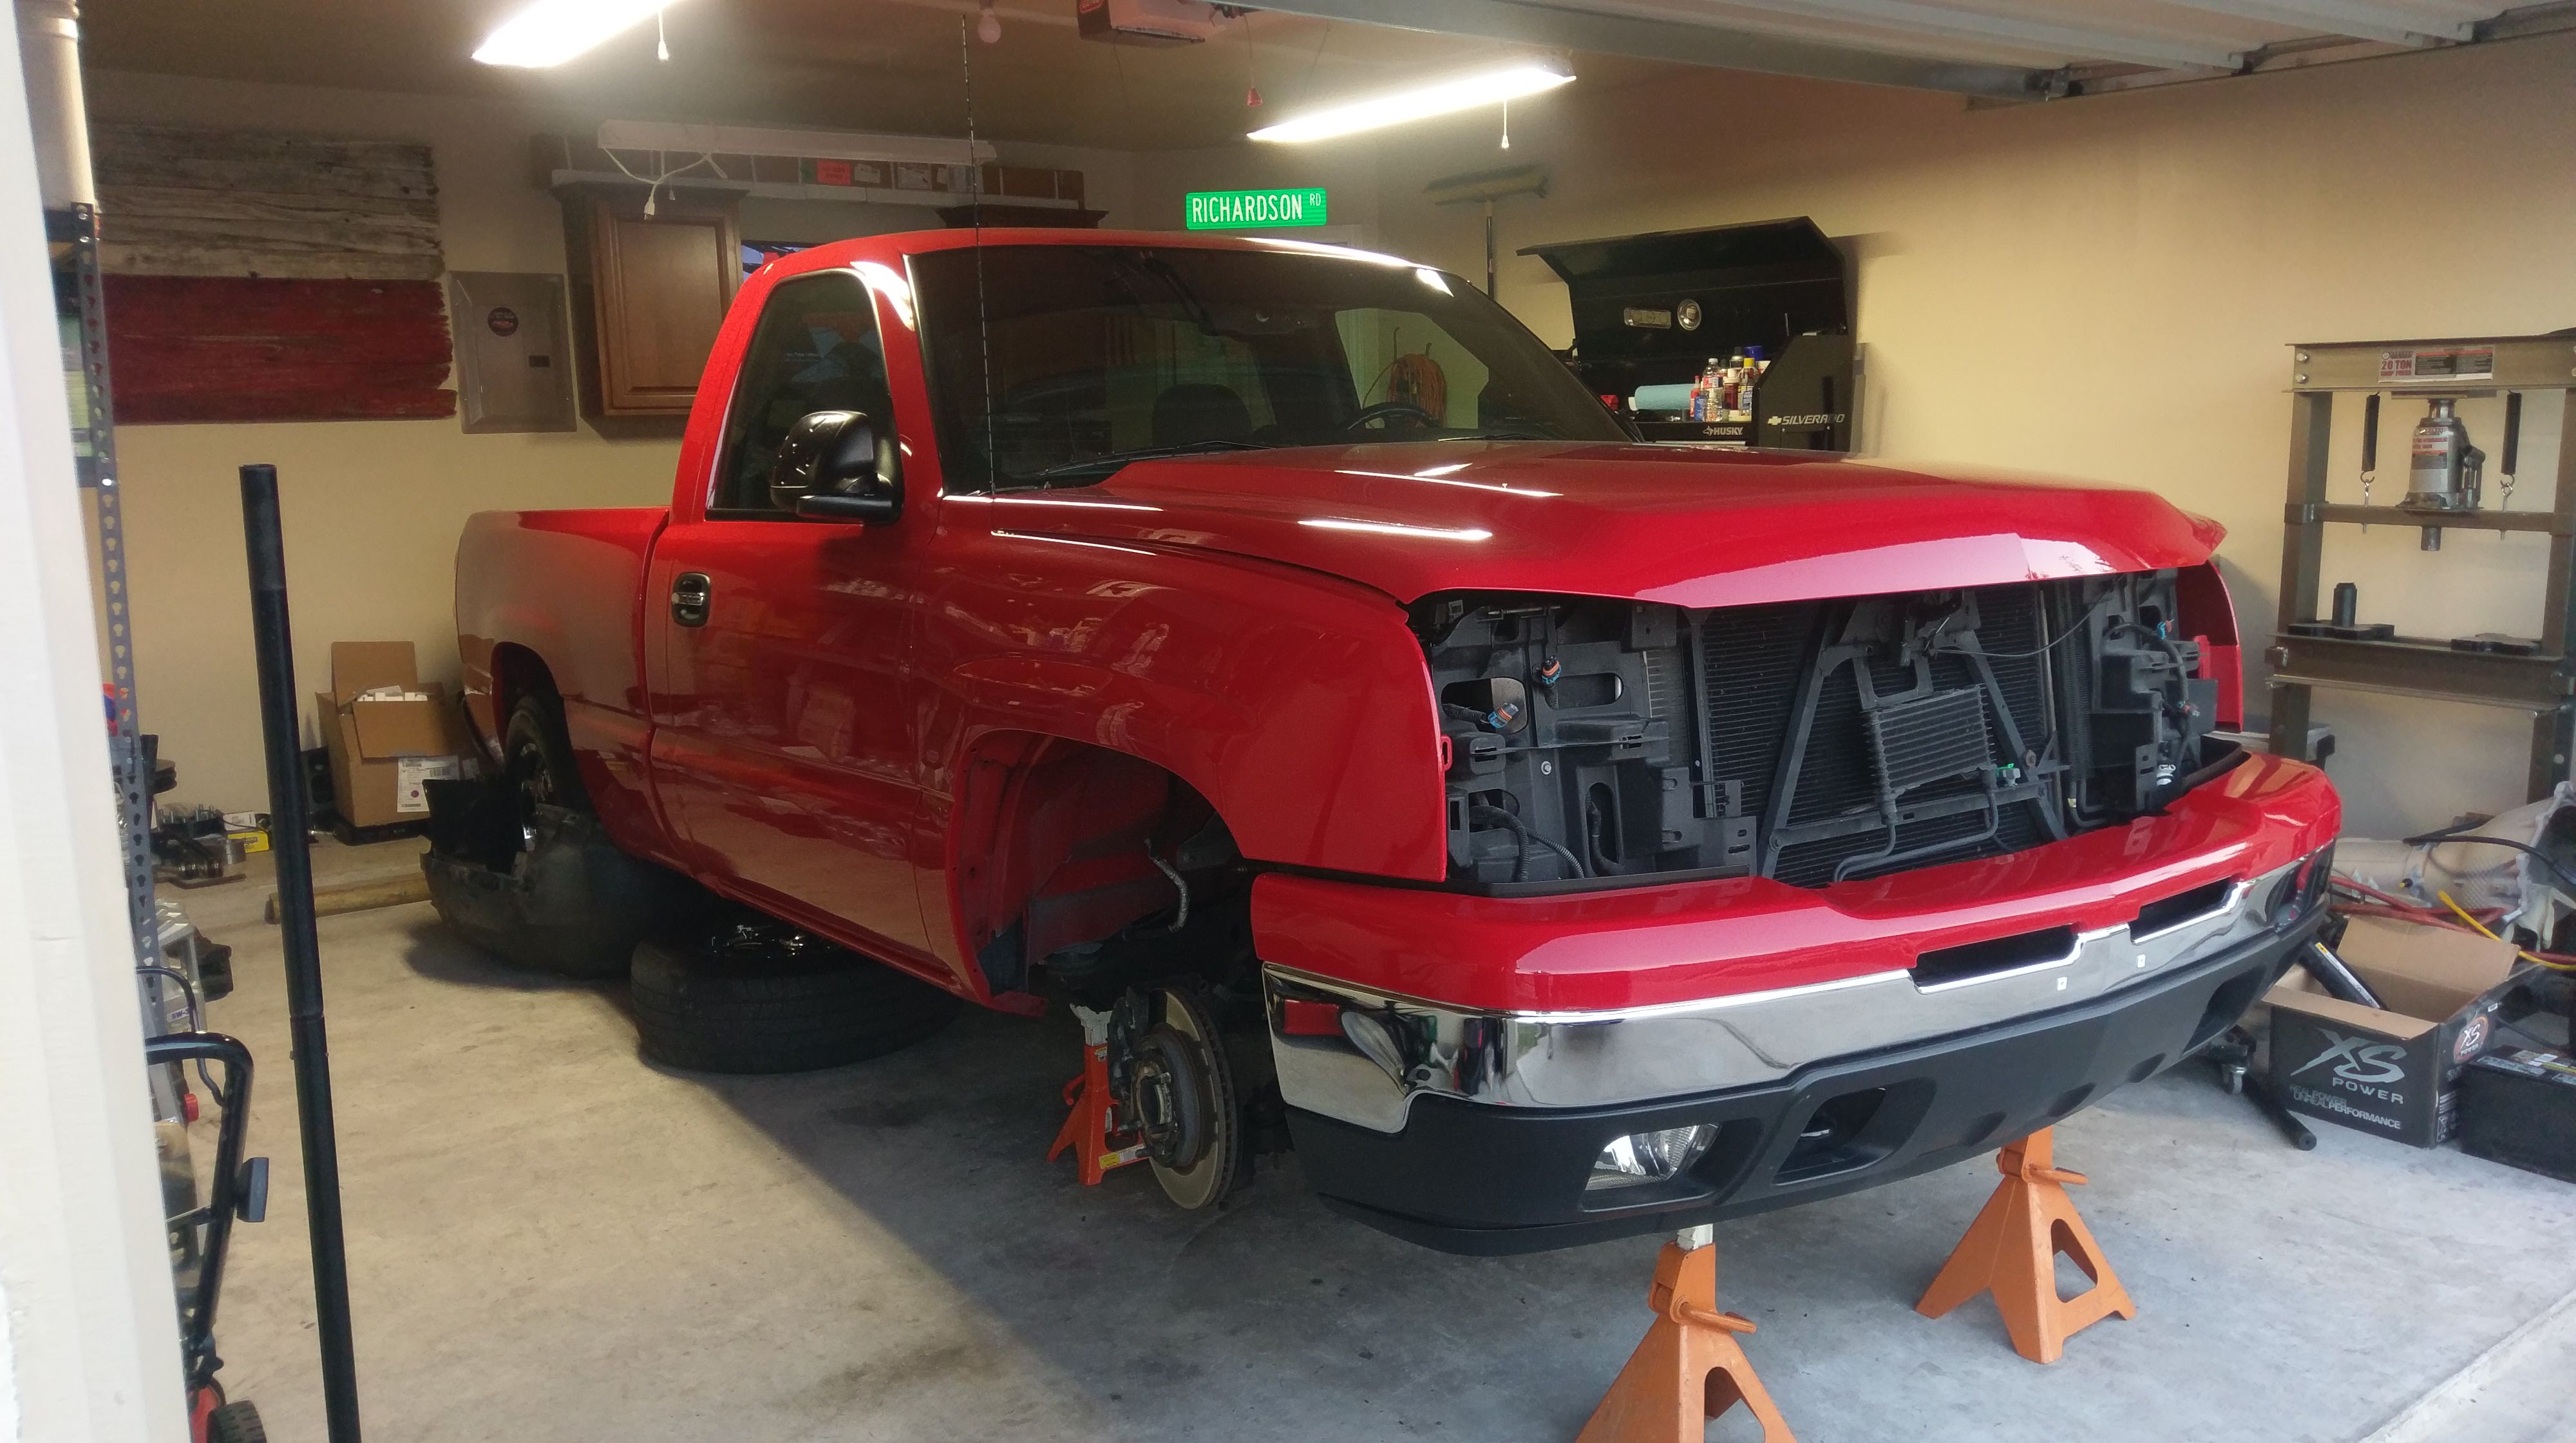
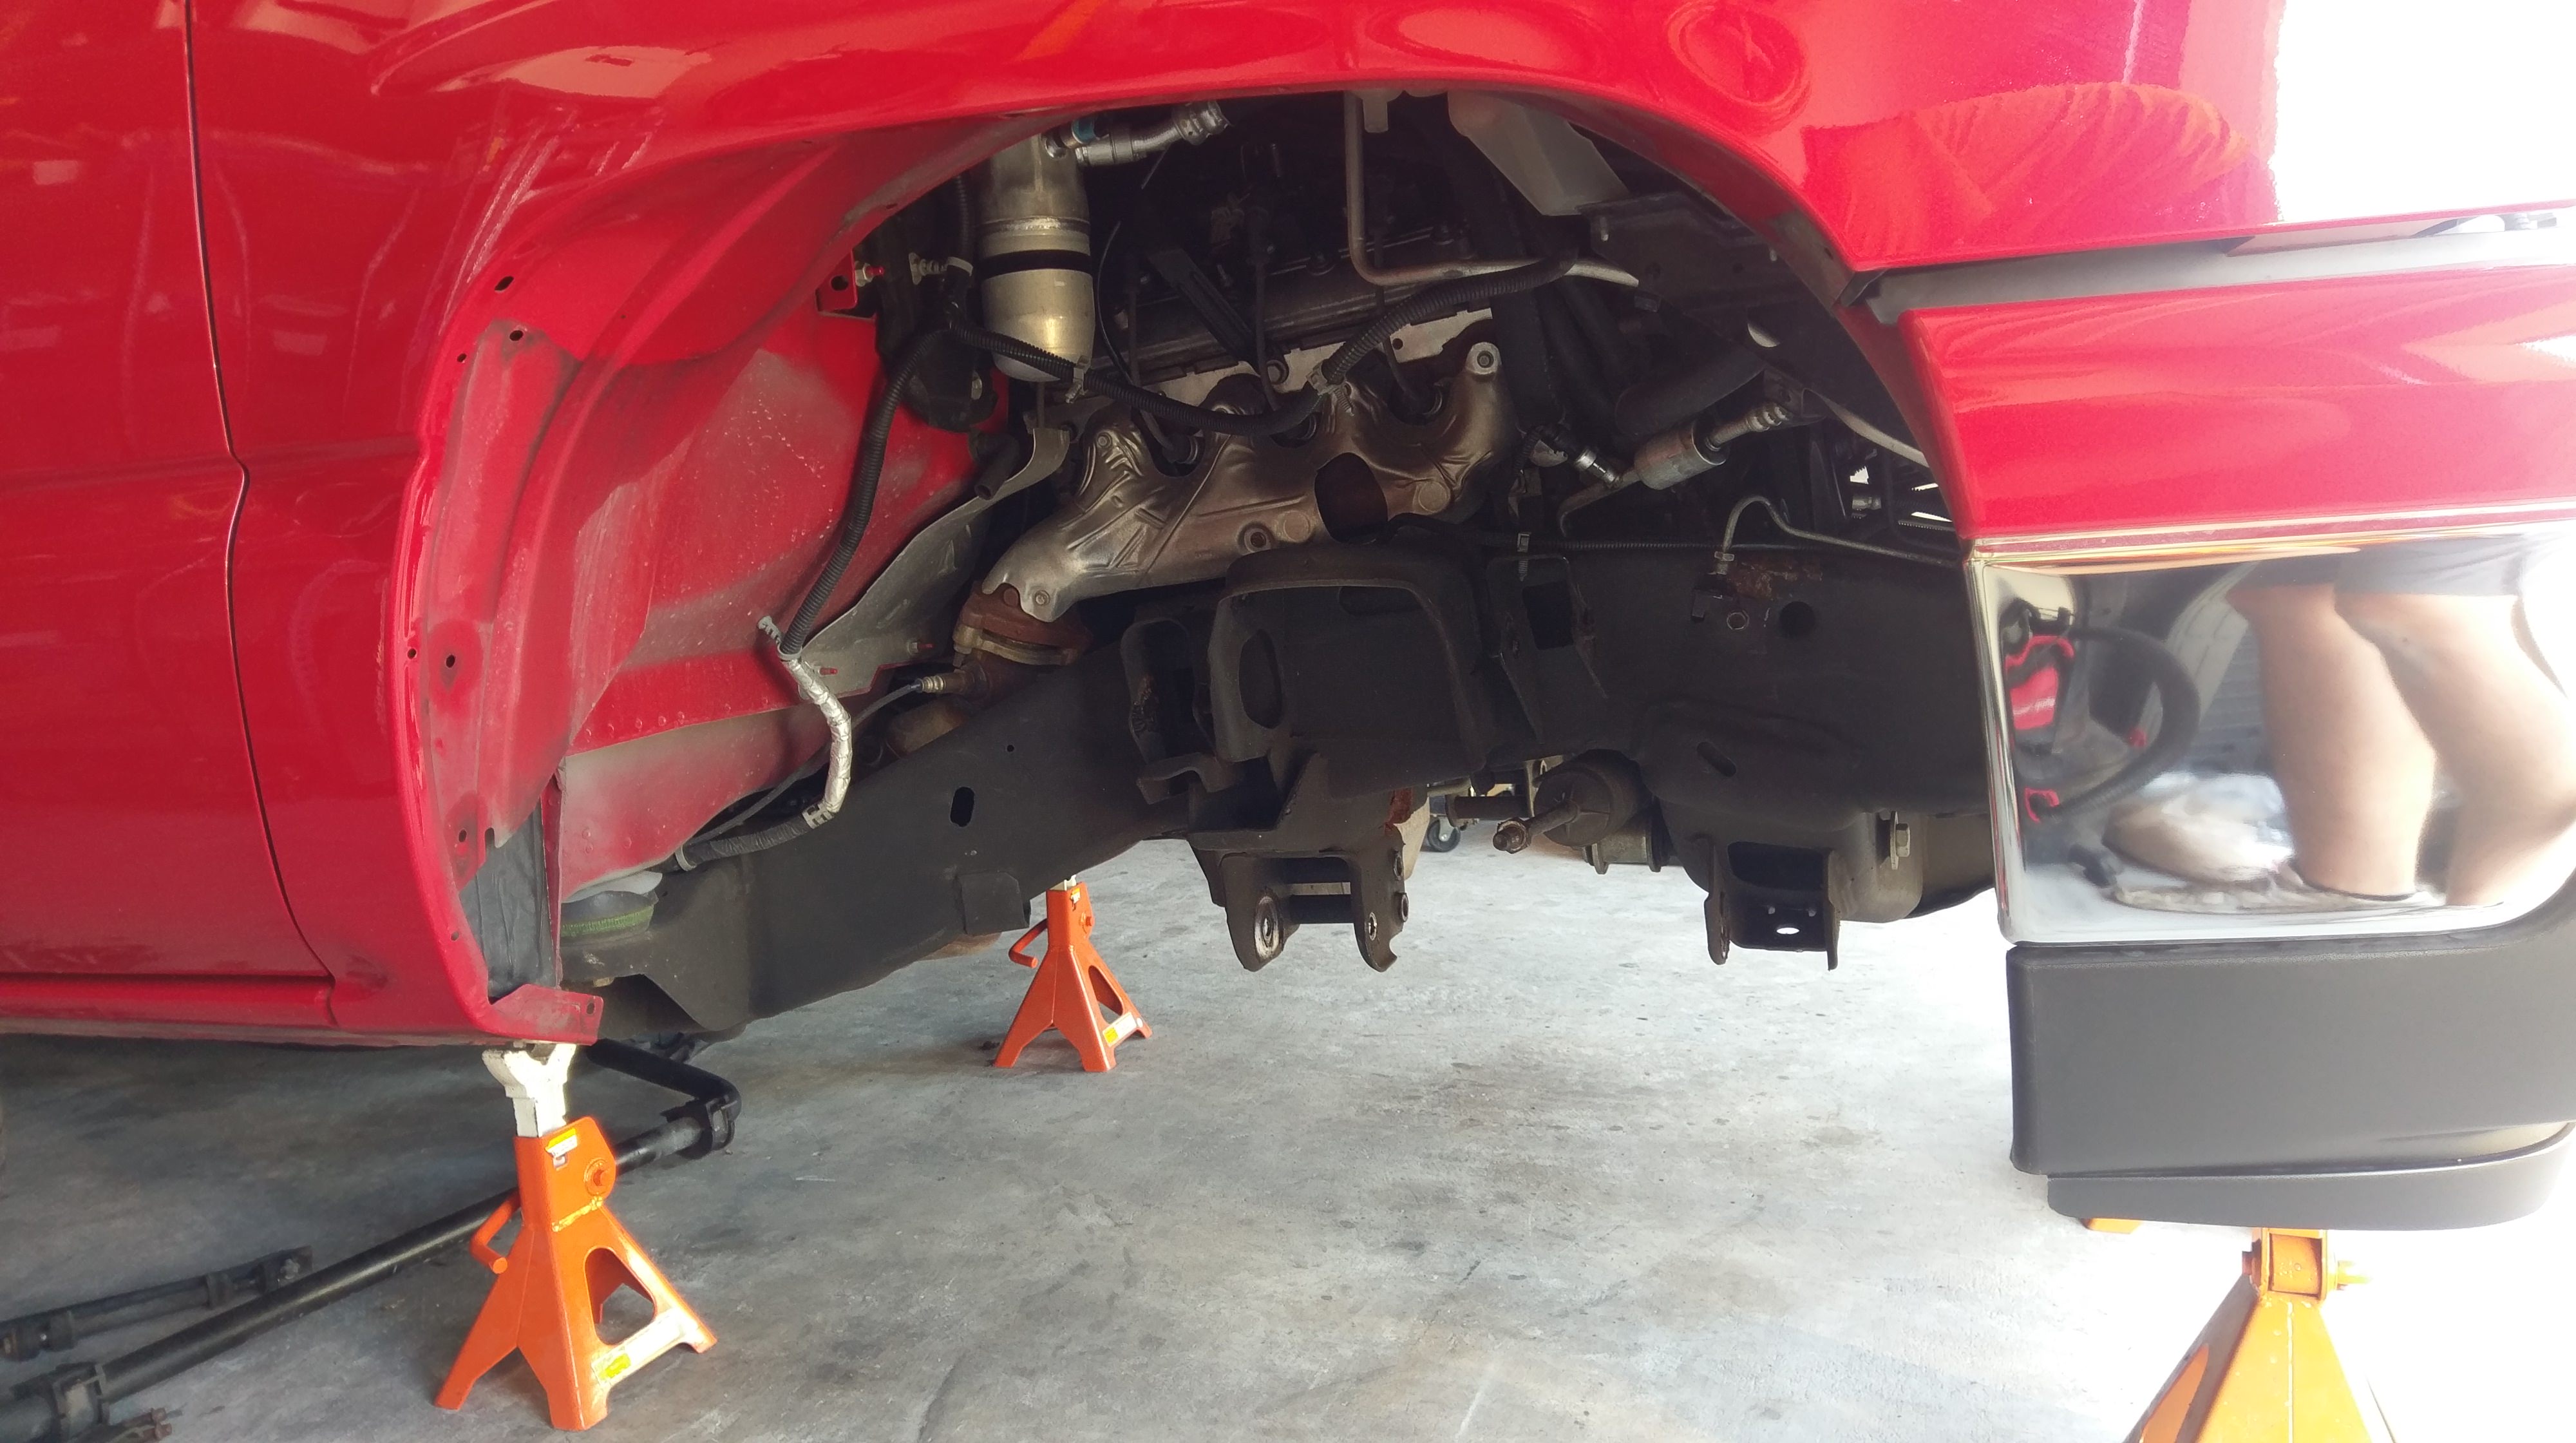
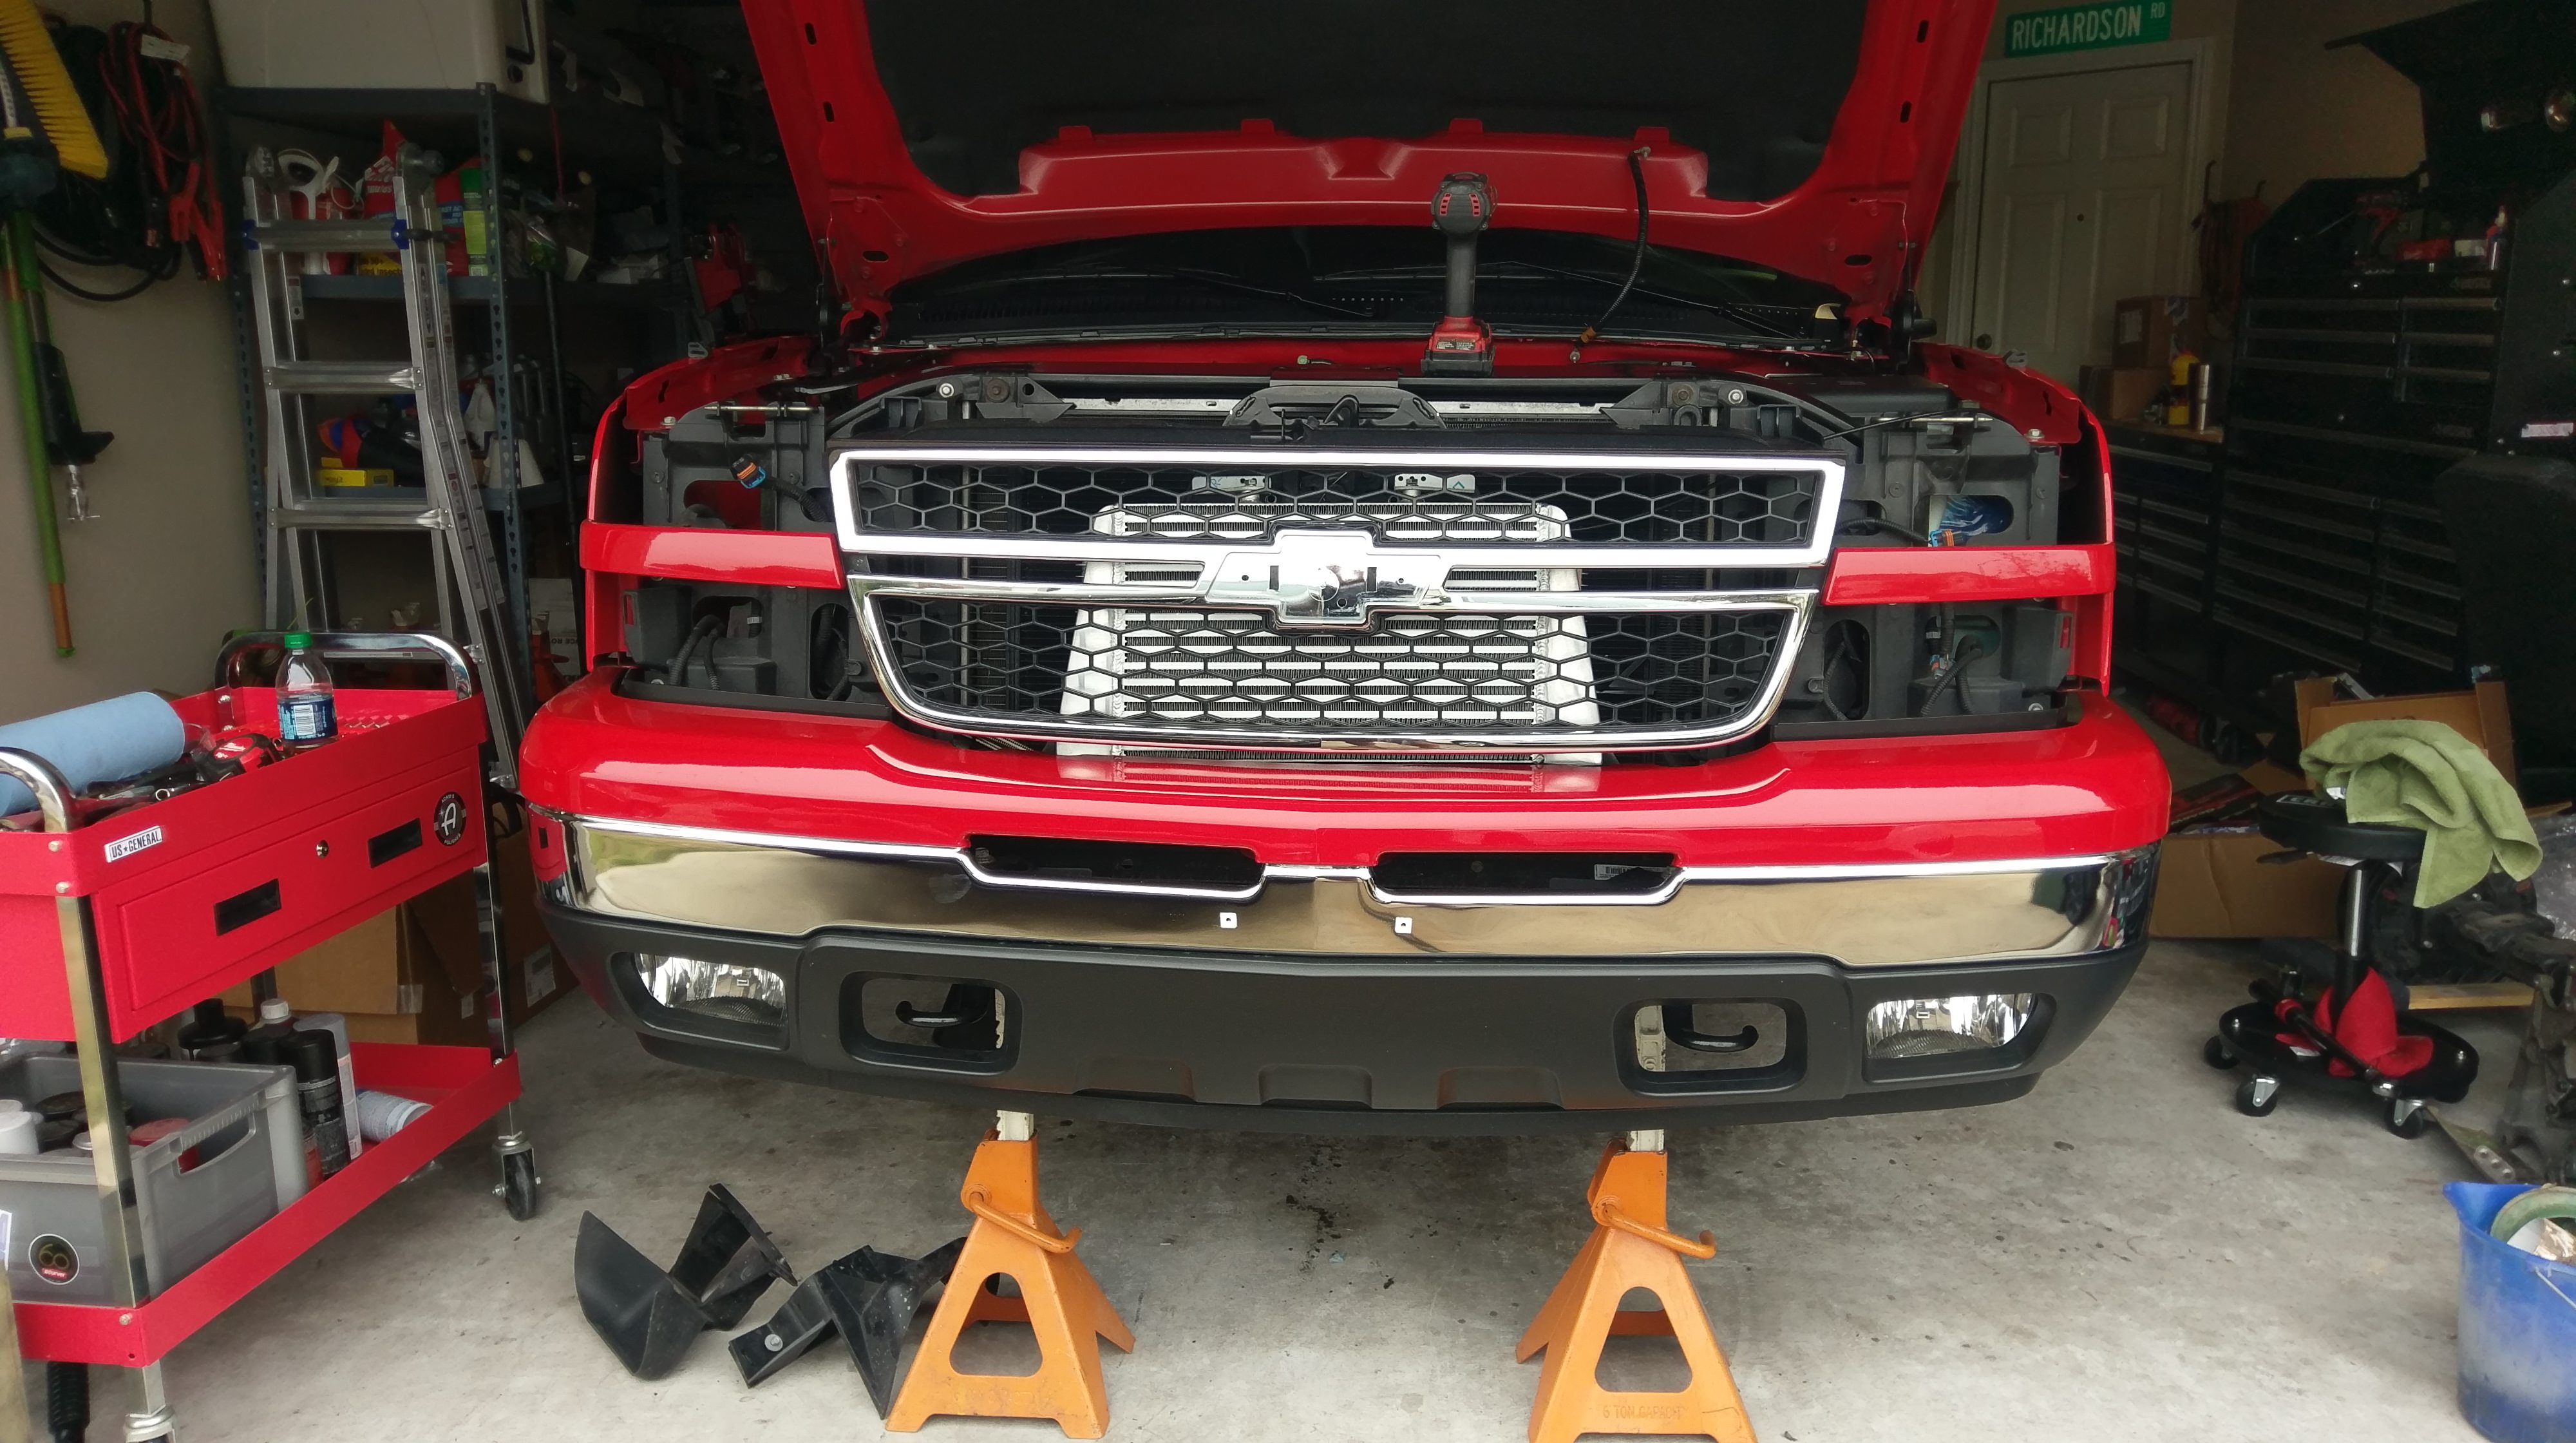
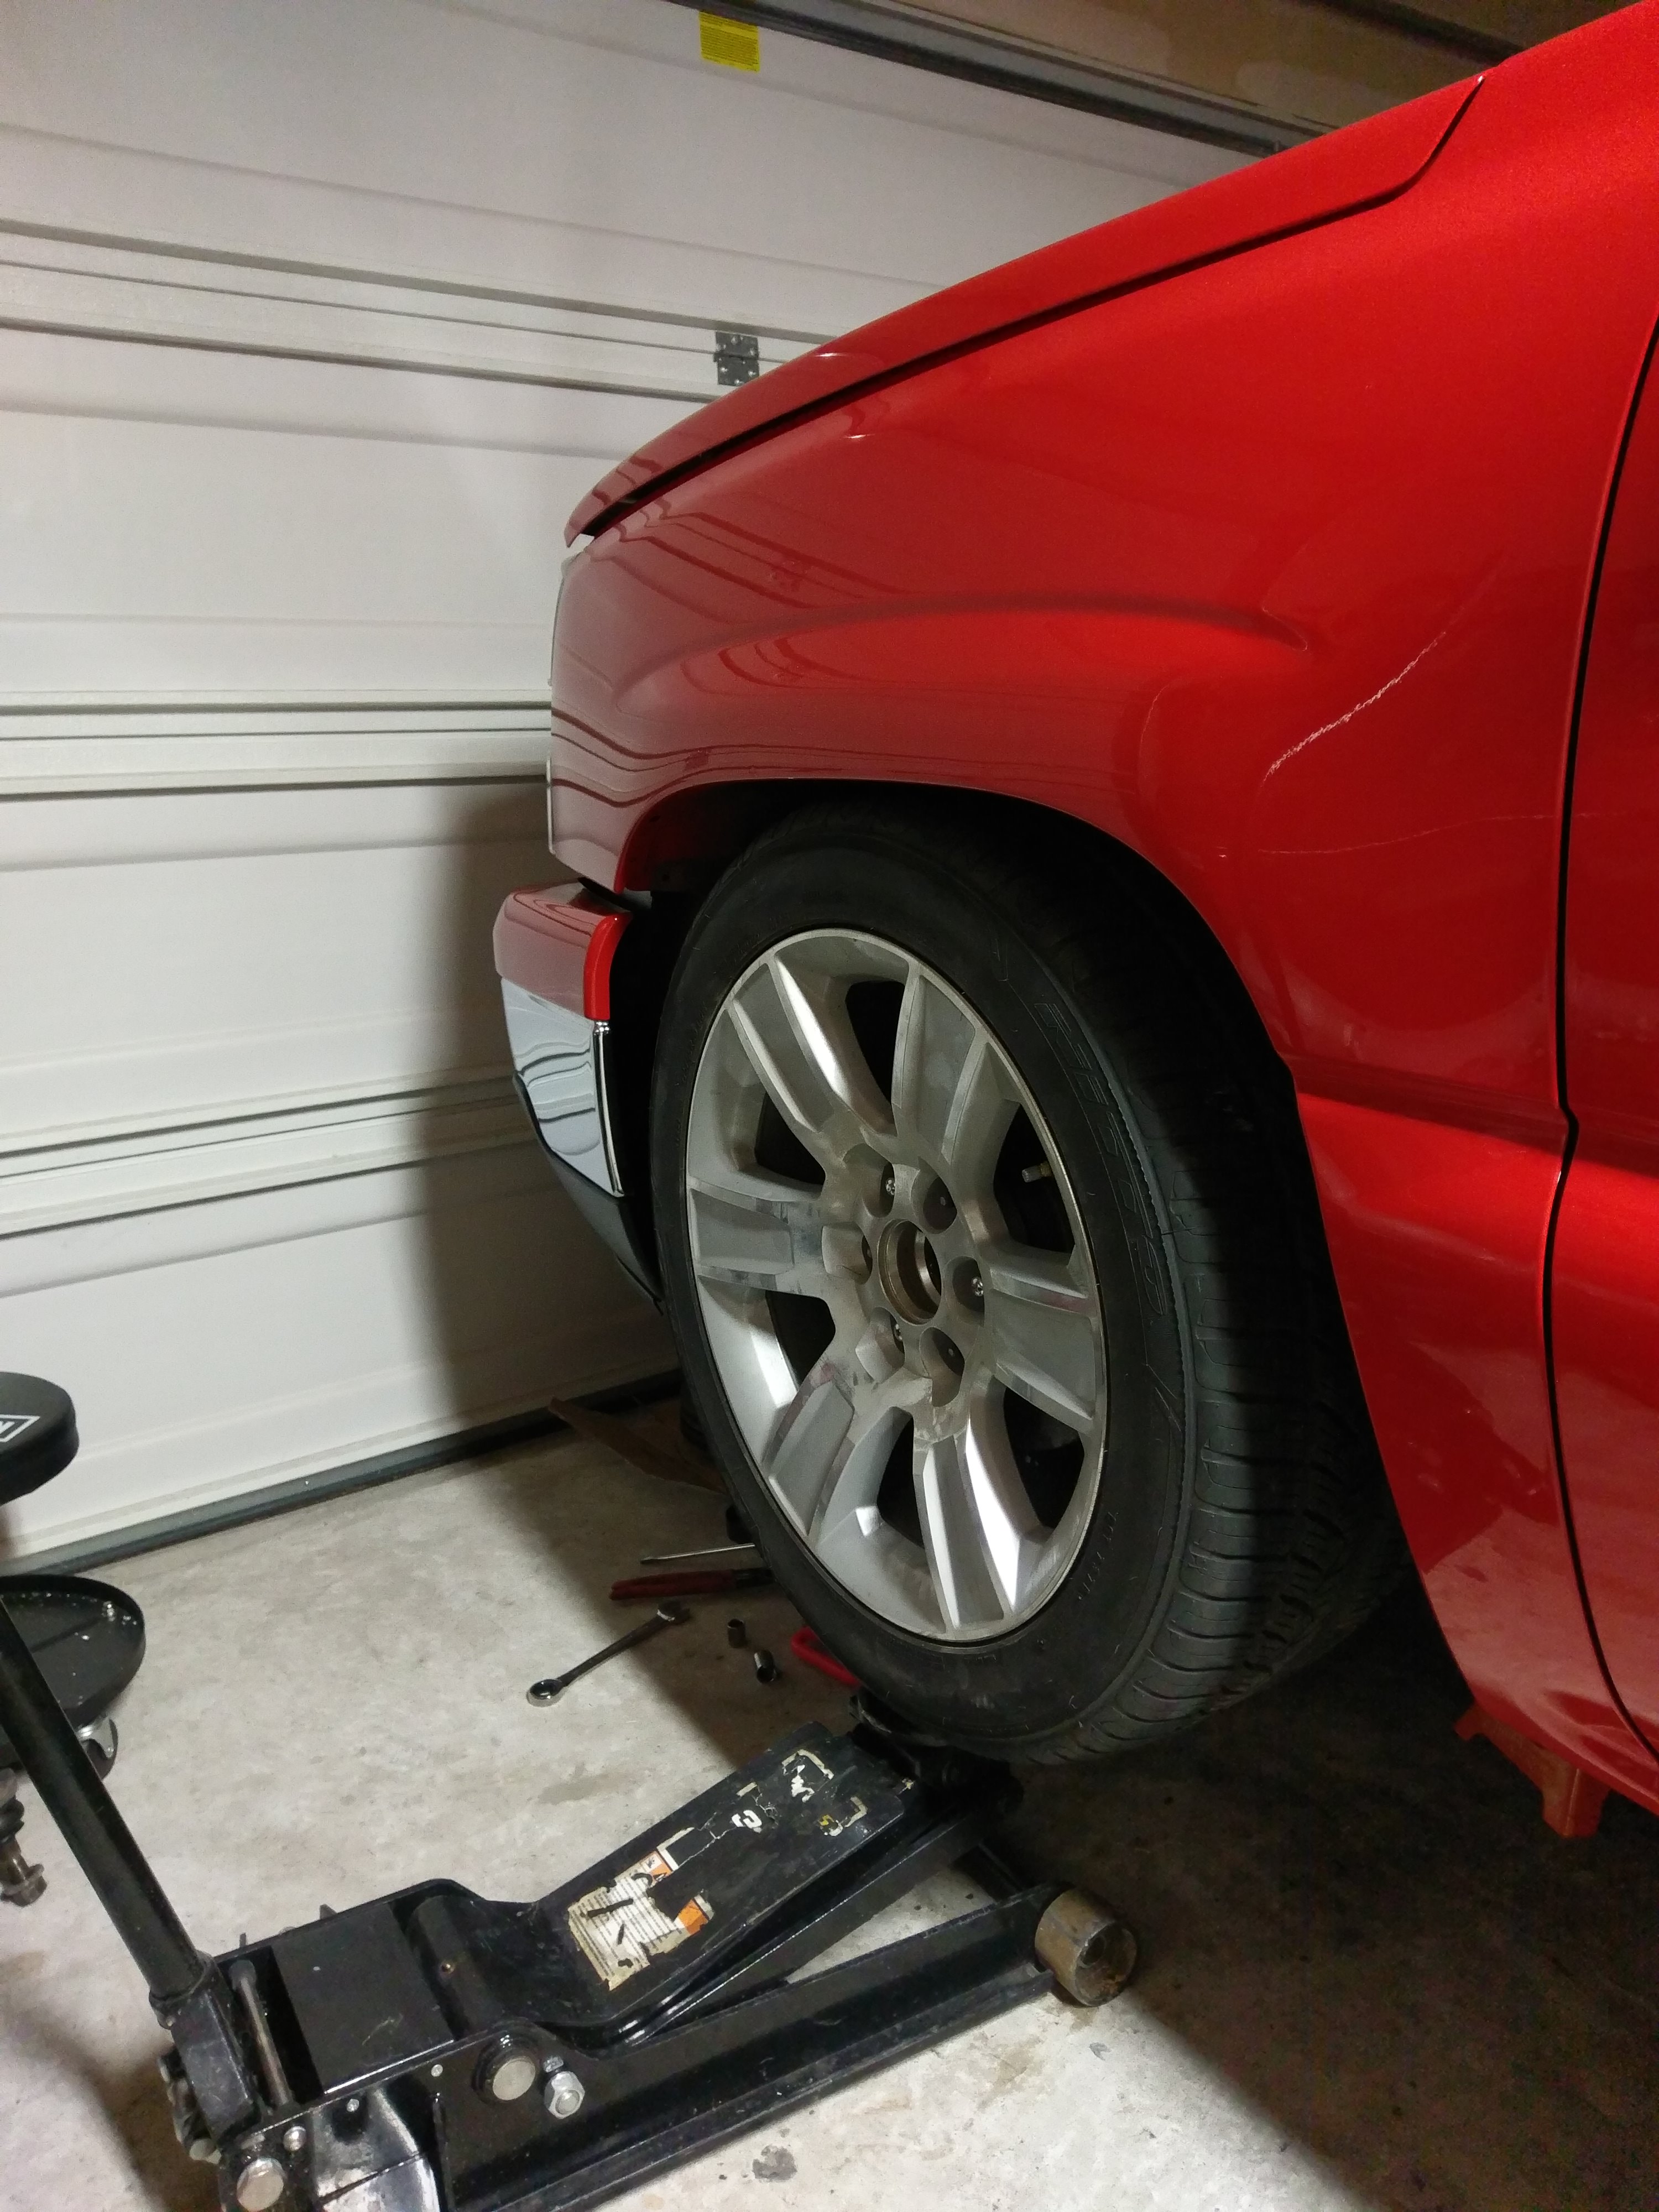
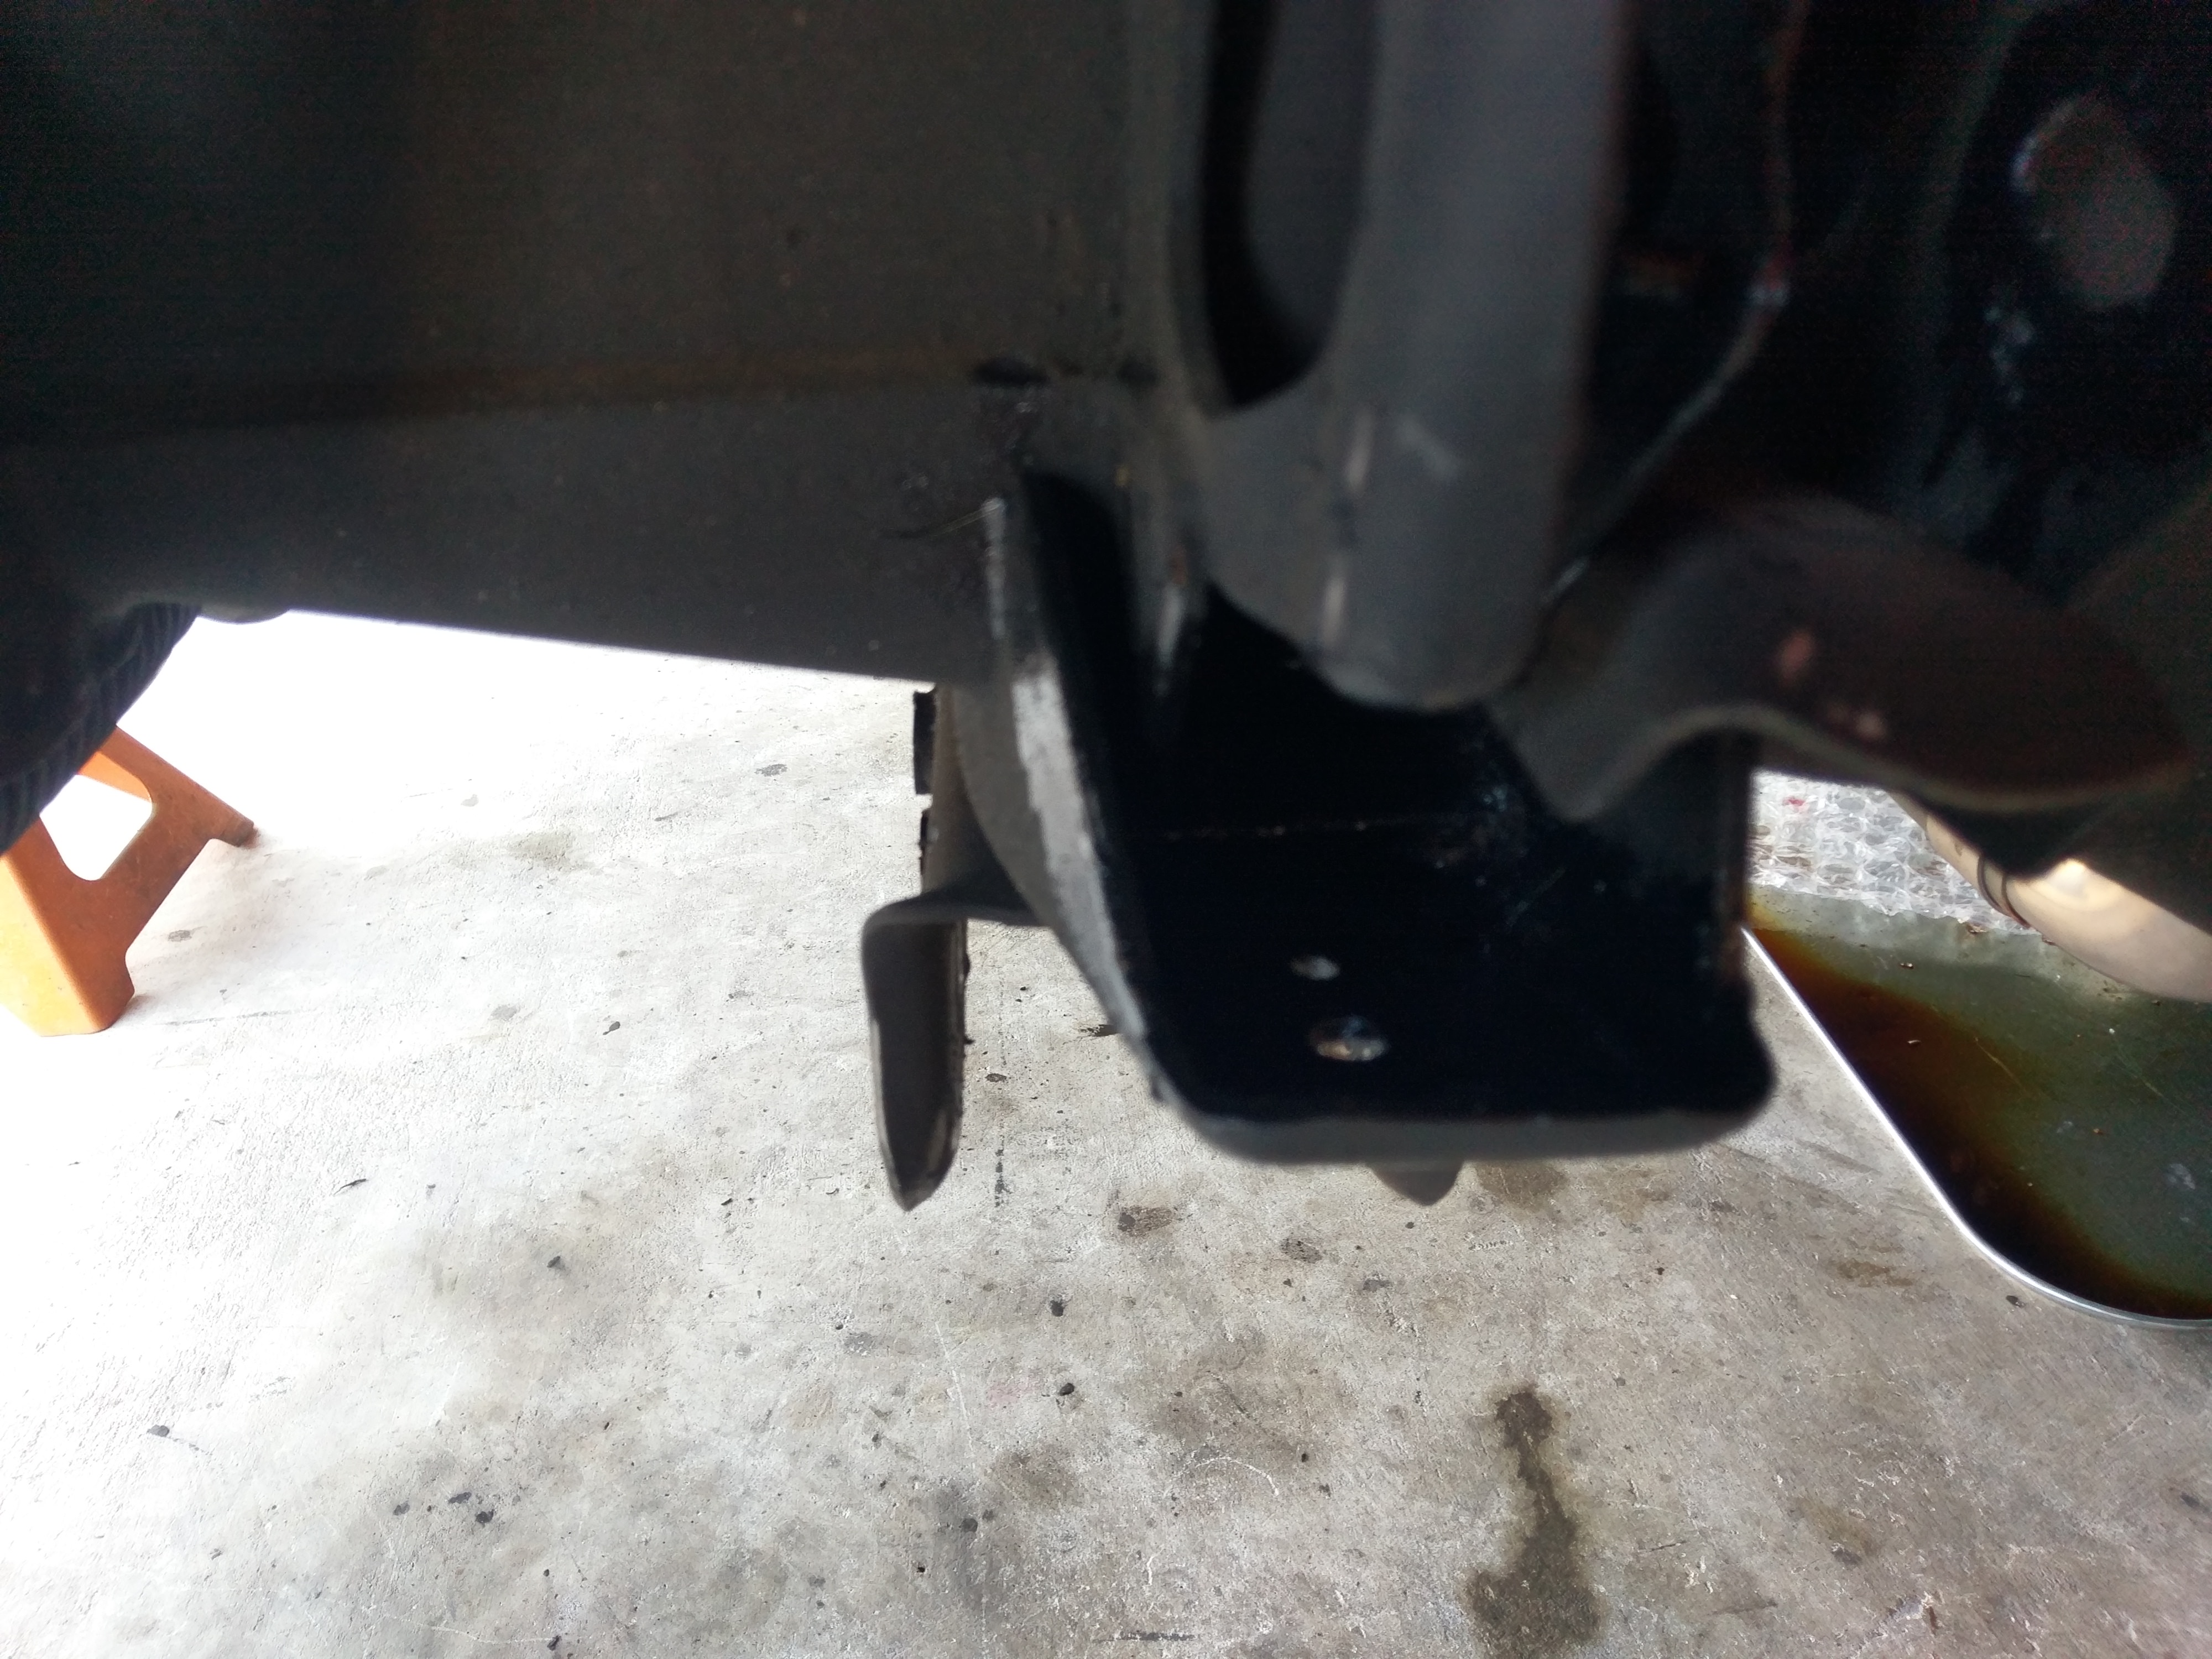
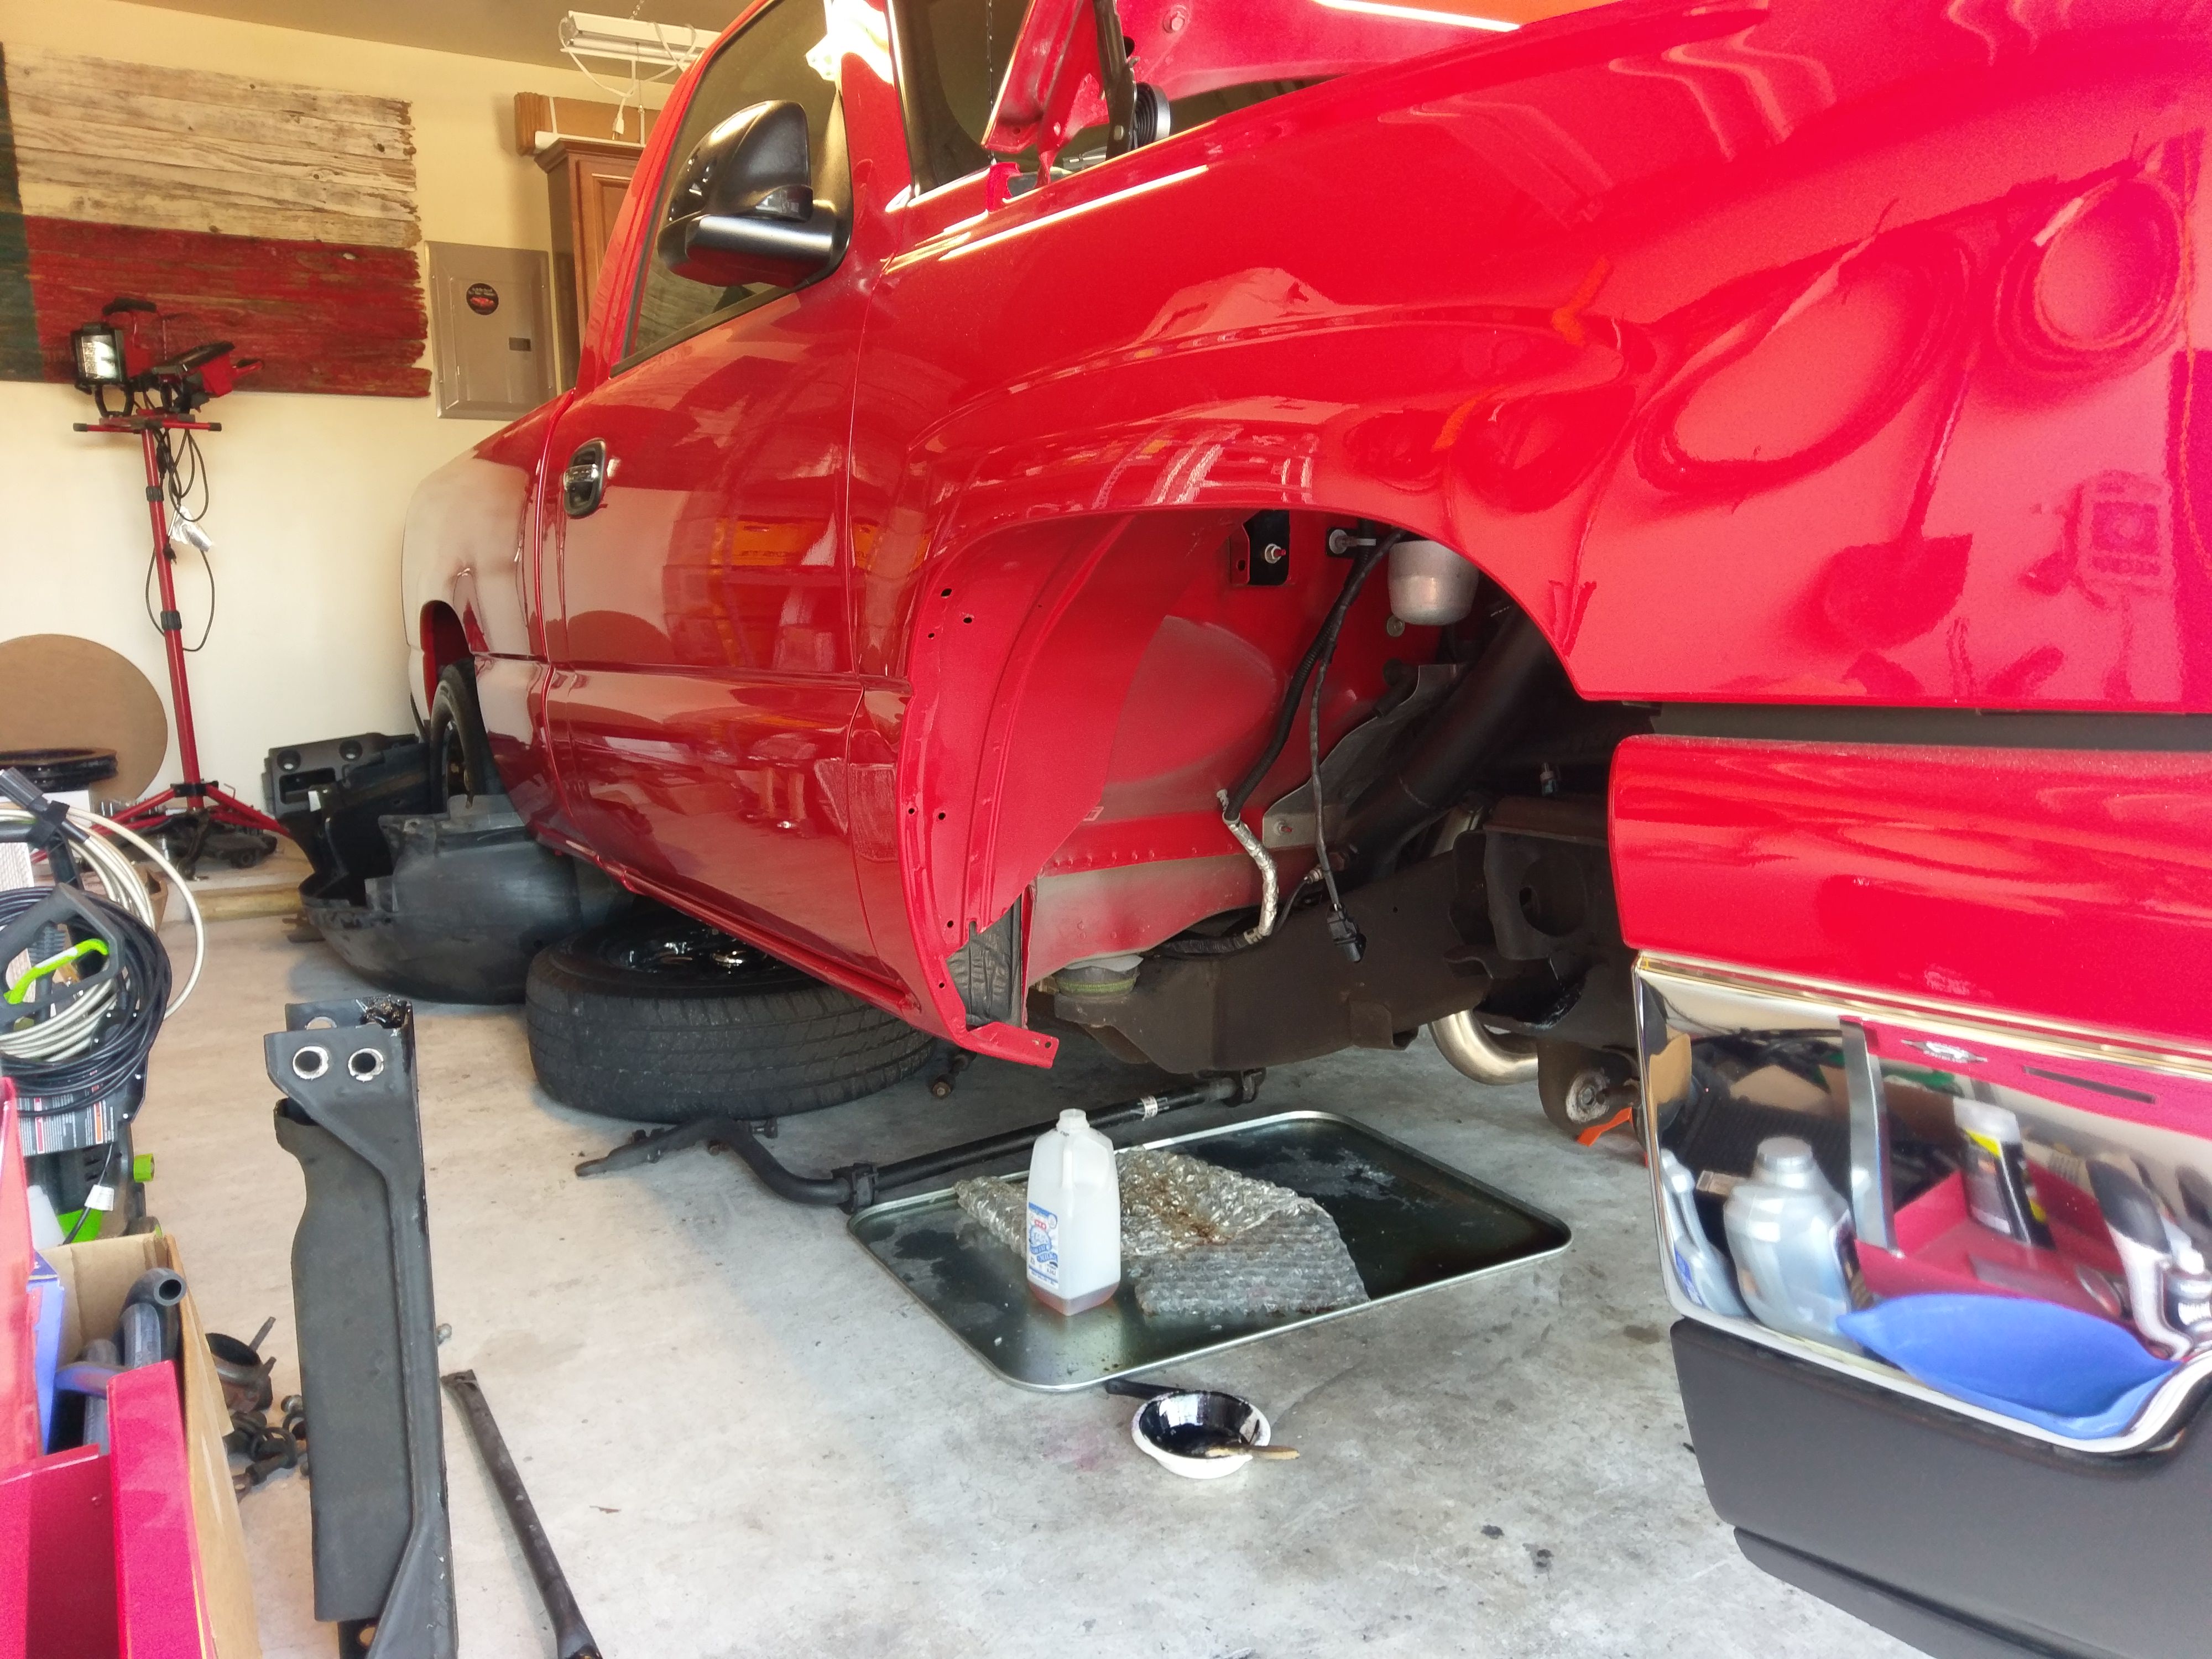
Then I had to take it to get it inspected and registered, and decided to tear into the suspension at this mileage
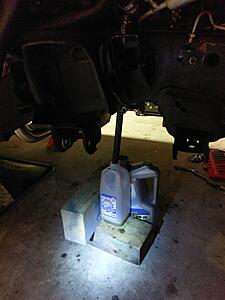
Put it on jackstands that weekend and it hasn't been off them since

Started the tear-down and measuring for coilovers
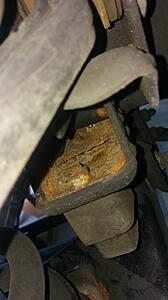
Found some rust in a few nooks, but not bad at all for a truck from up north. The frame coating is still perfect on almost the entire truck
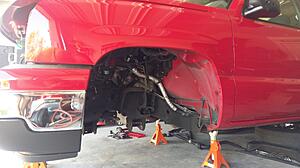
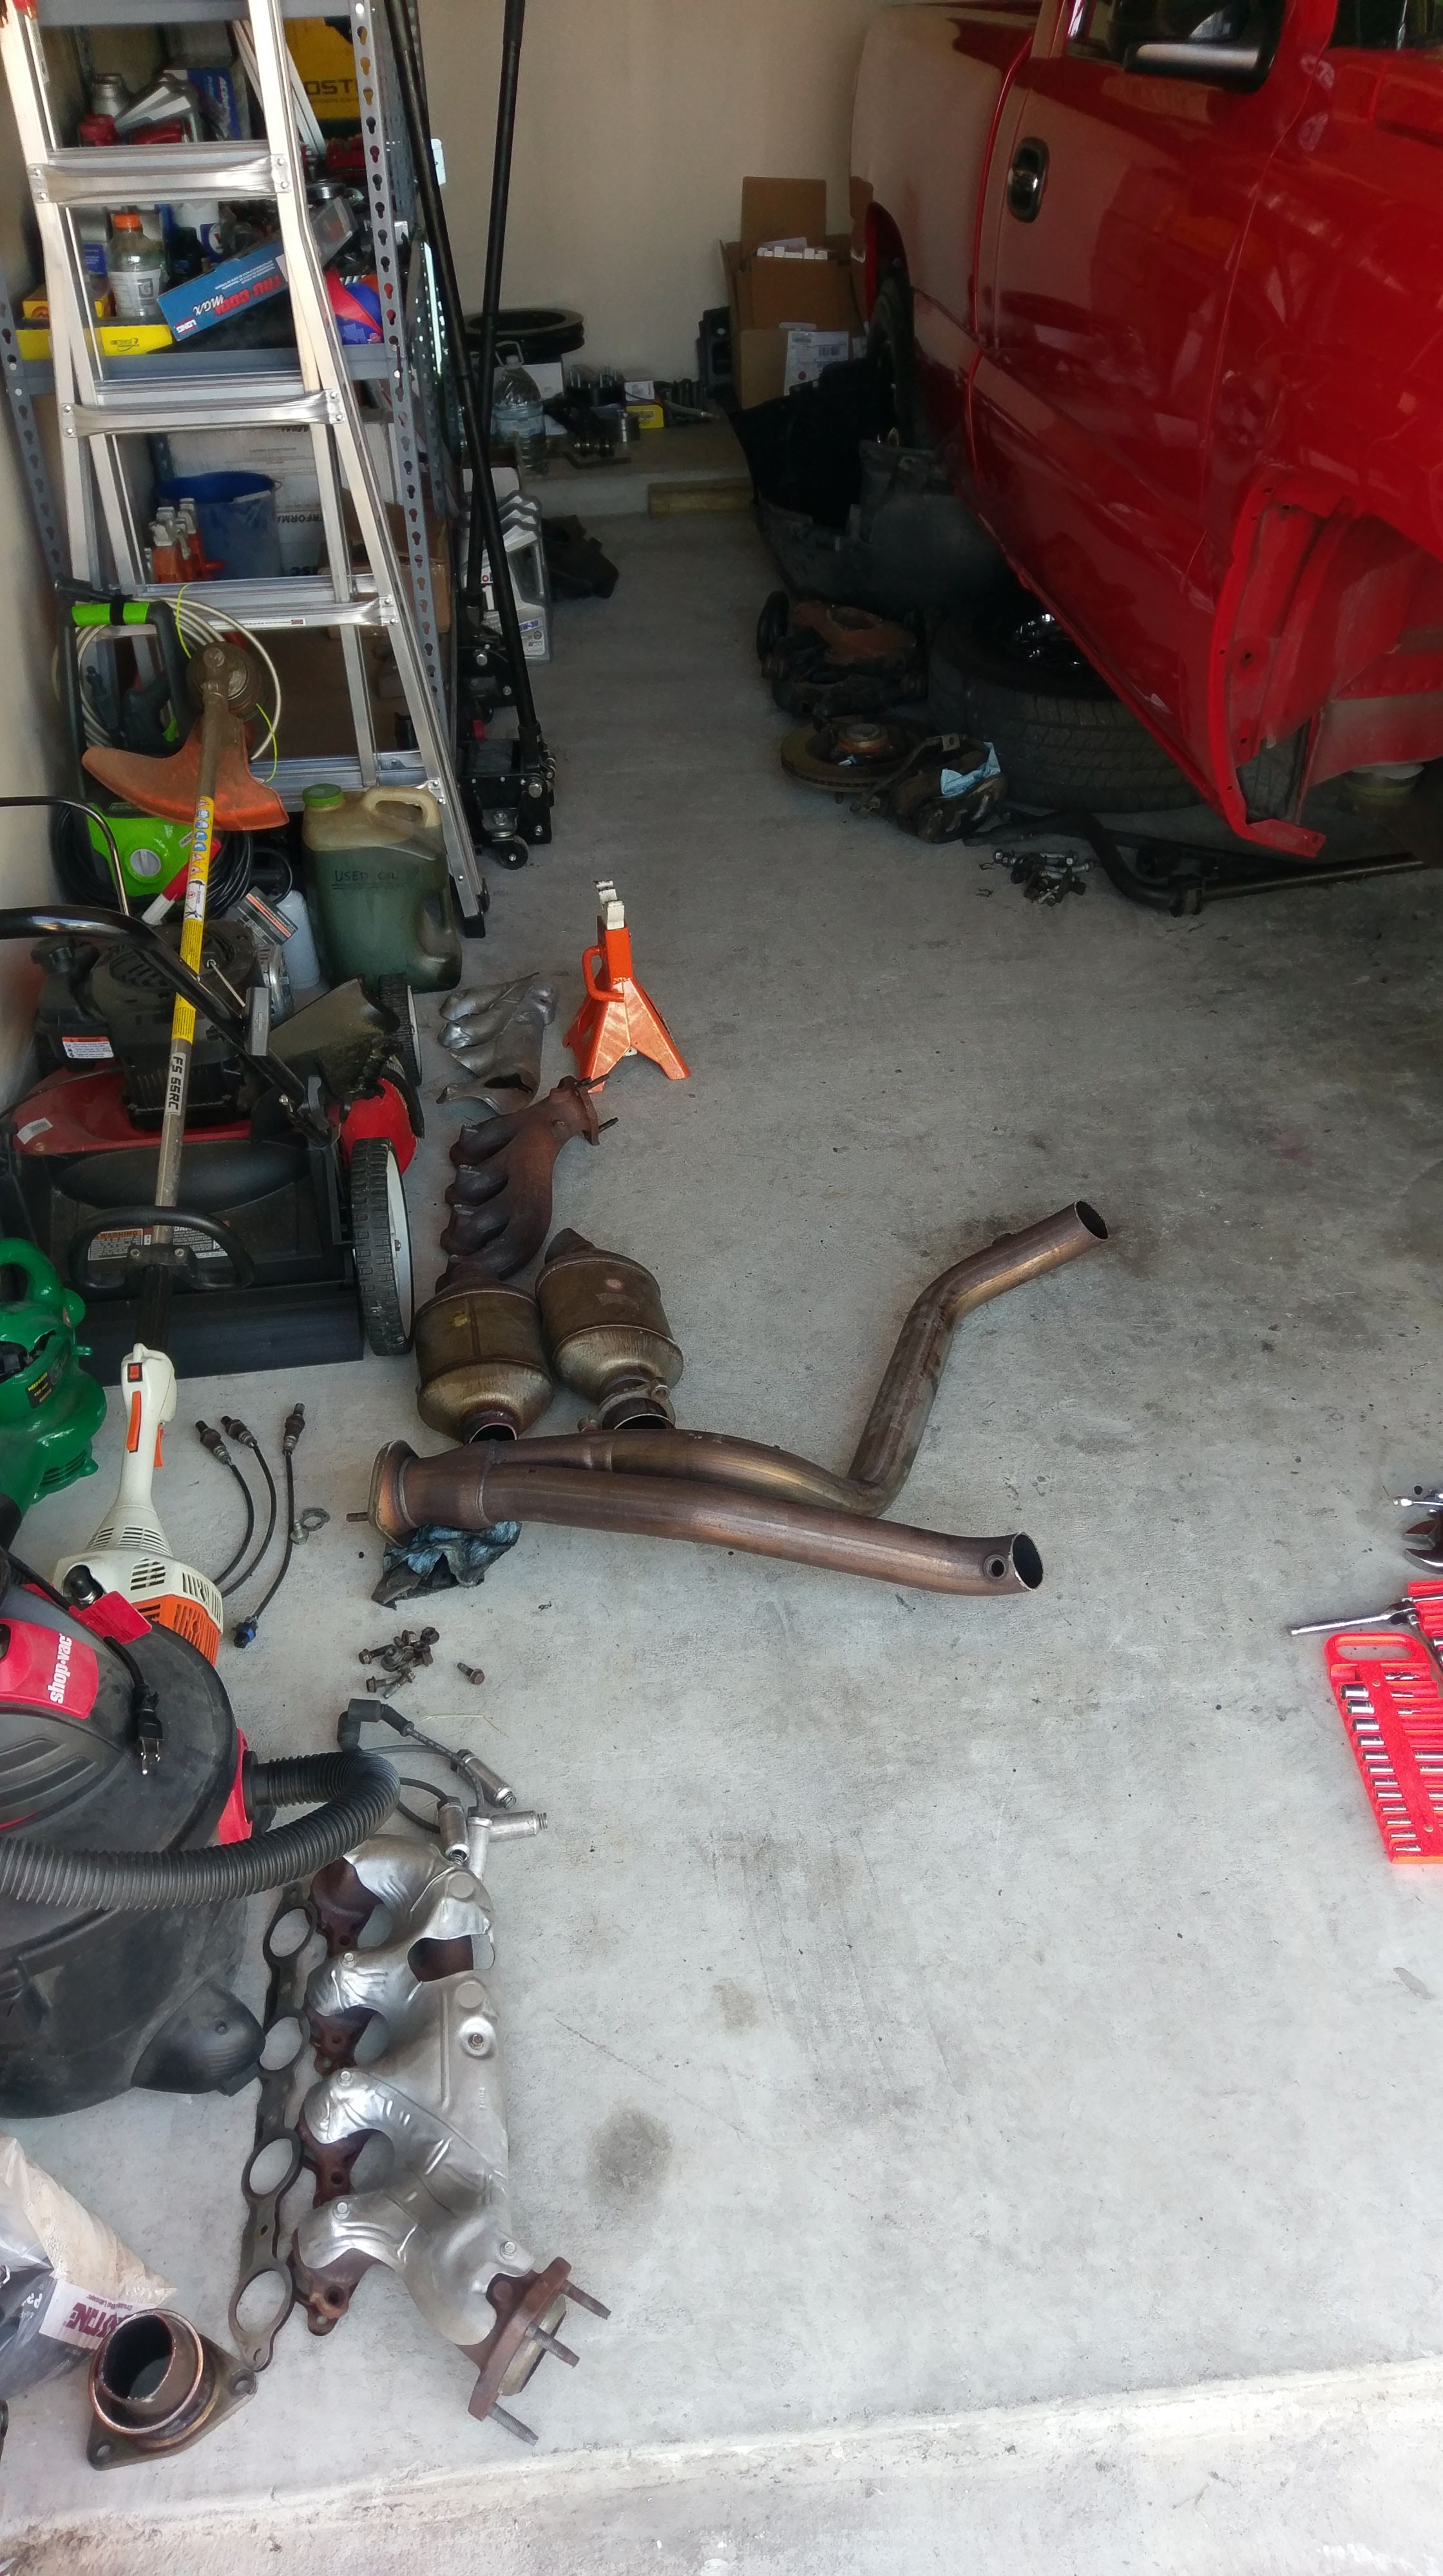
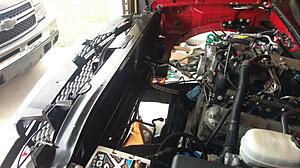
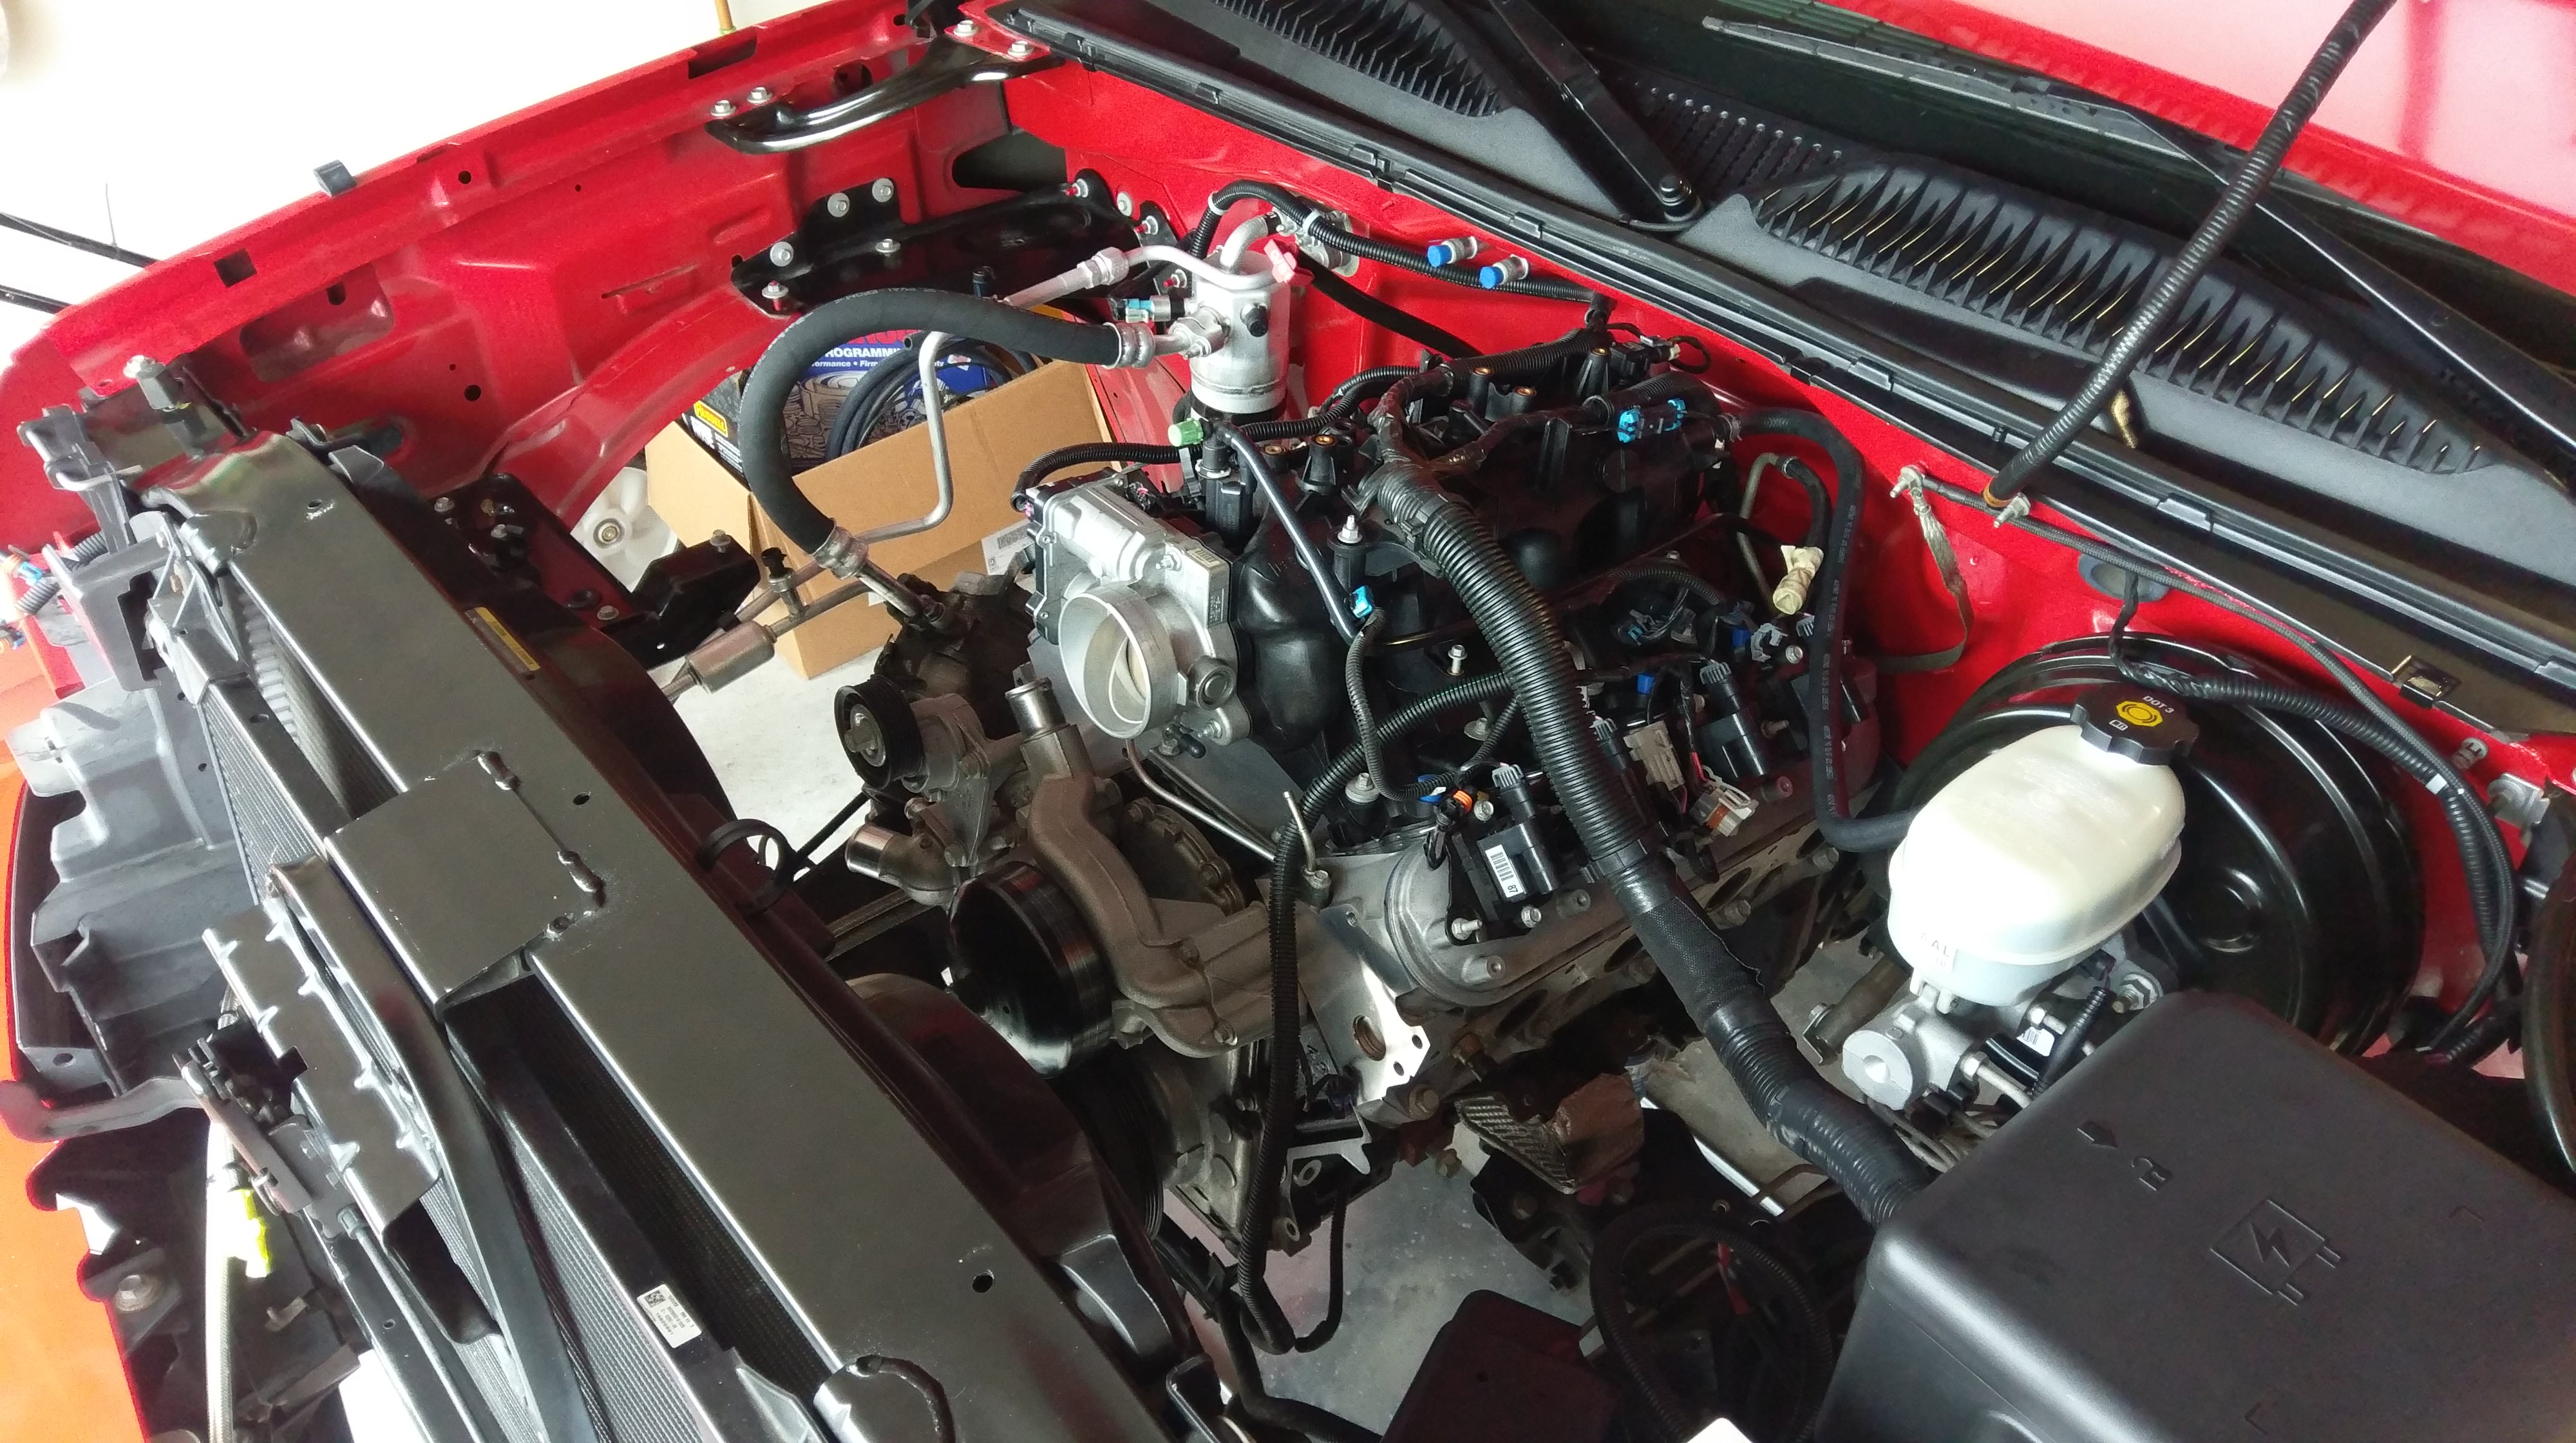
At this point, I figured it would be very easy to install the turbo with all that room I made, so the tear-down began
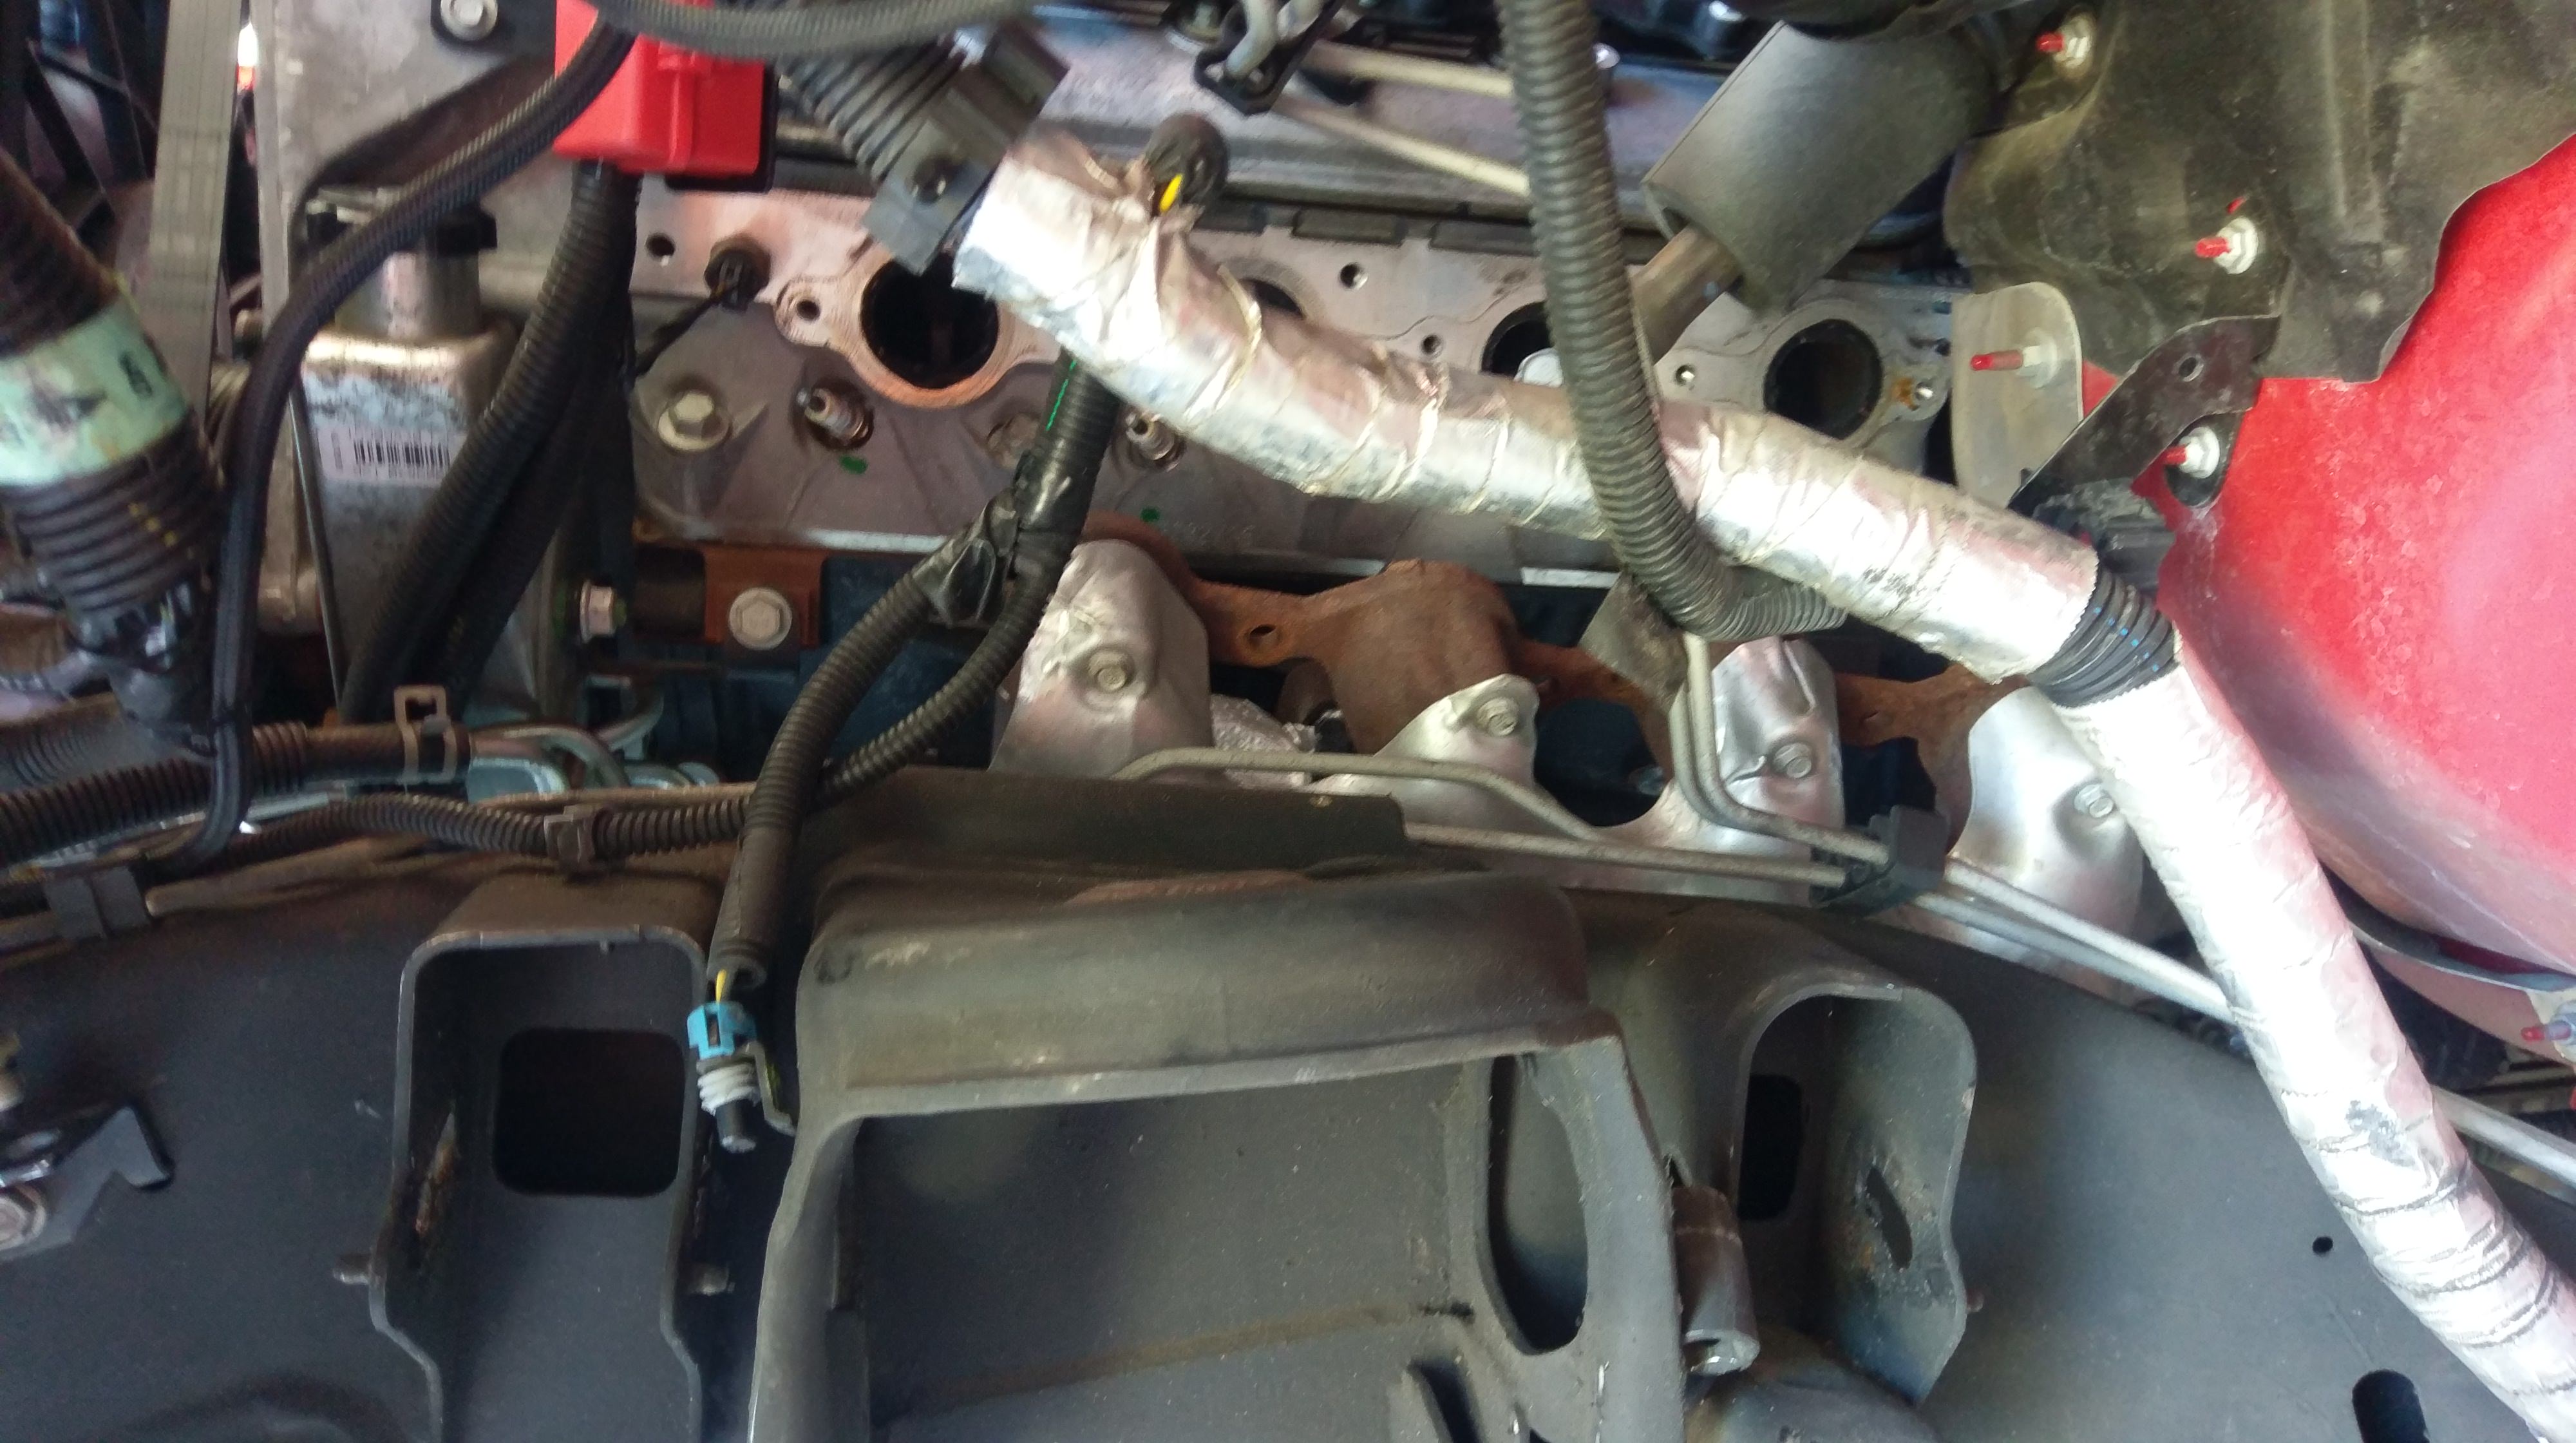
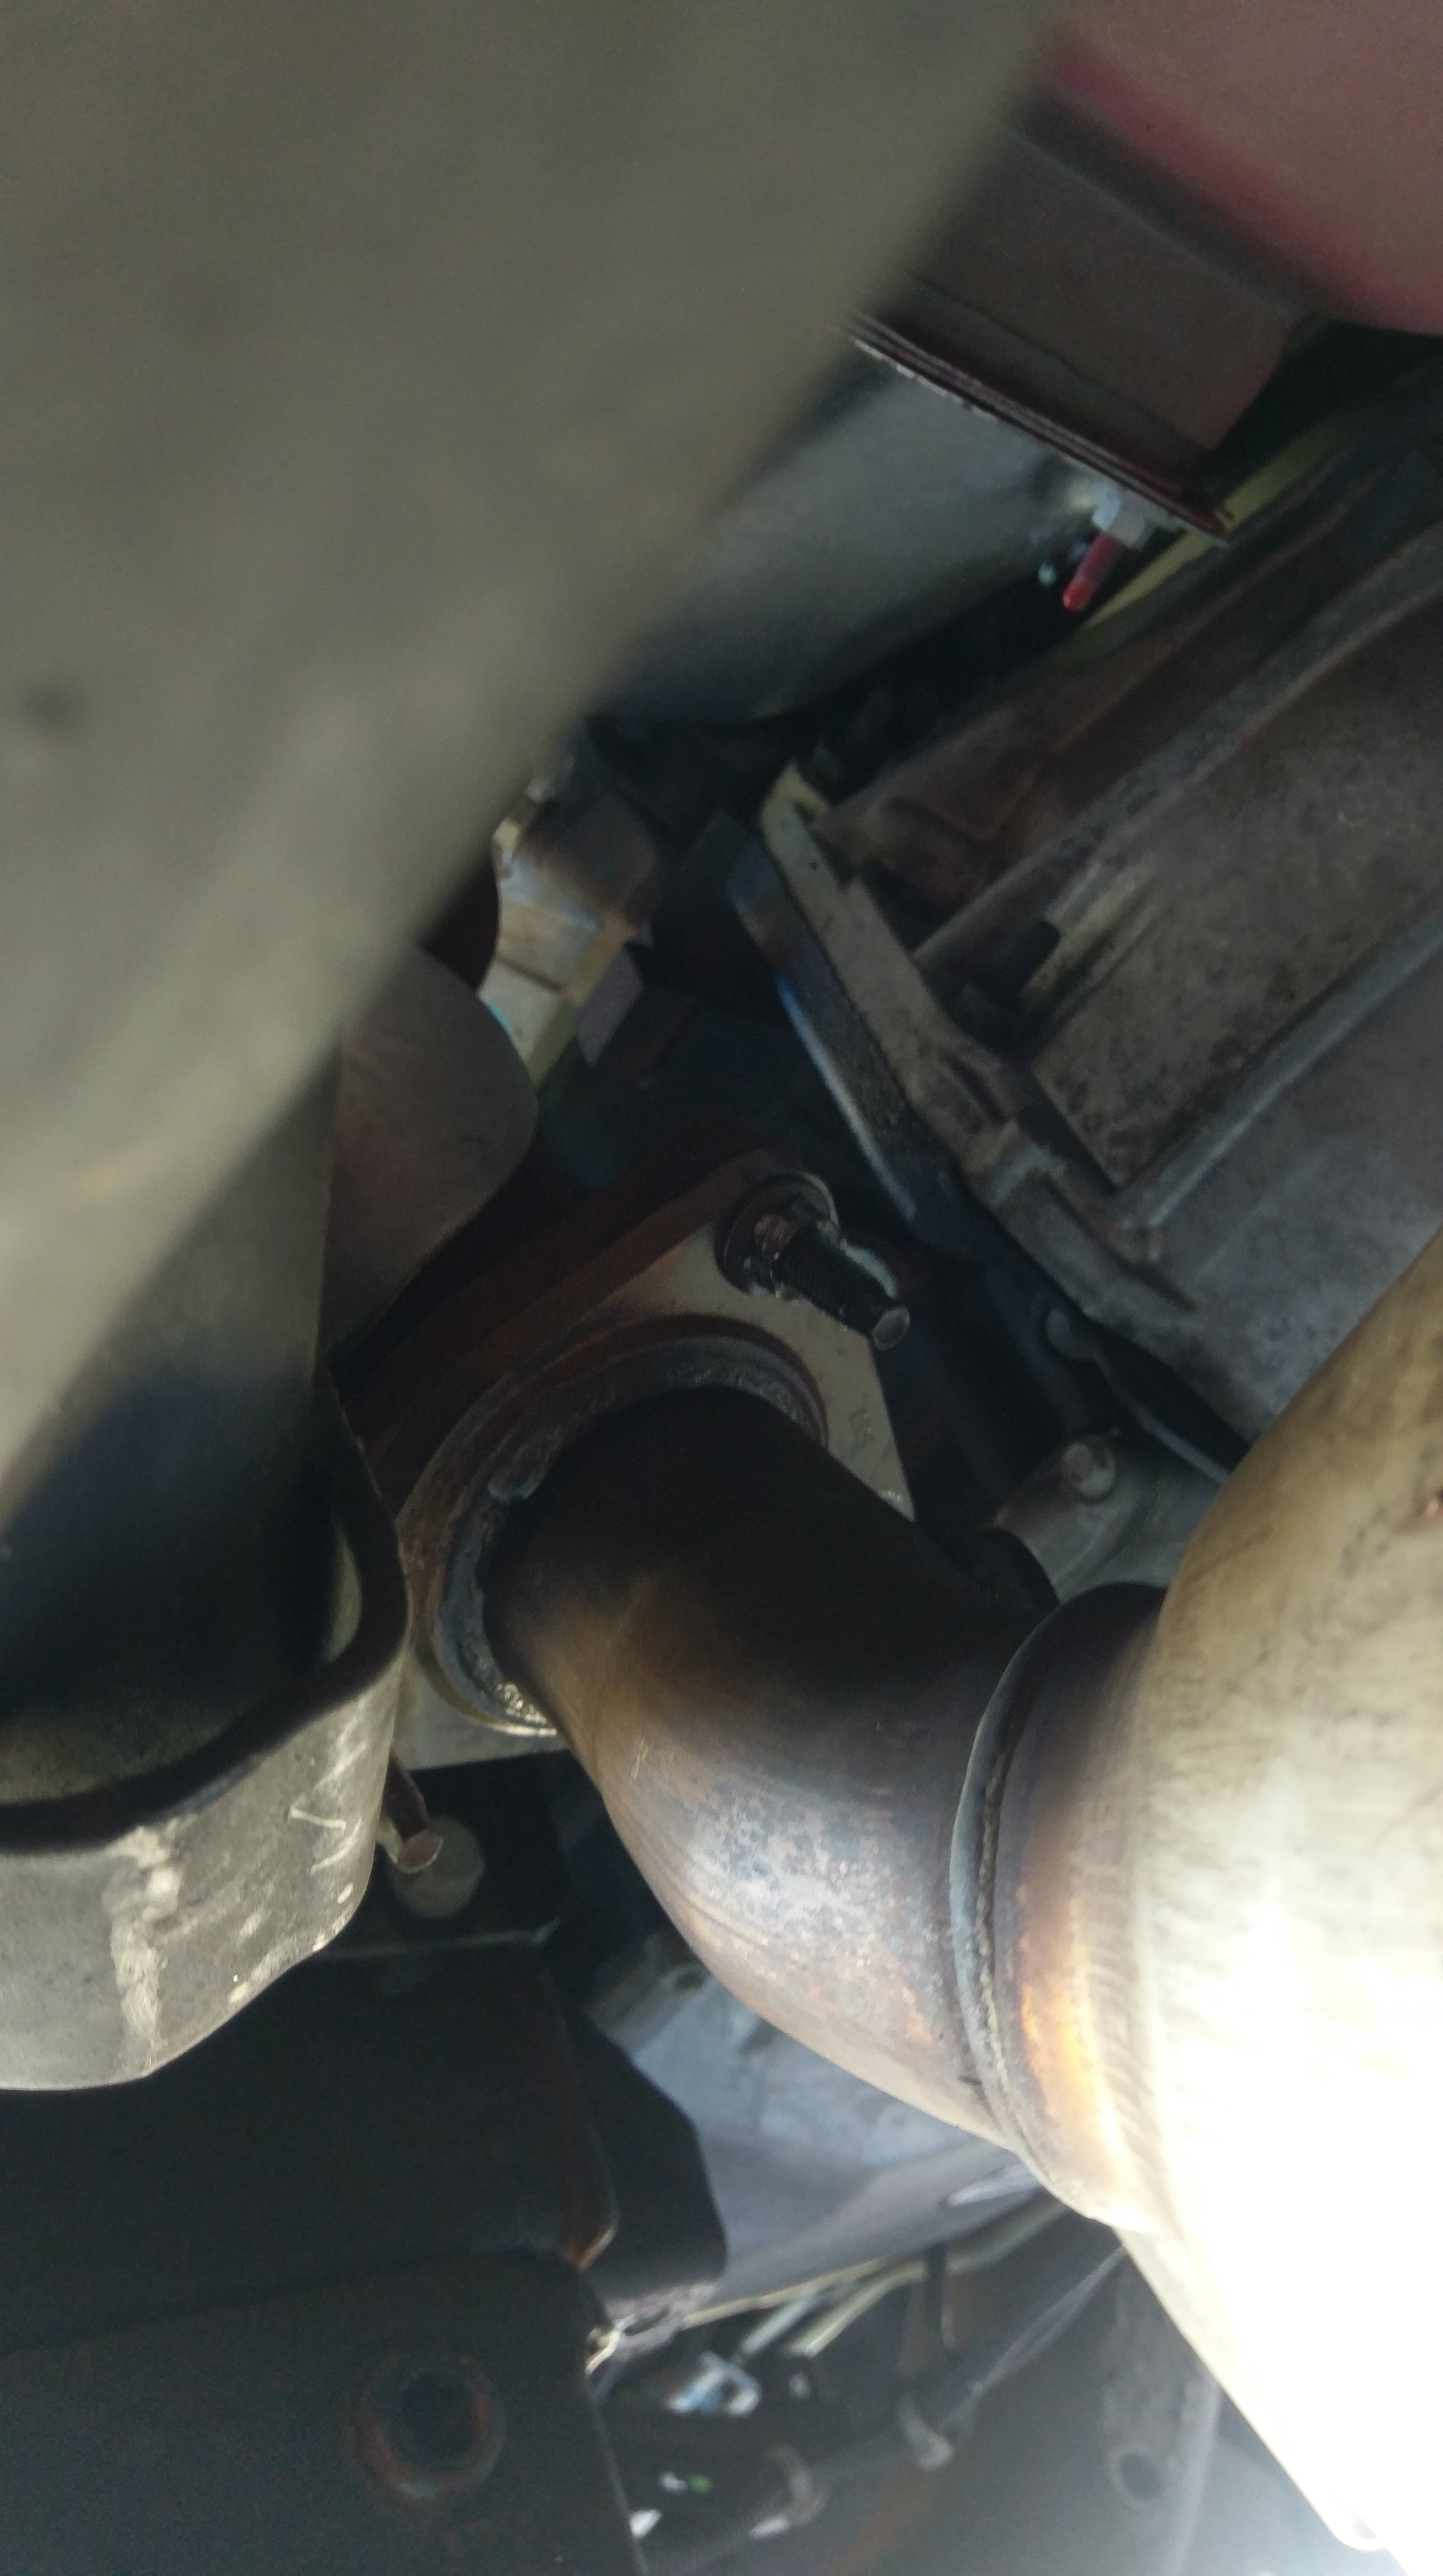
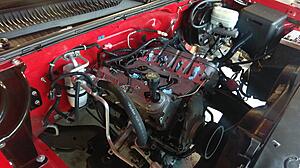
Couldn't get the drivers manifold off because of one nut that was stripping, so I tried to get it out in one piece connected to the y-pipe. Didn't work

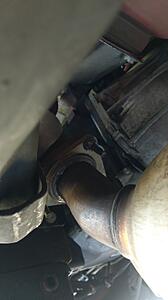
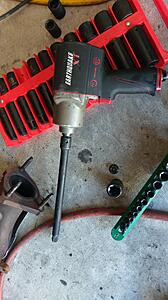
Busted out the sawzall

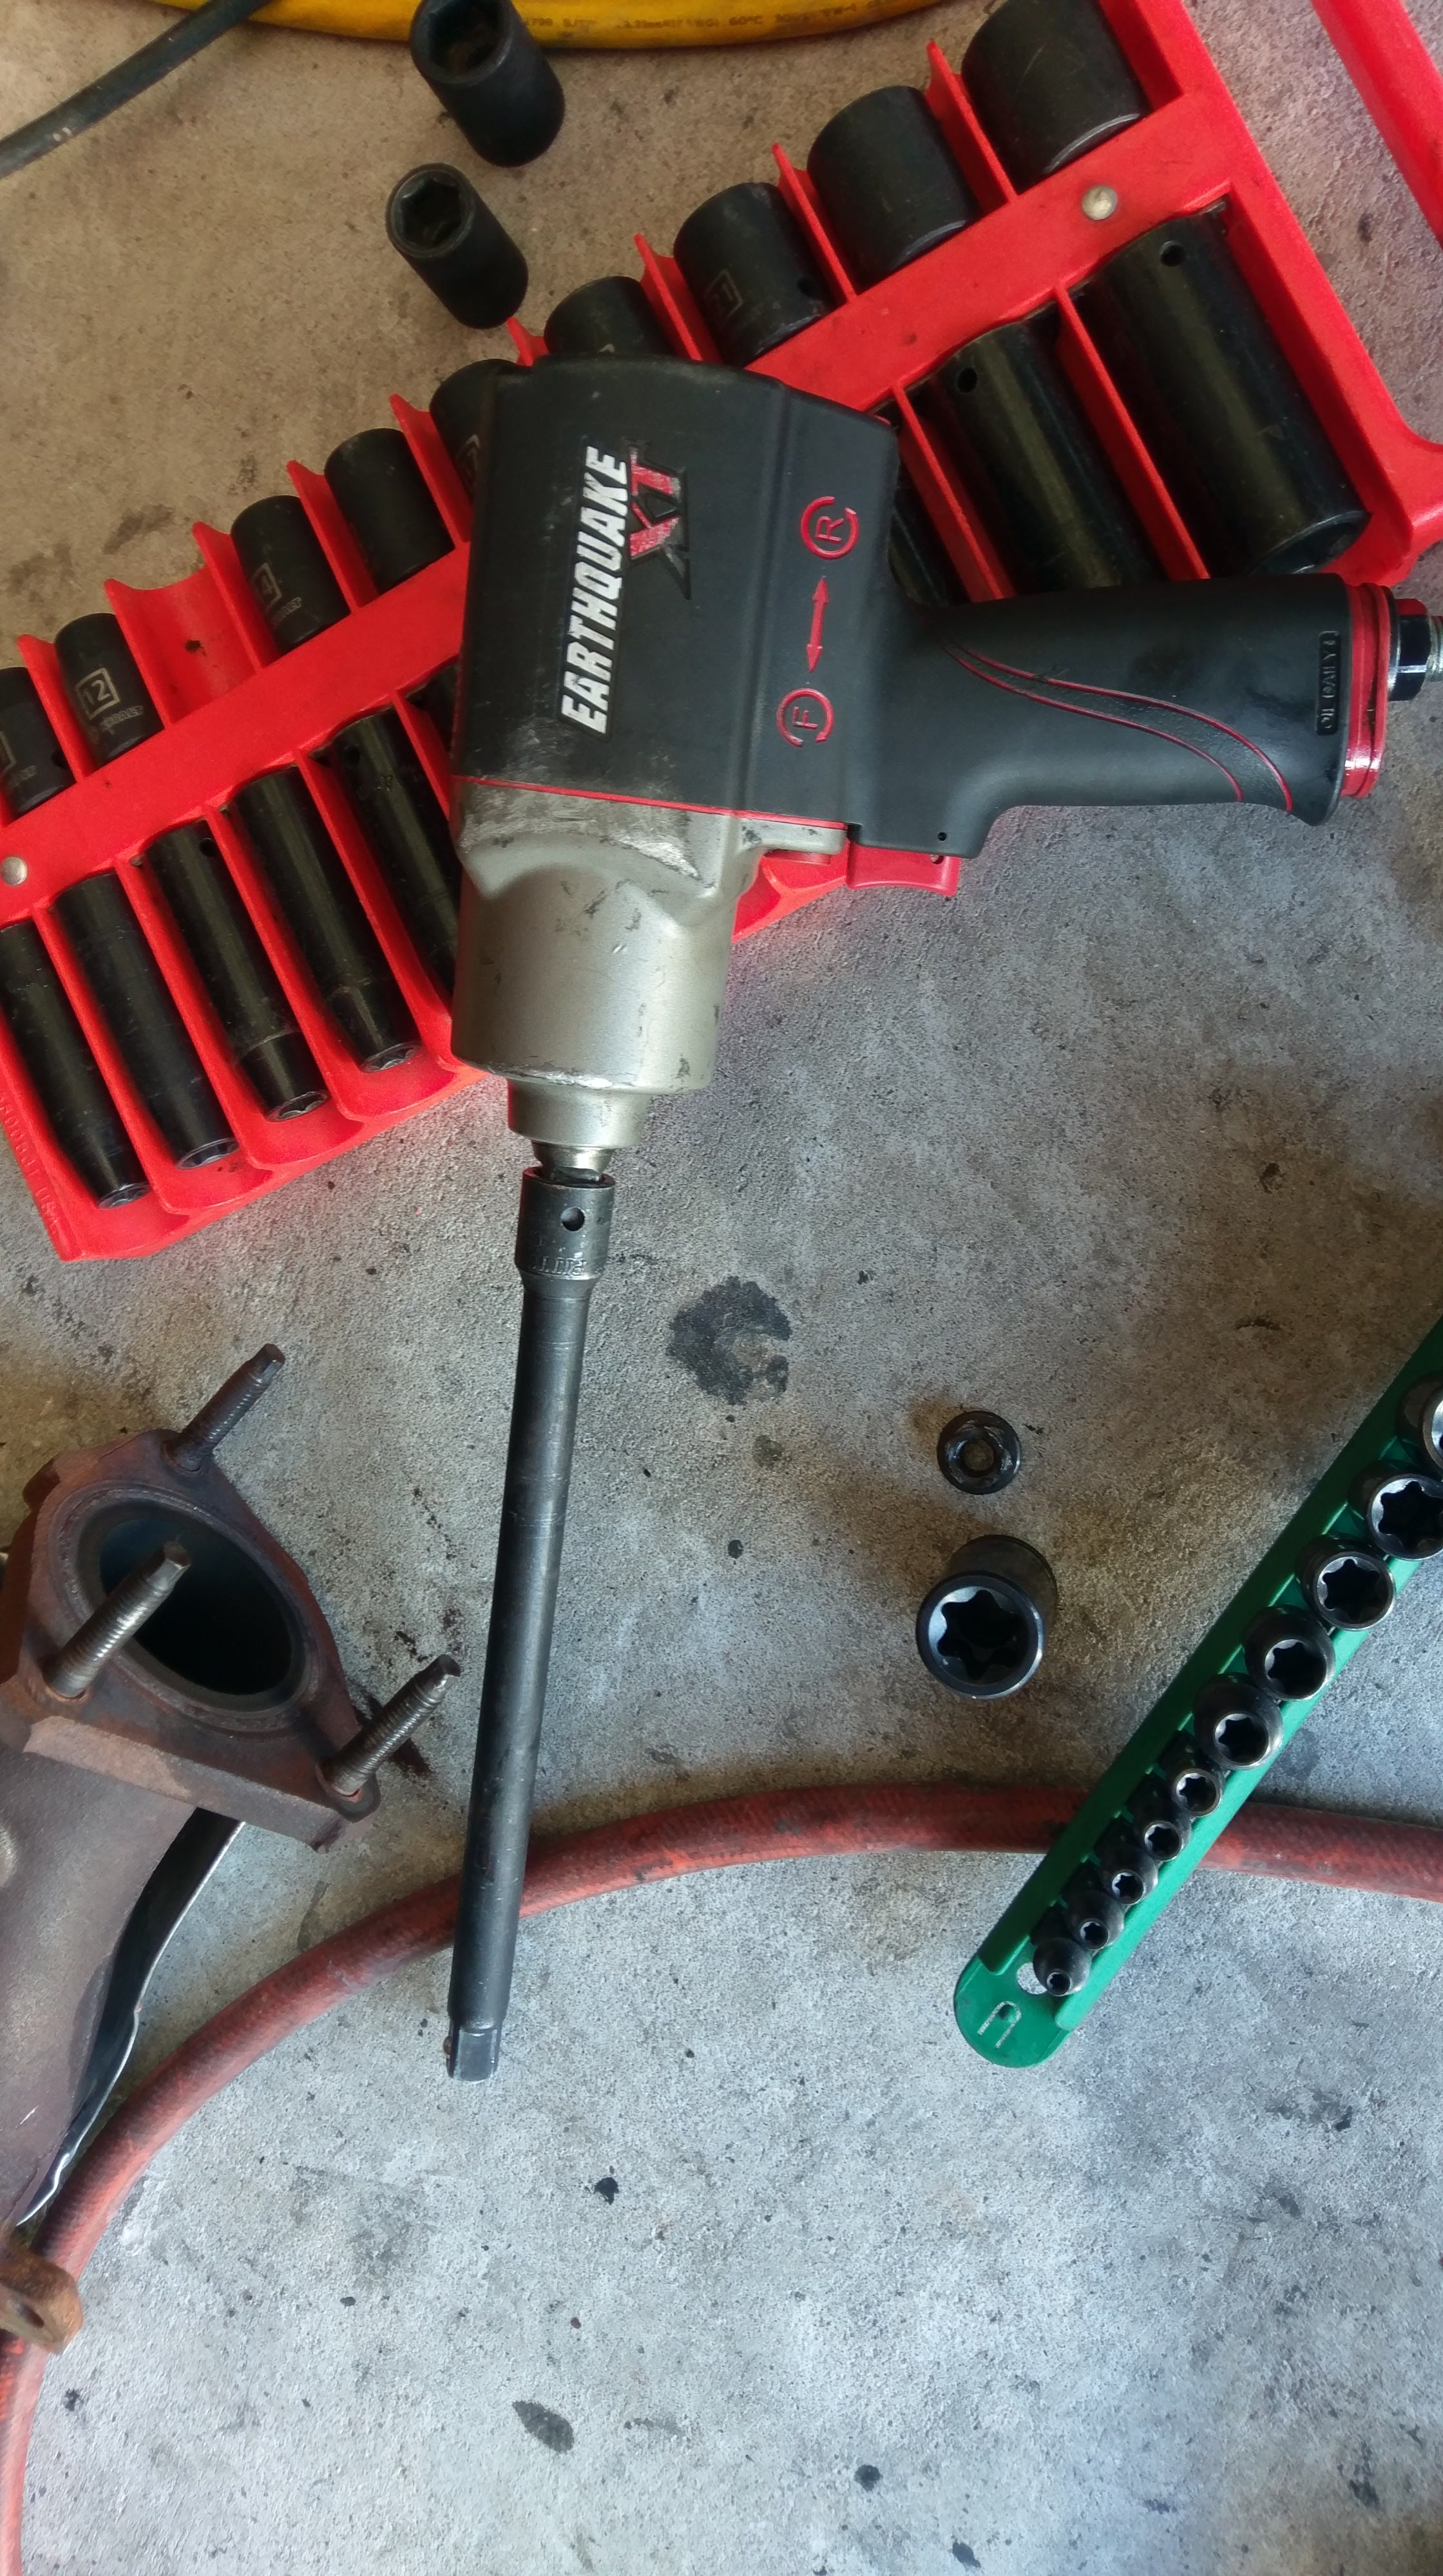
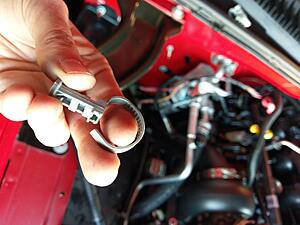
Hammered this socket on and it came right off

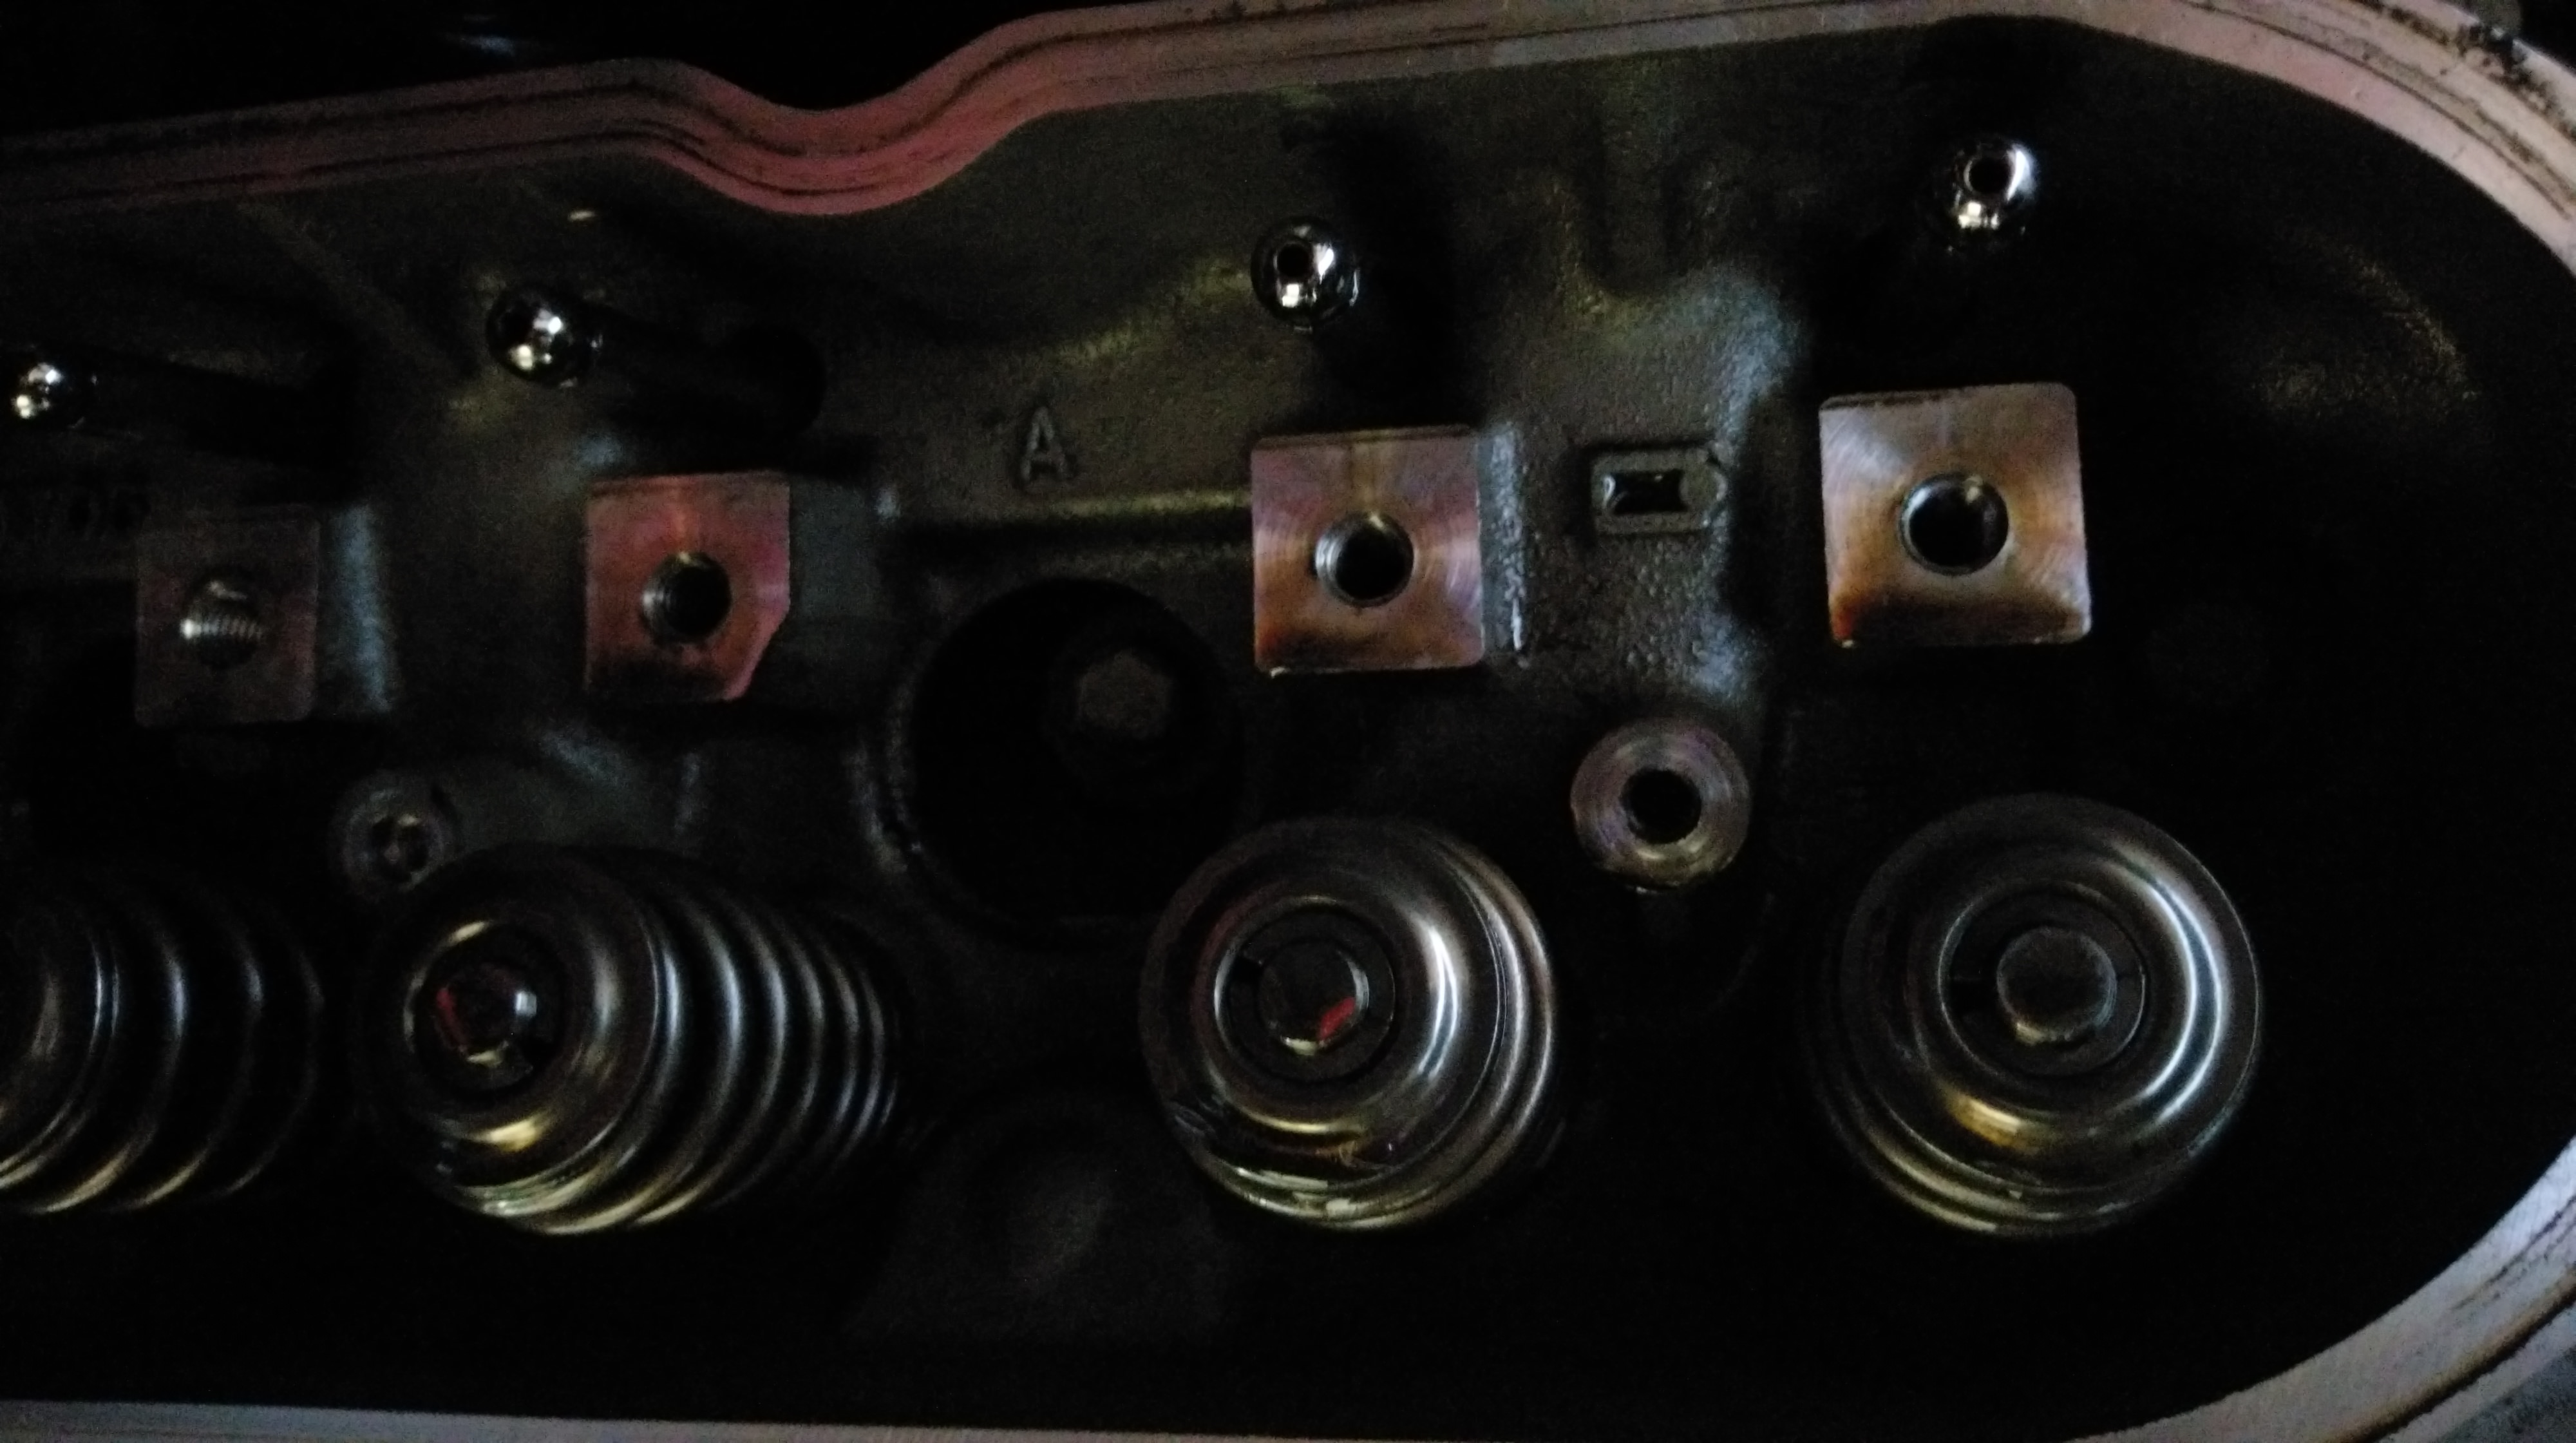
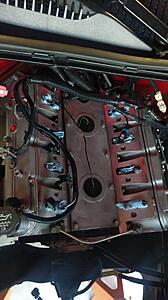
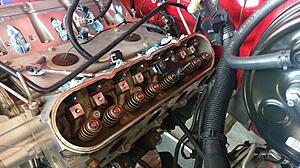
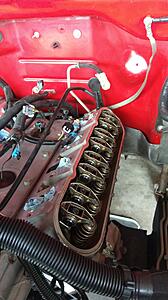
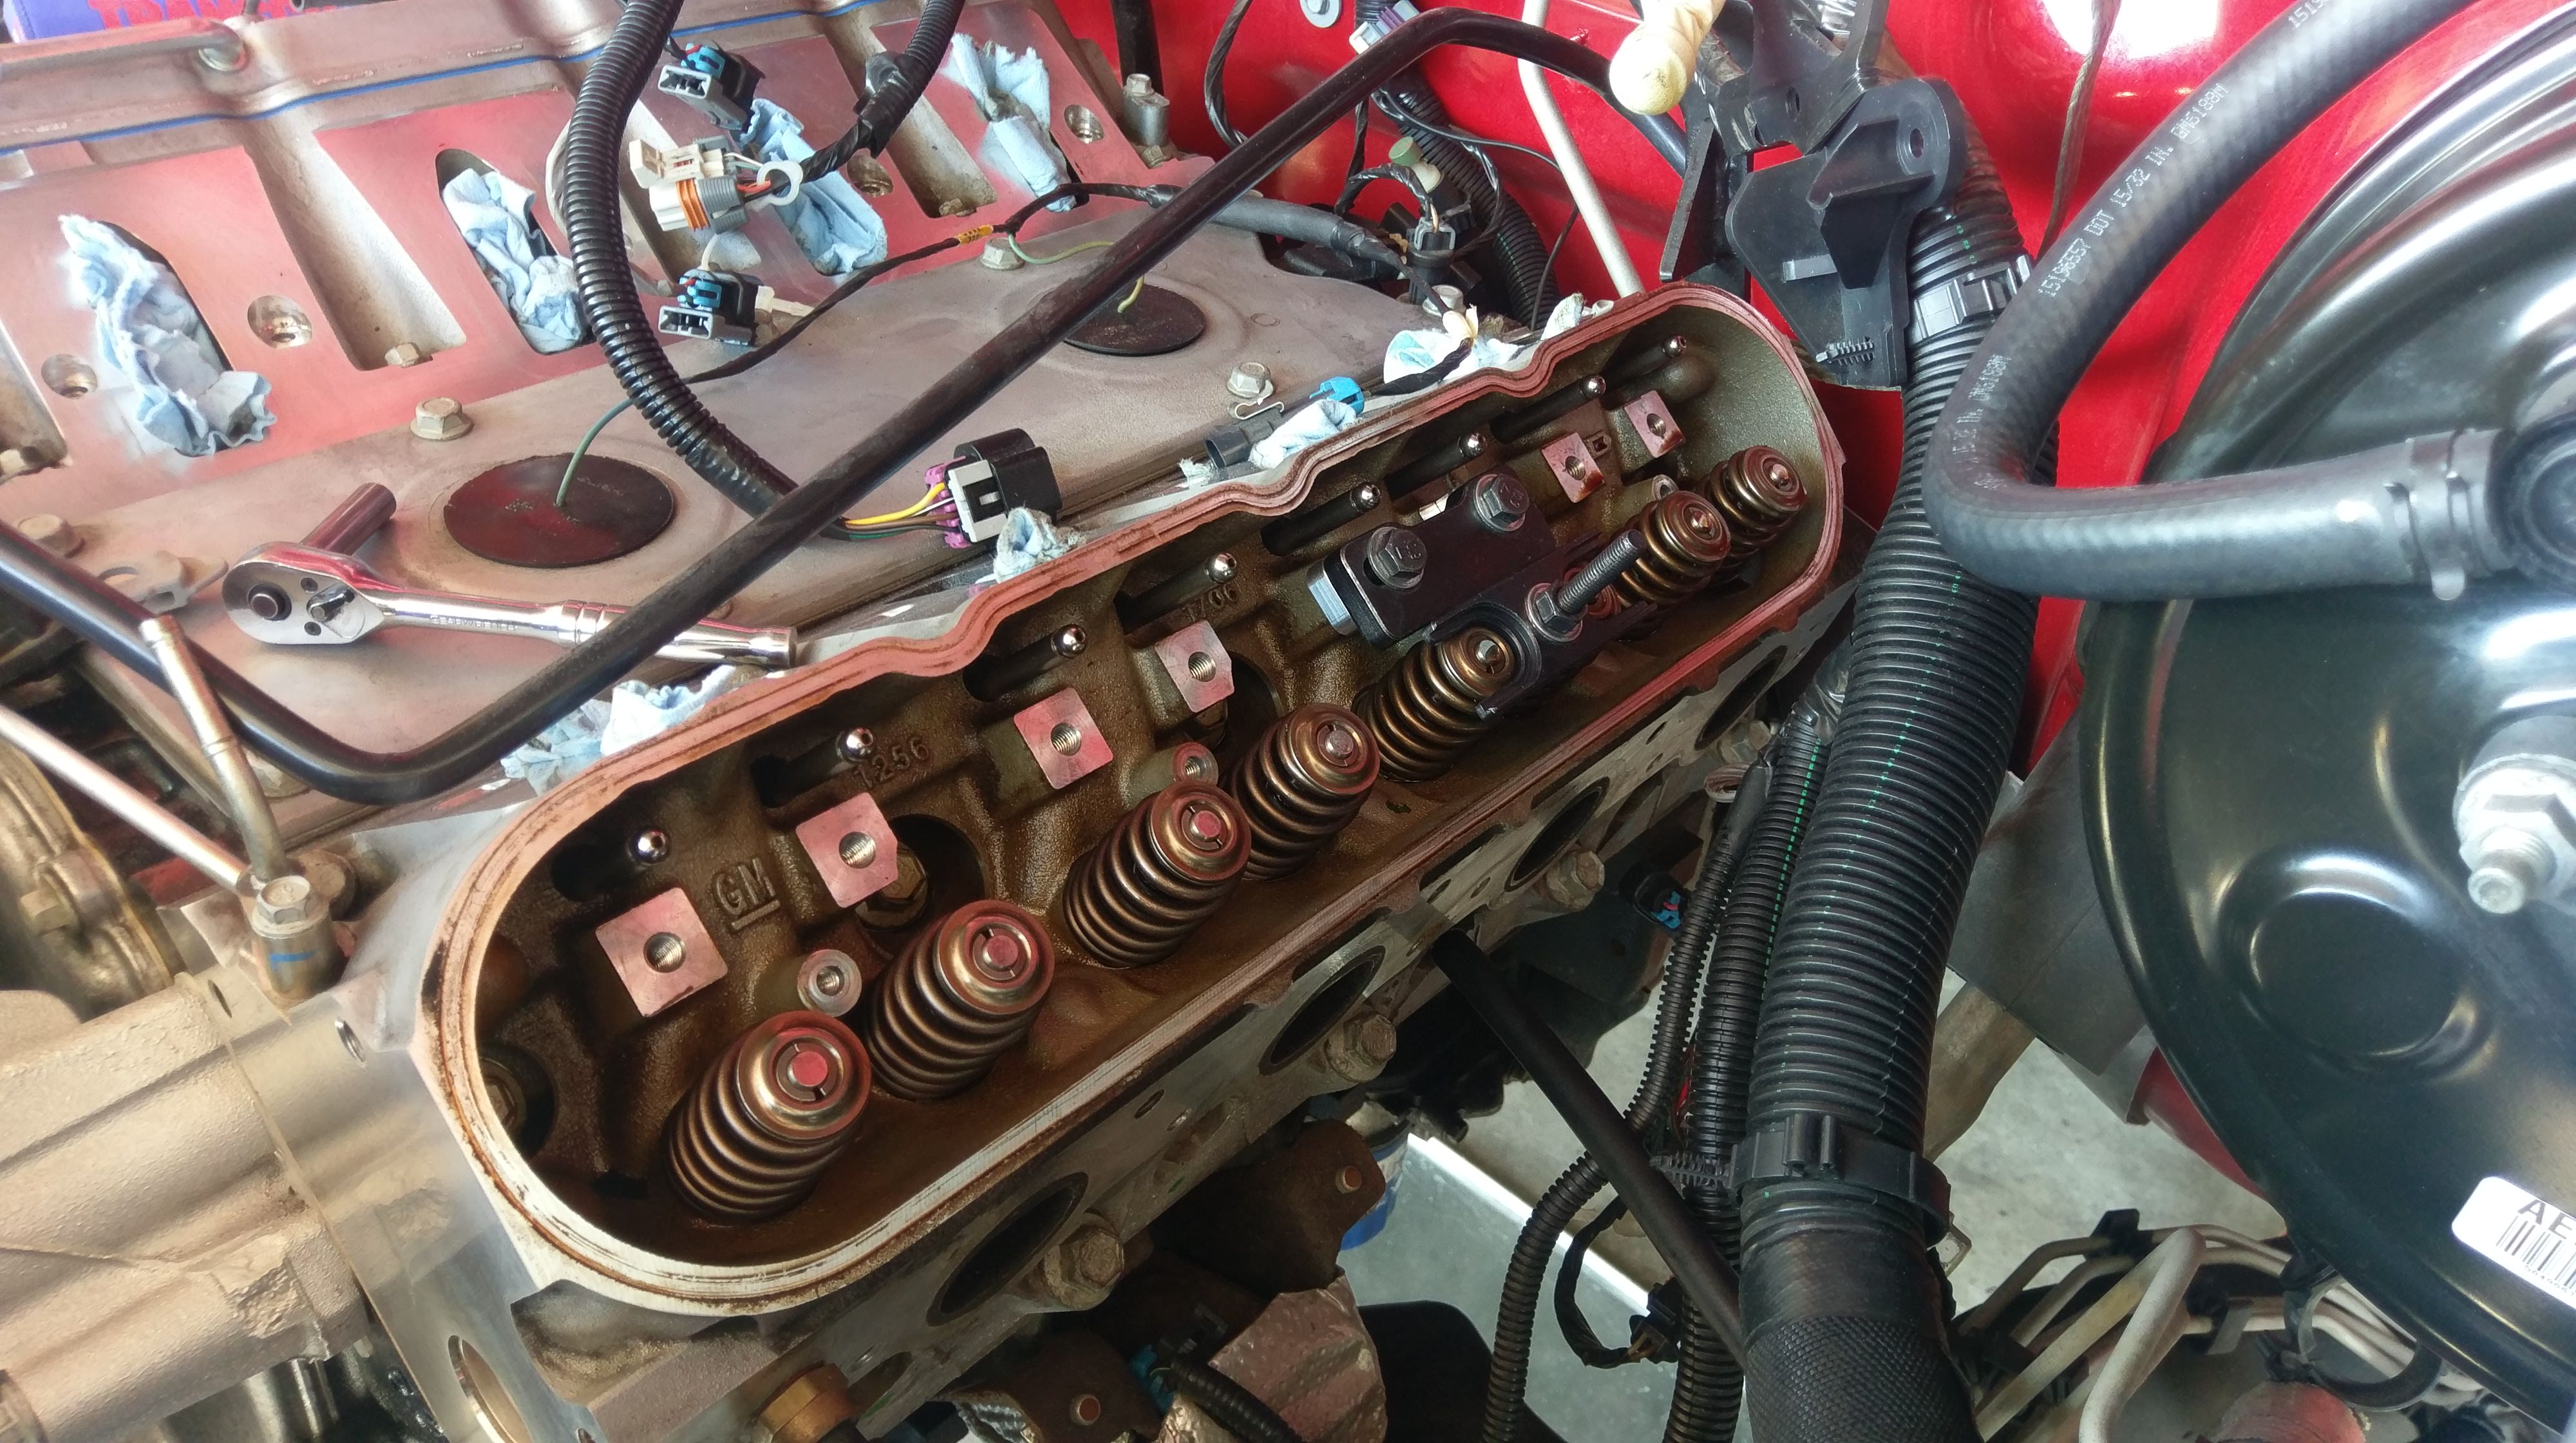
Since I had 706 heads, I decided to check for the casting mark and they are indeed the Castechs that are prone to cracking
And the tailgate

Originally thought the bushings were bad, so I ordered the daystar poly ones, but this was actually just a rubber washer that was damaged. Either way, swapped the daystar bushings in because the rack was out anyway

Tore the interior apart to install a steering wheel with radio controls, new clockspring, my remote start and alarm, etc..
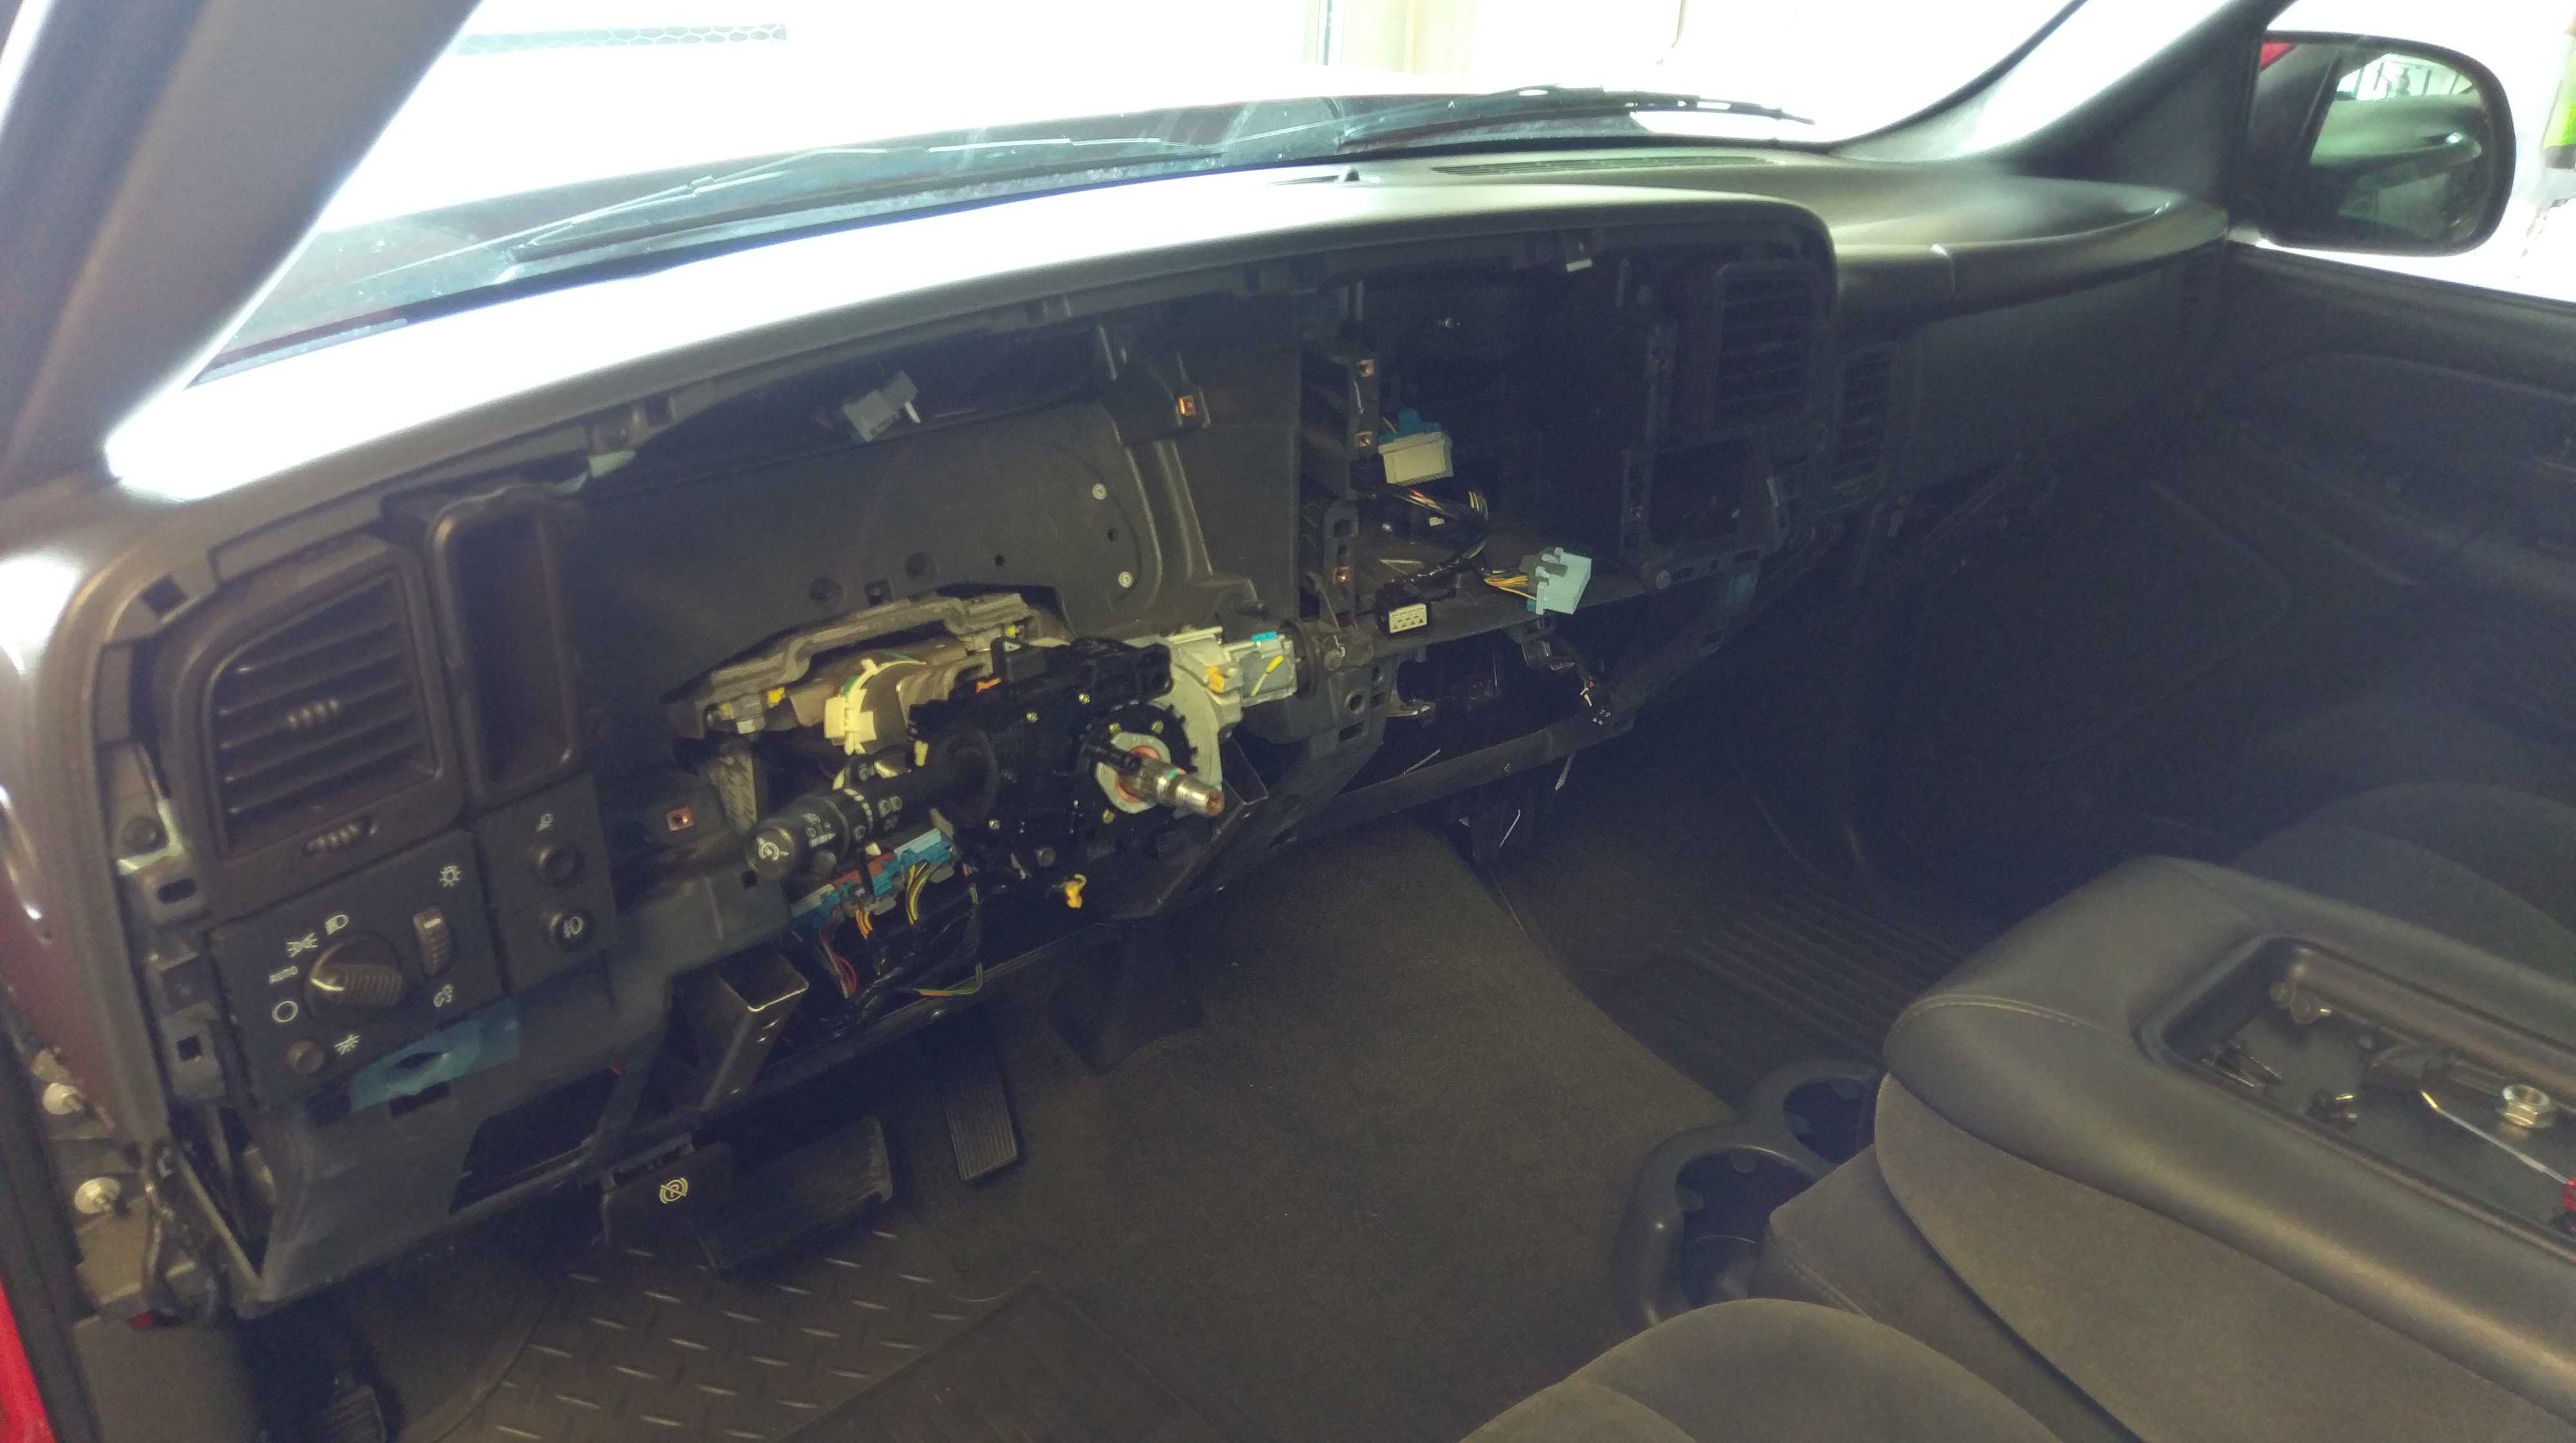
Added a cabin filter and door
Then I had to take it to get it inspected and registered, and decided to tear into the suspension at this mileage

Put it on jackstands that weekend and it hasn't been off them since
Started the tear-down and measuring for coilovers
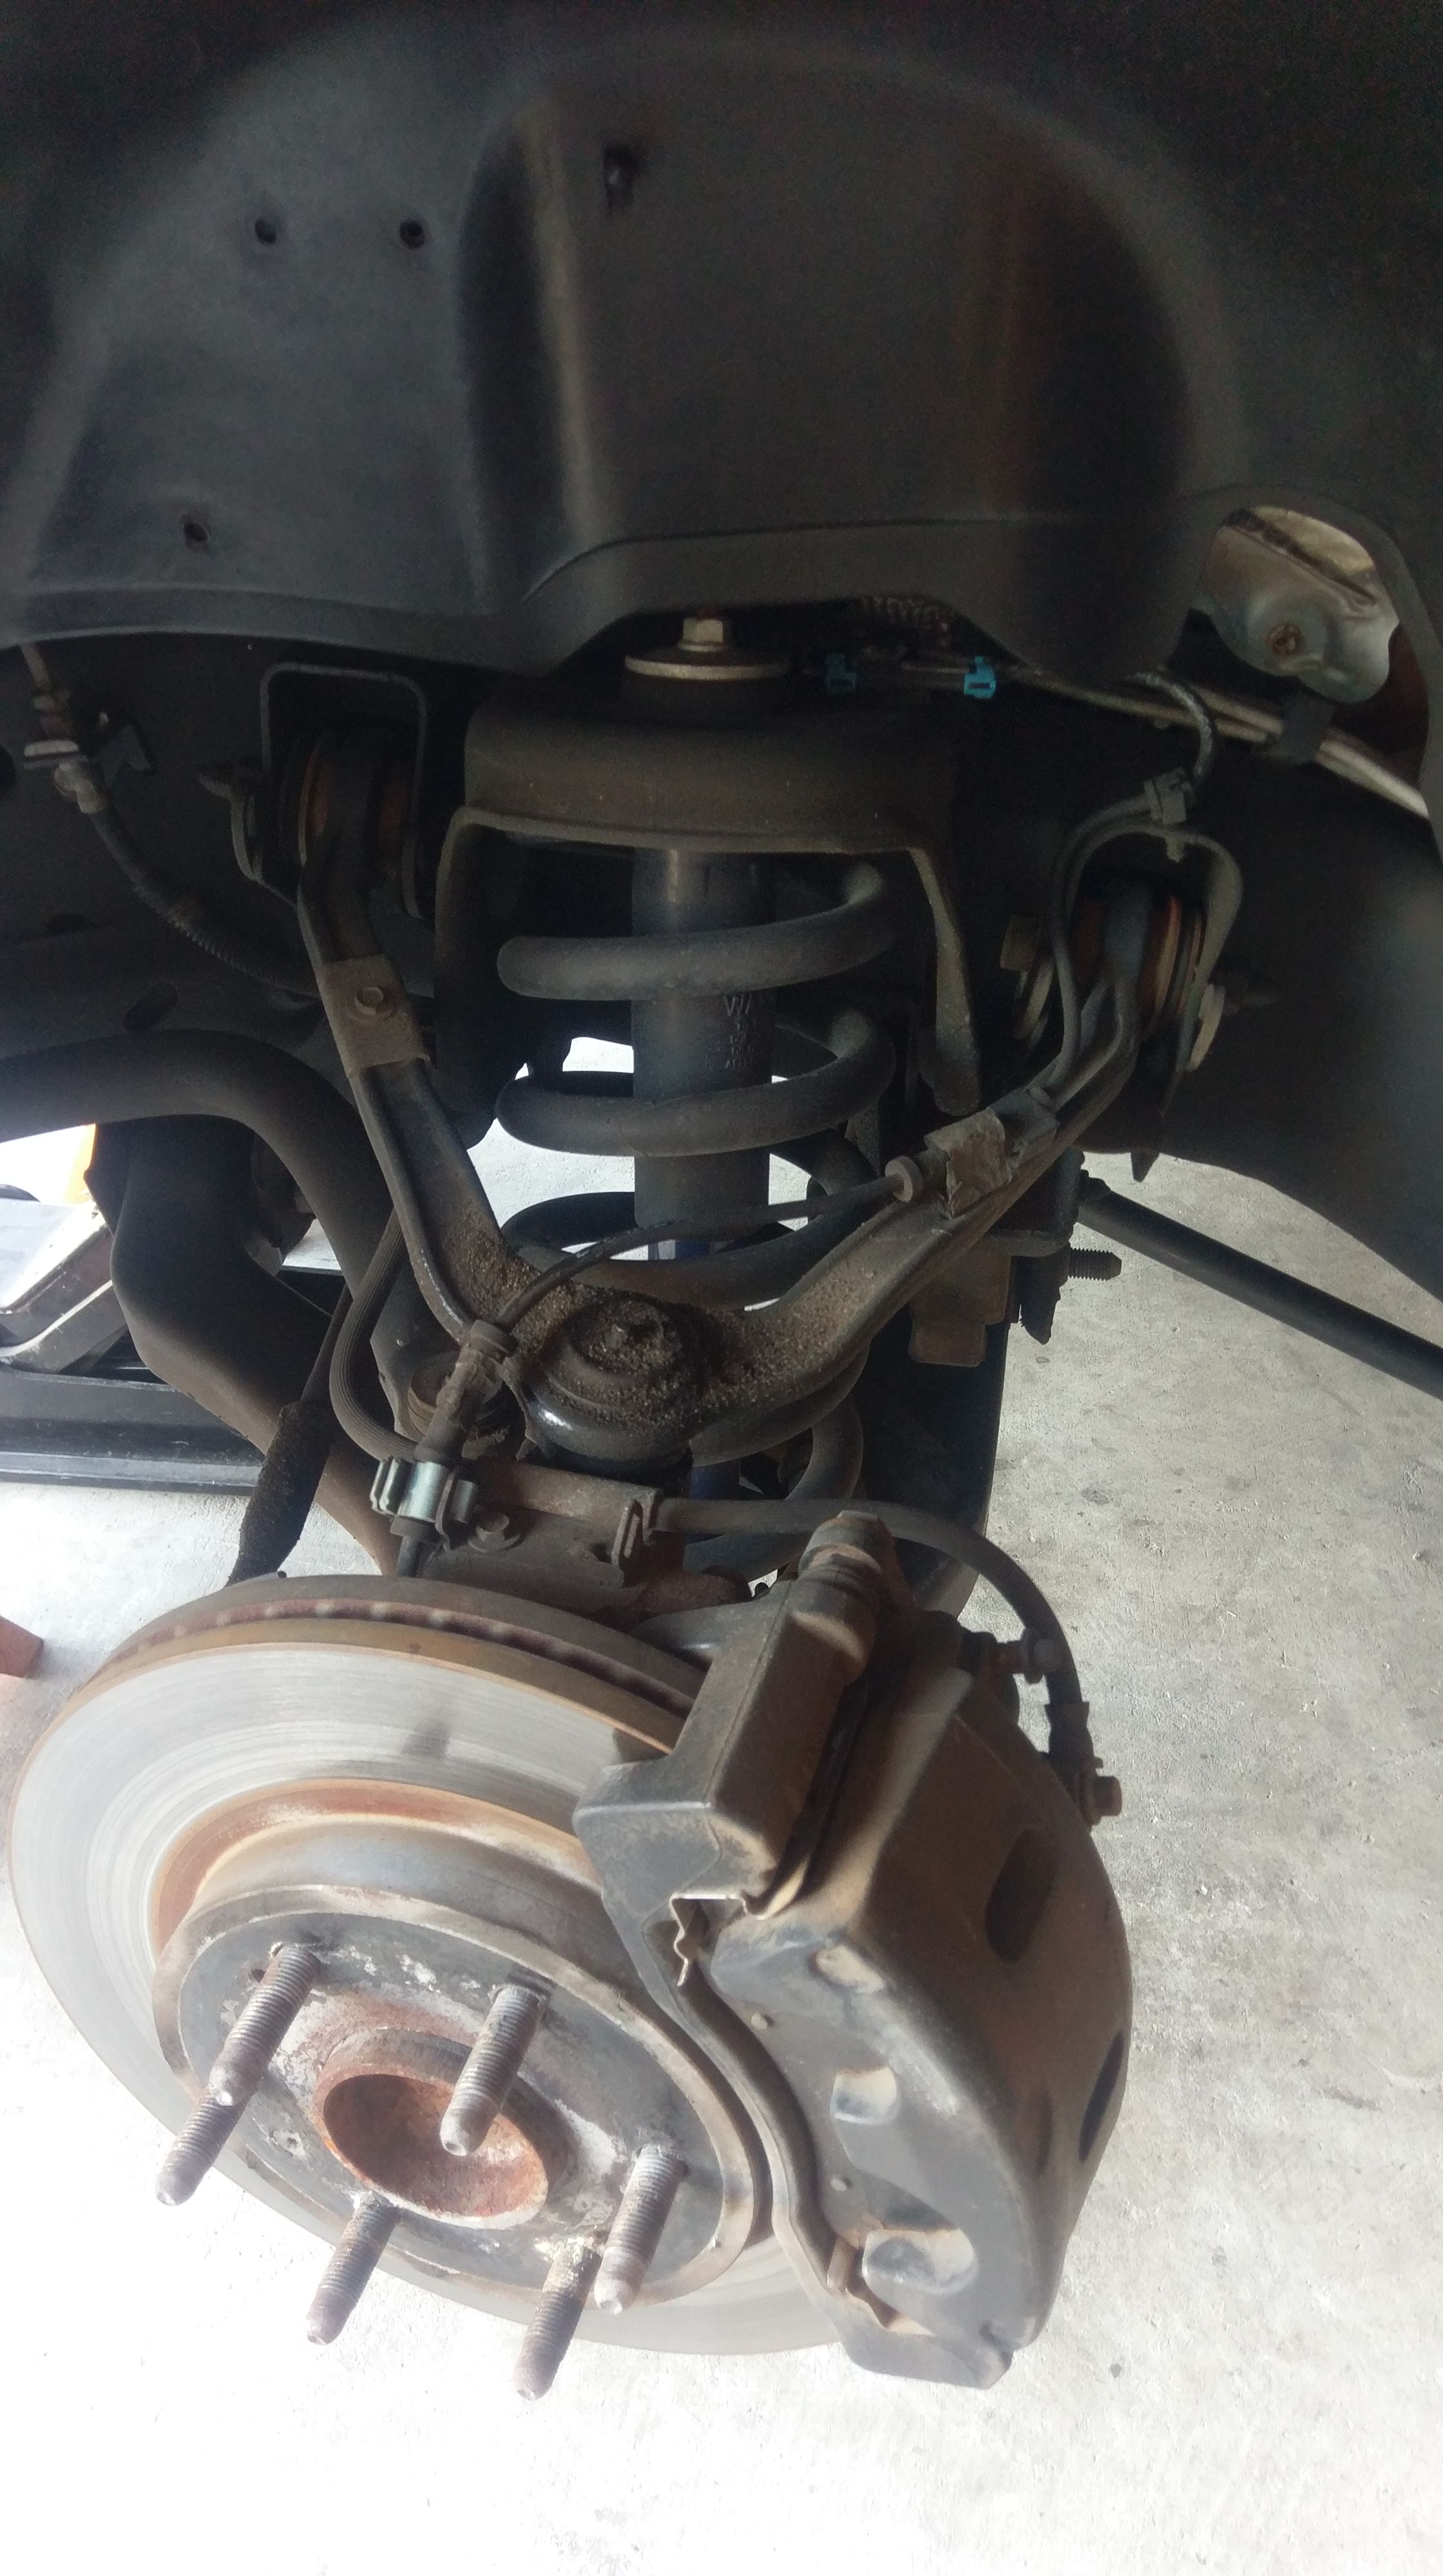
Found some rust in a few nooks, but not bad at all for a truck from up north. The frame coating is still perfect on almost the entire truck


At this point, I figured it would be very easy to install the turbo with all that room I made, so the tear-down began
Couldn't get the drivers manifold off because of one nut that was stripping, so I tried to get it out in one piece connected to the y-pipe. Didn't work
Busted out the sawzall
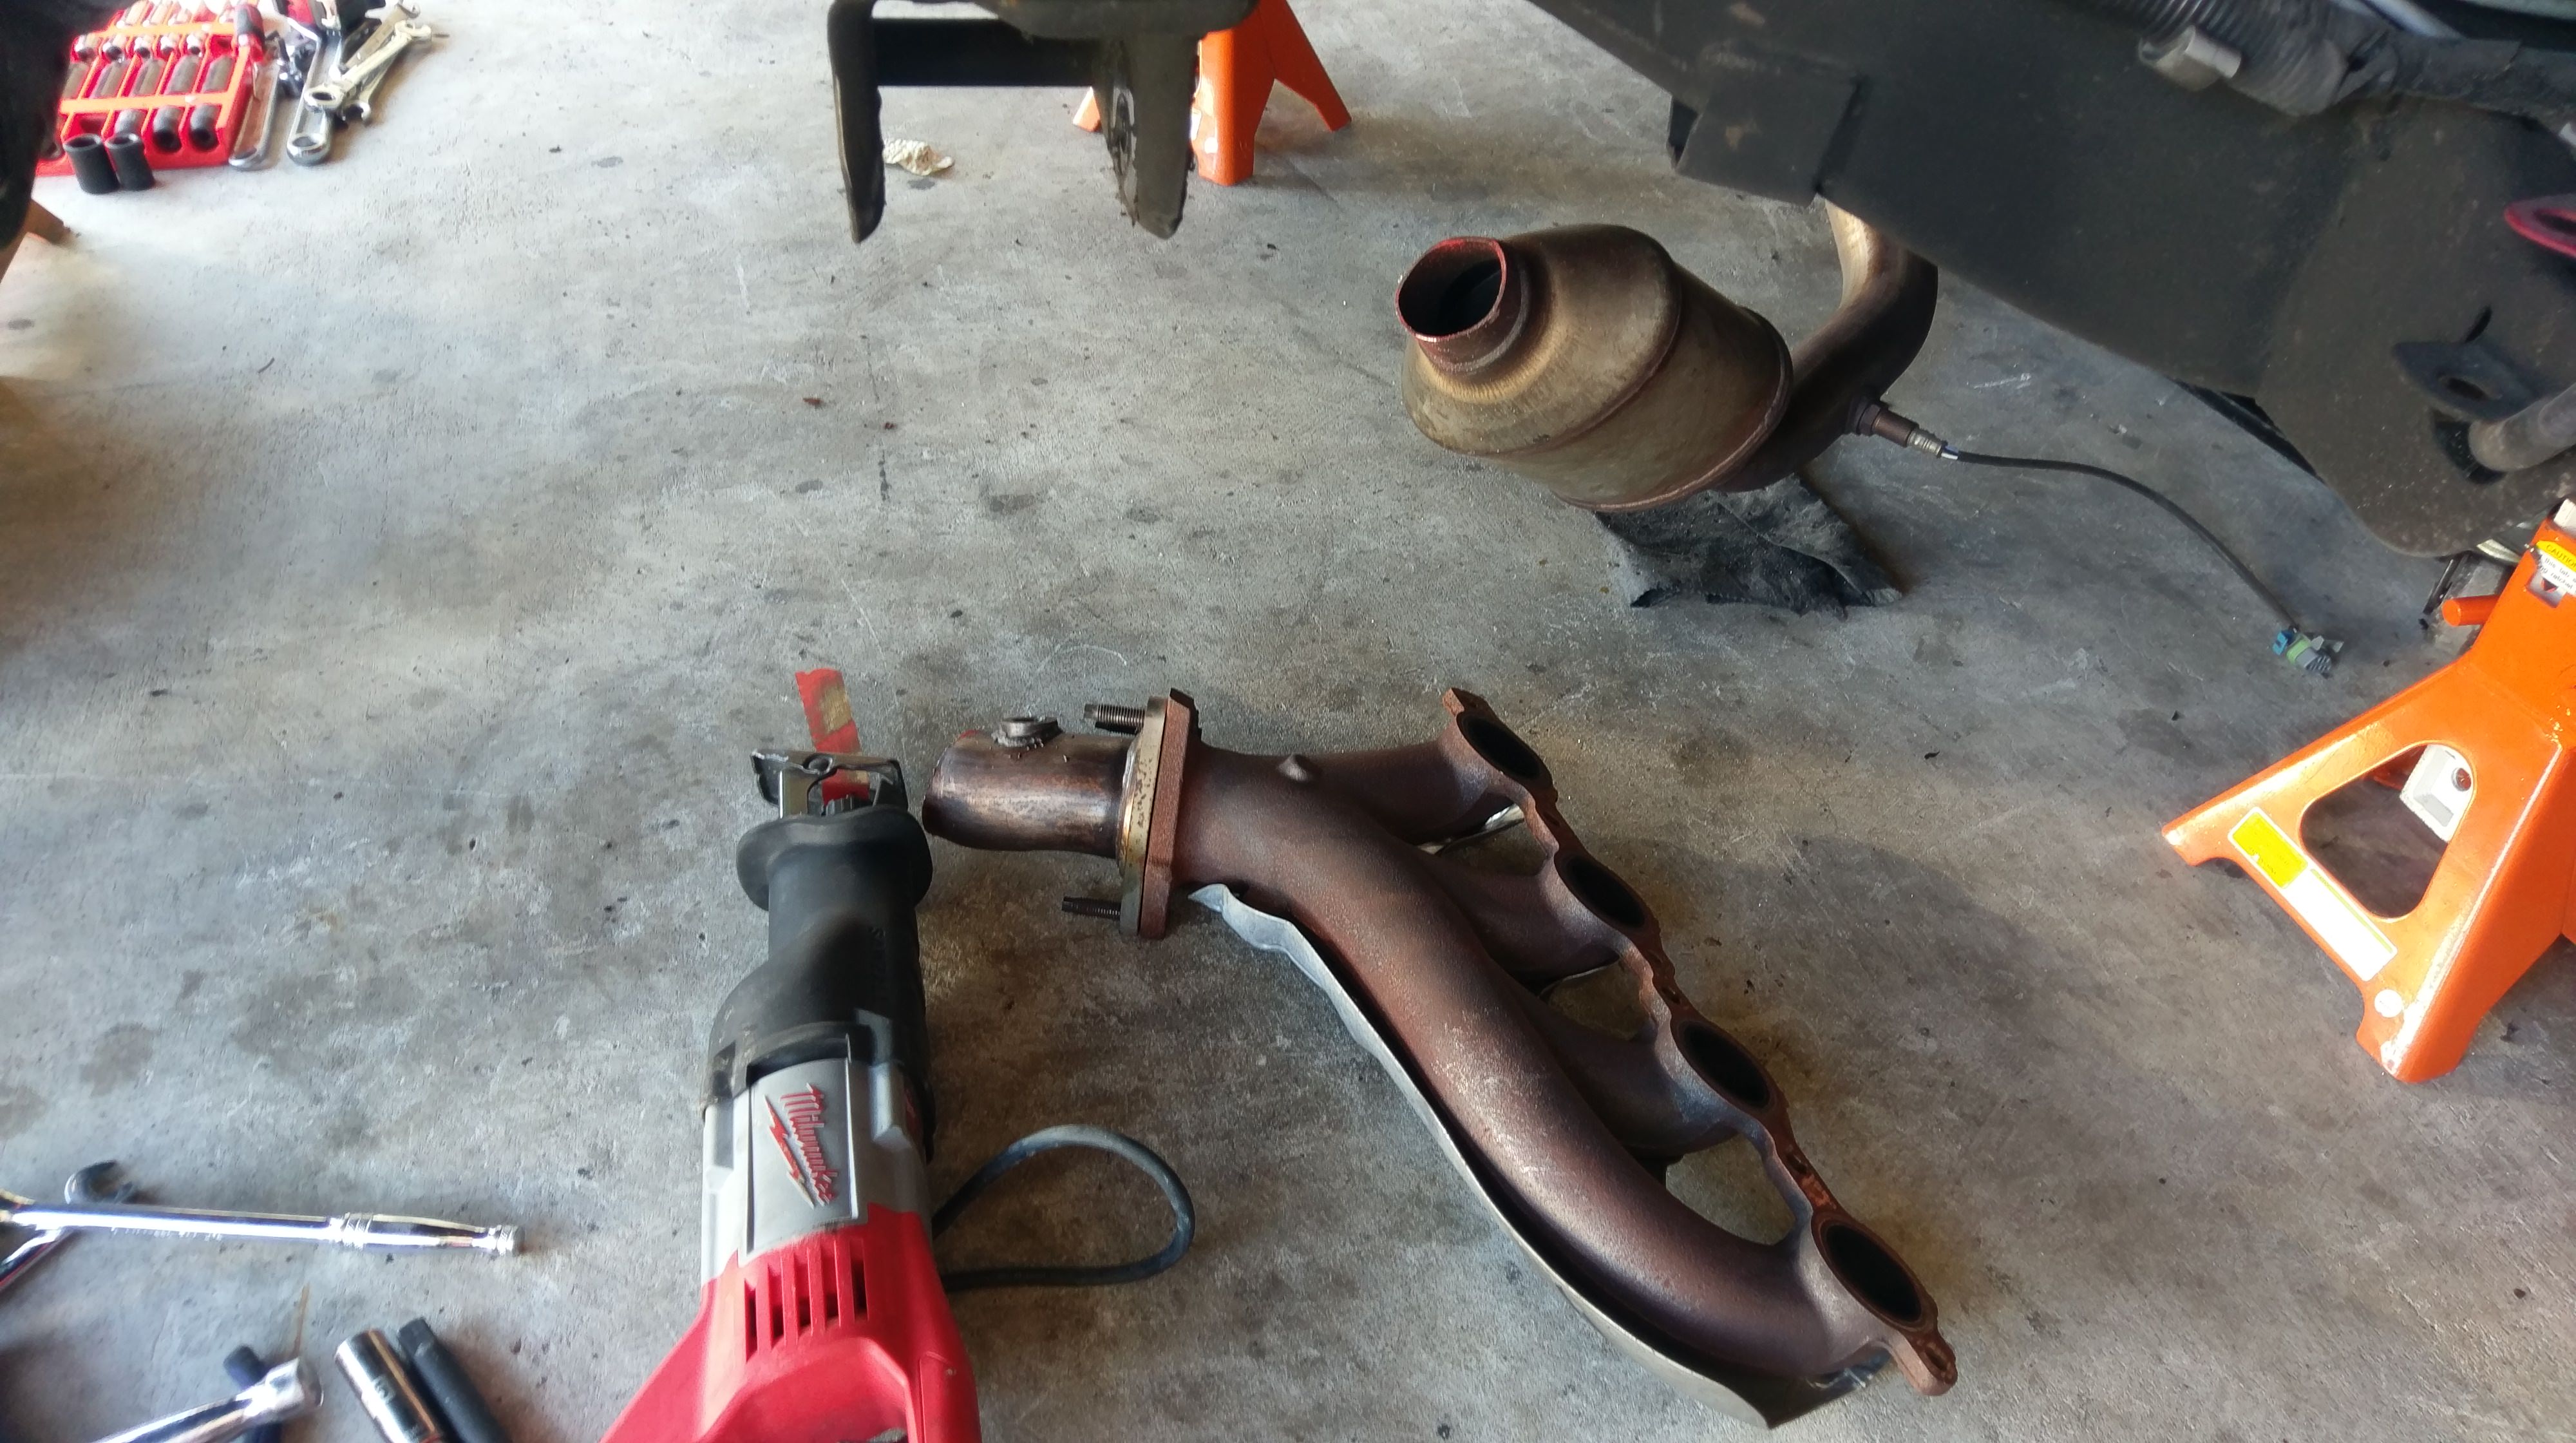
Hammered this socket on and it came right off
Since I had 706 heads, I decided to check for the casting mark and they are indeed the Castechs that are prone to cracking

 Jan 13, 2018 | 11:50 AM
#3
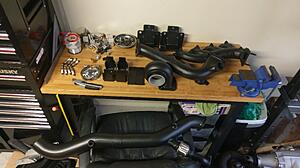
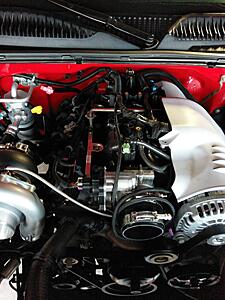
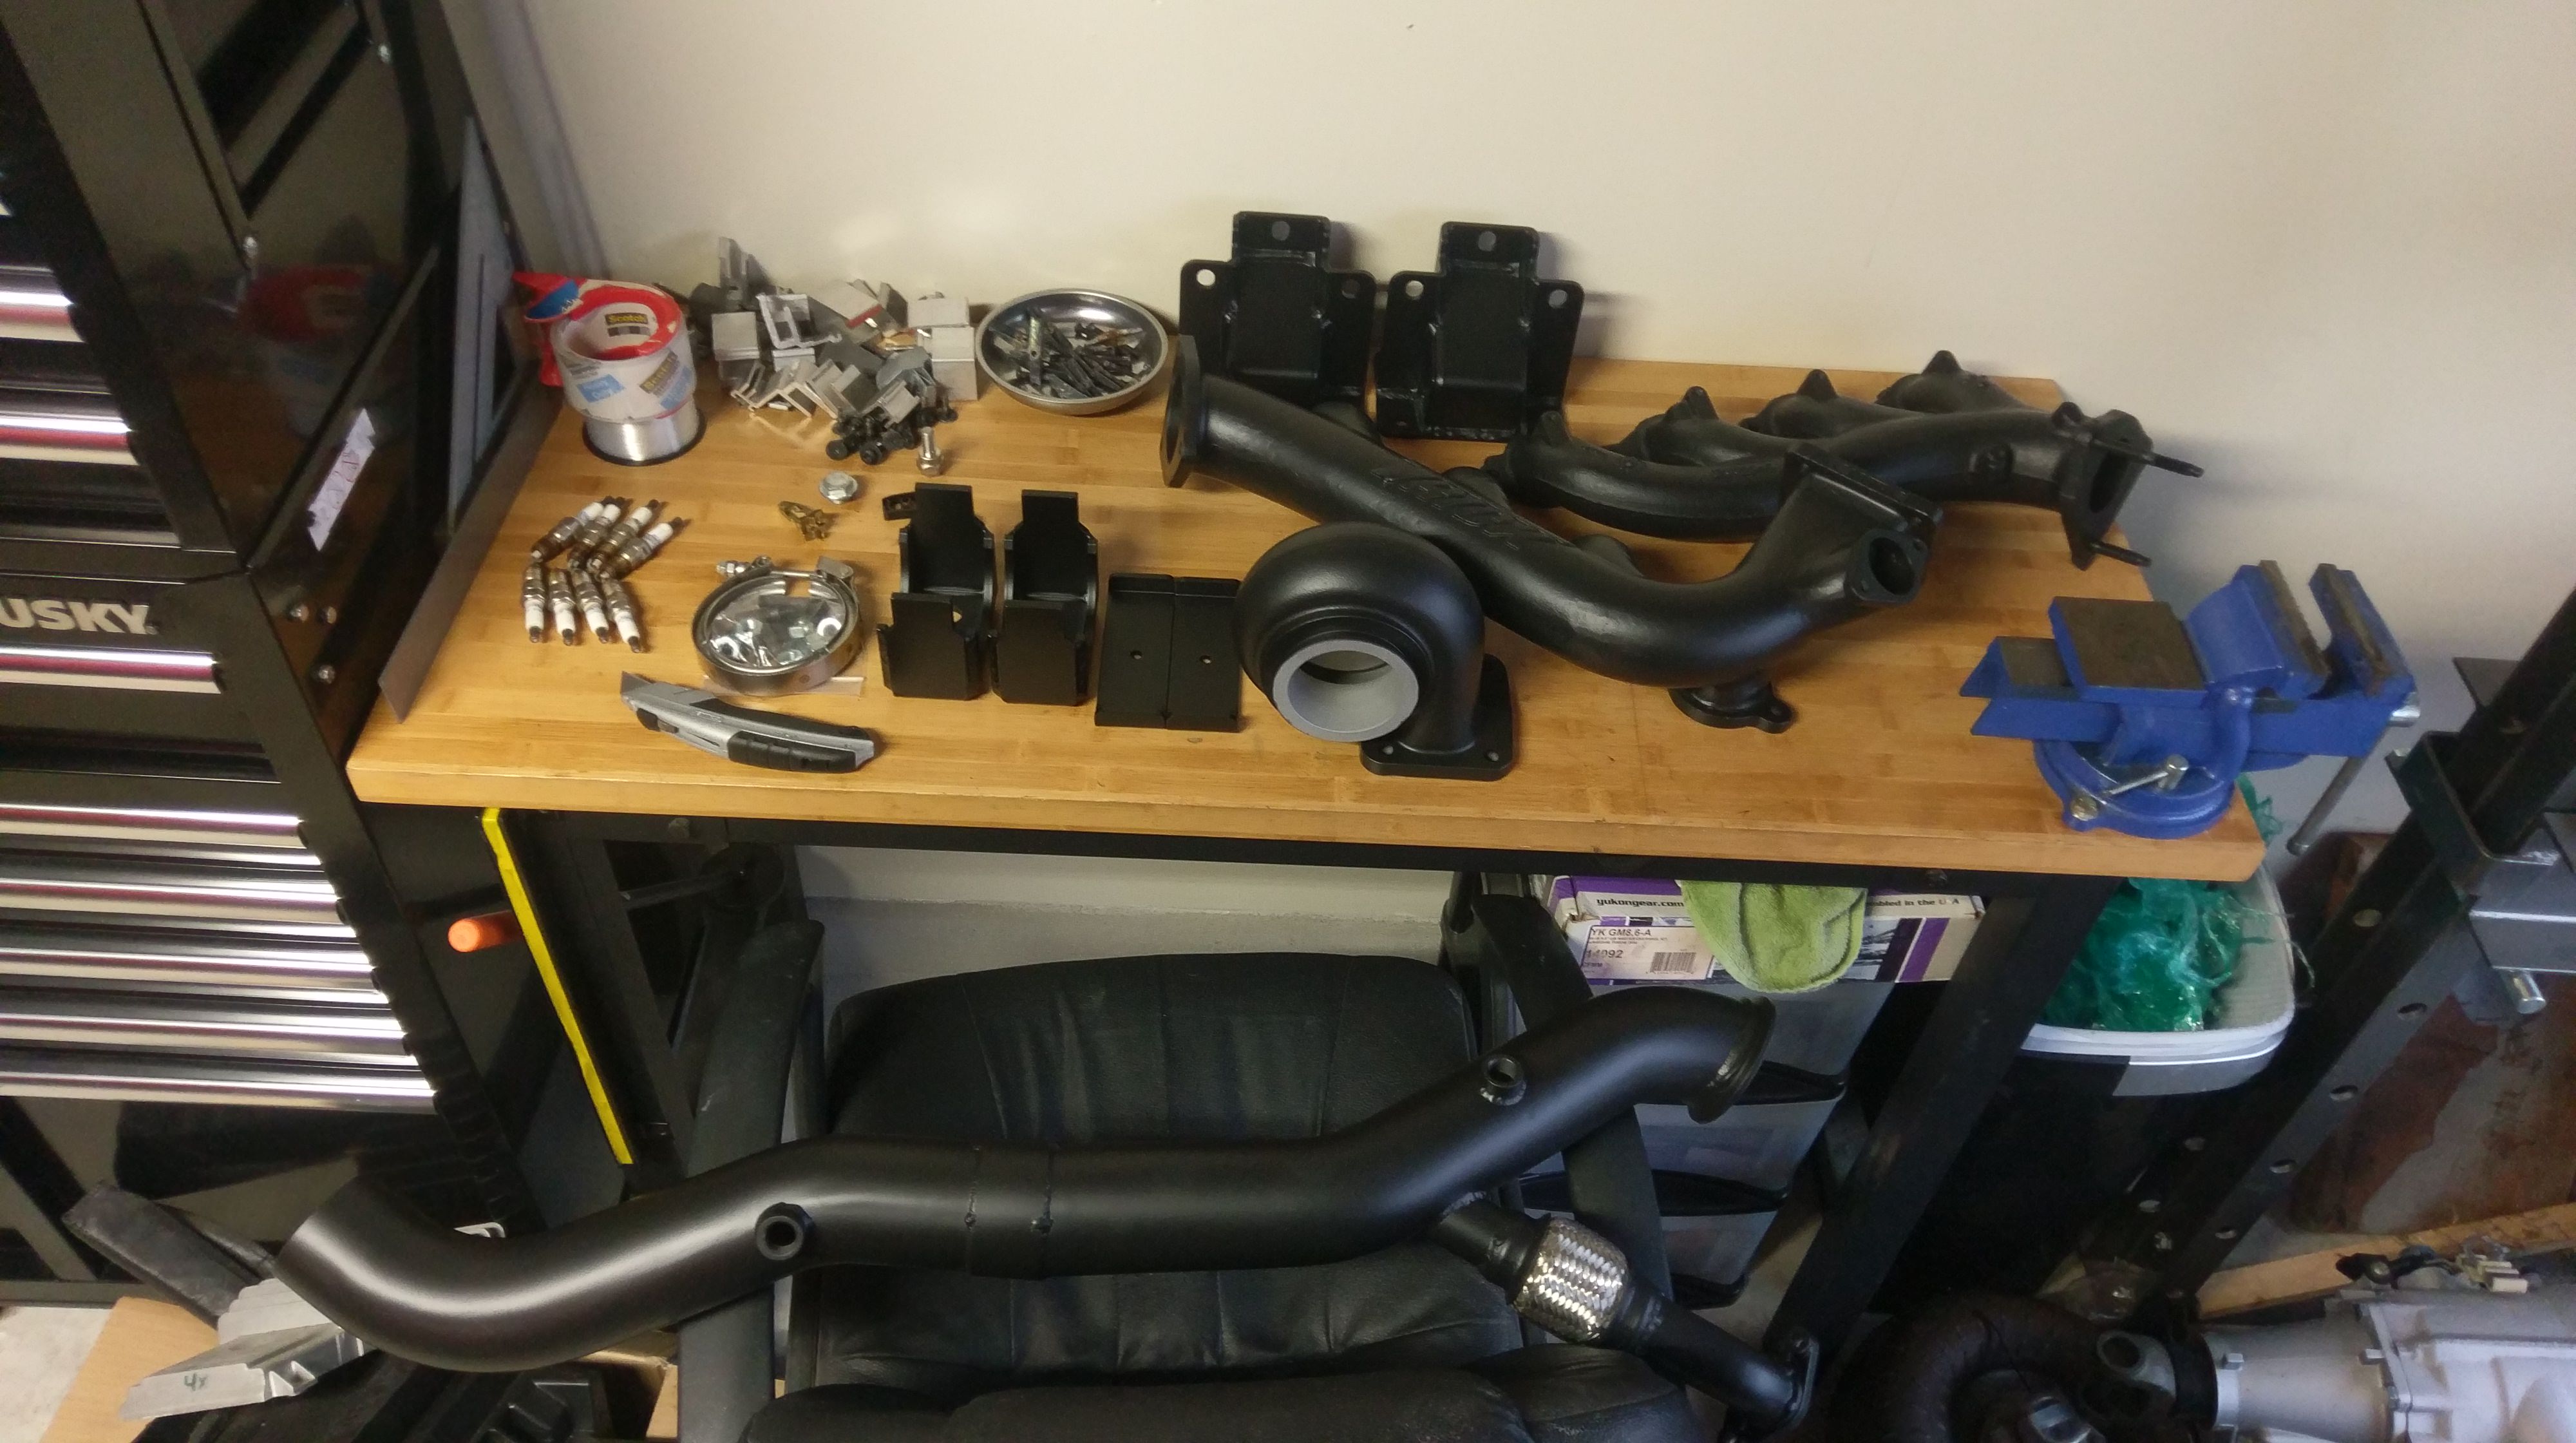
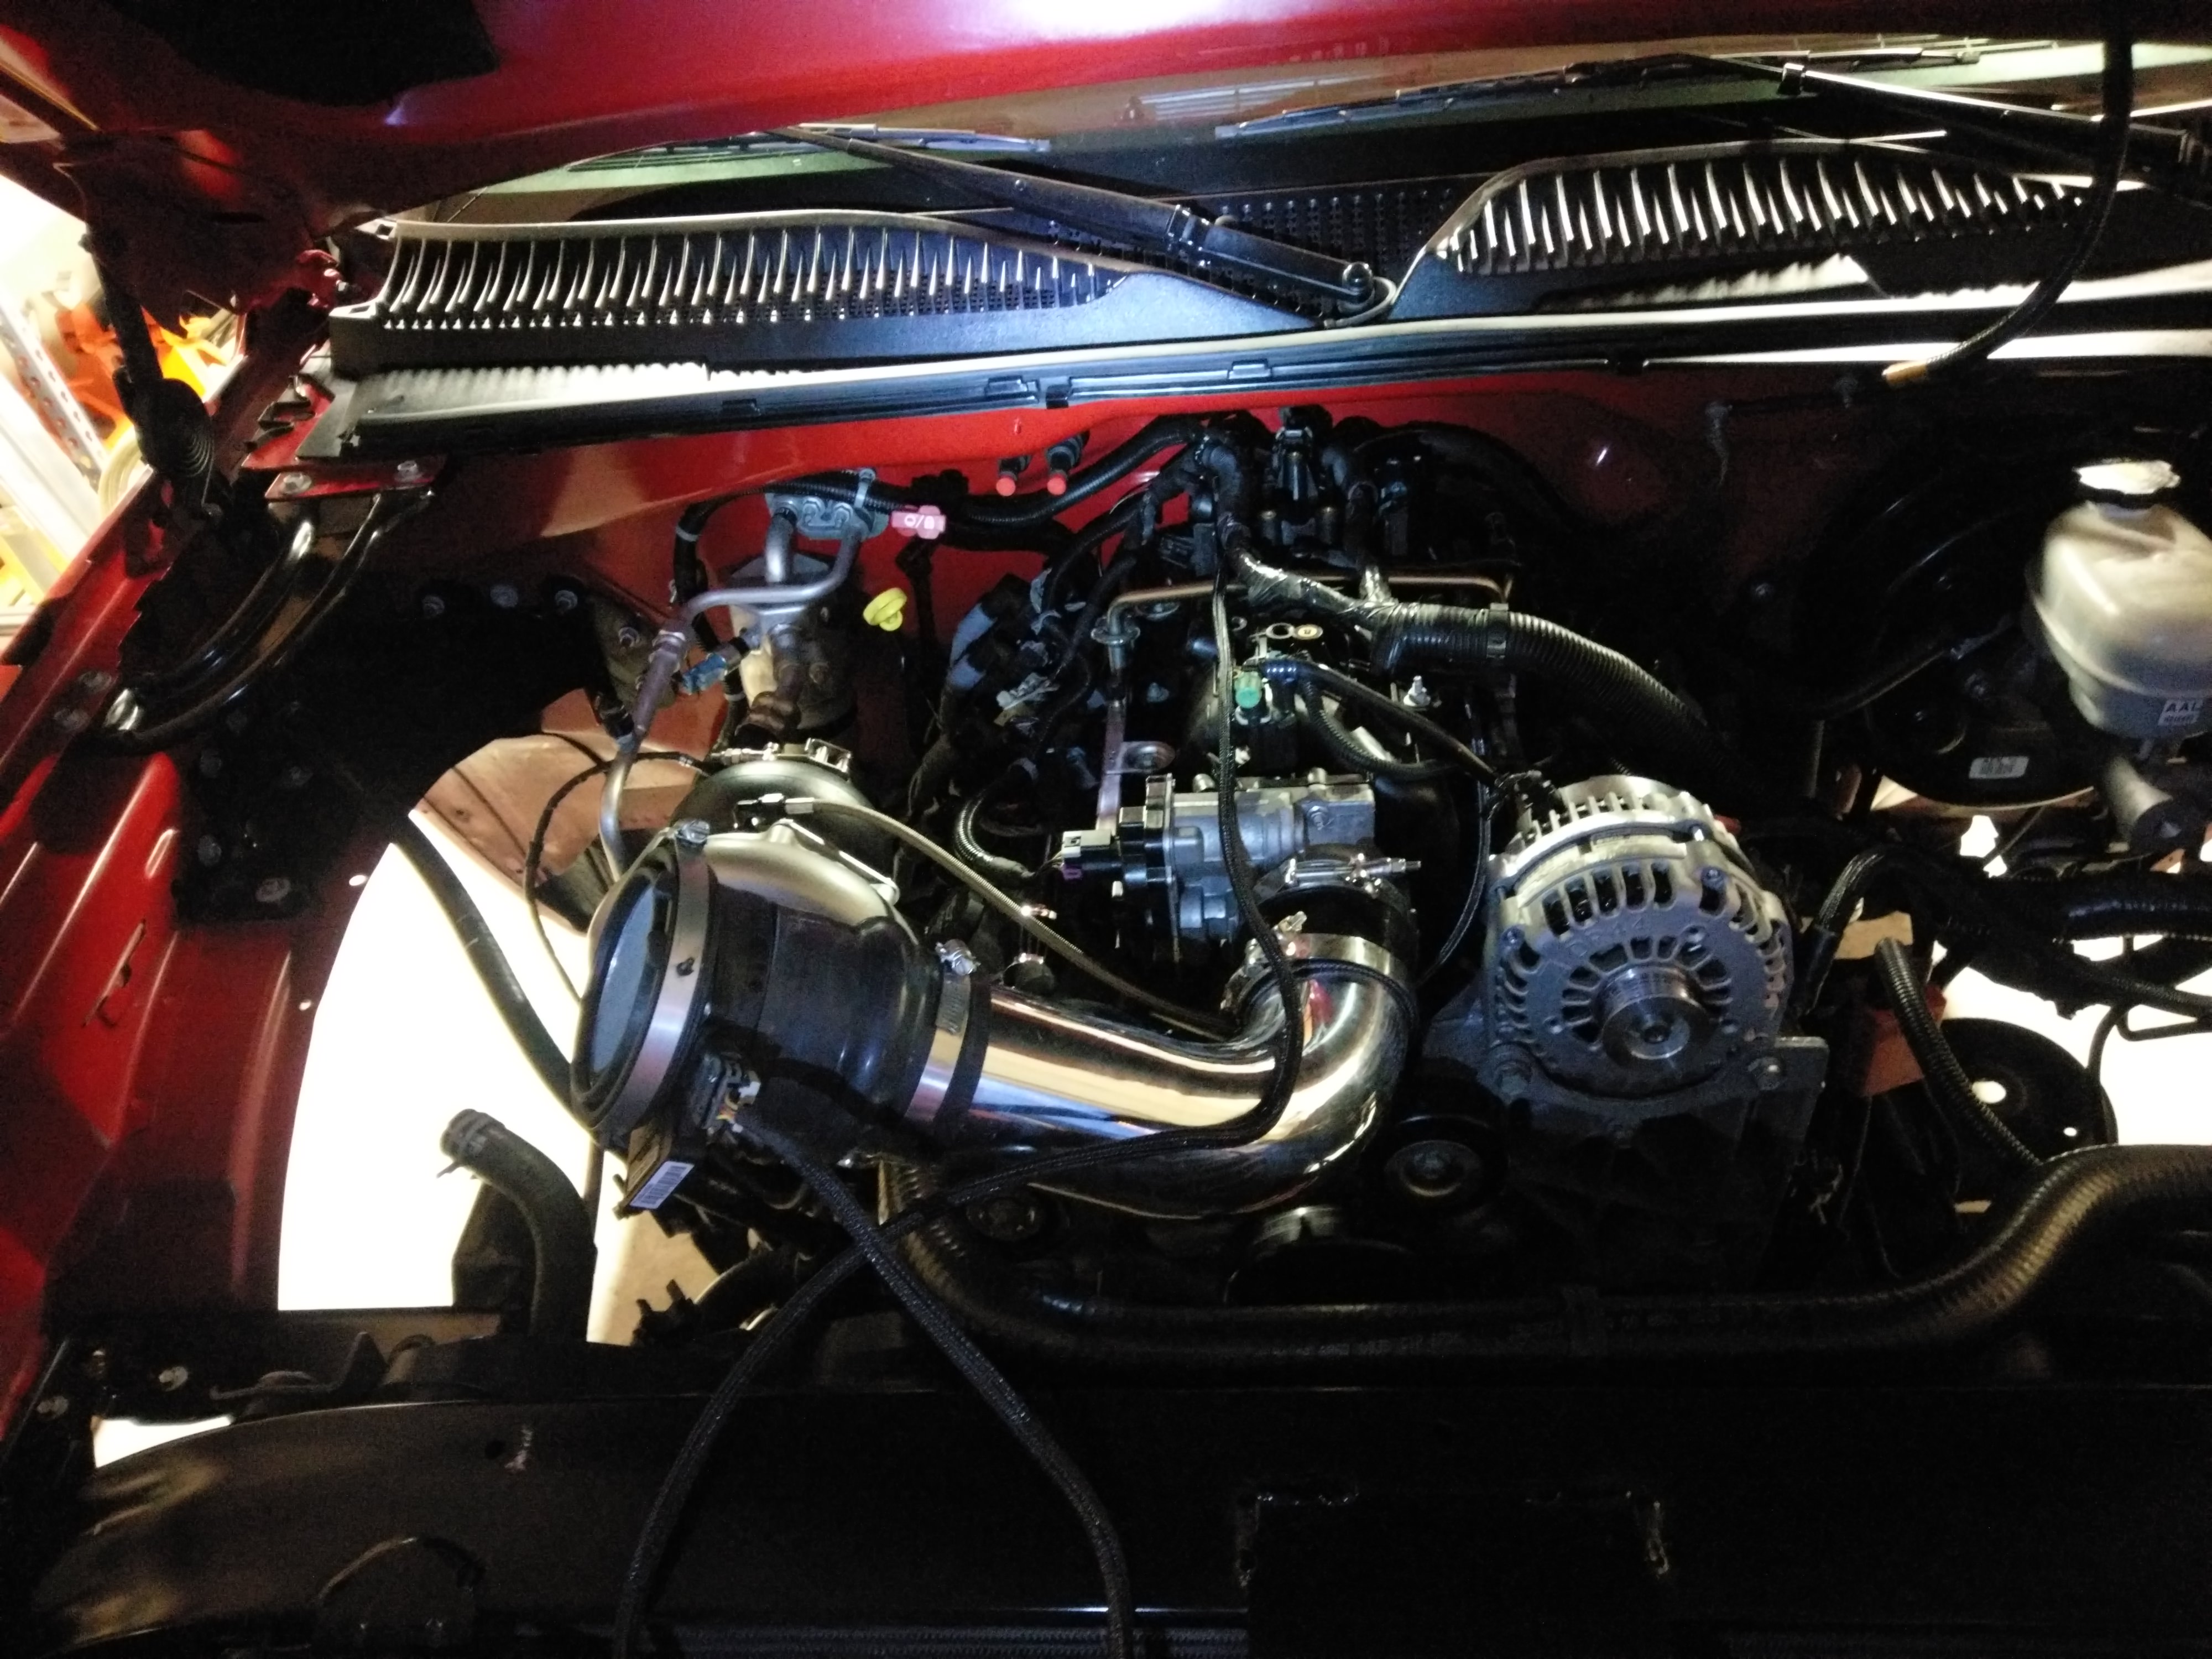
Started test fitting the hot pipes
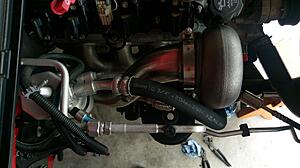
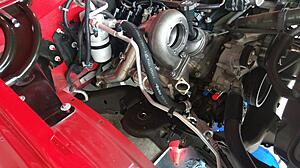
Then did some cleaning

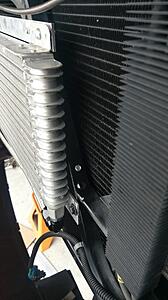
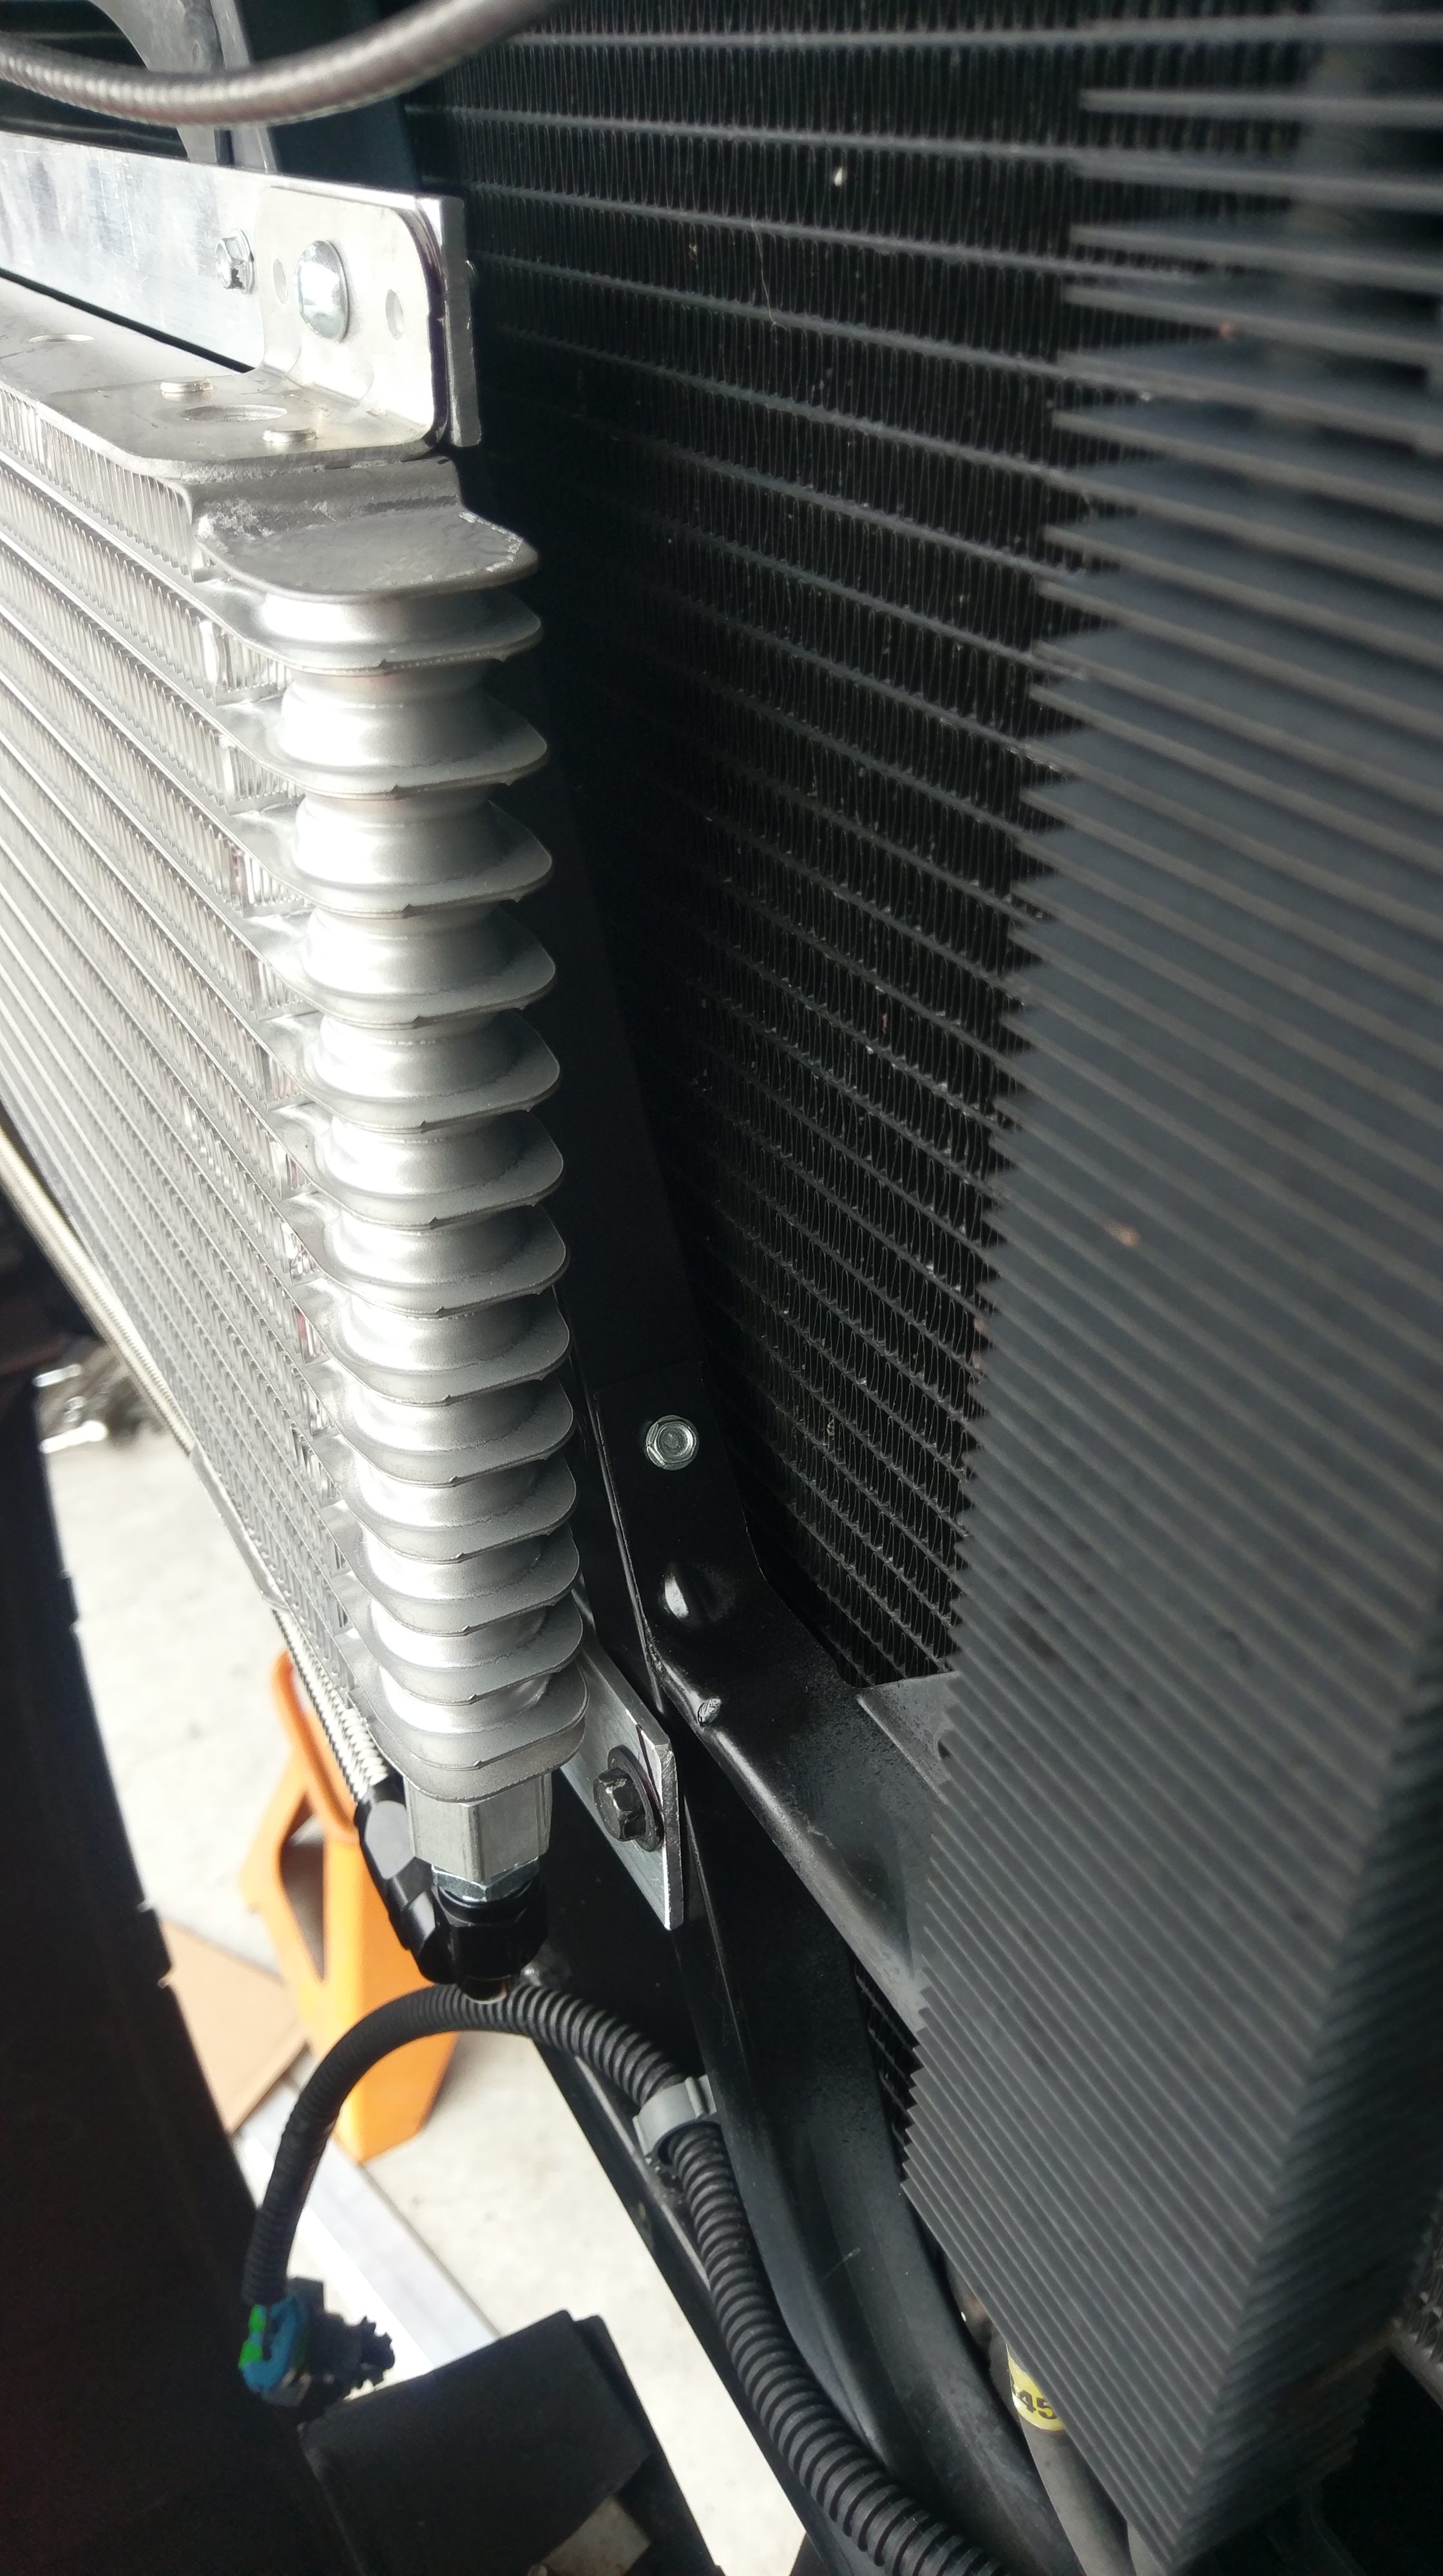
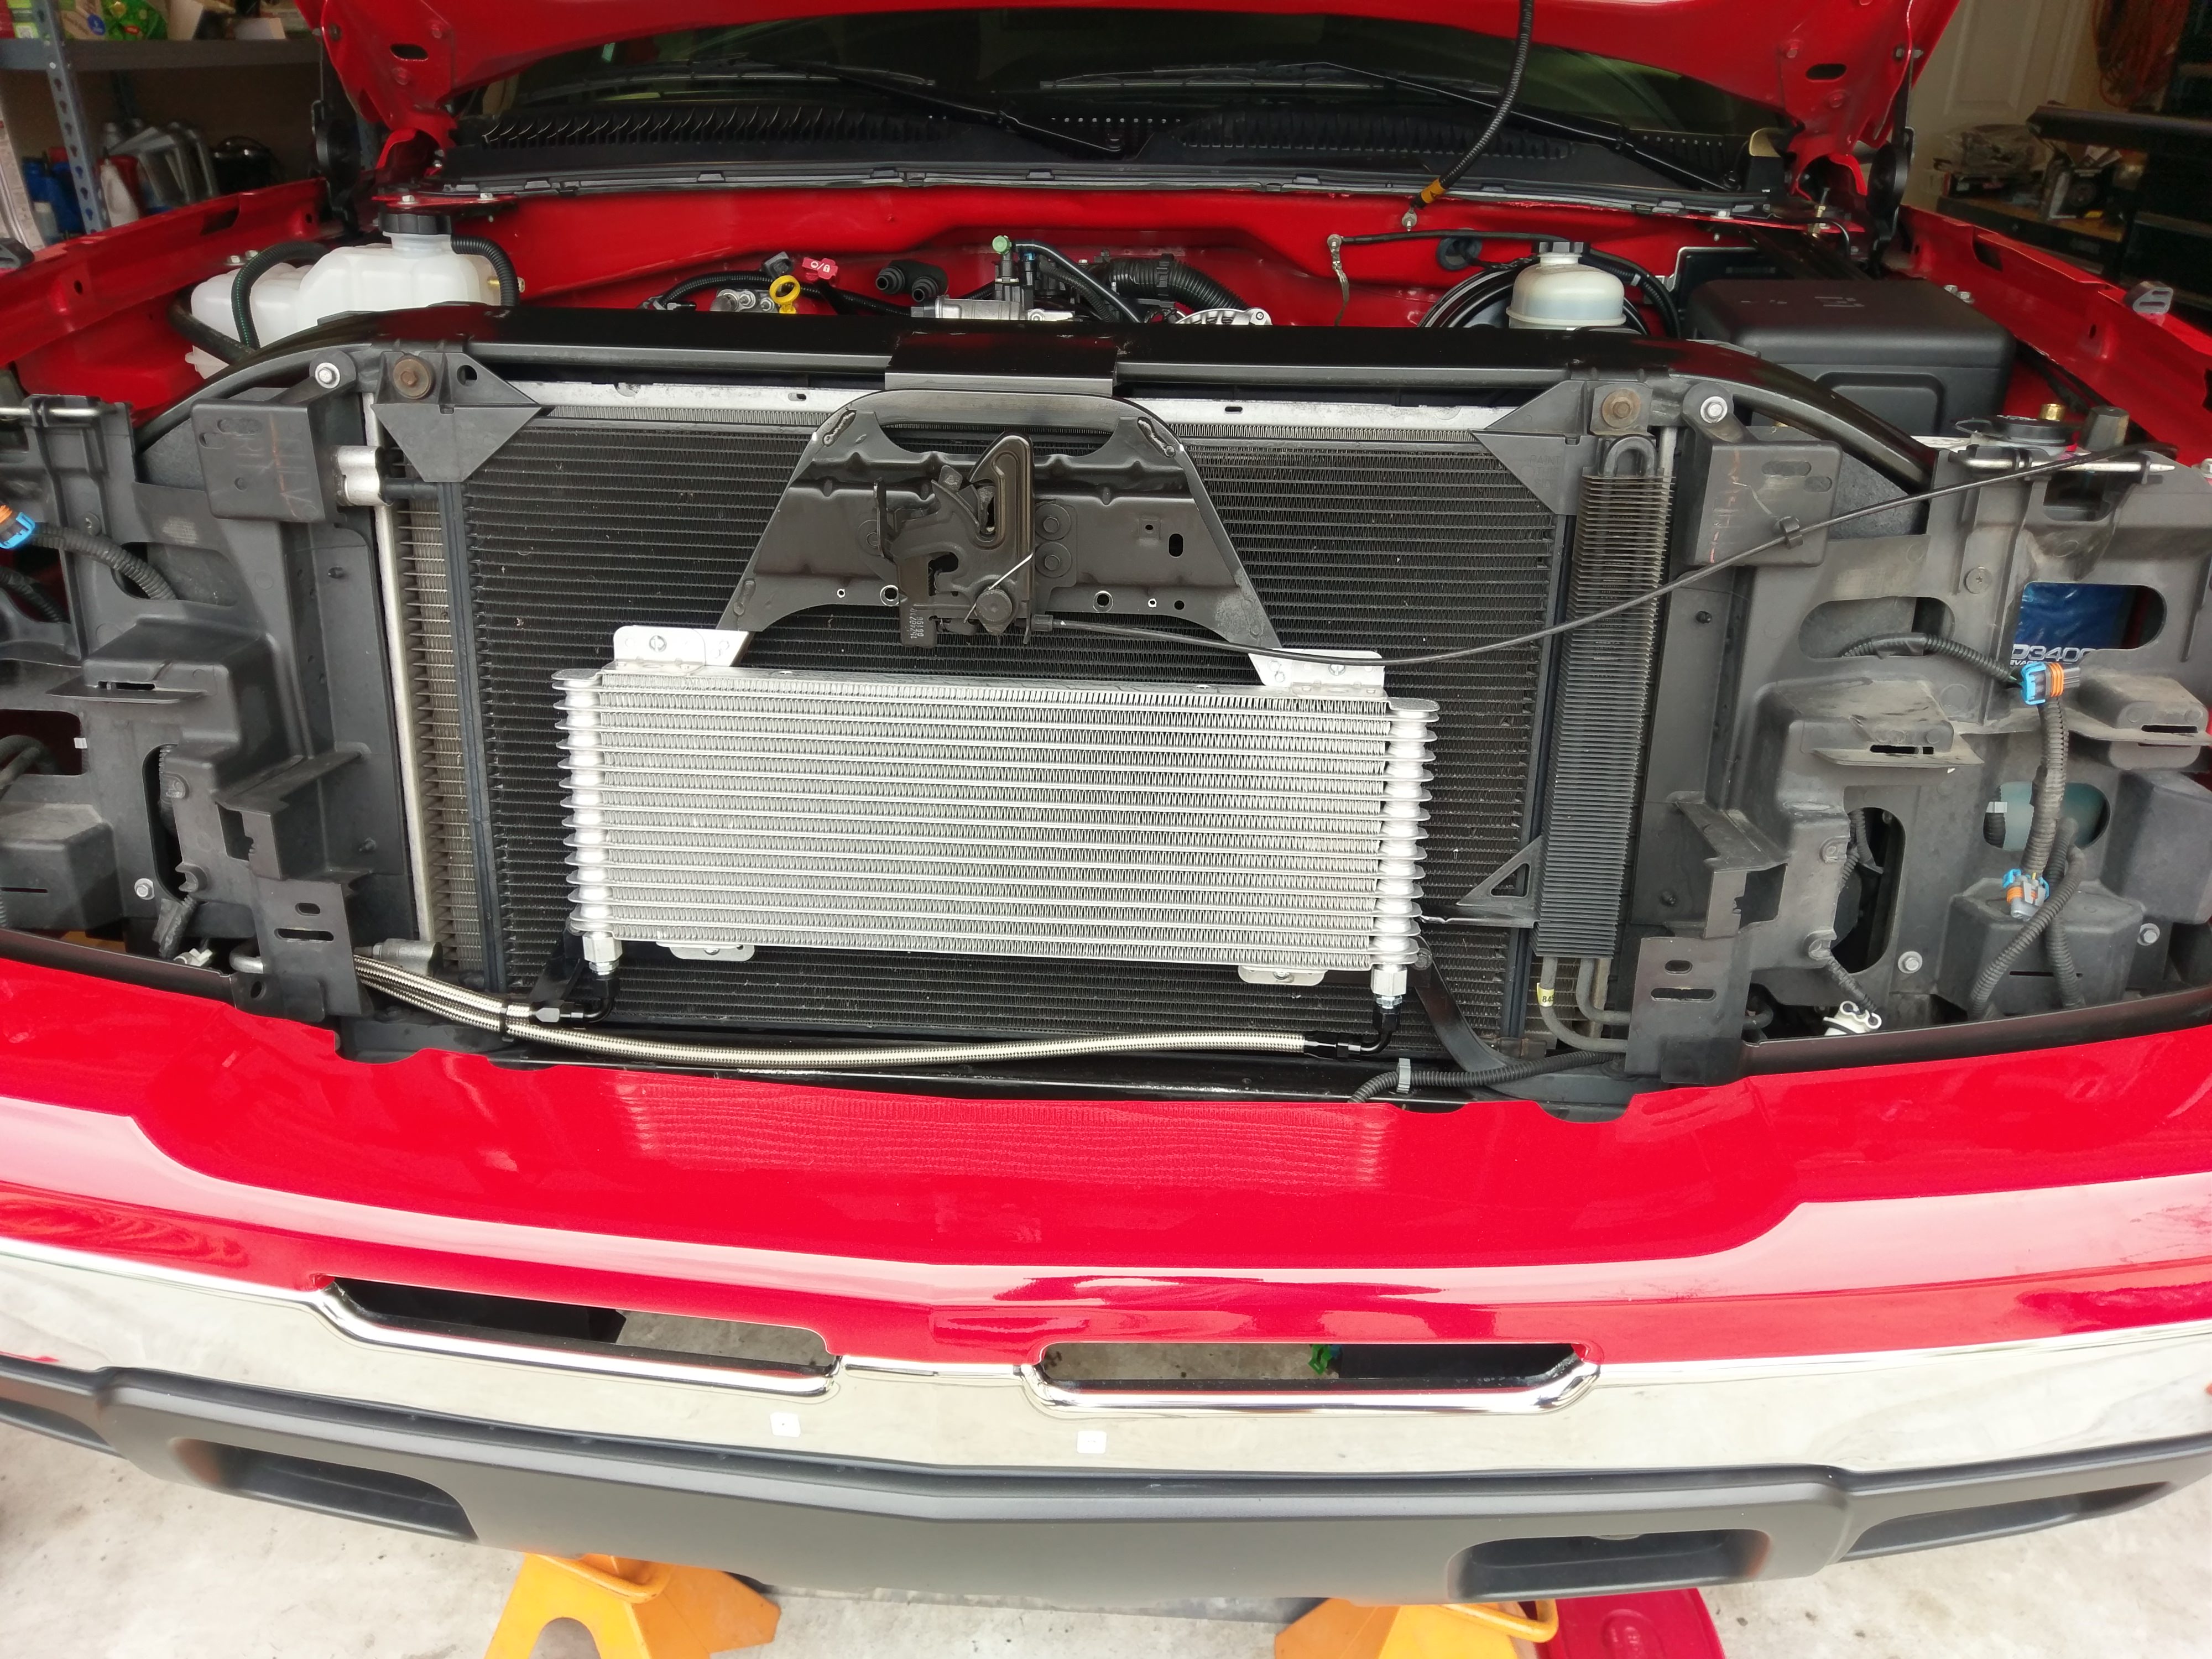
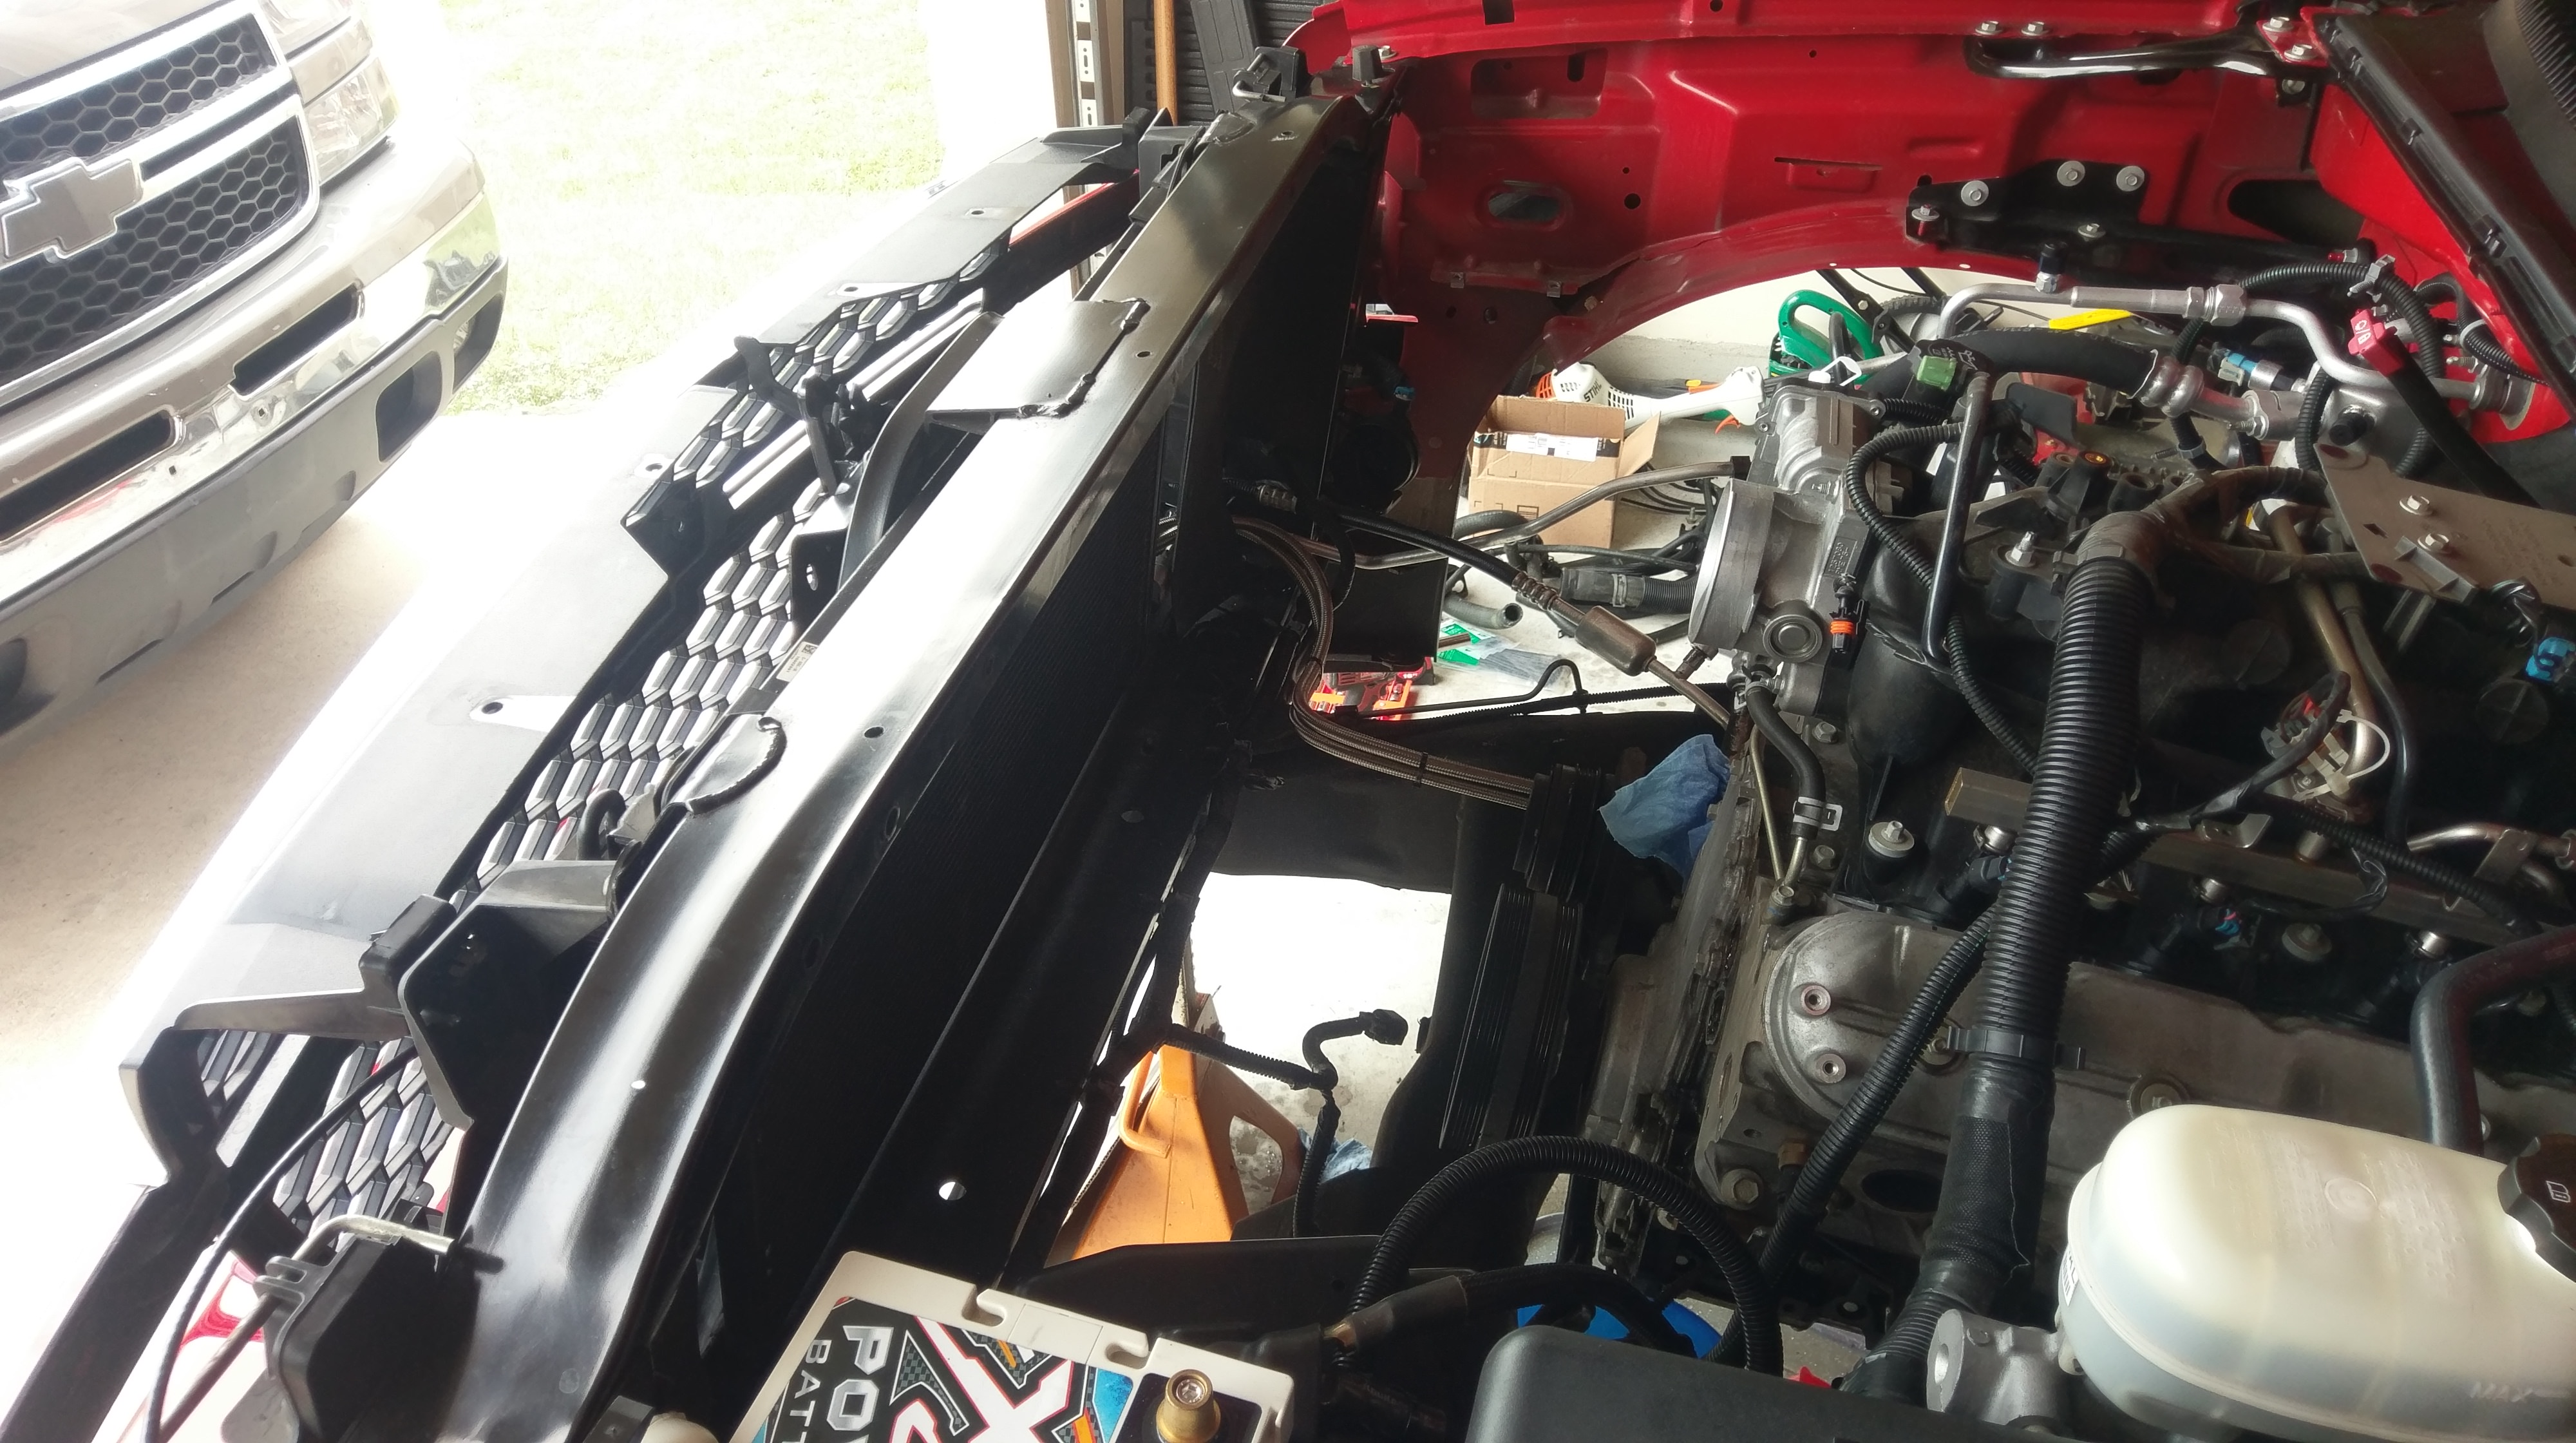
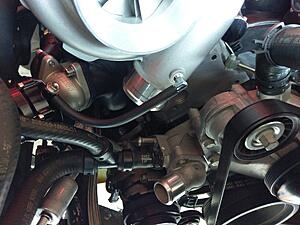
Started mounting my trucool 40k, I later trimmed the top bracket down so it's not blocking airflow
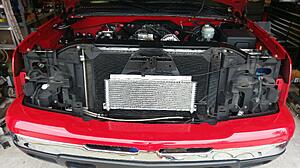
Trimmed the power steering cooler mount because I hate when these are mounted off-center

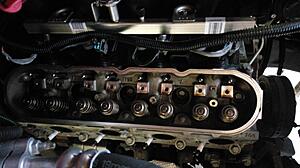
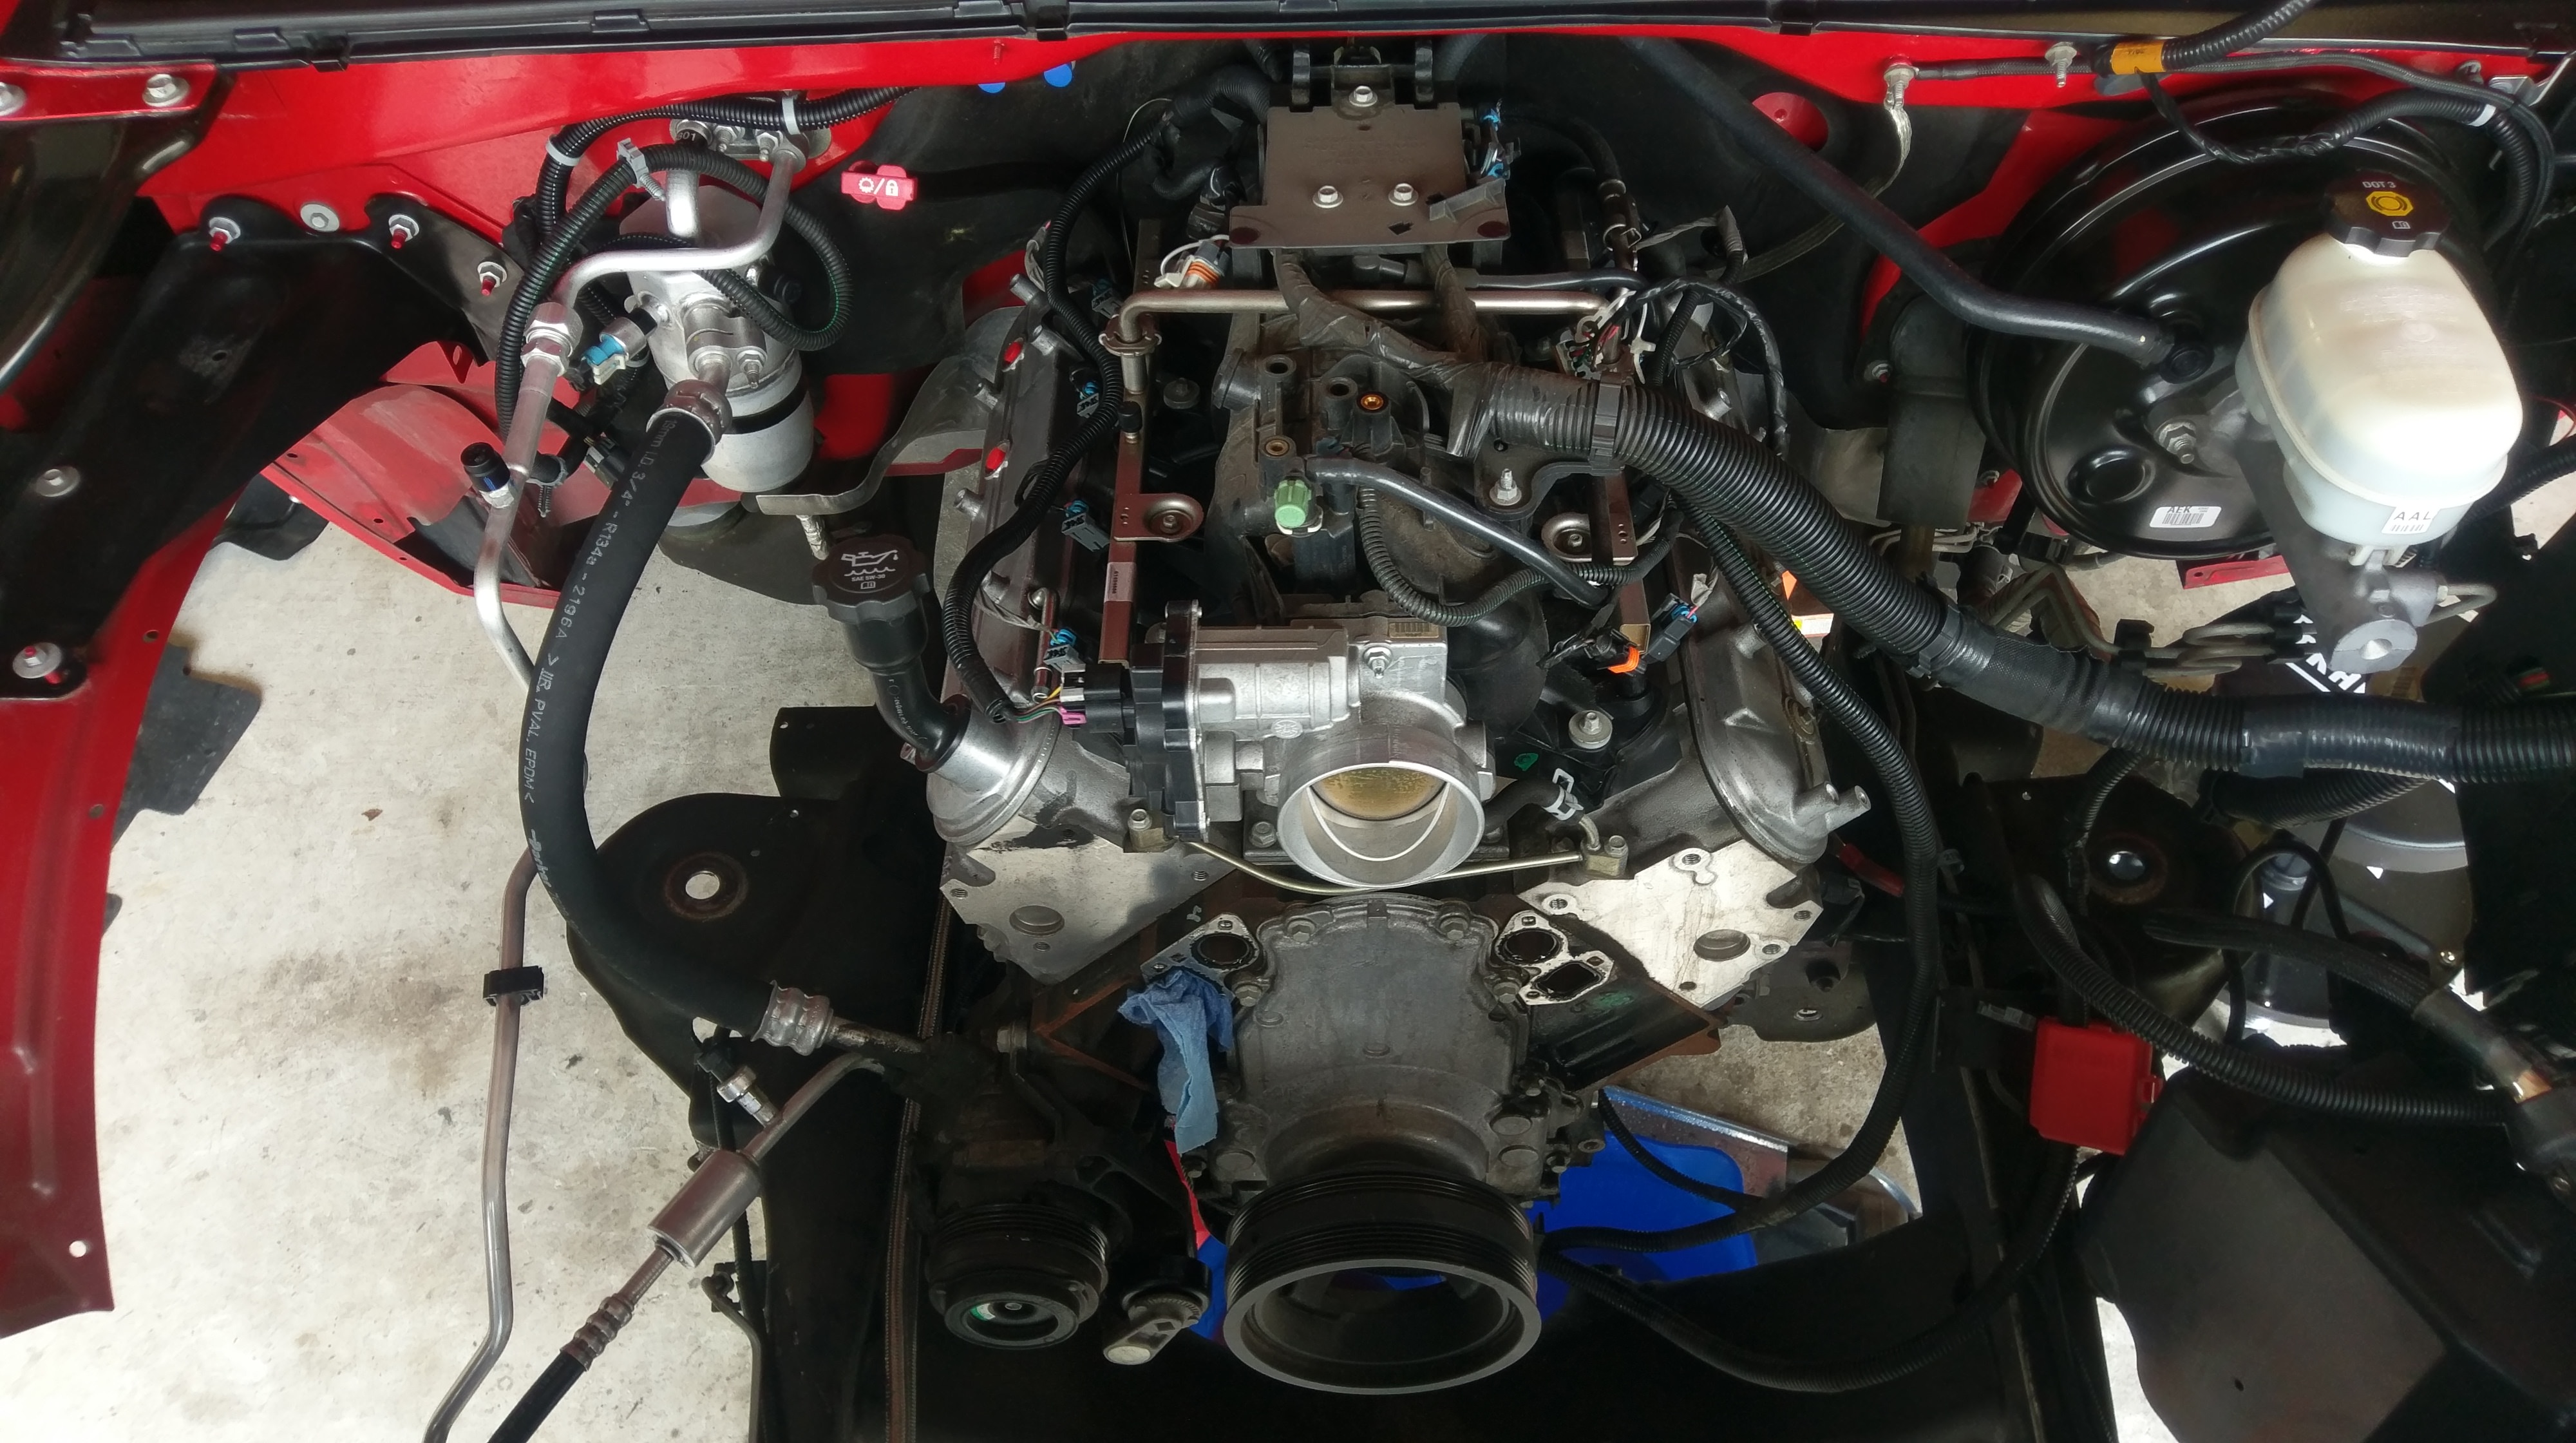
At this point I decided to do heads, cam, lifters, ARP studs, etc... and started the teardown even further
Forgot to take pictures, but I prepped and painted the front edges of the block with satin black engine paint and cleaned all the aluminum up
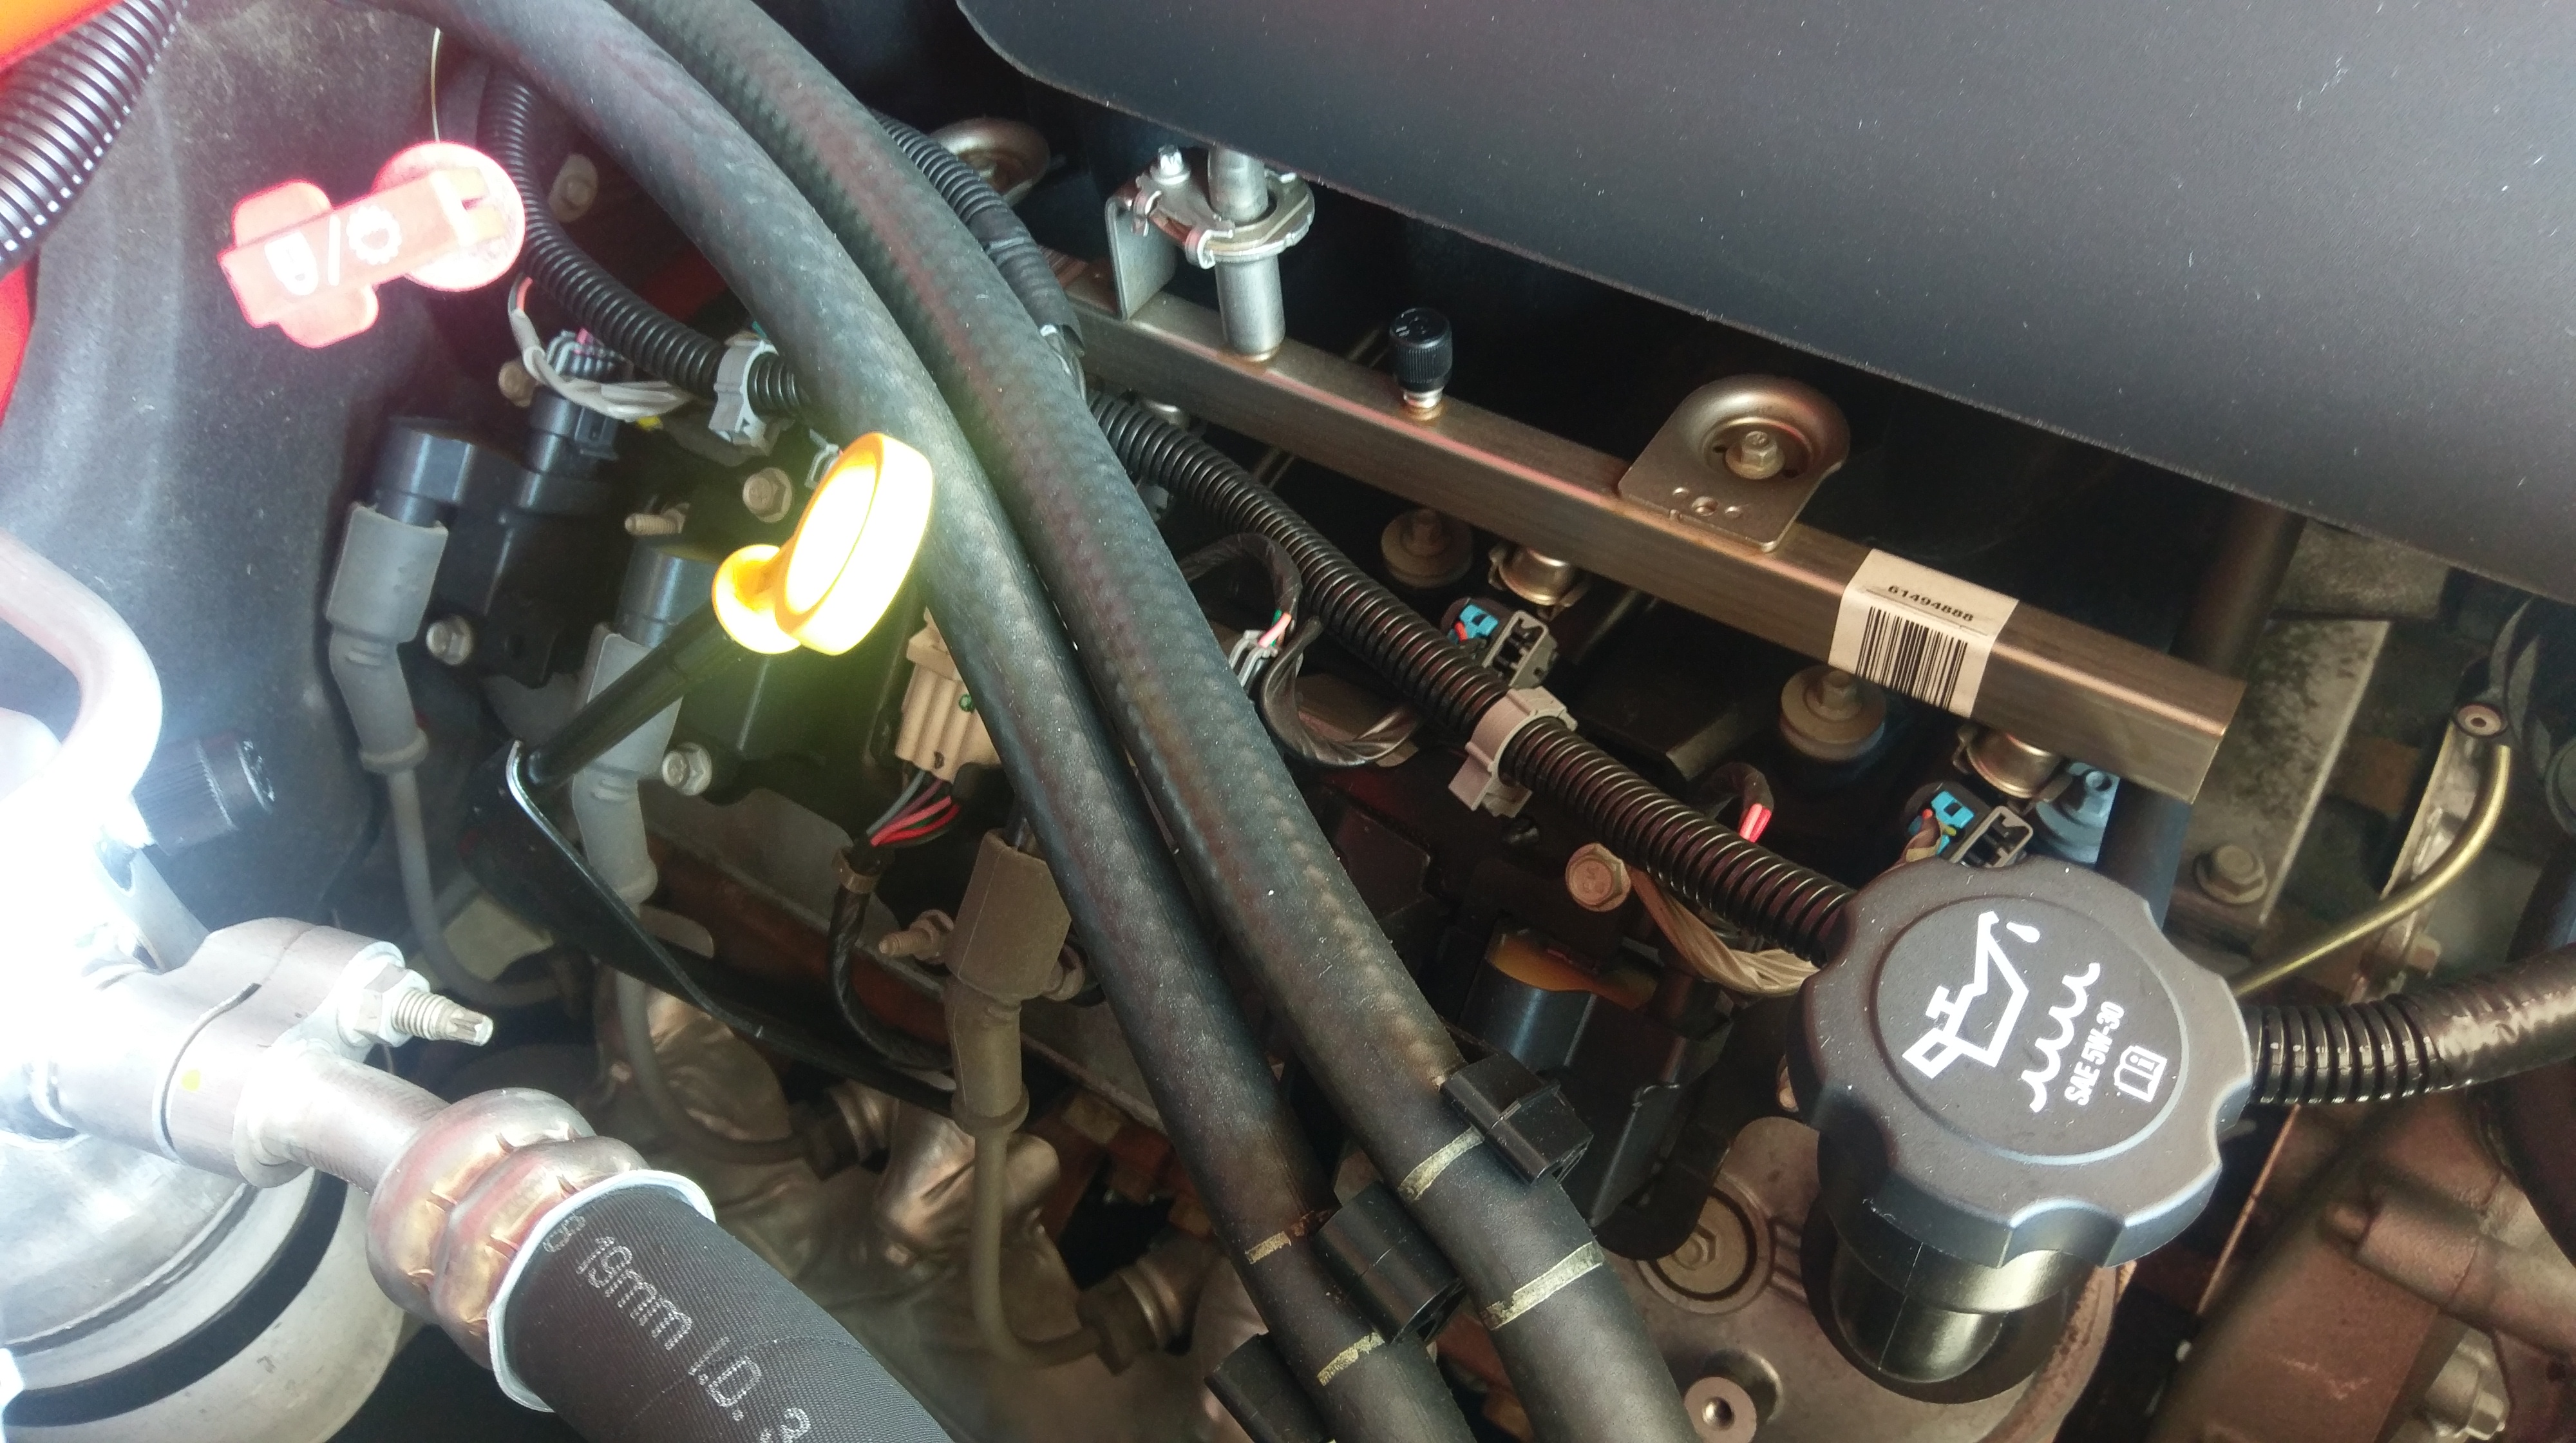
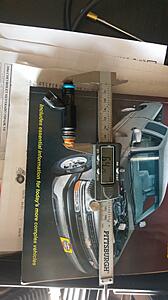
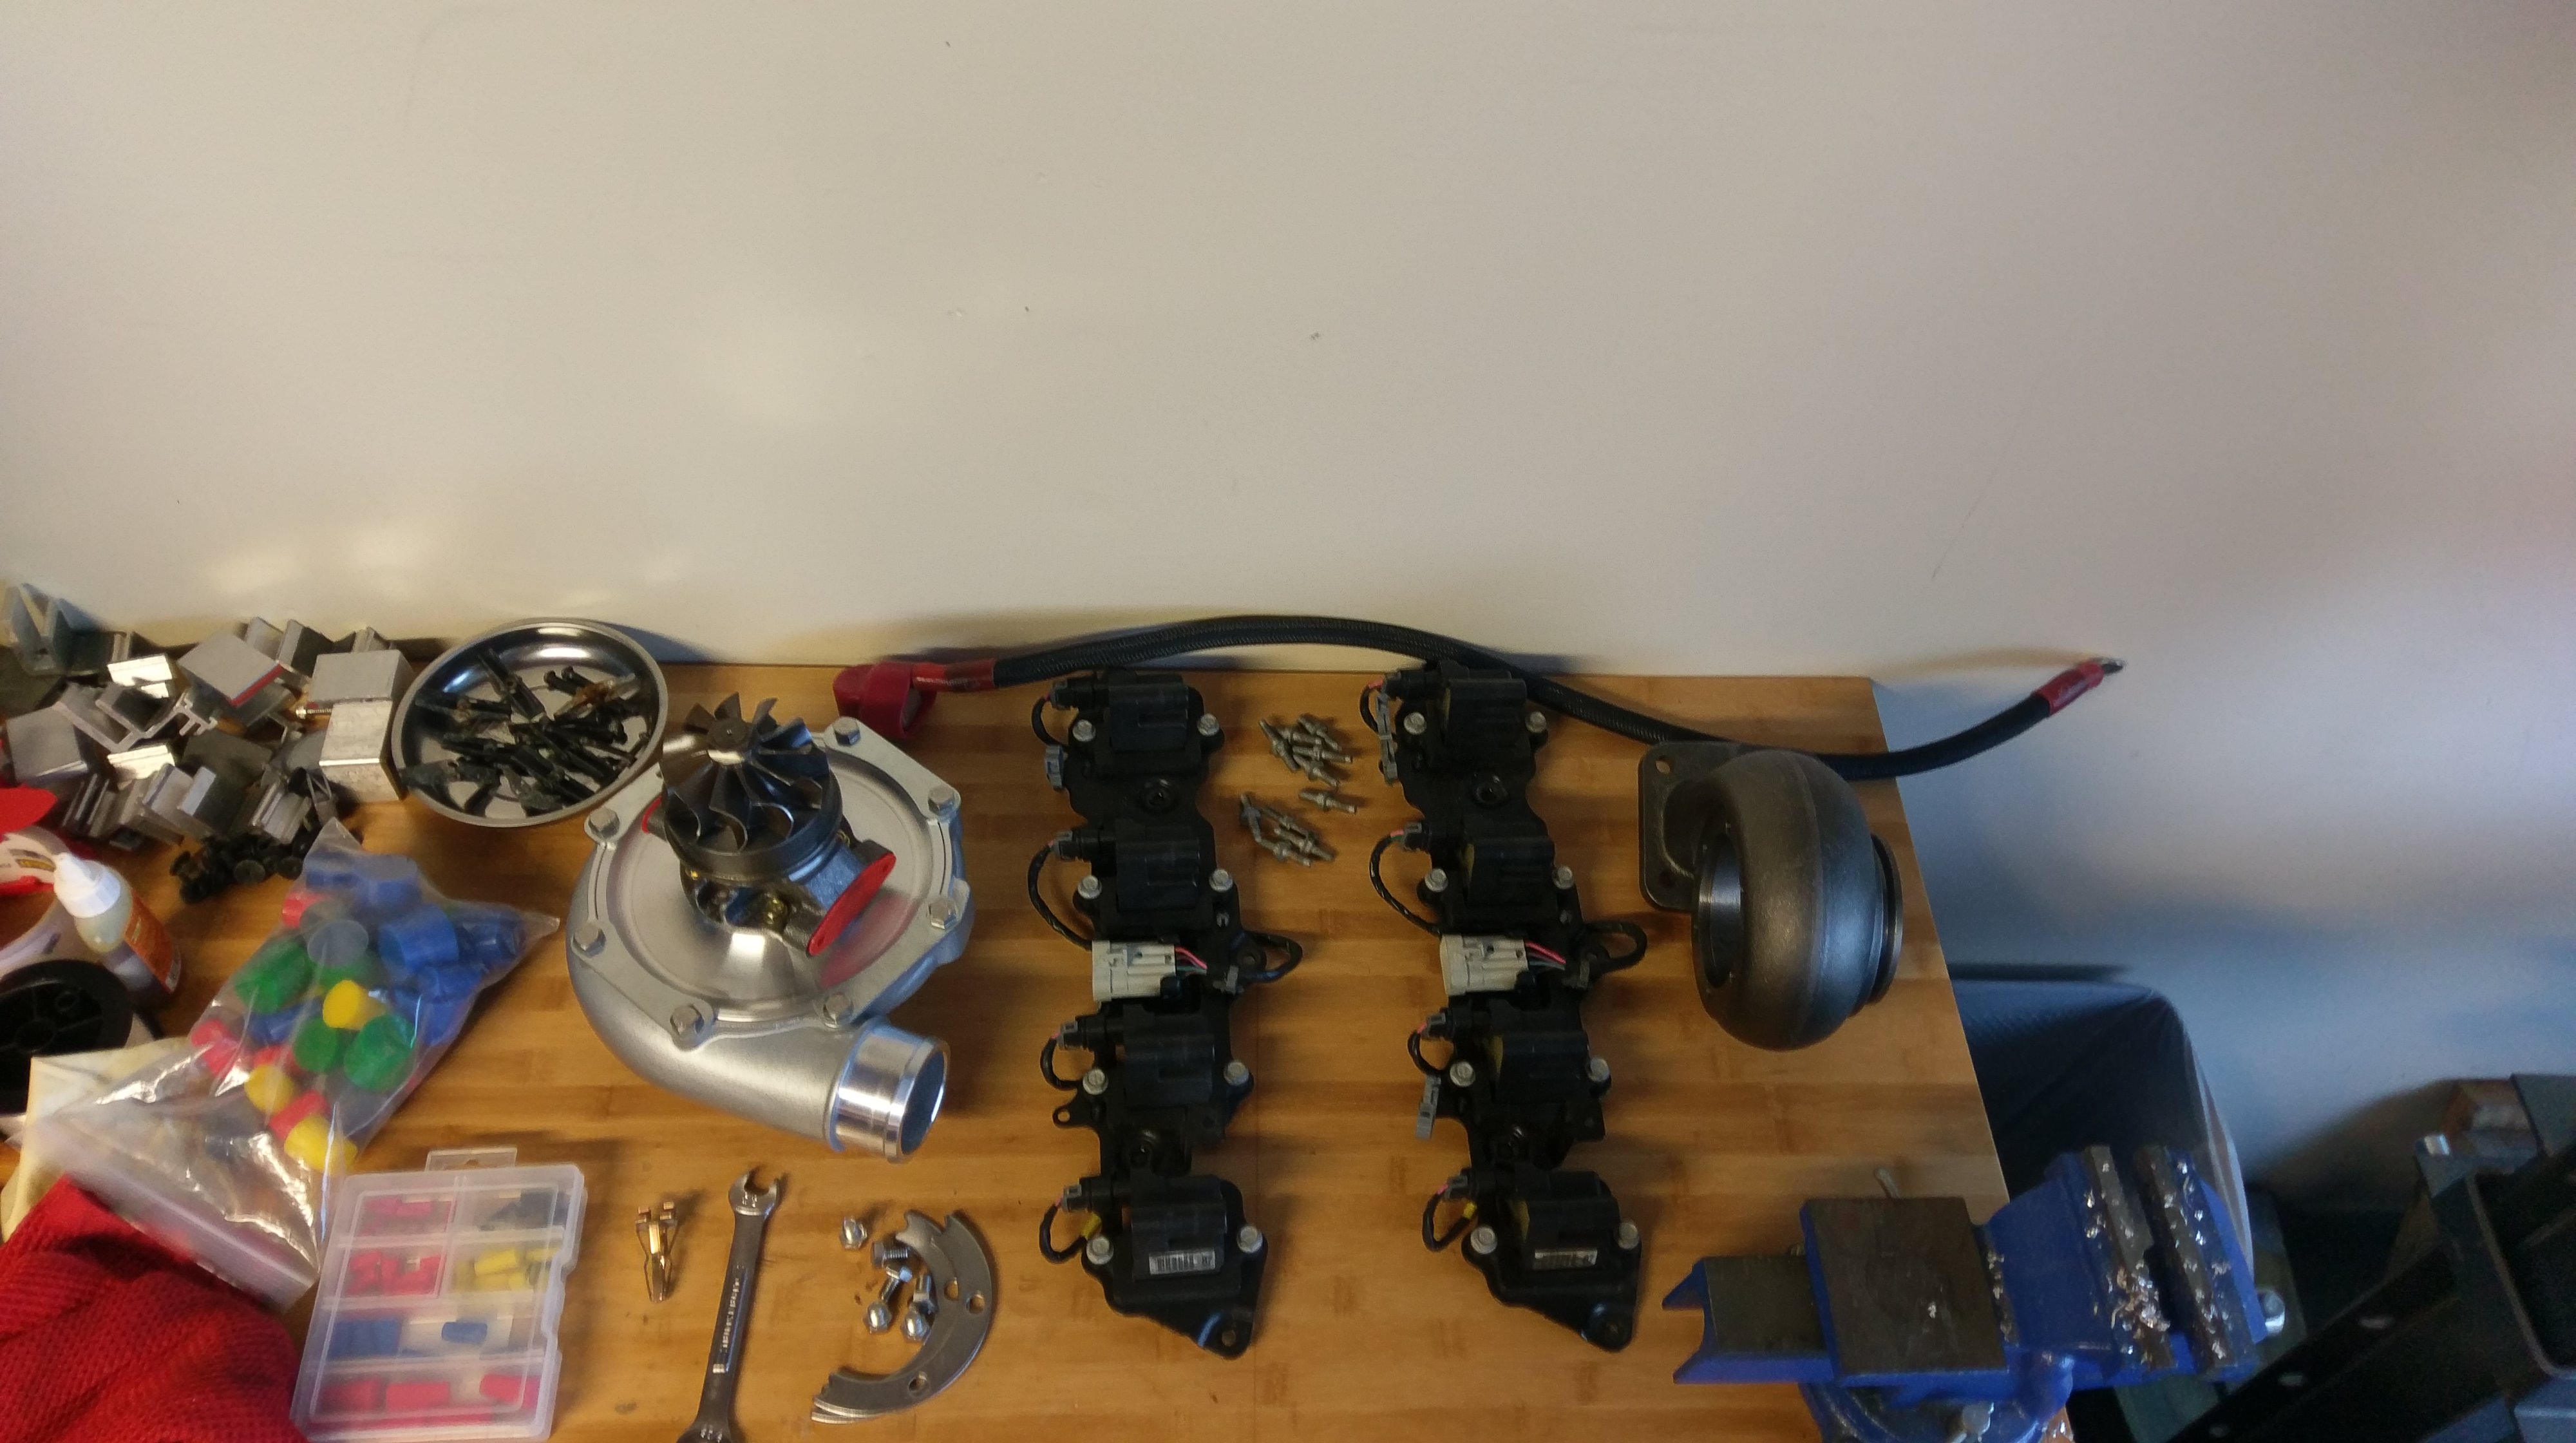
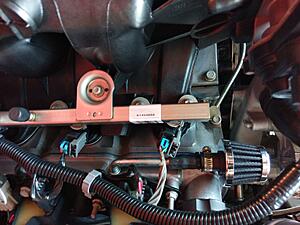
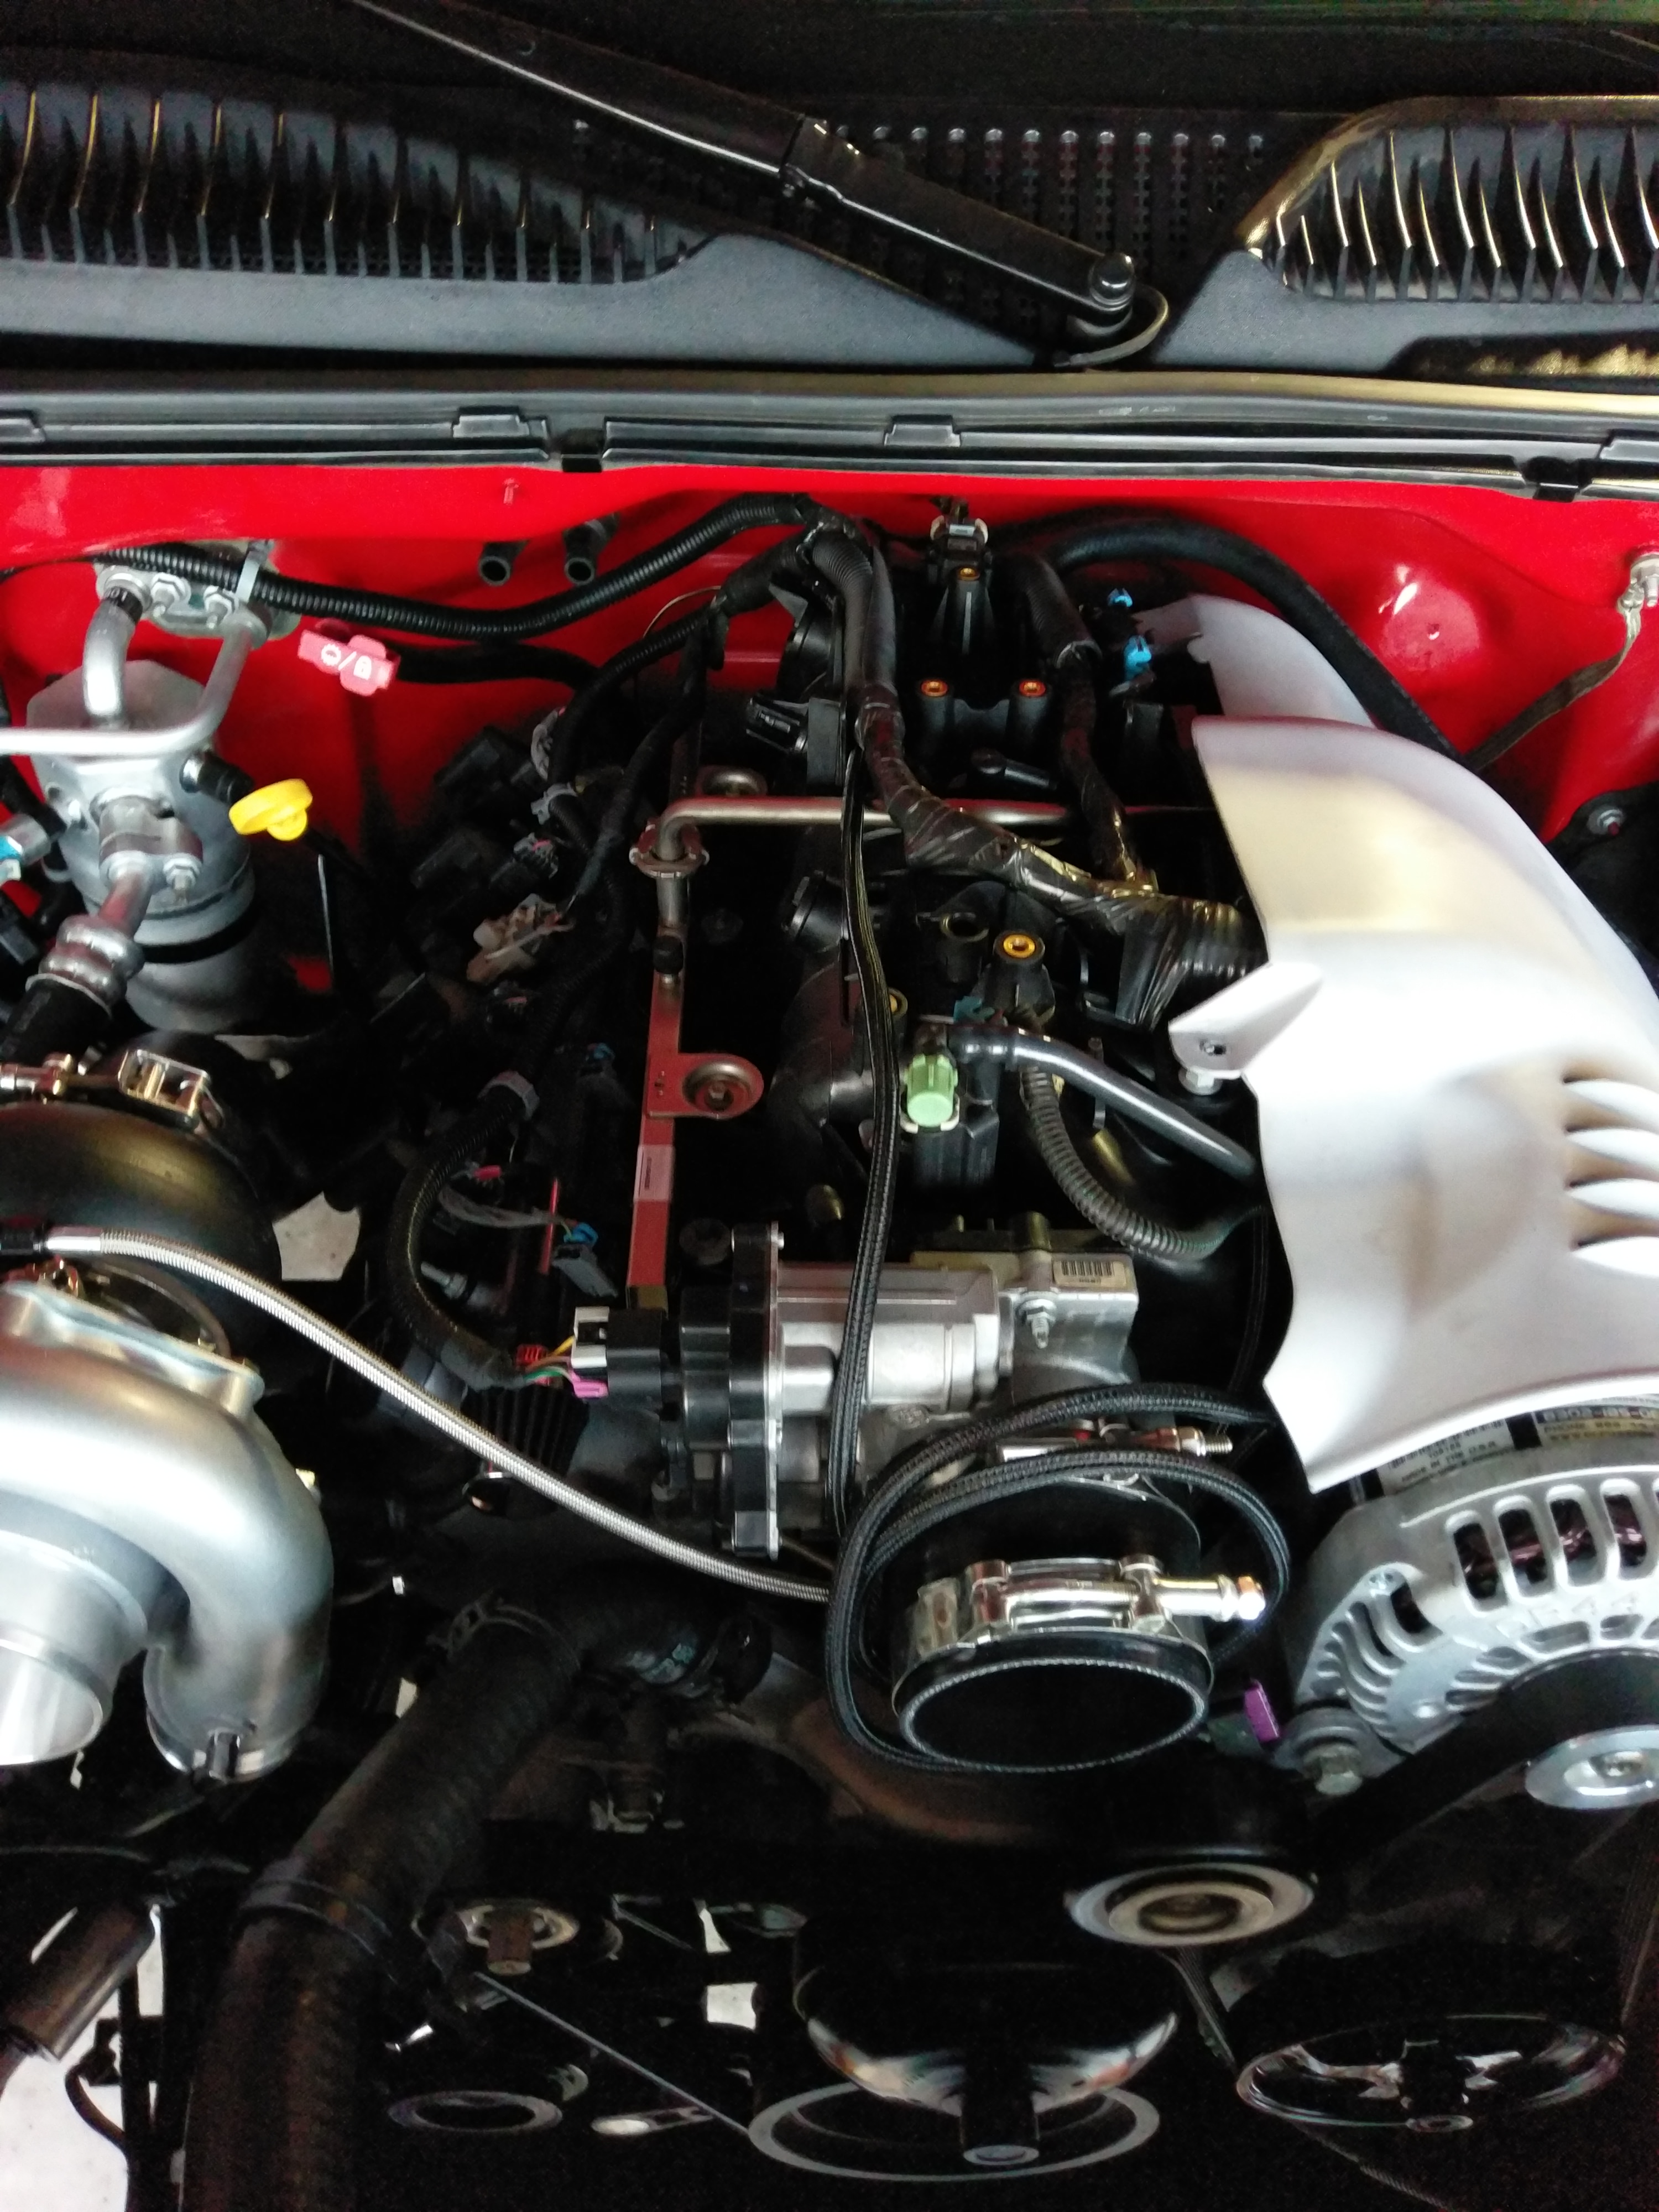
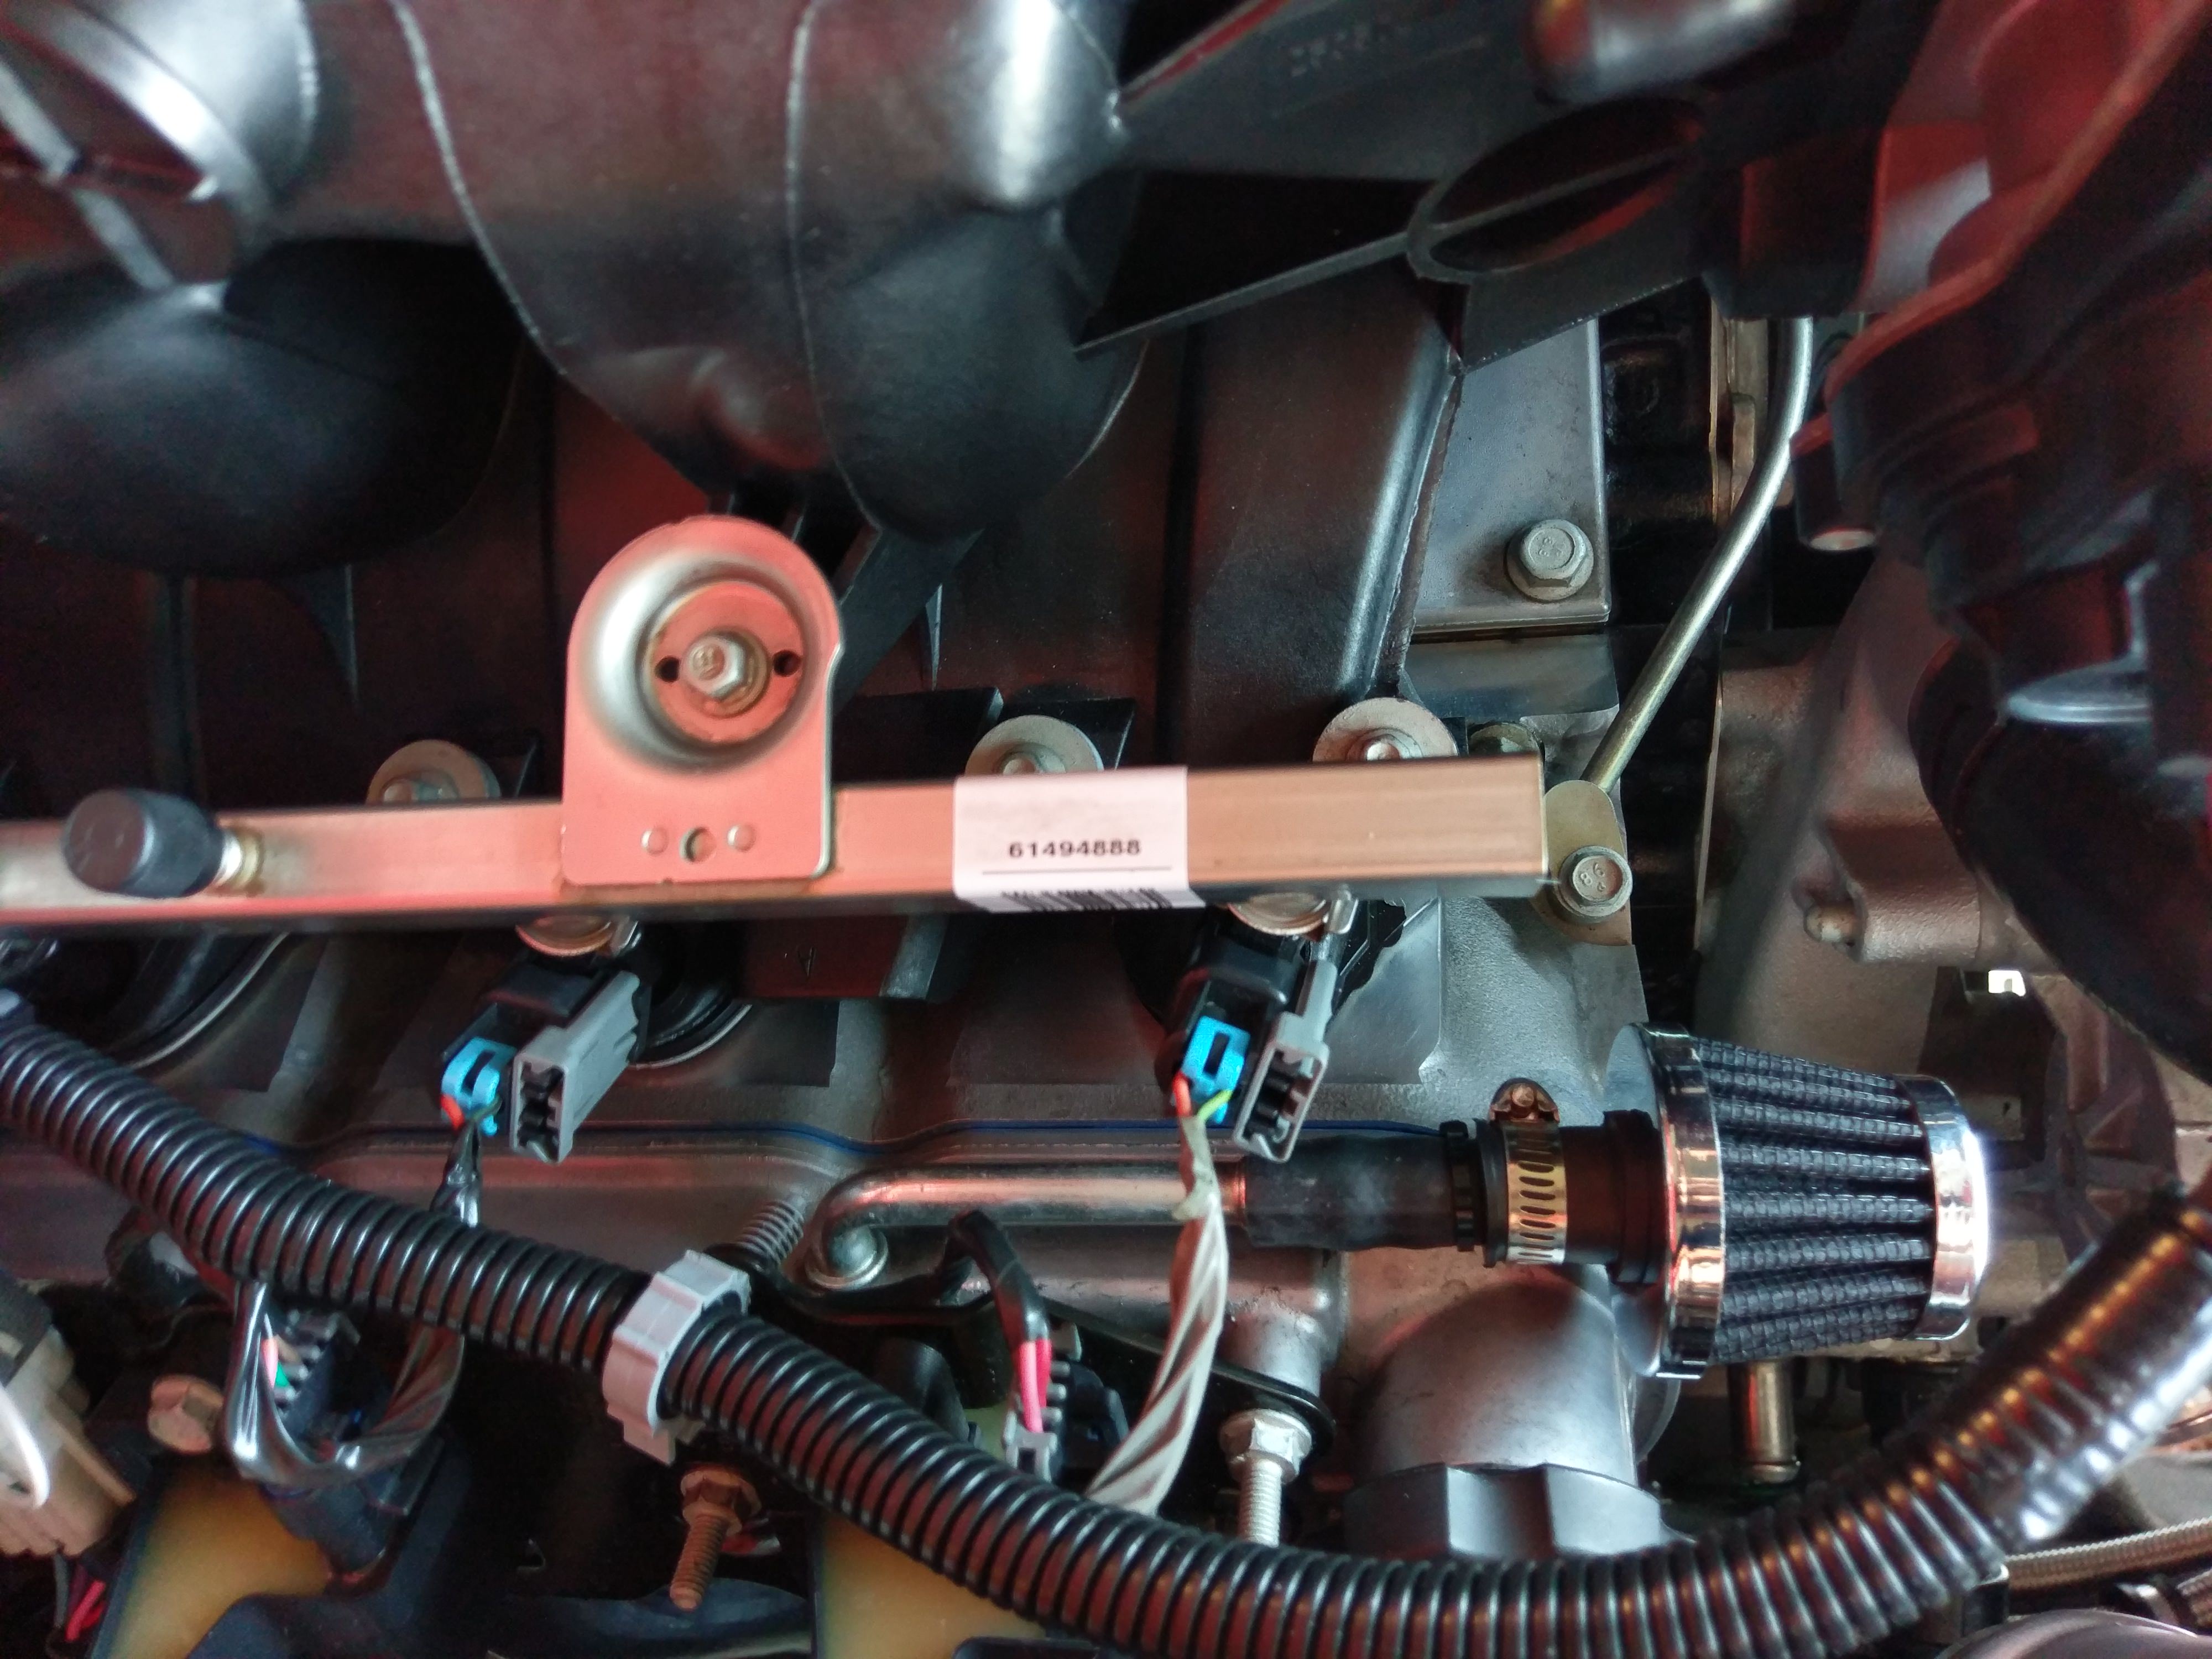
Measuring to figure out what kind of injectors I have. They're not typical truck injectors since they're flex fuel and '07 year

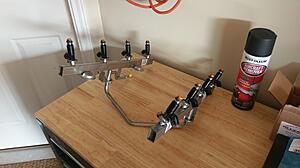
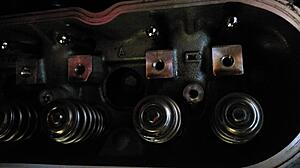
At this point I decided to get more realistic with the project and try not to do too much at one time, so I decided not to do the headswap, cam, etc... but instead went with trunnion upgrade and PAC 1218 springs and start getting everything put back together
Sealed up the knock sensors with red RTV

Then did some cleaning

Started mounting my trucool 40k, I later trimmed the top bracket down so it's not blocking airflow
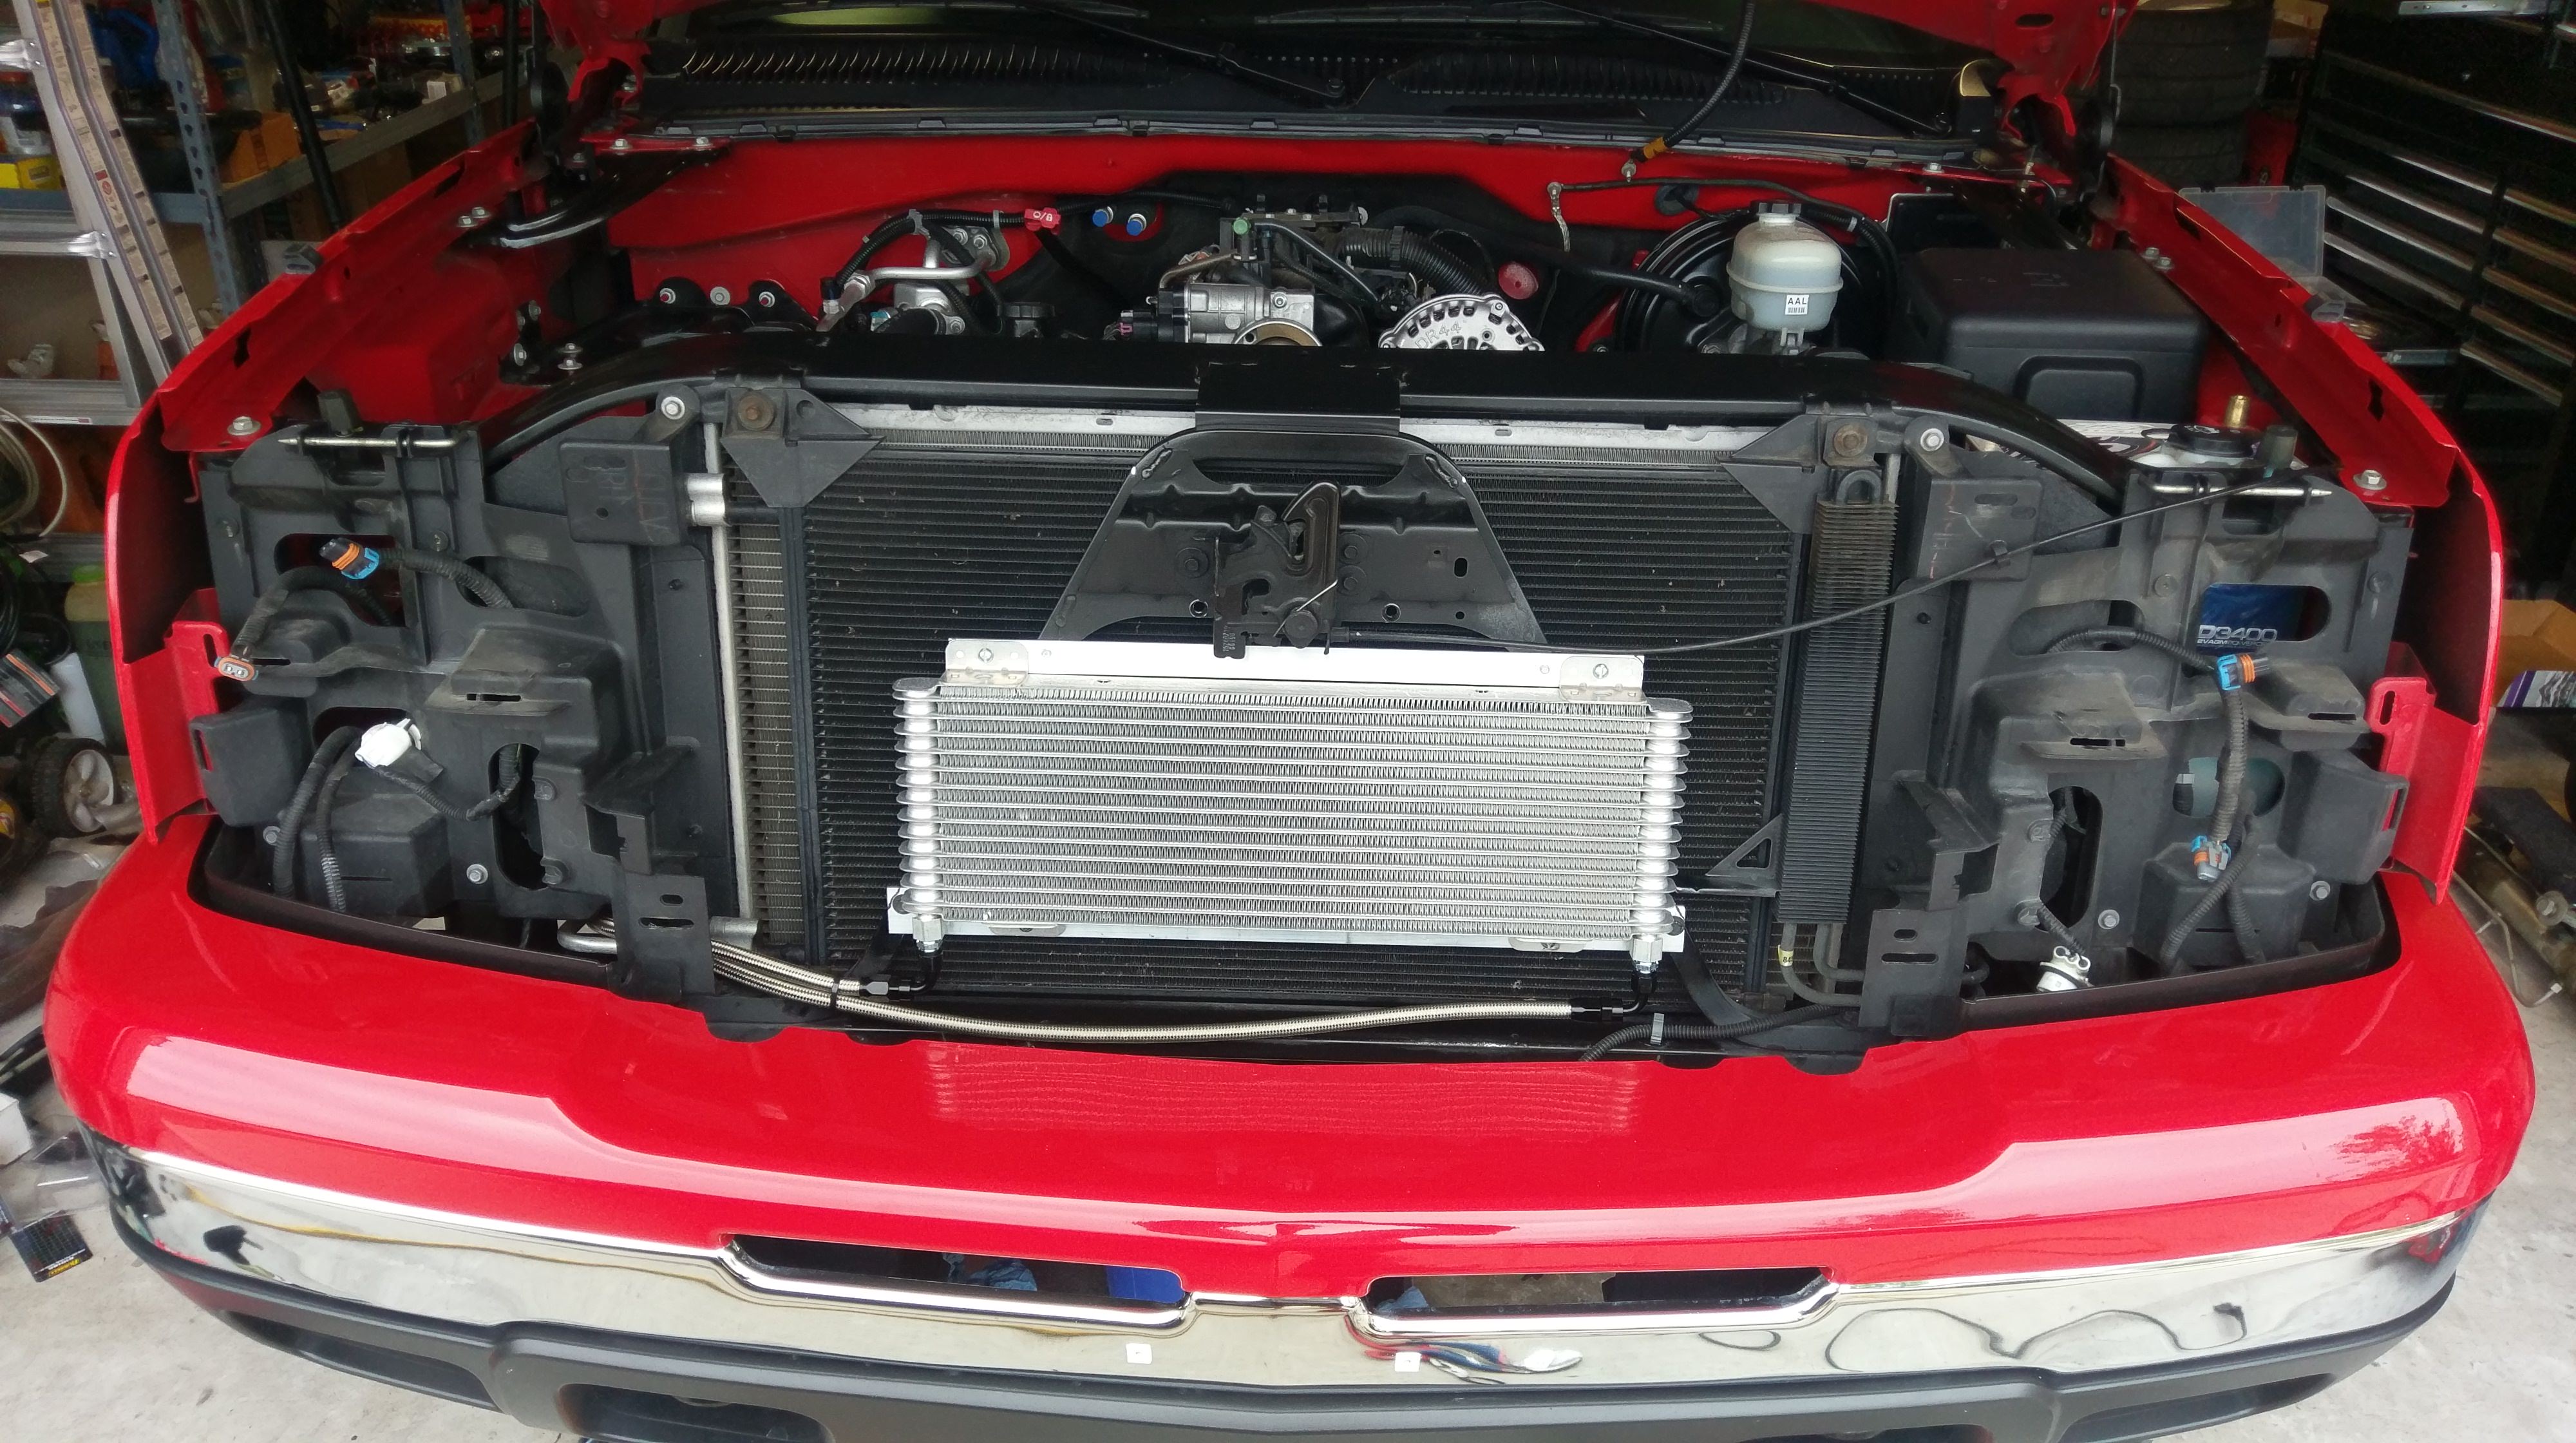
Trimmed the power steering cooler mount because I hate when these are mounted off-center
At this point I decided to do heads, cam, lifters, ARP studs, etc... and started the teardown even further
Forgot to take pictures, but I prepped and painted the front edges of the block with satin black engine paint and cleaned all the aluminum up
Measuring to figure out what kind of injectors I have. They're not typical truck injectors since they're flex fuel and '07 year


At this point I decided to get more realistic with the project and try not to do too much at one time, so I decided not to do the headswap, cam, etc... but instead went with trunnion upgrade and PAC 1218 springs and start getting everything put back together

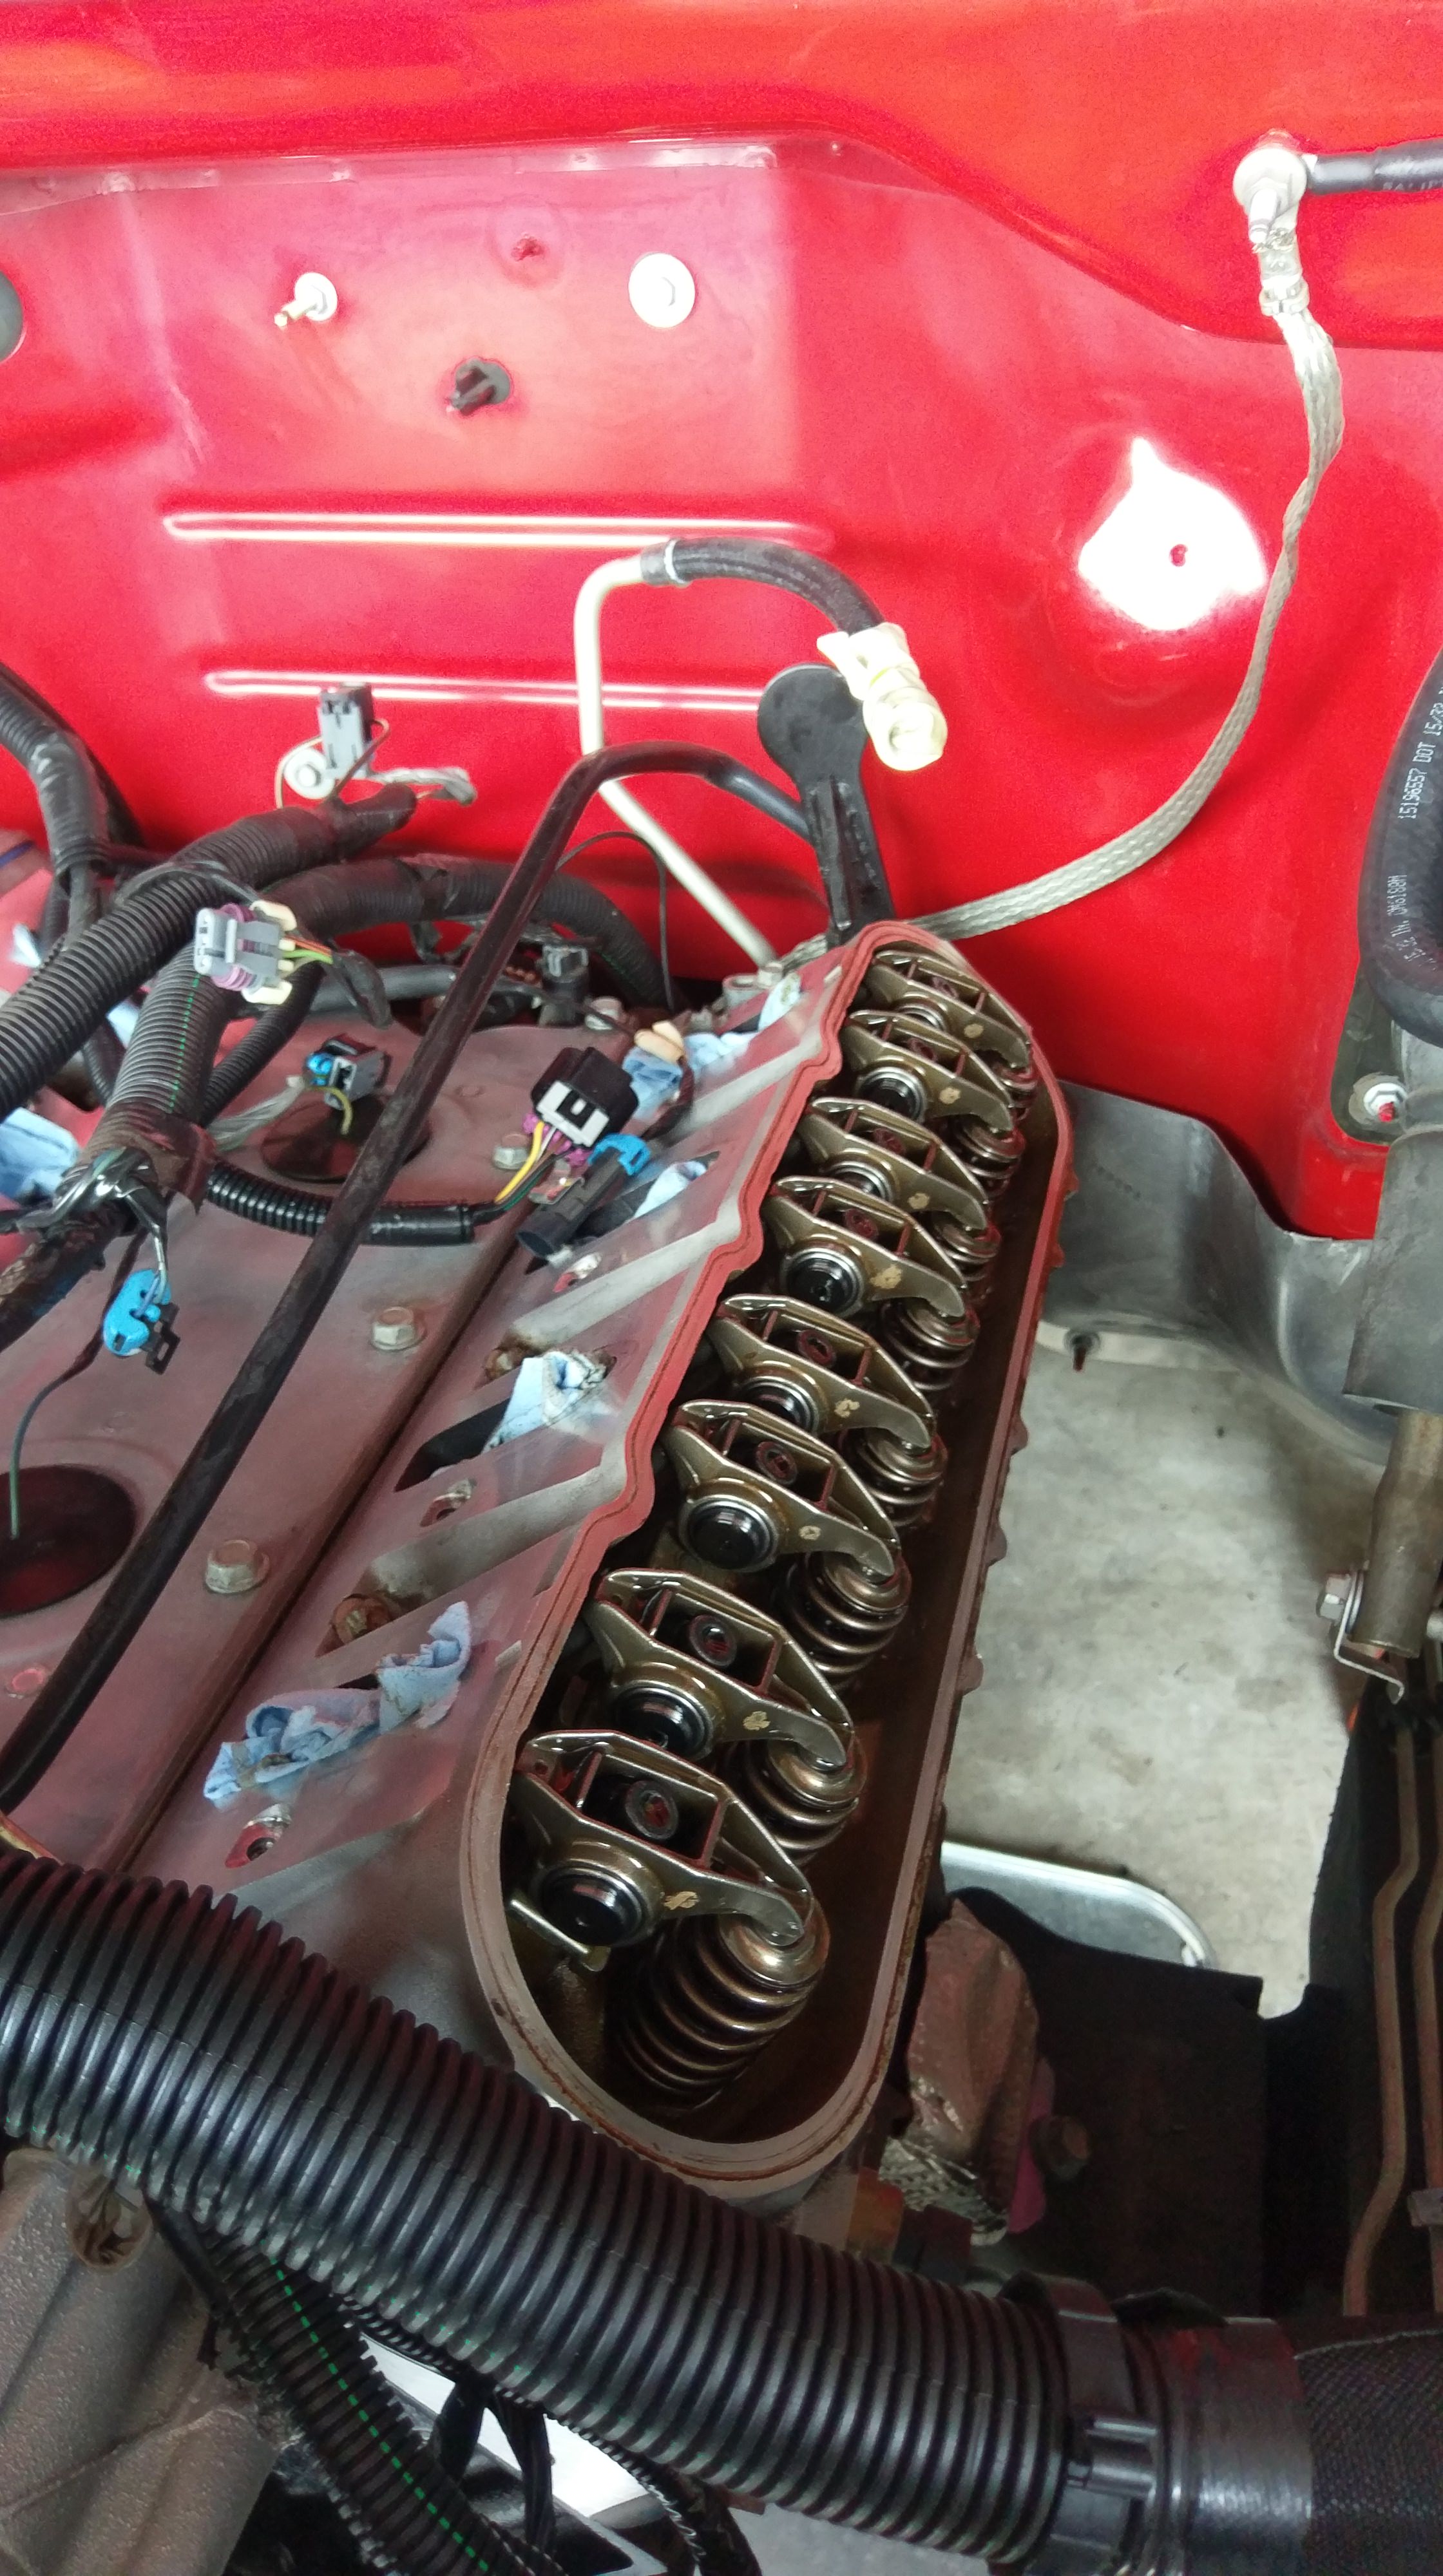
Sealed up the knock sensors with red RTV
 Jan 13, 2018 | 11:50 AM
#4
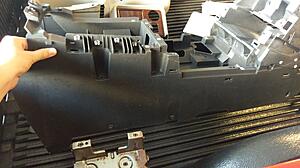
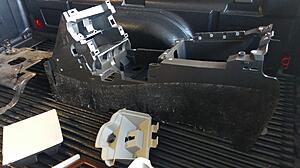
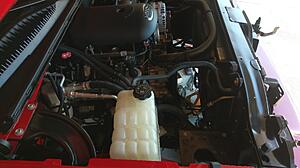
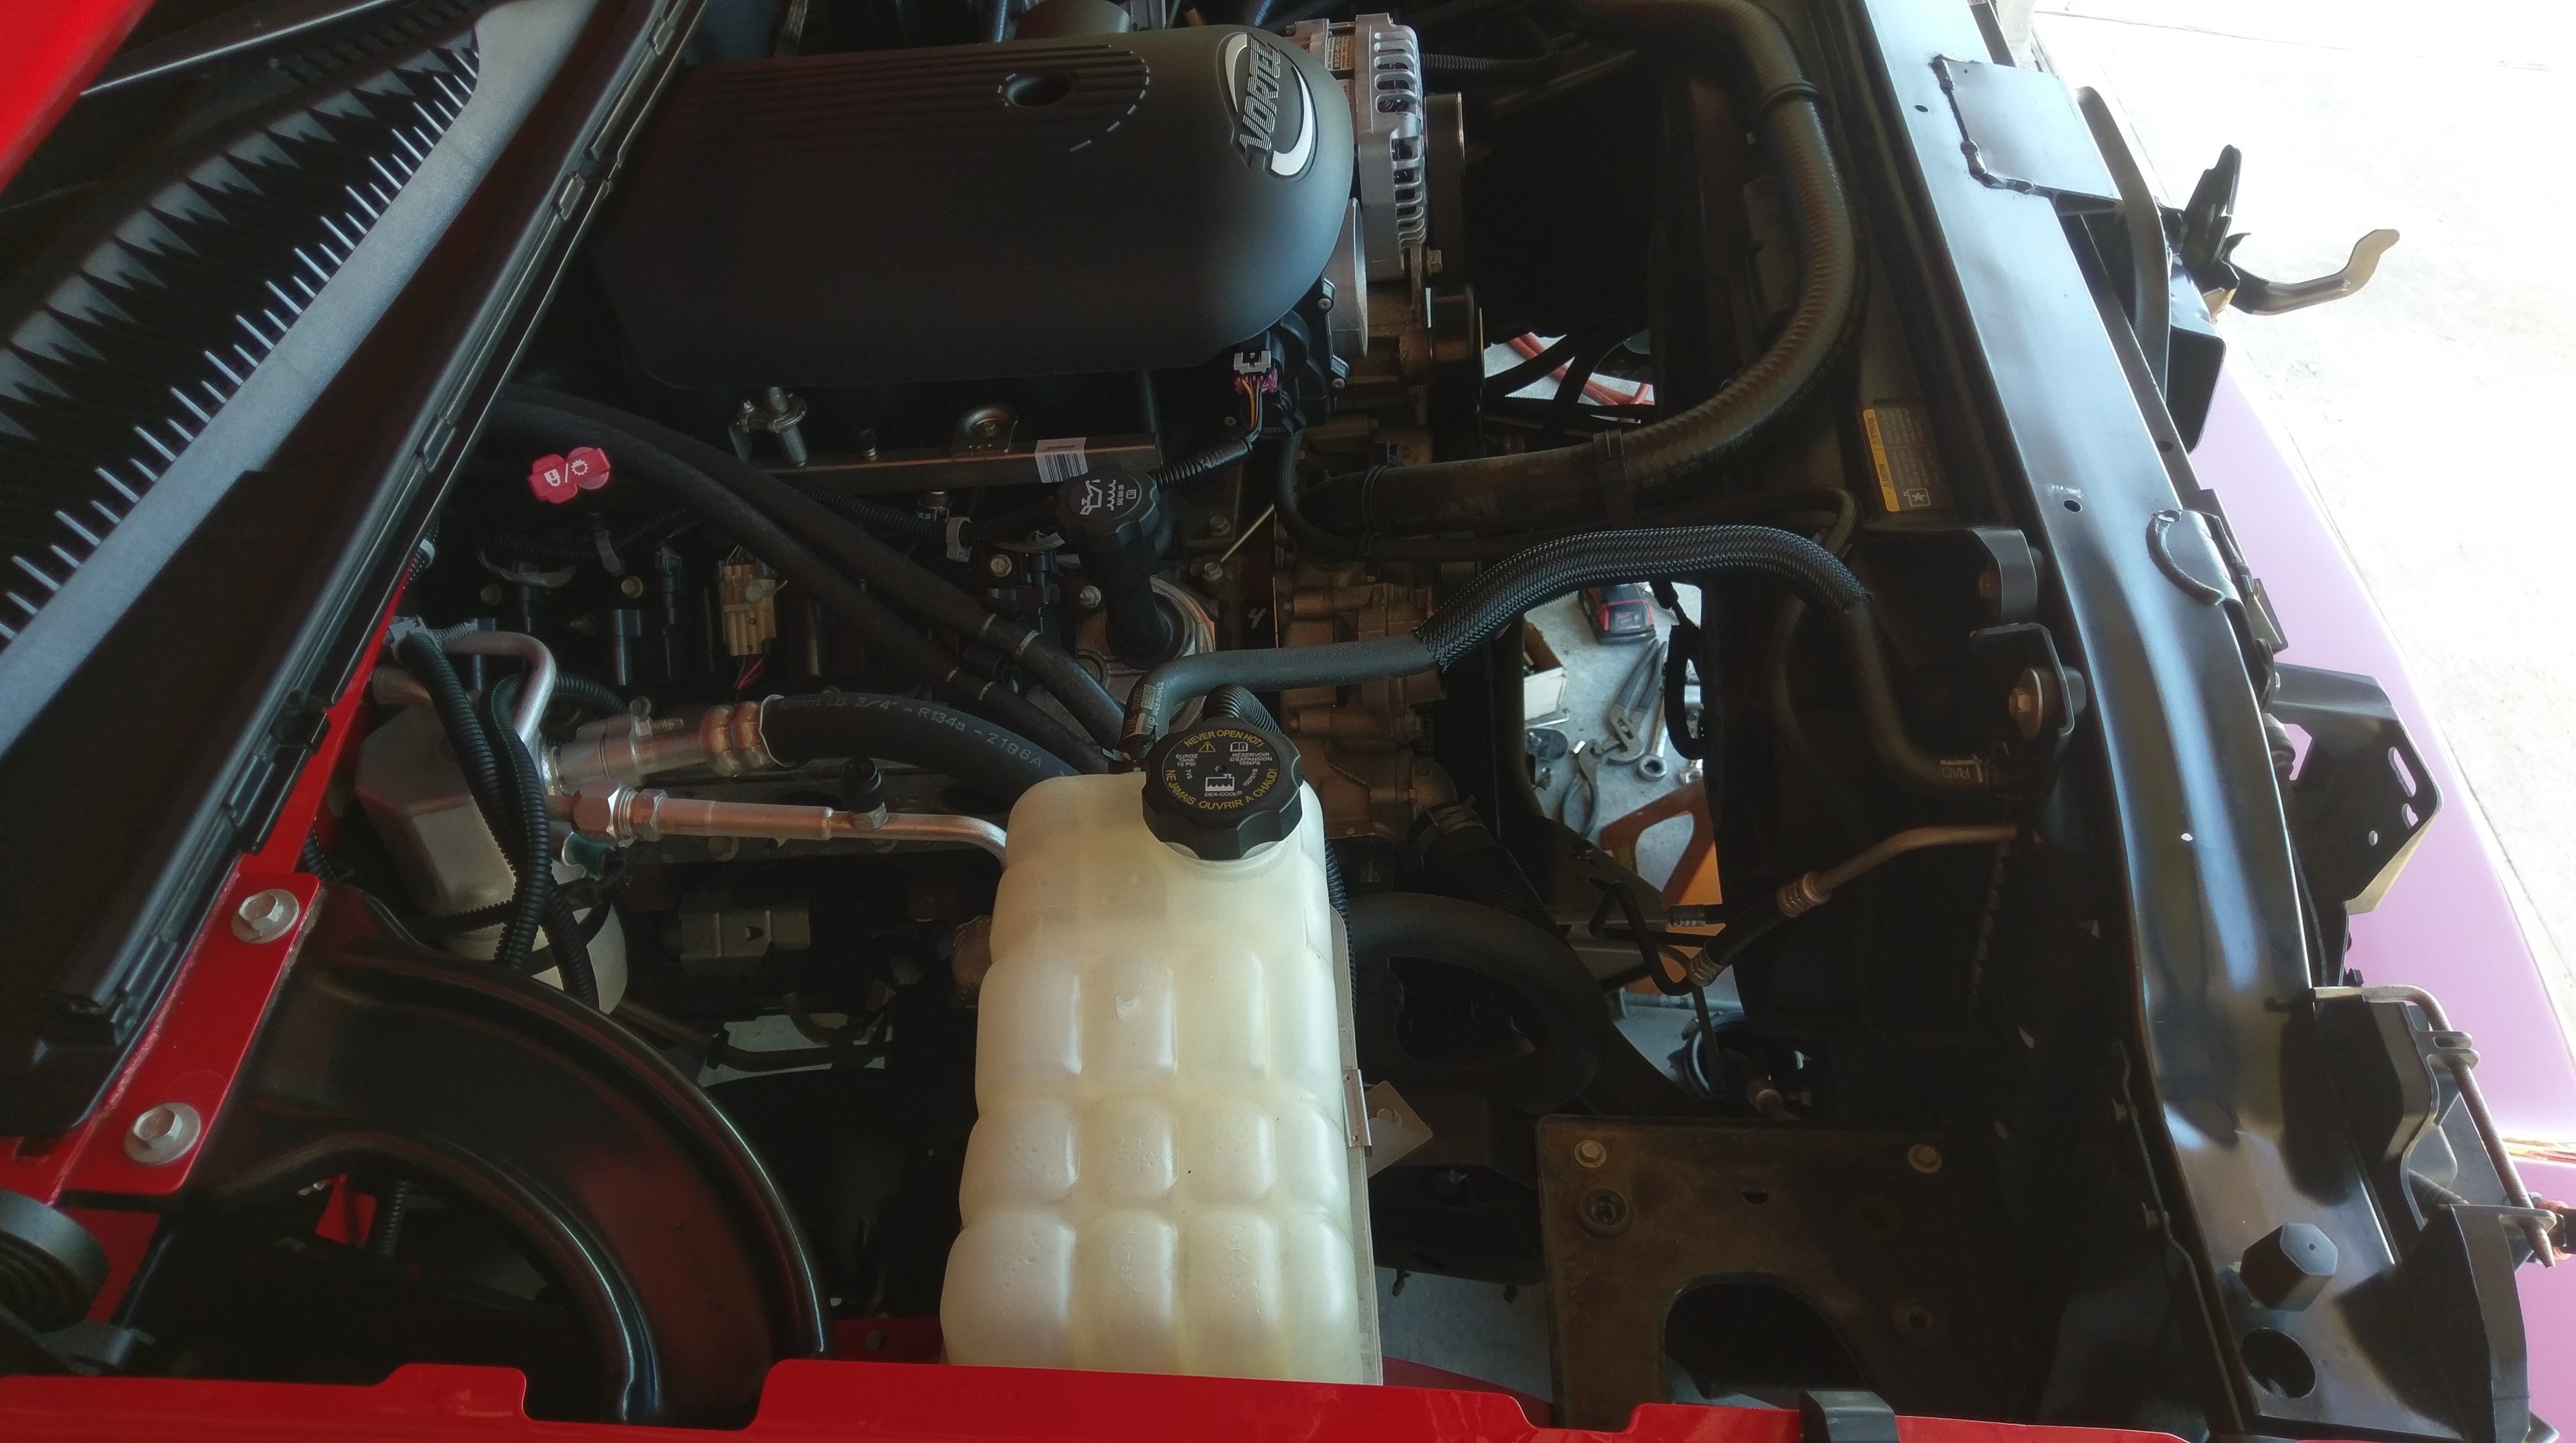
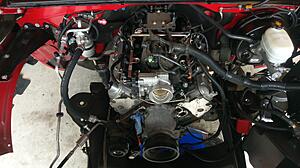
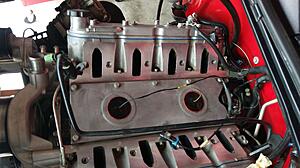
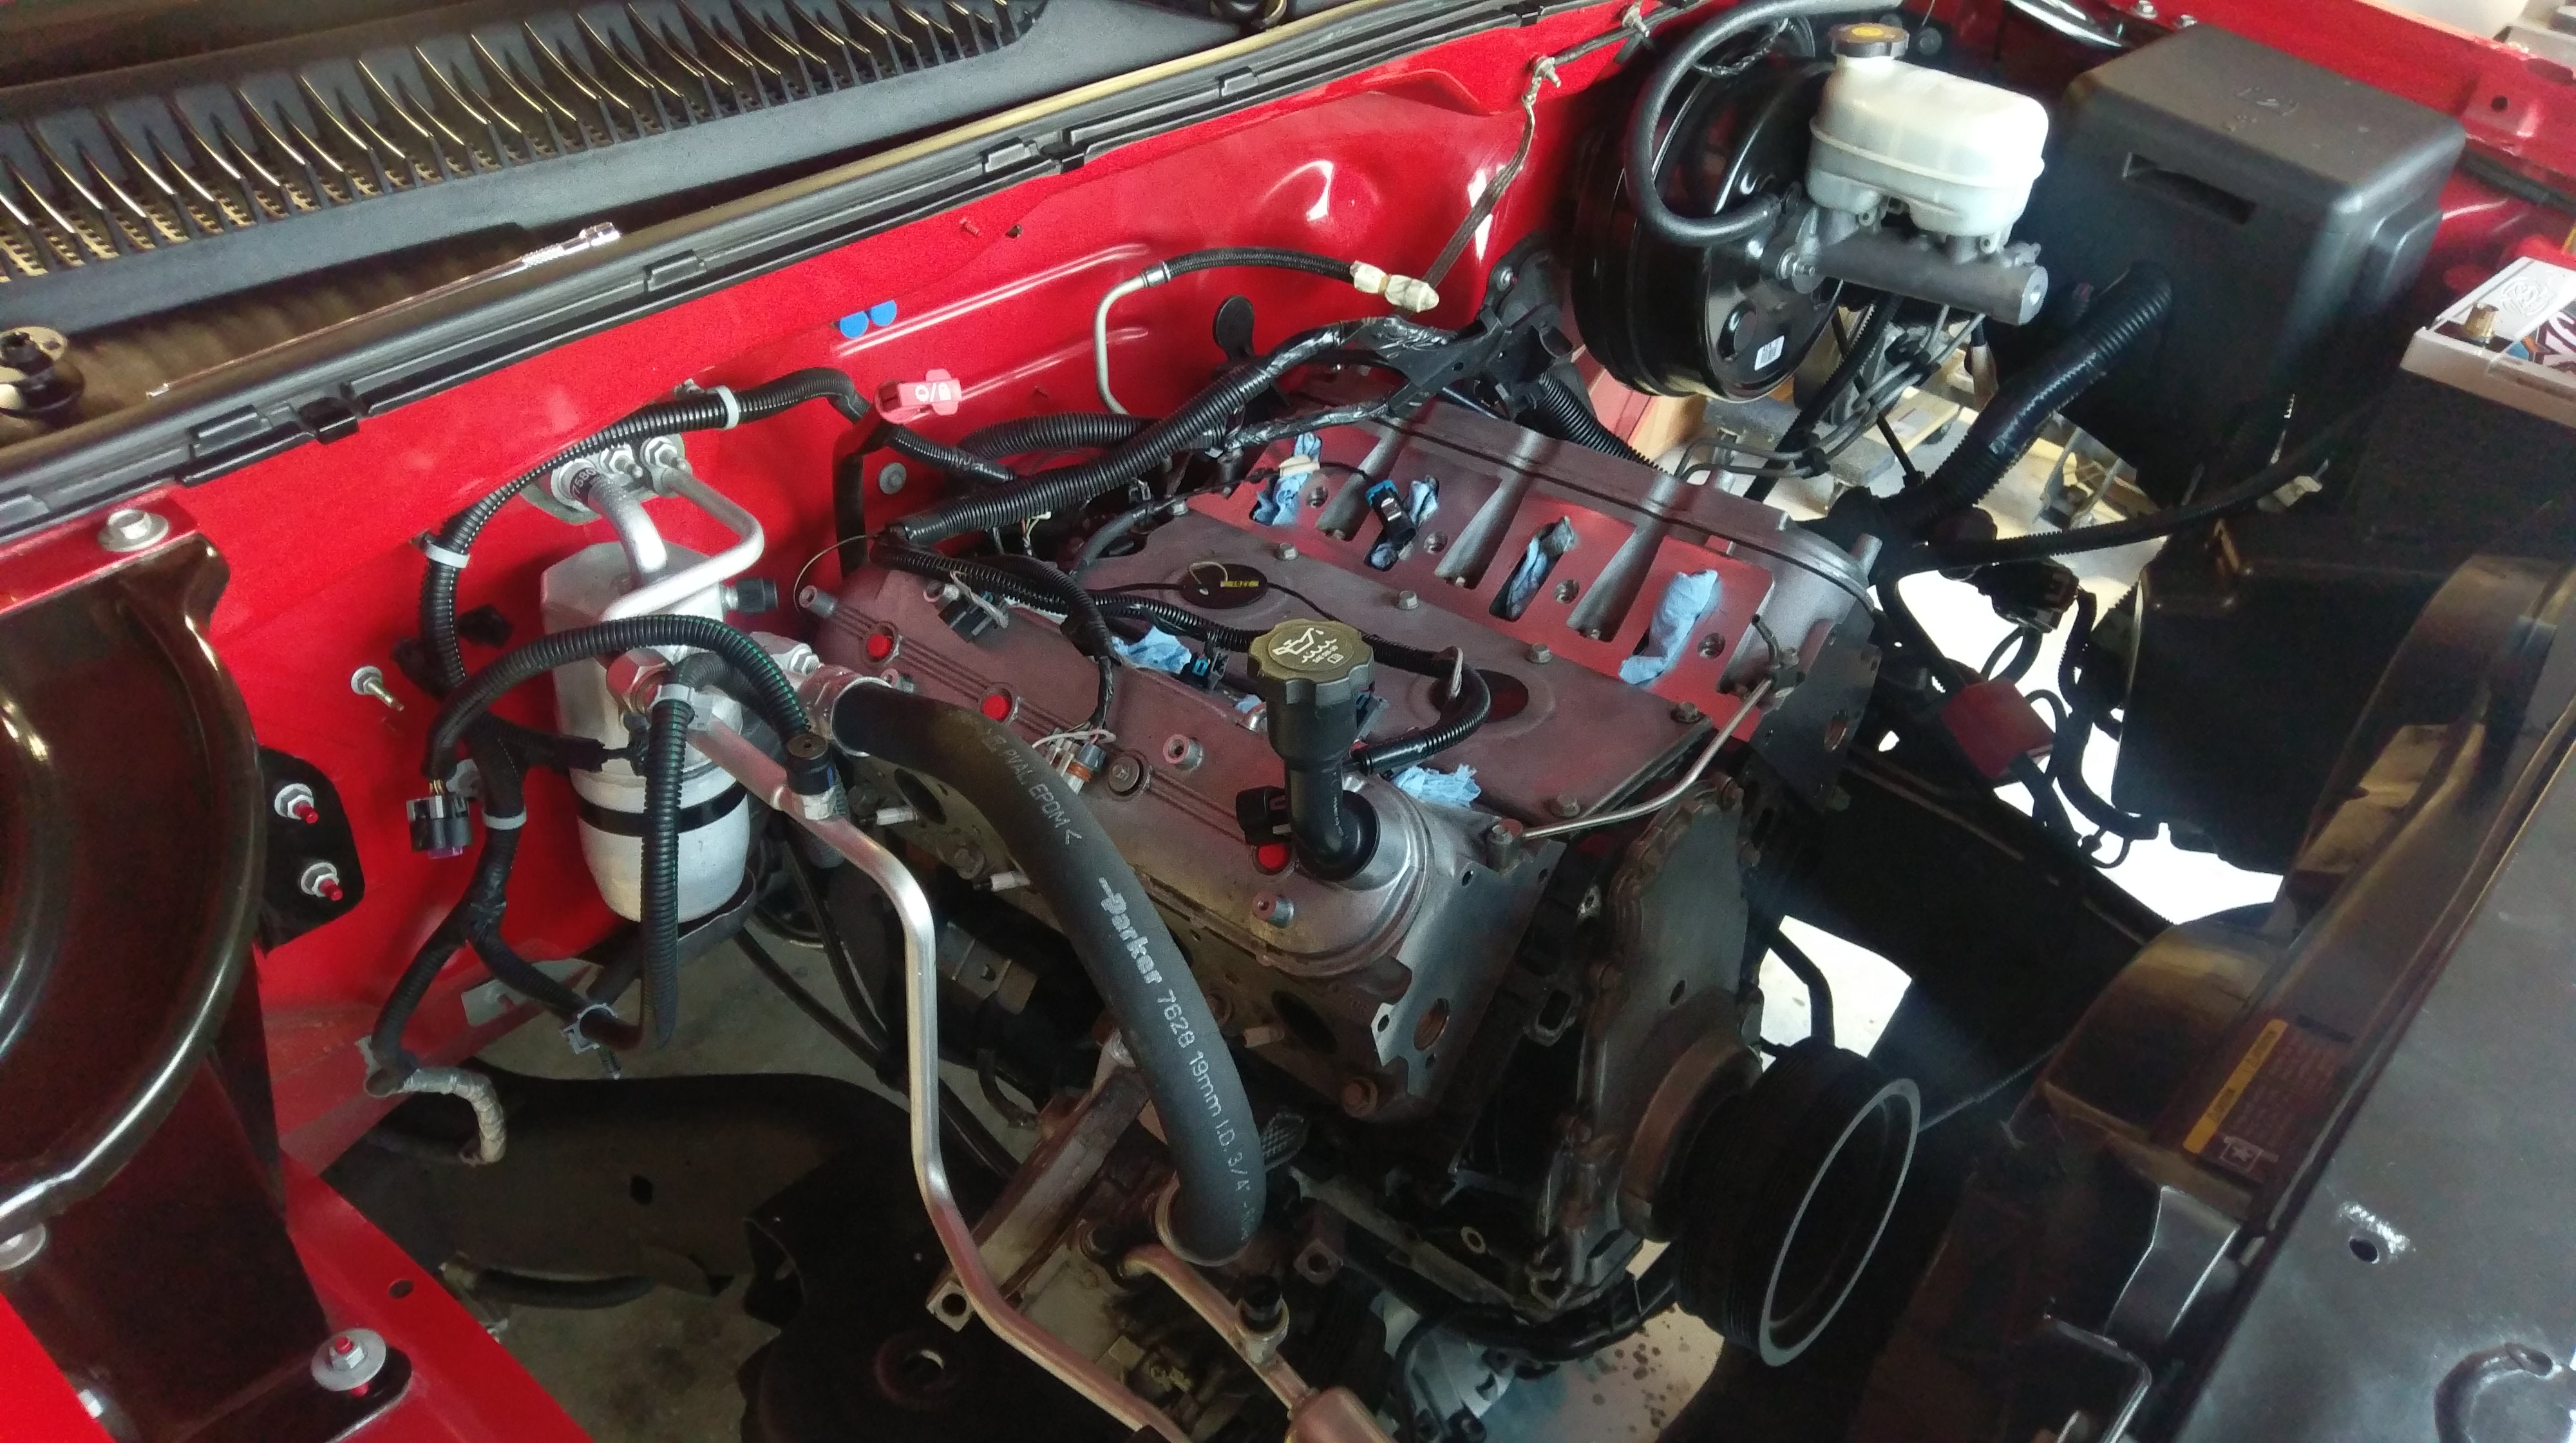
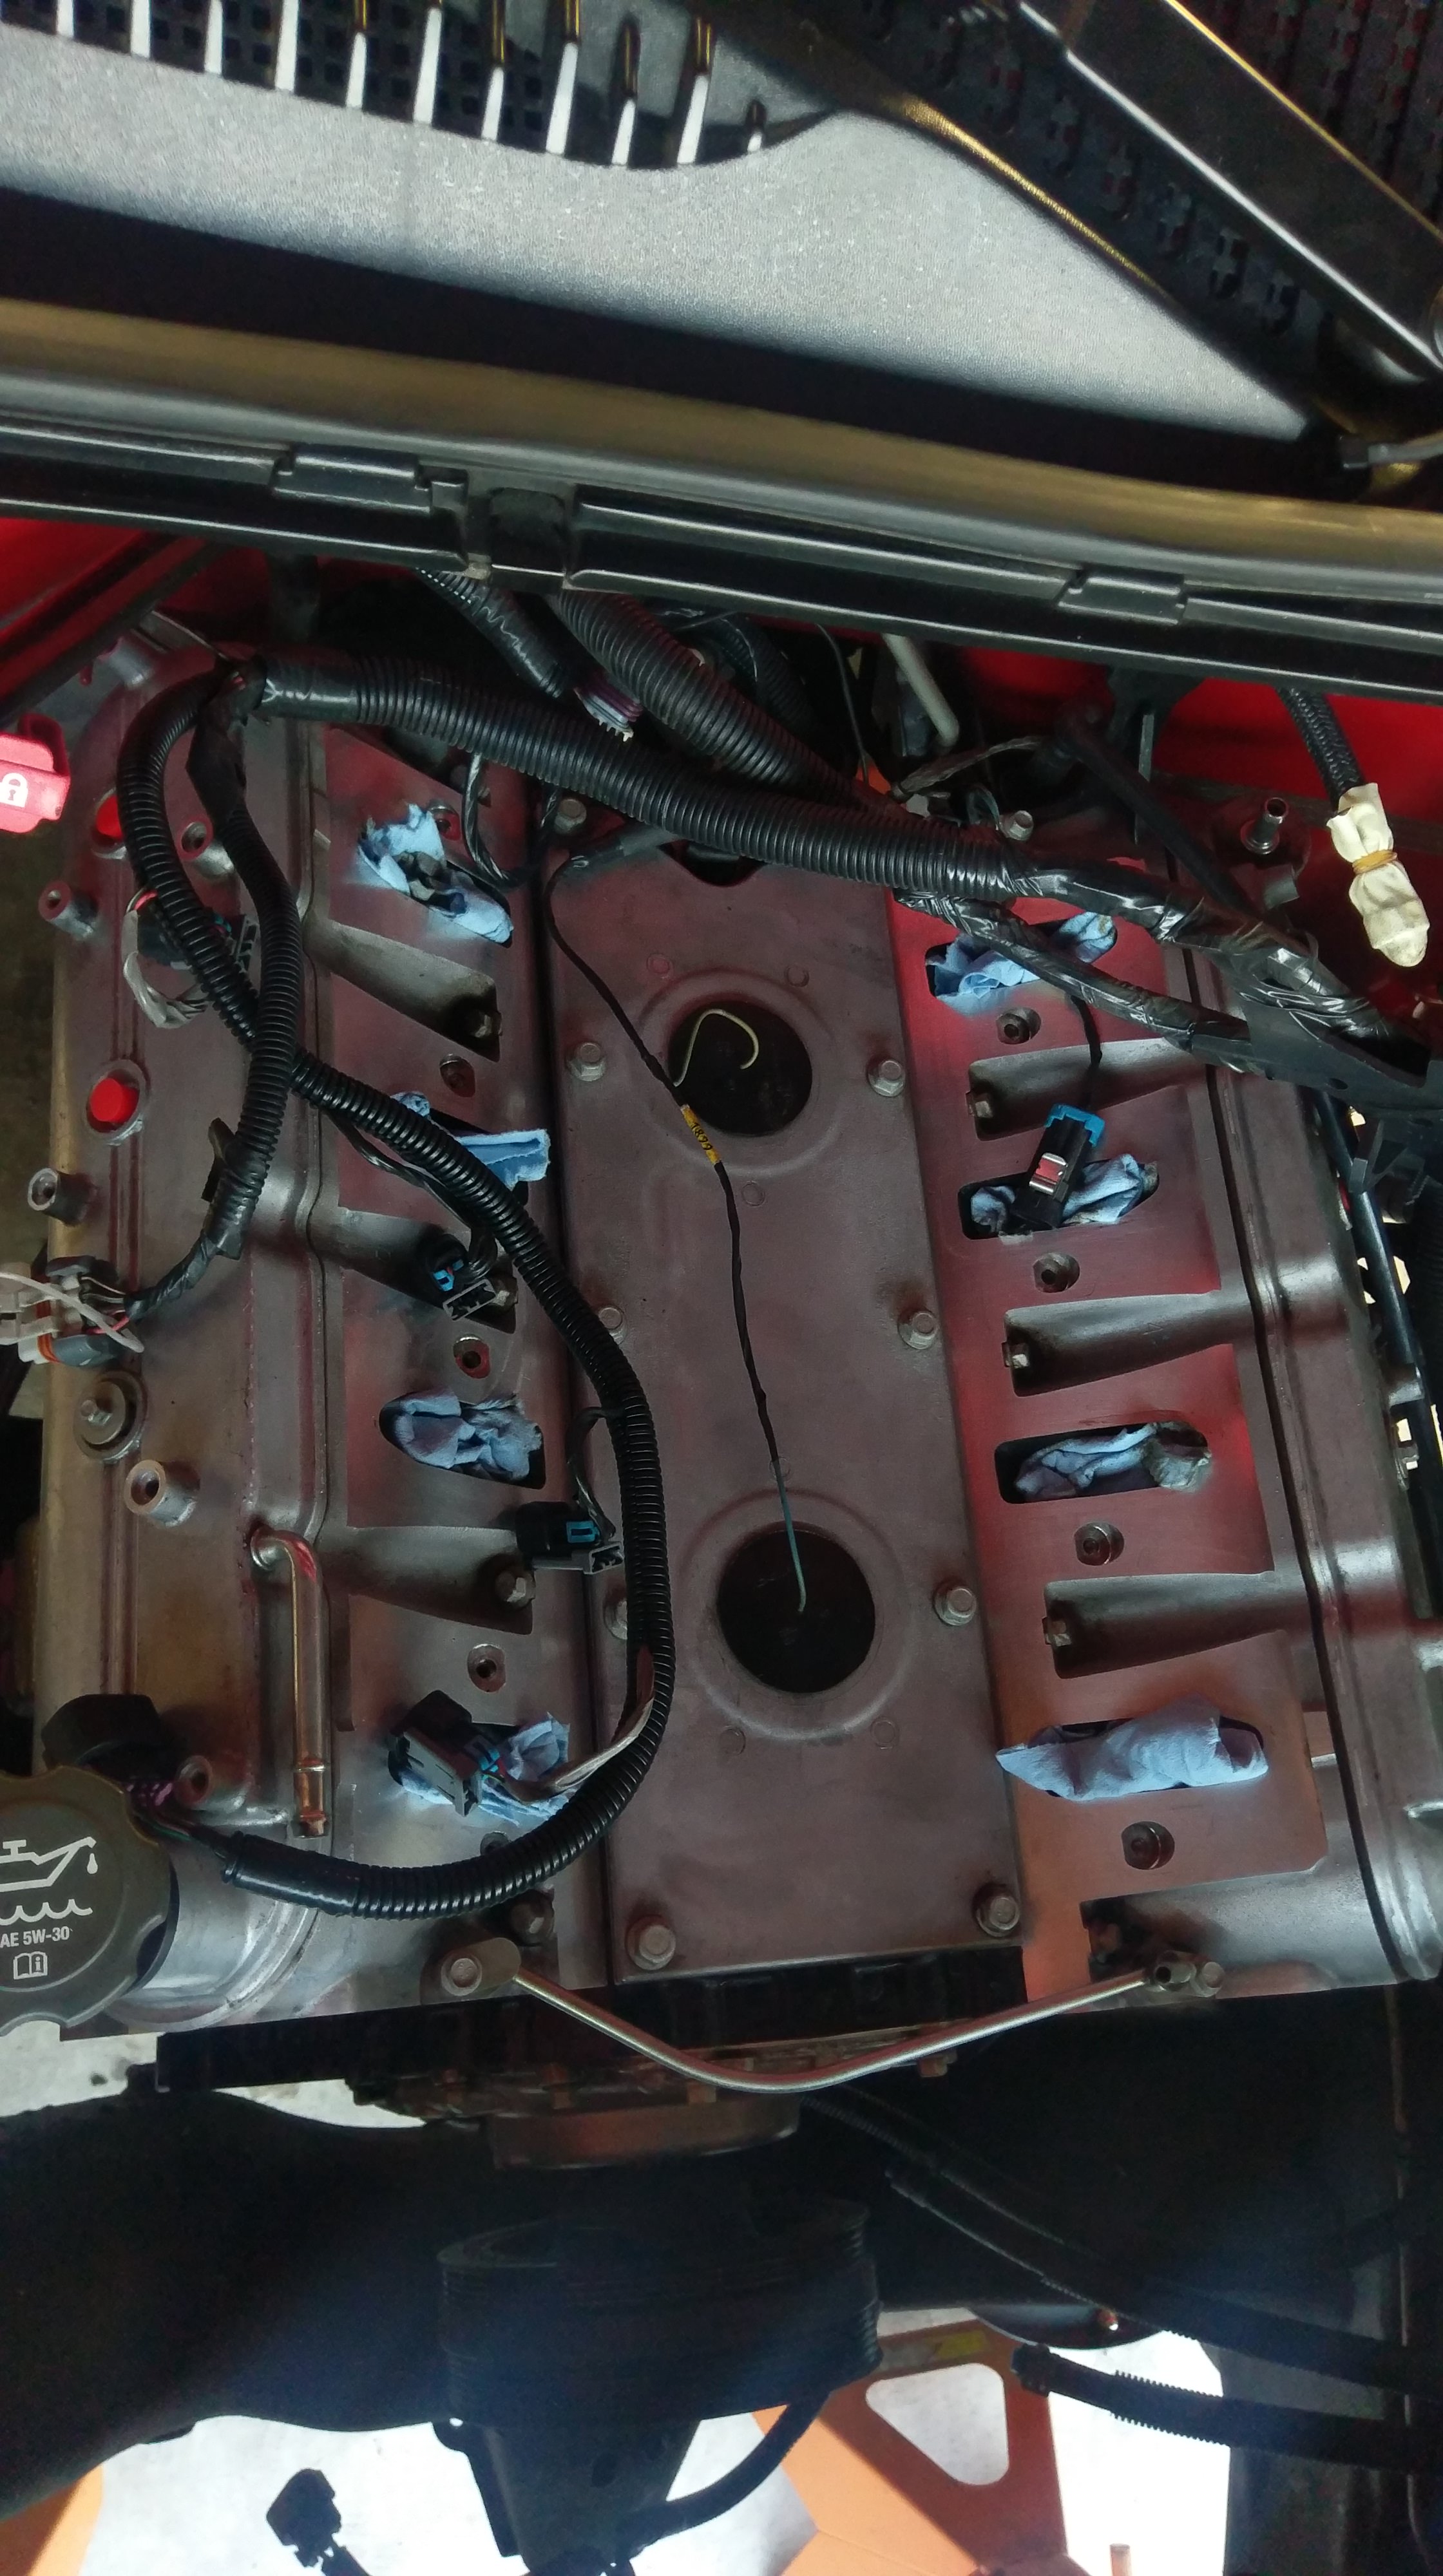
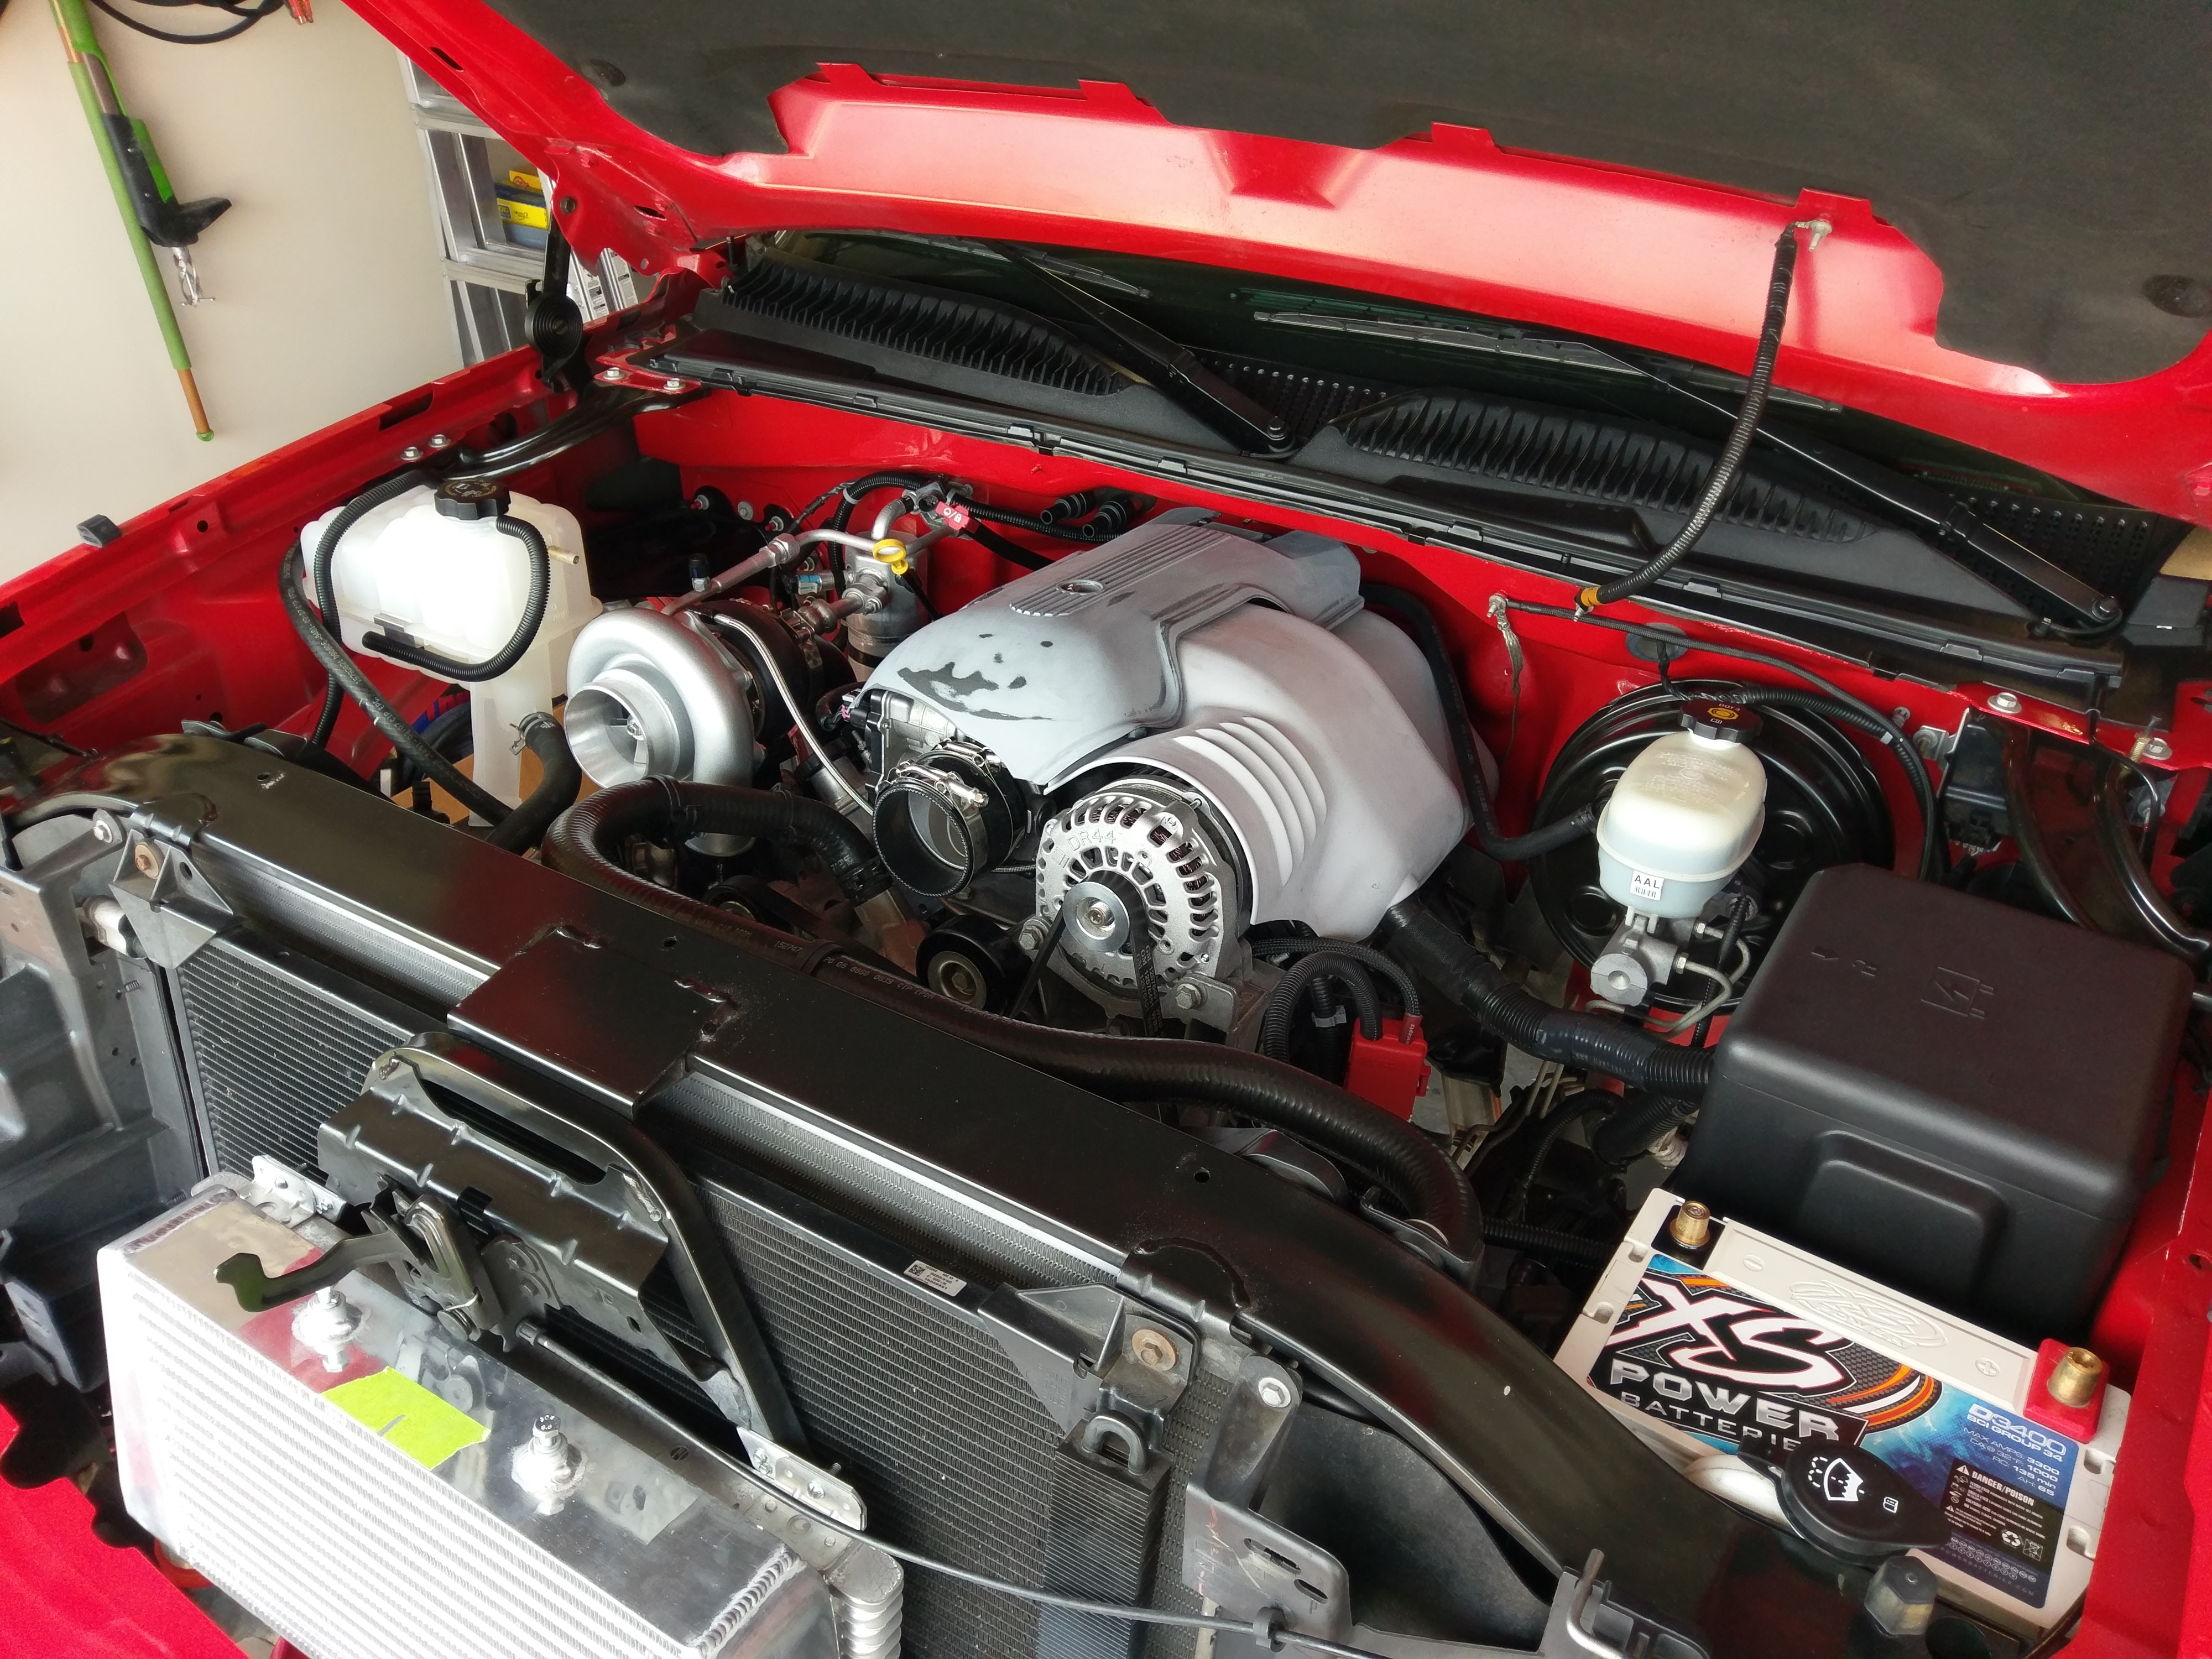
Degreased and pressure washed the intake manifold. You would not believe how much oil and **** came out of this with the stock PCV setup
All new intake manifold, valve cover, and throttle body gaskets since they were in my garage already from my gray truck high mileage project plans
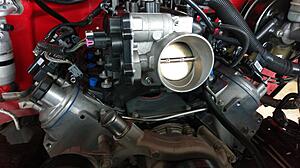
Nice and clean

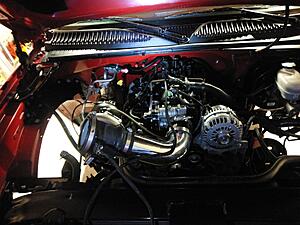
Test fit the intercooler and made it as high as I could
Got the hot pipes back from ceramic coating
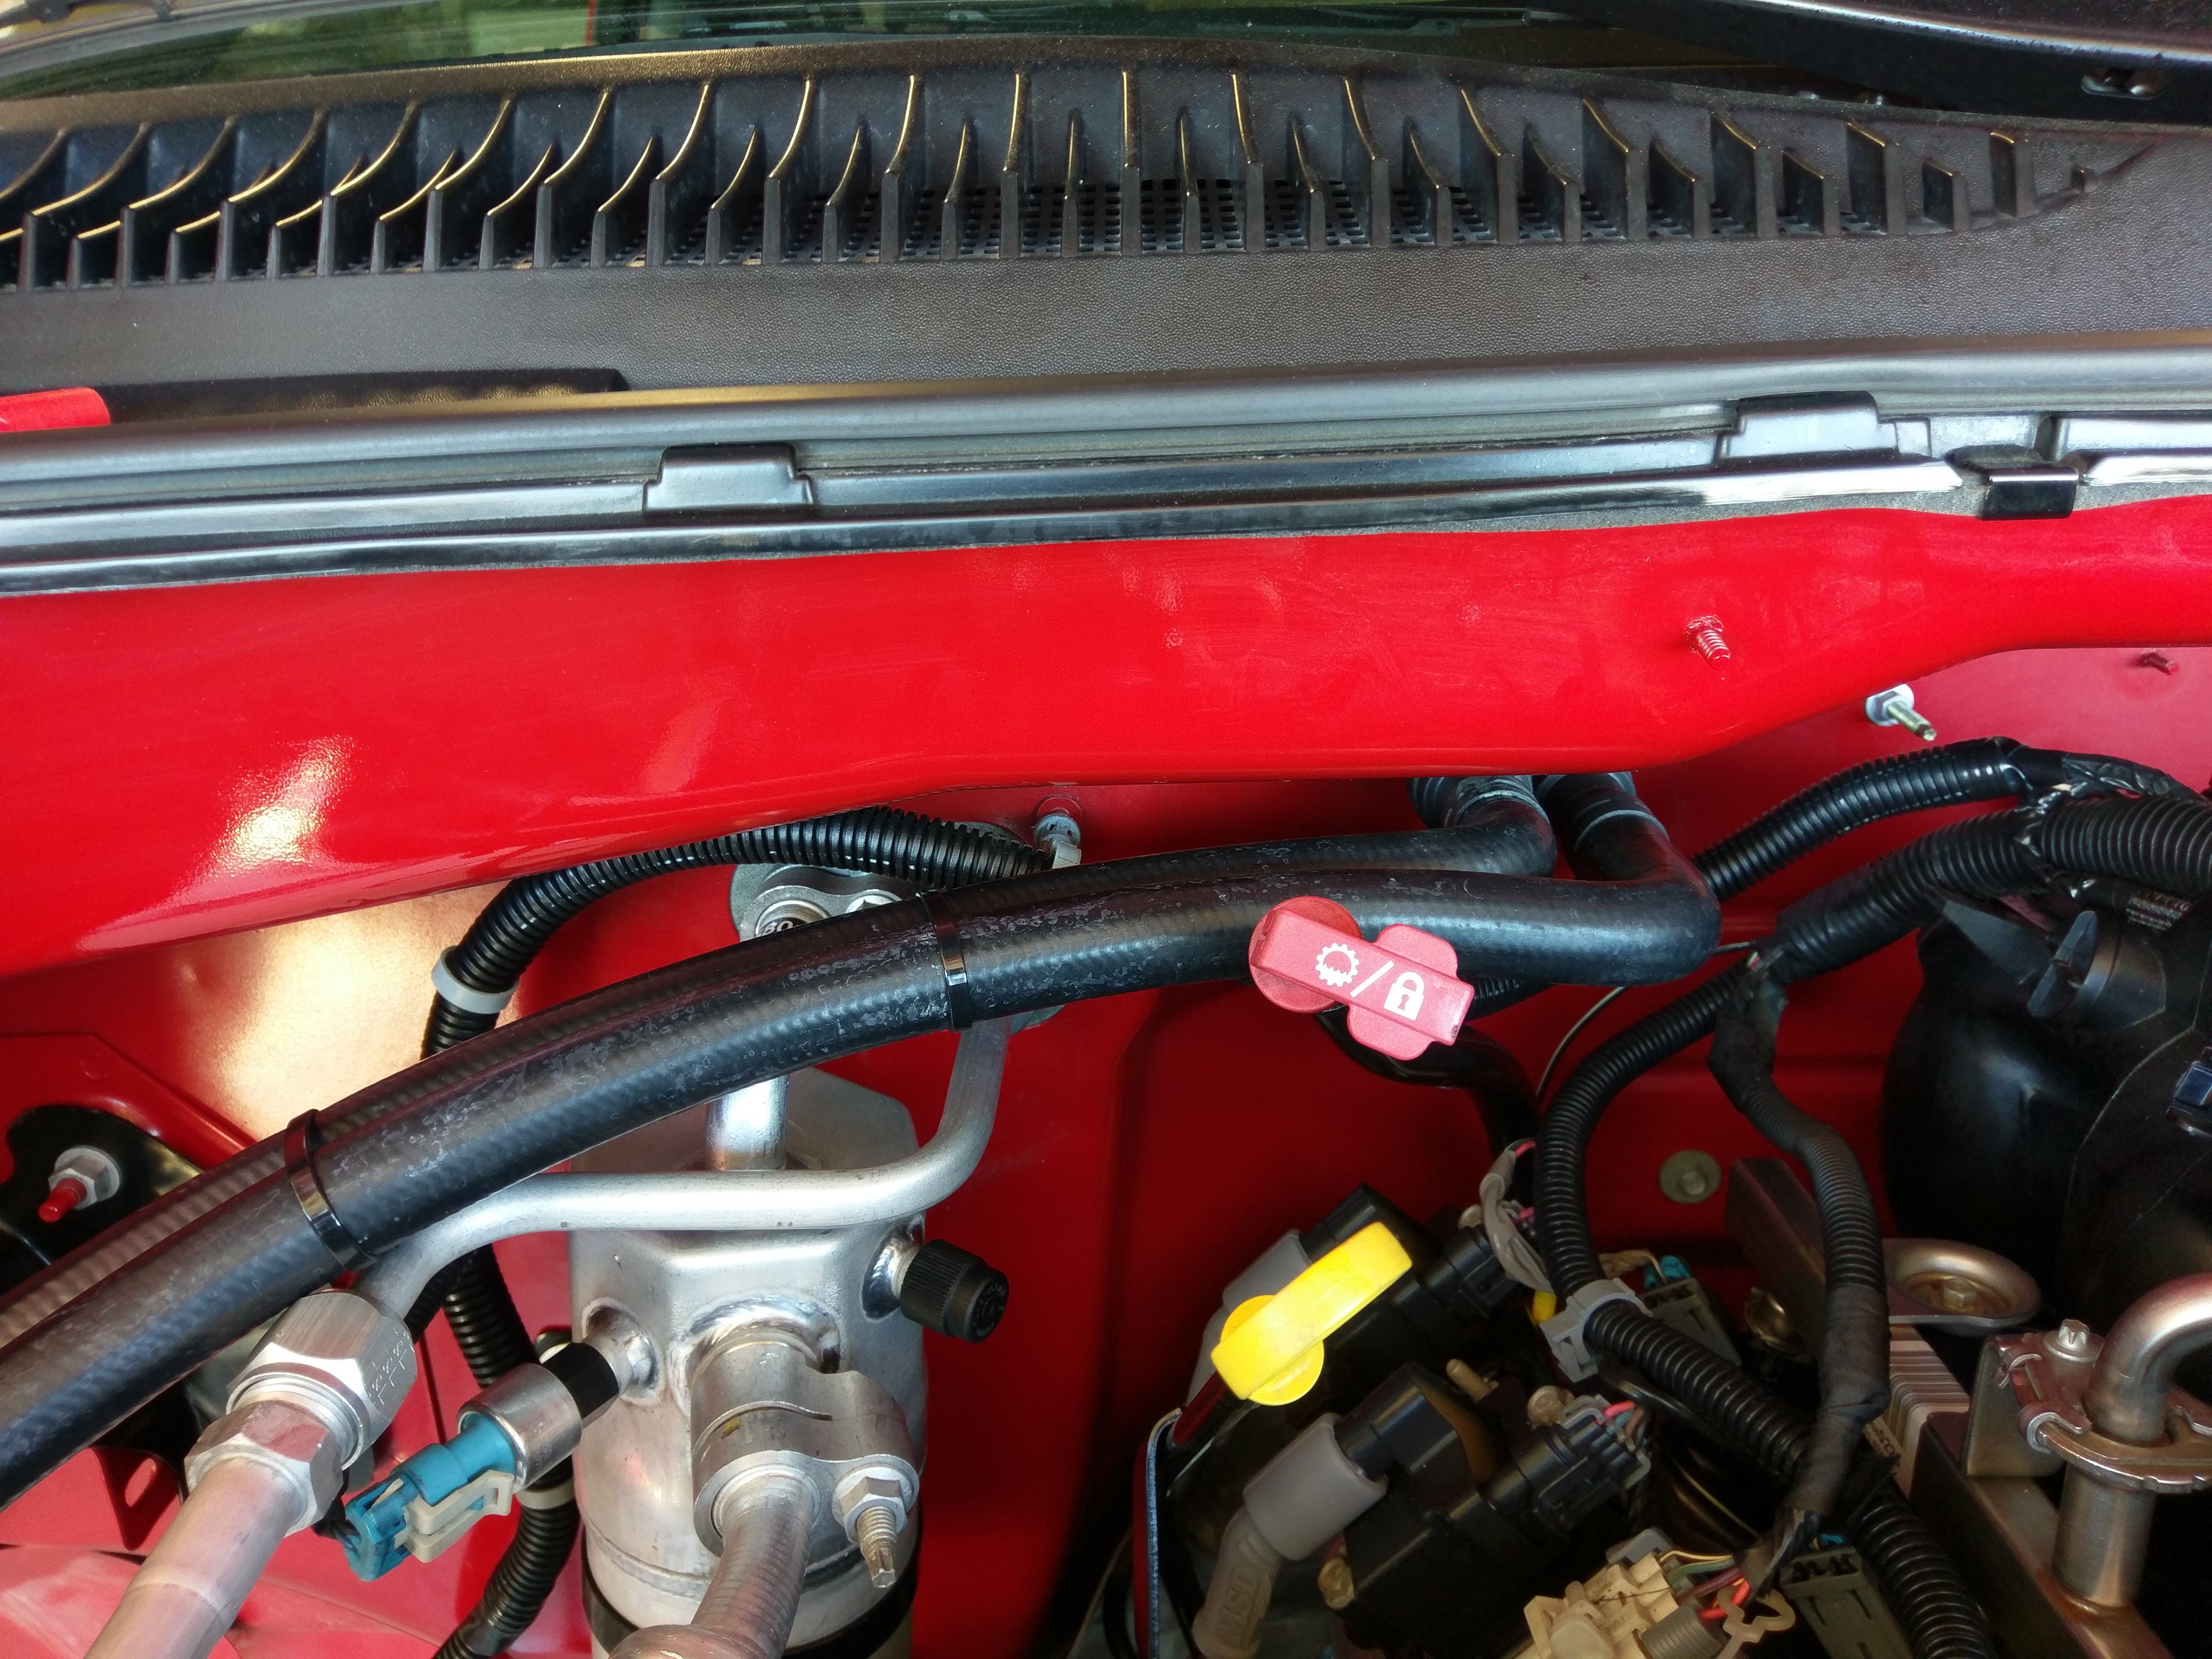
De-loomed the MAF wires from the harness and brought them over to the back of the engine

These little details are what I pride myself on, I took care to be able to re-use the factory firewall clamps so it looks OEM when it's all done

Wrapped in techflex
Added a breather filter to the passenger valve cover
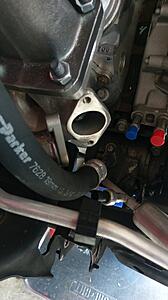
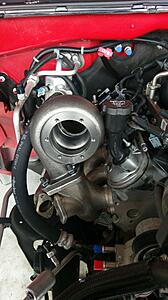
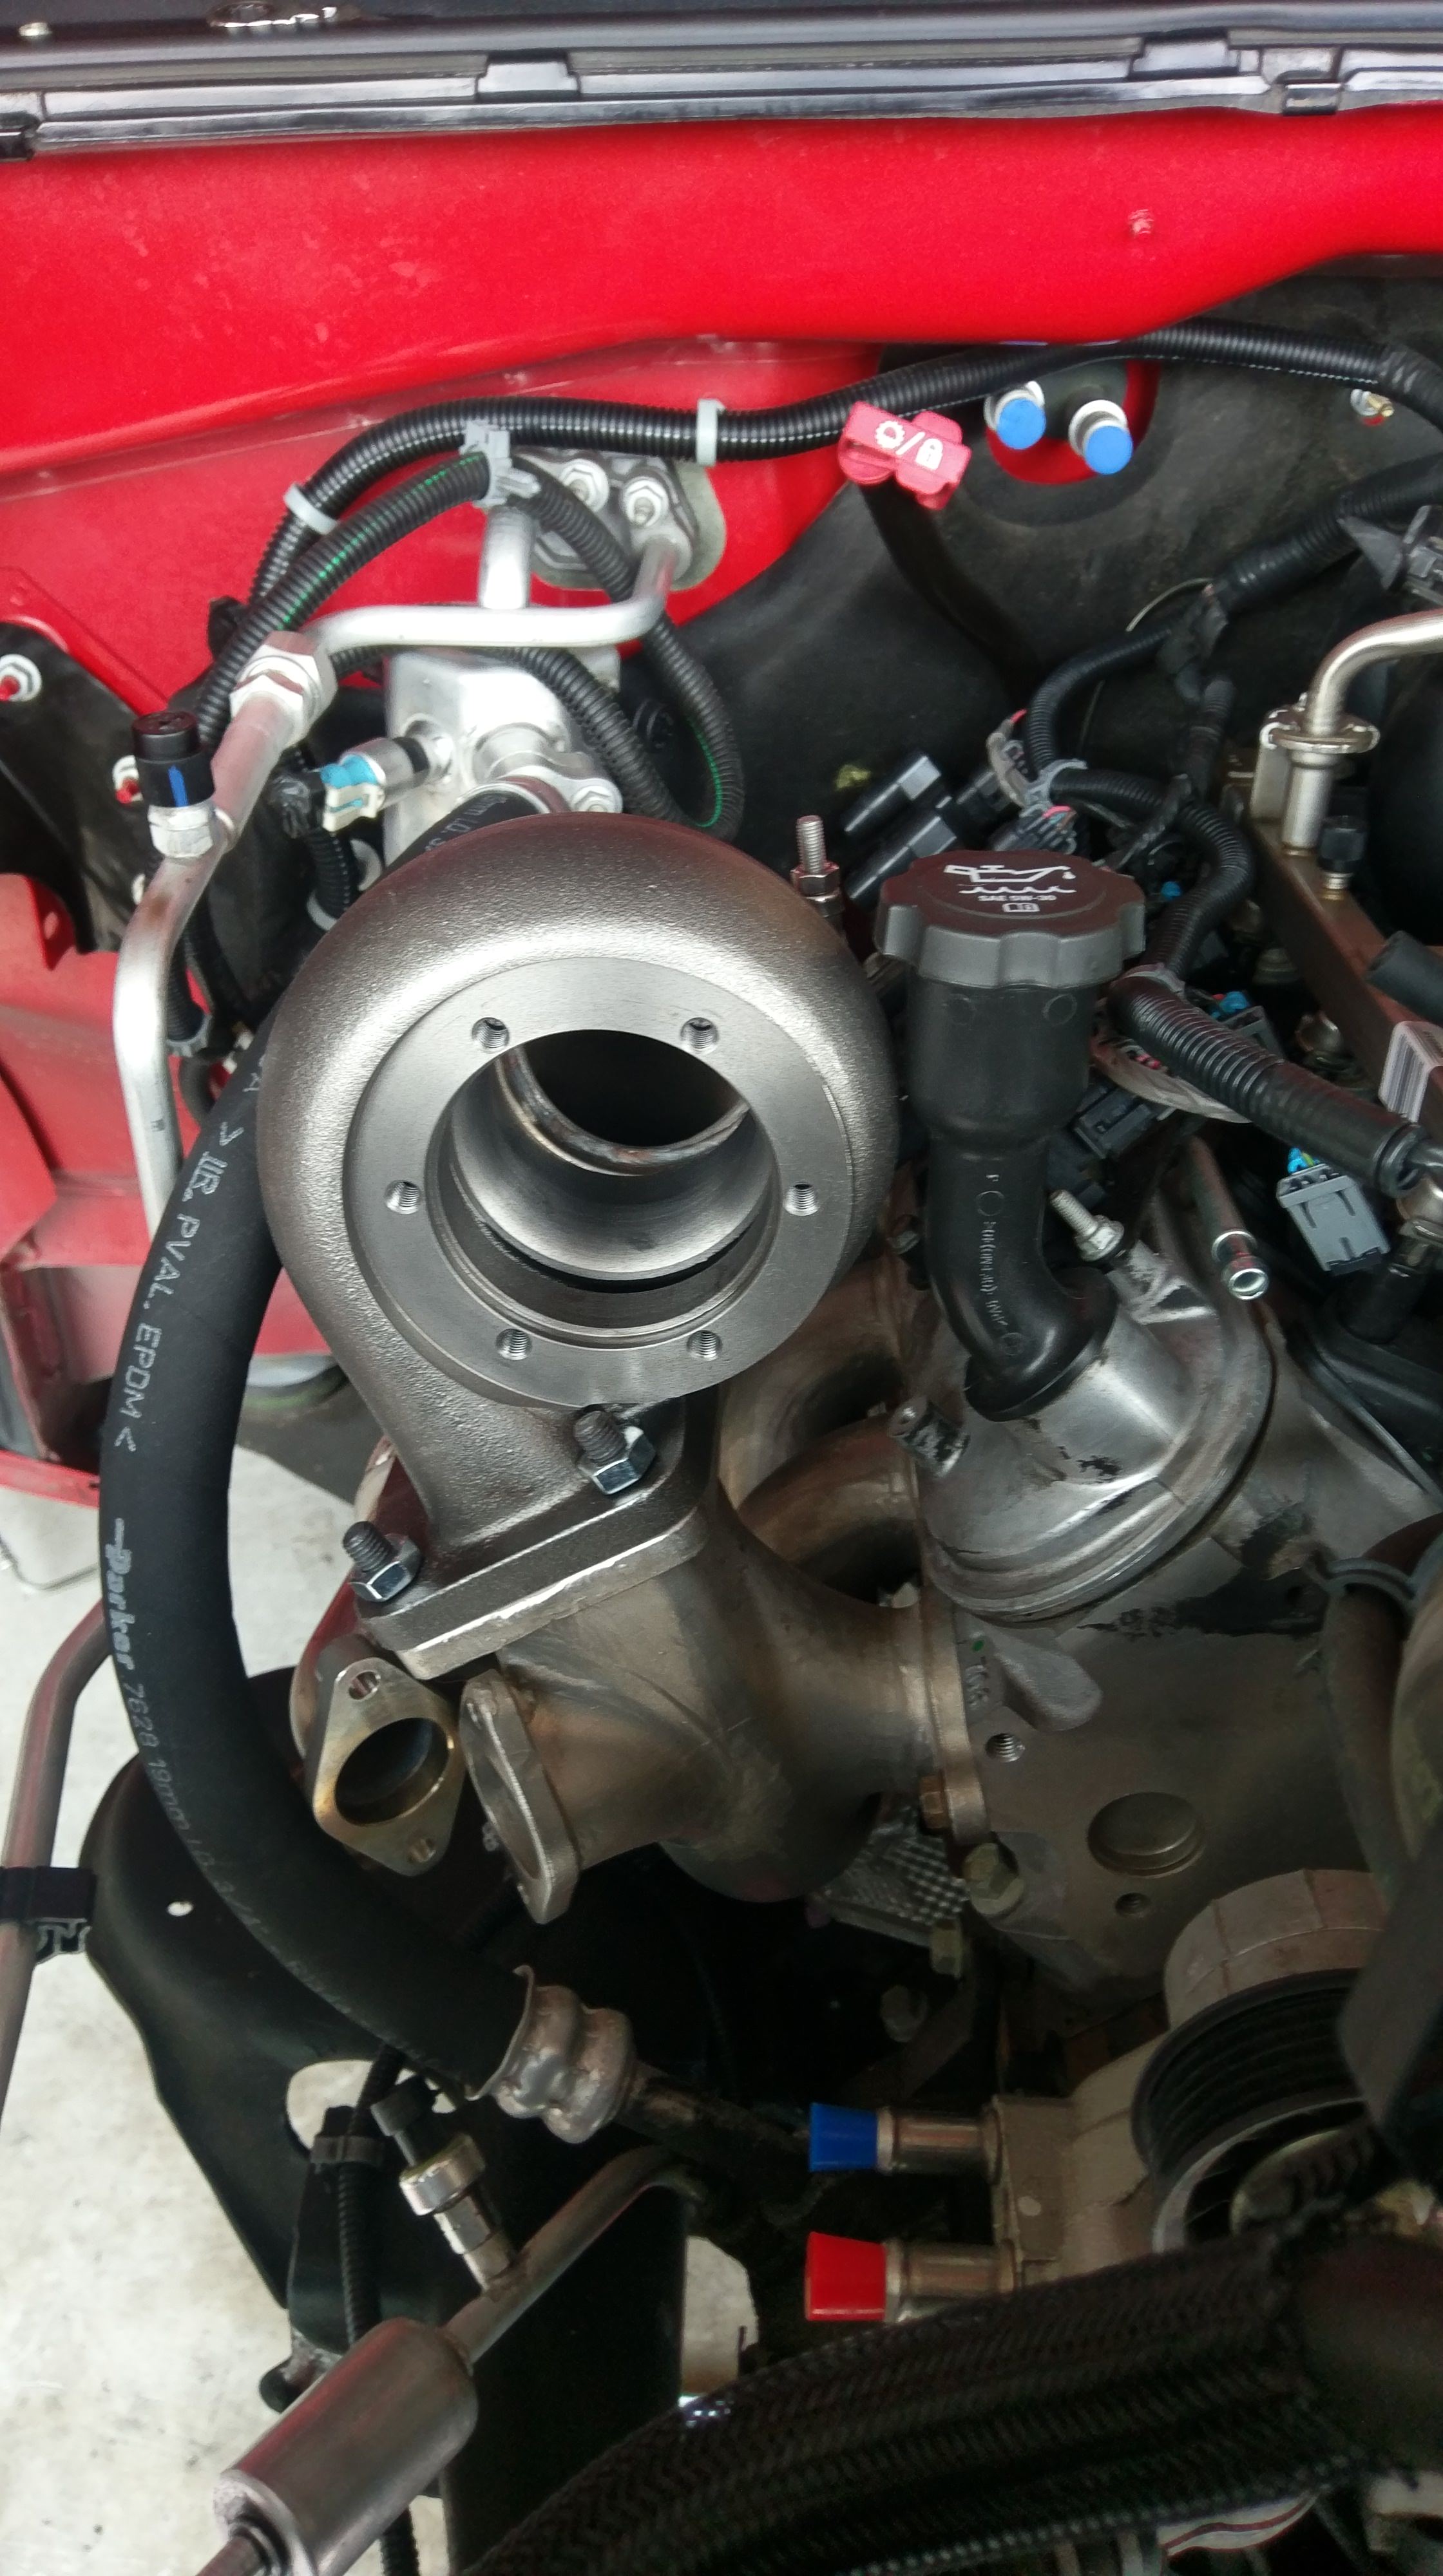
Drilled and tapped the compressor cover for great boost response from the wastegate
Test-fitting three piece covers, the passenger side will need to be cut to work with the turbo, unfortunately

Oil pan drilled, tapped, cleaned and new gasket installed

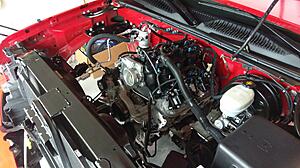
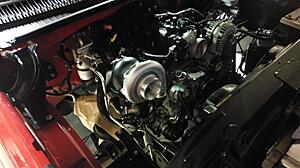
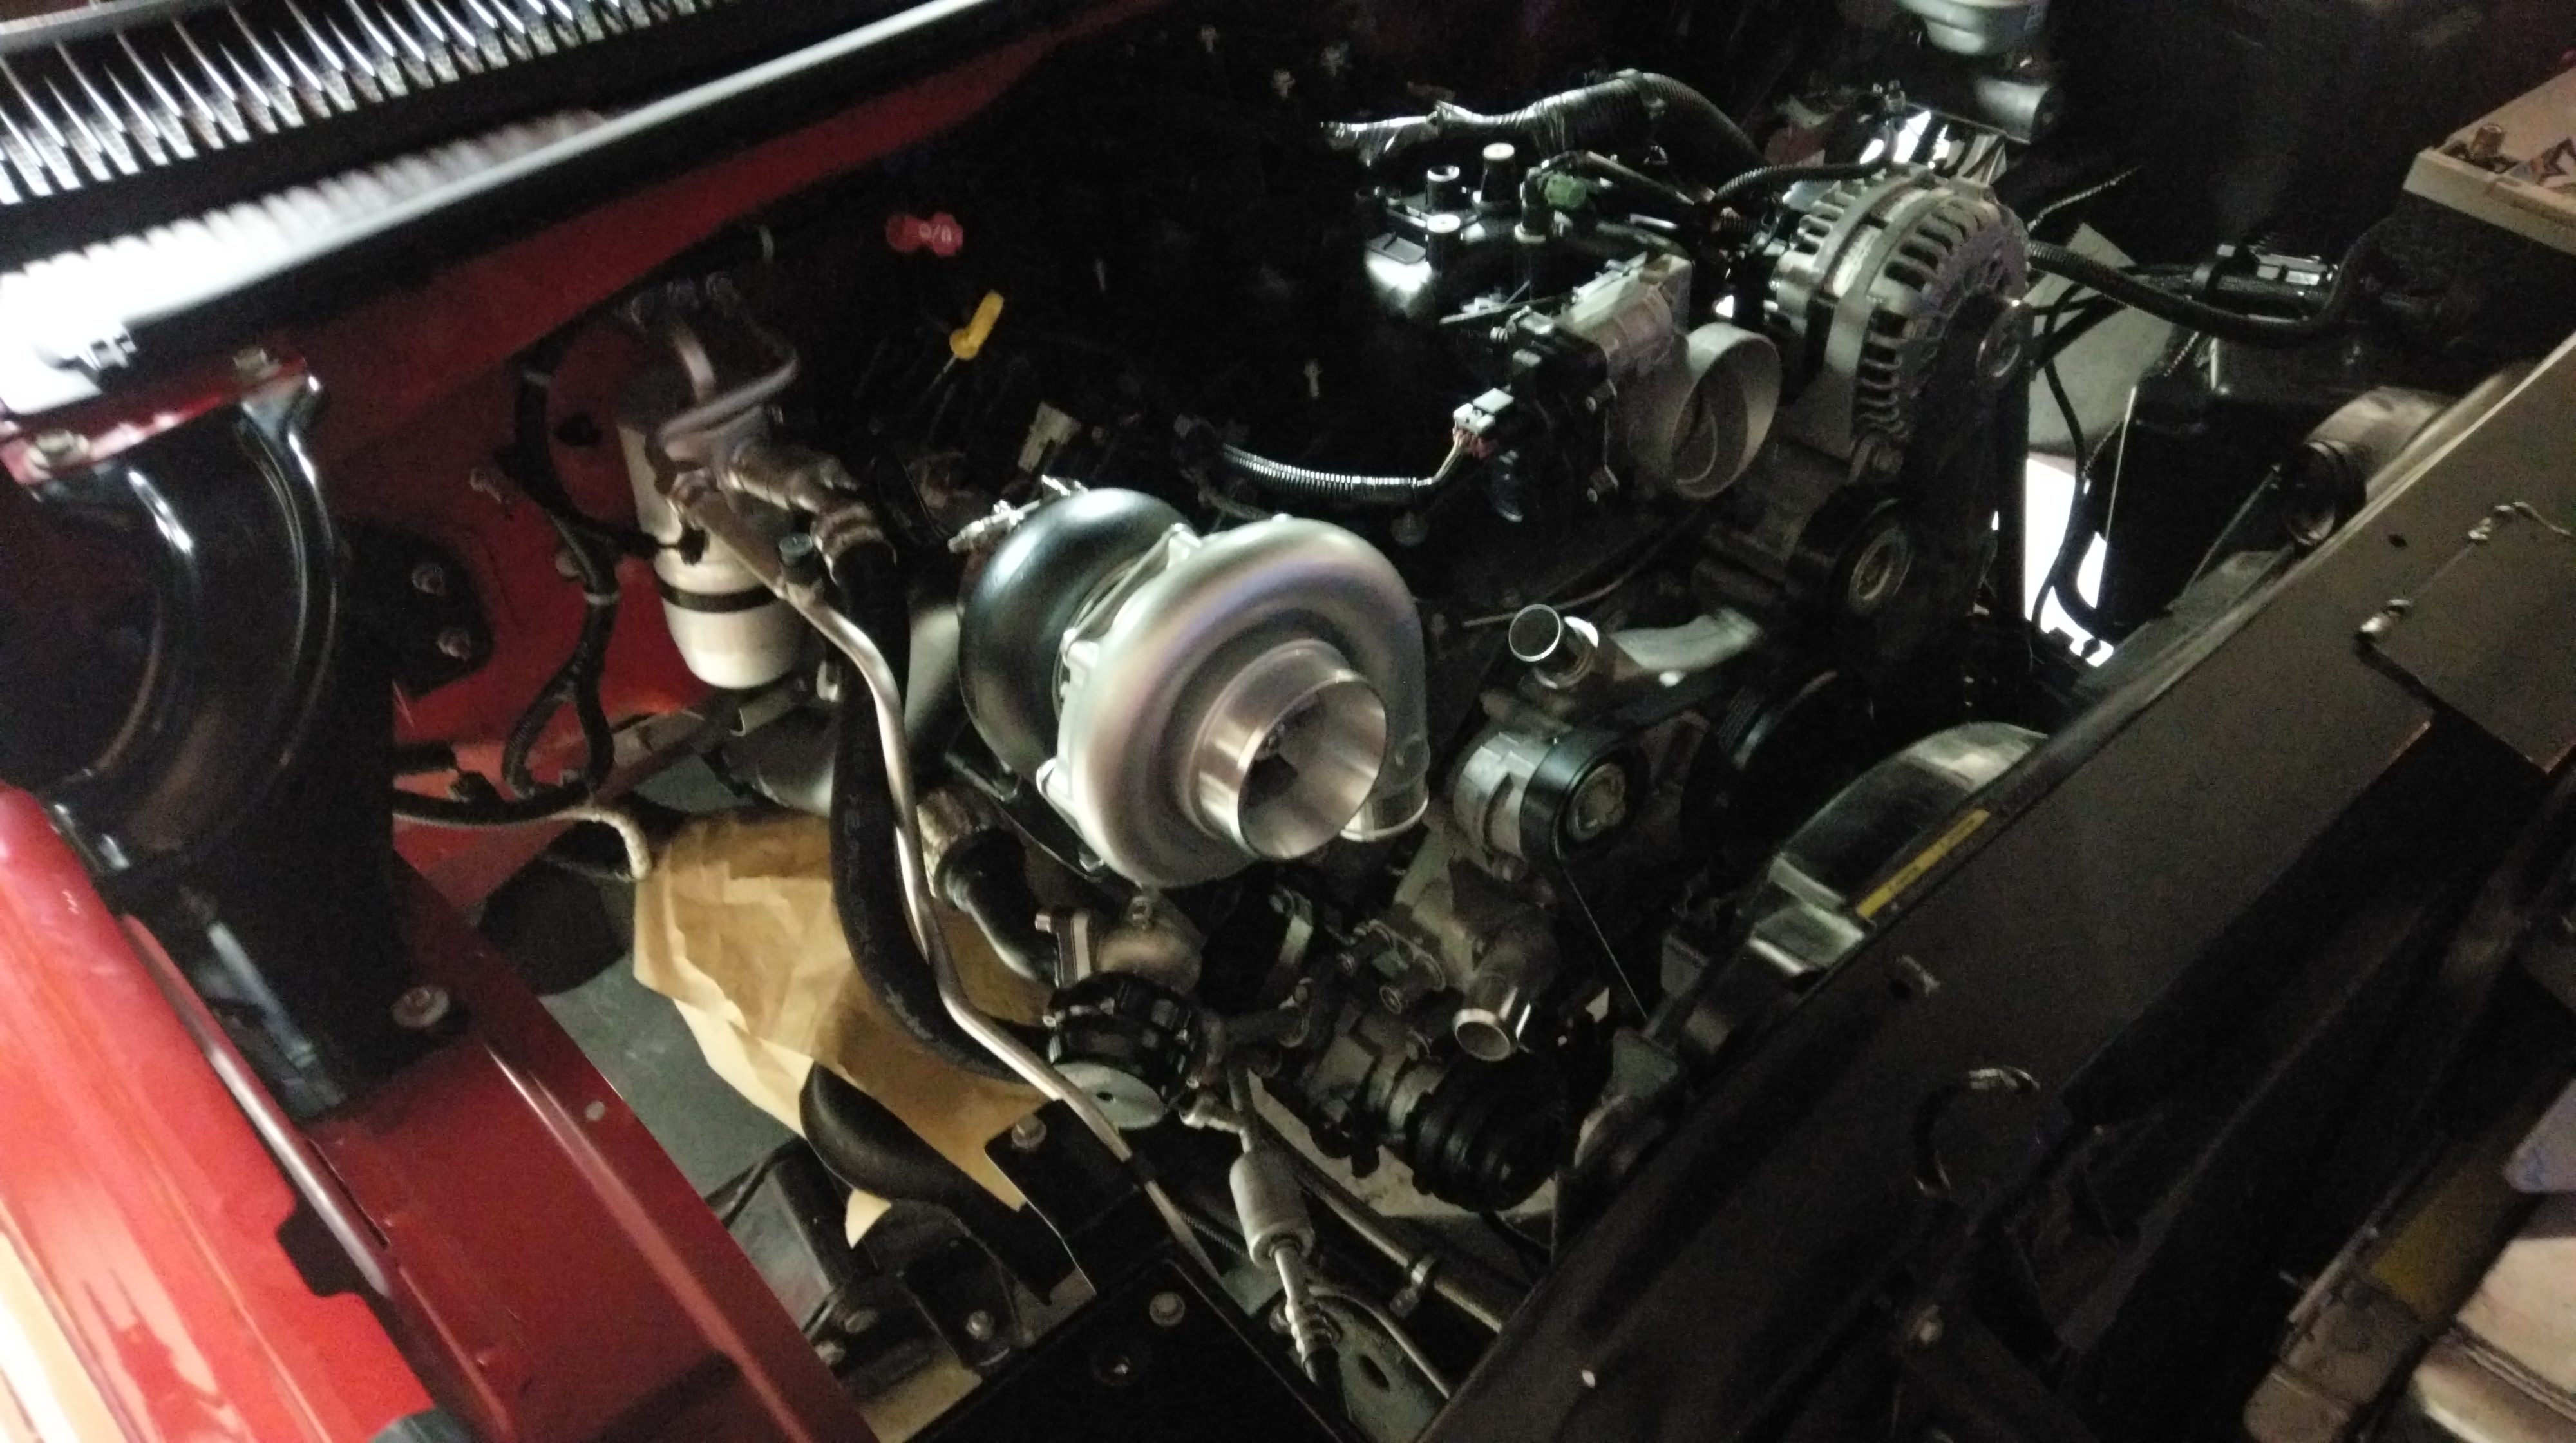
Then I put the necessary parts on to be able to start it up and check for leaks
Started it up and let the turbo drain oil and clear out any possible contaminants
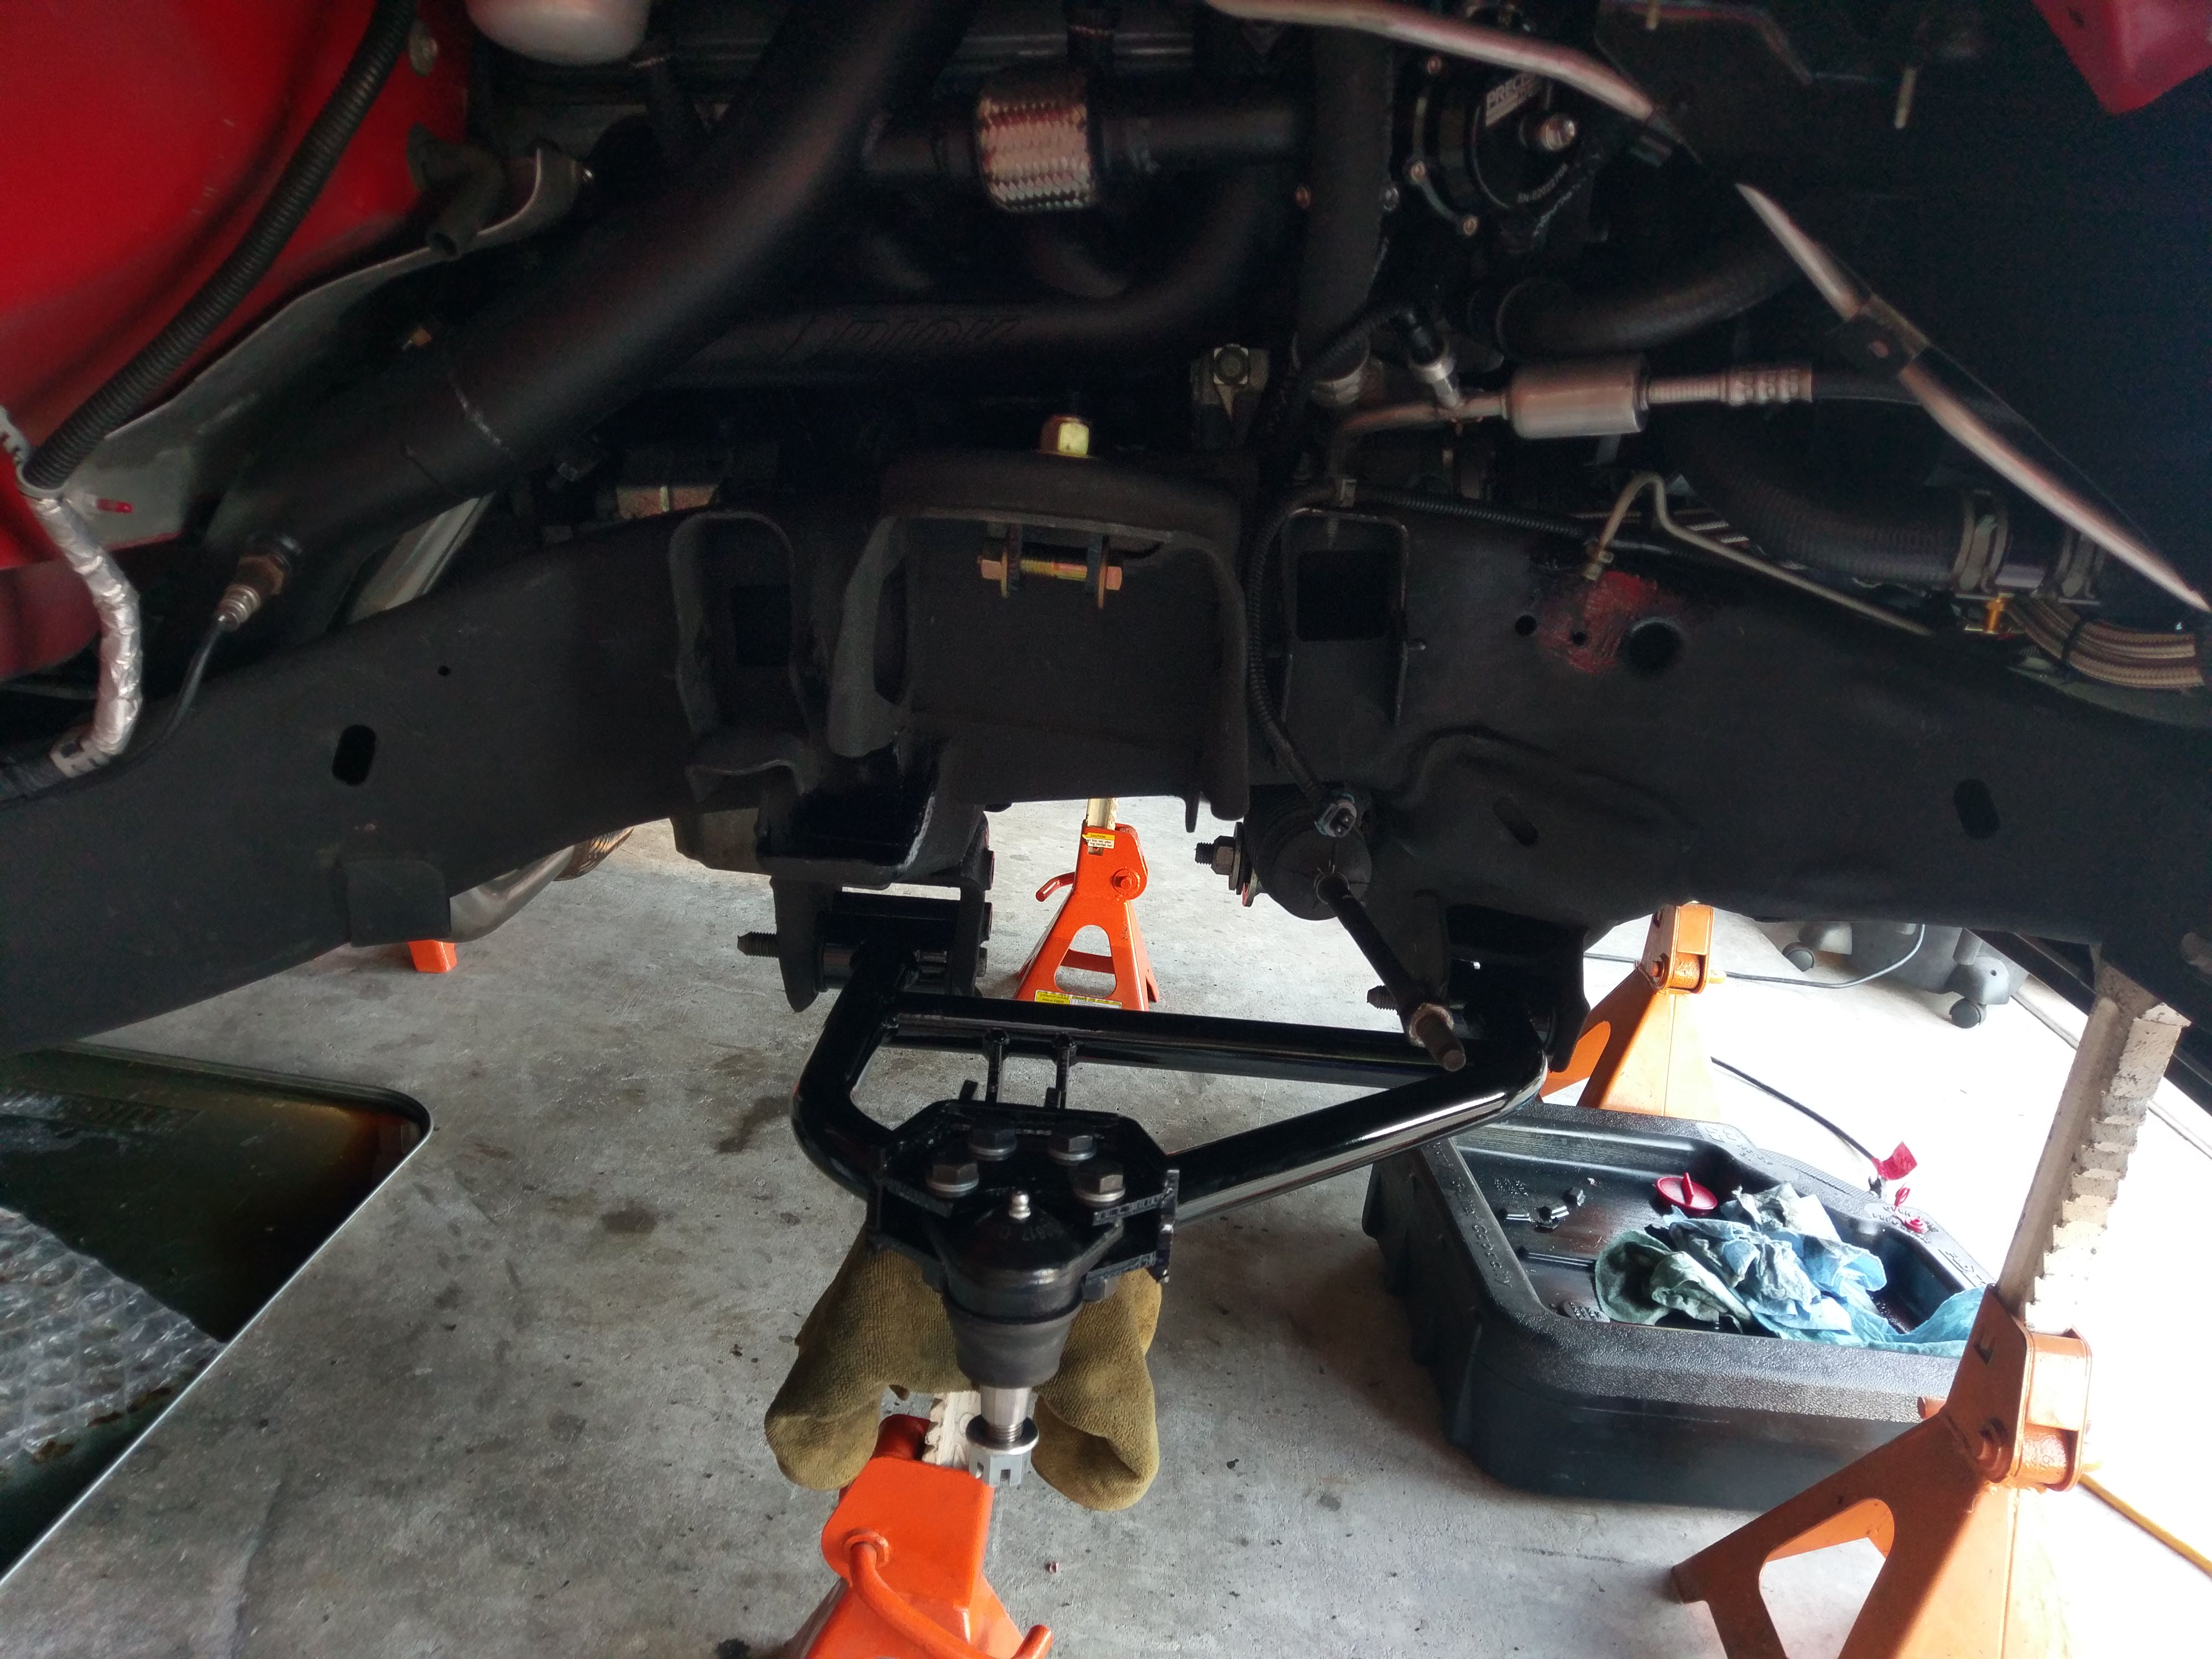
Also temporarily installed my LCA's to measure for coilovers
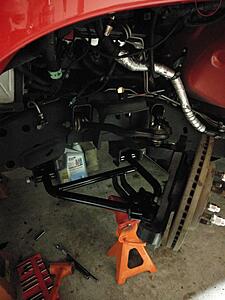
Going for 15.0" hub to fender ride height which will be around 4.5" drop from stock

All new intake manifold, valve cover, and throttle body gaskets since they were in my garage already from my gray truck high mileage project plans

Nice and clean

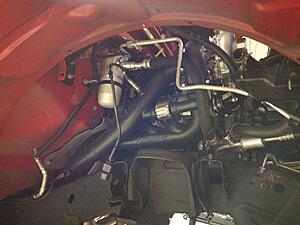
Test fit the intercooler and made it as high as I could
Got the hot pipes back from ceramic coating

De-loomed the MAF wires from the harness and brought them over to the back of the engine

These little details are what I pride myself on, I took care to be able to re-use the factory firewall clamps so it looks OEM when it's all done


Wrapped in techflex
Added a breather filter to the passenger valve cover
Drilled and tapped the compressor cover for great boost response from the wastegate
Test-fitting three piece covers, the passenger side will need to be cut to work with the turbo, unfortunately
Oil pan drilled, tapped, cleaned and new gasket installed

Then I put the necessary parts on to be able to start it up and check for leaks
Started it up and let the turbo drain oil and clear out any possible contaminants
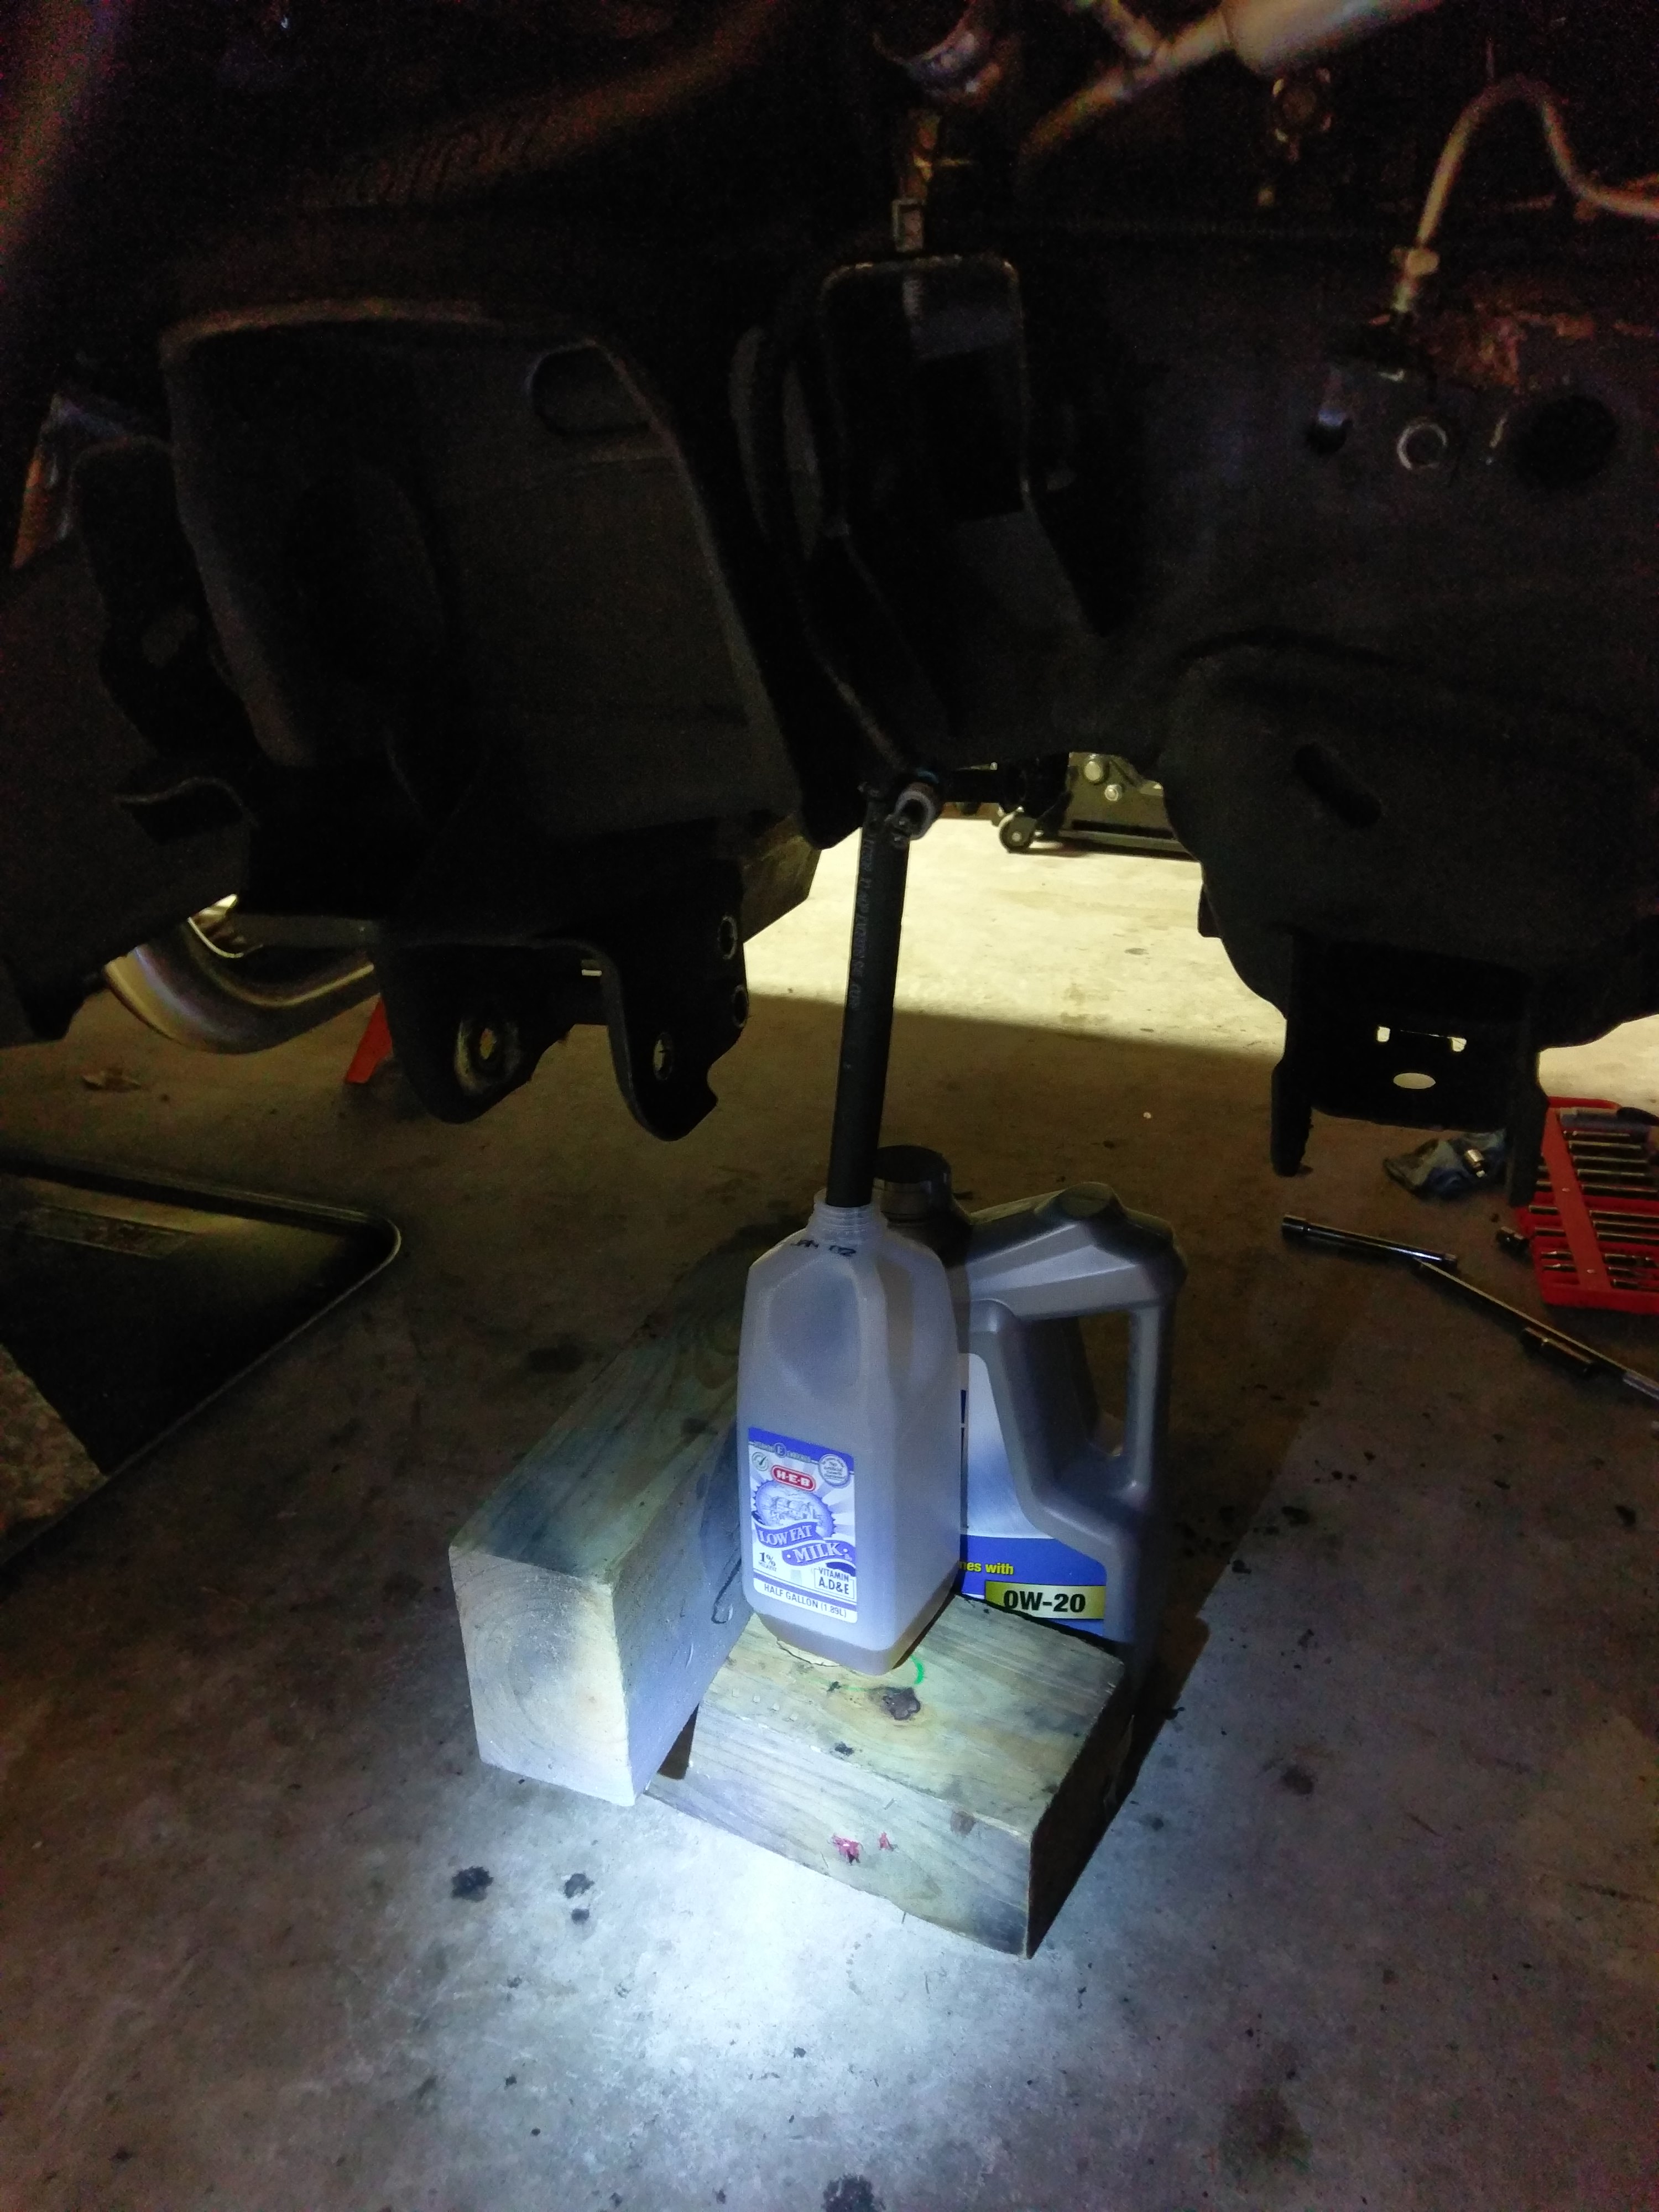
Also temporarily installed my LCA's to measure for coilovers
Going for 15.0" hub to fender ride height which will be around 4.5" drop from stock
 Jan 13, 2018 | 11:51 AM
#5
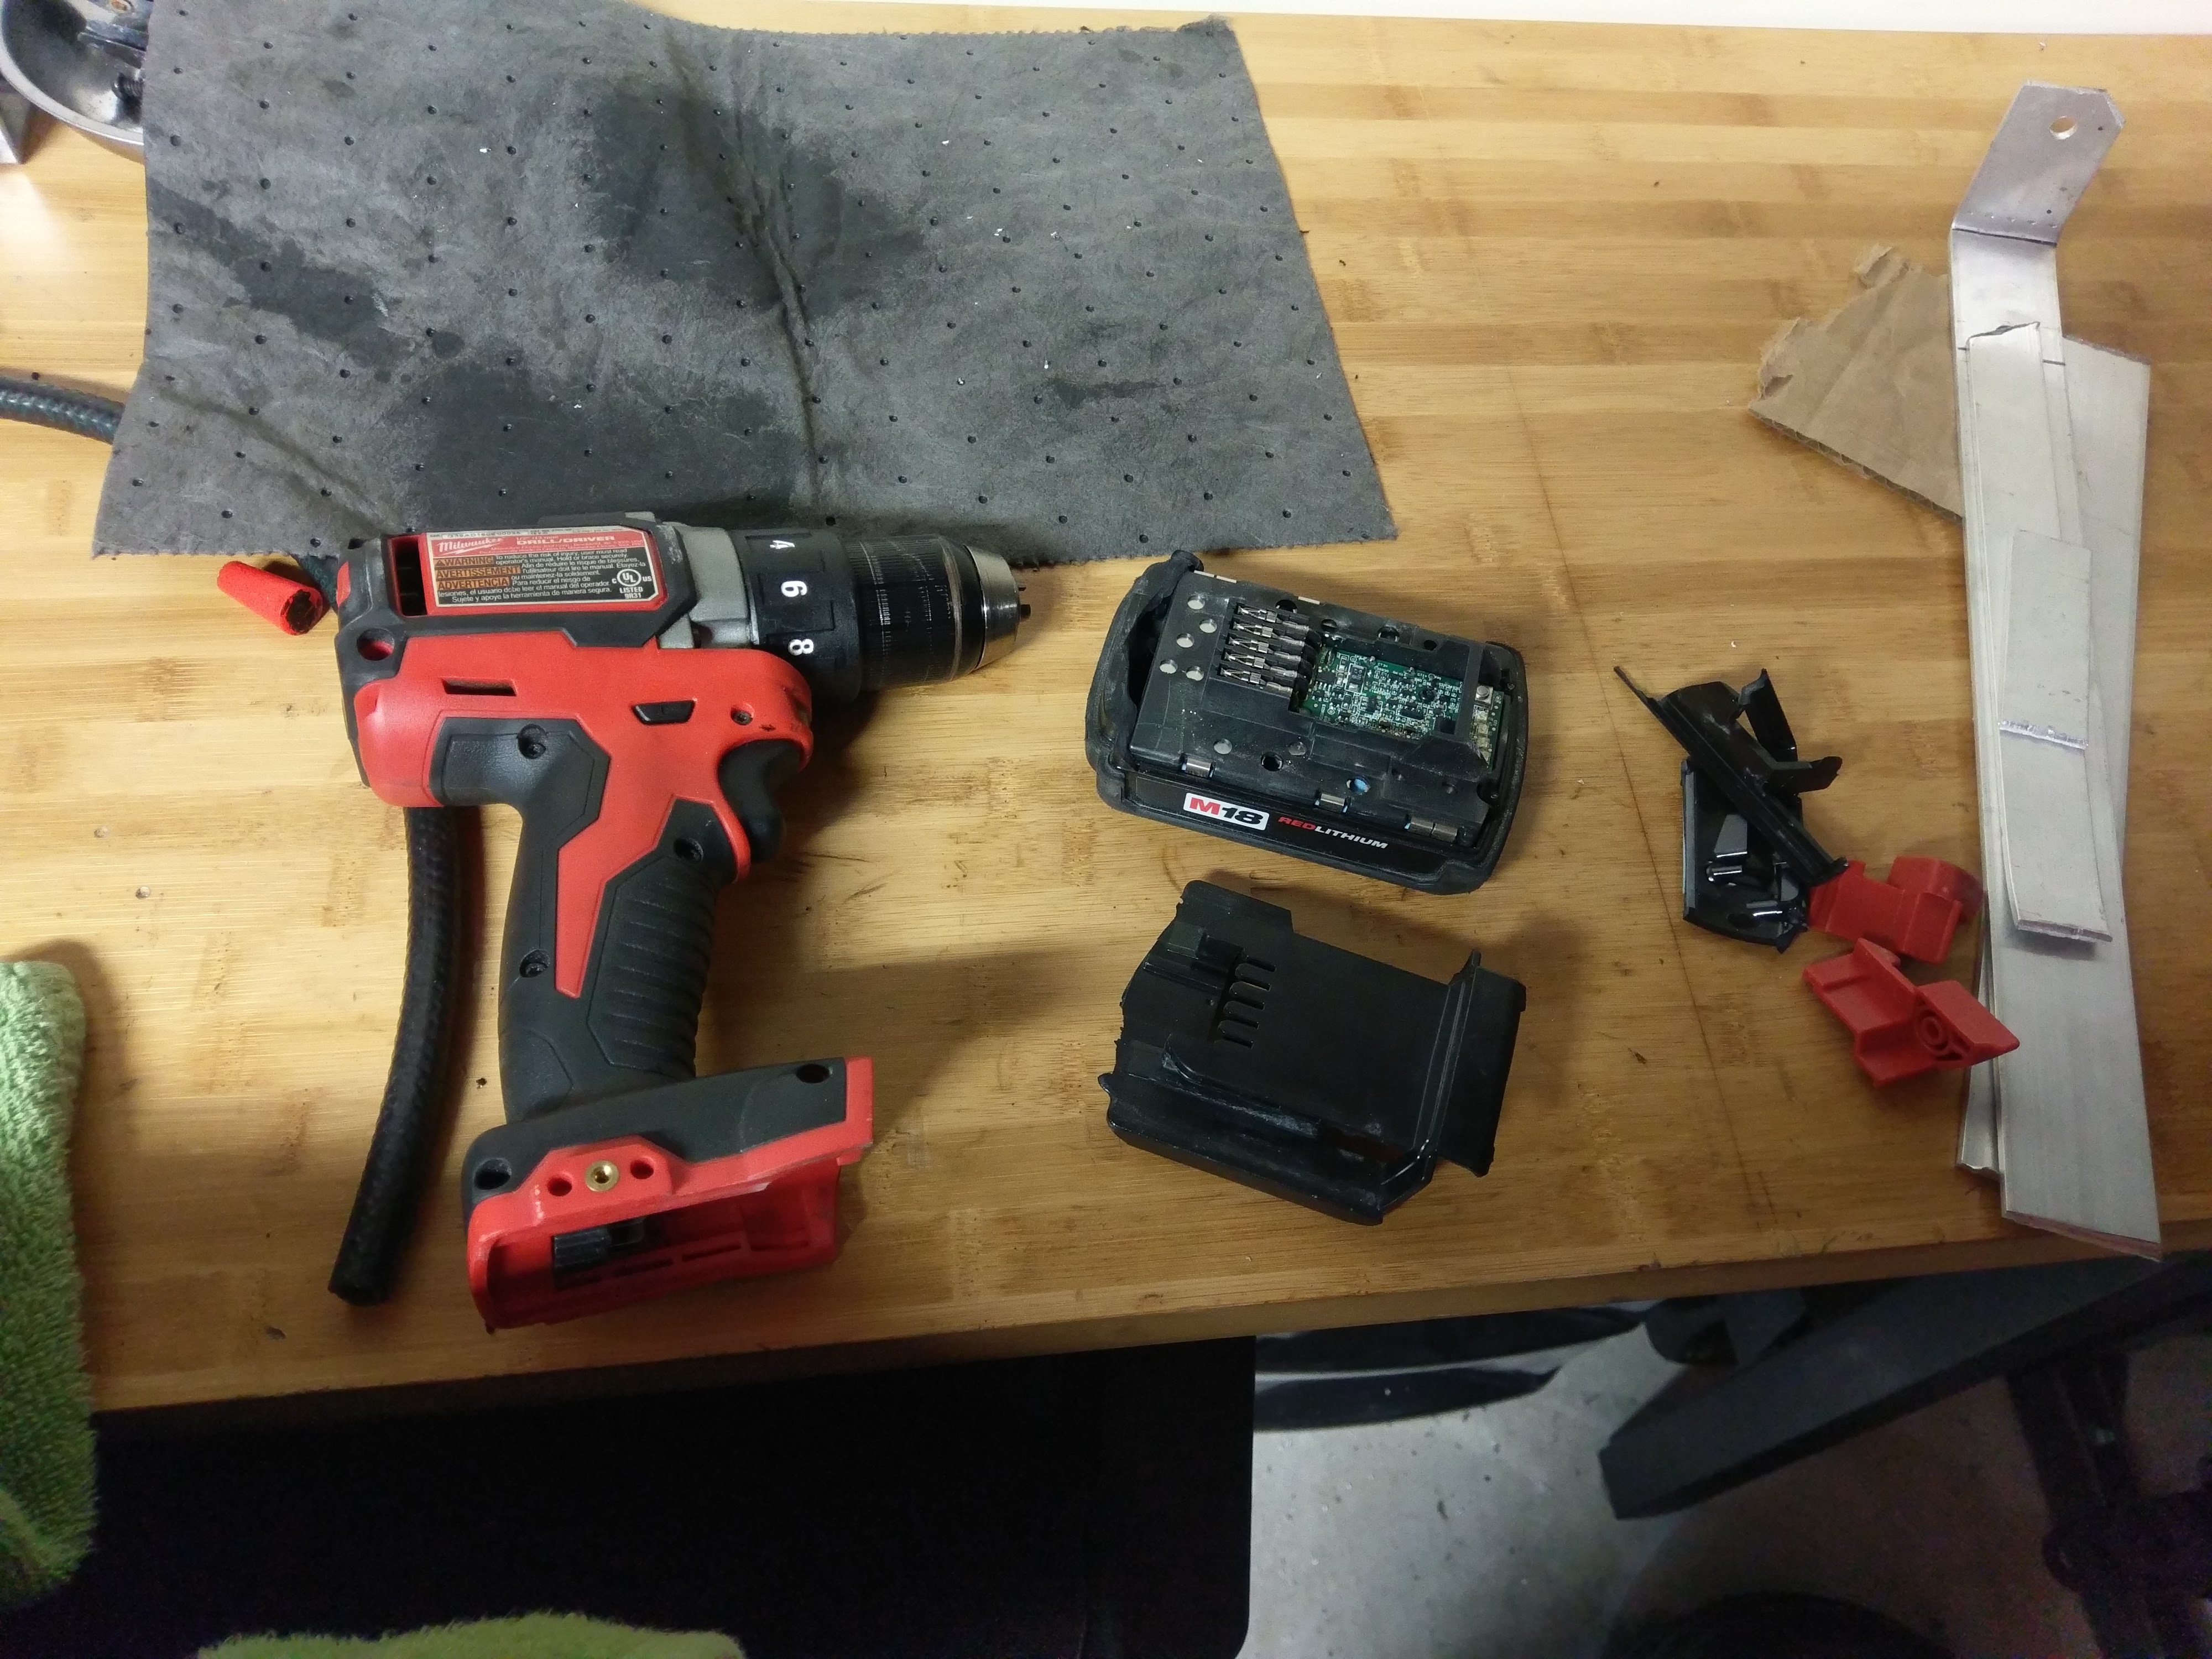
Dropped something on my drill and destroyed the battery, that was annoying. Great way to start the garage session

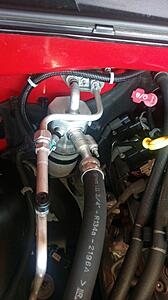
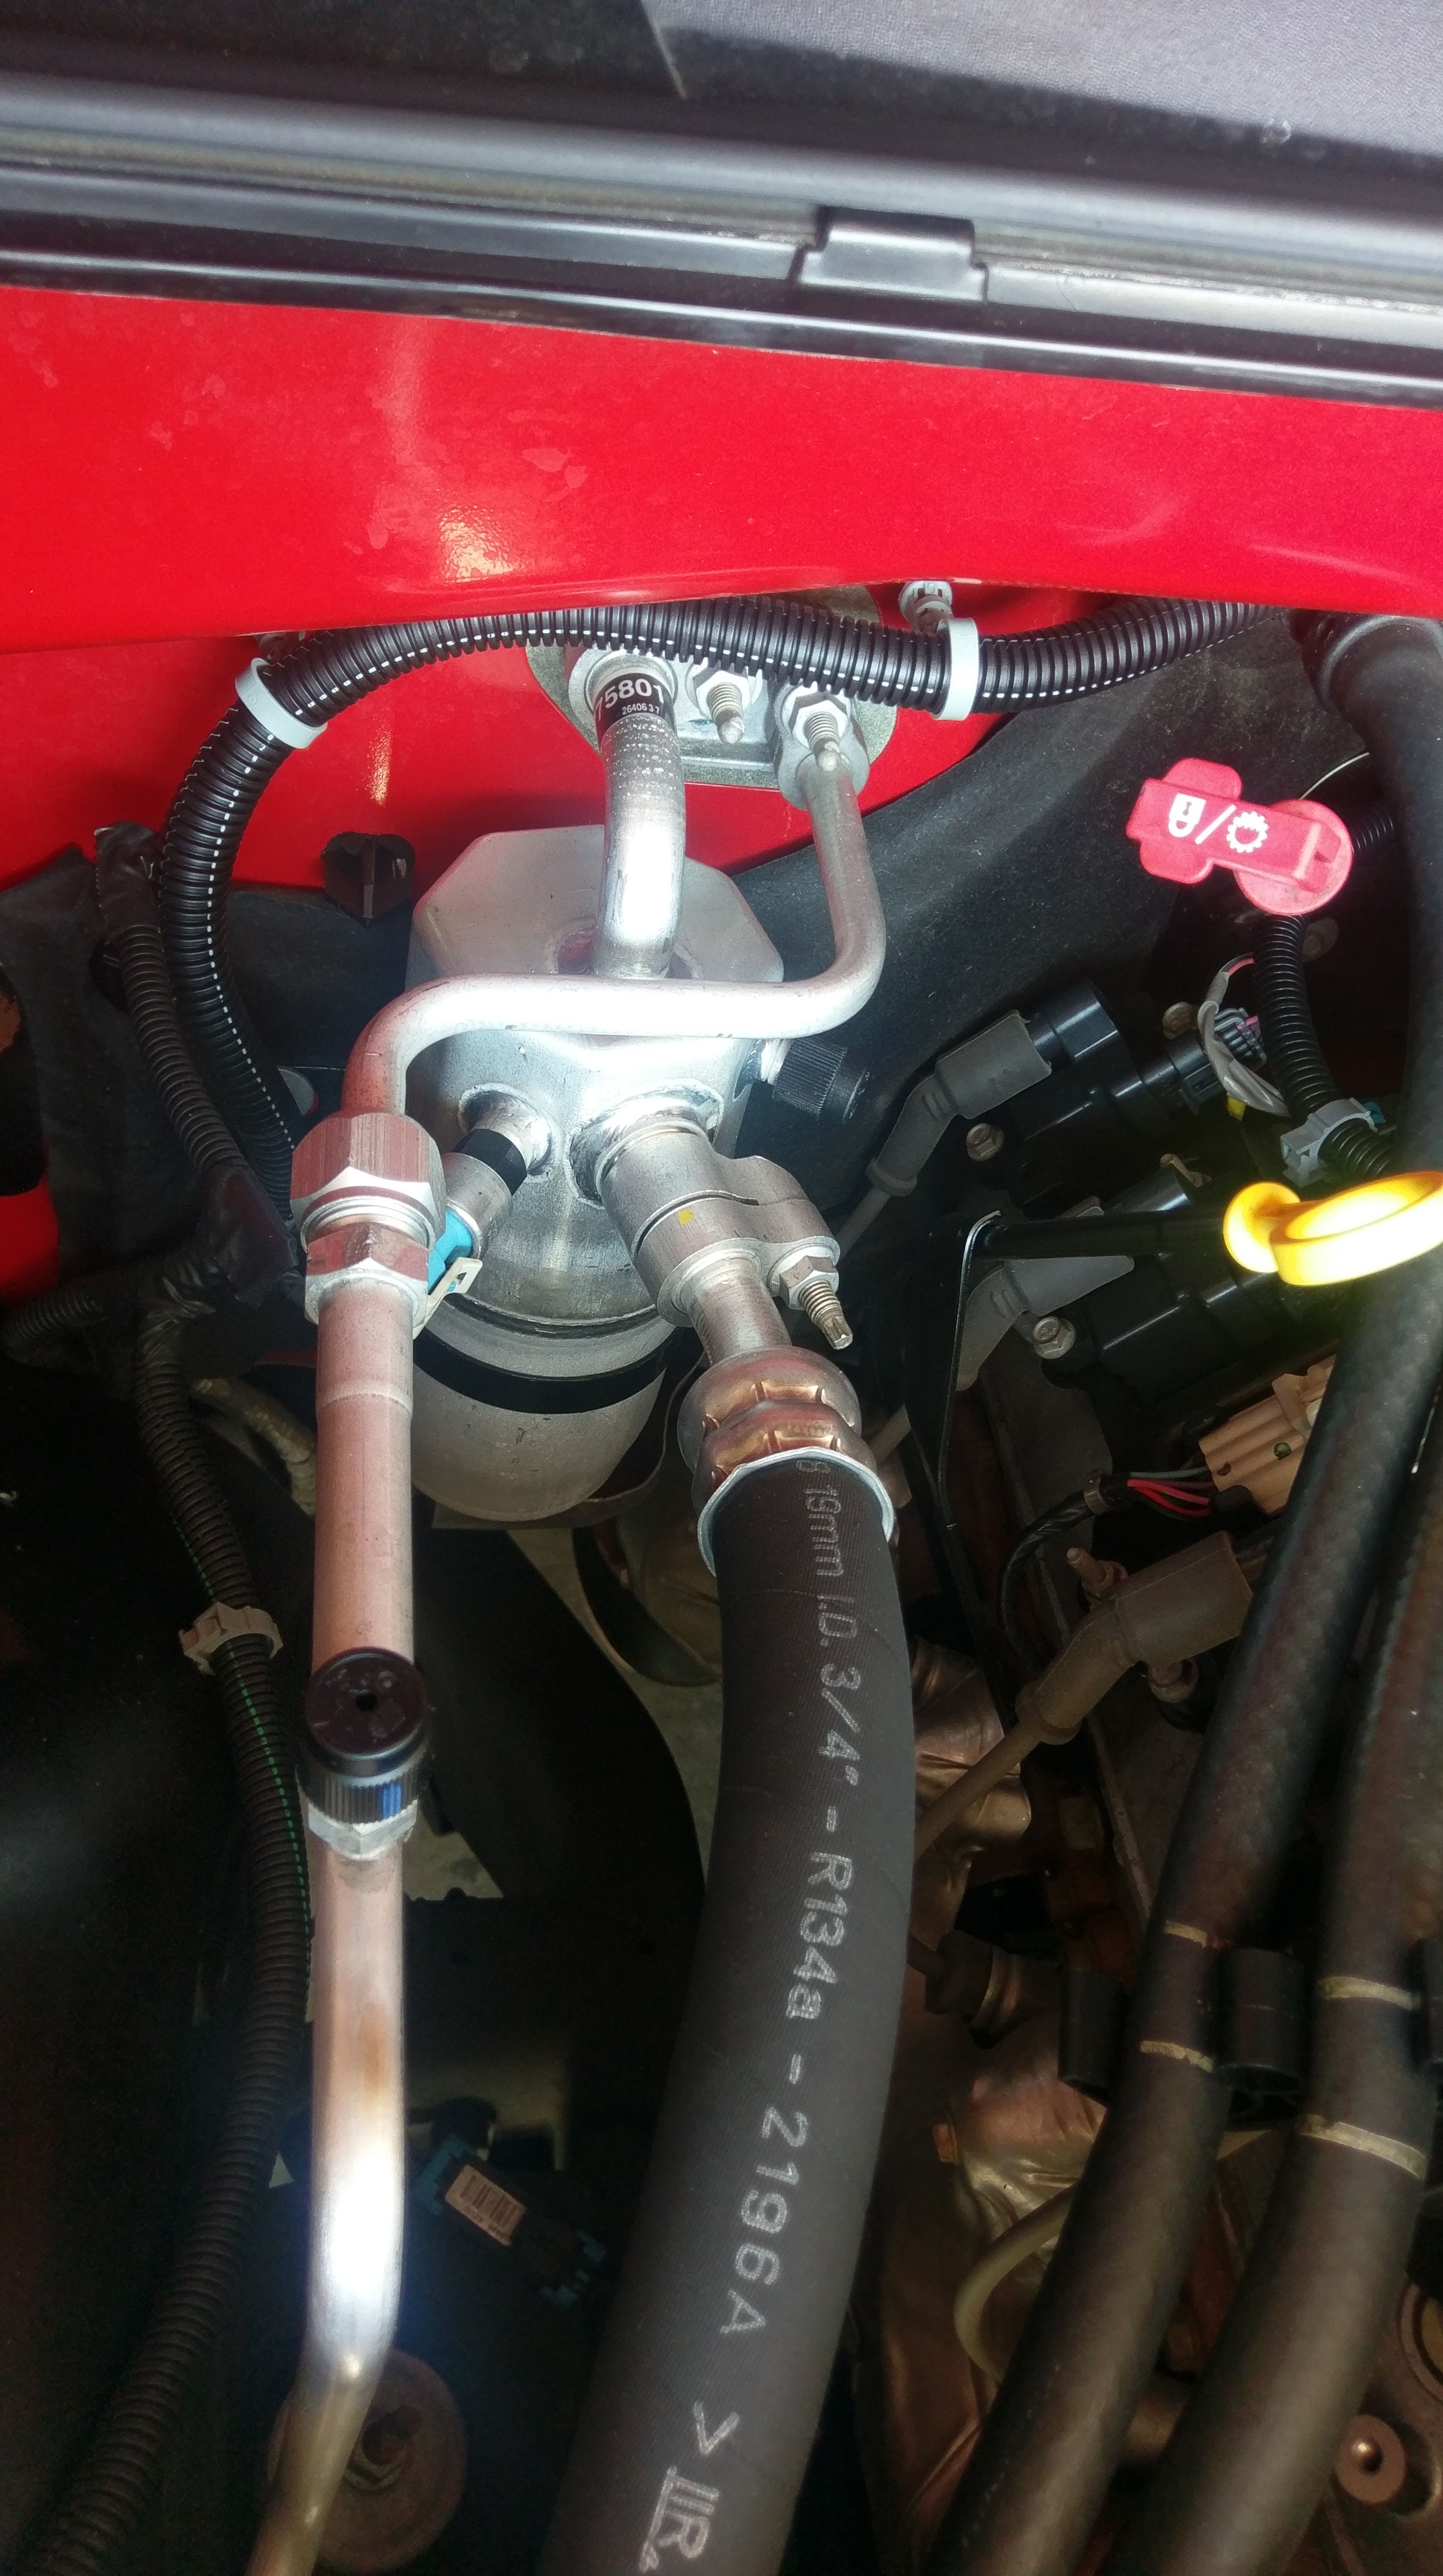
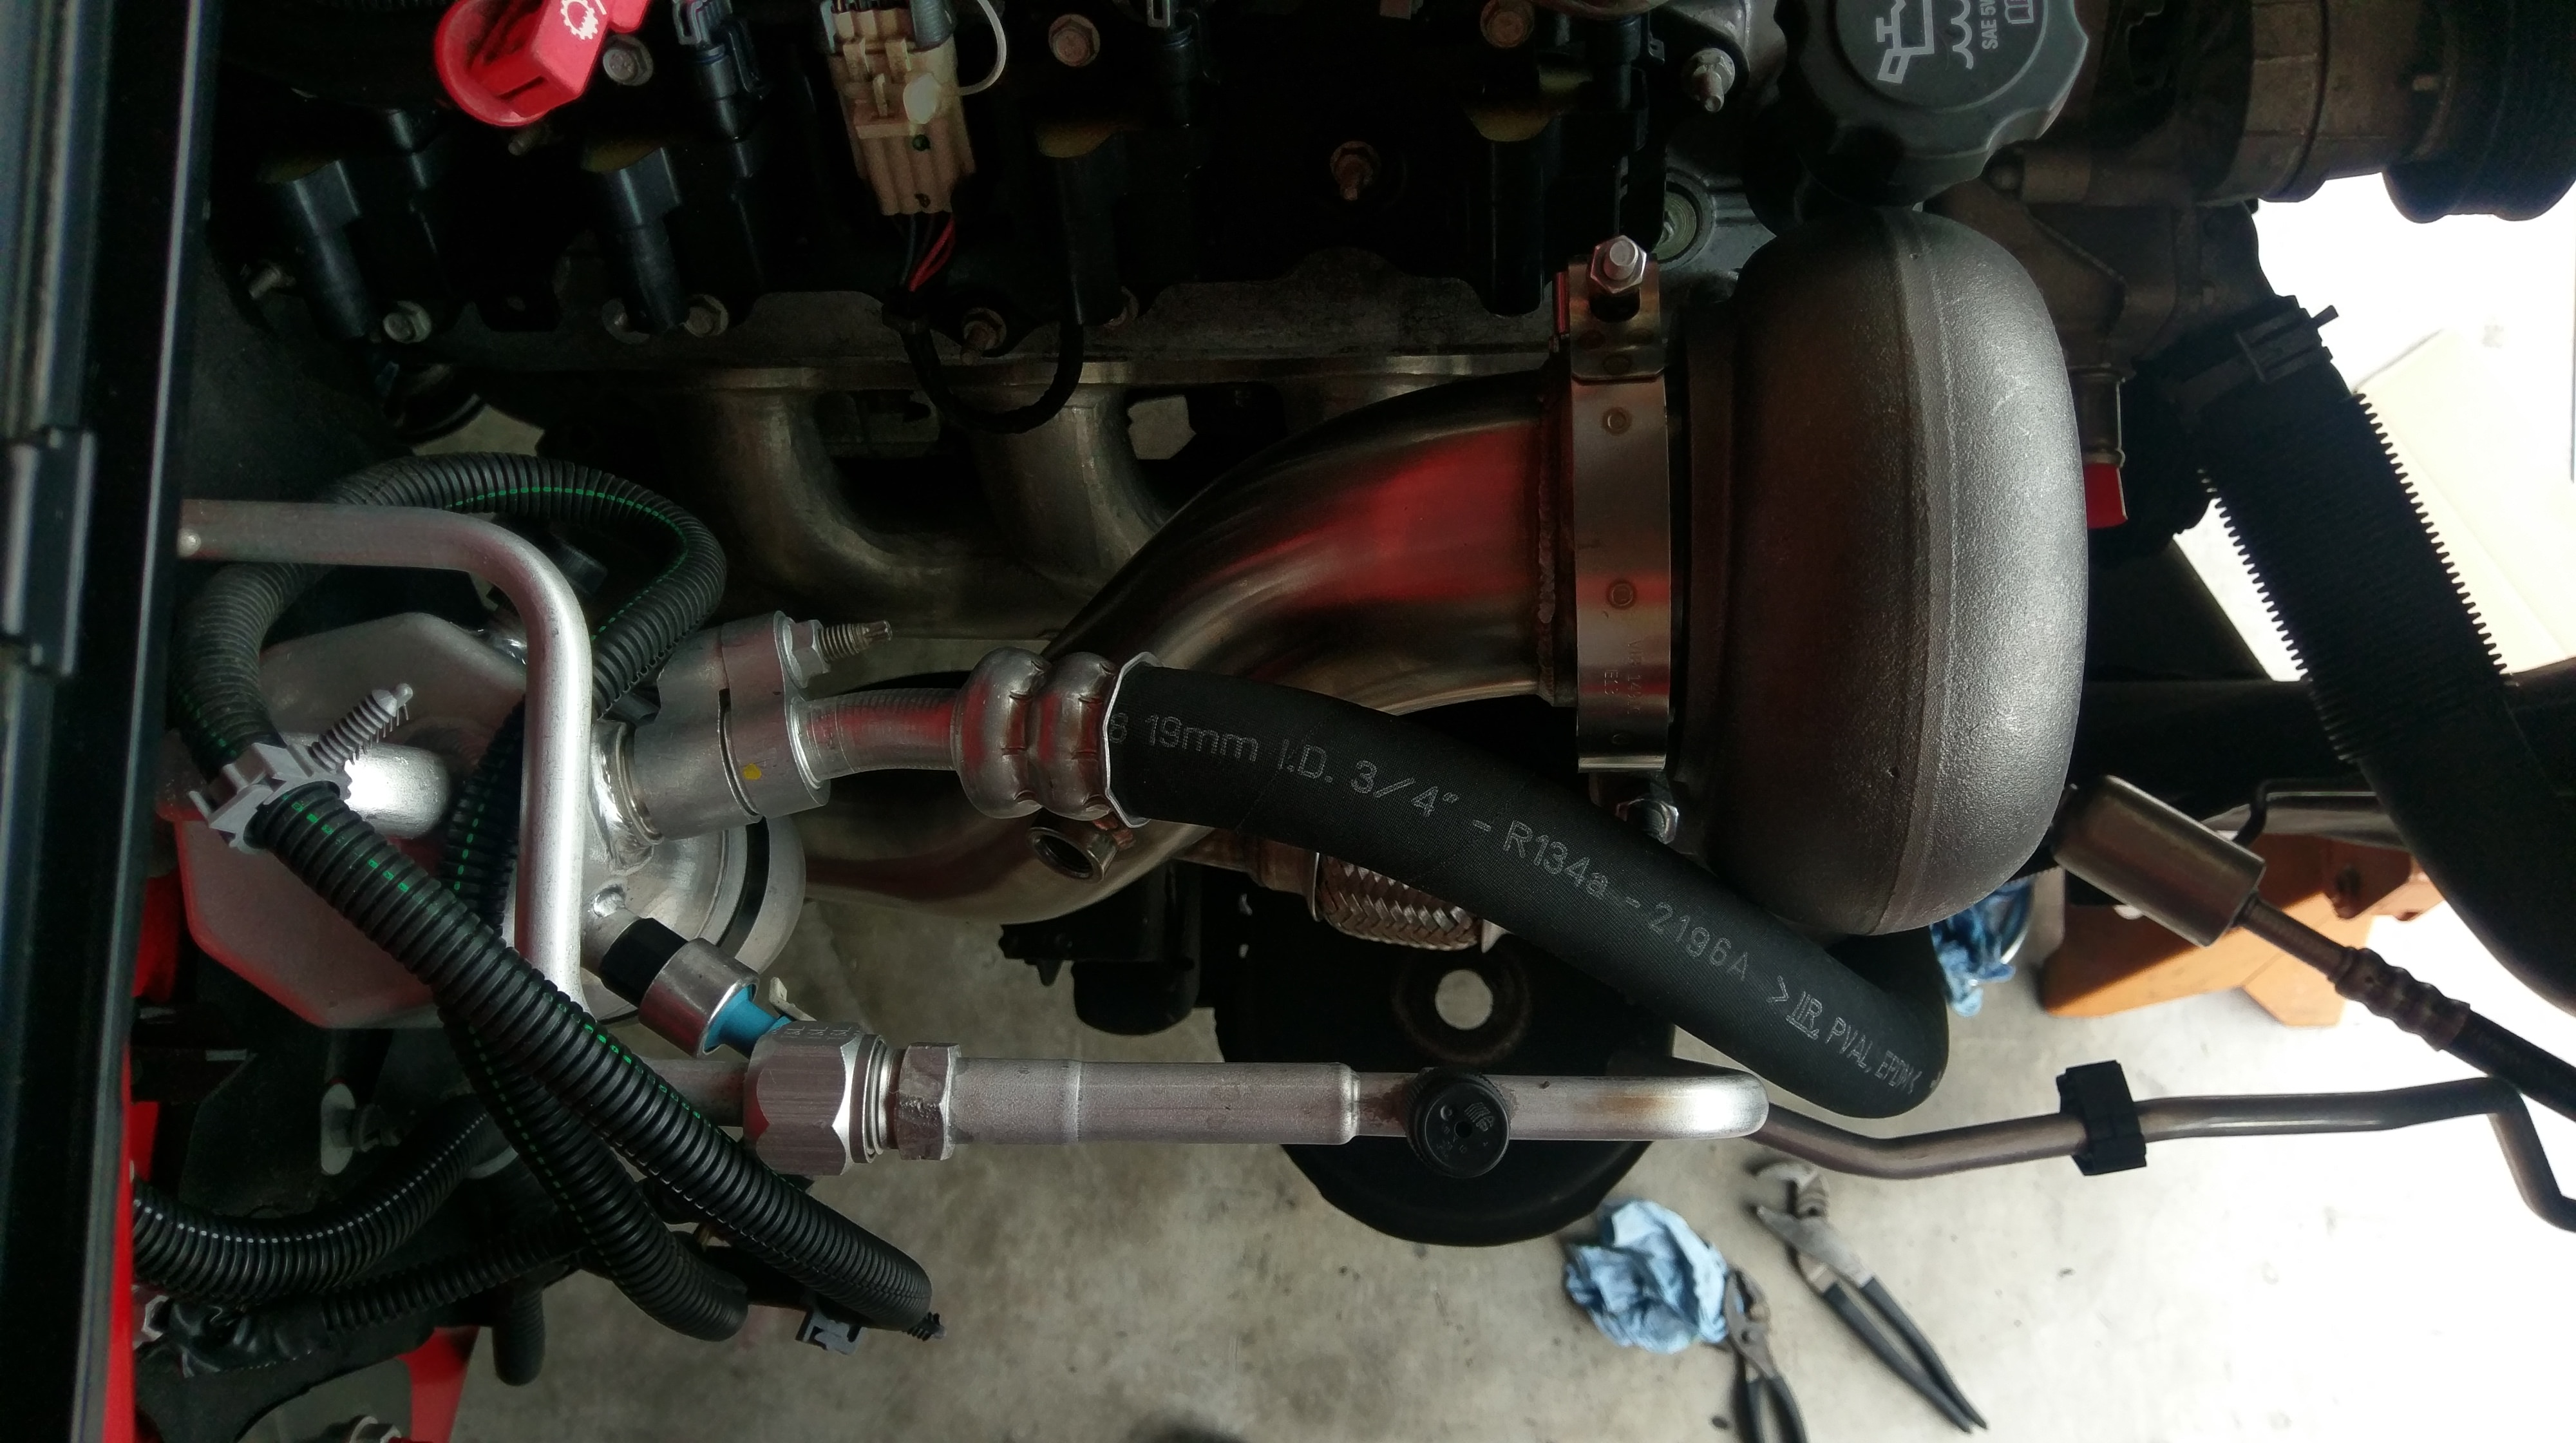
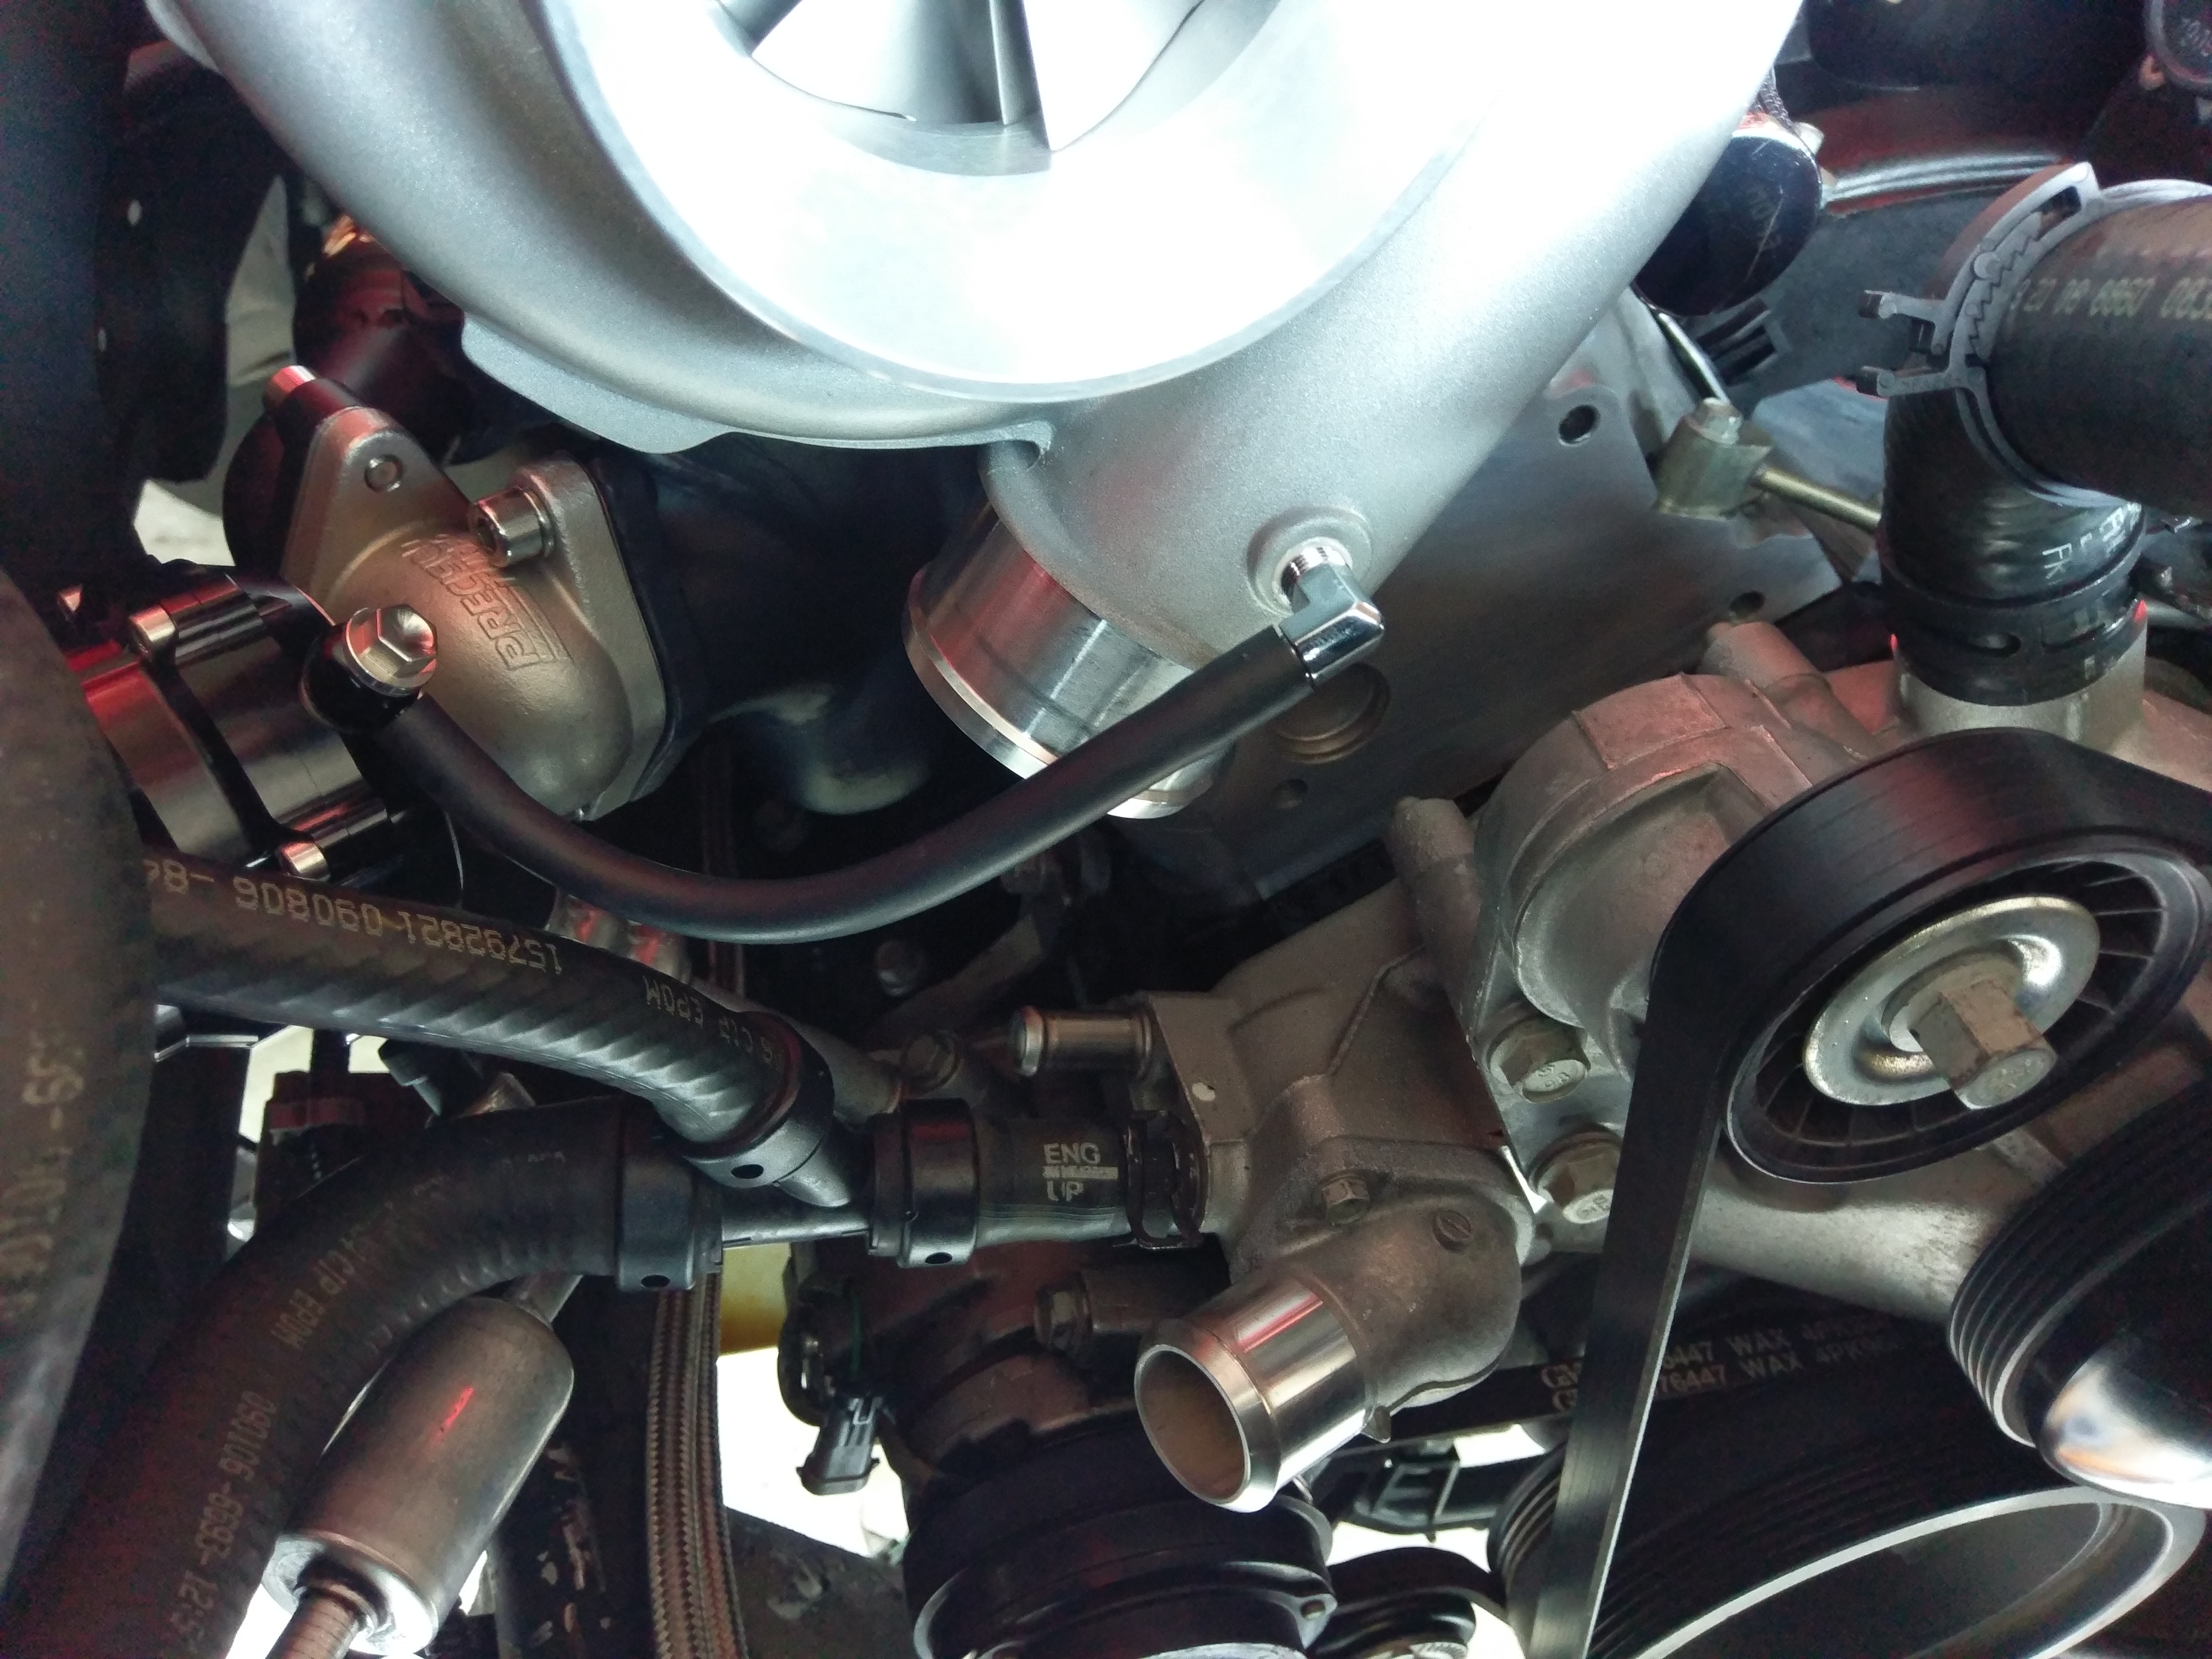
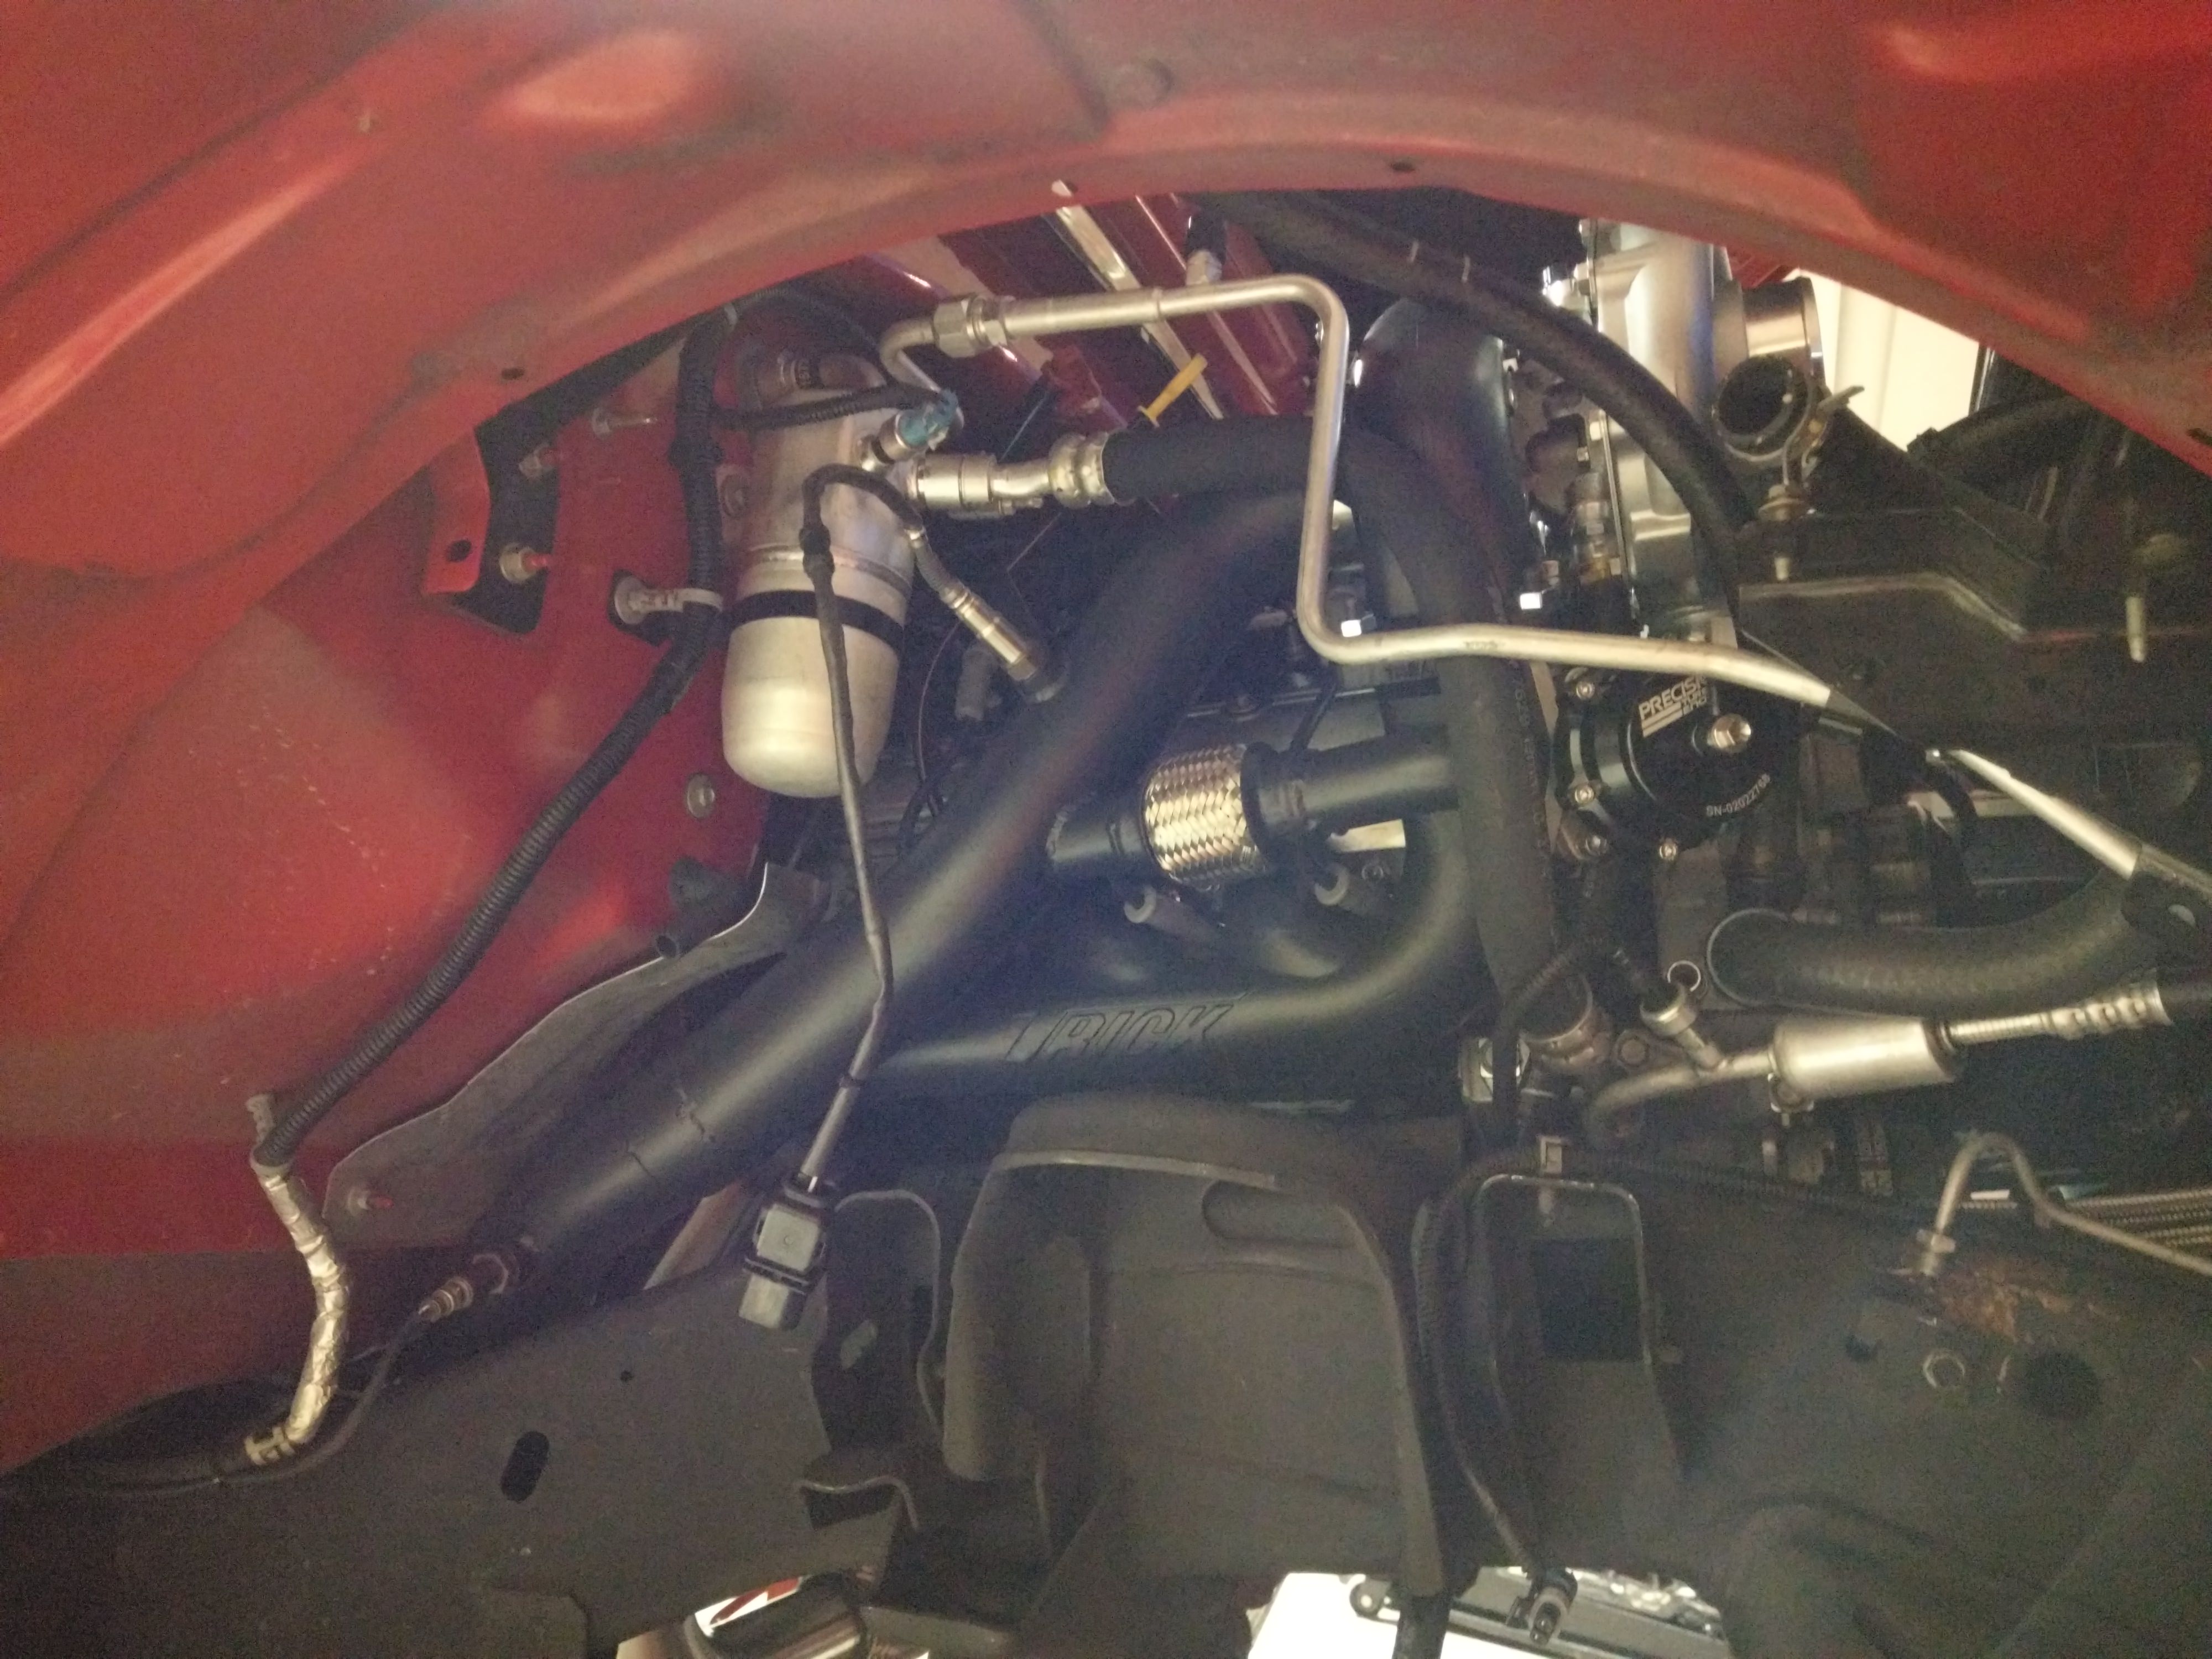
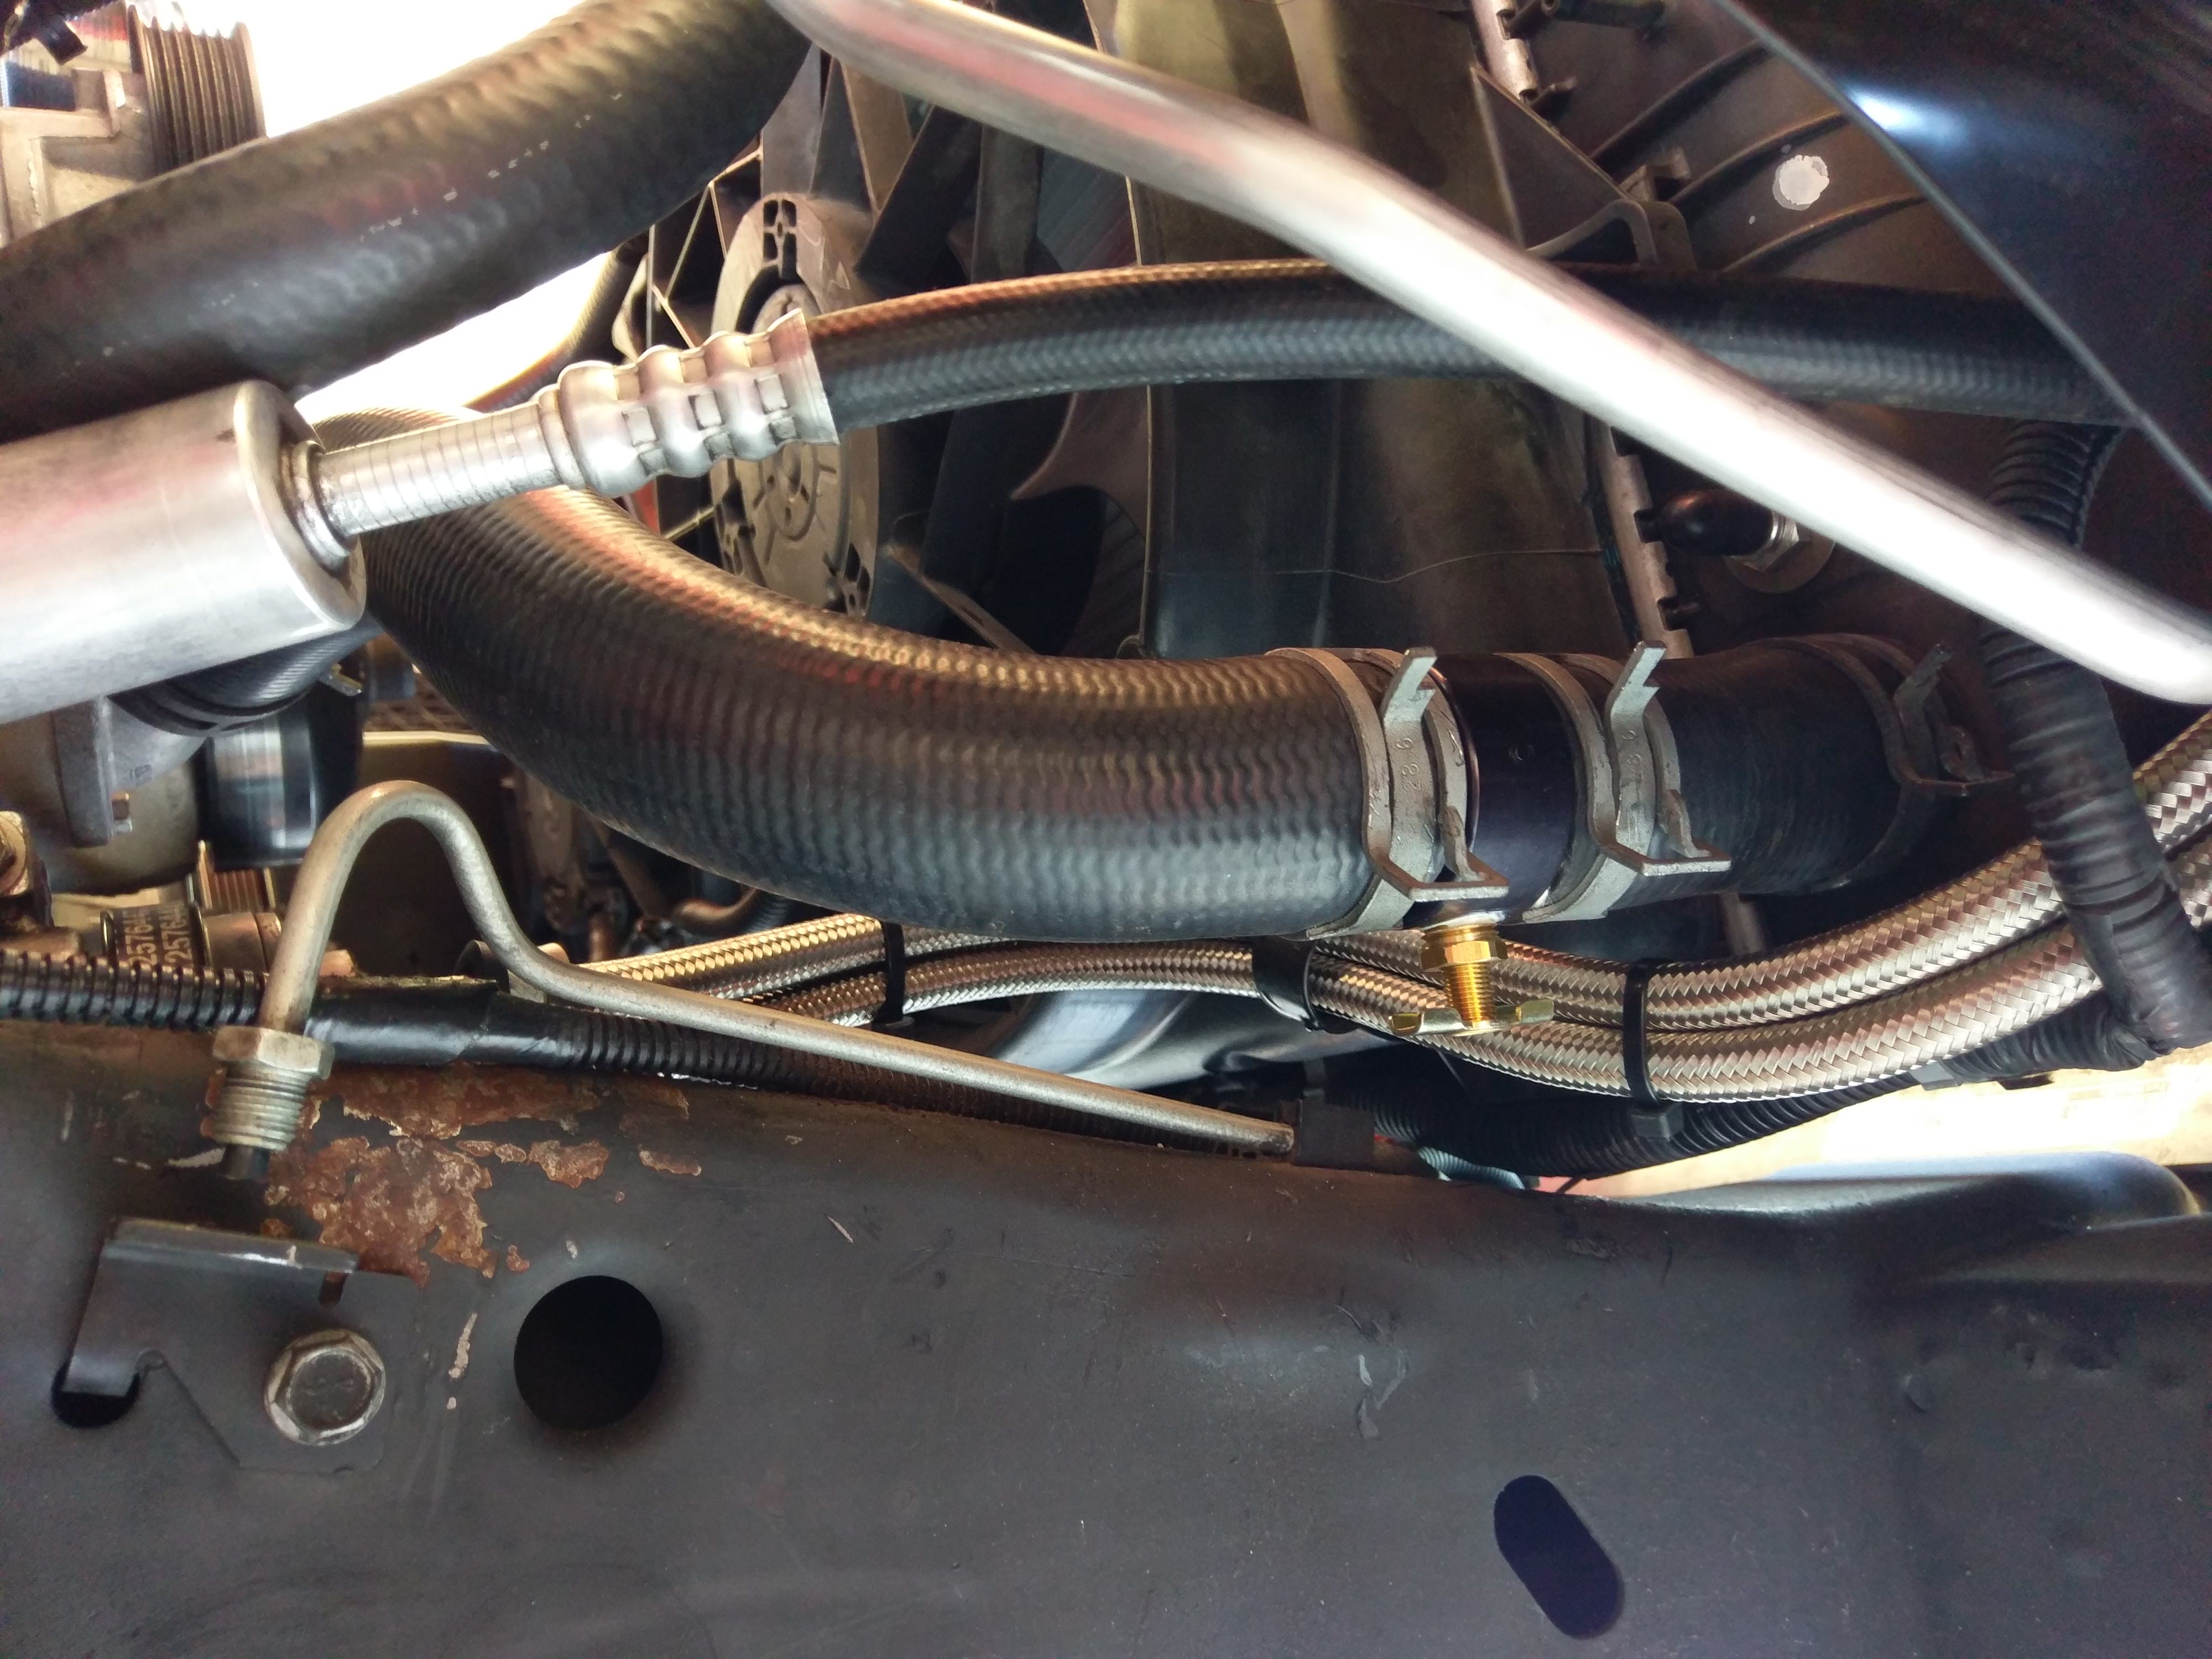
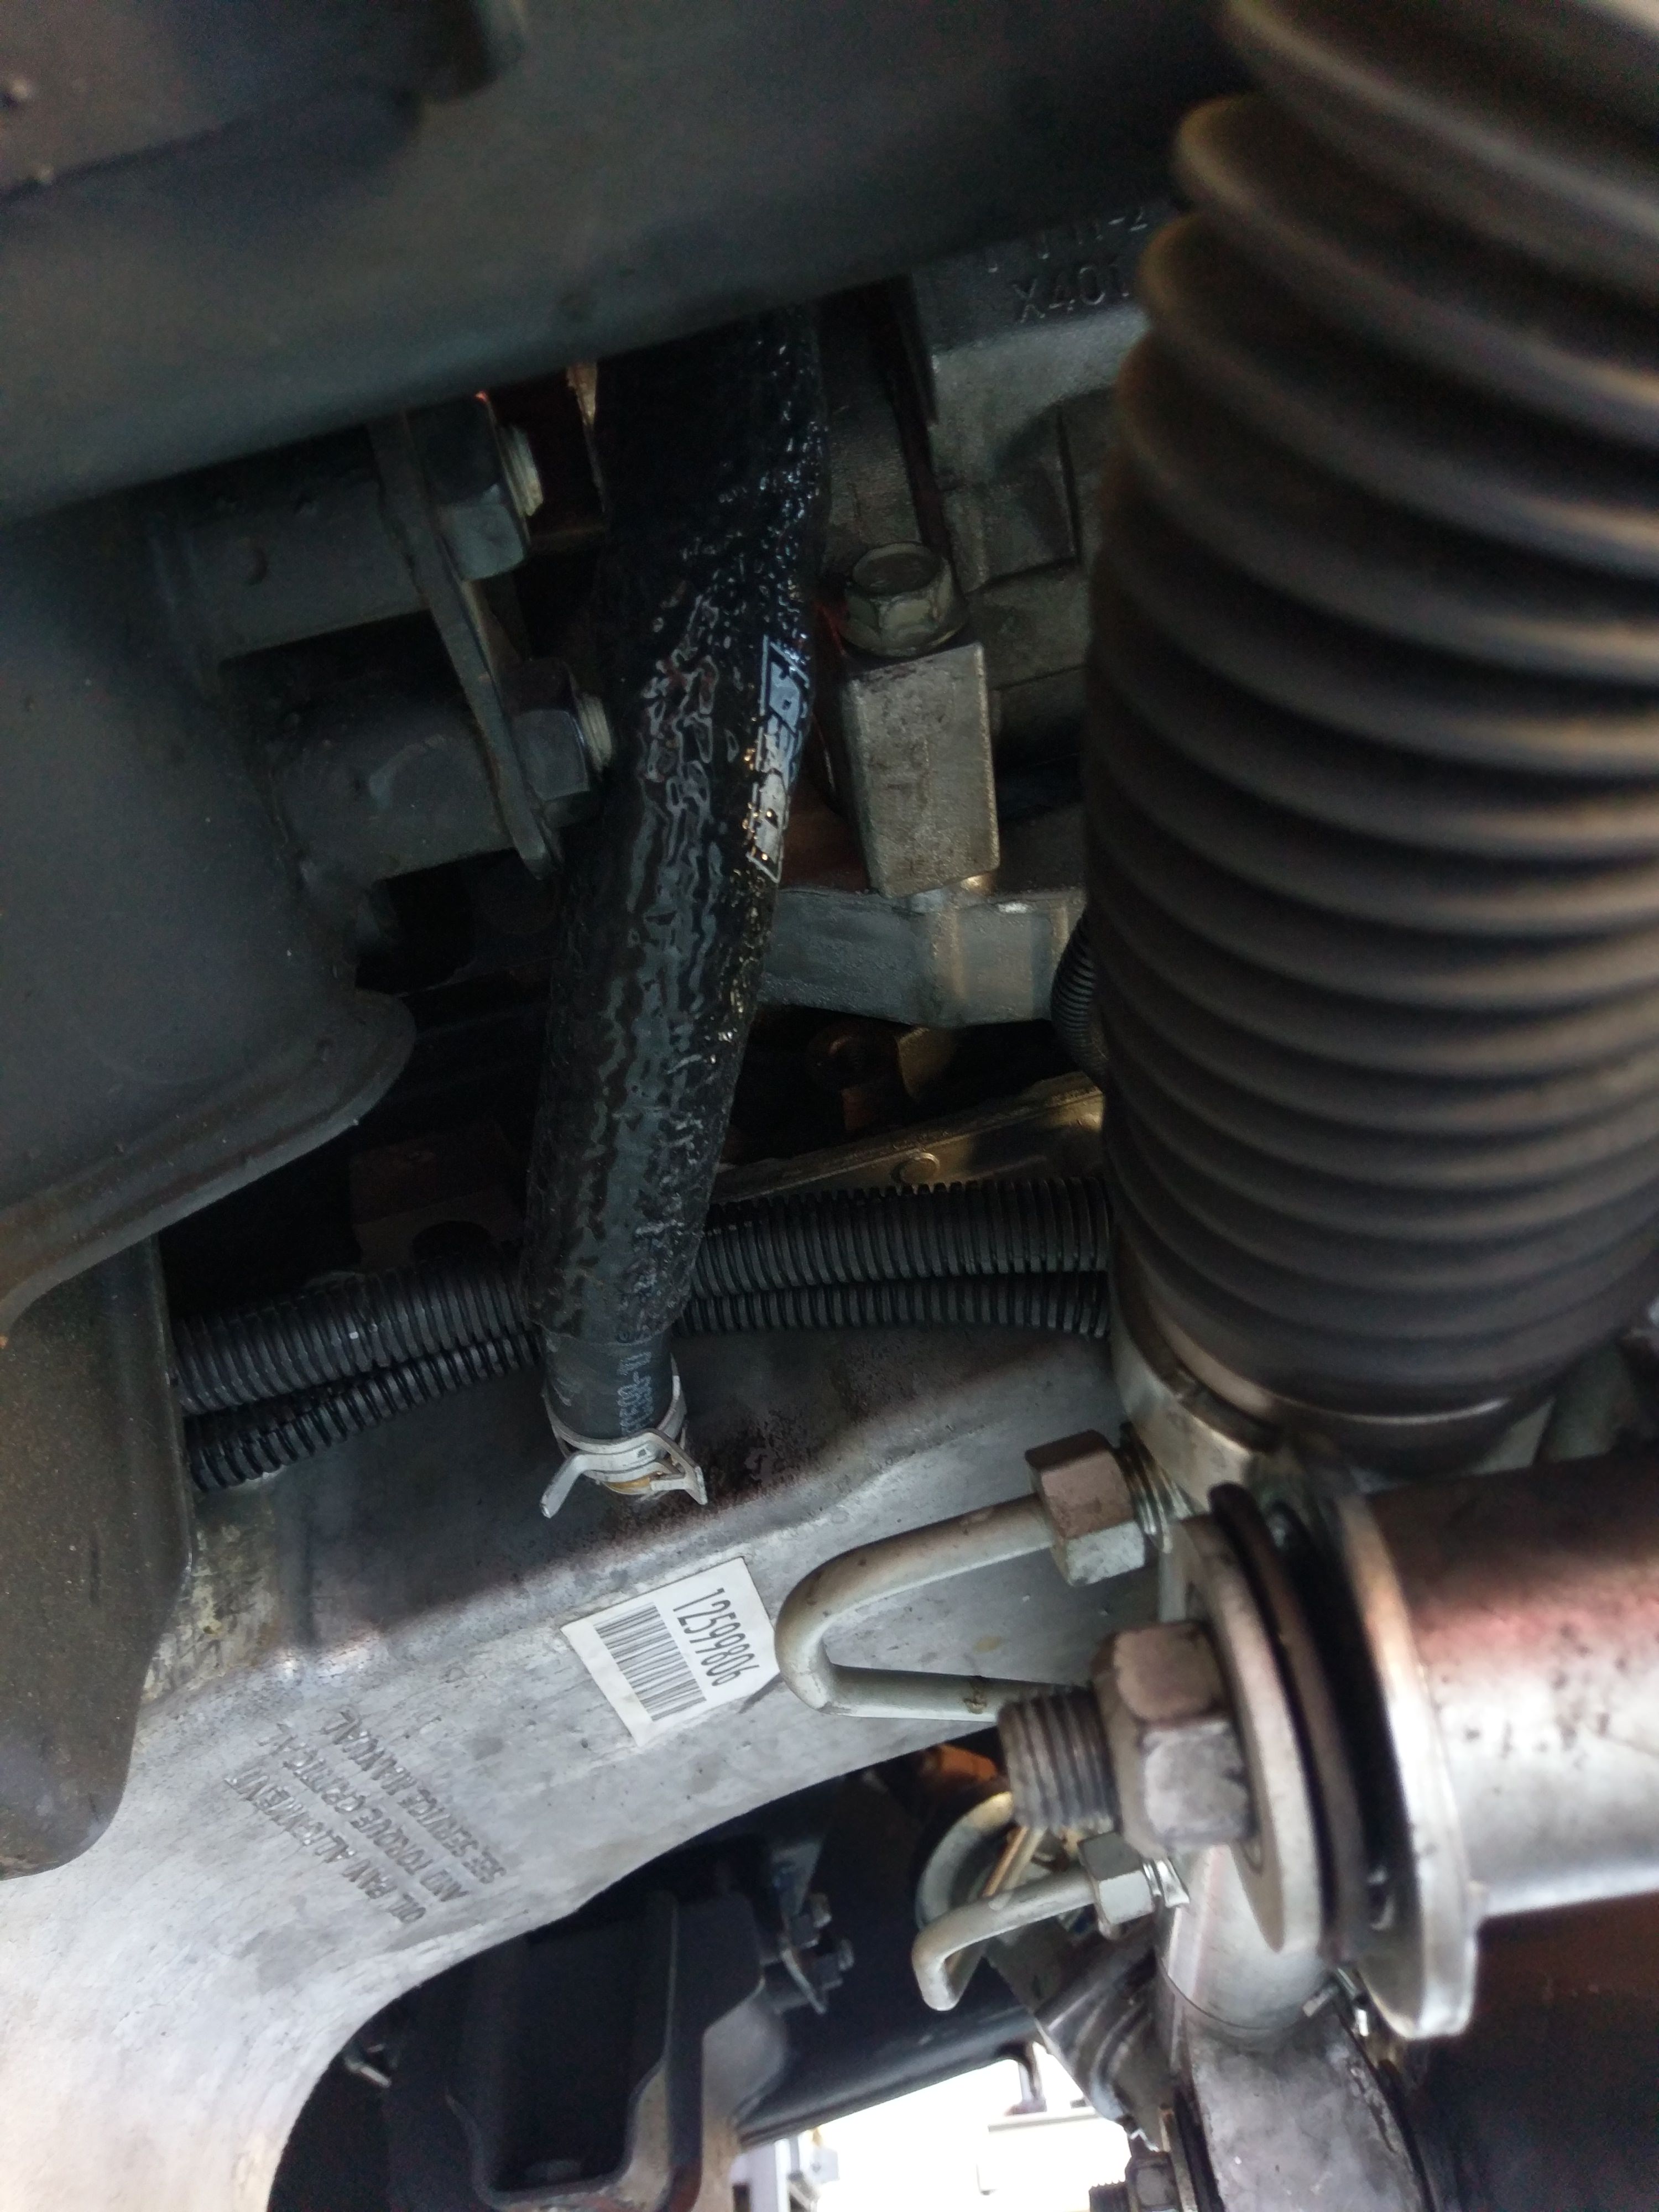
Worked on finalizing the plumbing for cooling system, and added a drain petcock to the lower hose. Draining these systems is an absolute mess since you just have to pull the lower hose off and let it fly. This should help with that.
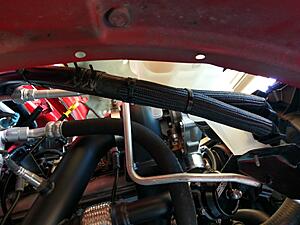
I take my time with routing of lines to make sure it all looks good, but also functions well and doesn't get in the way of other items
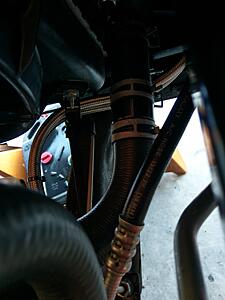
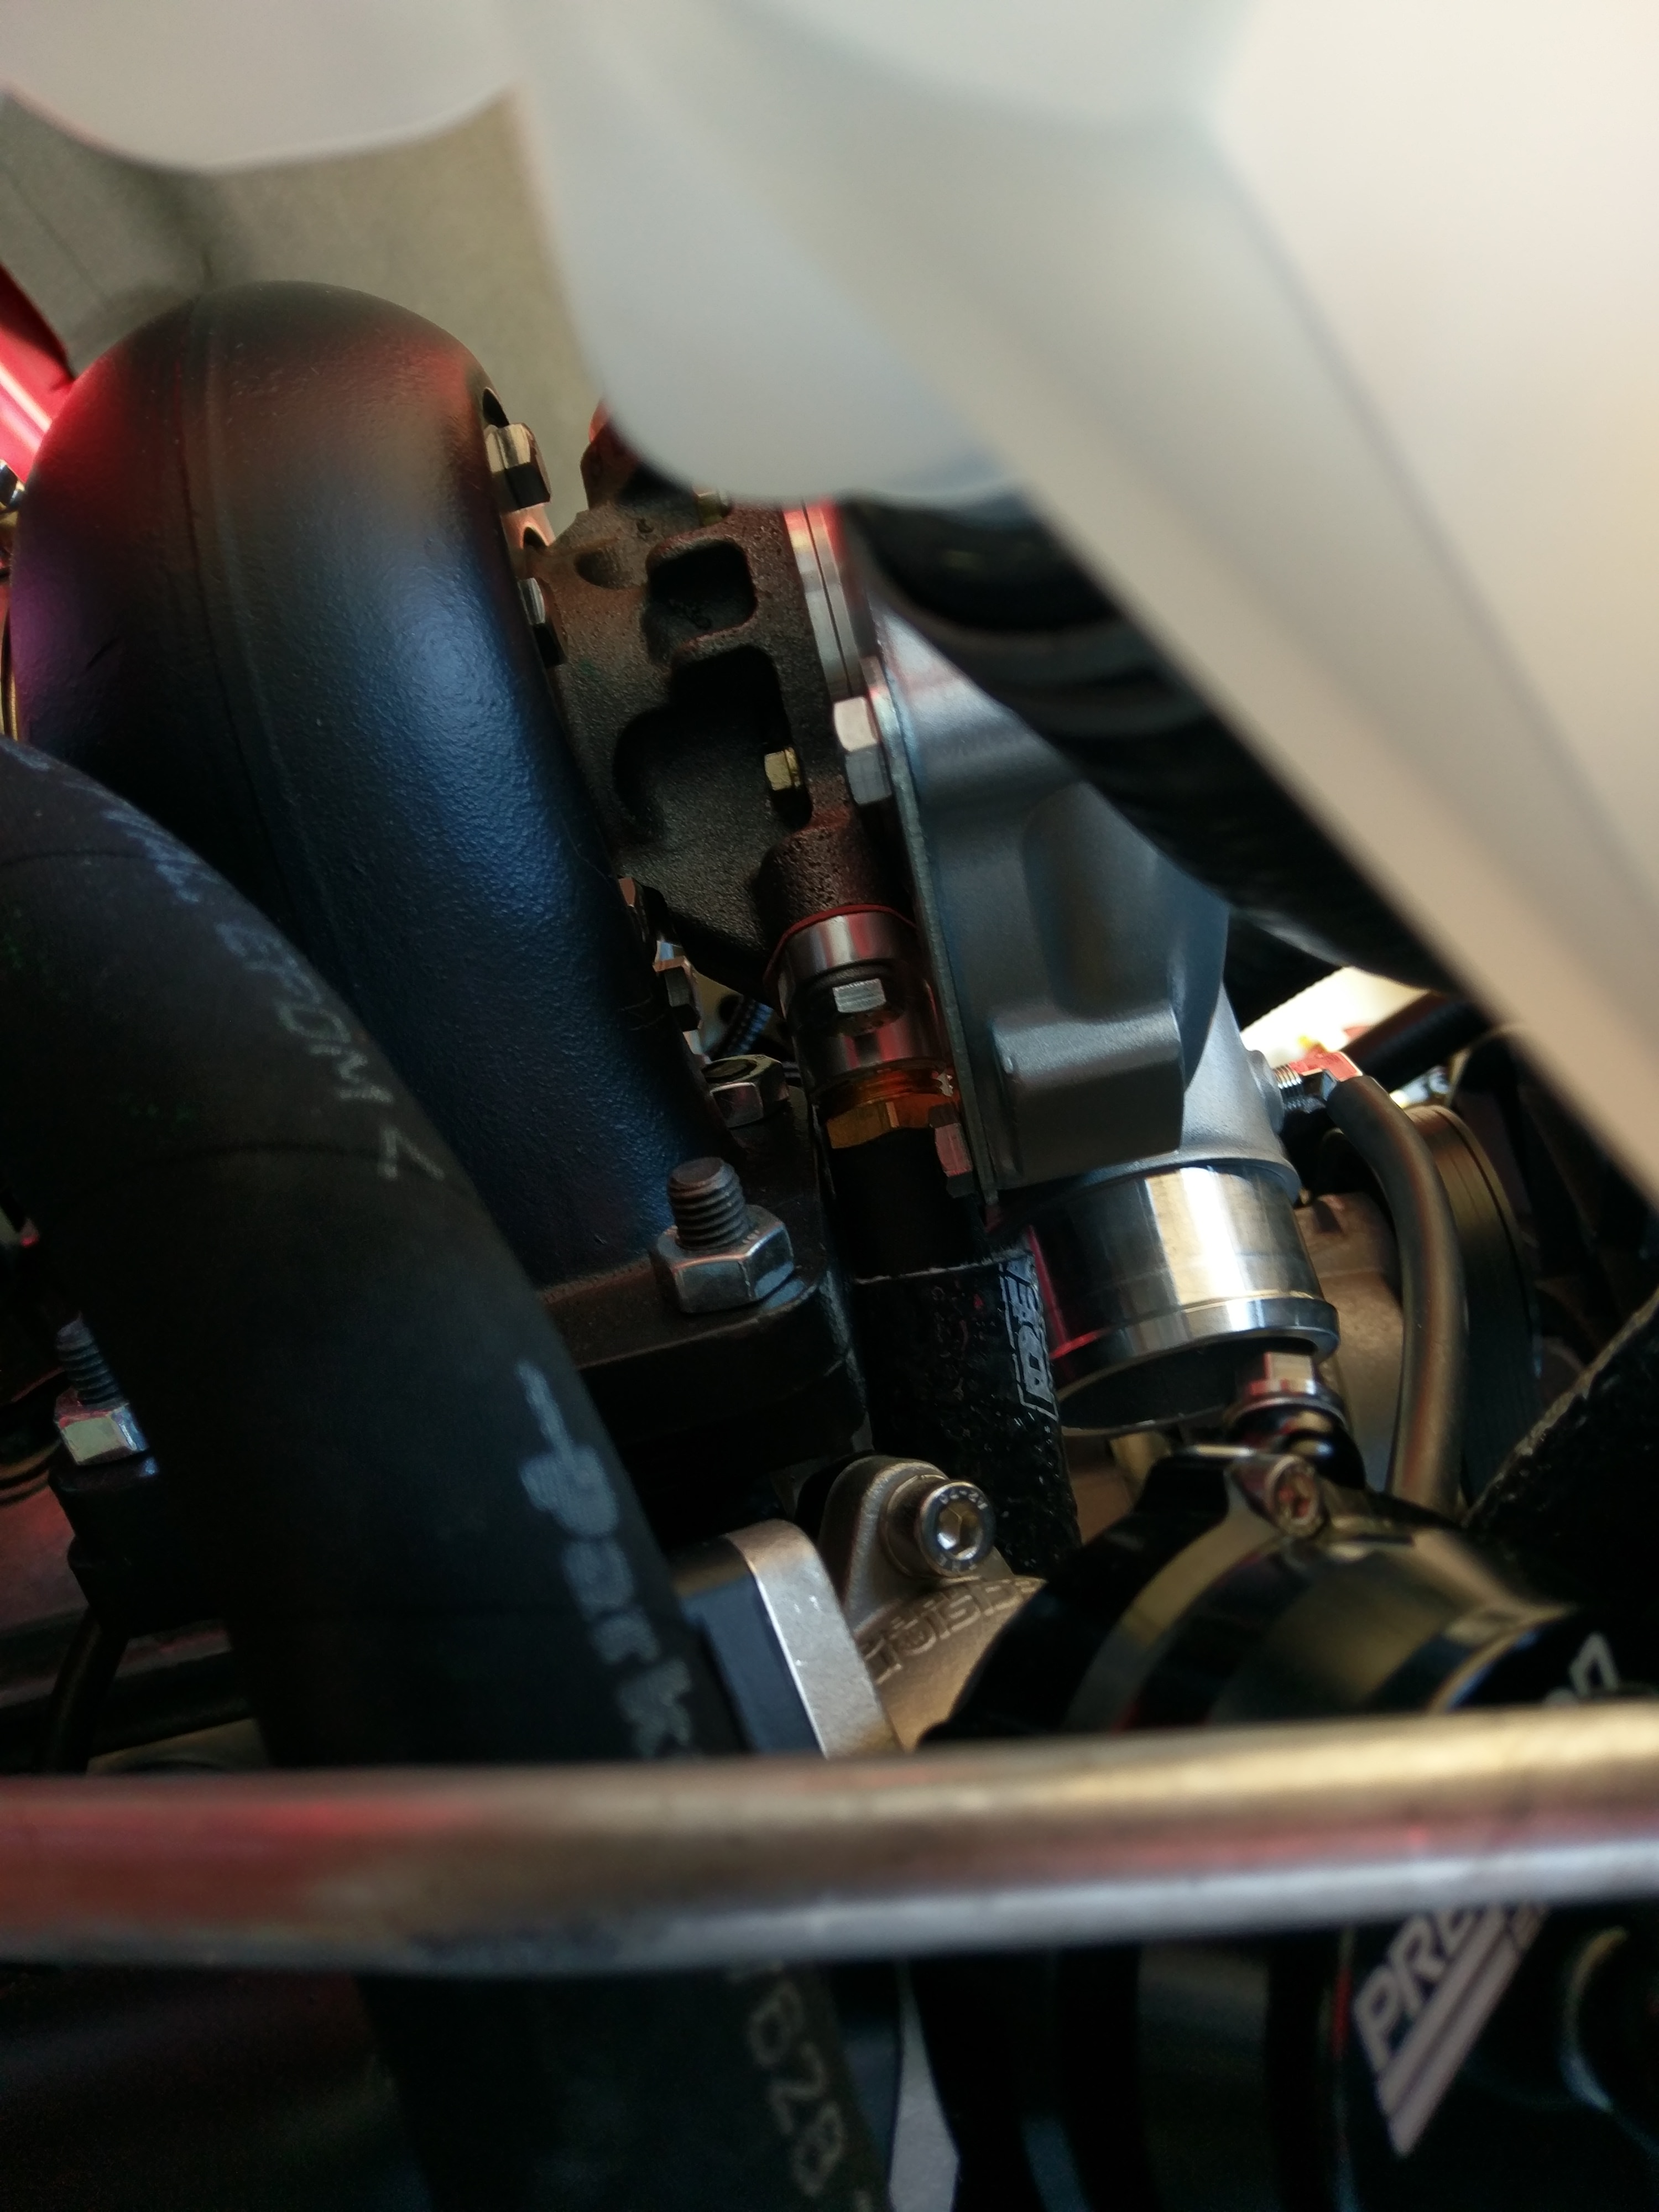
Added DEI flame proof sheathing to the oil drain line

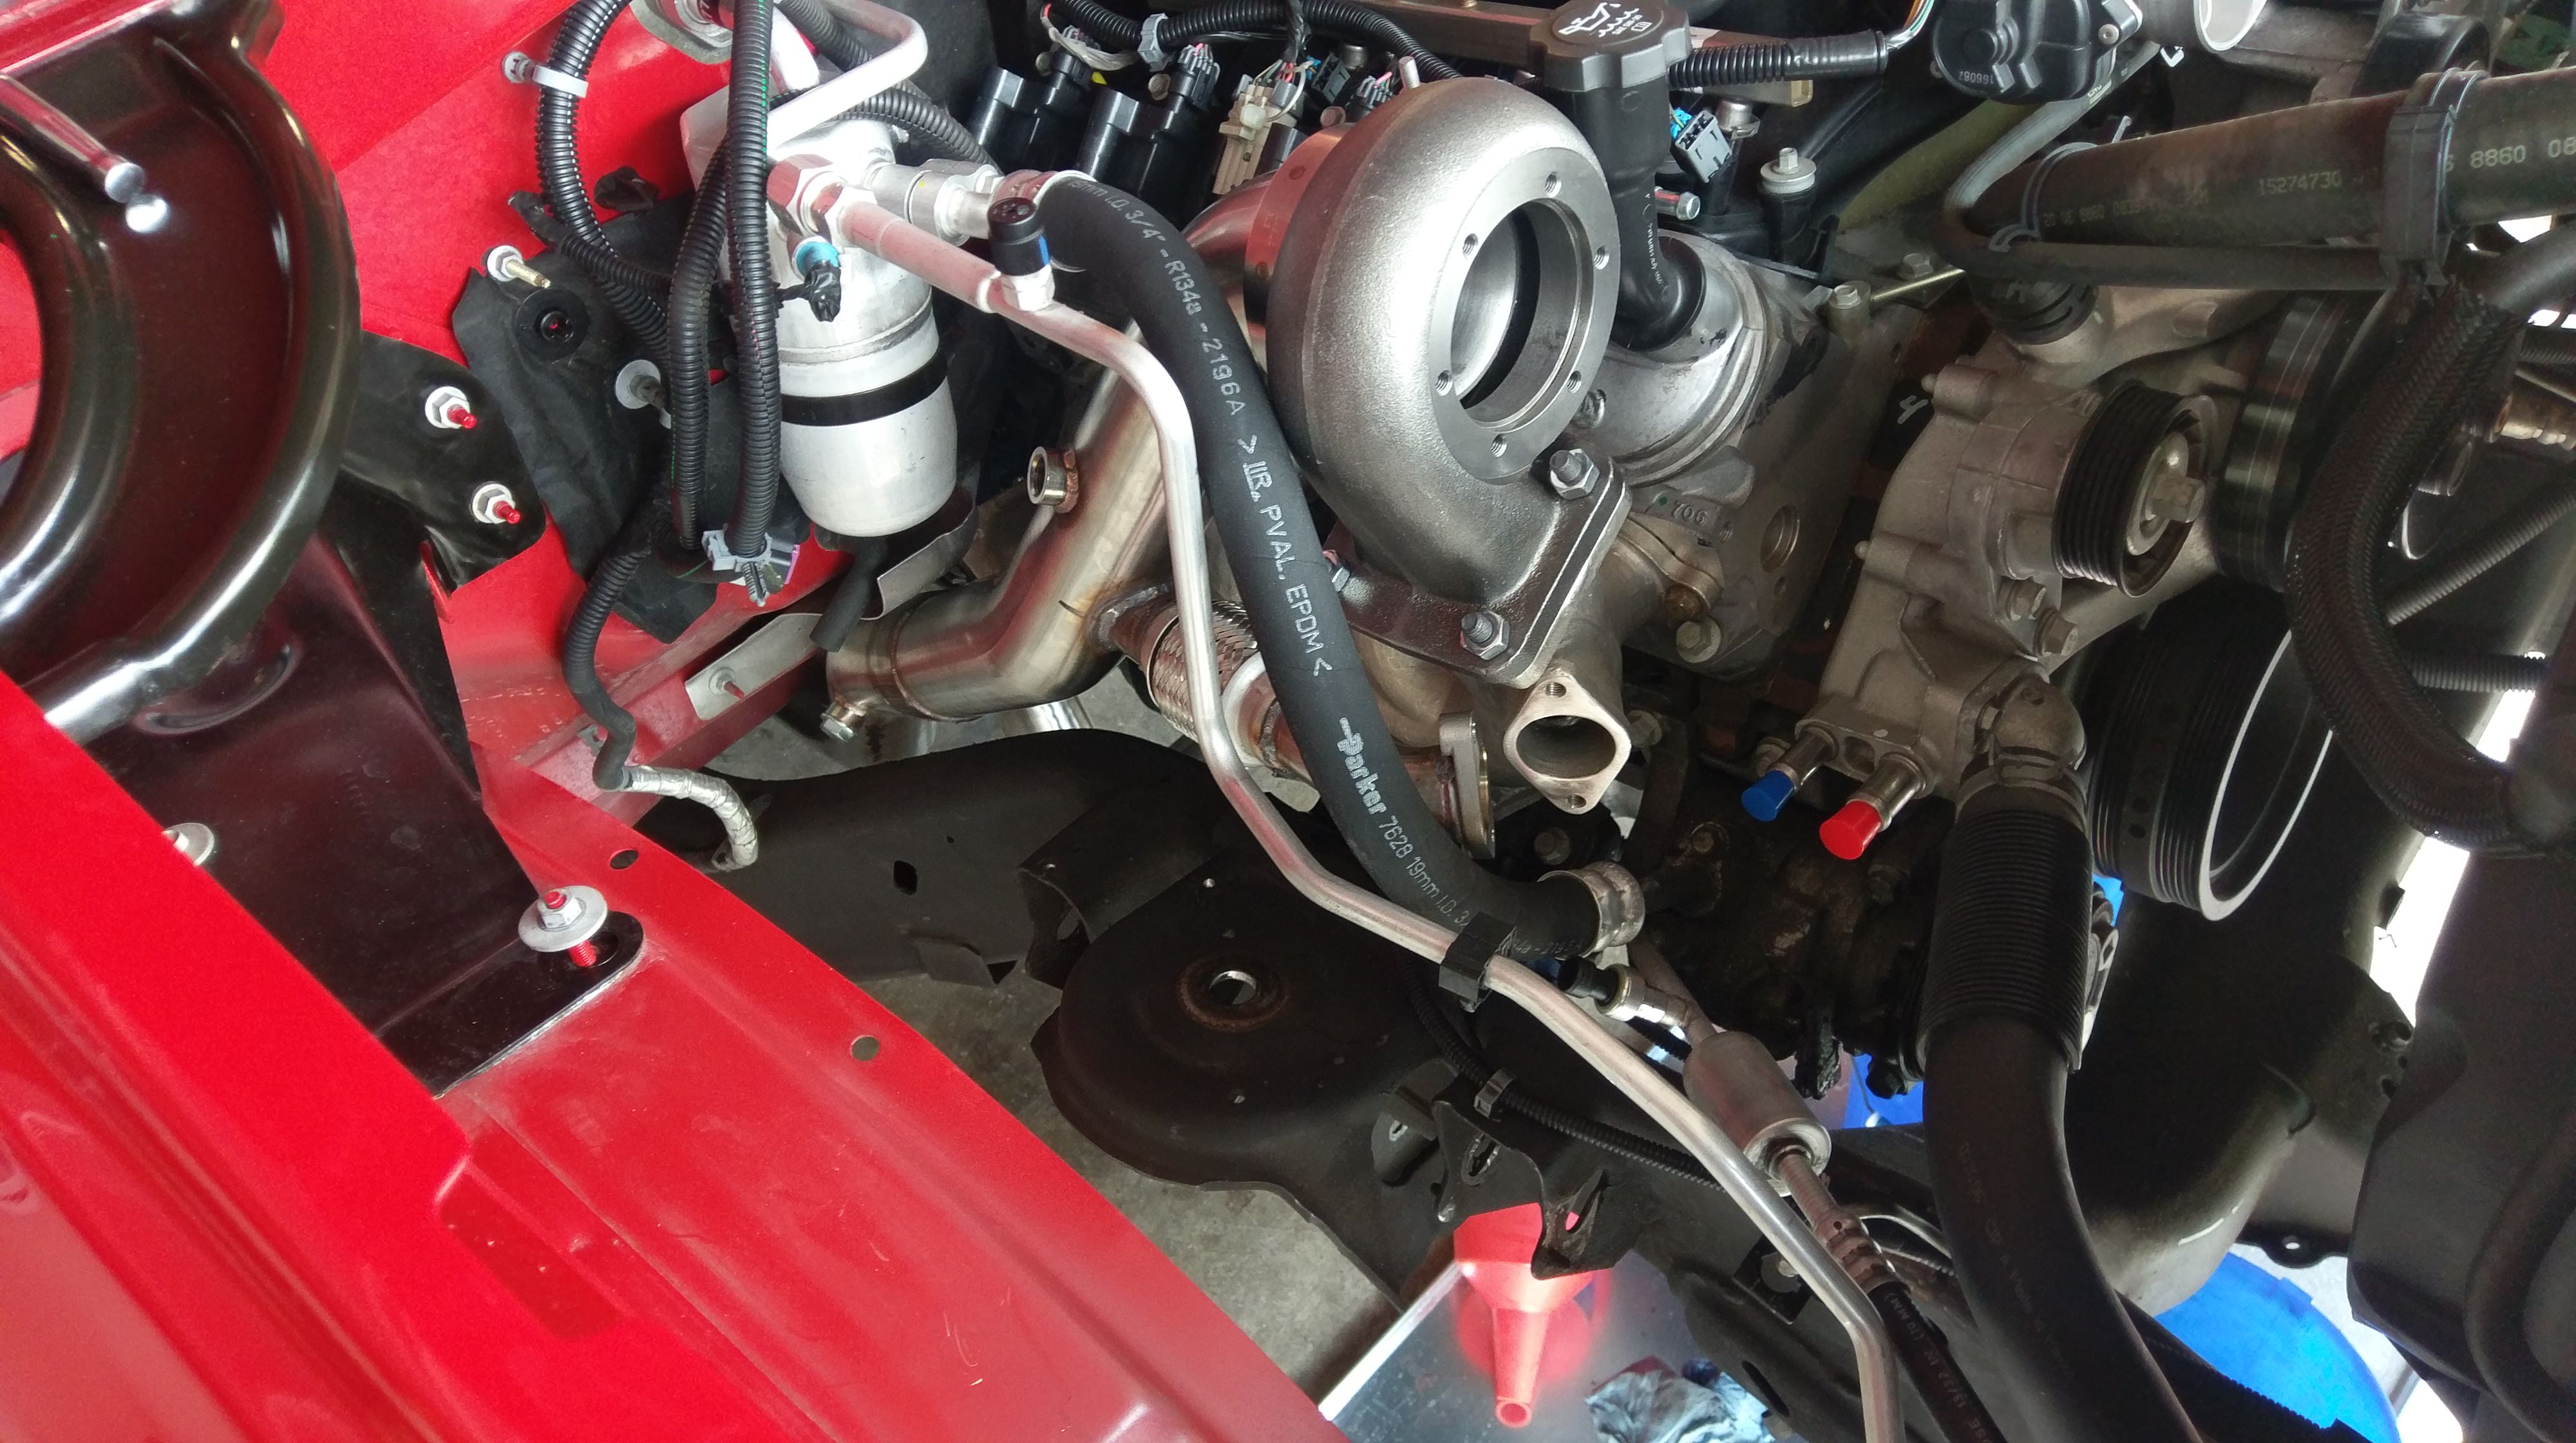
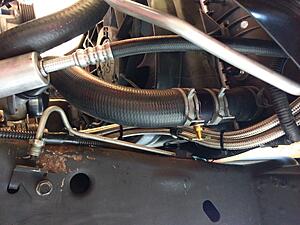
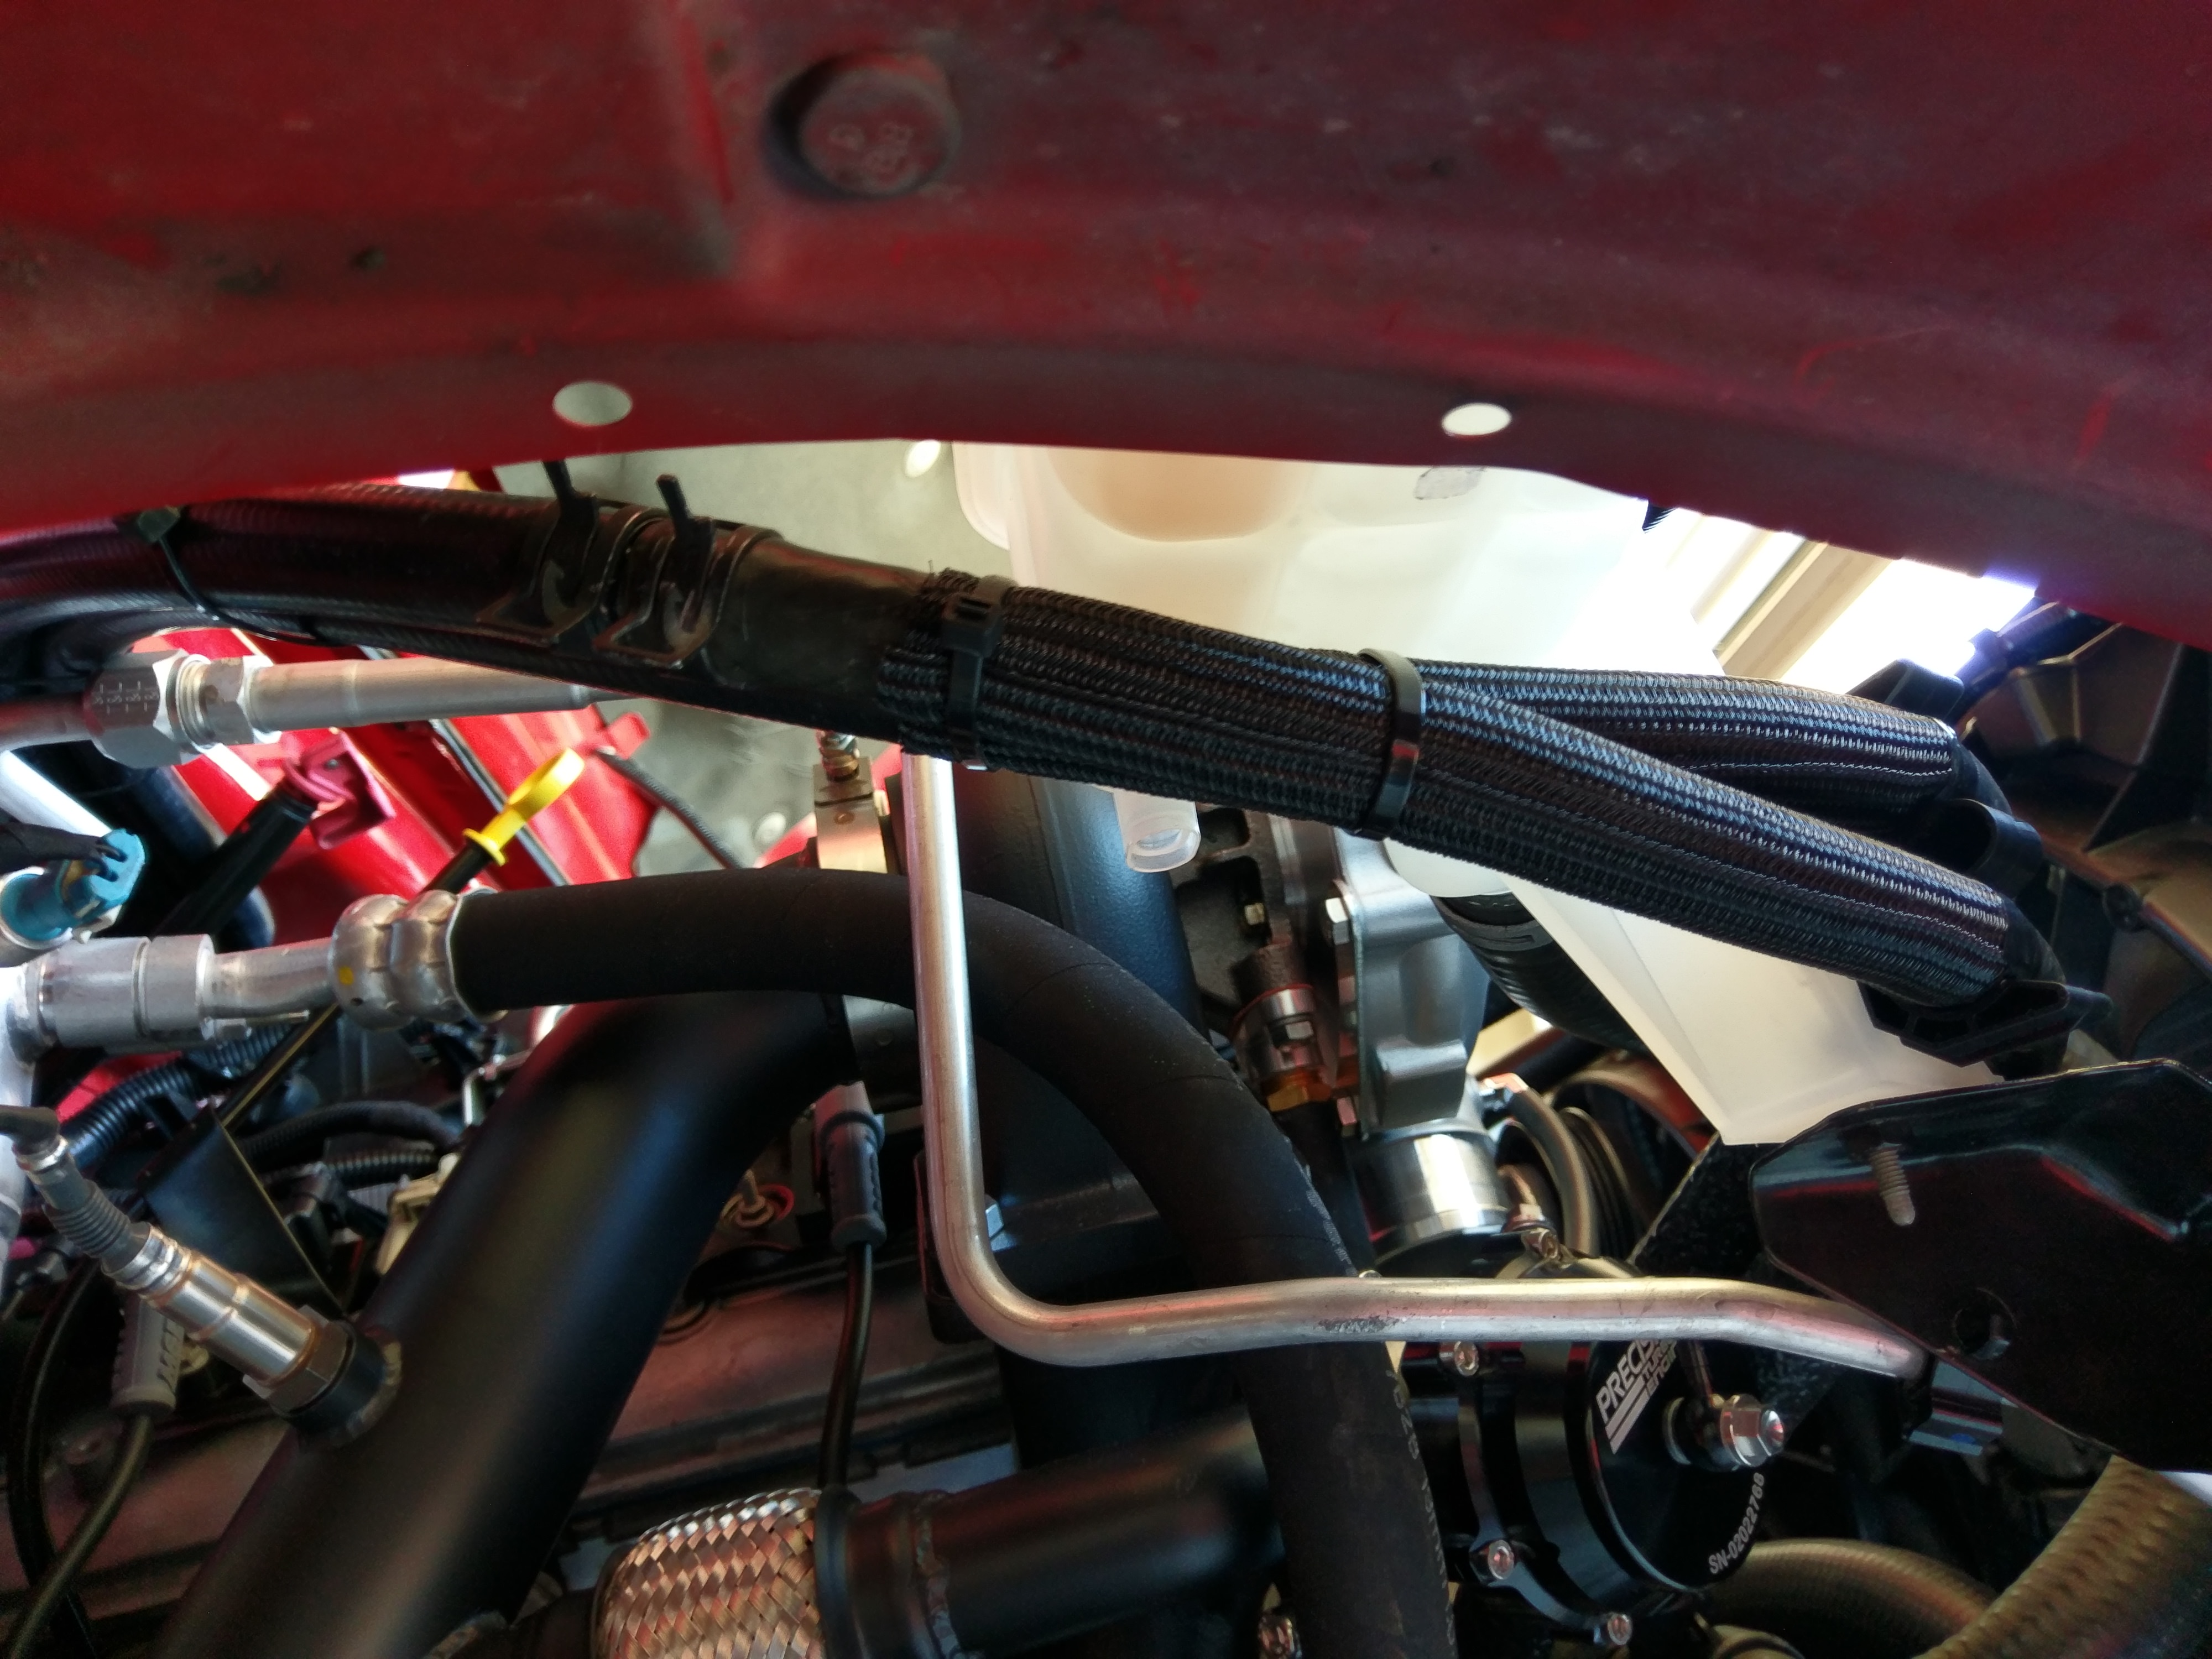
Finished my heater lines. Took the mount off the valve cover and added that to the coolant tank leg for a super clean install. Also keeps the lines in place
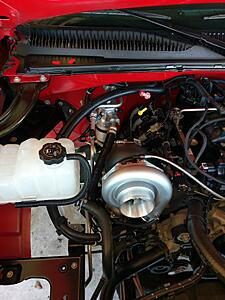
90 degree Gates hoses

With a splice for the line that is connected to the main coolant hose factory setup. Also wrapped the lines in techflex for rub protection. There is more DEI sheathing on these lines as they run by the wastegate area
And that is where I'm at as of 1/13/18, more to come as the build continues. I will keep this updated now that I found a new image hosting site since photobucket **** the bed.
Worked on finalizing the plumbing for cooling system, and added a drain petcock to the lower hose. Draining these systems is an absolute mess since you just have to pull the lower hose off and let it fly. This should help with that.
I take my time with routing of lines to make sure it all looks good, but also functions well and doesn't get in the way of other items

Added DEI flame proof sheathing to the oil drain line
Finished my heater lines. Took the mount off the valve cover and added that to the coolant tank leg for a super clean install. Also keeps the lines in place

90 degree Gates hoses
With a splice for the line that is connected to the main coolant hose factory setup. Also wrapped the lines in techflex for rub protection. There is more DEI sheathing on these lines as they run by the wastegate area
And that is where I'm at as of 1/13/18, more to come as the build continues. I will keep this updated now that I found a new image hosting site since photobucket **** the bed.
 Jan 13, 2018 | 06:15 PM
#7
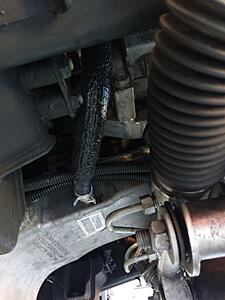
I think the picture is a bit deceiving, it also makes it look like it's flat, when it actually heads downhill the whole way. I will check it again tomorrow, but I believe the only thing touching is the fire sleeve because of how large it is. Worst case scenario I will find a way to secure it over and gain clearance. Thanks for the heads up.
Decided to tackle the POR15 job today, what a pain. I just slopped some on in the areas I couldn't access and hope it works

Also cleaned the inner fenders, even though it'll never been seen once the plastic liners go back in
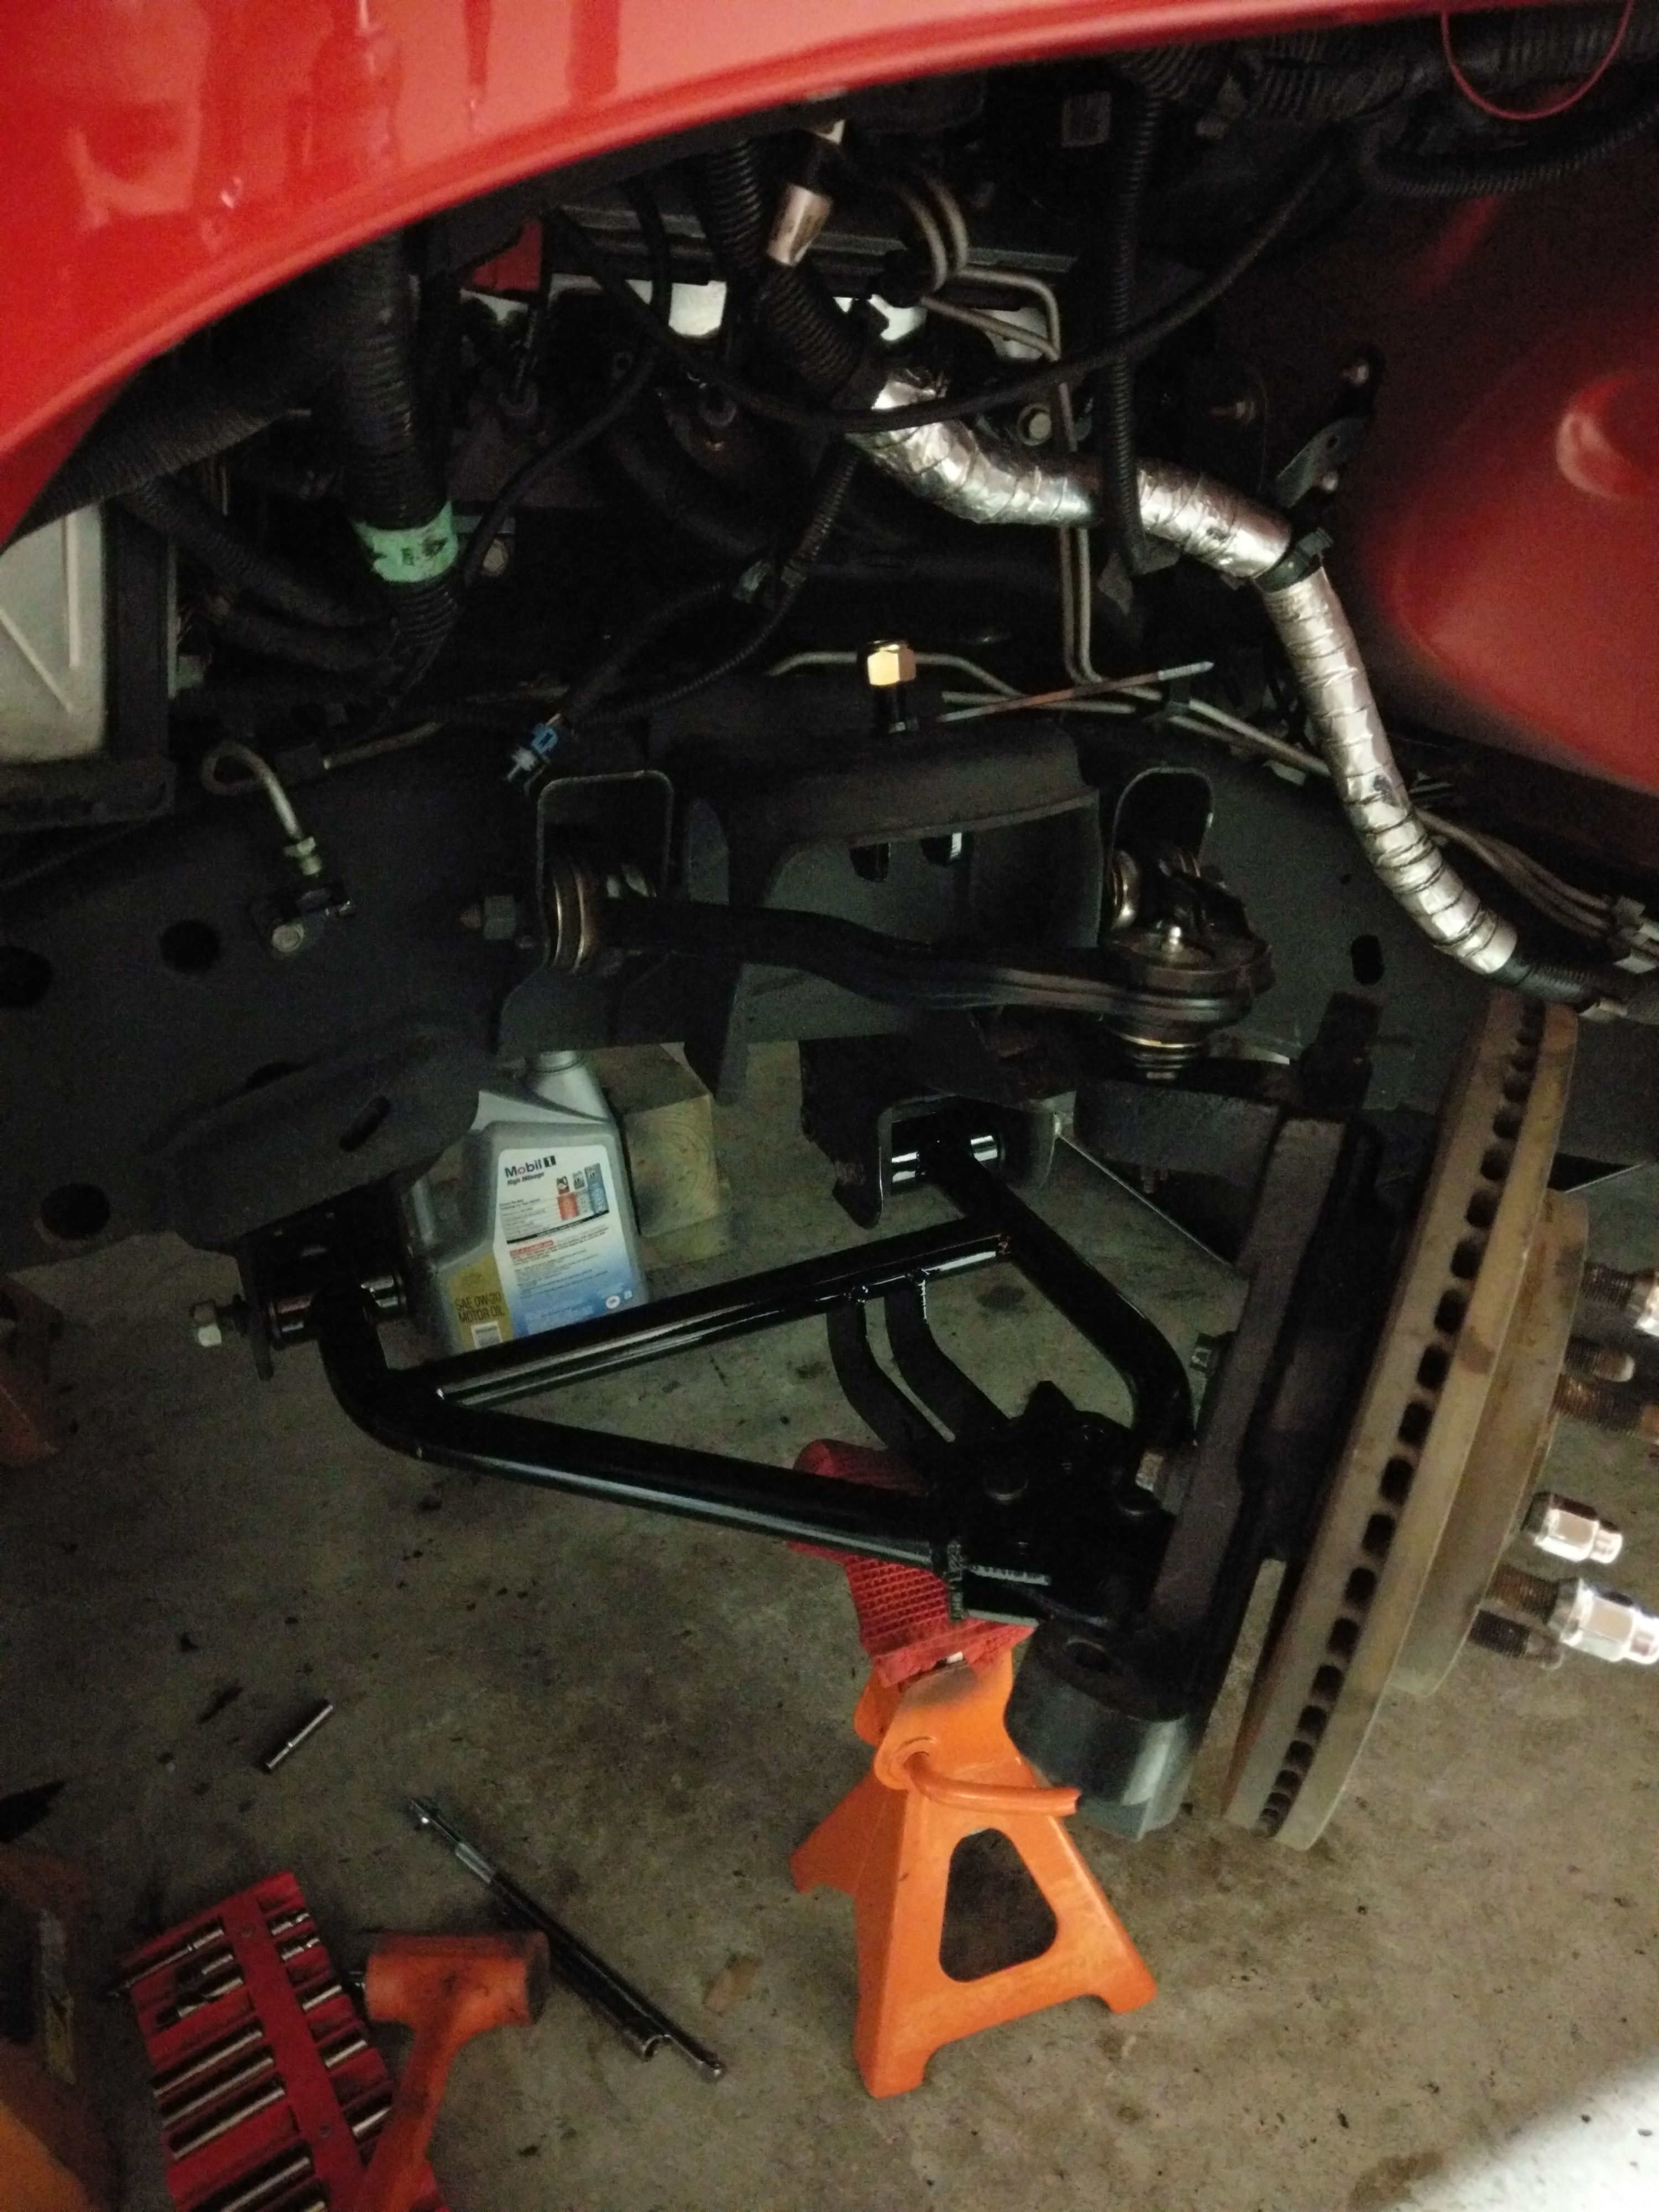
Permanent install of the lower control arms from VAS. Also ran to tractor supply and grabbed some grade 8 hardware for the coilovers which I ordered today from Atomic

 Very nice