

Blown06-New Build: Cage, 4-Link, Cog Drive, + Too Much More
 Aug 13, 2010 | 09:25 PM
#221


I know this kit requires an f-body balancer so I'm gonna plan on running the bmr alt. bracket that locates it where the p/s pump used to be. Isn't that what you did? How did that work out for you?
Aug 20, 2010 | 03:46 AM
#222
Started painting the cage tonight. Got the first coat on in the cab. Using black rustoleum "hammered" paint, applied with foam brush. I knew that the finish of the paint is rough looking, but not sure that I like it. I think I might have liked just a regular smooth paint. It looks good, just not sure if I'd do it again the same.
Should have it completely done by tomorrow evening and I'll post up some pics.
Should also have the stop lamp switch issue finished with pics as well.
My goal is to have the inside completly done by the end of the weekend.
Should have it completely done by tomorrow evening and I'll post up some pics.
Should also have the stop lamp switch issue finished with pics as well.
My goal is to have the inside completly done by the end of the weekend.
 Aug 21, 2010 | 02:07 AM
#225
Thanks, they're on the way!
Just give me a call. I'm usually around on the weekends.
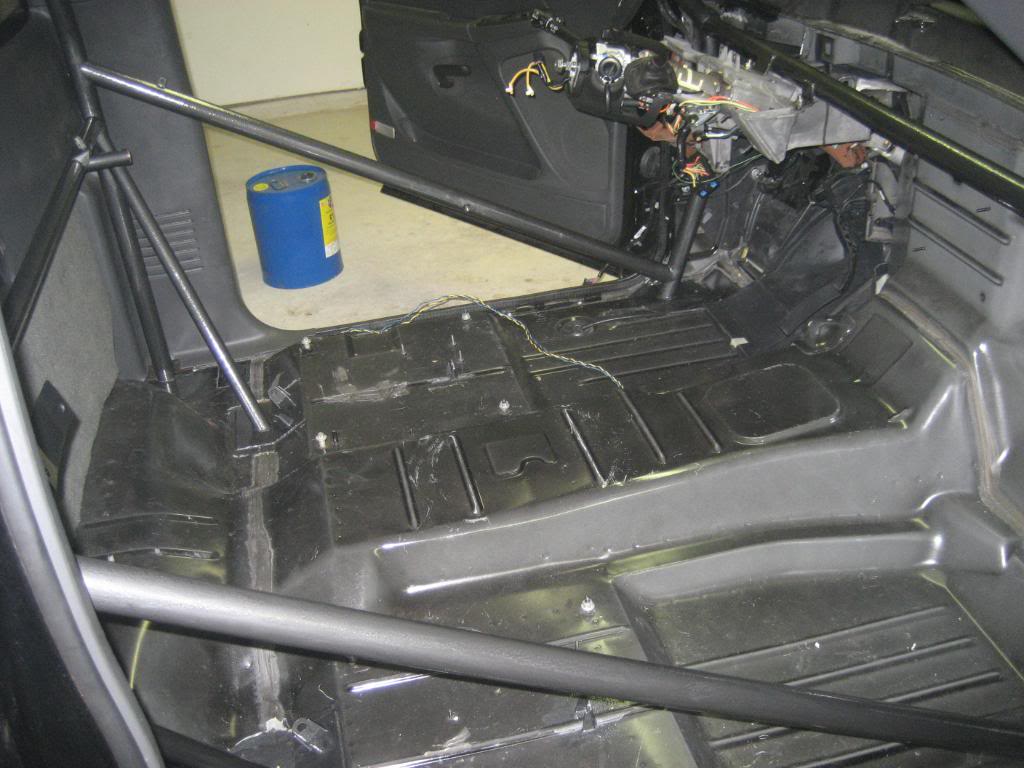
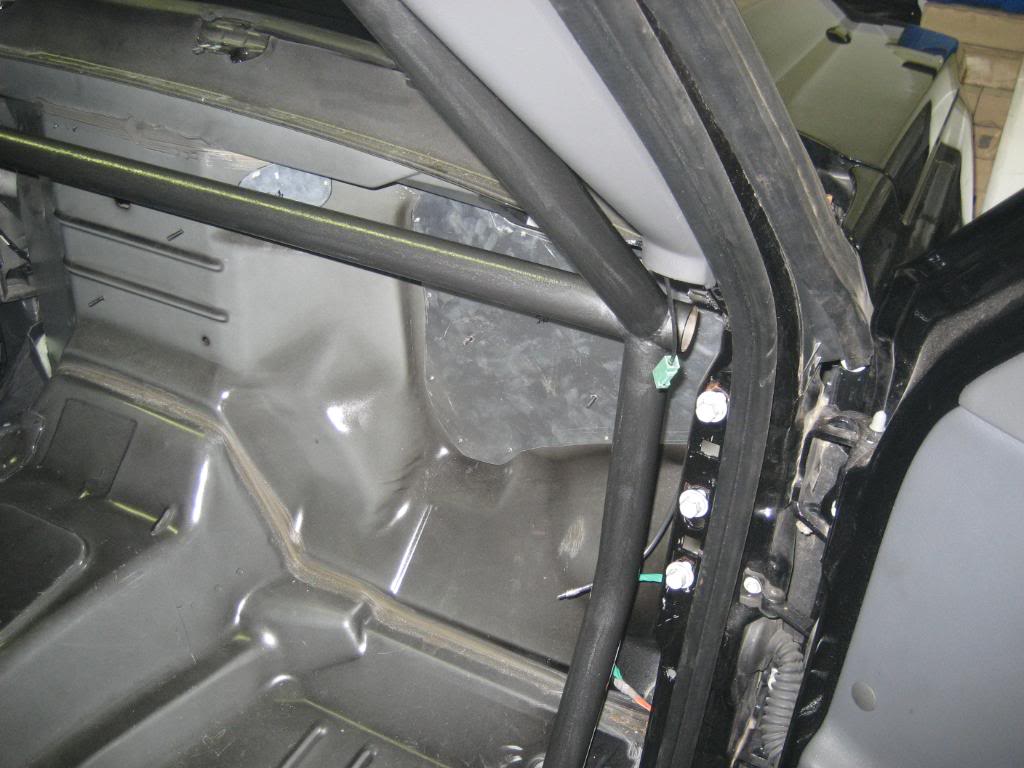
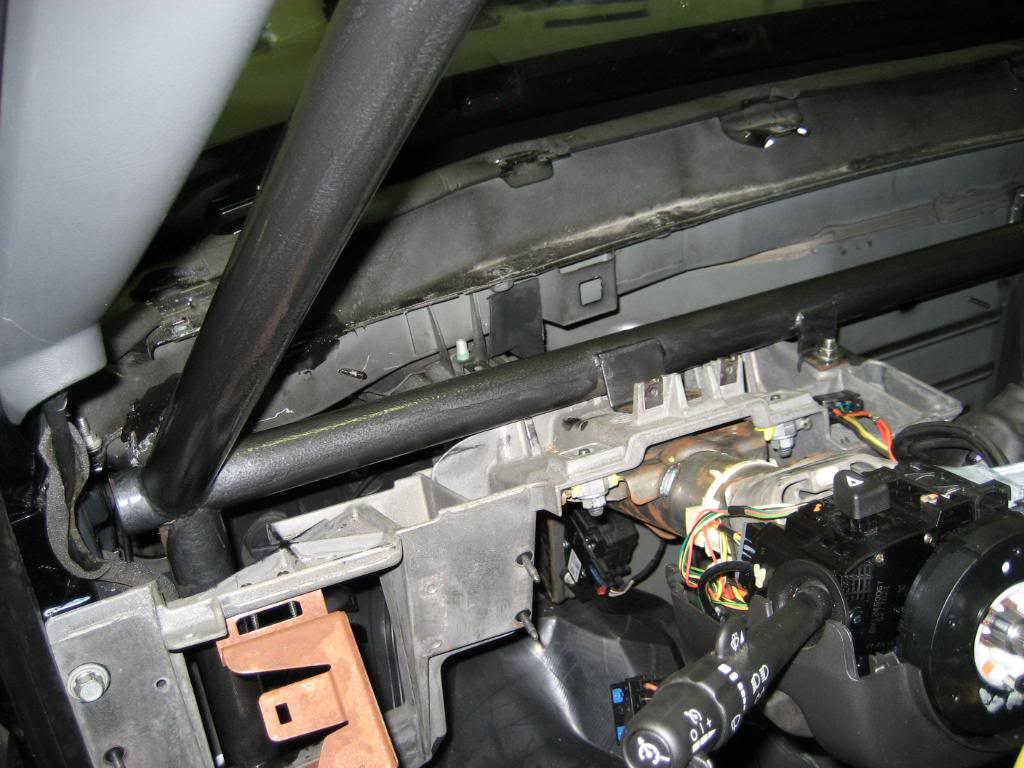
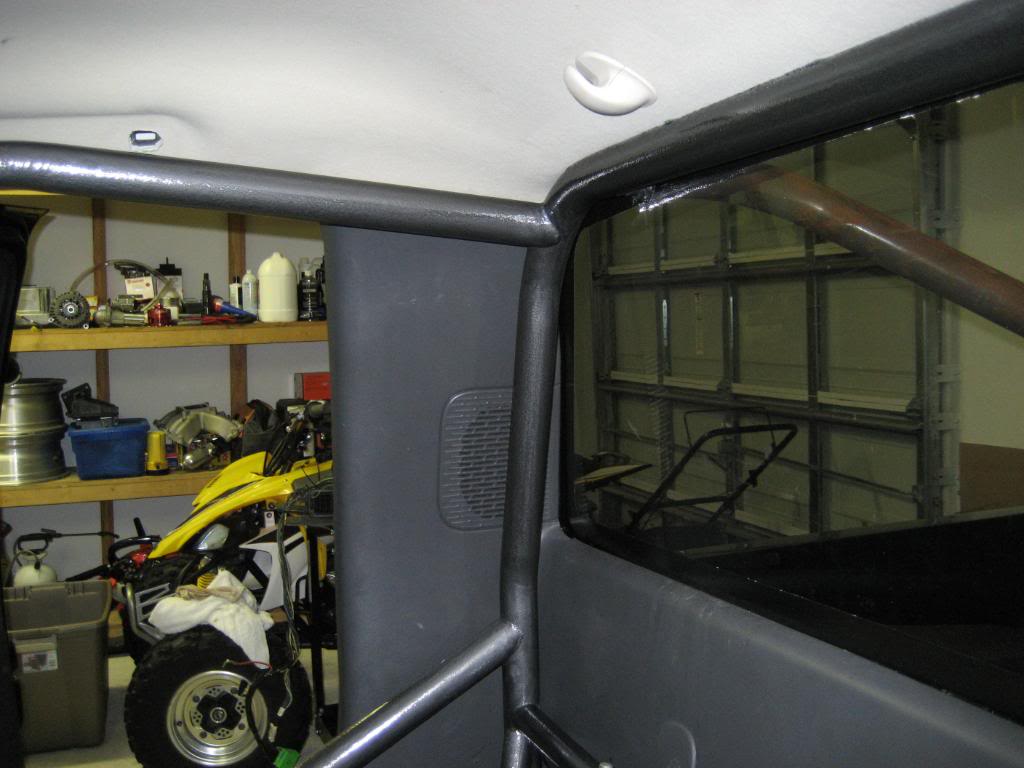
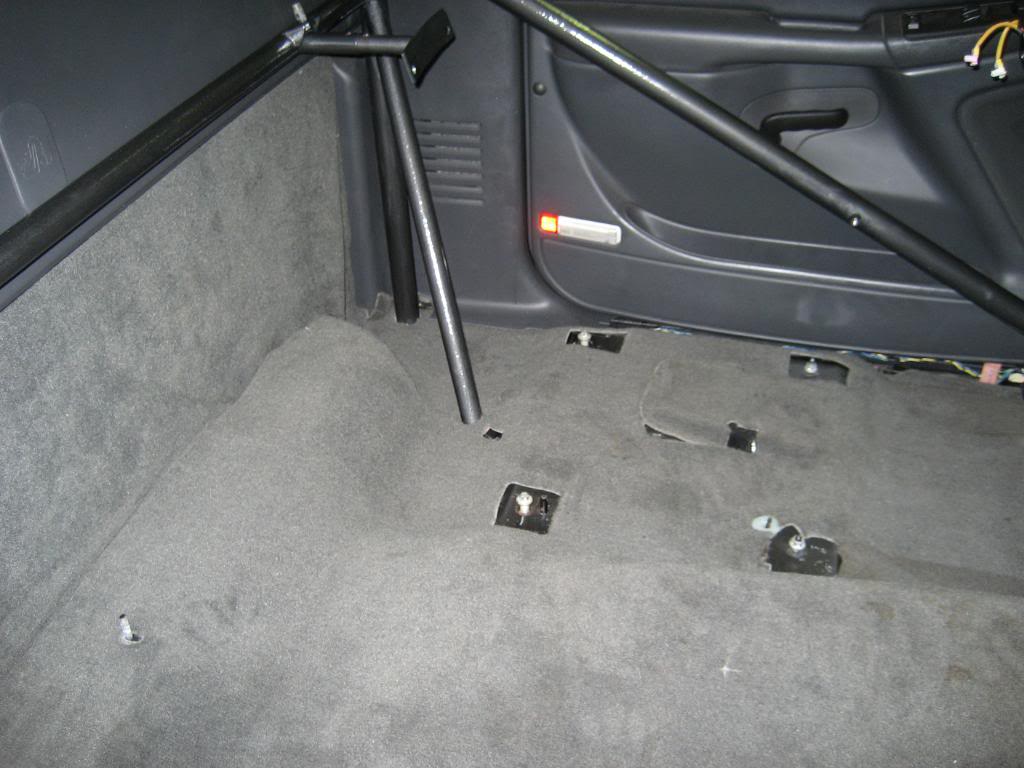
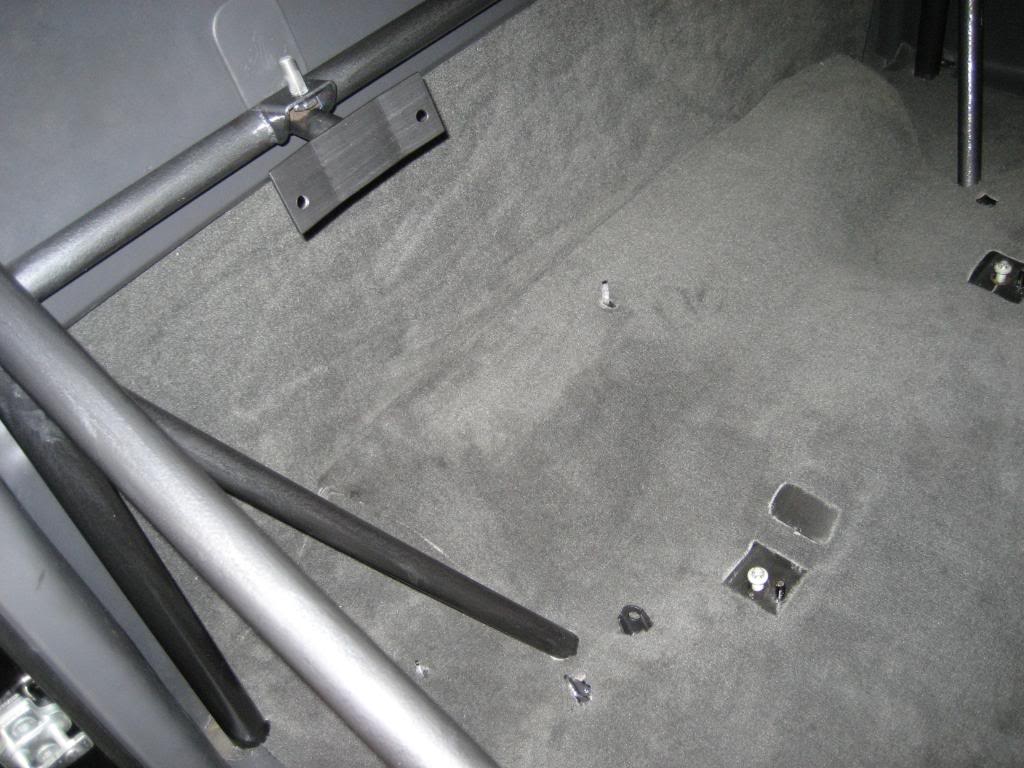
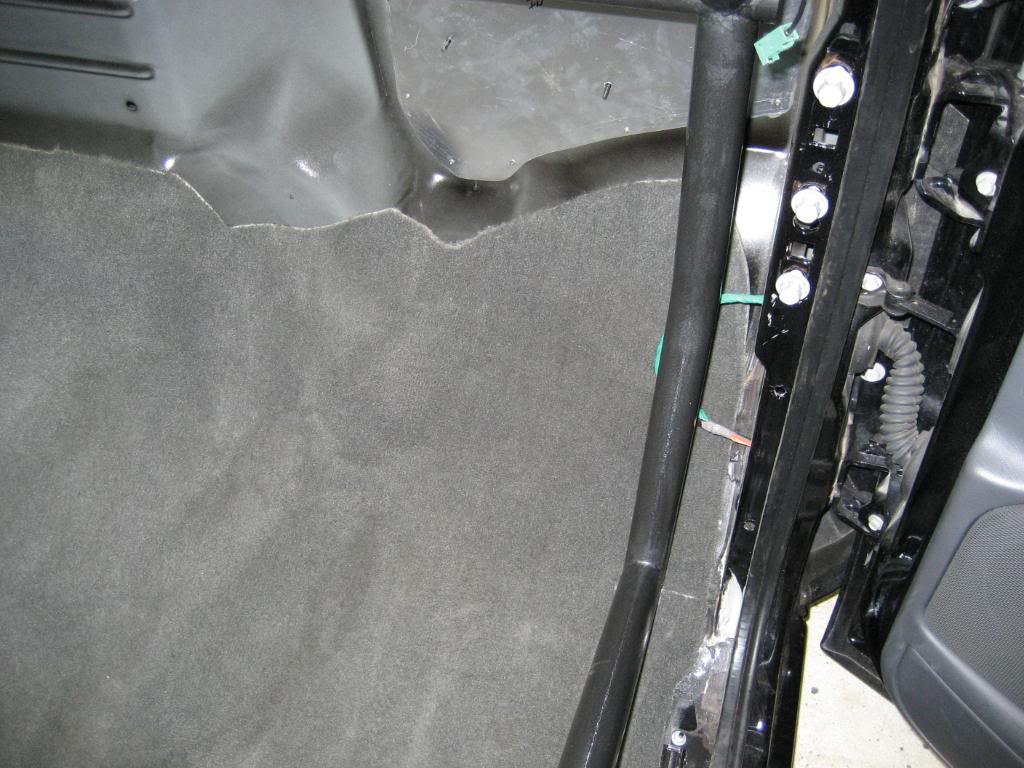
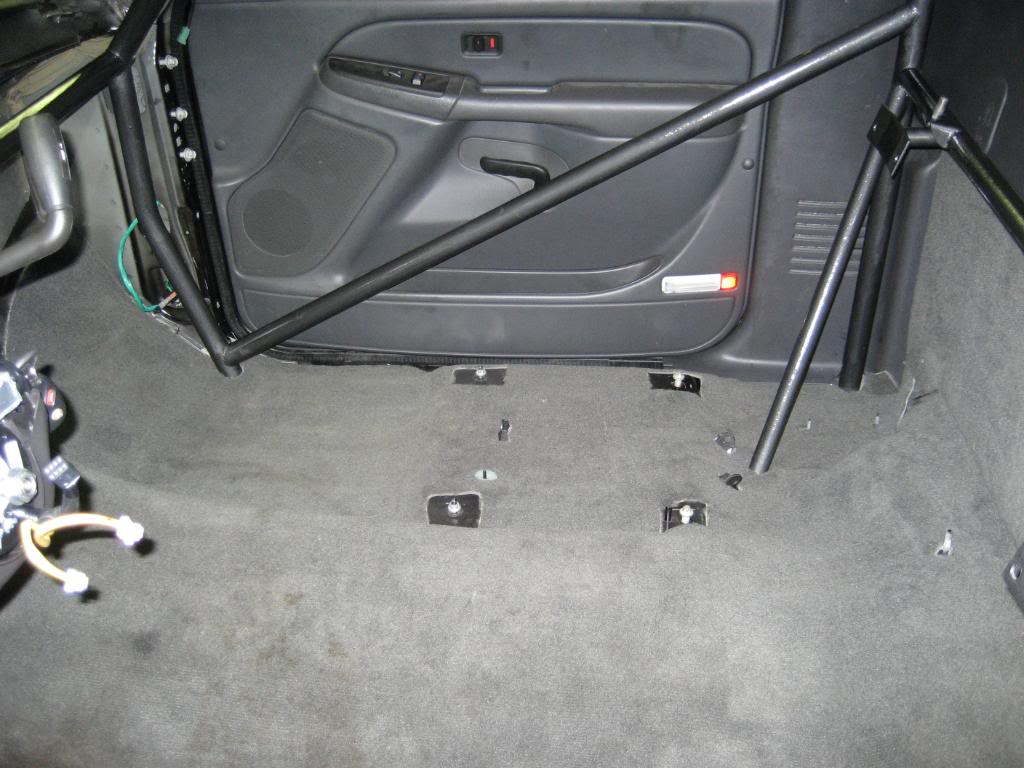
Alright I've got some pics uploading. Got the cage painted (interior only) and the carpet back in. Also, fixed the stop lamp switch issue. I'm gonna go watch my bro race his dirt bike tomorrow and then hopefully tomorrow night I can get the interior wiring back in and possibly the dash.
Just give me a call. I'm usually around on the weekends.
Alright I've got some pics uploading. Got the cage painted (interior only) and the carpet back in. Also, fixed the stop lamp switch issue. I'm gonna go watch my bro race his dirt bike tomorrow and then hopefully tomorrow night I can get the interior wiring back in and possibly the dash.
Aug 21, 2010 | 02:12 AM
#226
Ok, here are the pics of the painted cage. It actually turned out better than I was thinking. That hammered paint is growing on me, and it seems very durable and dries very fast. I also liked the fact that there is no need for major prep work, and using a brush really cuts down on how much you have to mask. The color matches the interior very well also.

Aug 21, 2010 | 02:29 AM
#227
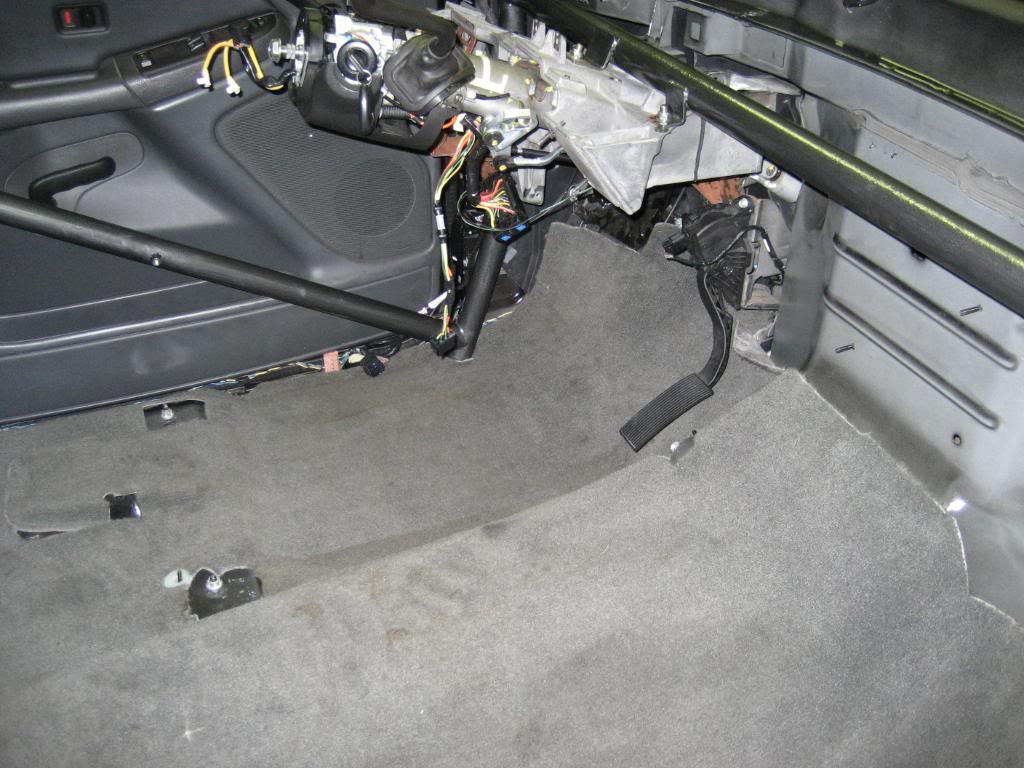
I'm gonna do a mini write up on the brake switch thing incase anyone else wants to do the same (JASON26).
The brake switch works off of the stock rod that goes into the master cylinder. The hole in the rod is bigger than the stud on the brake pedal, which allows it to rock back and forth inside the switch housing. The Strange master cylinder comes with a piece of tubing with left and right rod ends on it, and due to the different pedal ratio required to use manual brakes you have to relocate the attachment point a little higher on the pedal. The easy way to attach the new rod is just to drill a hole in the pedal and attach the rod end with a bolt. The problem then is how do you actuate the switch??? Here is the fix.
Here you can see how madman attached the rod to the pedal:

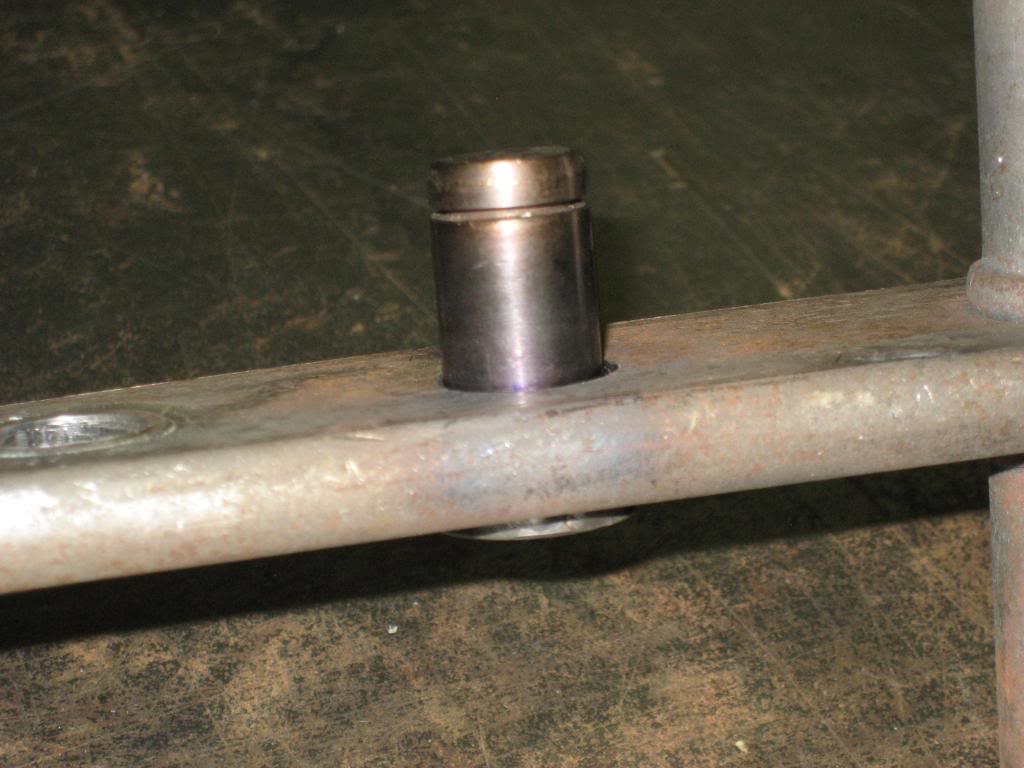
Stock location of the switch on the stud:

Jason26 gave me an idea to relocate the factory stud in the pedal, take the rod end out of the tube and weld the end of the stock rod in its place. You can see this worked perfectly and reinstalled as if it came from the factory that way.
Got the stud out:

Drilled the new hole:
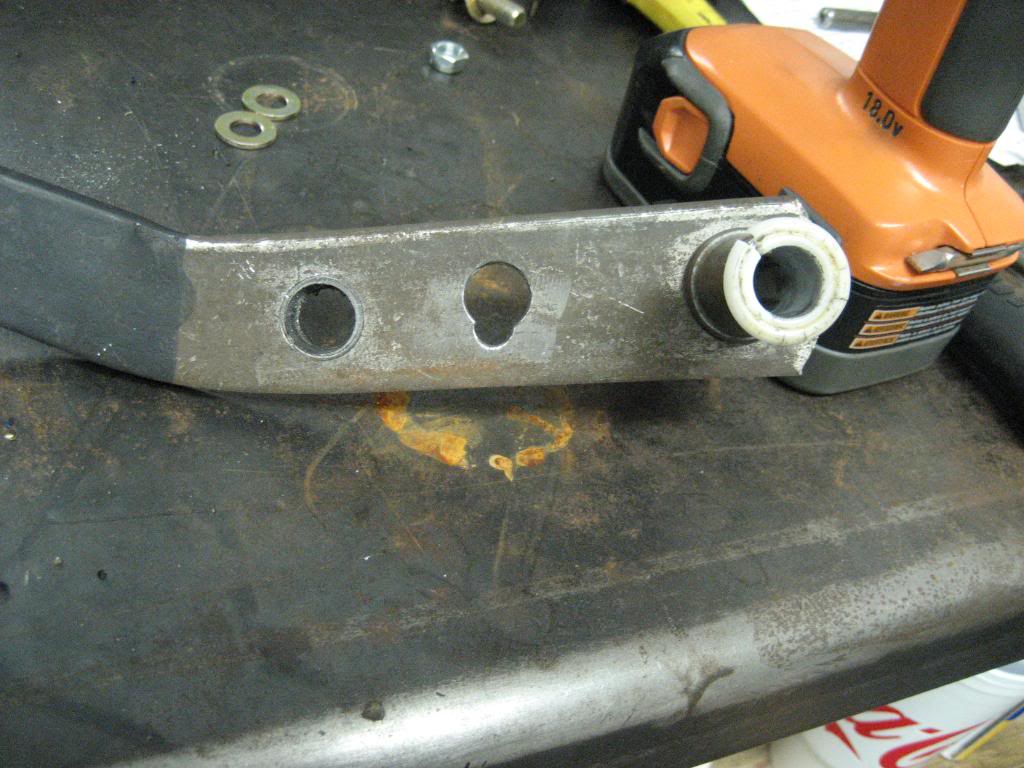
Stud slides right in:

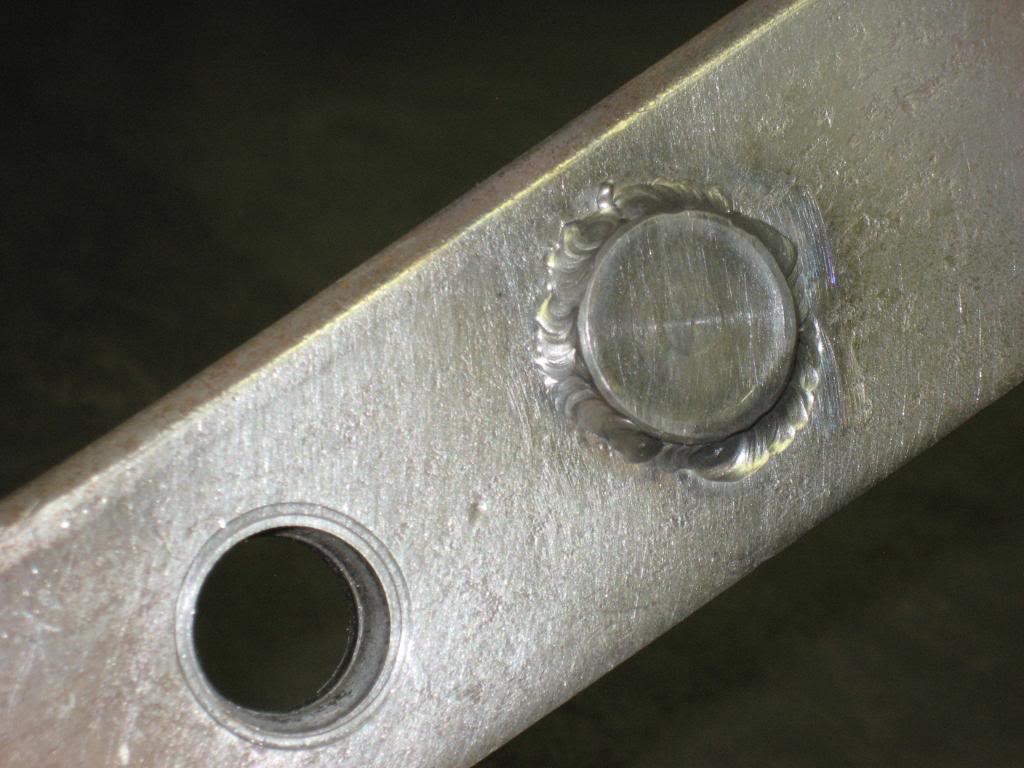
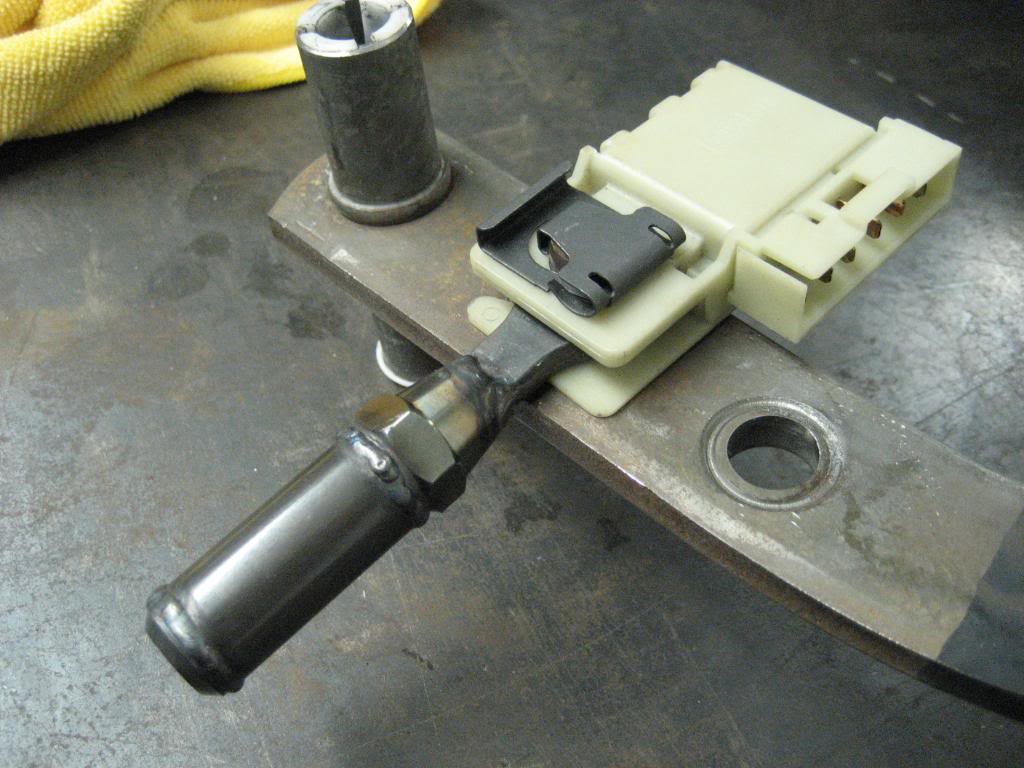
Welded:
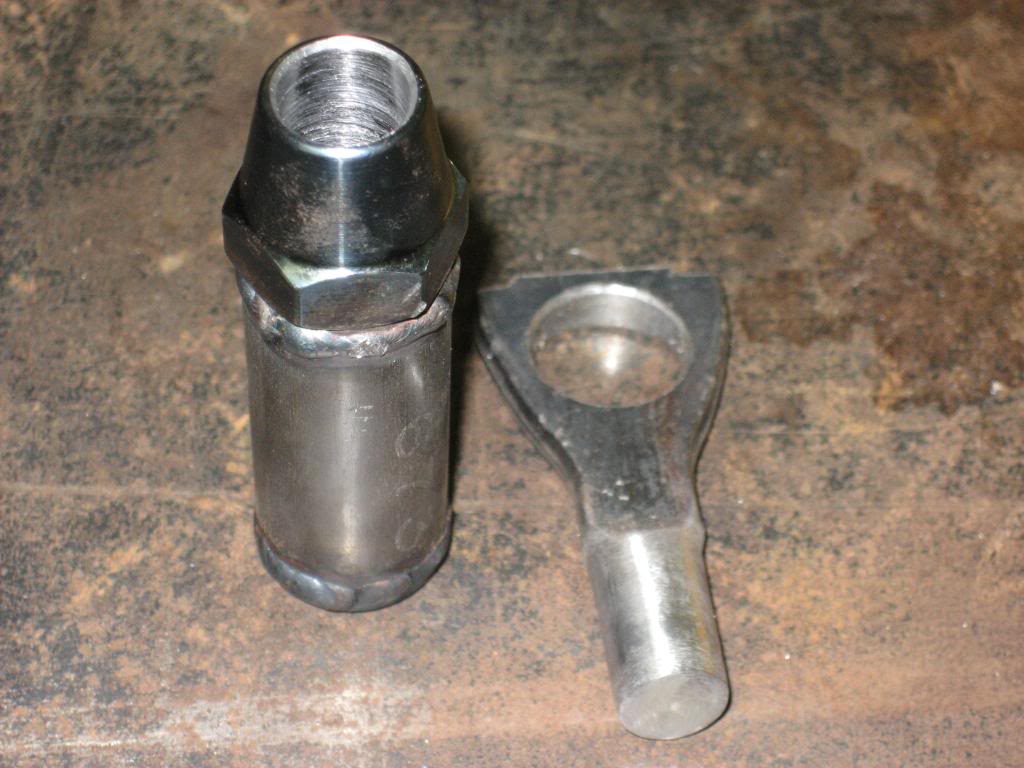
Here is the rod provided by Strange. I drilled out the threaded end to match the diameter of the stock rod and cut the rod to fit:
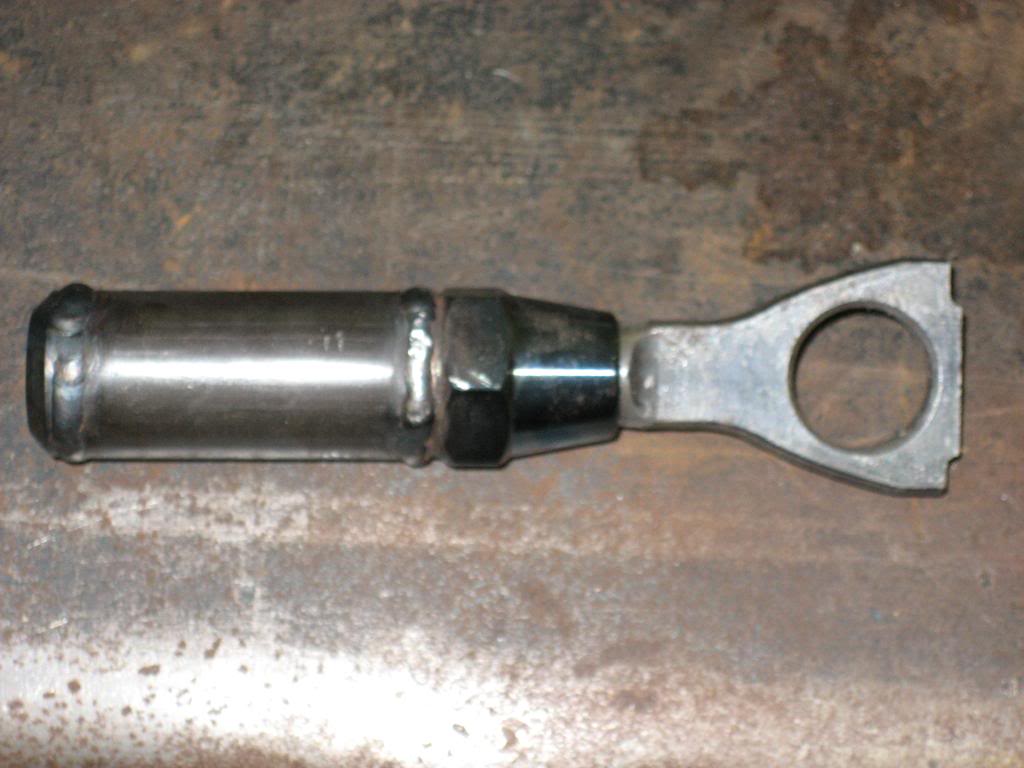
Fitment:
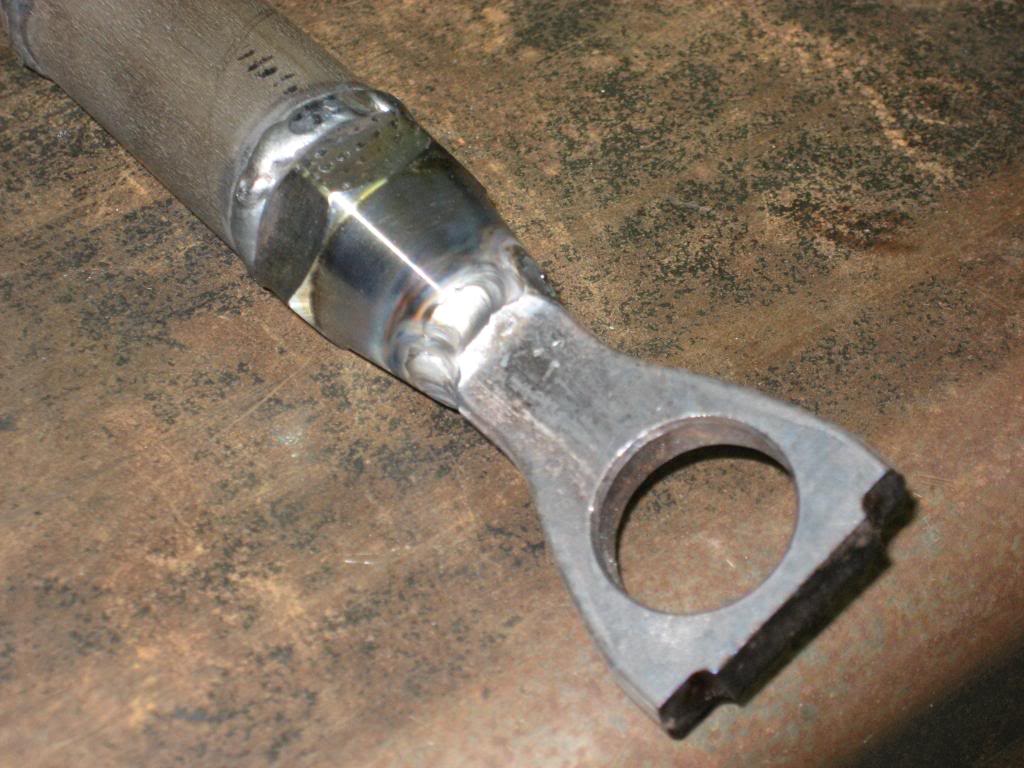
Welded:

Pedal assembled for test fit on the bench:
Installation: I think it looks pretty good


The brake switch works off of the stock rod that goes into the master cylinder. The hole in the rod is bigger than the stud on the brake pedal, which allows it to rock back and forth inside the switch housing. The Strange master cylinder comes with a piece of tubing with left and right rod ends on it, and due to the different pedal ratio required to use manual brakes you have to relocate the attachment point a little higher on the pedal. The easy way to attach the new rod is just to drill a hole in the pedal and attach the rod end with a bolt. The problem then is how do you actuate the switch??? Here is the fix.
Here you can see how madman attached the rod to the pedal:
Stock location of the switch on the stud:
Jason26 gave me an idea to relocate the factory stud in the pedal, take the rod end out of the tube and weld the end of the stock rod in its place. You can see this worked perfectly and reinstalled as if it came from the factory that way.
Got the stud out:
Drilled the new hole:
Stud slides right in:
Welded:
Here is the rod provided by Strange. I drilled out the threaded end to match the diameter of the stock rod and cut the rod to fit:
Fitment:
Welded:
Pedal assembled for test fit on the bench:
Installation: I think it looks pretty good
Aug 21, 2010 | 09:08 AM
#229

Sorry about the late reply, I did not get any flex with the bracket. It is a lot thicker piece and extremely sturdy. I never snaped a belt or stripped the teeth. From what I hear the killer of the belt is going wide open then letting off the throttle abruptly but I did that several times without issue. As far as the BMR bracket for the alternator, yes that is what I used, worked perfect. Remember you have to drill the extra hole in the iron block for the bolt location.
Your brake system is exactly what I did, works perfect. Your truck has turned out awesome, keep it up.
Your brake system is exactly what I did, works perfect. Your truck has turned out awesome, keep it up.
Aug 21, 2010 | 11:53 AM
#230

so jealous...
im doing the exact same thing you did with the wiring, at least under the hood, and man is it a pain! i dont want to even think about how much time ive spent messing with that stupid harness!!!
im doing the exact same thing you did with the wiring, at least under the hood, and man is it a pain! i dont want to even think about how much time ive spent messing with that stupid harness!!!