2001 Frame up build
 Apr 6, 2008 | 10:30 PM
#331
Thread Starter
TECH Fanatic
iTrader: (12)
Joined: Mar 2005
Posts: 1,513
Likes: 6
From: Massachussetts
front suspension geometry, I'd like to keep the factory geometry at my ride height that way my roll center and such is still set correctly so it will handle like a mean machine. Plus I was going to back half the other frame if I kept it to run wider rims, 20x15 so I figured I'd go all out.
 Apr 6, 2008 | 10:43 PM
#333
Thread Starter
TECH Fanatic
iTrader: (12)
Joined: Mar 2005
Posts: 1,513
Likes: 6
From: Massachussetts
yea that's my plan with 7.5" BS I know I could run more but that's what I want to run. I plan to run the MT sportsman tires on them the 29" tall ones. Thats a huge purchase and won't be for a couple months, but I got enough to work on till then.
Apr 7, 2008 | 01:32 PM
#334

 May 11, 2008 | 09:40 PM
#338
Thread Starter
TECH Fanatic
iTrader: (12)
Joined: Mar 2005
Posts: 1,513
Likes: 6
From: Massachussetts
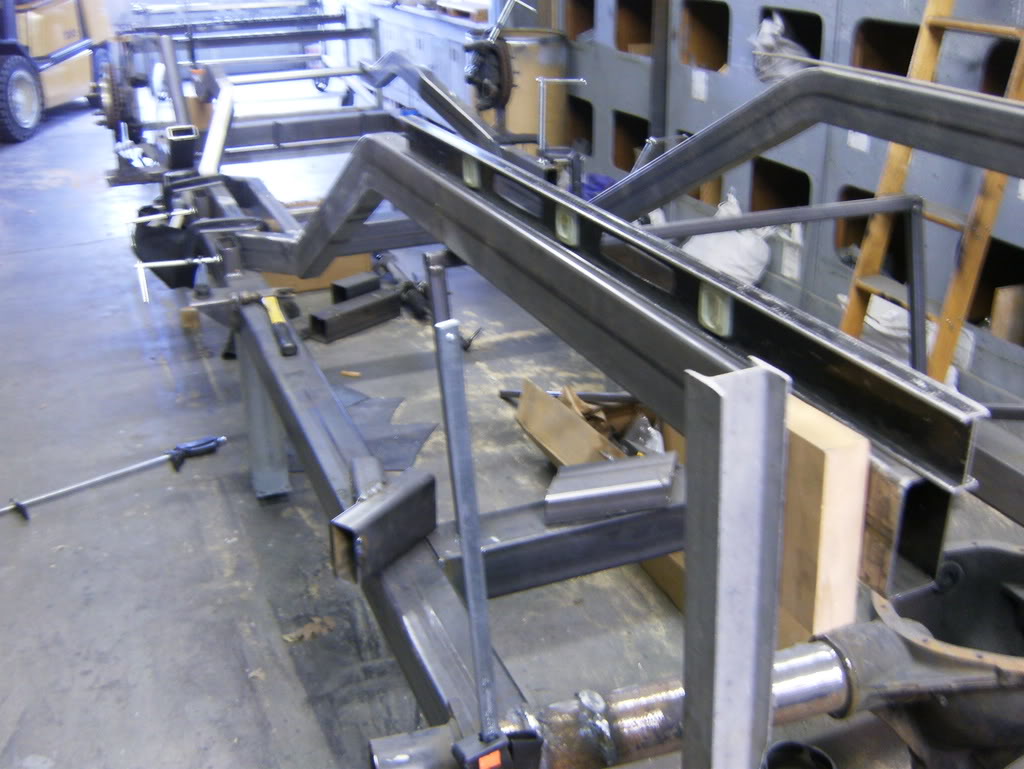
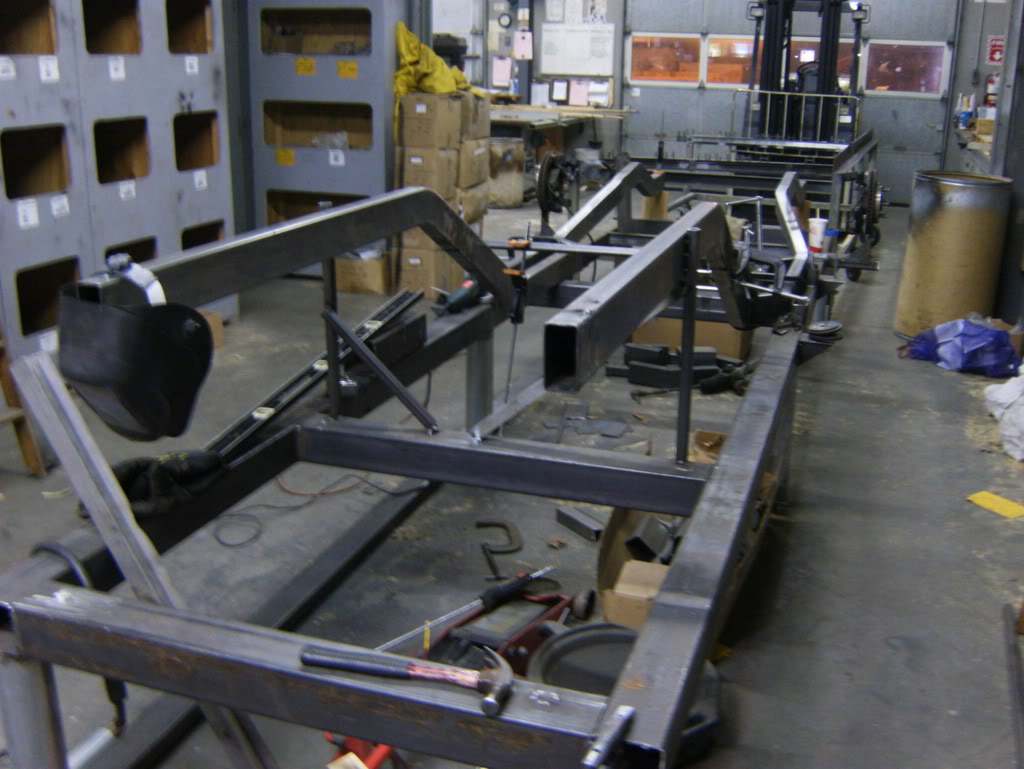
So a month has been gone by and I have been working on it here and there, been a little buys but got a decent amount done.
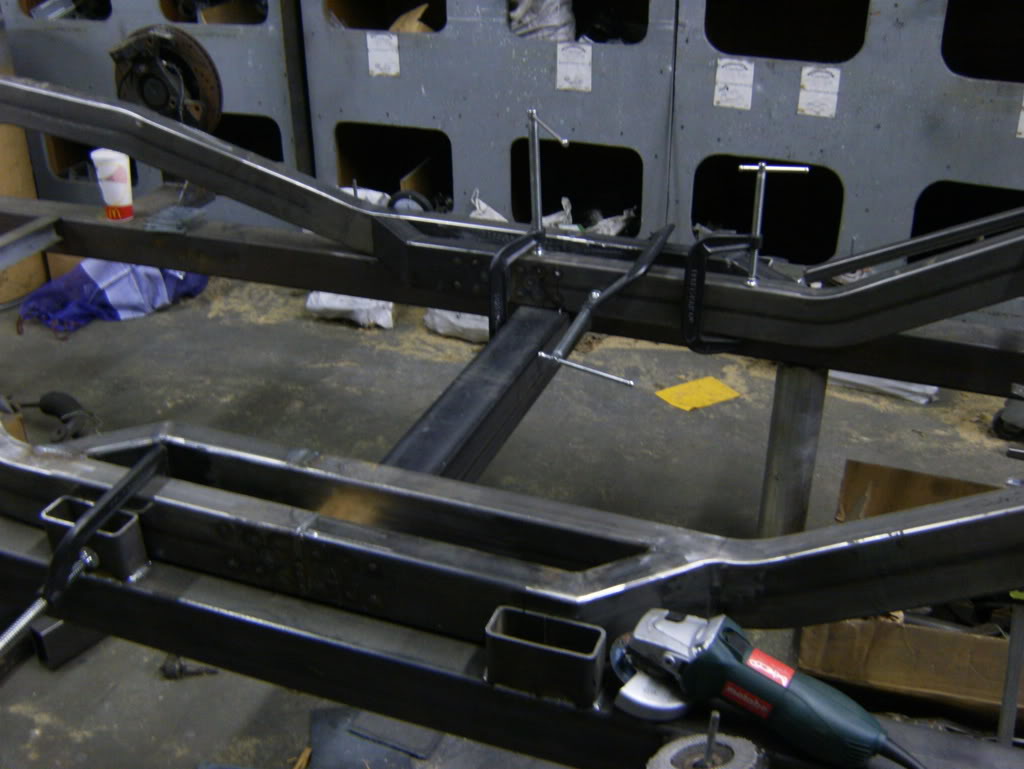
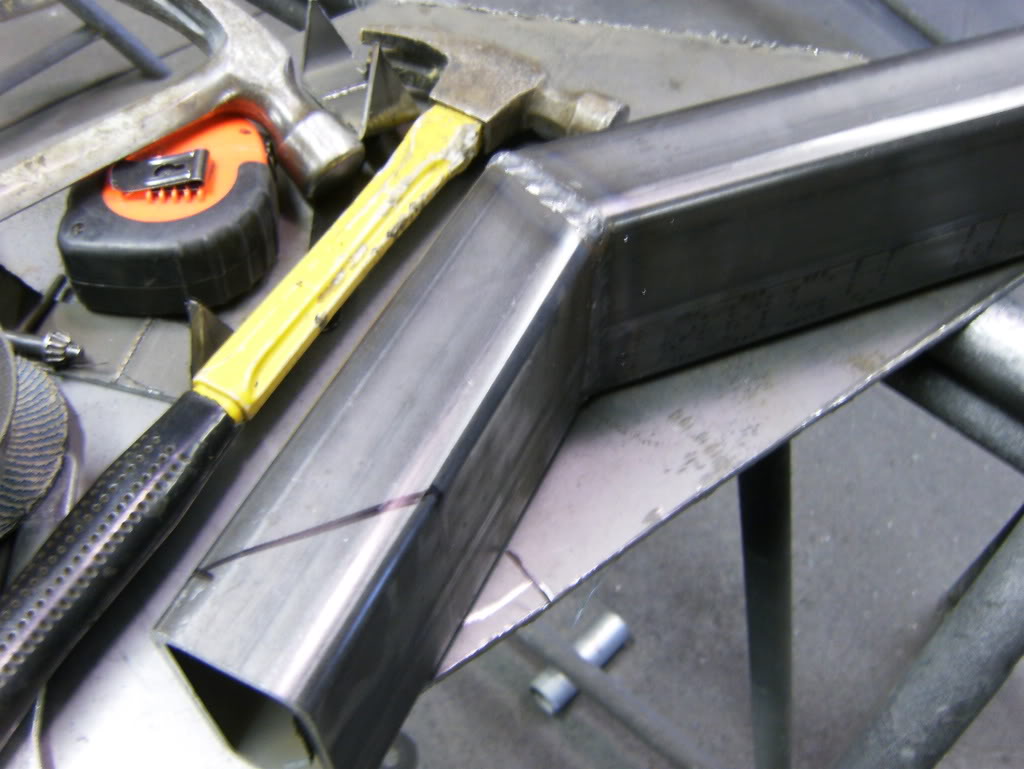
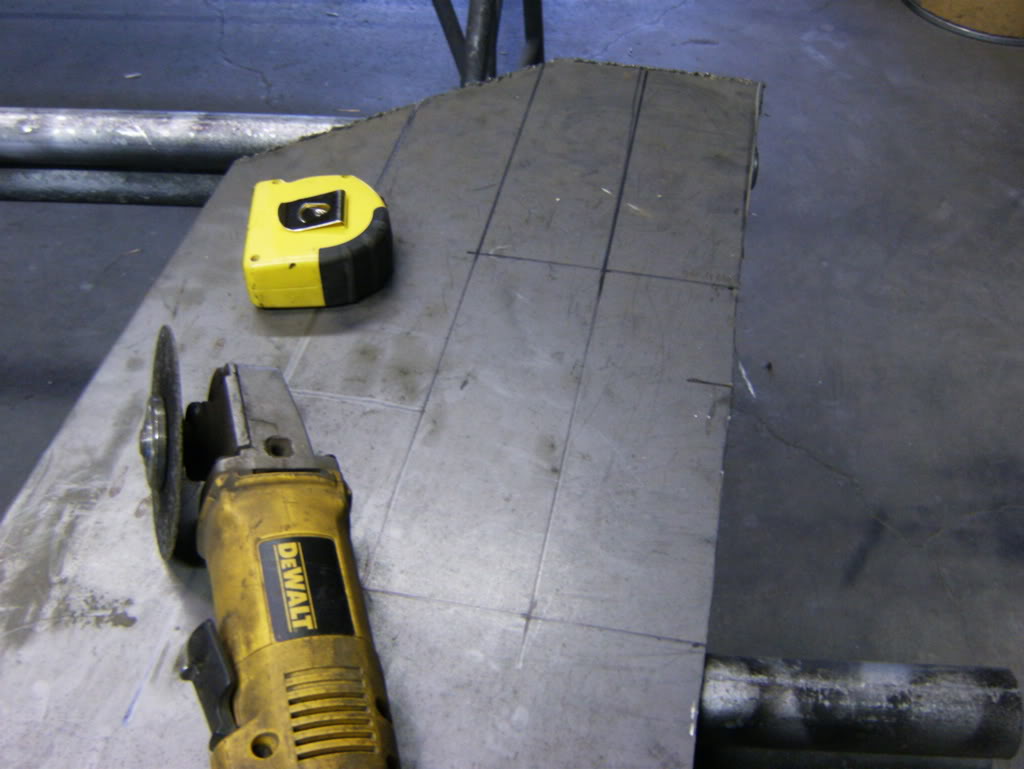
So I needed to make the rear of the frame mate with the front, I did an overlap design and bent them inwards to produce the design
Marked them

Cut them

Beveled the edges for good penetration

Then welded them up
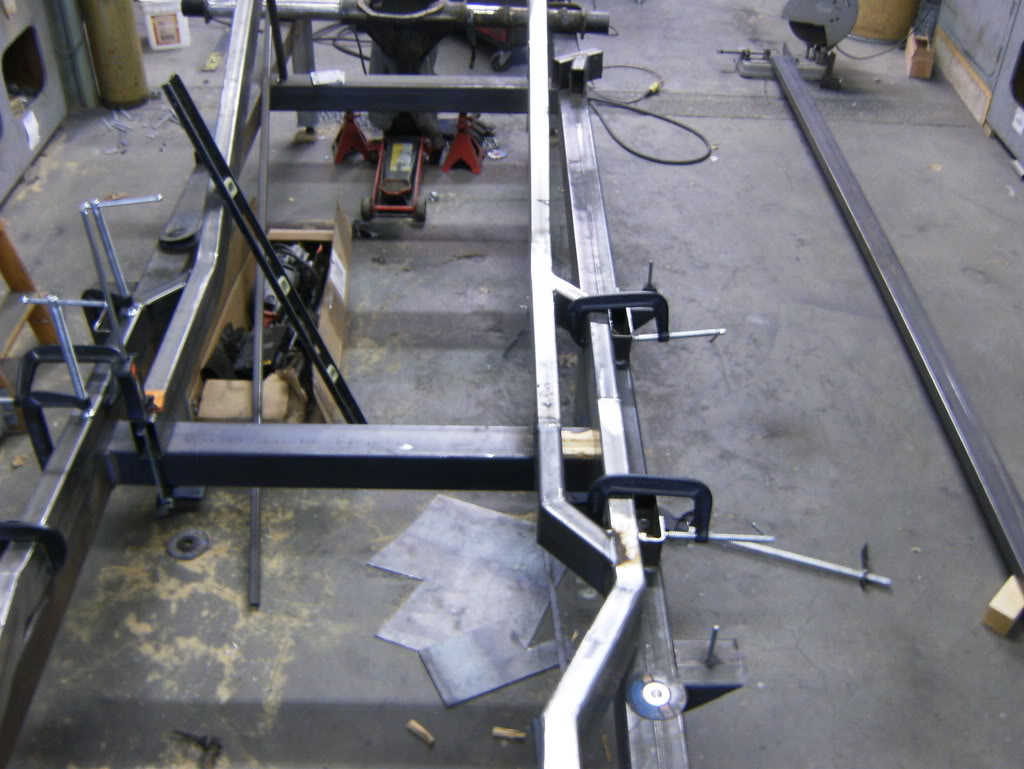
Marked and cut the angles, clamped them up
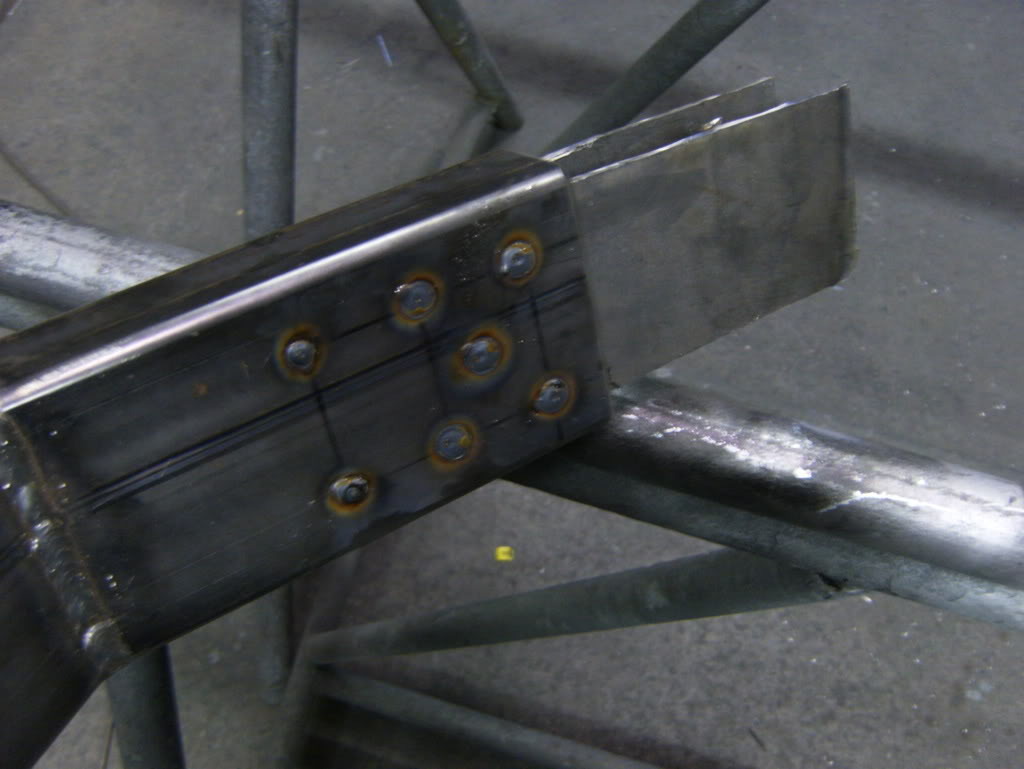
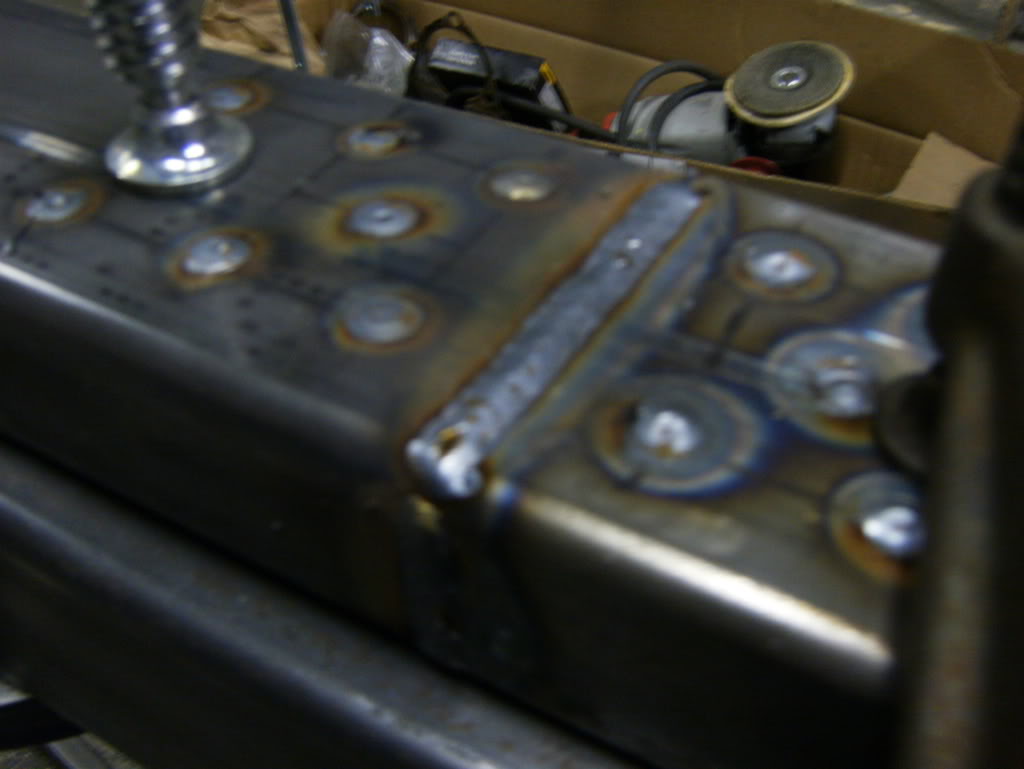
All hidden gussets
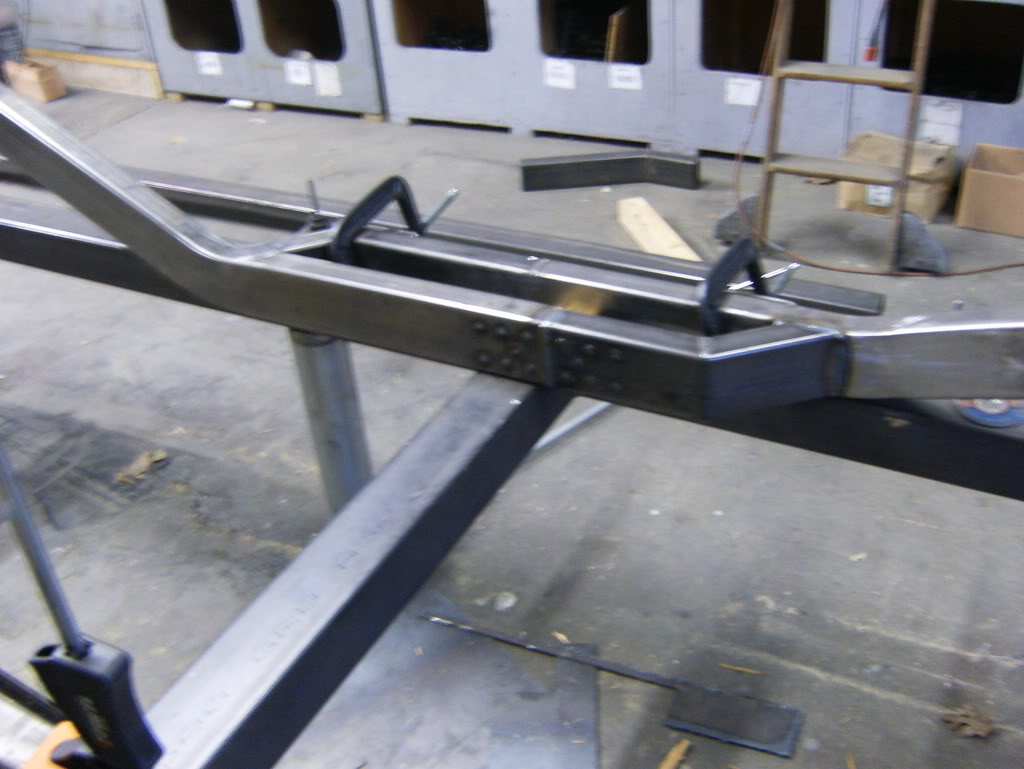
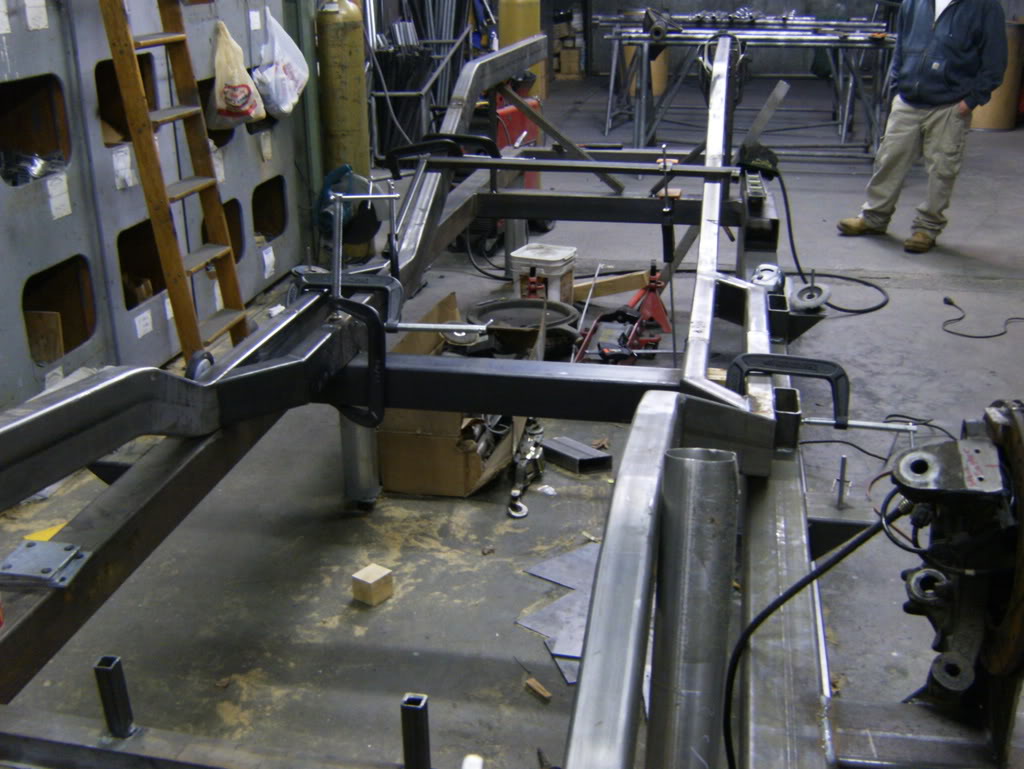
Veiw from above
Tight area to get welded
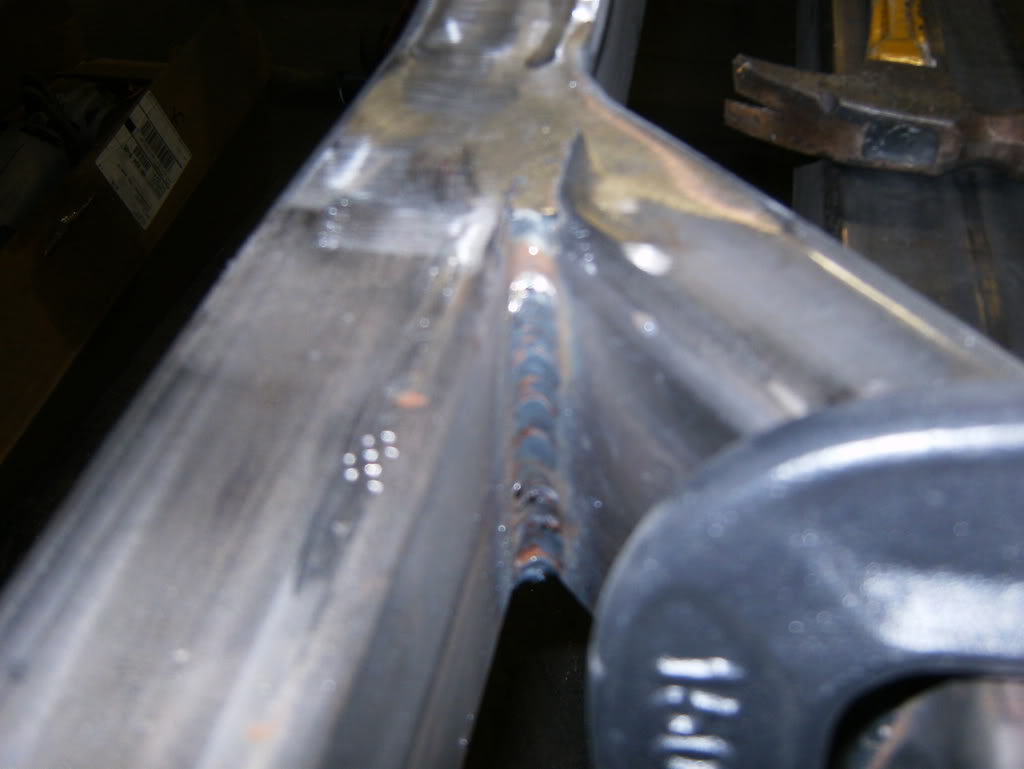
Now since the gussets plug welds, and seam weld are inside that tight area I ground them smooth before I welded the two sides
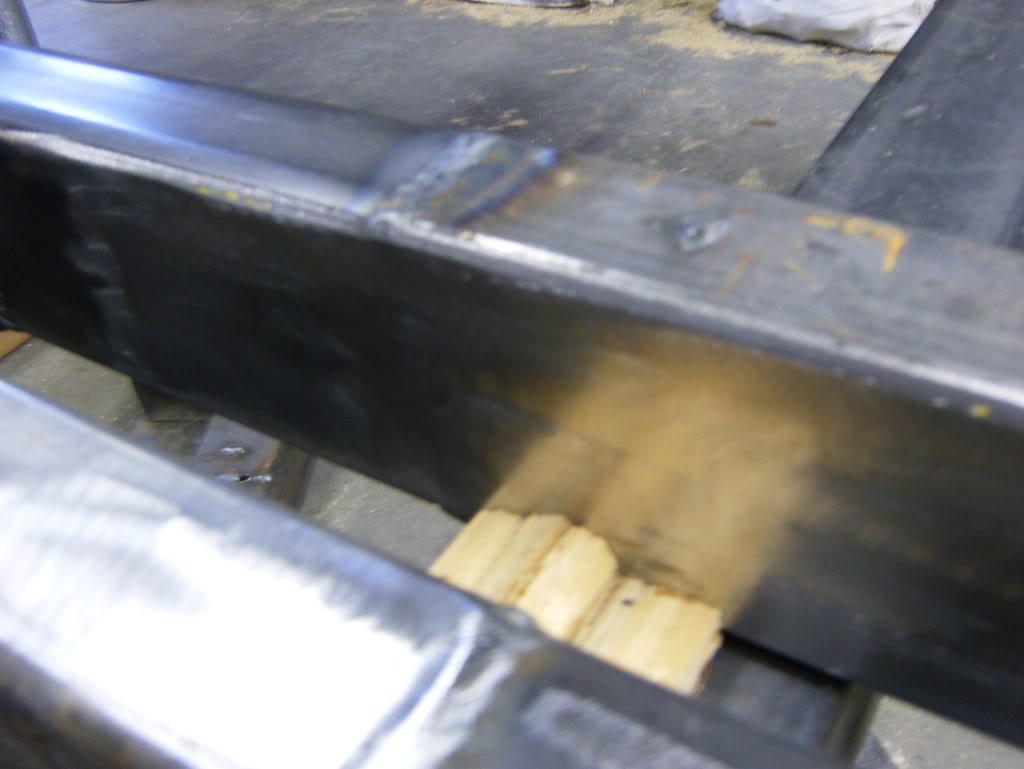
Also my rear frame height I wanted to alter, to a lower height
Did the same thing, hidden gussets
Ground smooth
So I needed to make the rear of the frame mate with the front, I did an overlap design and bent them inwards to produce the design
Marked them
Cut them
Beveled the edges for good penetration
Then welded them up
Marked and cut the angles, clamped them up
All hidden gussets
Veiw from above
Tight area to get welded
Now since the gussets plug welds, and seam weld are inside that tight area I ground them smooth before I welded the two sides
Also my rear frame height I wanted to alter, to a lower height
Did the same thing, hidden gussets
Ground smooth
May 11, 2008 | 09:40 PM
#339
Thread Starter
TECH Fanatic
iTrader: (12)
Joined: Mar 2005
Posts: 1,513
Likes: 6
From: Massachussetts
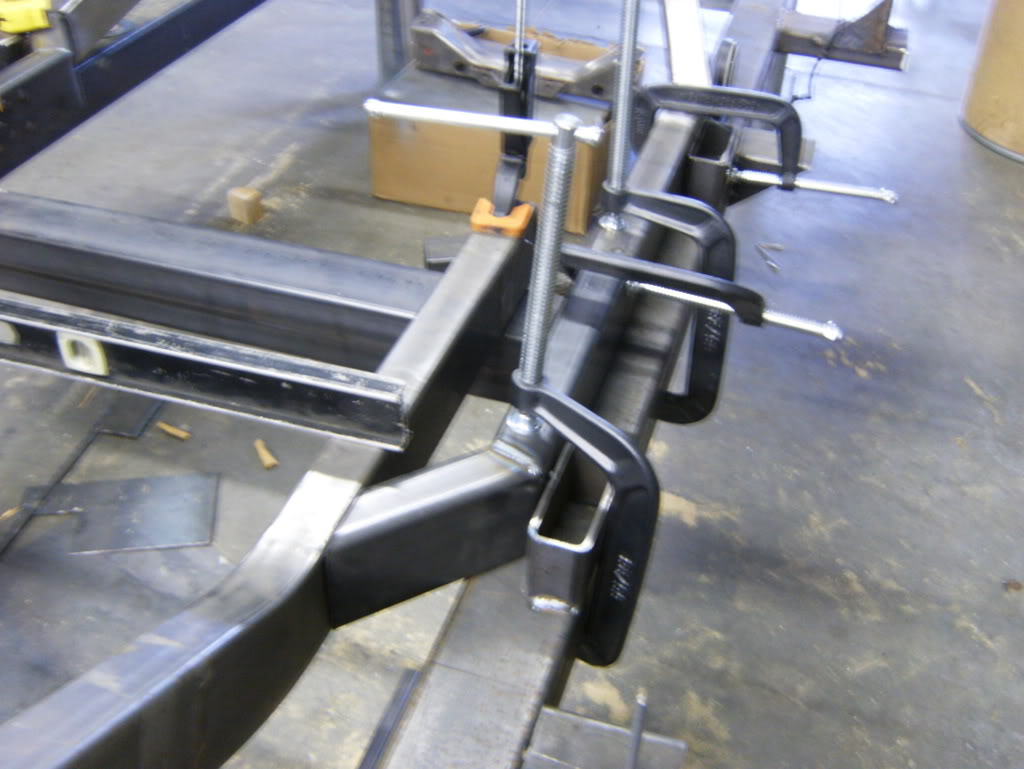
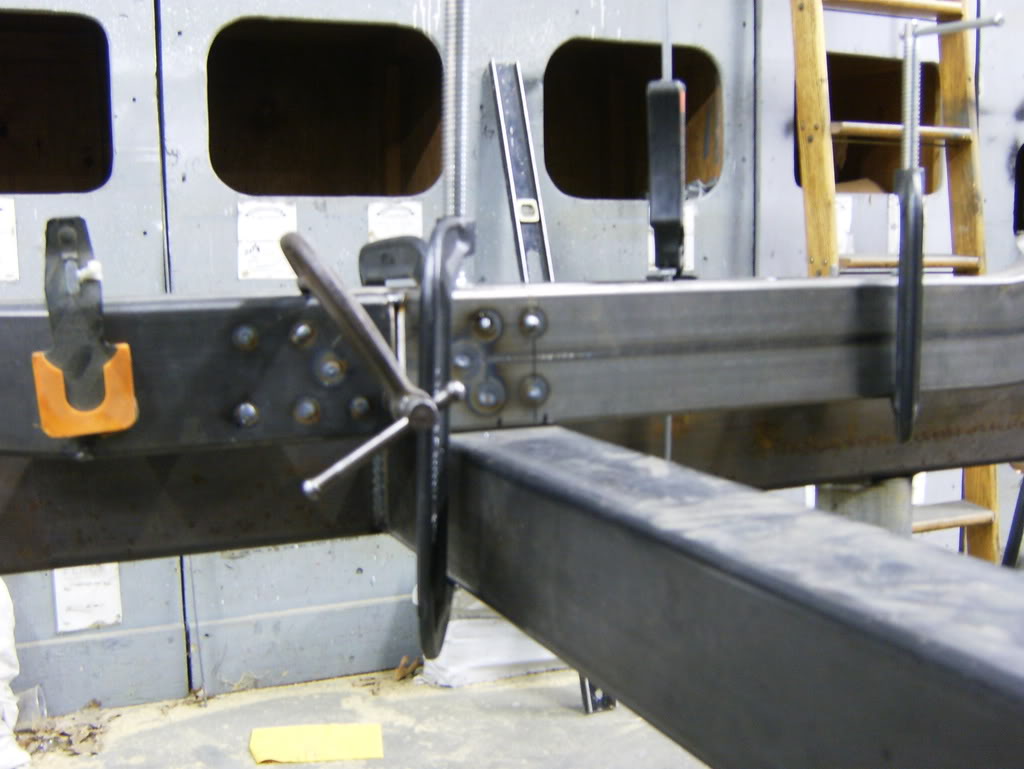
Next day started the next side and squaring everything up
Here is how I did the gussets
Marked them out
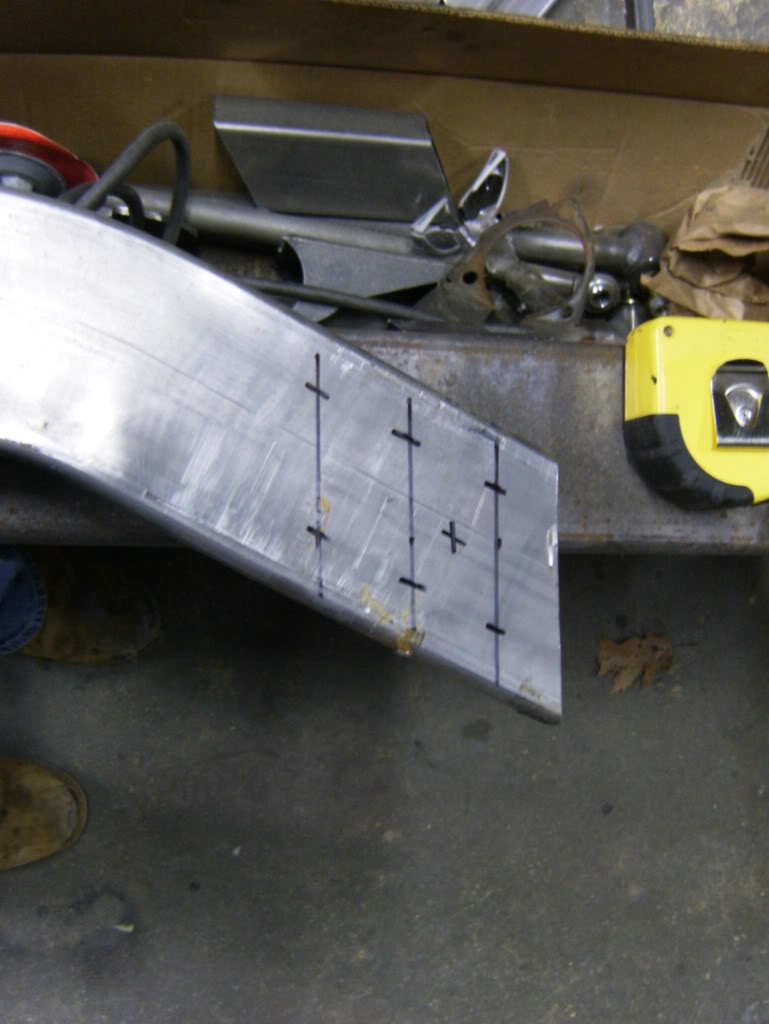
My second set of hands while I drilled
Drilled
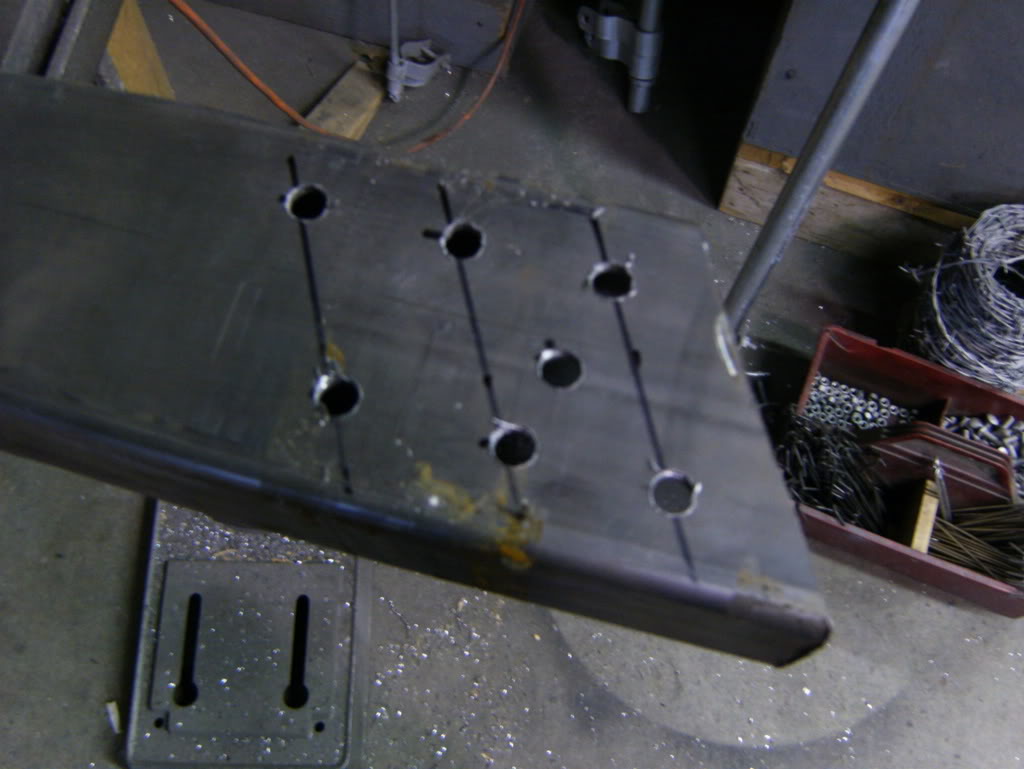
Did this to all of the parts for that side at once

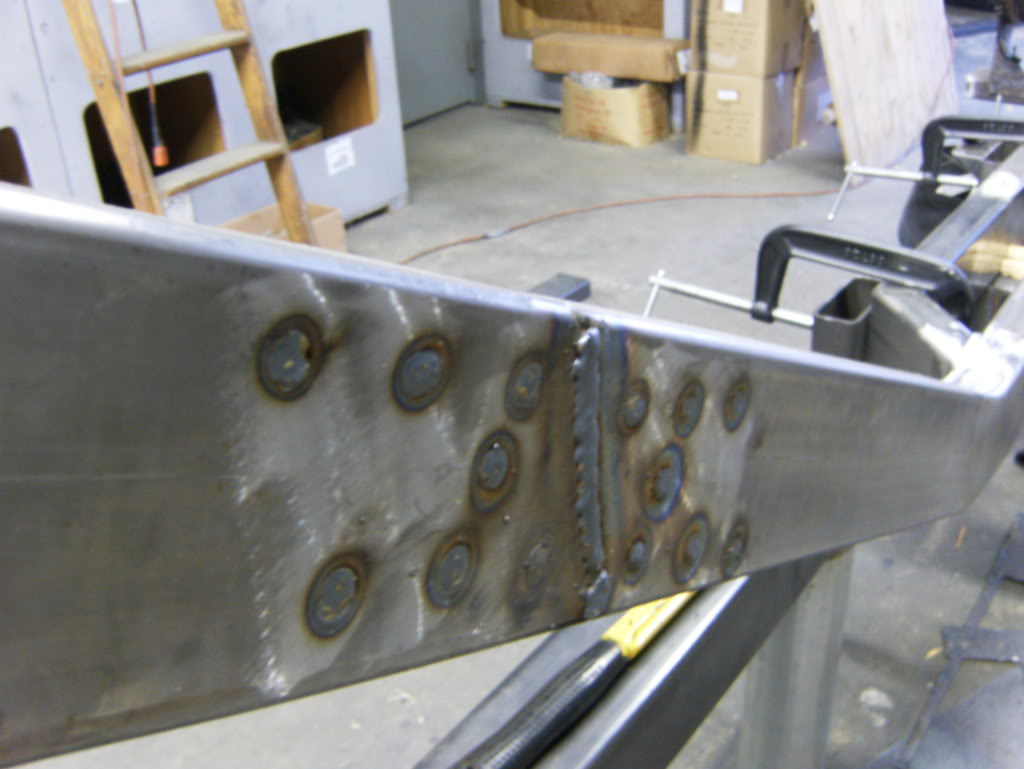
Needed to make some gussets, everything is 3/16"

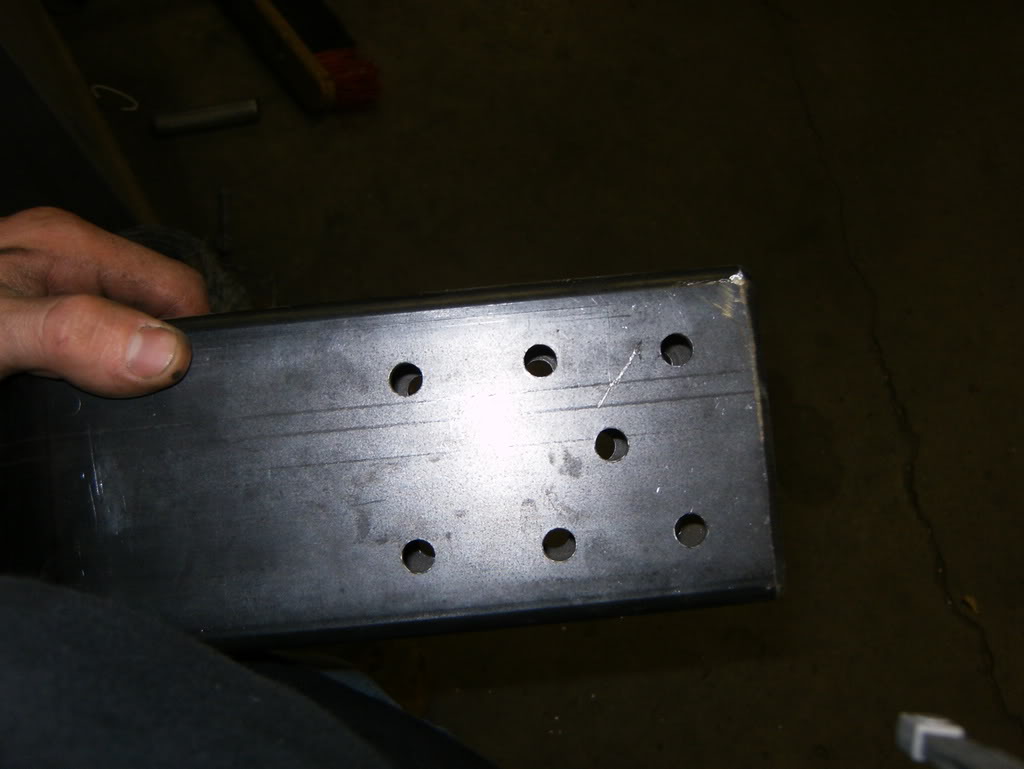
Plug welded, edges beveled 45*
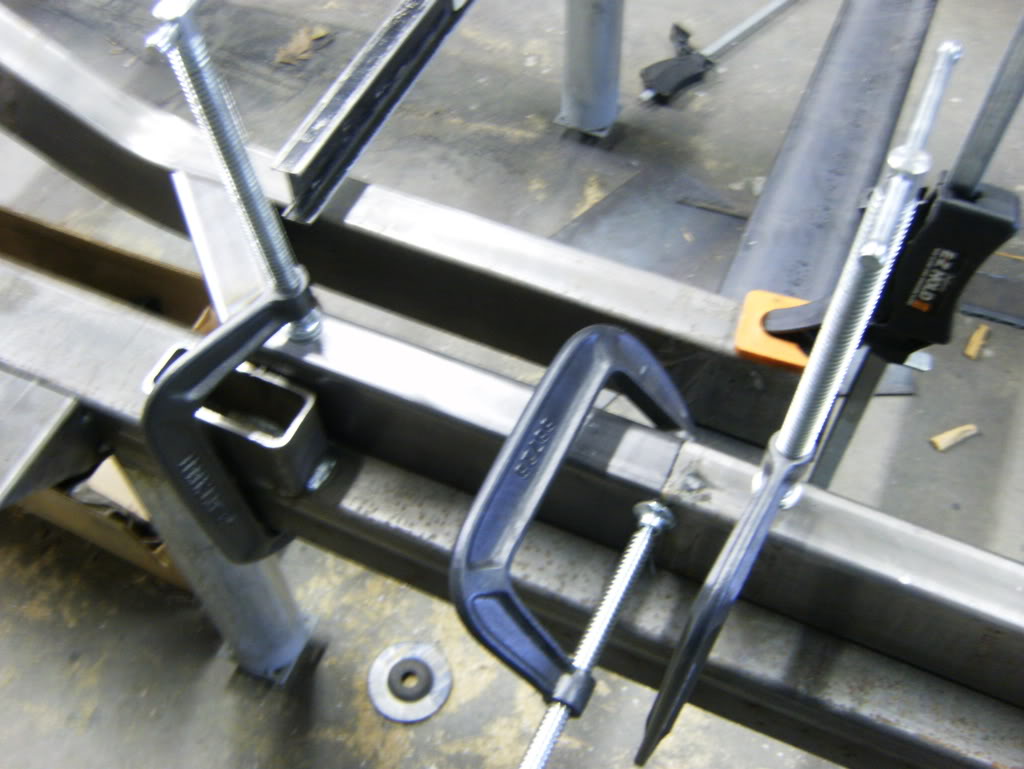
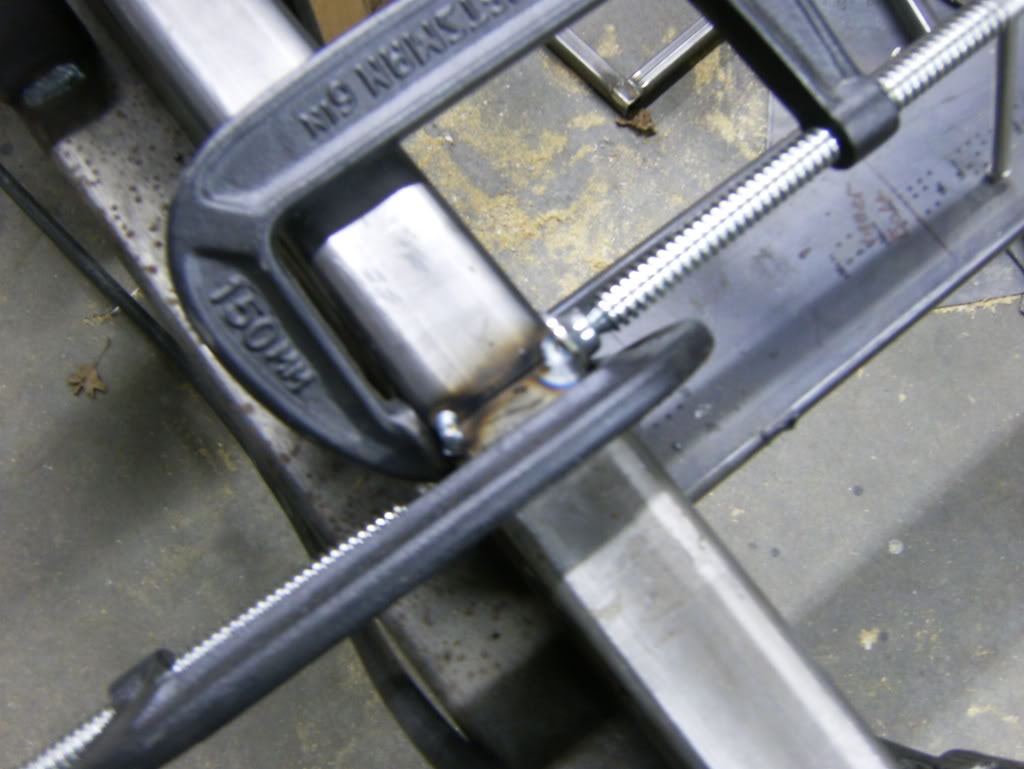
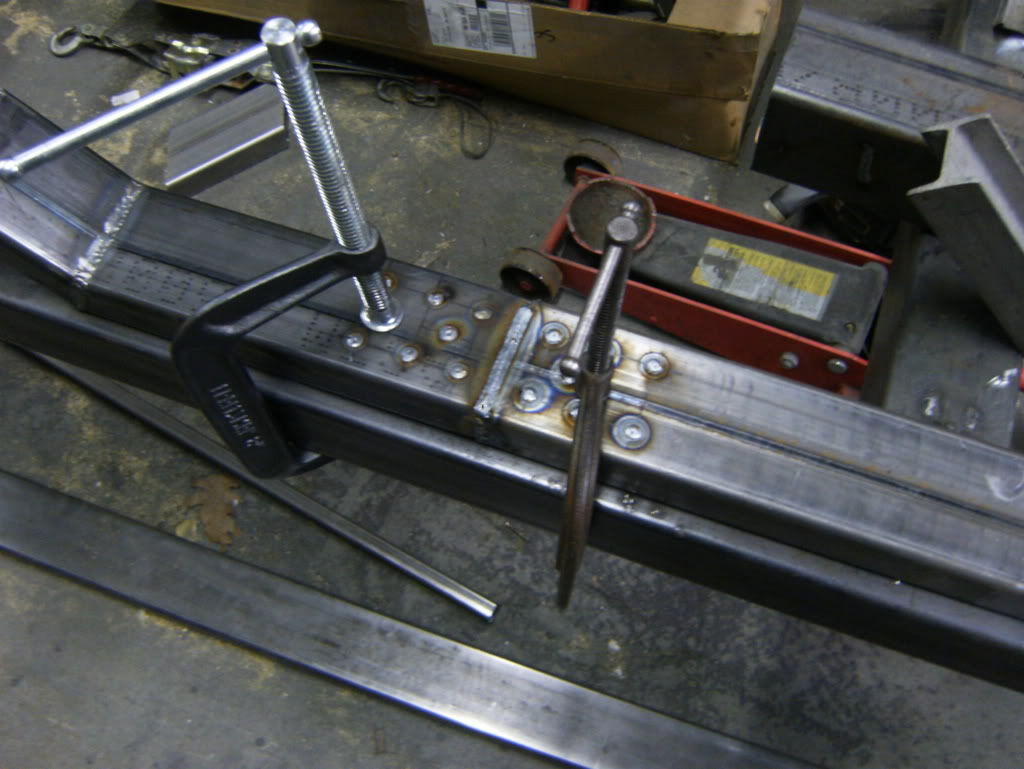
Slide them together tacked the corners and clamped the **** out of them


All plugged
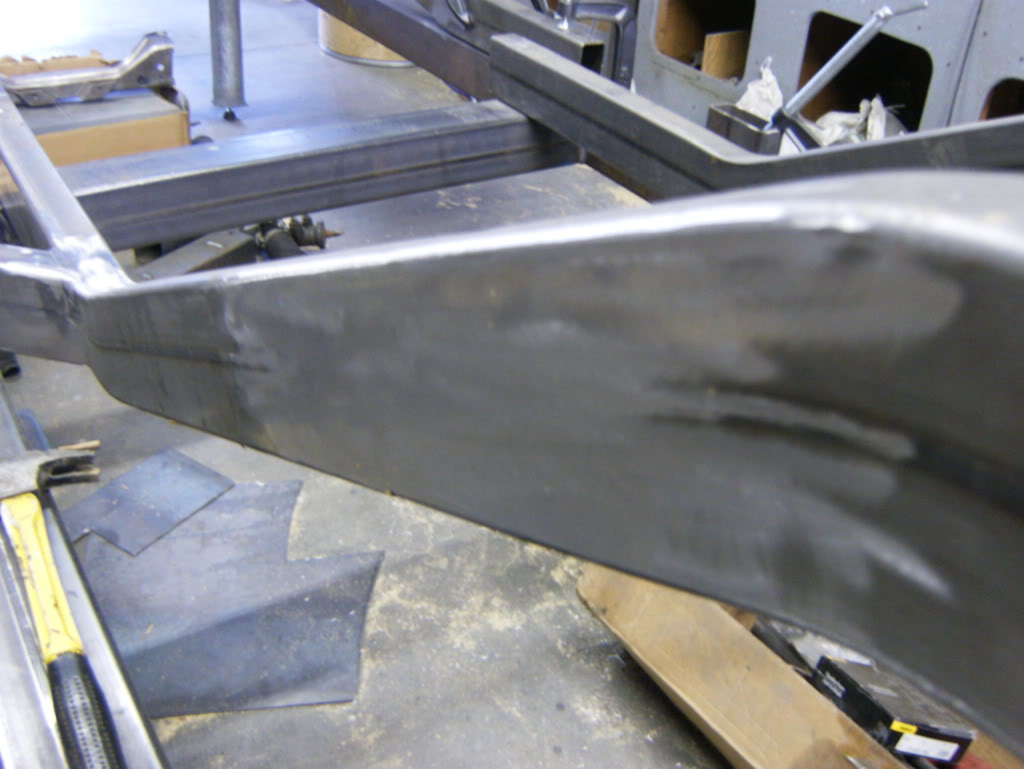
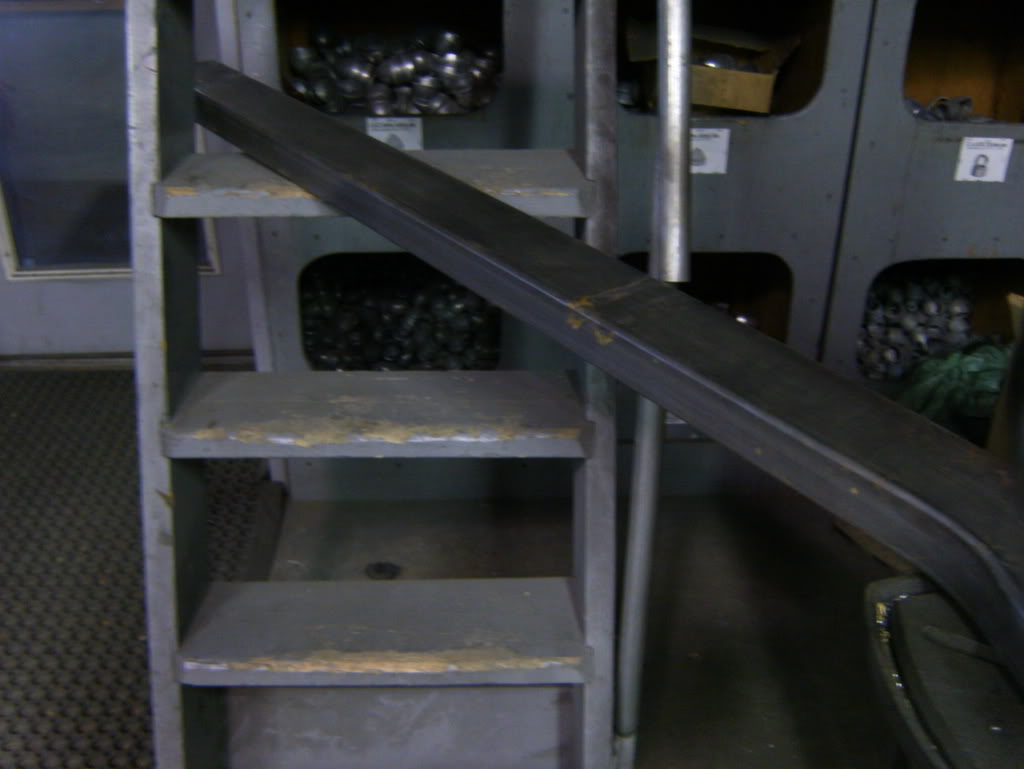
Pulled the rail down and laid it flat and clamped it tight, welded the seam
Let it cool, ground it smooth


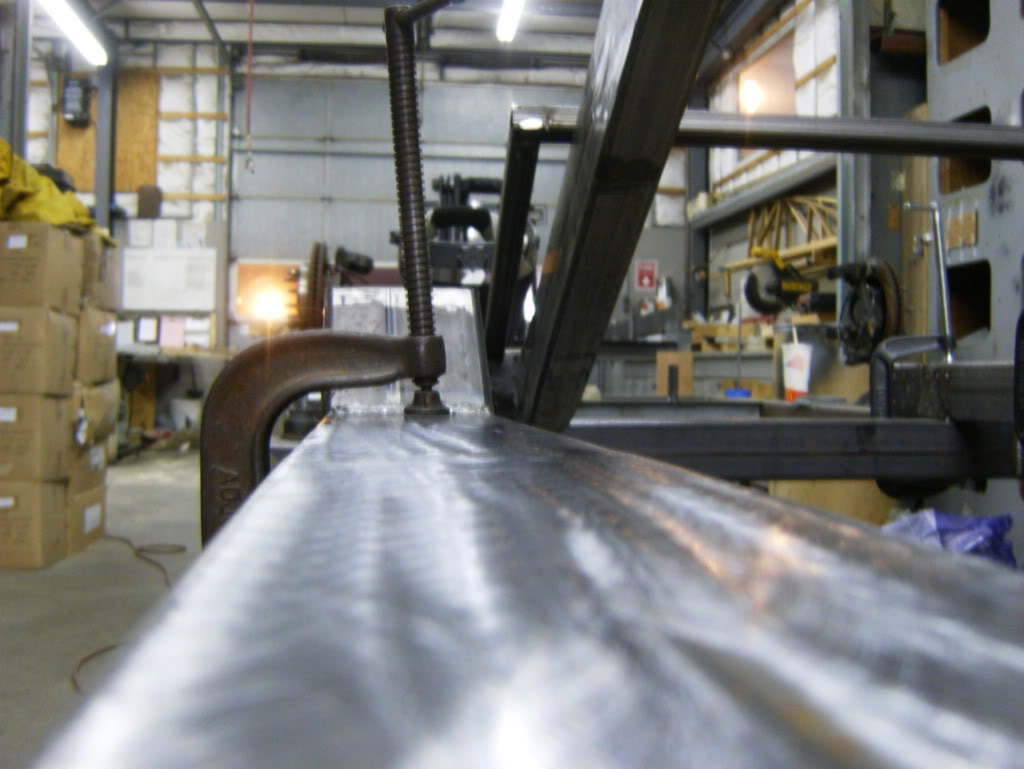
Back up and done for the weekend
Here is how I did the gussets
Marked them out
My second set of hands while I drilled
Drilled
Did this to all of the parts for that side at once
Needed to make some gussets, everything is 3/16"
Plug welded, edges beveled 45*
Slide them together tacked the corners and clamped the **** out of them
All plugged
Pulled the rail down and laid it flat and clamped it tight, welded the seam
Let it cool, ground it smooth
Back up and done for the weekend