

2001 Frame up build


 Jul 8, 2008 | 10:03 PM
#357
Thread Starter
TECH Fanatic
iTrader: (12)
Joined: Mar 2005
Posts: 1,513
Likes: 6
From: Massachussetts
Well haven't updated due to me forgetting the camera, but I've been working on mainly figuring out my front suspension I wanted to make it perfect at ride height, and finally after moving everything upwards, motor 1.5" up i got my arms at 2* LCA and the uppers at 6* this is set at 5.5" ride height. Tire will sit right at the lip of the front tires.
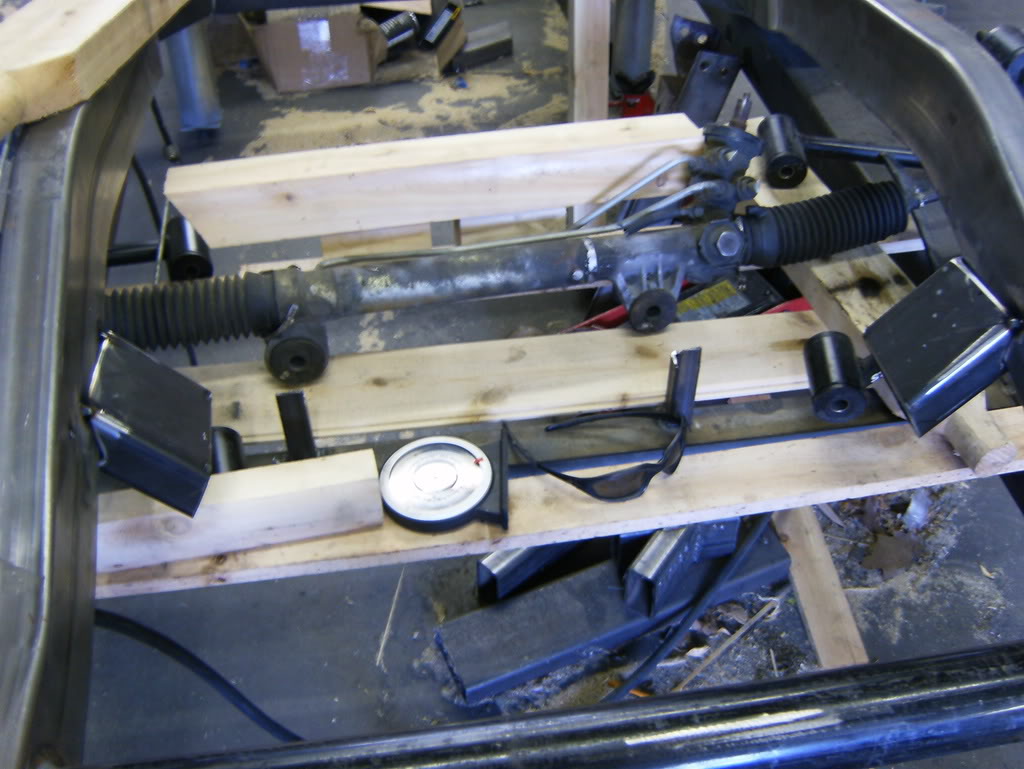
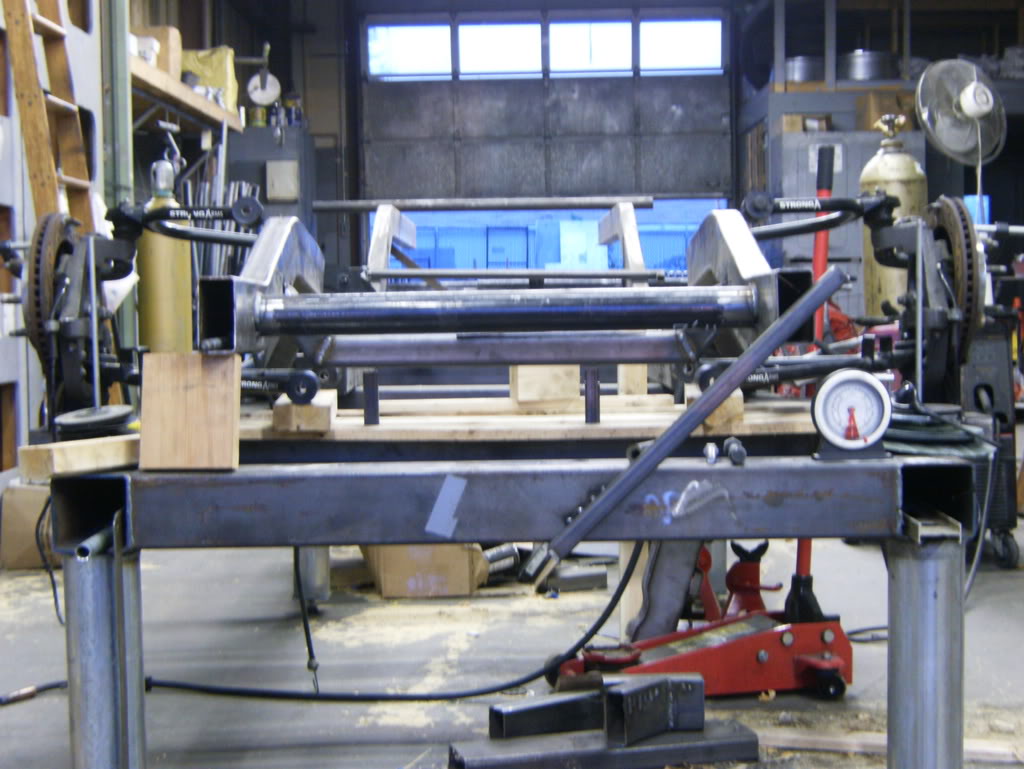
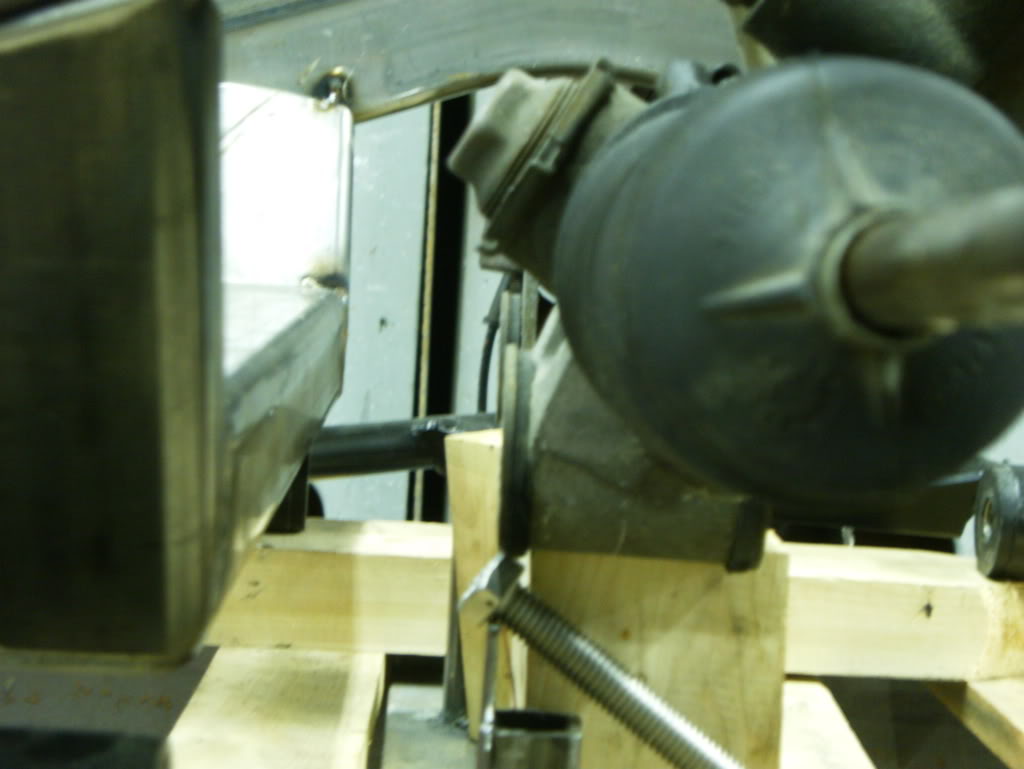
So with that figured out, I started the front crossmember
crazy cuts to make it fit
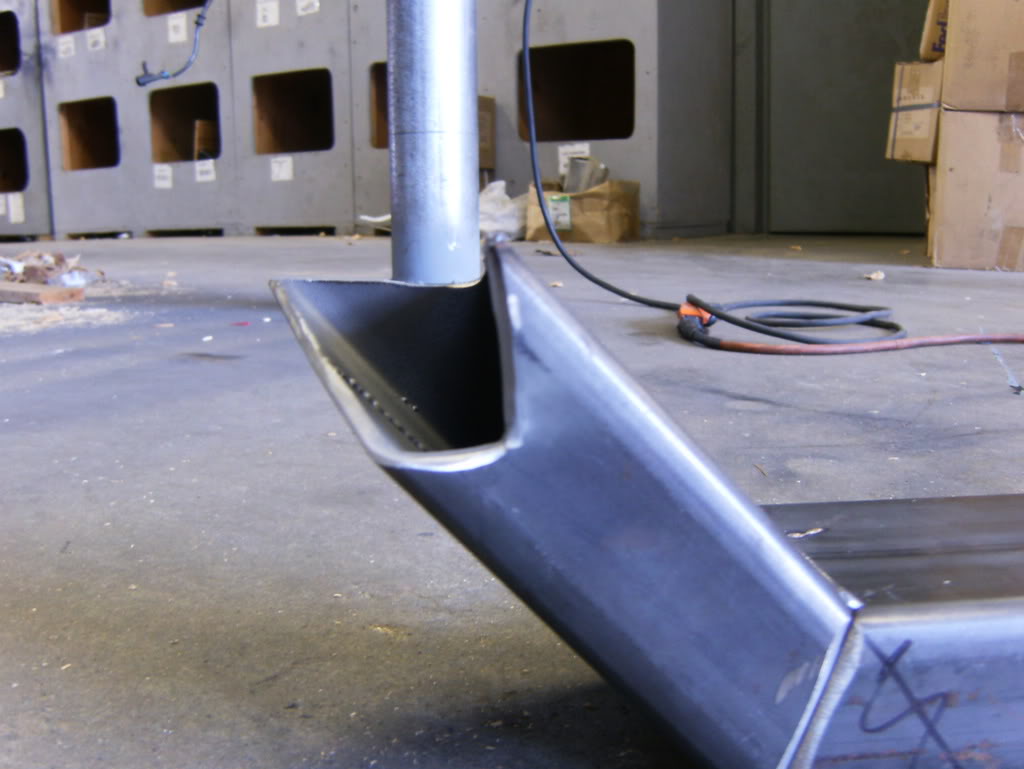
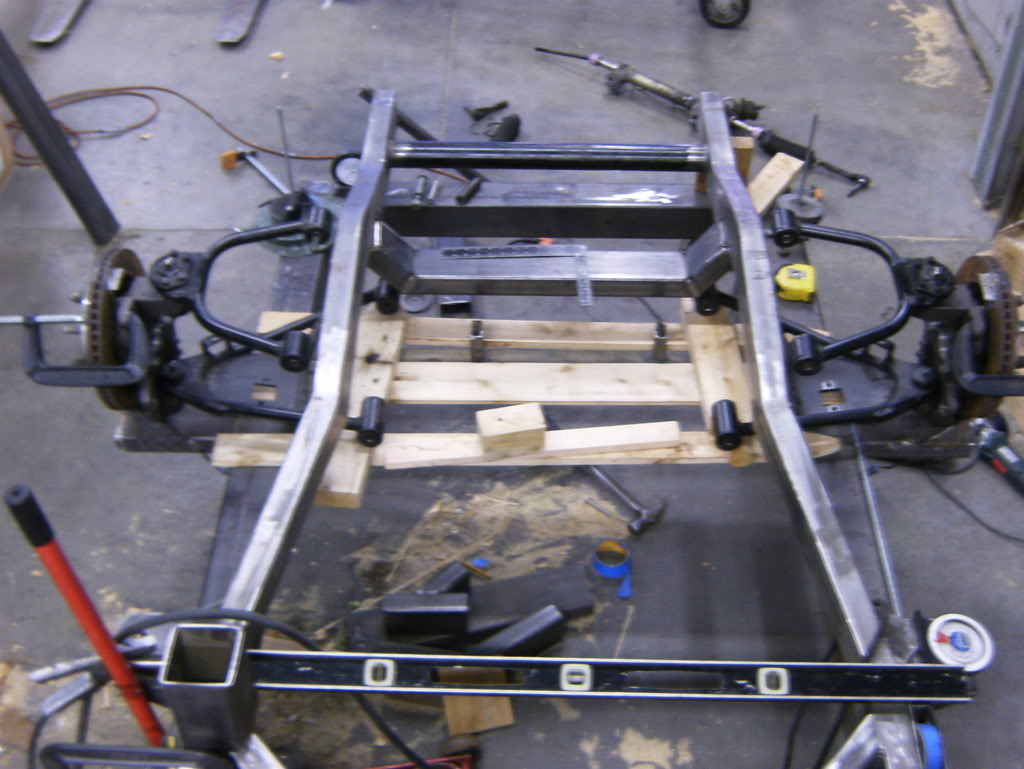
Made sure the tierods would be clear, at full turn they hit so I will make a small round notch
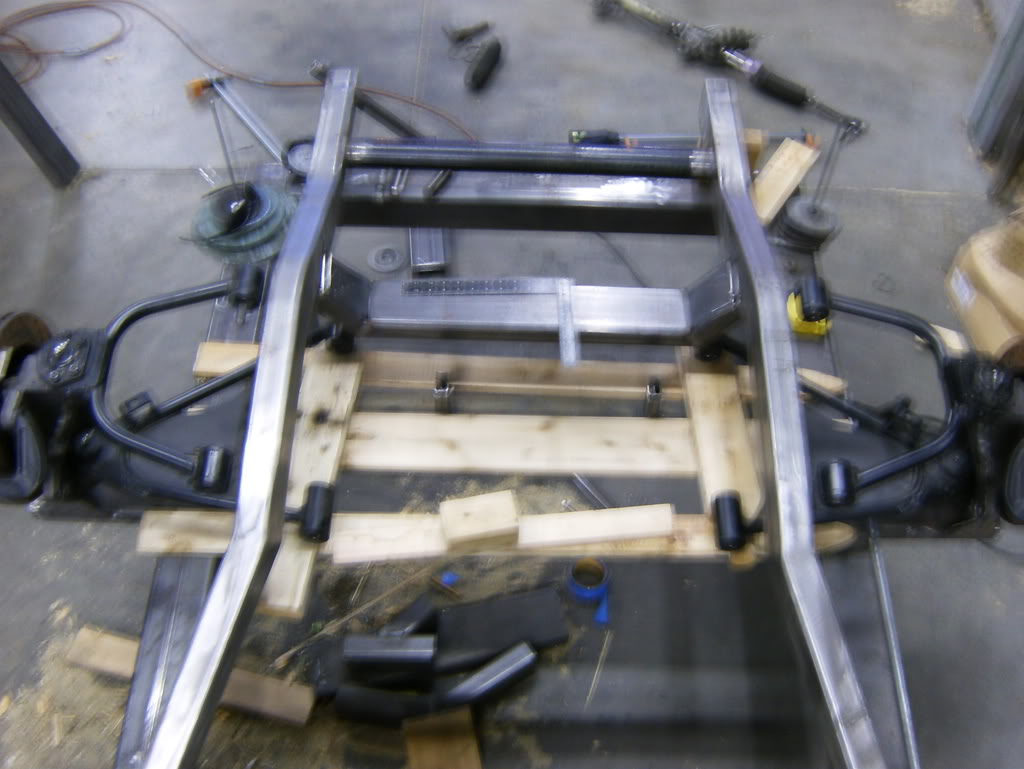
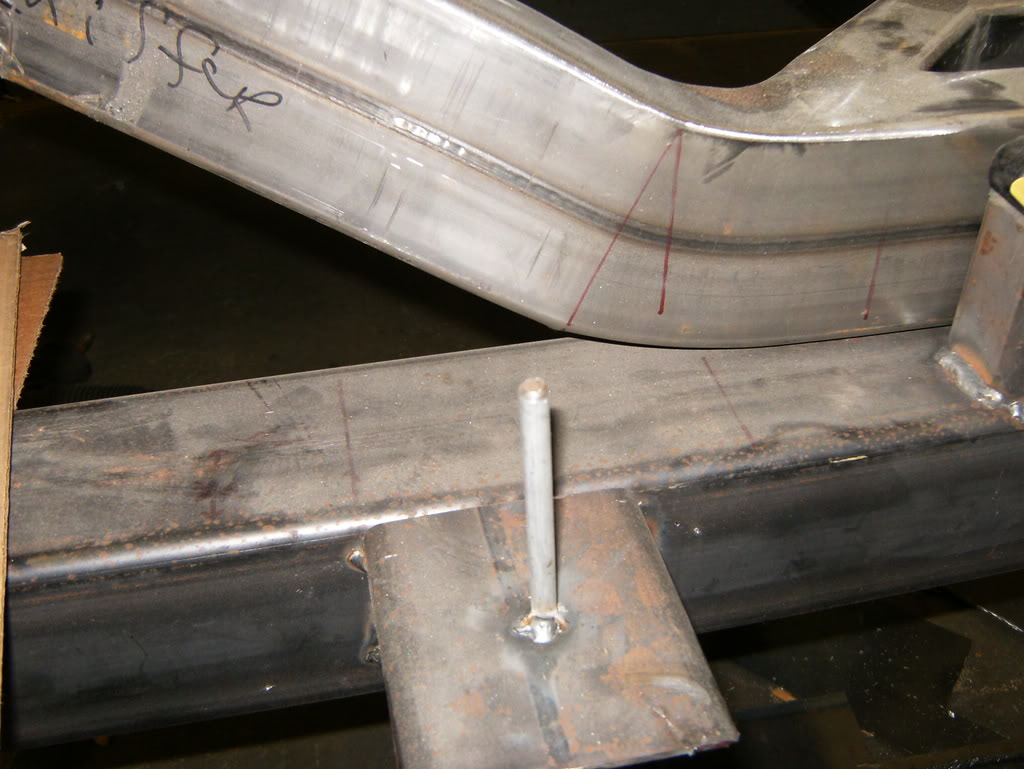
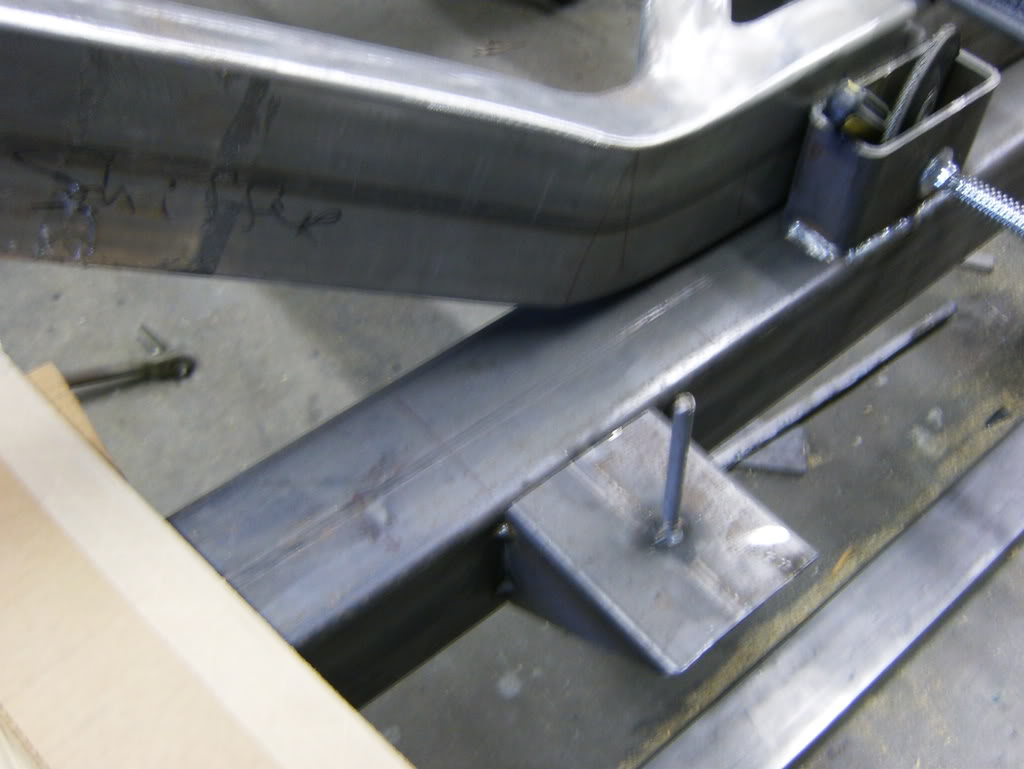
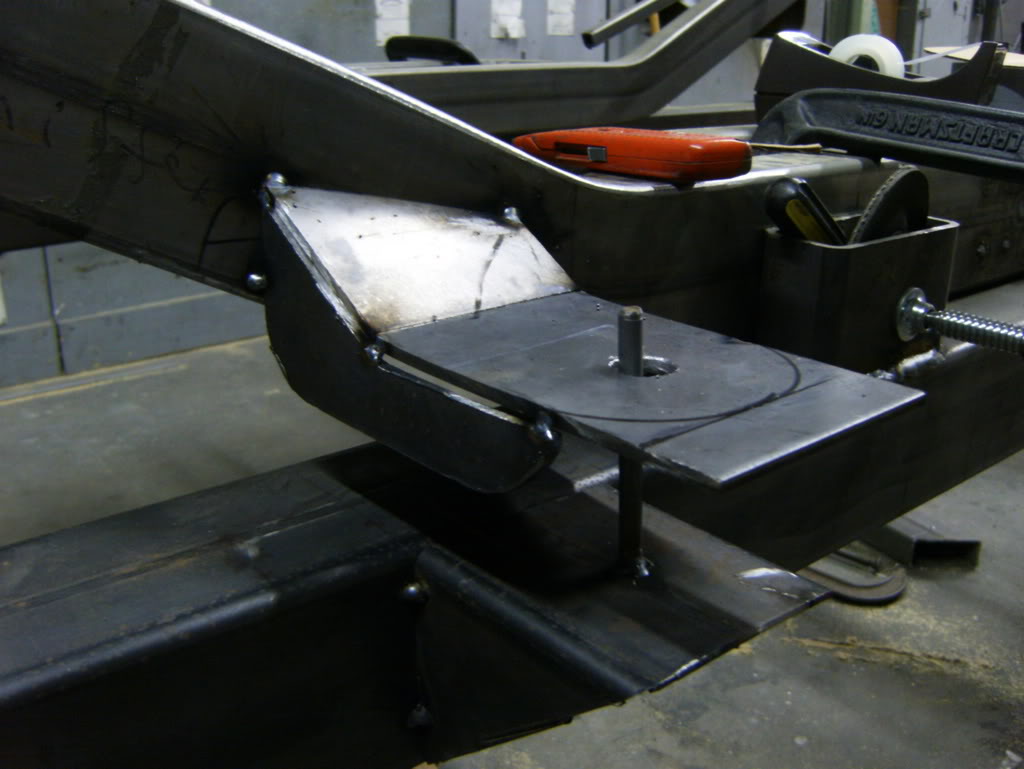
Tac'd
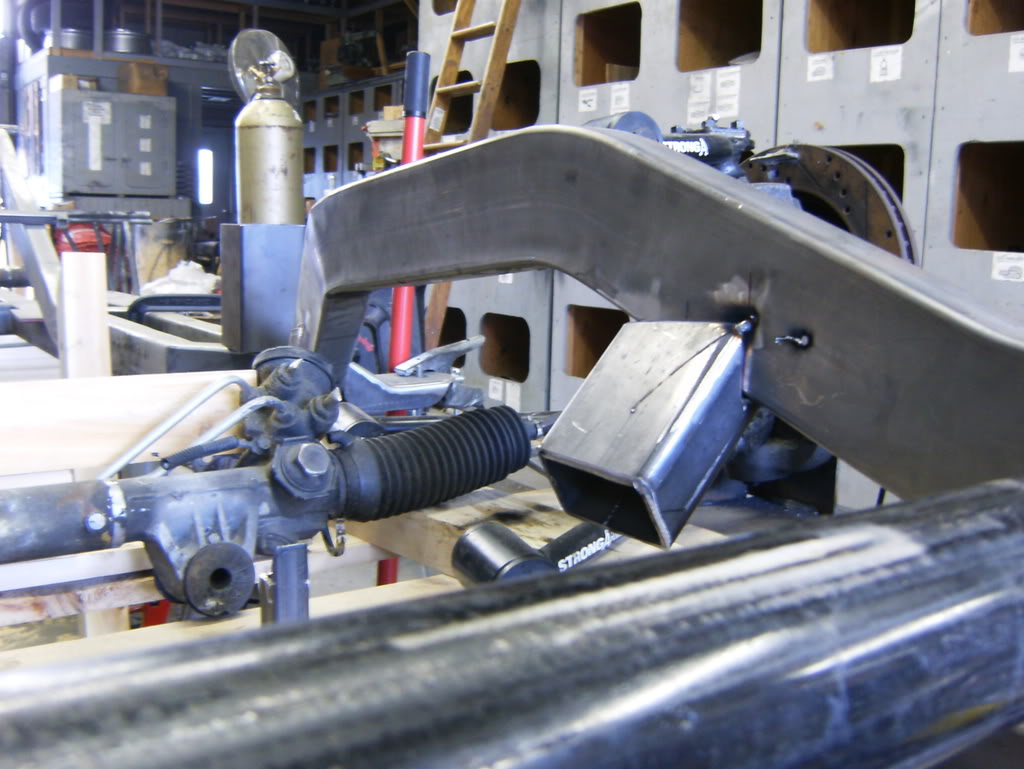

At final position
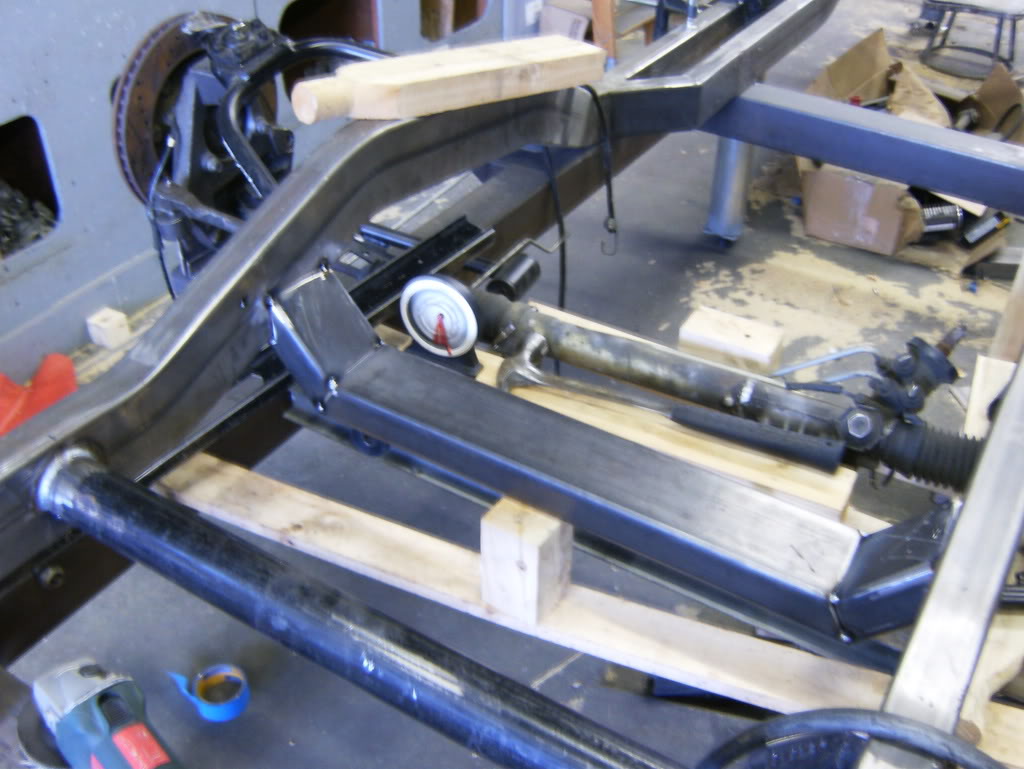
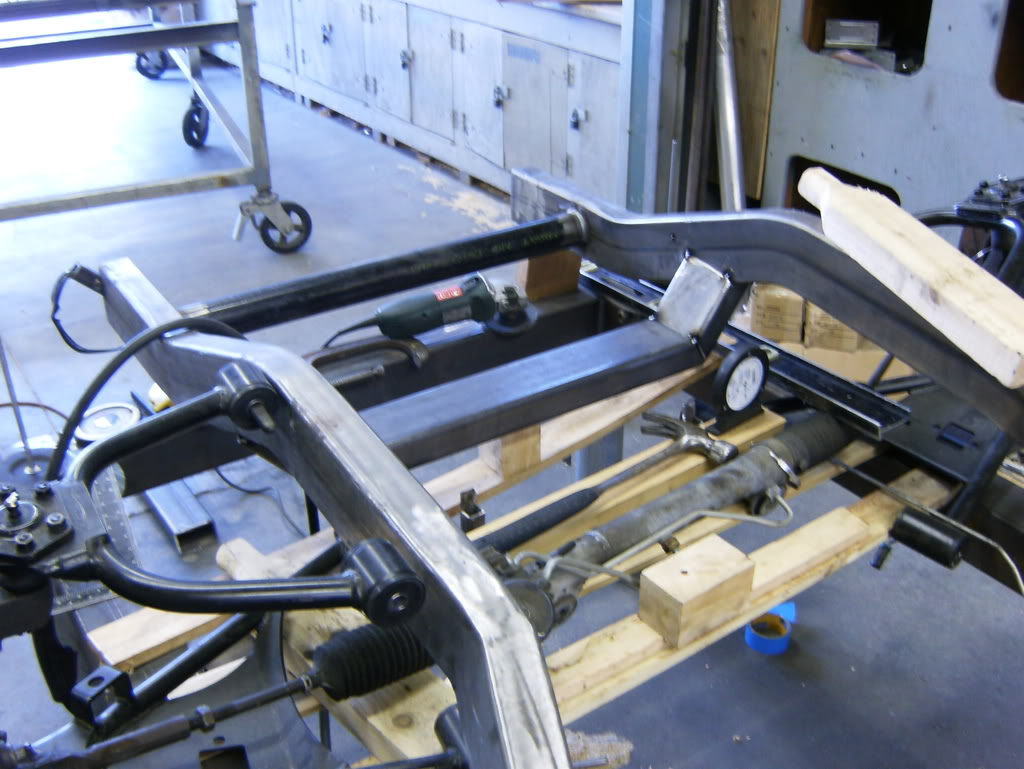
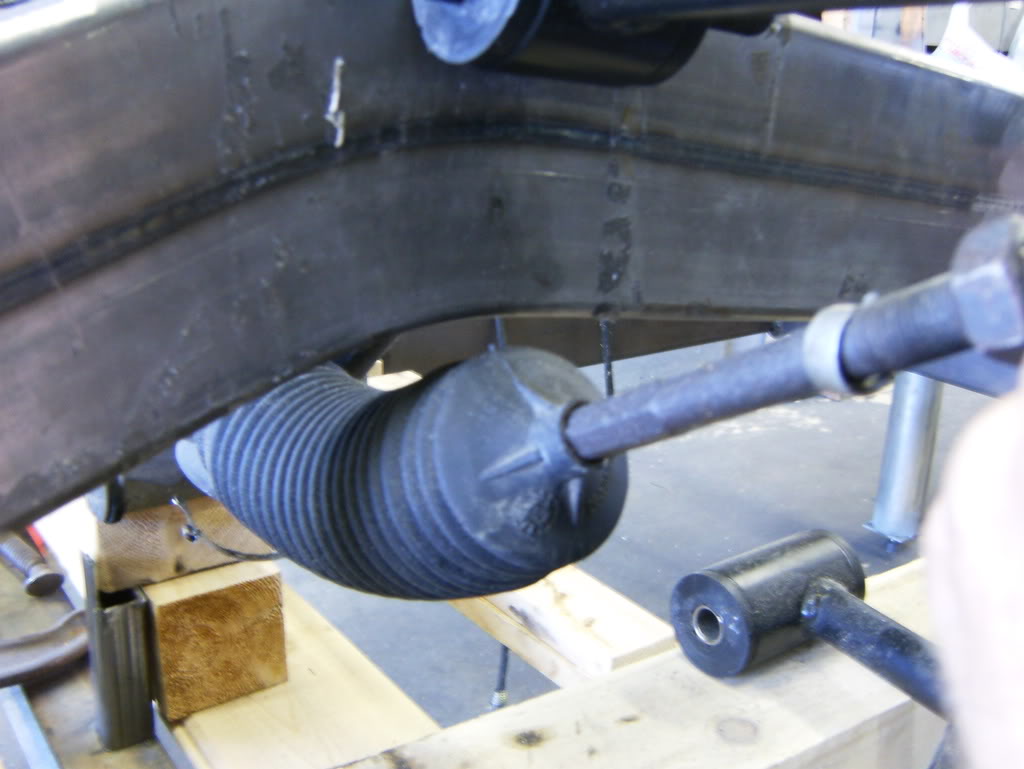
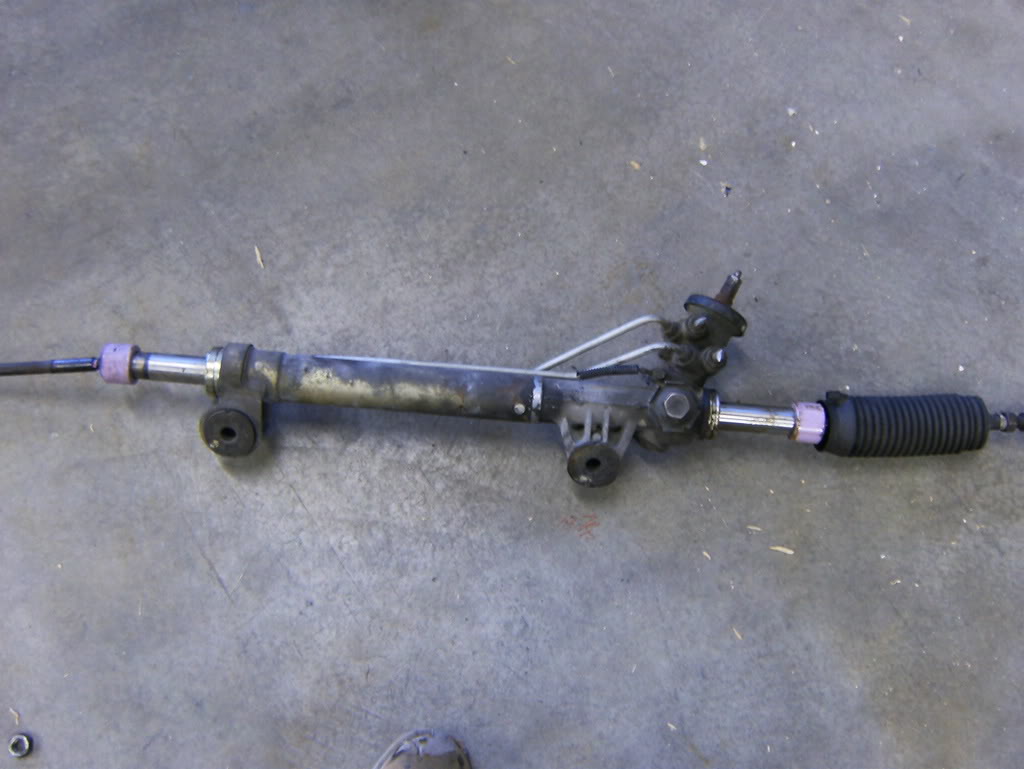
Centered the rack up, took some measurements

Check out those arm angles, perfect!

.jpg[/IMG]
So with that figured out, I started the front crossmember
crazy cuts to make it fit
Made sure the tierods would be clear, at full turn they hit so I will make a small round notch
Tac'd
At final position
Centered the rack up, took some measurements
Check out those arm angles, perfect!
.jpg[/IMG]


 Jul 8, 2008 | 10:23 PM
#359
Thread Starter
TECH Fanatic
iTrader: (12)
Joined: Mar 2005
Posts: 1,513
Likes: 6
From: Massachussetts
and some more pictures...
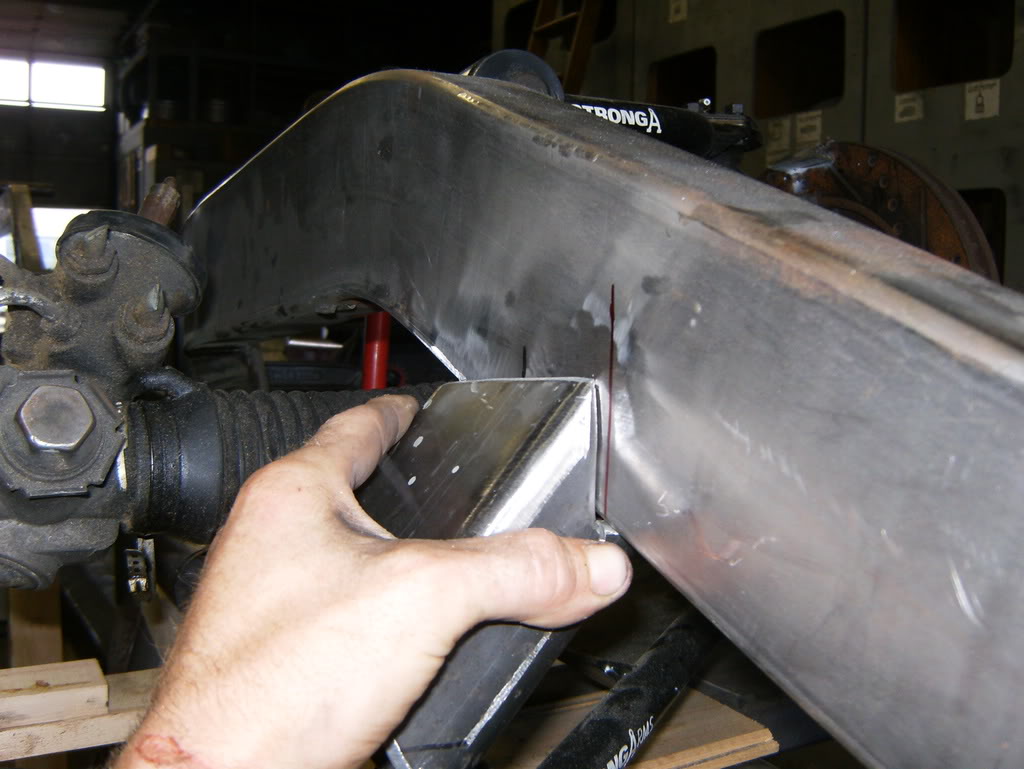
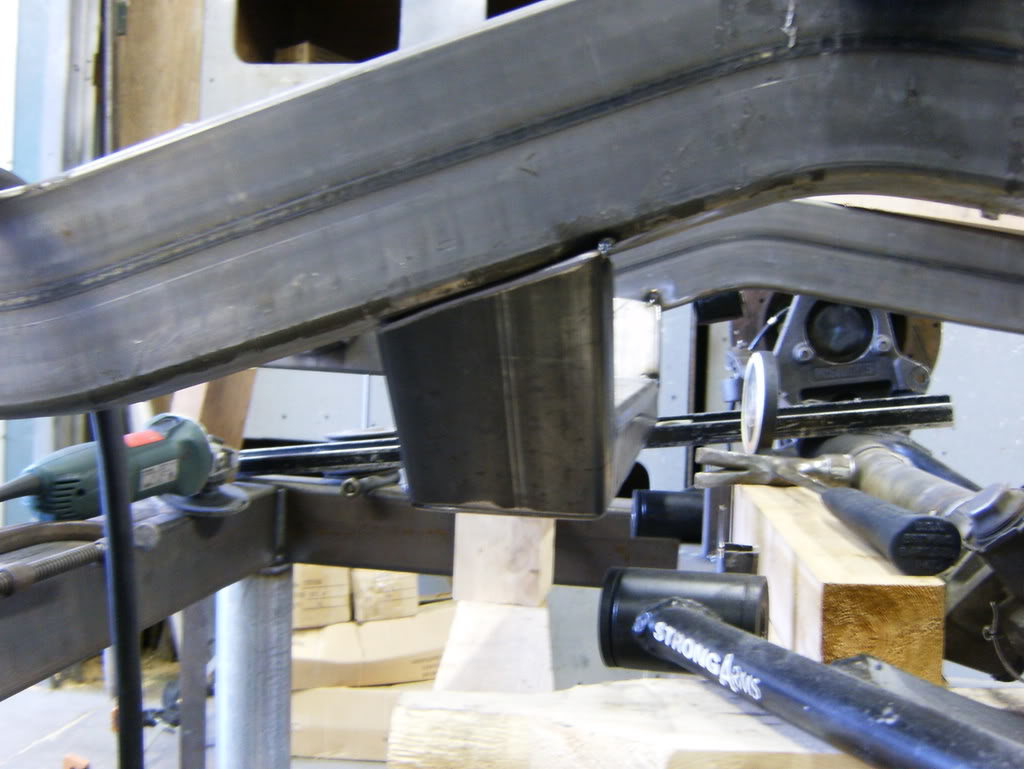
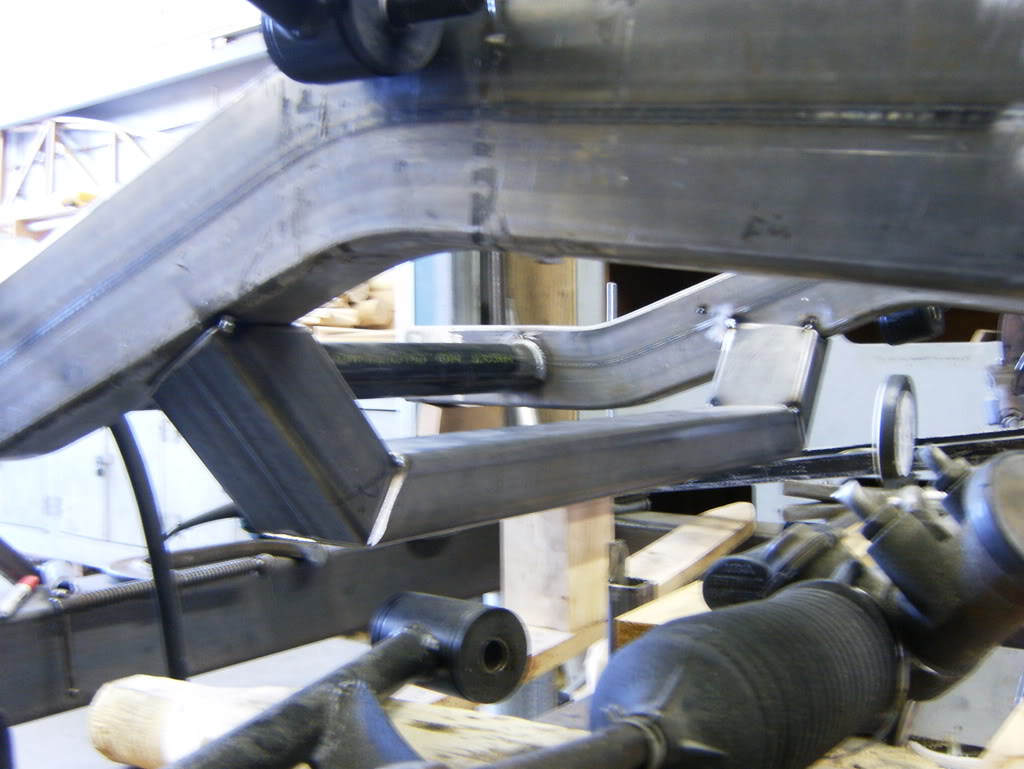
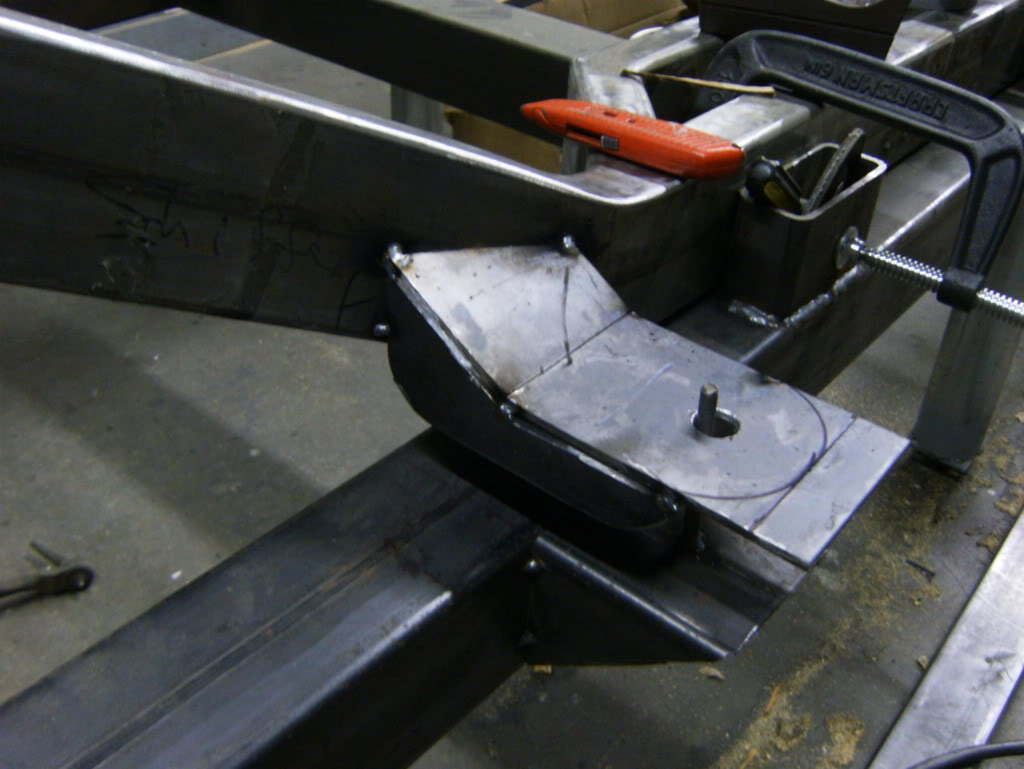
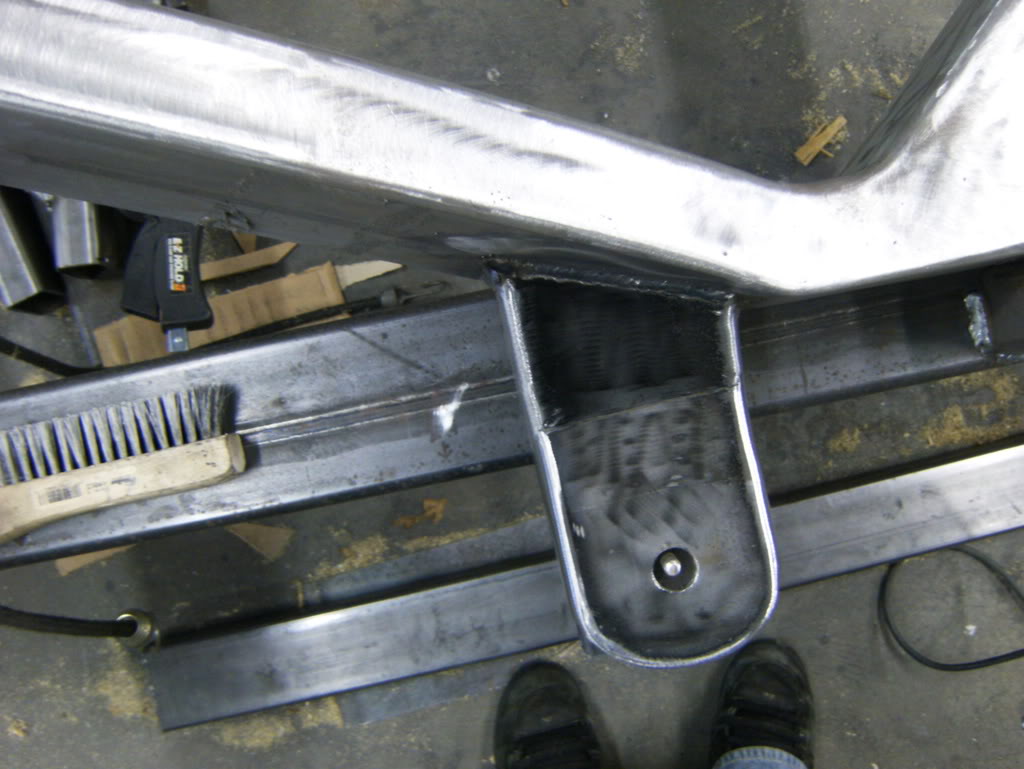
Check out this, the body bout doesn't have much room to weld to so I could do a plate angle up on one side and the other going down, but I hate that look
so why not make it look factory

all done.... :crazy:

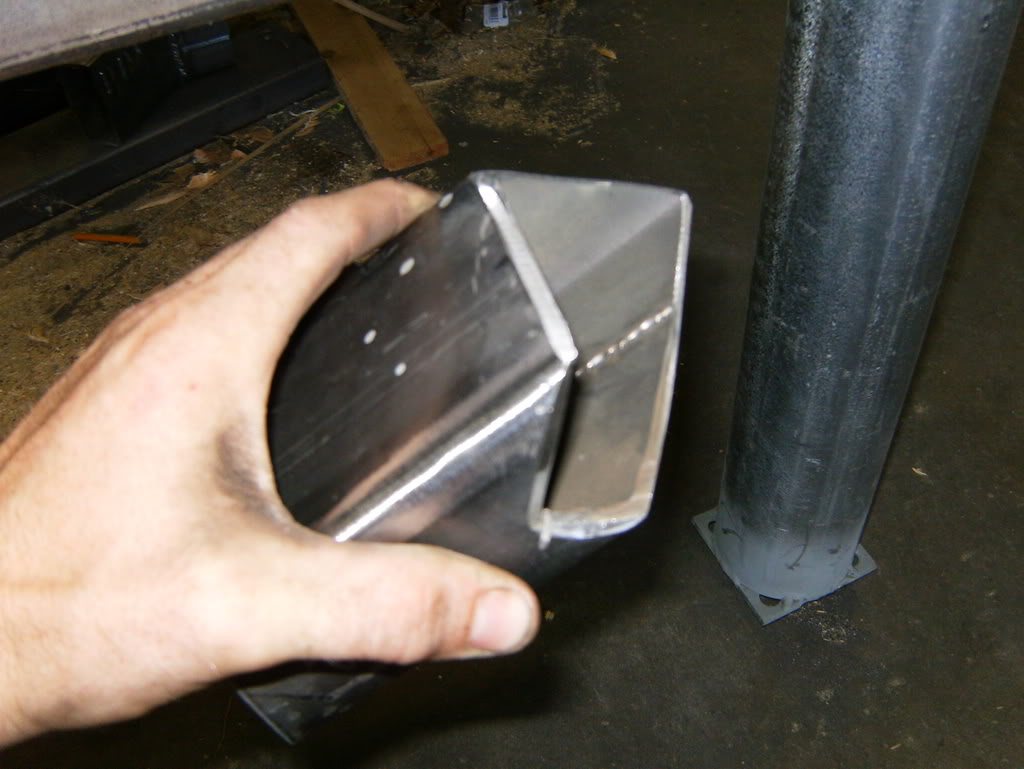
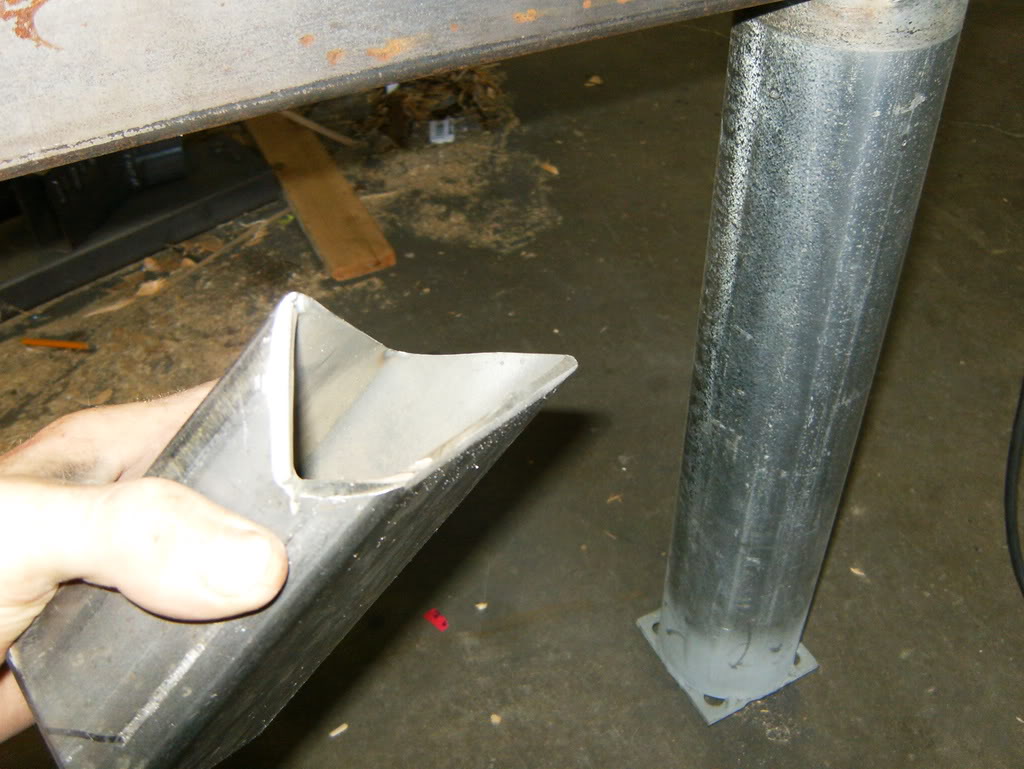
Cut some steel


Welded up and smoothed out, the 2" hole will be drilled later
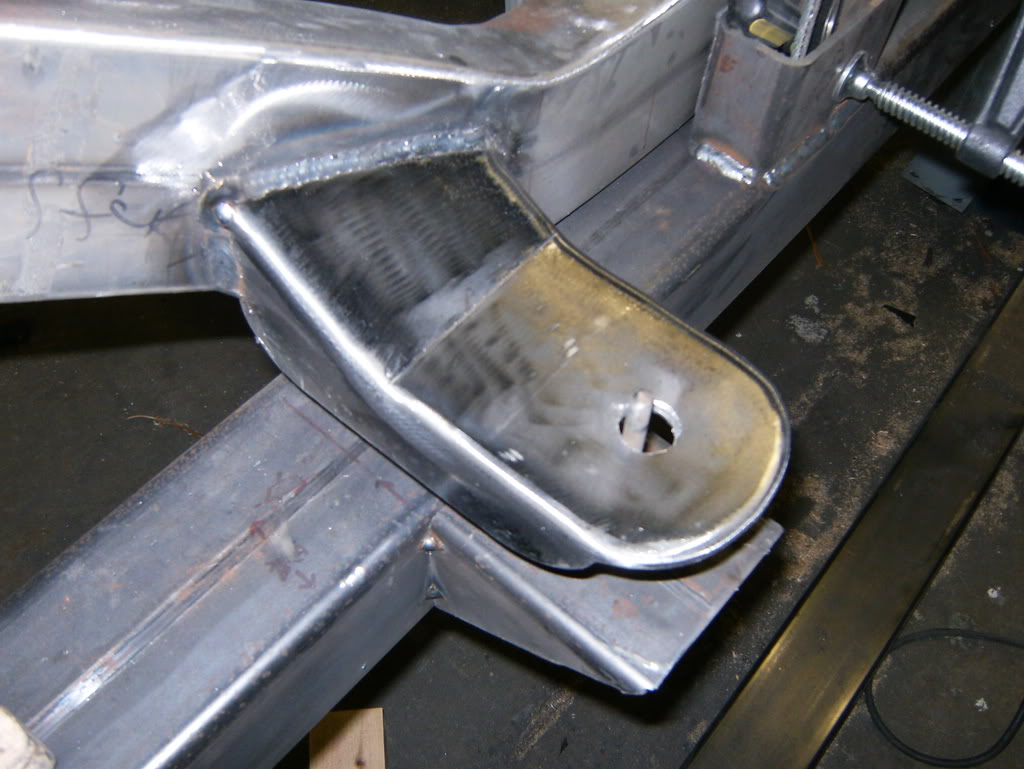
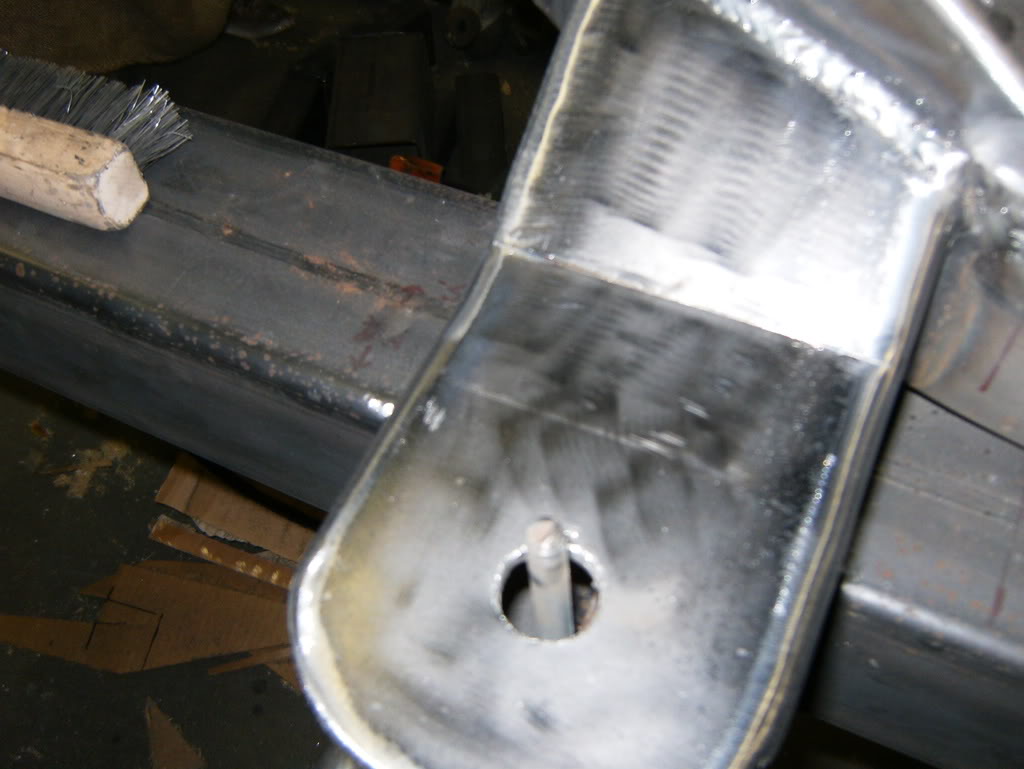


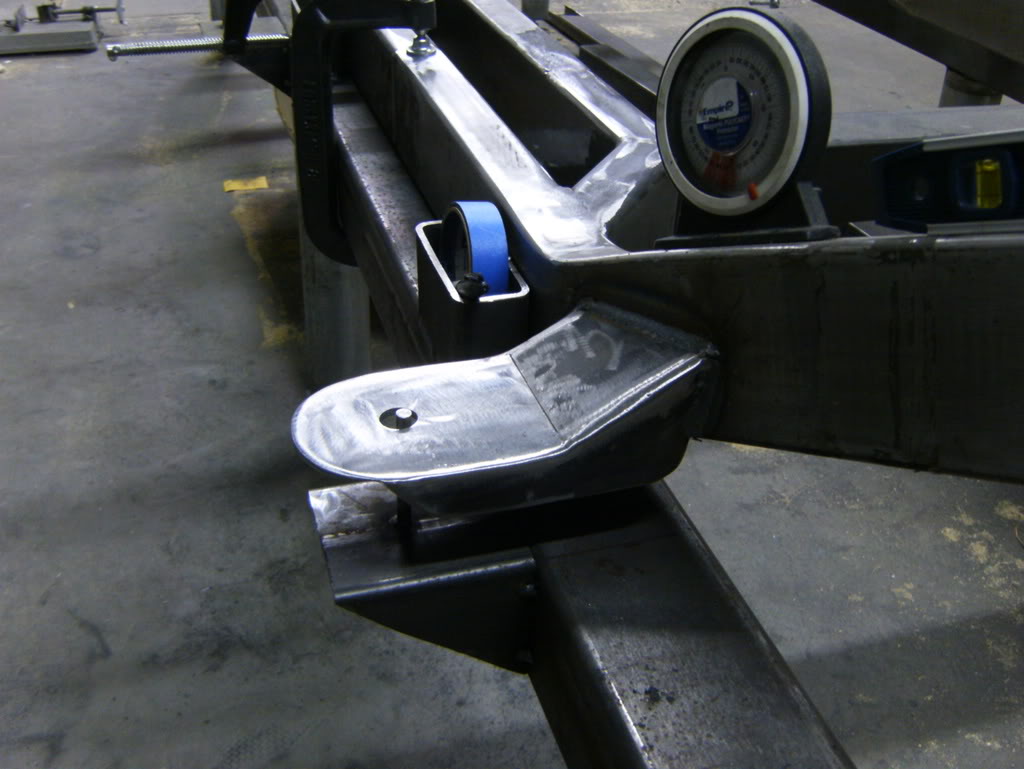
Did the other side also, these where the hardest body mounts, so I wanted to get these out of the way
Check out this, the body bout doesn't have much room to weld to so I could do a plate angle up on one side and the other going down, but I hate that look
so why not make it look factory
all done.... :crazy:
Cut some steel
Welded up and smoothed out, the 2" hole will be drilled later
Did the other side also, these where the hardest body mounts, so I wanted to get these out of the way


