

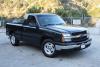
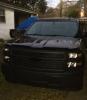
Steve-o-08's Silverado Build Thread, Take Three.
 Dec 23, 2016 | 10:12 PM
#201
Thread Starter

Joined: Oct 2009
Posts: 991
Likes: 4
From: West Jordan, UT
Even with it being a short week I make some good headway on some of the truck parts.
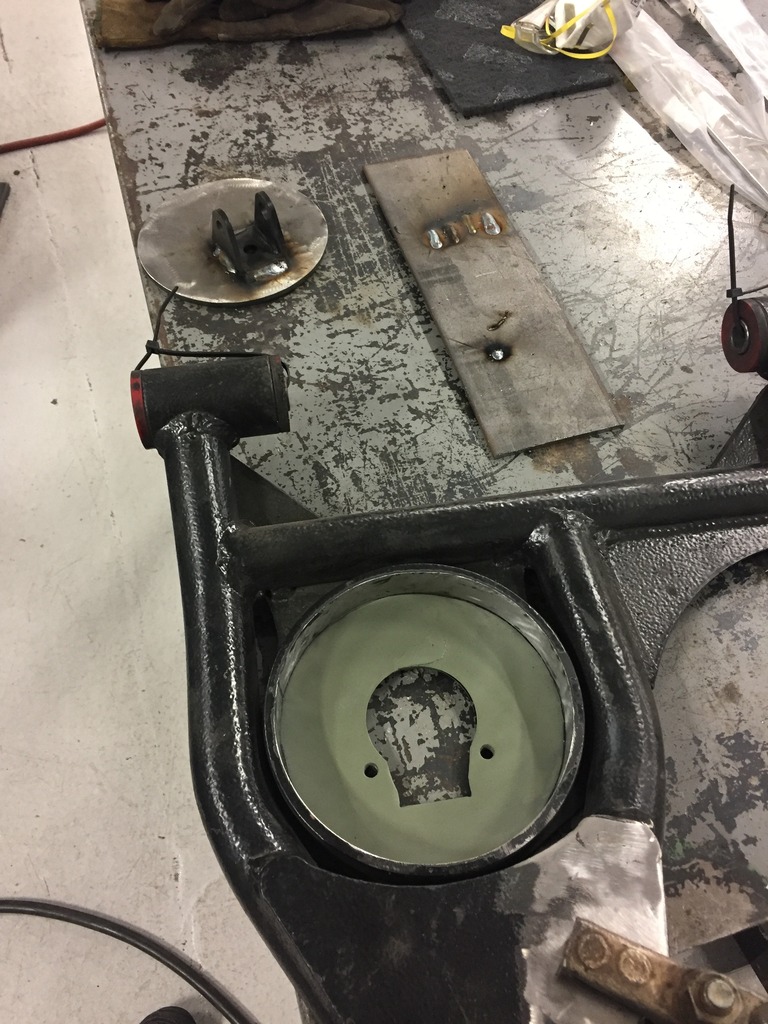
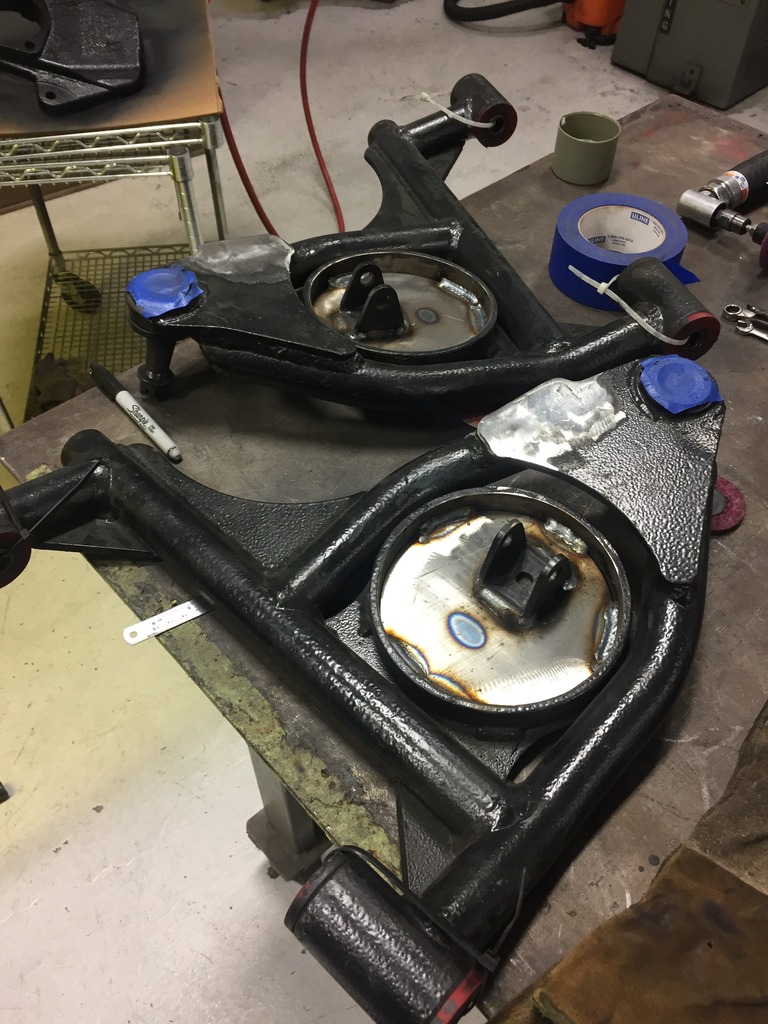
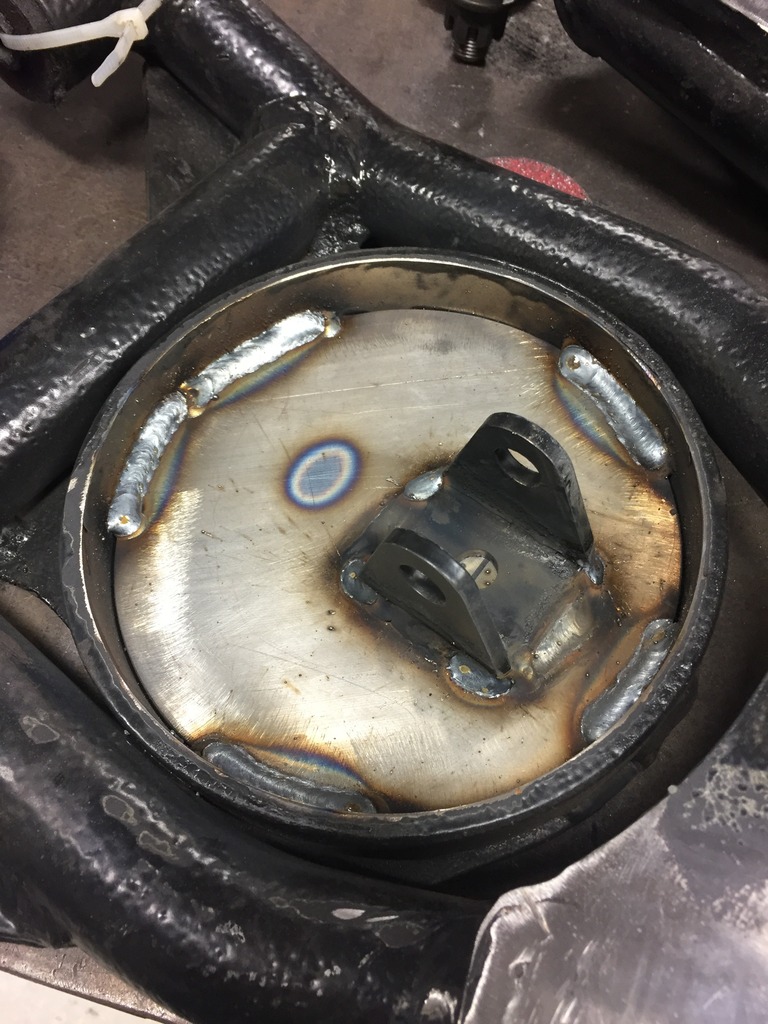
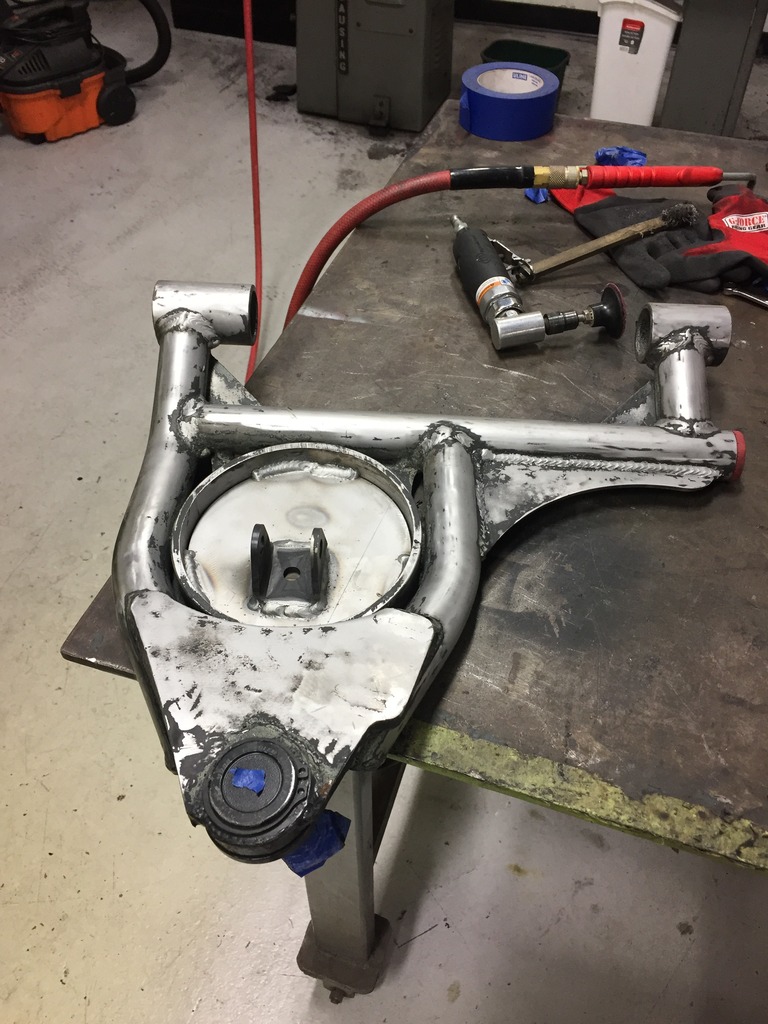
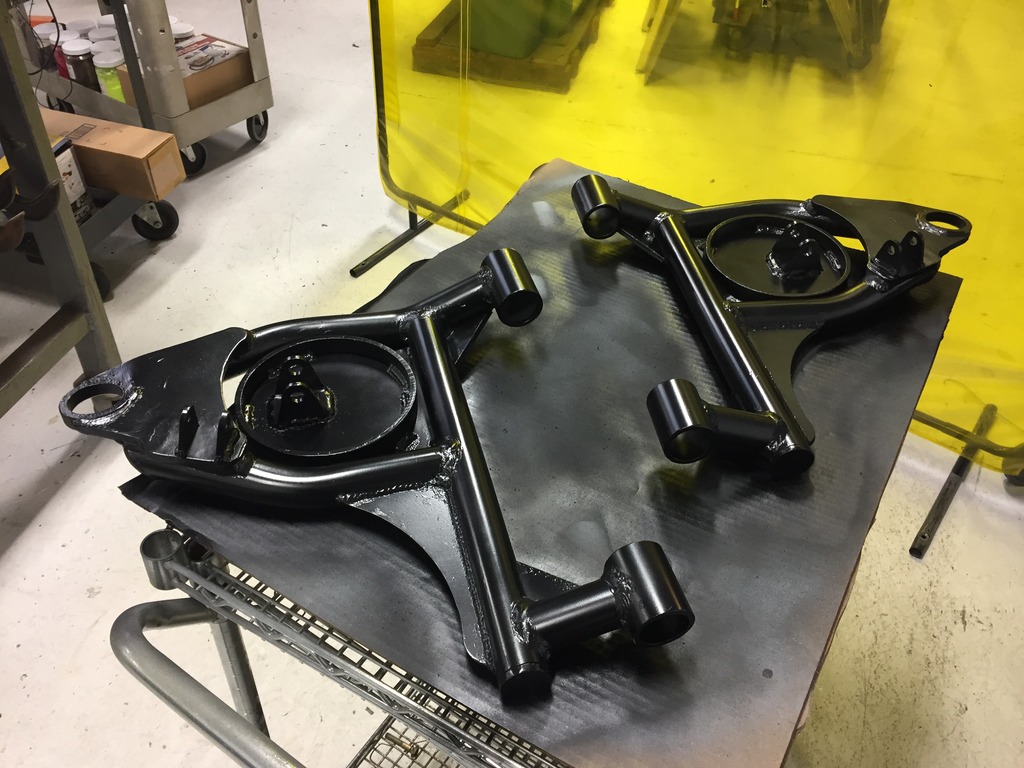
I got my lower control arms almost completely stripped after welding in the spring pocket plates and lower coil-over mounts. I will spend a little more time getting the rest of the coating off the arms is prep for some new paint or maybe powder coat. Anything would be better than the ugly hammer-tone powder coat that was on these arms. Cut off the old sway bar link mounts and going to make some new ones. ( in the correct spot...)
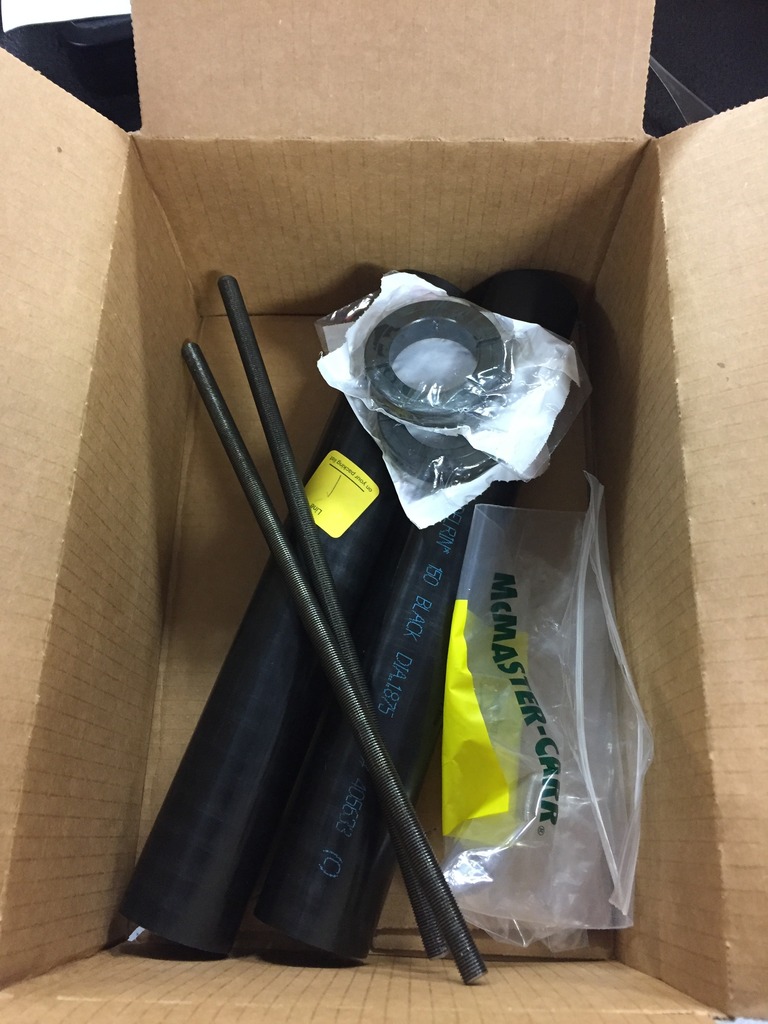
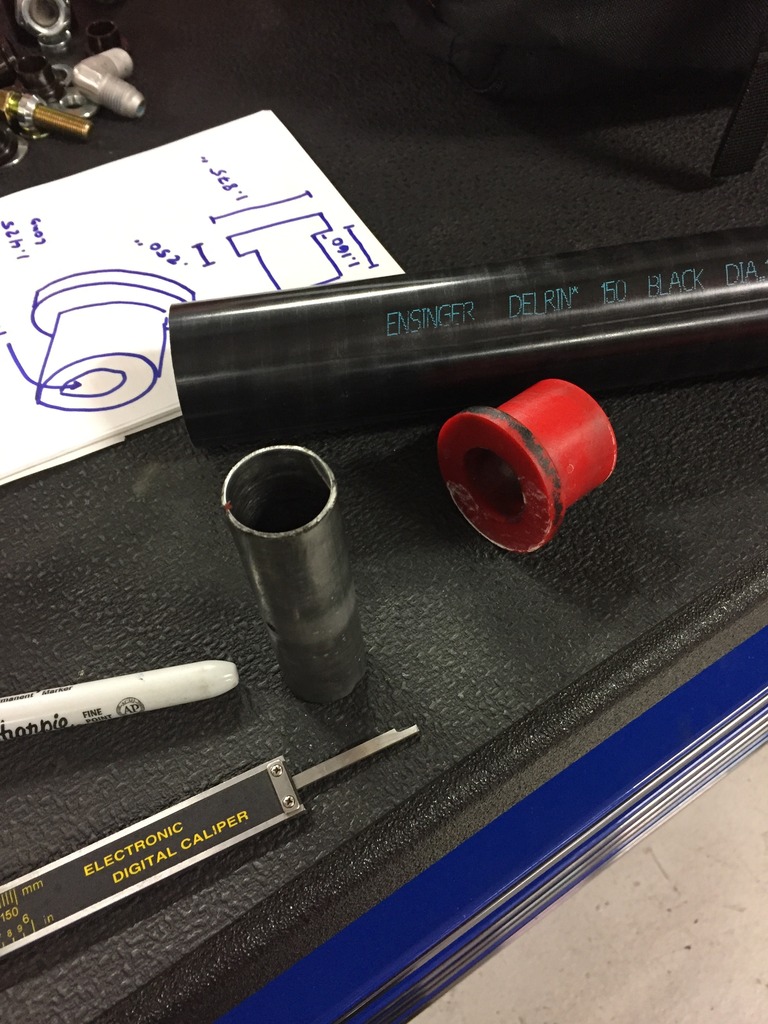
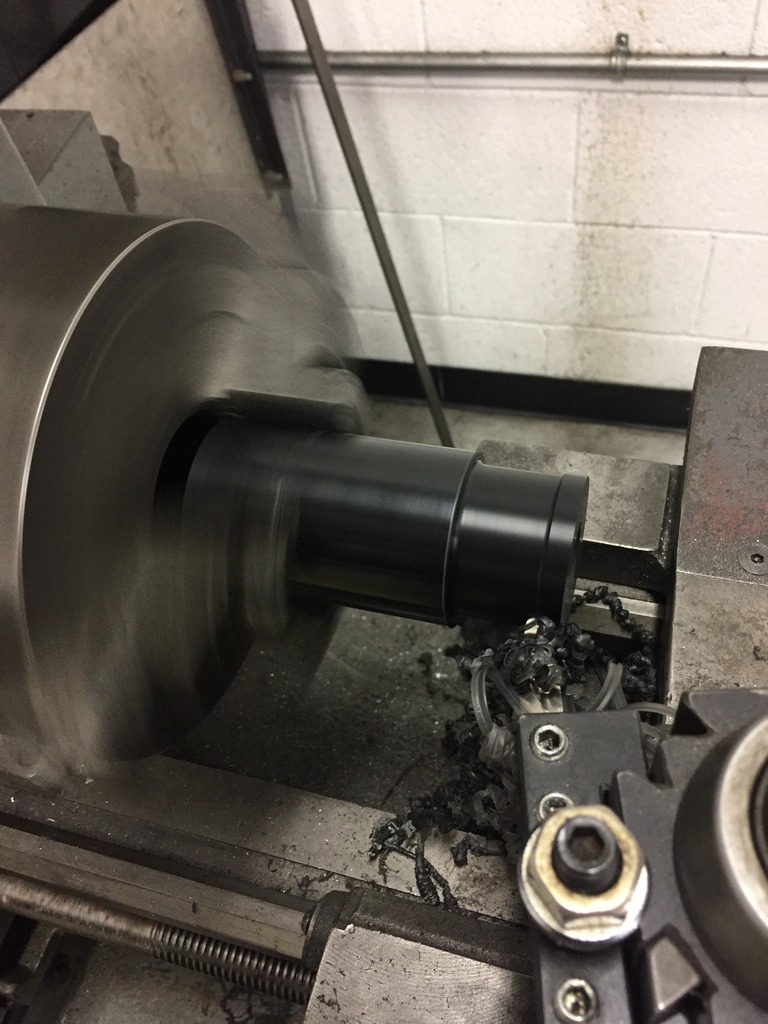
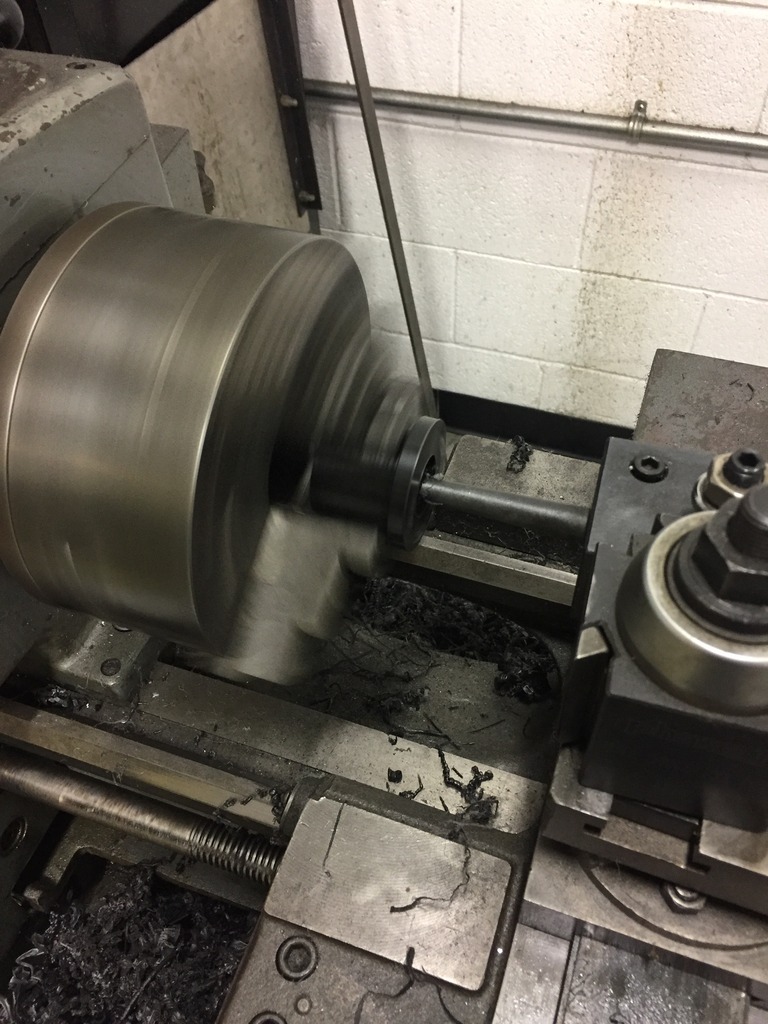
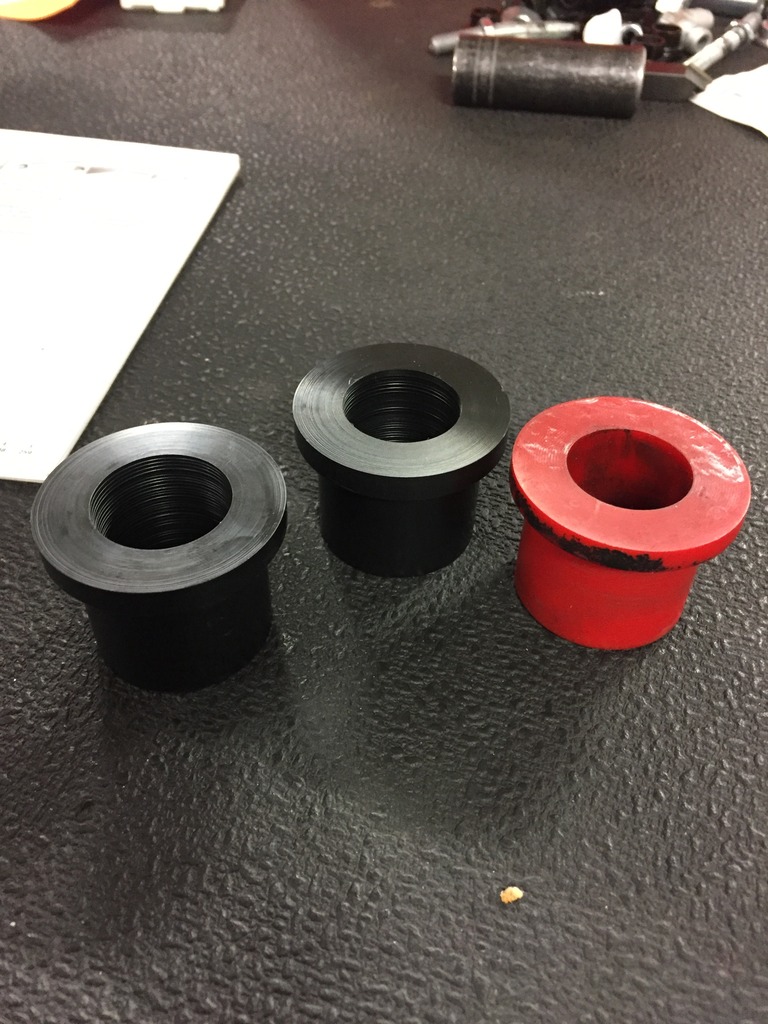
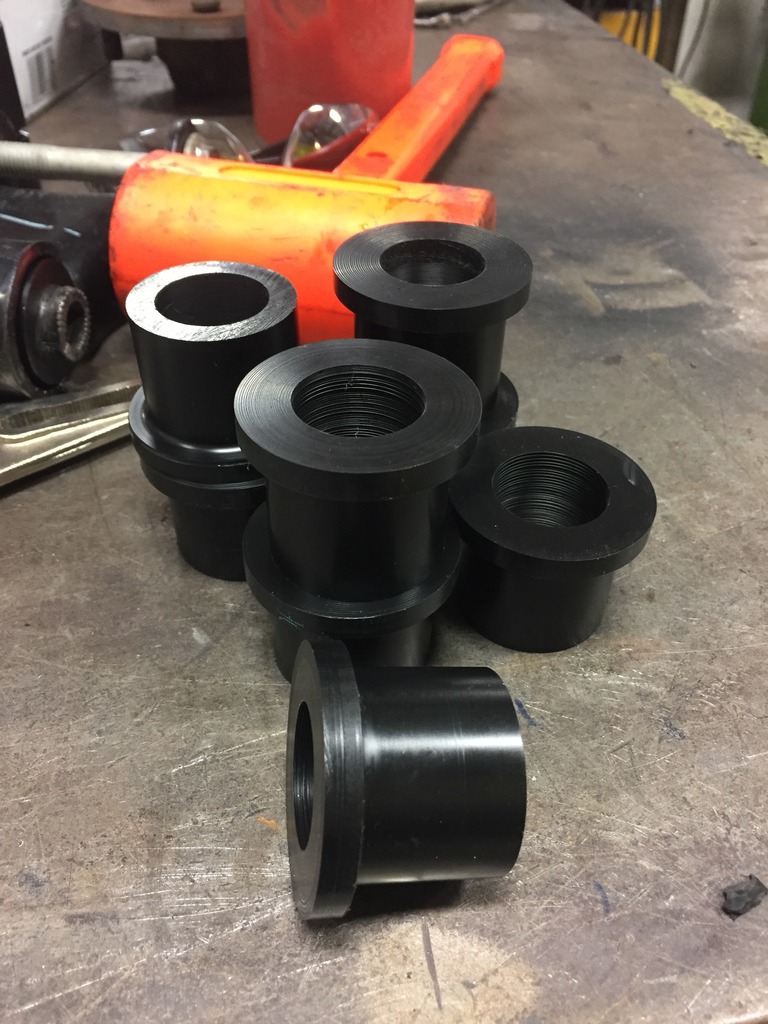
Also made a trip to Mc Master Carr for some Grade 8 Threaded rod, shaft collars for my front sway bar and some sticks of Delrin for some new bushings.
And since I can't buy 'em, Gotta make 'em.
Nothing DJM left on these arms. Now that the crappy ball joints are gone, poly bushings are gone, dumb sway bar mounts are gone lol.
Getting close to having everything ready to go back in for one last mock-up and cycle before making them look pretty. Then it's back on to the rear.
I got my lower control arms almost completely stripped after welding in the spring pocket plates and lower coil-over mounts. I will spend a little more time getting the rest of the coating off the arms is prep for some new paint or maybe powder coat. Anything would be better than the ugly hammer-tone powder coat that was on these arms. Cut off the old sway bar link mounts and going to make some new ones. ( in the correct spot...)


Also made a trip to Mc Master Carr for some Grade 8 Threaded rod, shaft collars for my front sway bar and some sticks of Delrin for some new bushings.

And since I can't buy 'em, Gotta make 'em.


Nothing DJM left on these arms. Now that the crappy ball joints are gone, poly bushings are gone, dumb sway bar mounts are gone lol.
Getting close to having everything ready to go back in for one last mock-up and cycle before making them look pretty. Then it's back on to the rear.

 Dec 26, 2016 | 08:40 PM
#205
Teching In
Joined: Jan 2015
Posts: 23
Likes: 0
This is AWESOME!!! Your great work is going to cost me a lot of $$$ in parts. When you sent back your torque converter for restalling, what did you end up with? I have a yank triple disc 3600 that I ordered for drag racing, but I would like to try my hand at autocross and was curious what was an appropriate stall. If it matters, mine is a 6L80...
Dec 26, 2016 | 10:01 PM
#206
Thread Starter
Joined: Oct 2009
Posts: 991
Likes: 4
From: West Jordan, UT
This is AWESOME!!! Your great work is going to cost me a lot of $$$ in parts. When you sent back your torque converter for restalling, what did you end up with? I have a yank triple disc 3600 that I ordered for drag racing, but I would like to try my hand at autocross and was curious what was an appropriate stall. If it matters, mine is a 6L80...
The trans works well but it would be better full-manual. That's why I'll be sticking the 6 speed in it. Plus it'll be that much more fun.

 Dec 29, 2016 | 12:00 AM
#209
Thread Starter
Joined: Oct 2009
Posts: 991
Likes: 4
From: West Jordan, UT
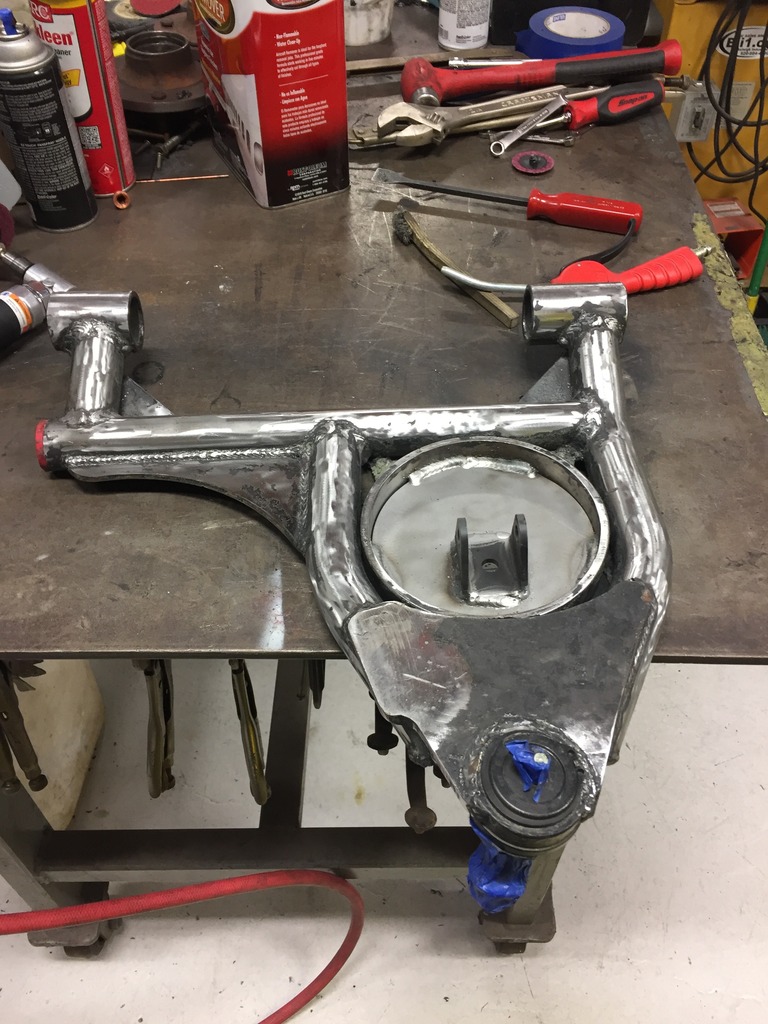
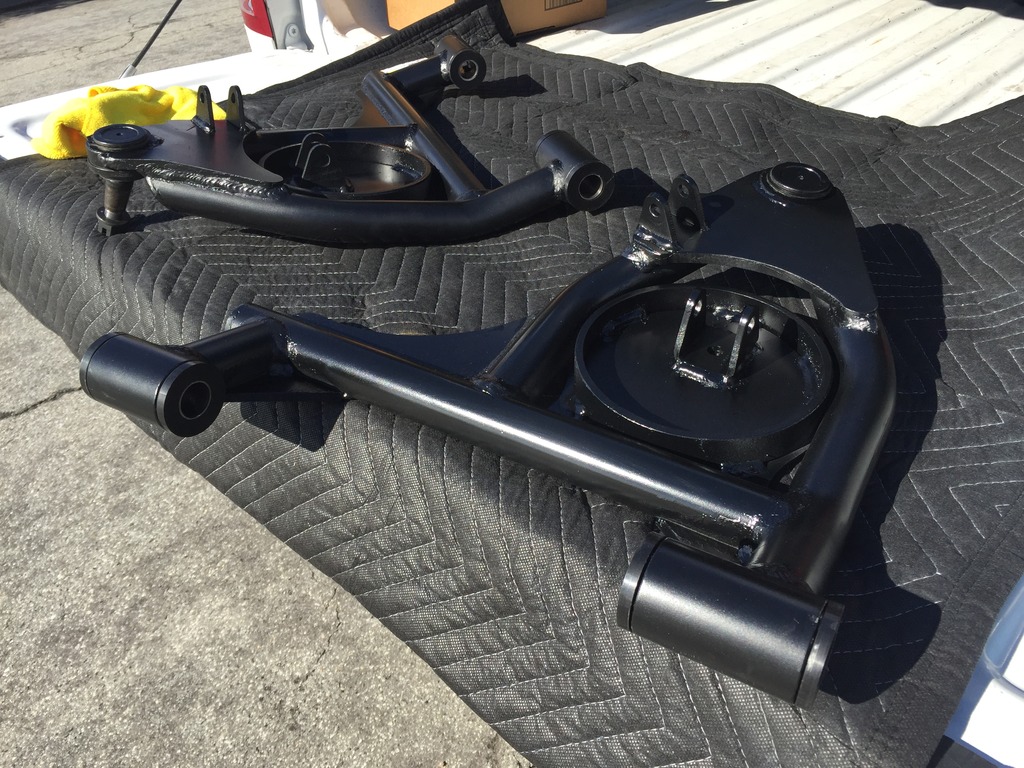
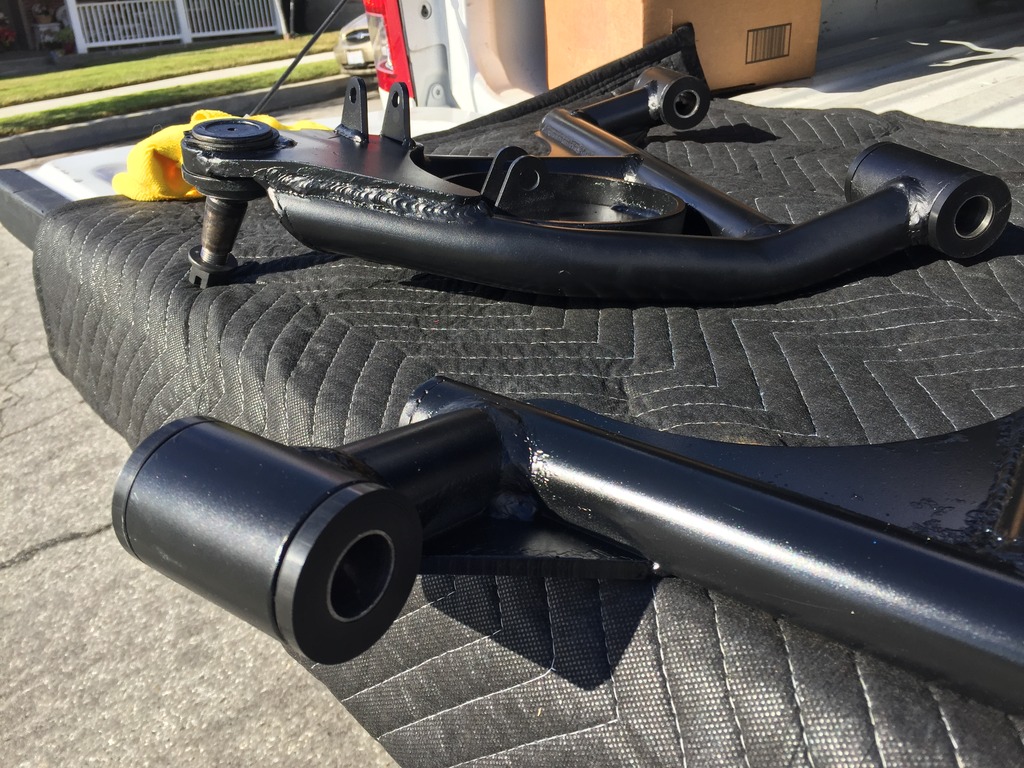
Brought the arms back home and mocked up the position of the sway bar link tabs and got those welded up.

Also got a new set of Crow 5pt's from the girlfriend for Christmas. So those will replace my orange-now peach colored harnesses haha. And will be a lot easier to get in and out of than the latch-types.

Threw some more aggressive media in the blaster in hopes of knocking the rest of the powdercoat off the arms. It helped a little but some of it is still pretty well stuck on there.


Probably just going to paint them so they are easily touched up if the ever got scratched. Going to try and get them painted up tomorrow and reassembled this weekend.
Dec 30, 2016 | 04:42 PM
#210
Thread Starter
Joined: Oct 2009
Posts: 991
Likes: 4
From: West Jordan, UT
Alright, lower arms are finished. Got them painted up and the new delrin bushings and ball joints in. I think they came out pretty good. Decided not to powder coat them for ease of touch up.
Coat of etch primer.

And some semi gloss chassis paint.
And the final product. Still need to do a little touch up, but they are ready to go back on the truck.
Now Just need to double check some measurements for the front and rear and I'll get my new shocks and front springs coming.
Coat of etch primer.

And some semi gloss chassis paint.

And the final product. Still need to do a little touch up, but they are ready to go back on the truck.


Now Just need to double check some measurements for the front and rear and I'll get my new shocks and front springs coming.