

RedRegency's 2001 RCSS
 Dec 15, 2014 | 02:17 AM
#1
Thread Starter
Staging Lane
Joined: Sep 2013
Posts: 53
Likes: 0
From: Palestine Tx
Before I lost it, I used to keep track of my mods and repairs on my phone- Used to. This will NOW mainly be a place I can keep track of the small things I do to my truck outside of routine maintenance. Maybe a On3 kit will make its way here in a conspicuously short time after it's paid off next spring.
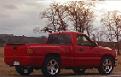
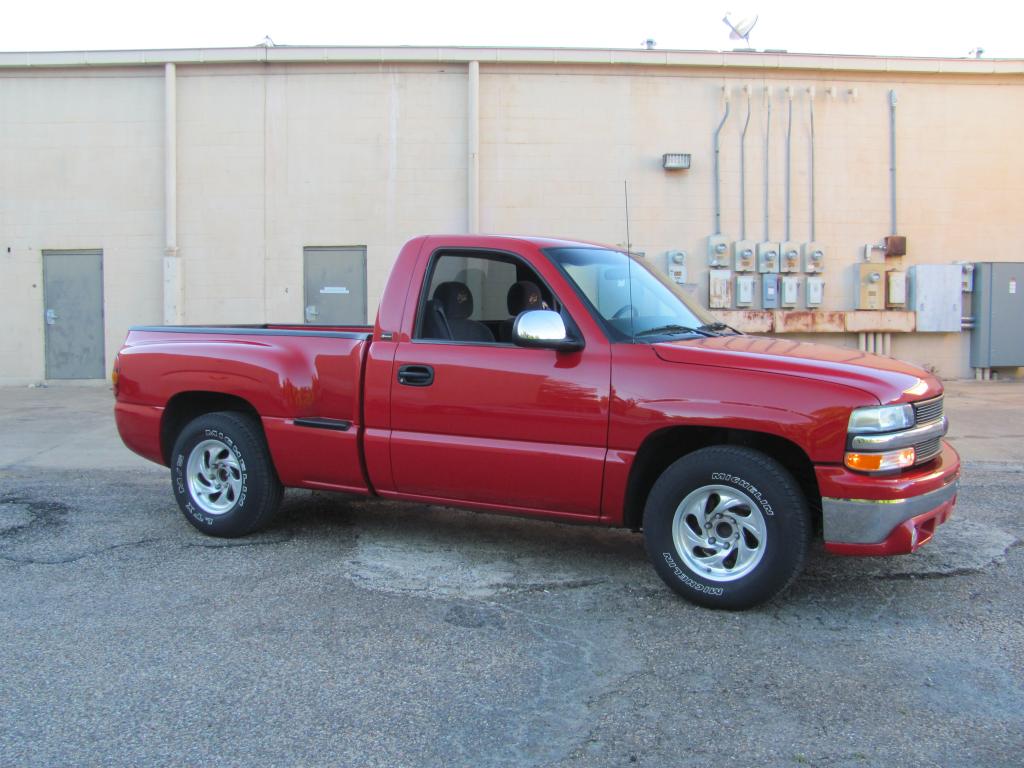
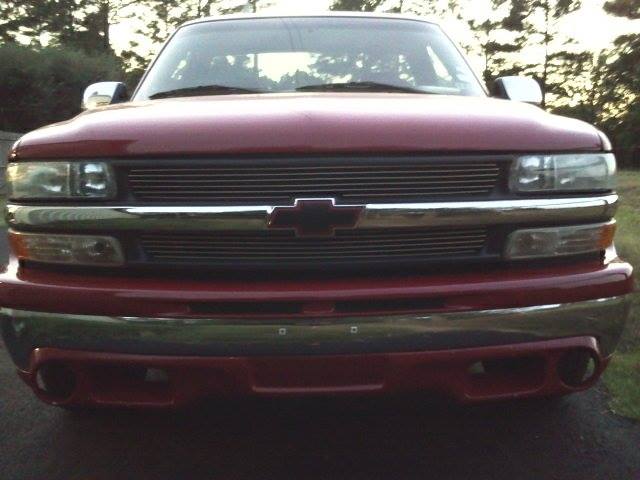
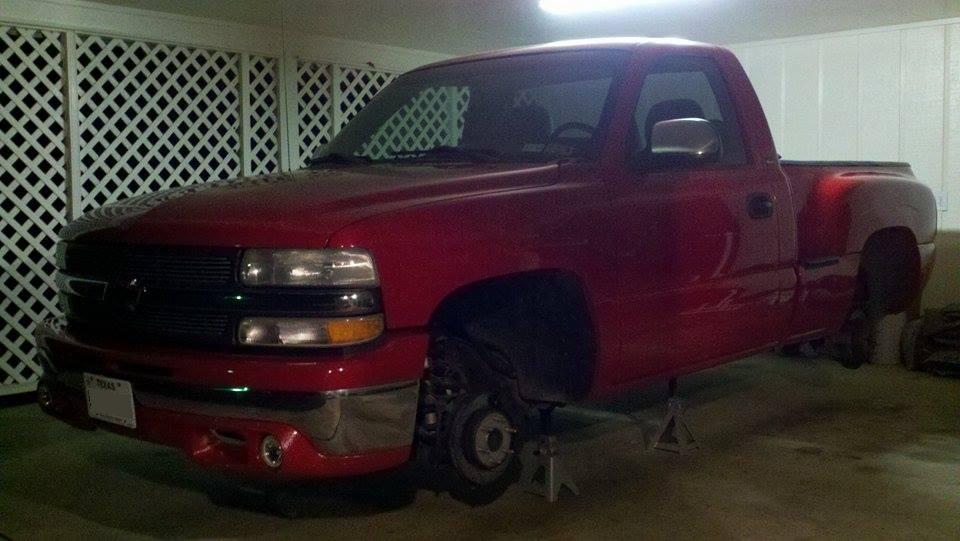
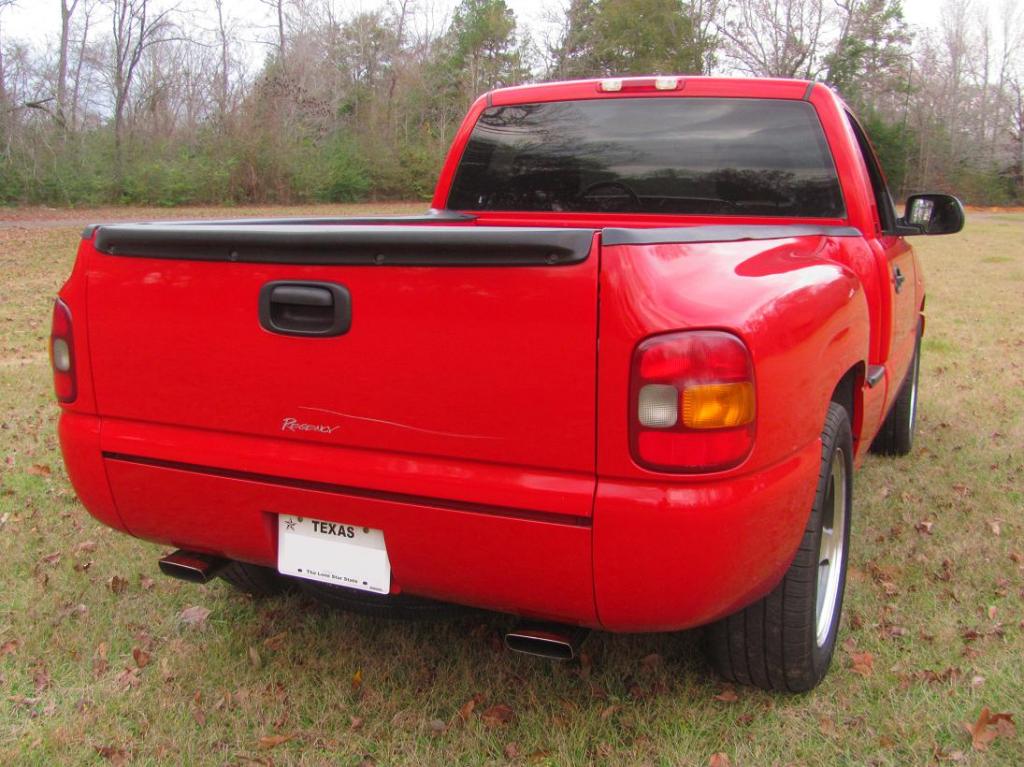
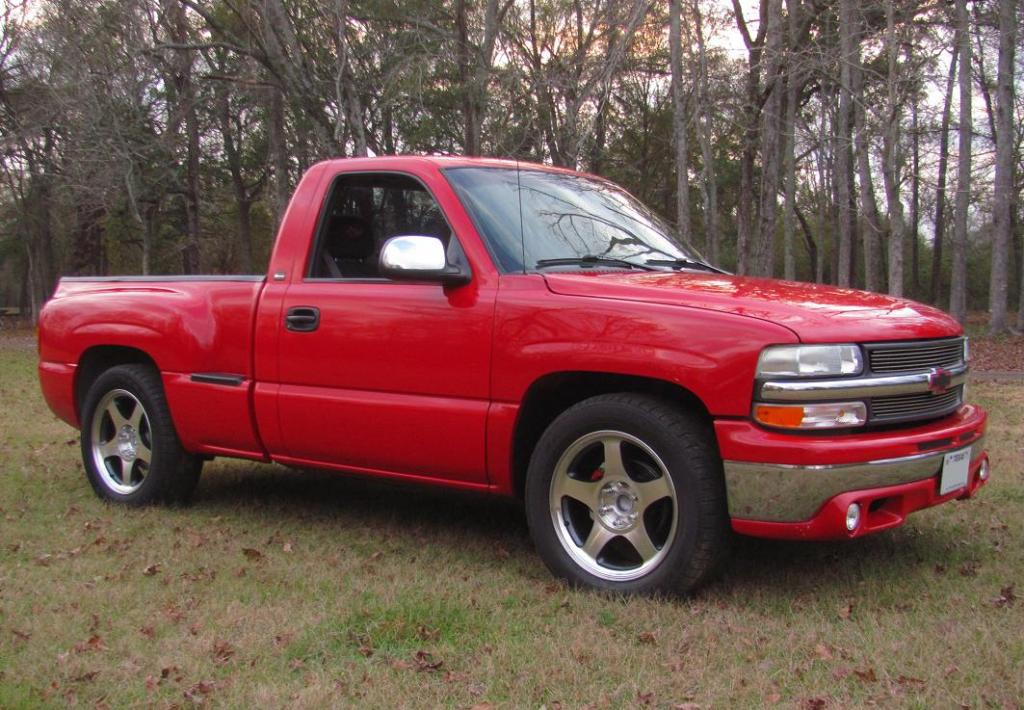
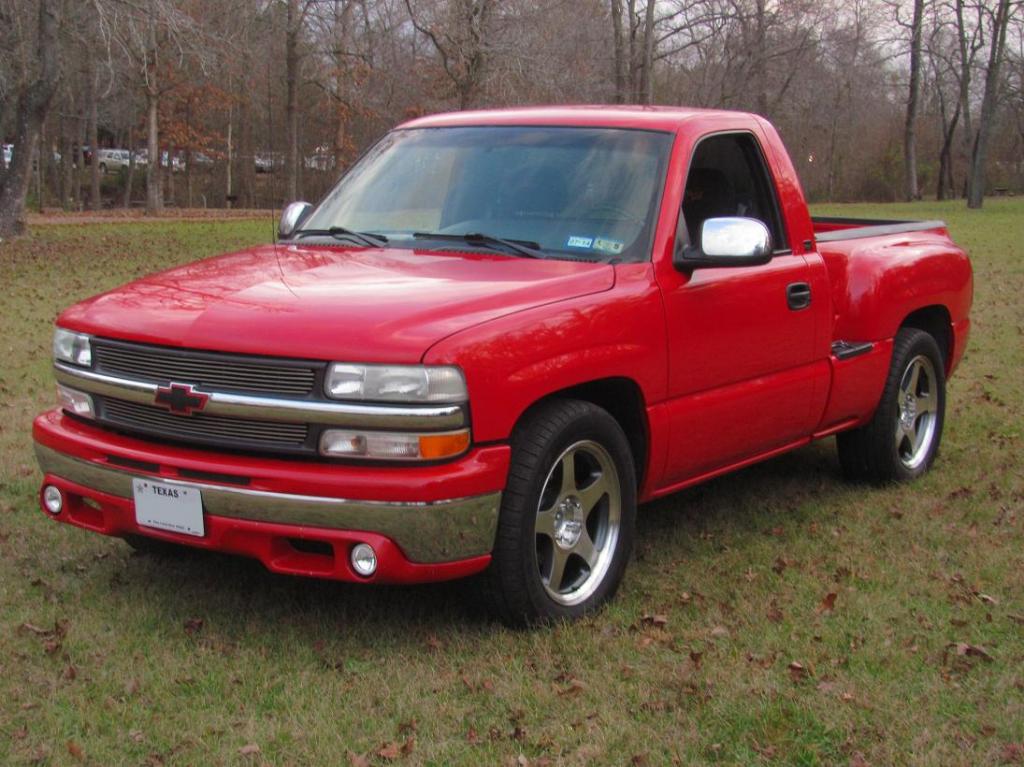
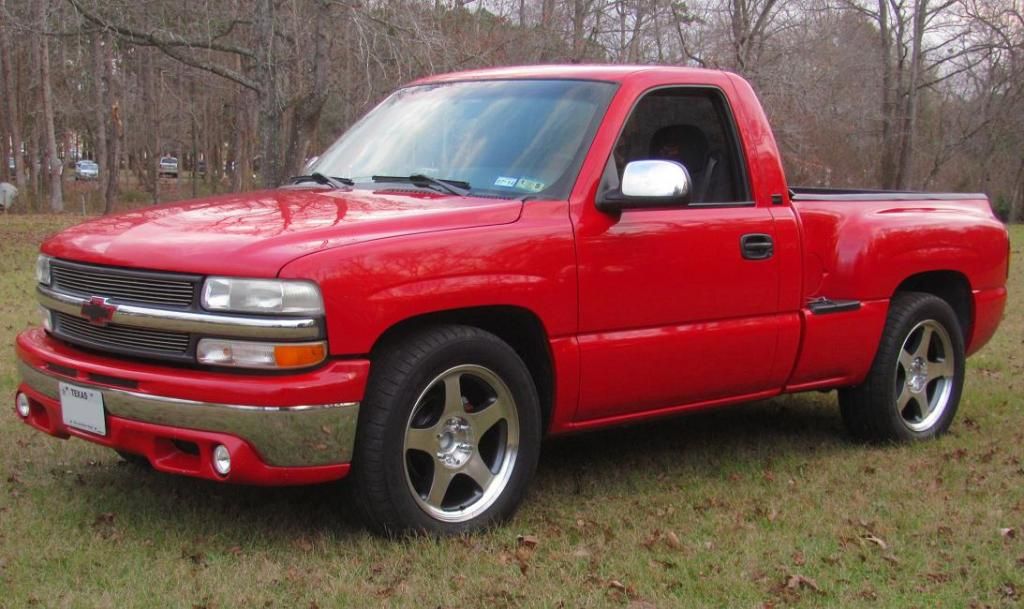
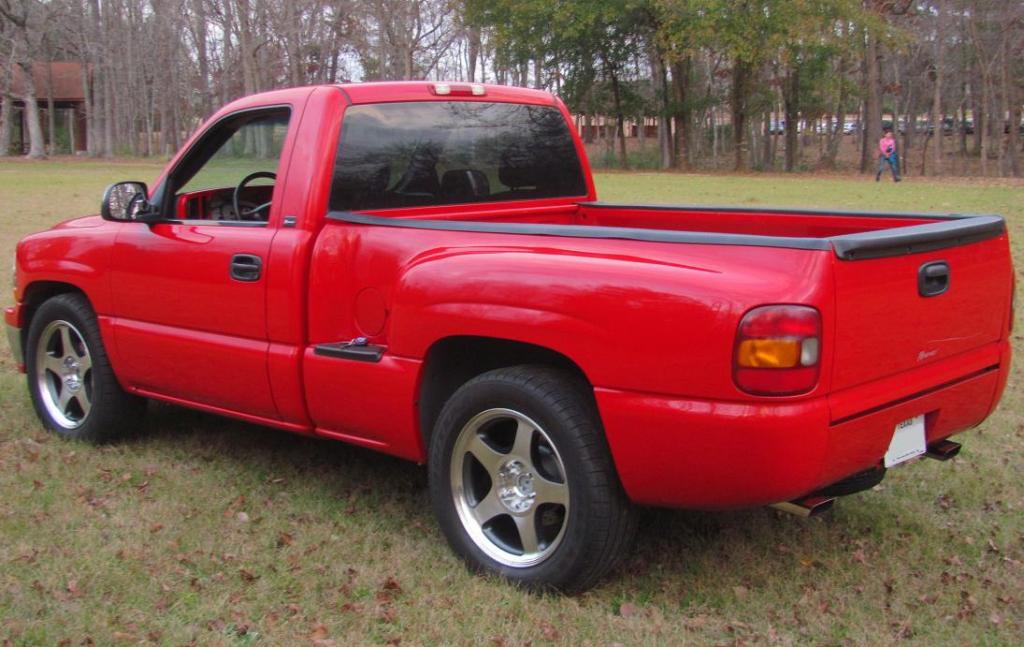
This is how it sat the day I brought it home in August of 2013 @ 119k miles.
When I bought it, the shocks were completely worn out, so the first thing in order was new shocks. Belltech's Street Performance Shocks were just what I wanted. ~120k miles
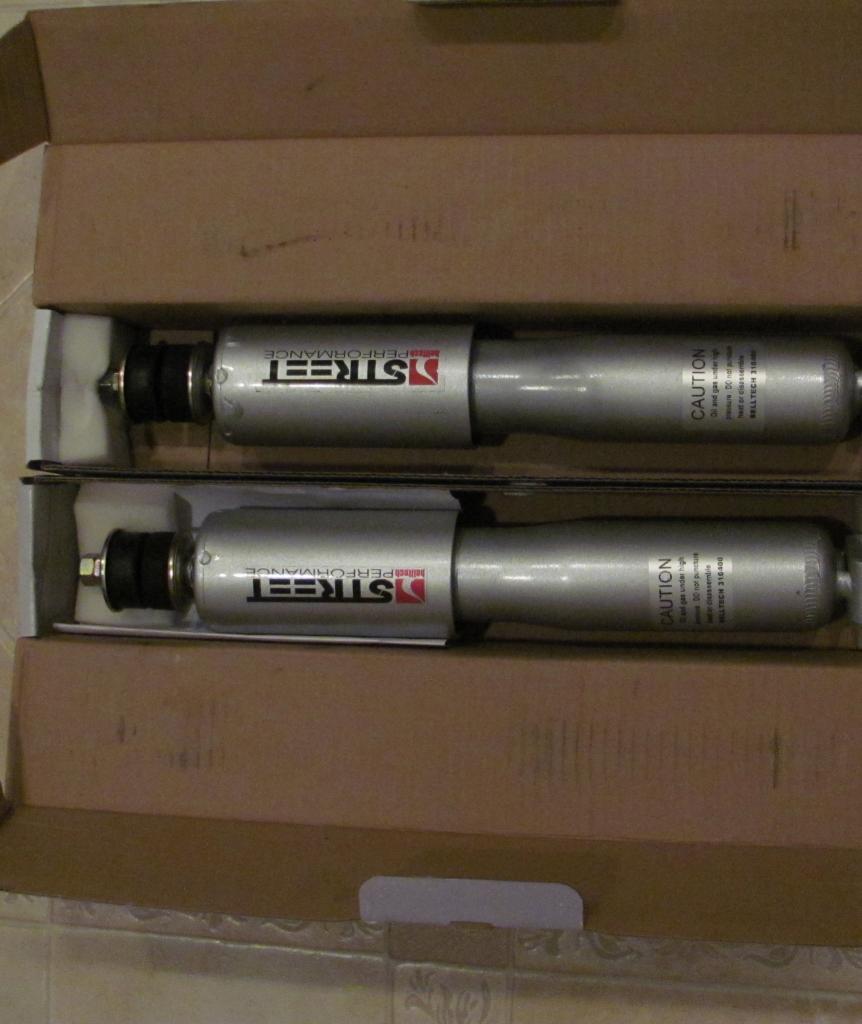
On blacktop roads they can be a bit rough but when the corners come, I wouldn't give up the firm ride for anything.
A few small things ~121k-~123k
Replaced lower driving lights
Replaced belt tensioner after it disintegrated
Summit drilled & slotted rotors at all four wheels
EBC Greenstuff pads
For the first semester I had it I drove it 120 miles every day round trip to college & work. After 6 months & 10,000 miles I got a new commuter so that I wasn't spending $400 a week in gas. For me this meant I didn't need the truck every day and projects could begin!
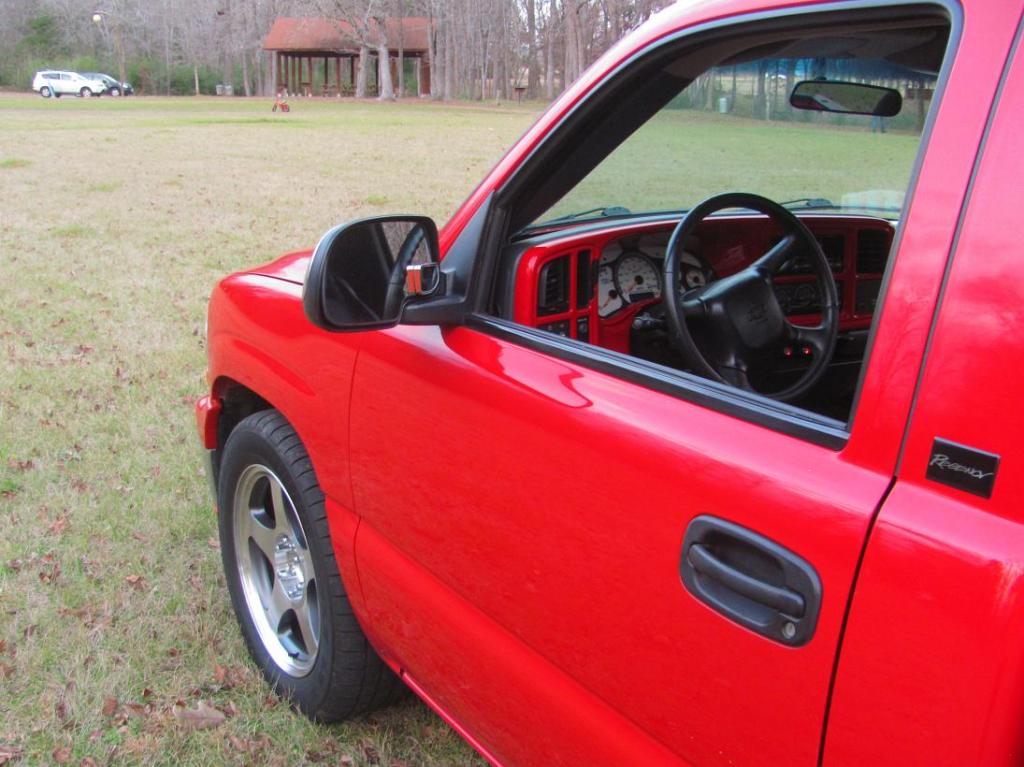
This first project started small: Plastidipped the solid red bowtie
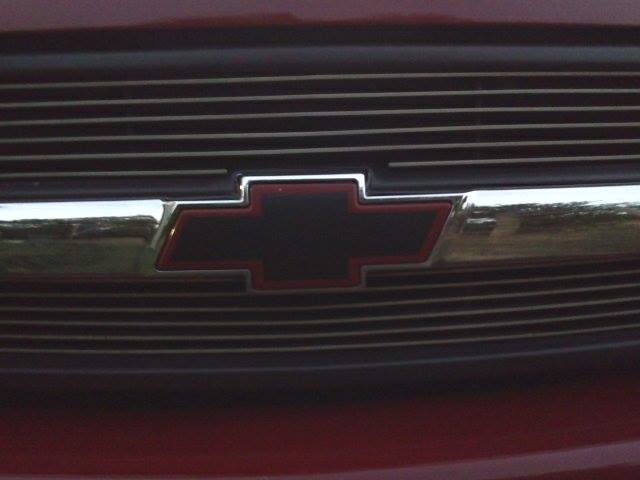
It's lasted over a year so maybe it should be painted like this
This is how it sat the day I brought it home in August of 2013 @ 119k miles.


When I bought it, the shocks were completely worn out, so the first thing in order was new shocks. Belltech's Street Performance Shocks were just what I wanted. ~120k miles

On blacktop roads they can be a bit rough but when the corners come, I wouldn't give up the firm ride for anything.
A few small things ~121k-~123k
Replaced lower driving lights
Replaced belt tensioner after it disintegrated
Summit drilled & slotted rotors at all four wheels
EBC Greenstuff pads
For the first semester I had it I drove it 120 miles every day round trip to college & work. After 6 months & 10,000 miles I got a new commuter so that I wasn't spending $400 a week in gas. For me this meant I didn't need the truck every day and projects could begin!
This first project started small: Plastidipped the solid red bowtie


It's lasted over a year so maybe it should be painted like this
Last edited by RedRegency; Dec 15, 2014 at 02:28 AM.
Dec 15, 2014 | 02:19 AM
#2
Thread Starter
Staging Lane
Joined: Sep 2013
Posts: 53
Likes: 0
From: Palestine Tx
The Next Project was a bit more involved. After seeing 1 truck with decladded wheels on it, I knew I needed them When I was looking at doing this myself, I couldn't find enough pictures to get a clear image what they would look like on my truck. That in mind, lotsa pictures inbound.
My goals were few:
-Get a knockoff Fiske FM5 look
-Spend as little money as necessary to get the job done correctly
-Keep the machined faces on the wheels (I prefer the machined look and less labor)
Sat on Craigslist for about 2 months with no results but in the beginning of June just so happened to see a set for sale.. on Facebook of all places. (No comment on FB for sale pages) $600 later and I had four 5 spoke Chevrolet cladded wheels and six tires.
*Disclaimer* There is no reason it should take anyone as long to declad a set of wheels as it took me.
All together, the whole process took between 4-5 months to complete. Between work and school, I had about 1-2 hours to work on them a day or sometimes 1 day a week. Shouldn't take a normal person anywhere near that to do the job. Also, these first photos I pulled from other's decladding projects as I lost my documentation from the first half of my project.
Started with 20 inch wheels identical to these
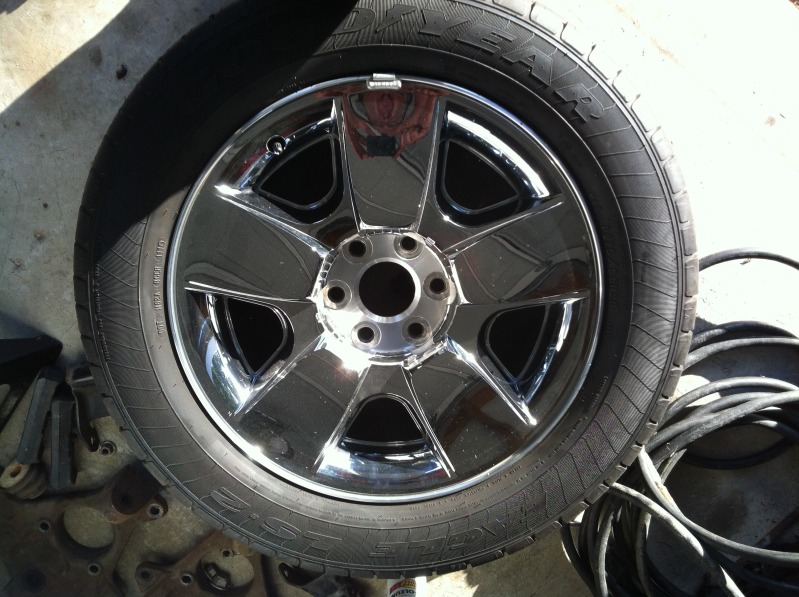
pop the plastic covers off
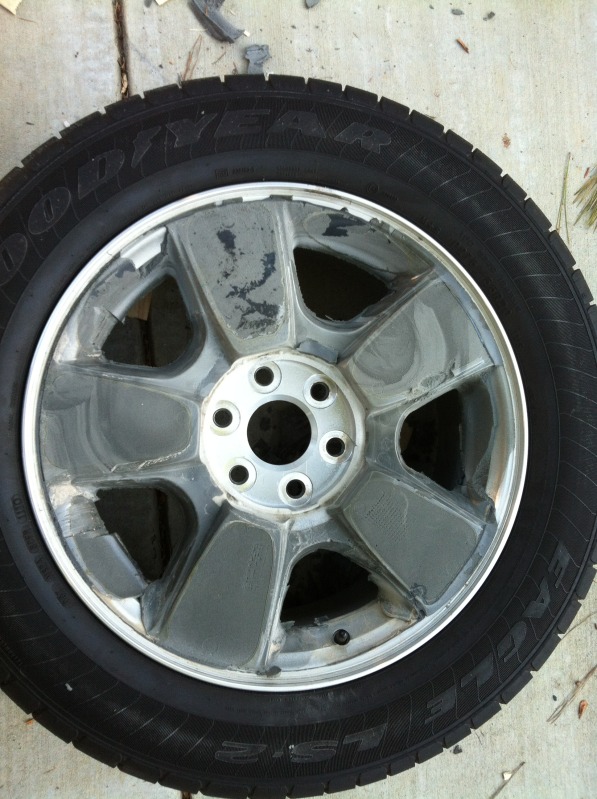
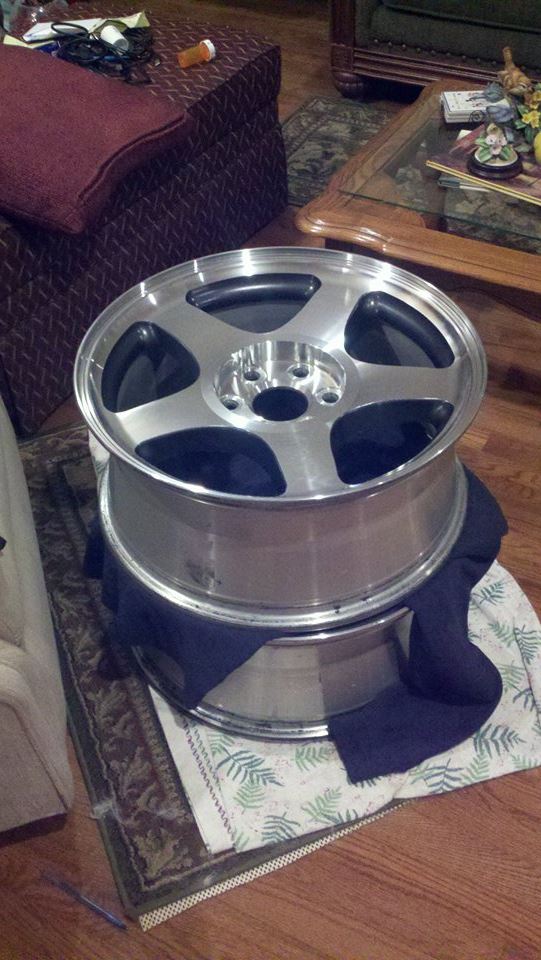
After most all the foam cement is off, you can see a decent lookin wheel was hiding underneath those things!
The next step took a very good power washer. The one down at the car wash didnt cut it for me, so we broke out the PW from storage. With the red rip, you can cut 2x4's cleanly- that made getting the rest of the cement off very easy. No sanding necessary.
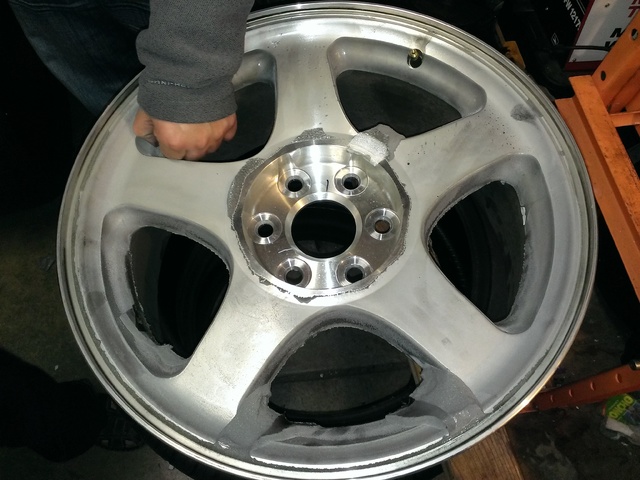
Whats left on the spokes in the picture above is a adhesive on top of the clearcoat GM sealed the wheels with before the cement. About four cycles of Aircraft Stripper and pressure washing left a beautiful machined surface much like that of the NBS 2500 factory wheels. With no garage, having a loving and supportive family makes it a whole lot easier to work on these things during November & December when they are inside the house.
Some corrosion was present on the wheel- namely from the hammer on wheel weights. This was the only part that required sanding in the whole project and just a little bit of wet sanding went a long ways.
Sorry for the potato quality pictures, they get better at the important parts.

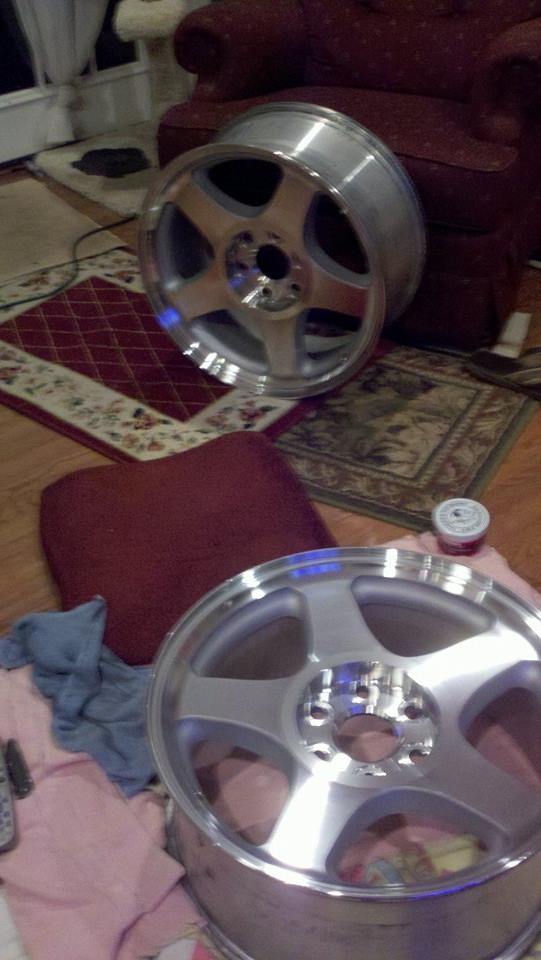
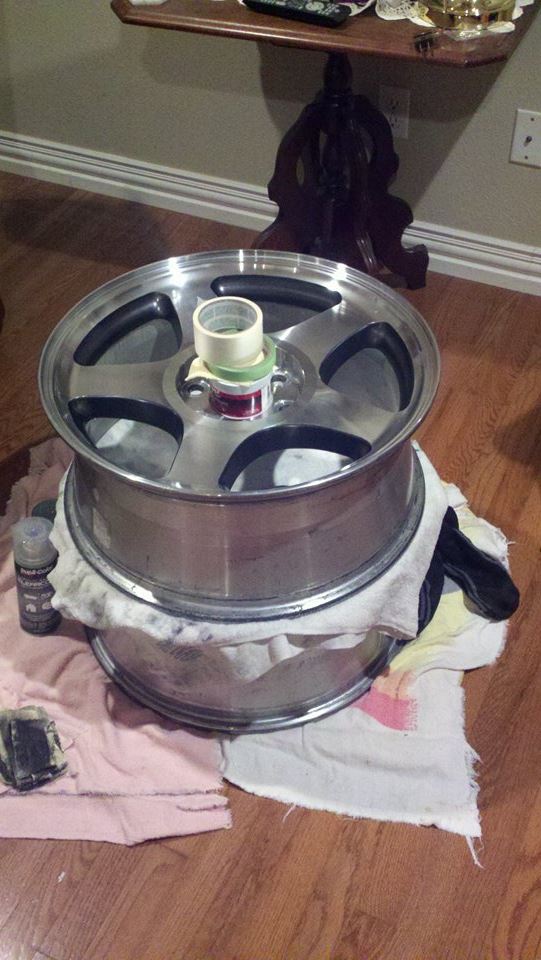
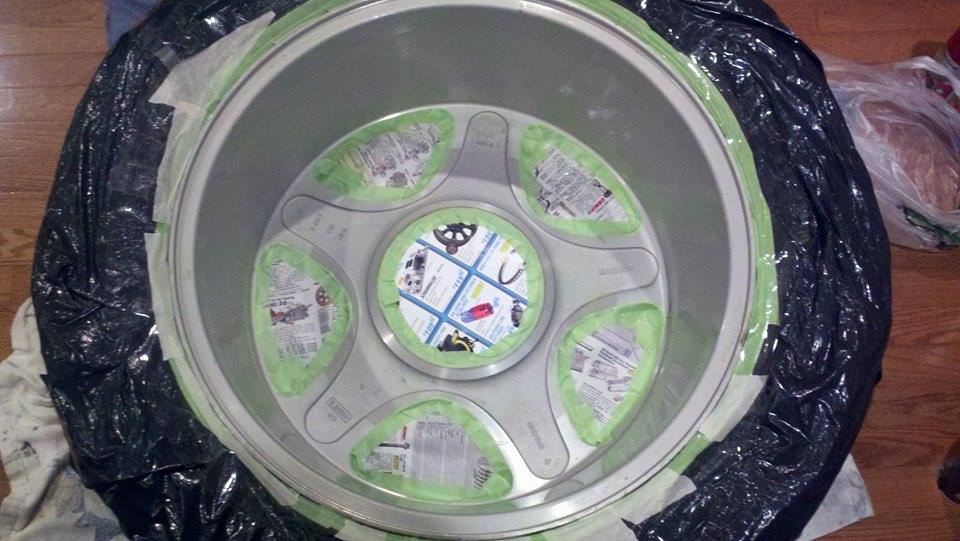
After wet sanding most all of the corrosion away and polishing every machined surface, Started taping off all of the polished surfaces (cat didnt help) for paint.
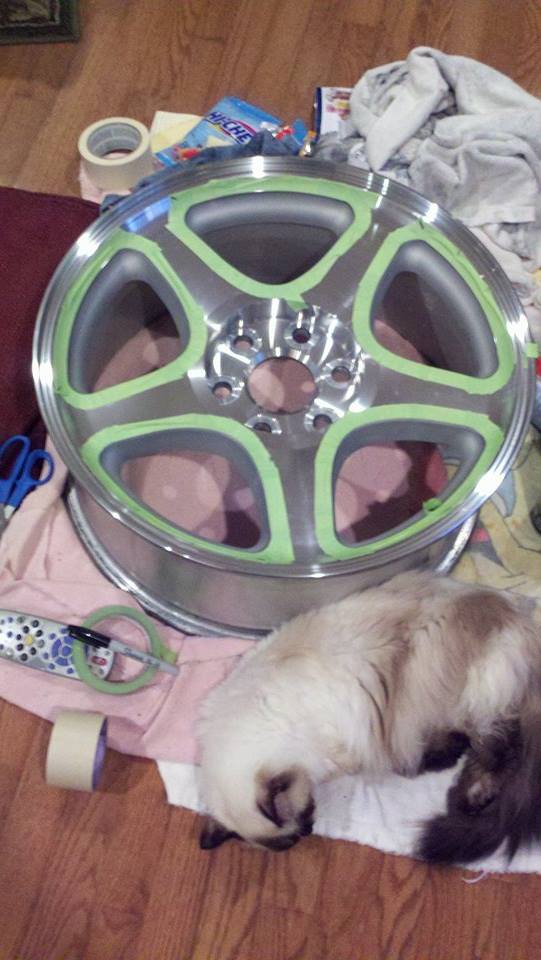
Toyota's BTY1619 Magnetic Gray Metallic went down really well.
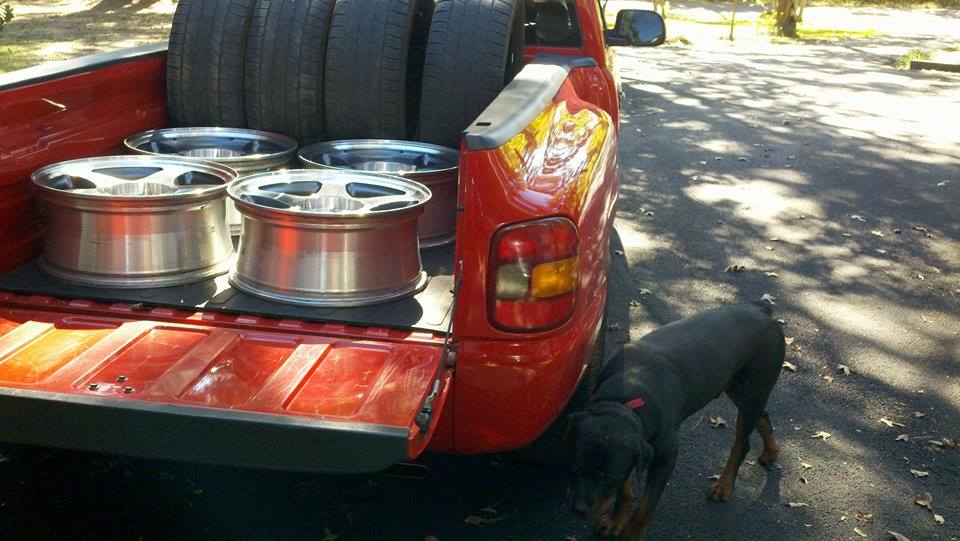
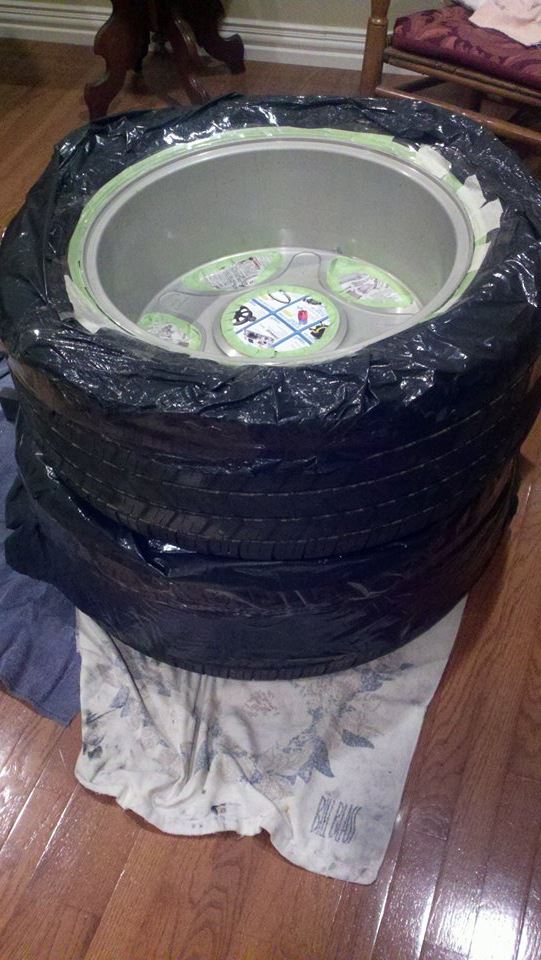
Up untill now I had the tires dismounted for easier handling, but I wanted the tires mounted before fresh paint went on. Took a short field trip to the tire shop
When the tires came back, did similar taping as the front, to avoid overspray.
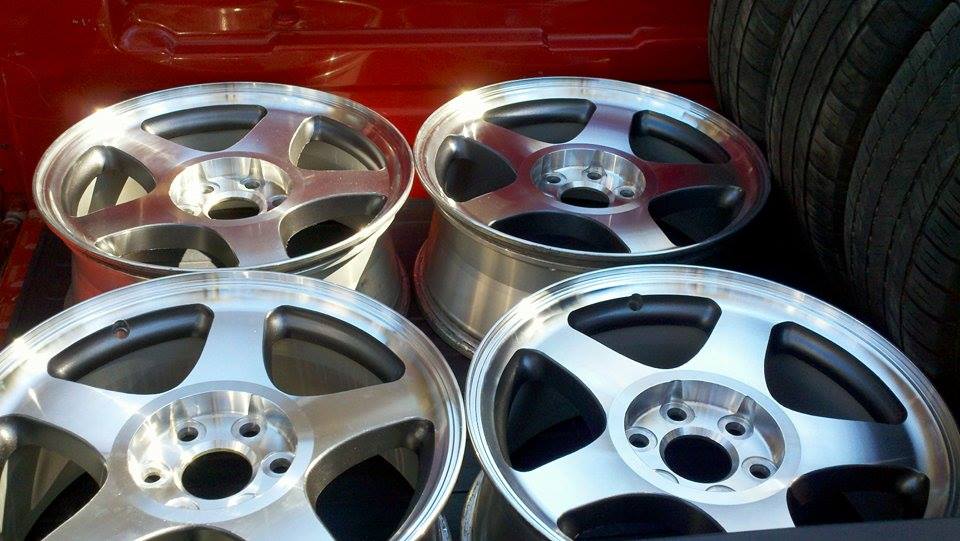
After 2 coats of primer, 4 coats of Met. Gray, 3 coats of clear on the painted parts, and 3 weeks to cure the paint, I sealed the wheels all the way around with Opticoat.
Meanwhile, Took time to clean up the new realestate with some red paint for the calipers and silver for the retainers and hubs.
Got too excited after this point and forgot to take any more pictures of the wheels off of the truck.
When I was looking at doing this myself, I couldn't find enough pictures to get a clear image what they would look like on my truck. That in mind, lotsa pictures inbound.My goals were few:
-Get a knockoff Fiske FM5 look
-Spend as little money as necessary to get the job done correctly
-Keep the machined faces on the wheels (I prefer the machined look and less labor)
Sat on Craigslist for about 2 months with no results but in the beginning of June just so happened to see a set for sale.. on Facebook of all places. (No comment on FB for sale pages) $600 later and I had four 5 spoke Chevrolet cladded wheels and six tires.
*Disclaimer* There is no reason it should take anyone as long to declad a set of wheels as it took me.
All together, the whole process took between 4-5 months to complete. Between work and school, I had about 1-2 hours to work on them a day or sometimes 1 day a week. Shouldn't take a normal person anywhere near that to do the job. Also, these first photos I pulled from other's decladding projects as I lost my documentation from the first half of my project.
Started with 20 inch wheels identical to these


pop the plastic covers off

After most all the foam cement is off, you can see a decent lookin wheel was hiding underneath those things!

The next step took a very good power washer. The one down at the car wash didnt cut it for me, so we broke out the PW from storage. With the red rip, you can cut 2x4's cleanly- that made getting the rest of the cement off very easy. No sanding necessary.
Whats left on the spokes in the picture above is a adhesive on top of the clearcoat GM sealed the wheels with before the cement. About four cycles of Aircraft Stripper and pressure washing left a beautiful machined surface much like that of the NBS 2500 factory wheels. With no garage, having a loving and supportive family makes it a whole lot easier to work on these things during November & December when they are inside the house.
Some corrosion was present on the wheel- namely from the hammer on wheel weights. This was the only part that required sanding in the whole project and just a little bit of wet sanding went a long ways.
Sorry for the potato quality pictures, they get better at the important parts.


After wet sanding most all of the corrosion away and polishing every machined surface, Started taping off all of the polished surfaces (cat didnt help) for paint.

Toyota's BTY1619 Magnetic Gray Metallic went down really well.


Up untill now I had the tires dismounted for easier handling, but I wanted the tires mounted before fresh paint went on. Took a short field trip to the tire shop


When the tires came back, did similar taping as the front, to avoid overspray.


After 2 coats of primer, 4 coats of Met. Gray, 3 coats of clear on the painted parts, and 3 weeks to cure the paint, I sealed the wheels all the way around with Opticoat.
Meanwhile, Took time to clean up the new realestate with some red paint for the calipers and silver for the retainers and hubs.

Got too excited after this point and forgot to take any more pictures of the wheels off of the truck.
Last edited by RedRegency; Dec 15, 2014 at 02:28 AM. Reason: forgot crap
Dec 15, 2014 | 02:22 AM
#3
Thread Starter
Staging Lane
Joined: Sep 2013
Posts: 53
Likes: 0
From: Palestine Tx
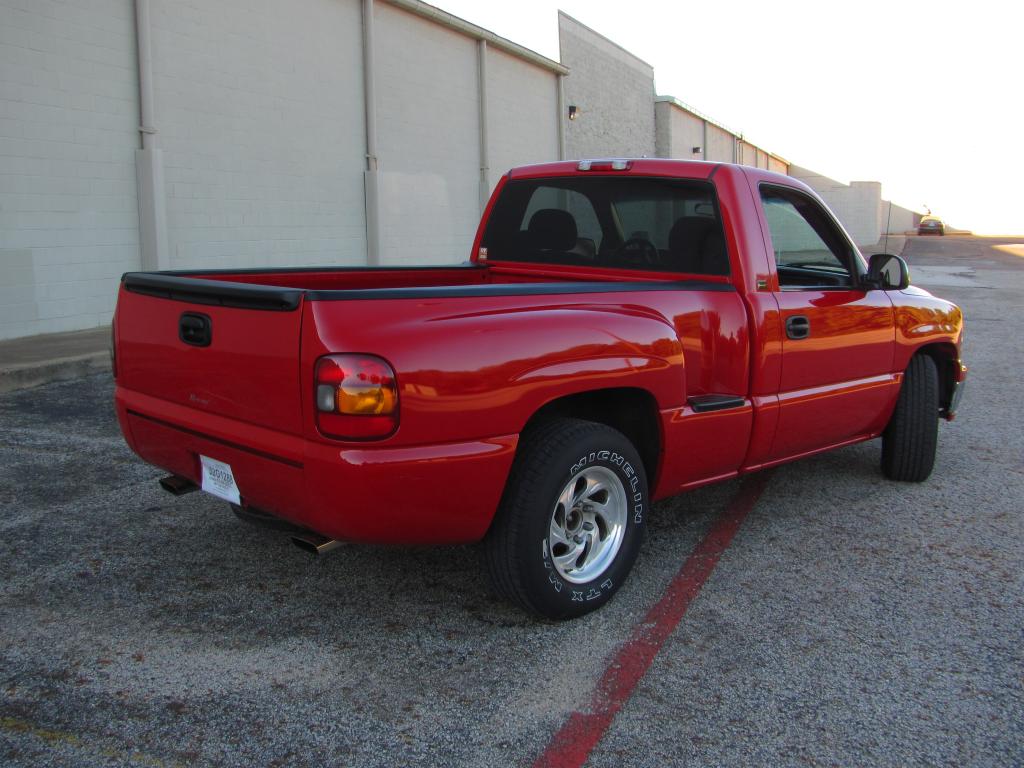
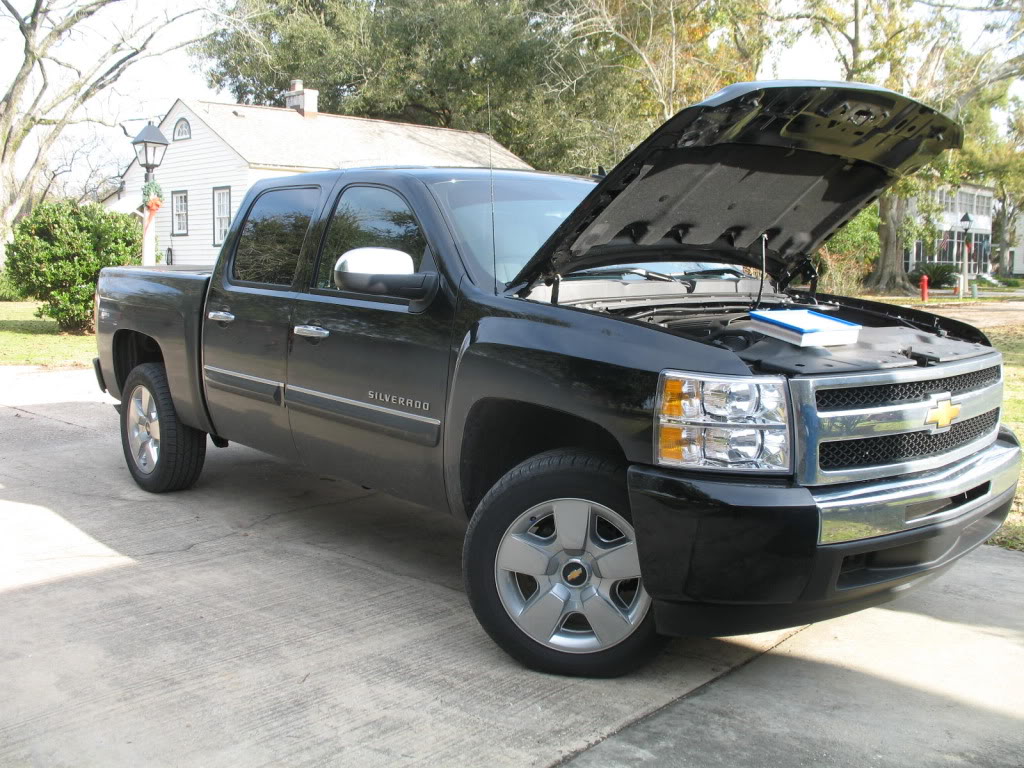
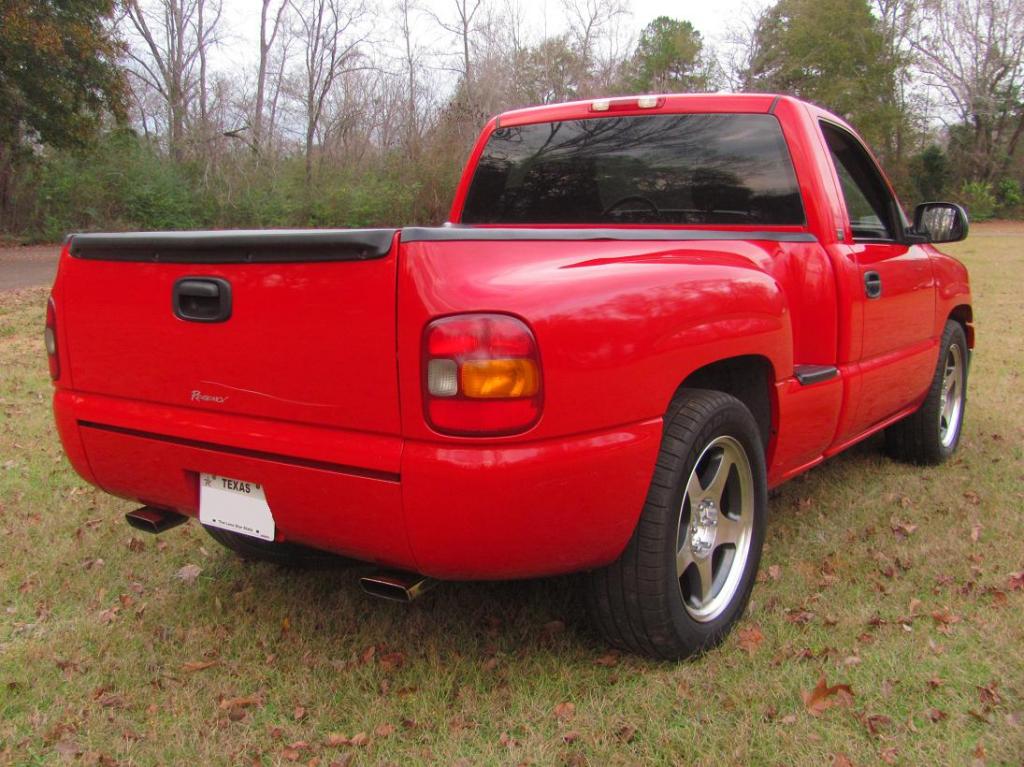
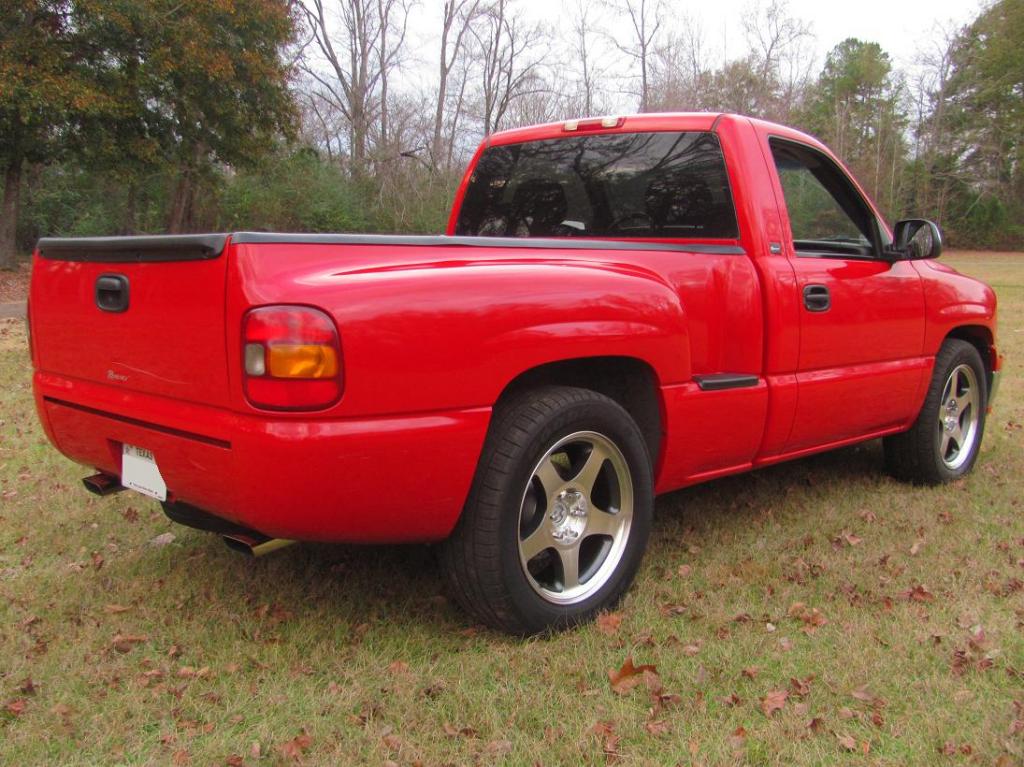
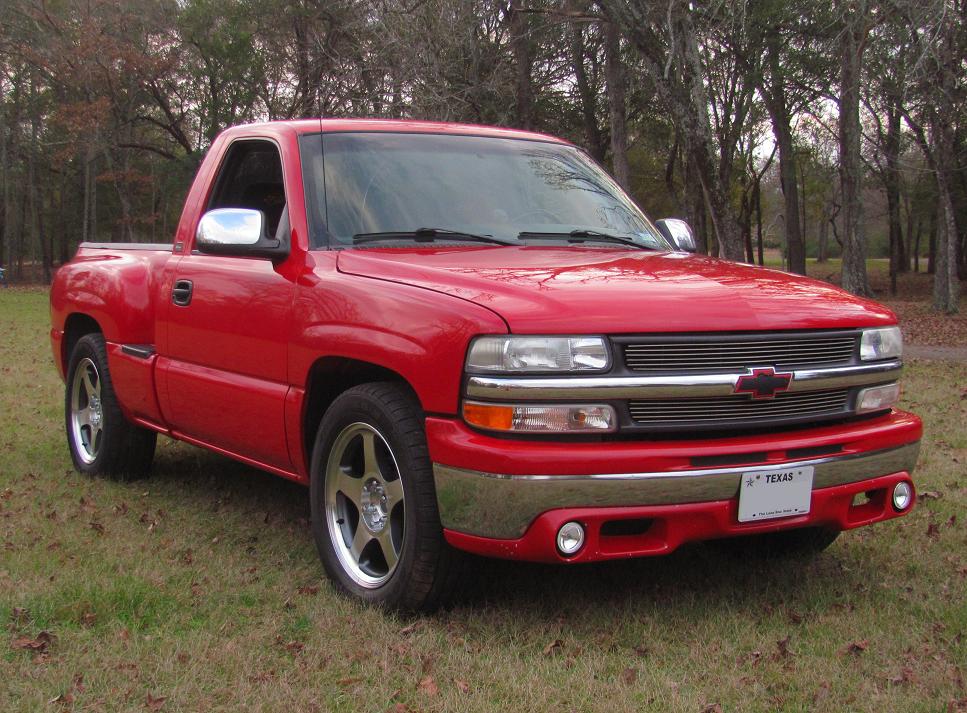
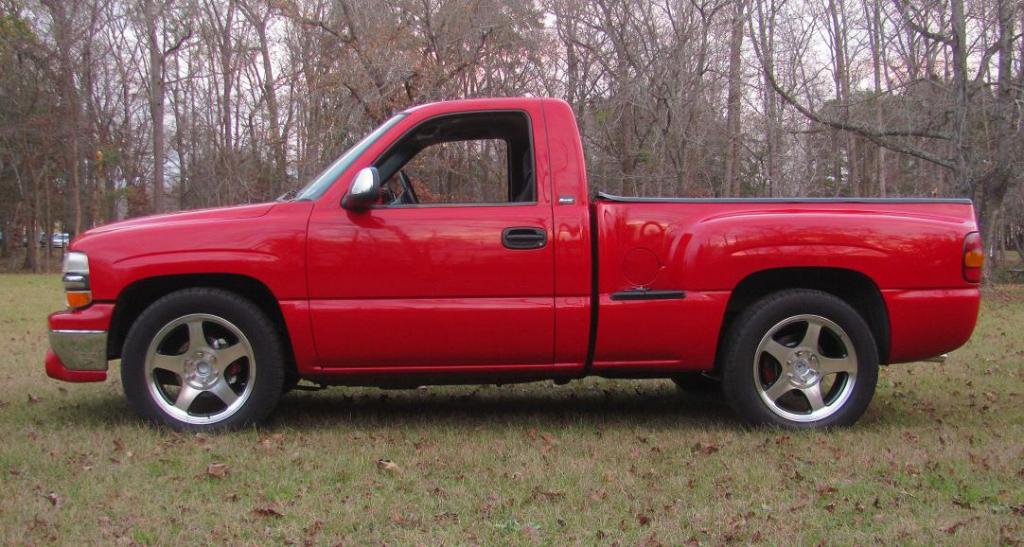
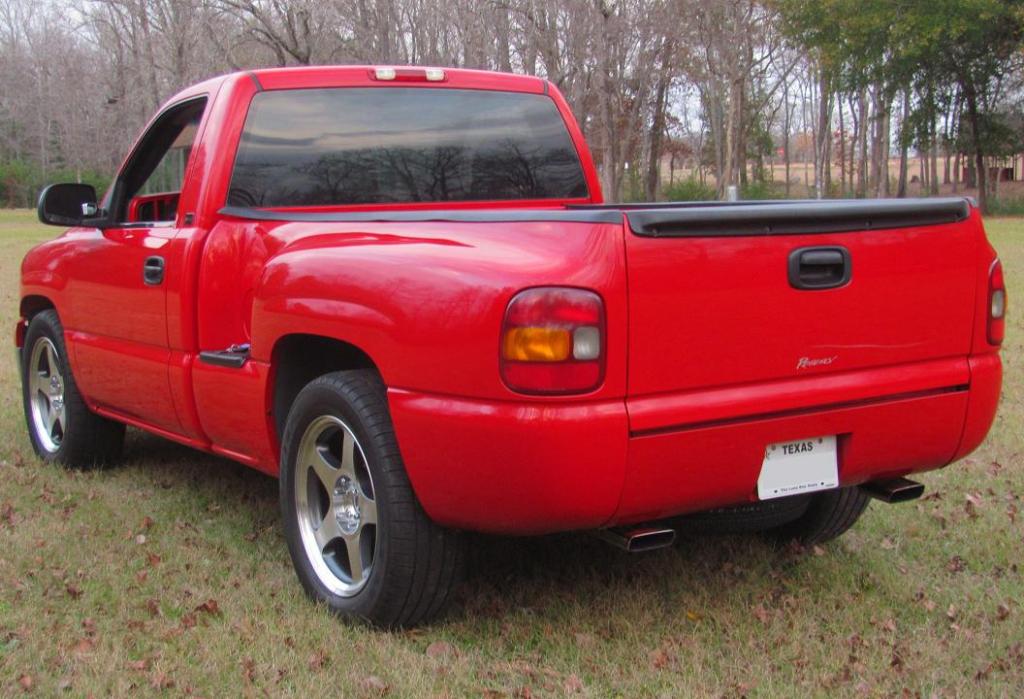
This is it currently- 130k miles
If you were like I were- uncertain how decladded 20 inch Chevy wheels would look on your NBS- now you have no excuse. For reference my truck has a 1/2 drop
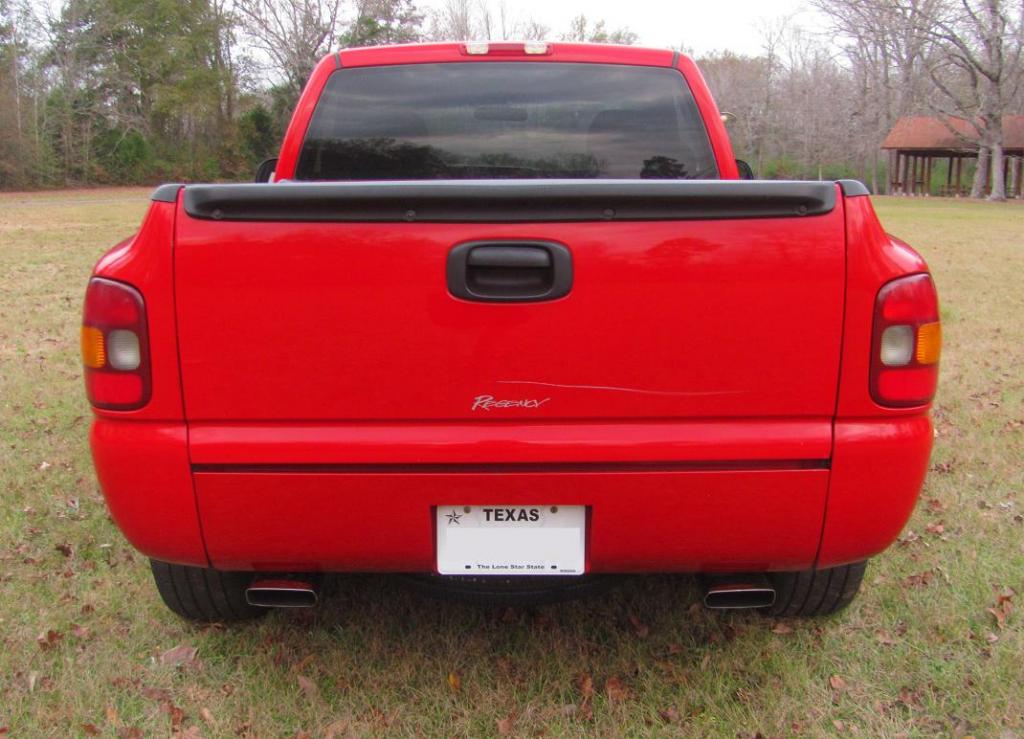
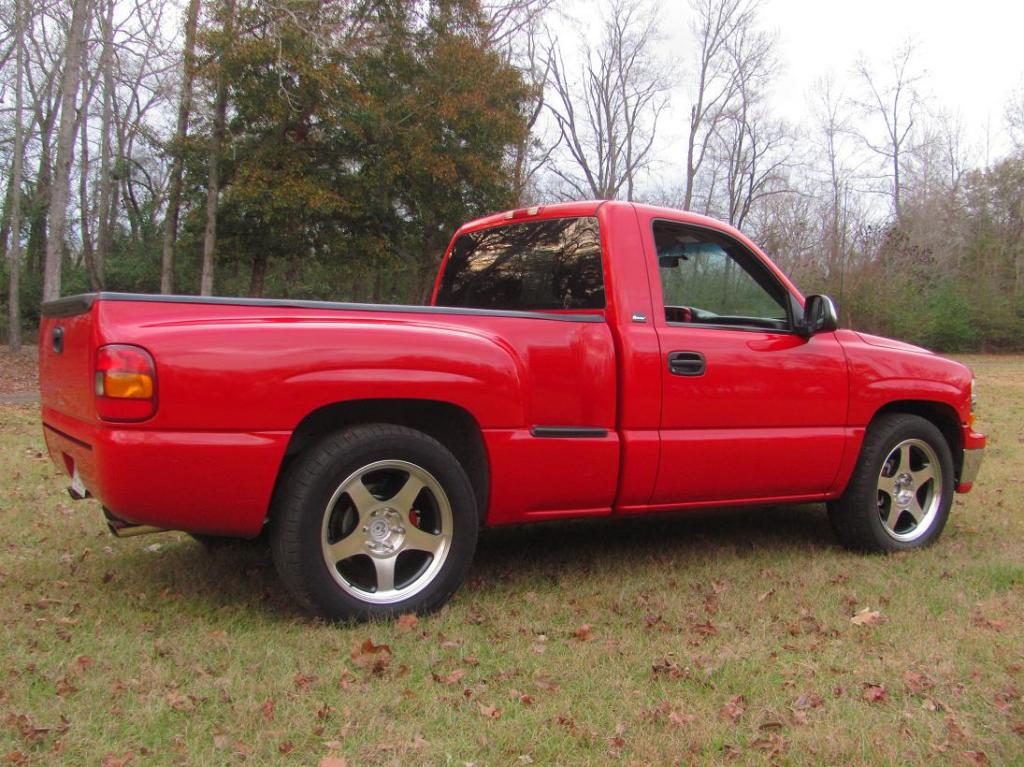
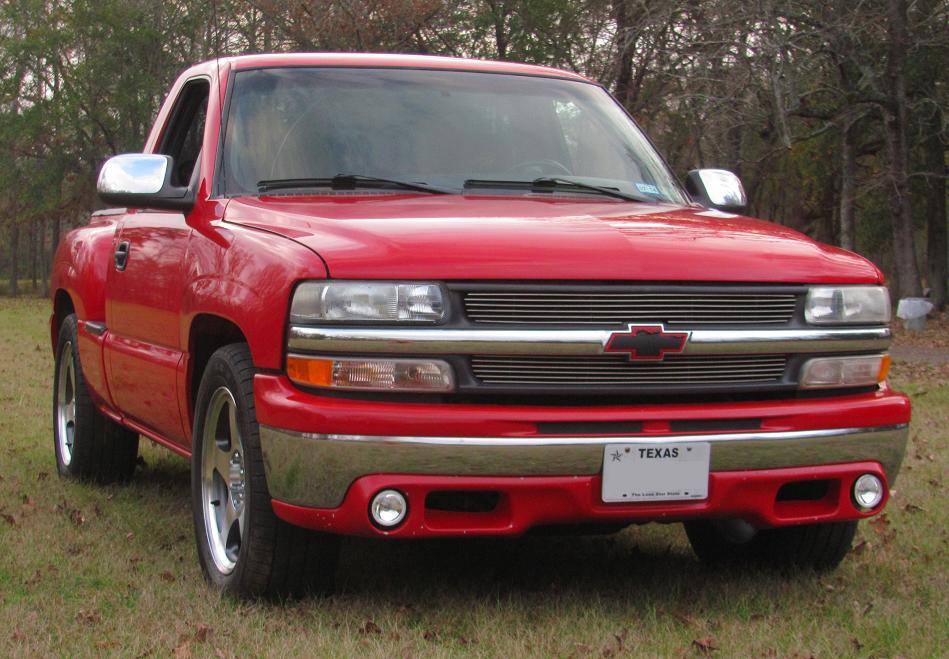

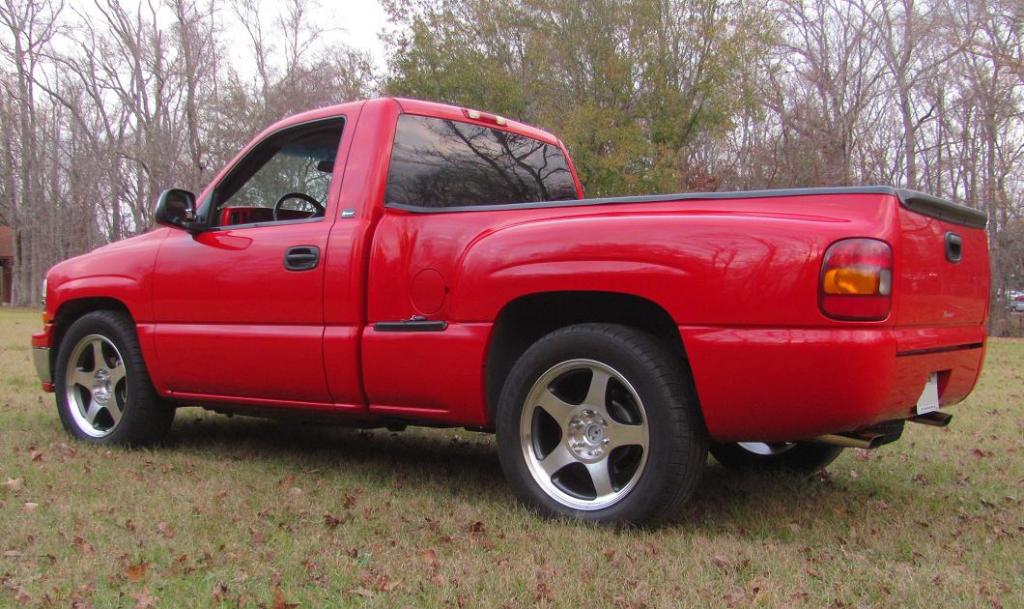
And my personal favorite:
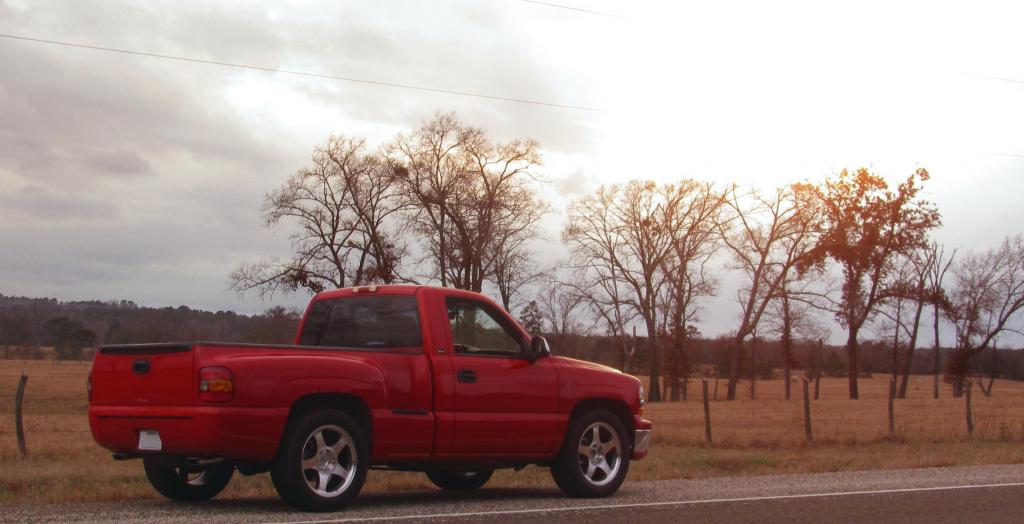
If you were like I were- uncertain how decladded 20 inch Chevy wheels would look on your NBS- now you have no excuse. For reference my truck has a 1/2 drop


And my personal favorite:


Thread
Thread Starter
Forum
Replies
Last Post
trxmxzx
GMT 800 & Older GM General Discussion
10
Sep 23, 2015 09:15 PM
ice17
GM Parts Classifieds
5
Sep 22, 2015 05:18 PM
69z-28
GM Drivetrain & Suspension
17
Sep 21, 2015 07:31 AM

