PROJECTS GALLERY Vehicle builds | Engine Swaps | Conversions | Installation write ups |
Sponsored by:
Sponsored by: CARiD

Next stage of the build

Thread Tools
 
Search this Thread
 
Old Oct 11, 2007 | 08:29 PM
  #41  
leftcoast32's Avatar
Thread Starter
FormerVendor
iTrader: (4)
 
Joined: Aug 2005
Posts: 1,940
Likes: 0
Default

Race Gas burns real nice and clean.
Reply
Old Oct 11, 2007 | 10:01 PM
  #42  
BlownChevy's Avatar
blownerator
25 Year Member
iTrader: (20)
 
Joined: Mar 1986
Posts: 18,749
Likes: 8
From: Chatsworth, CA
Default

Looking good Joe....I am sure you will be added to the list of big HP Maggie guys!
Reply
Old Oct 12, 2007 | 09:26 PM
  #43  
leftcoast32's Avatar
Thread Starter
FormerVendor
iTrader: (4)
 
Joined: Aug 2005
Posts: 1,940
Likes: 0
Default

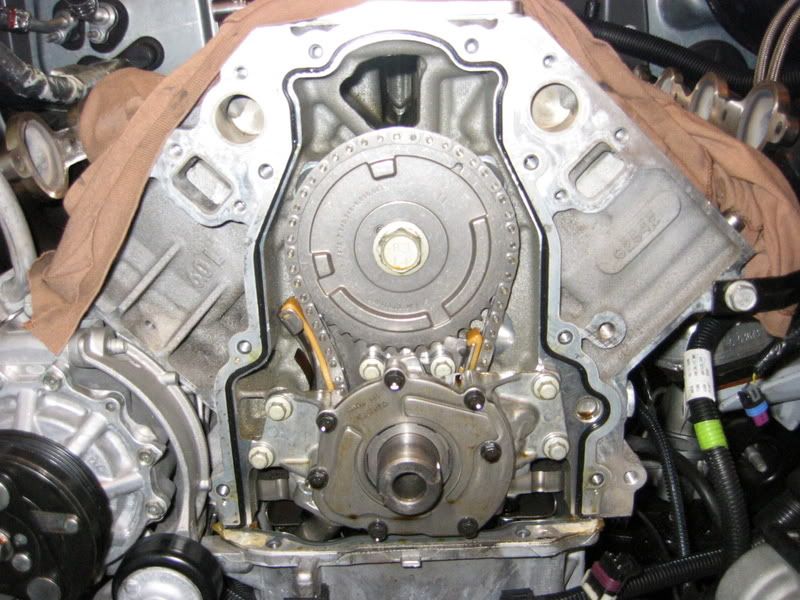
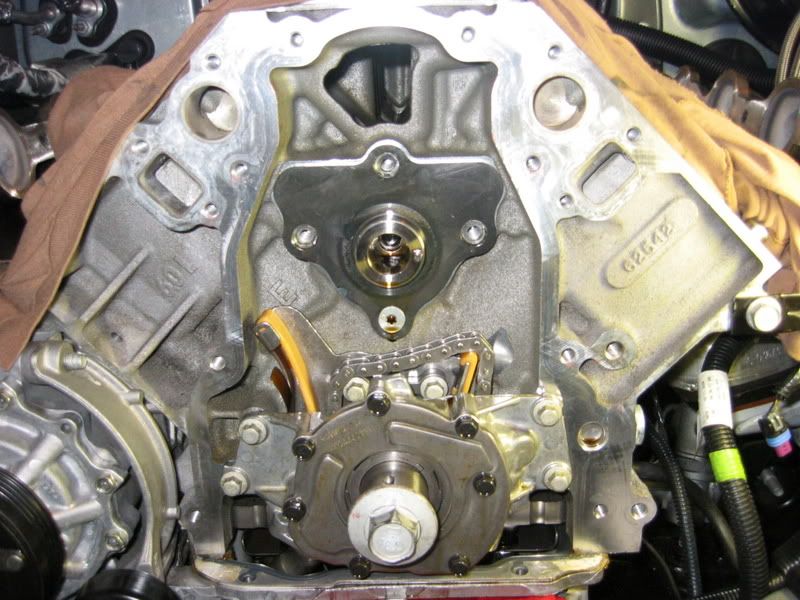
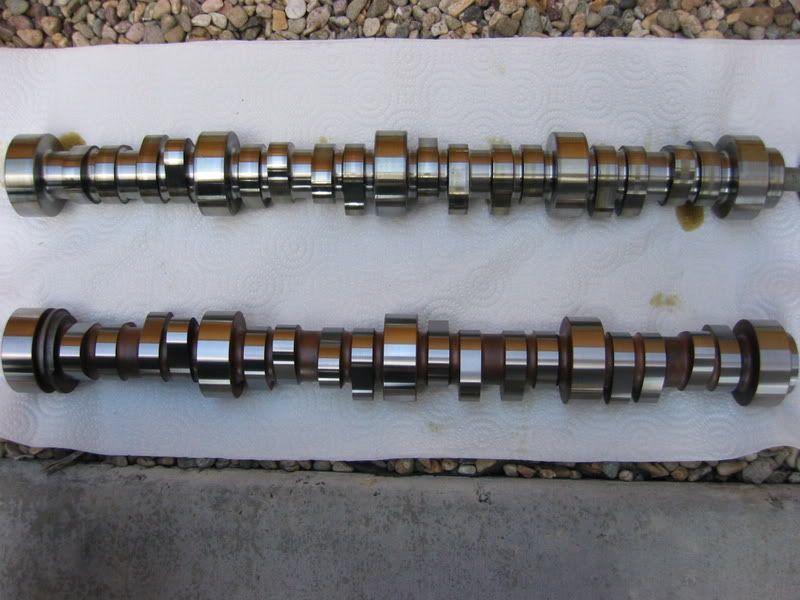
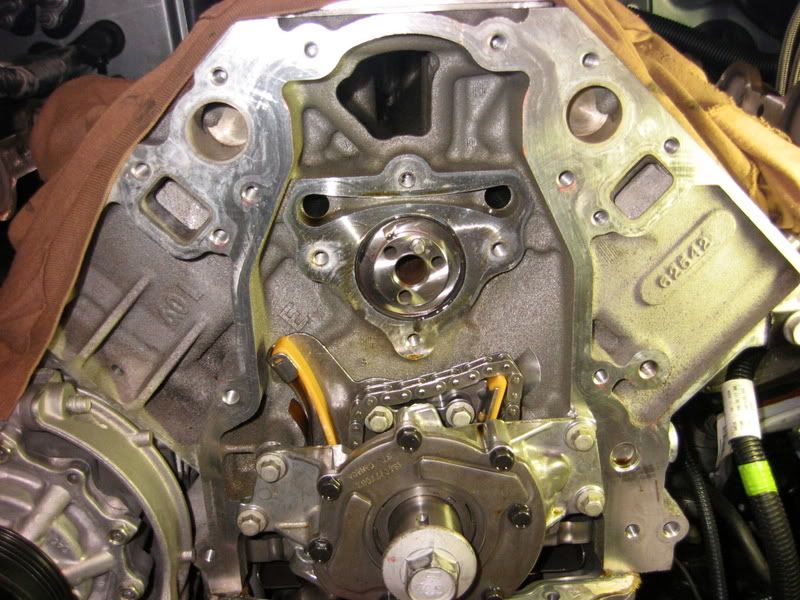
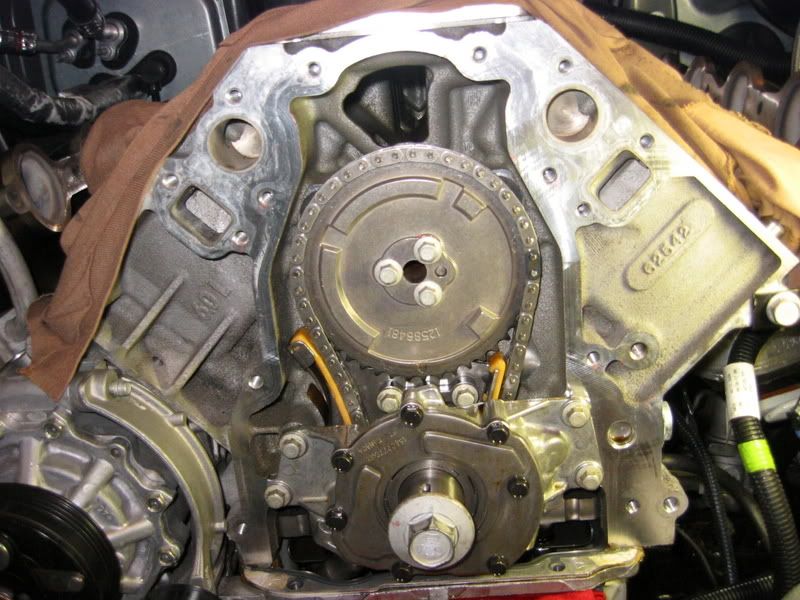
I was able to get the Cam installed today. I had to convert the Cam Timing Gear to the older style 3 bolt from the new single bolt design. Lingenfelter sells the kit if you need it.

I also tested the heads for Piston to Valve Clearance. I was getting interference with the Intake Valve and the edge of the Intake Valve Relief in the pistons. I will have to work on the pistons to gain the clearance necessary.


Reply
Old Oct 13, 2007 | 02:24 AM
  #44  
rpav's Avatar
Launching!
iTrader: (15)
 
Joined: Apr 2007
Posts: 250
Likes: 0
From: Fontana, CA
Default

u wanna come do mine when your finished
Reply
Old Oct 13, 2007 | 08:22 PM
  #45  
leftcoast32's Avatar
Thread Starter
FormerVendor
iTrader: (4)
 
Joined: Aug 2005
Posts: 1,940
Likes: 0
Default

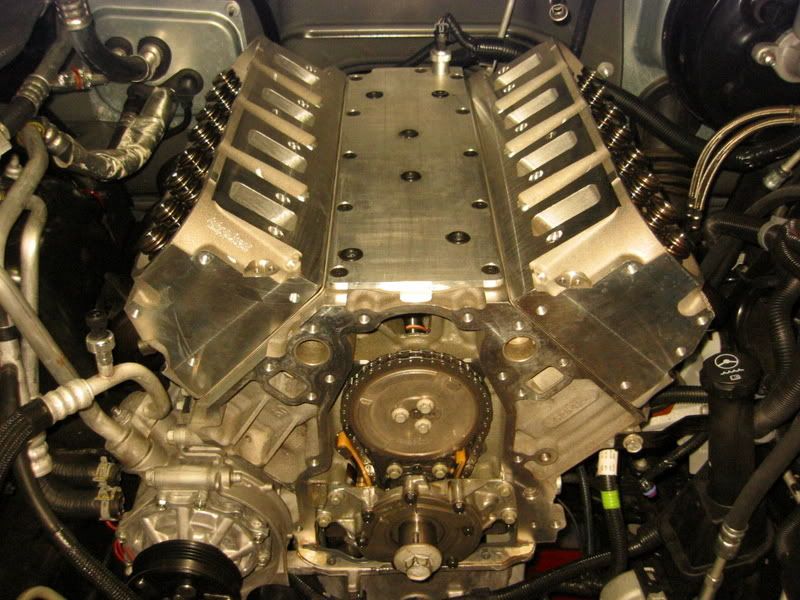
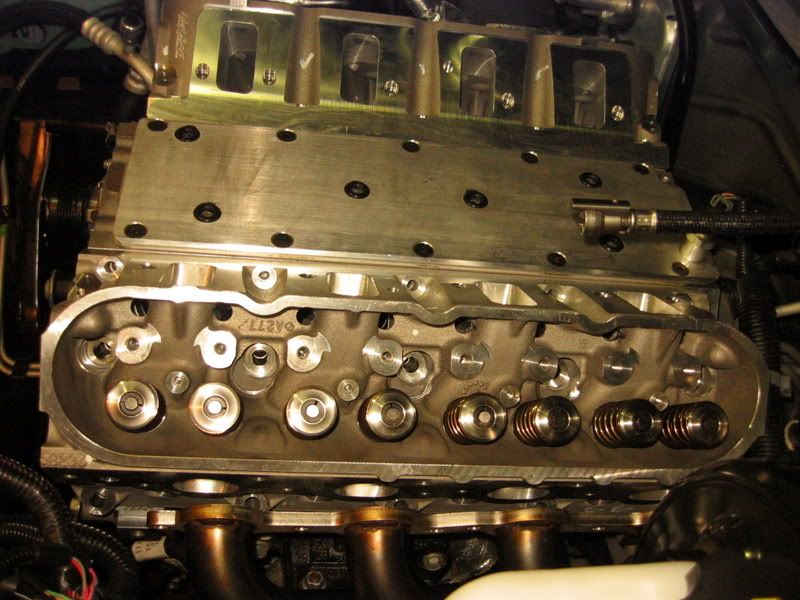
I was able to get the work done to the Valve Reliefs in the pistons. Checked everything again and all the clearances are perfect. Then I installed the new Cometic Head Gaskets and the L92 Heads. I need to reinstall all the ARP Head Studs and double check the pushrod lengths one more time.


Reply
Old Oct 13, 2007 | 08:41 PM
  #46  
BlownChevy's Avatar
blownerator
25 Year Member
iTrader: (20)
 
Joined: Mar 1986
Posts: 18,749
Likes: 8
From: Chatsworth, CA
Default

those are some purdy heads you got there.
Reply
Old Oct 13, 2007 | 08:48 PM
  #47  
leftcoast32's Avatar
Thread Starter
FormerVendor
iTrader: (4)
 
Joined: Aug 2005
Posts: 1,940
Likes: 0
Default

Originally Posted by BlownChevy
those are some purdy heads you got there.

Thanks!! Richard and the crew at WCCH did a great job on these heads.
Reply
Old Oct 13, 2007 | 08:50 PM
  #48  
moregrip's Avatar
what a rush!
20 Year Member
Loved
Liked
Community Favorite
iTrader: (8)
 
Joined: Feb 2004
Posts: 17,629
Likes: 33
From: Wyoming
Default

sweet, how did the cutting go, which bits did you end up using? and where are the pics yo?
Reply
Old Oct 13, 2007 | 08:56 PM
  #49  
leftcoast32's Avatar
Thread Starter
FormerVendor
iTrader: (4)
 
Joined: Aug 2005
Posts: 1,940
Likes: 0
Default

Originally Posted by moregrip
sweet, how did the cutting go, which bits did you end up using? and where are the pics yo?

I ended up using the bit that I purchased at Sears yesterday. It made the cleanest cut. It took longer to tape everything up then it did to cut the intake reliefs. I would have taken pictures but you cant tell it has been done. I used a caliper and marked them .050 off the current radius and then cut and sanded them one at a time.
Reply
Old Oct 13, 2007 | 08:59 PM
  #50  
moregrip's Avatar
what a rush!
20 Year Member
Loved
Liked
Community Favorite
iTrader: (8)
 
Joined: Feb 2004
Posts: 17,629
Likes: 33
From: Wyoming
Default

Originally Posted by 2005SSR6Speed
I ended up using the bit that I purchased at Sears yesterday. It made the cleanest cut. It took longer to tape everything up then it did to cut the intake reliefs. I would have taken pictures but you cant tell it has been done. I used a caliper and marked them .050 off the current radius and then cut and sanded them one at a time.
good deal, glad it all worked out well for you
Reply


All times are GMT -5. The time now is 03:52 AM.