


Bassani Mid Length Header Install
 Mar 7, 2011 | 02:02 PM
#1
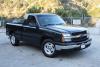
Thread Starter

Joined: Oct 2009
Posts: 991
Likes: 4
From: West Jordan, UT
 Bassani Mid Length Header Install
Part 1:
Well I finally got my headers in and the rest of my exhaust installed. Had to modify and fab a little to get them in, but it all went pretty smooth. So, here it goes:
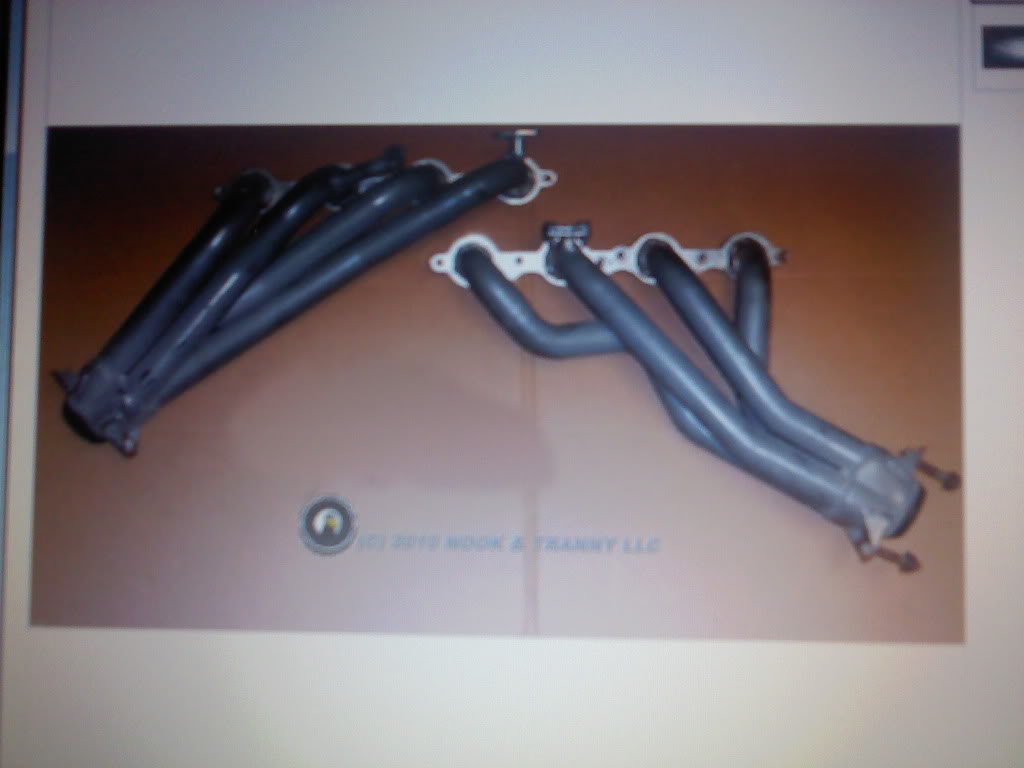
This is how they looked when I got them, actually an Ebay posting picture. These headers were off a 2001 Silverado, with AIR and EGR.
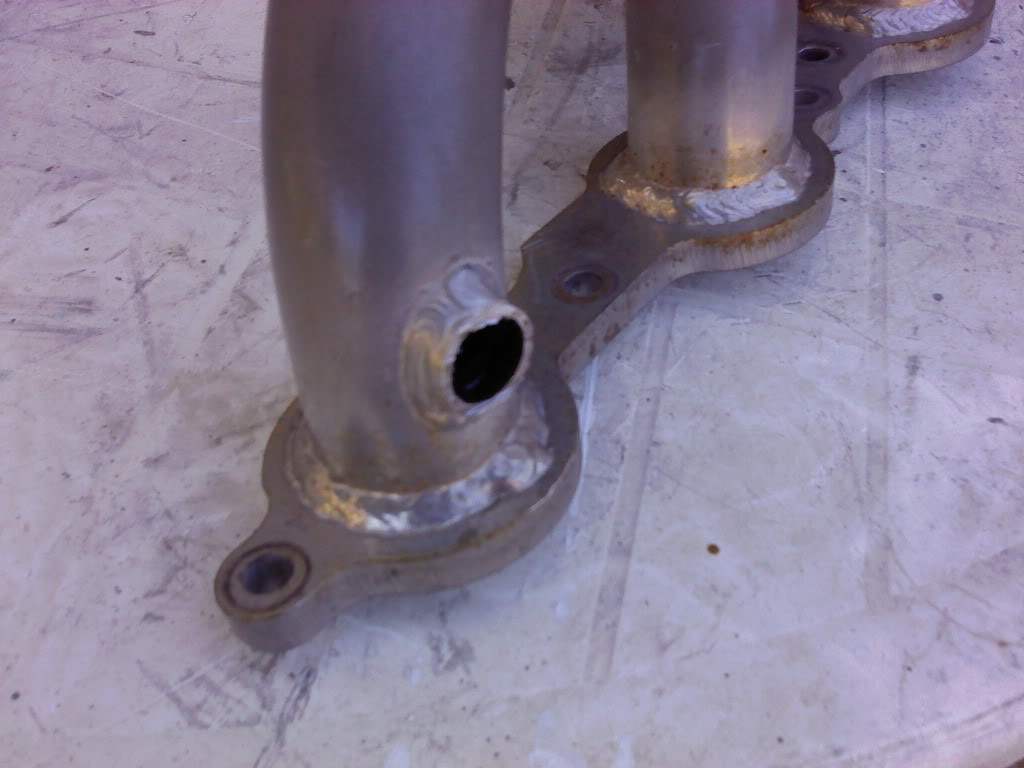
My truck doesn't have EGR or AIR, so I cut off the flanges...
And ground everything smooth
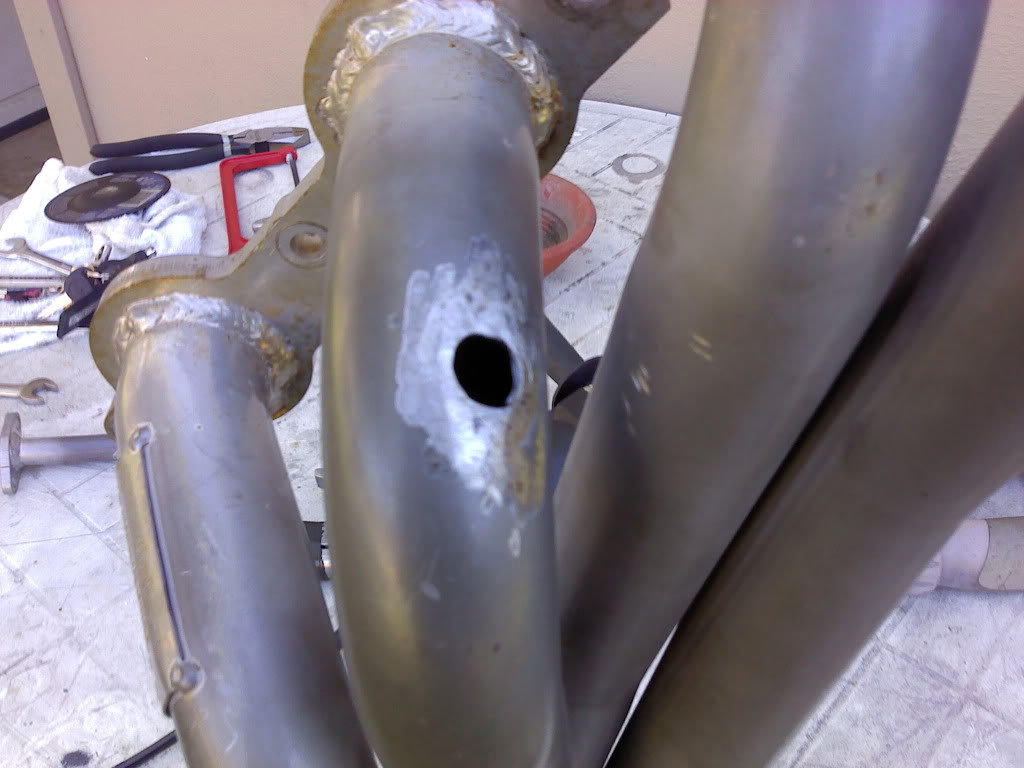

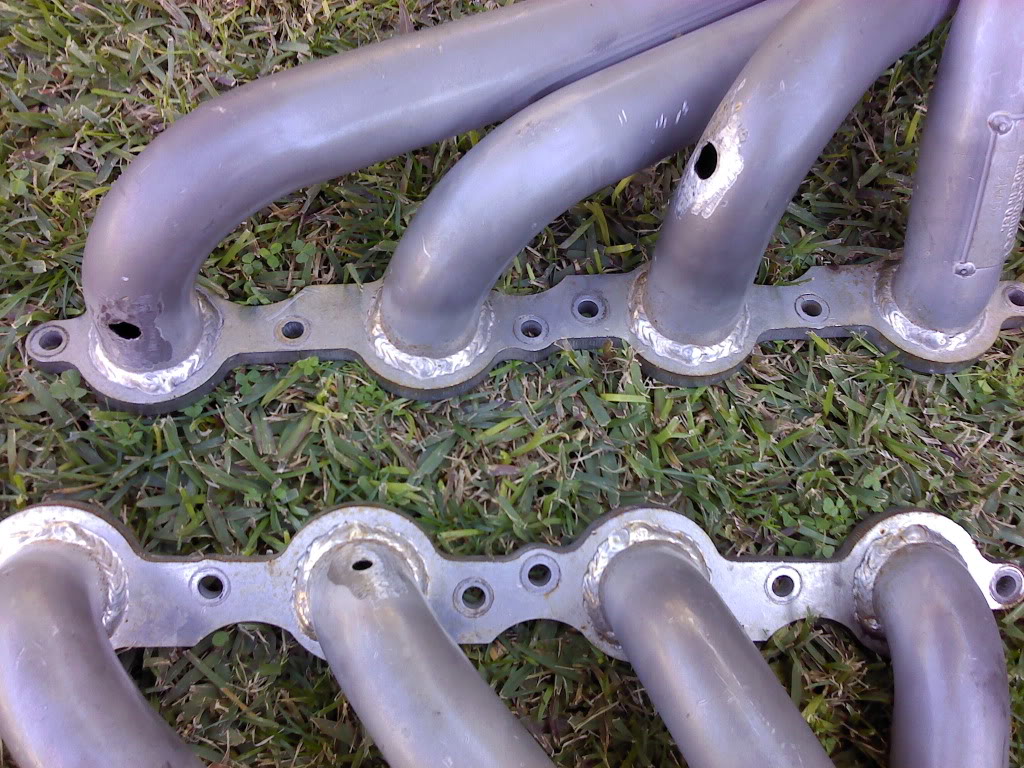
Then I took them to a guy that is a really good TIG welder and had him fill up all of the holes
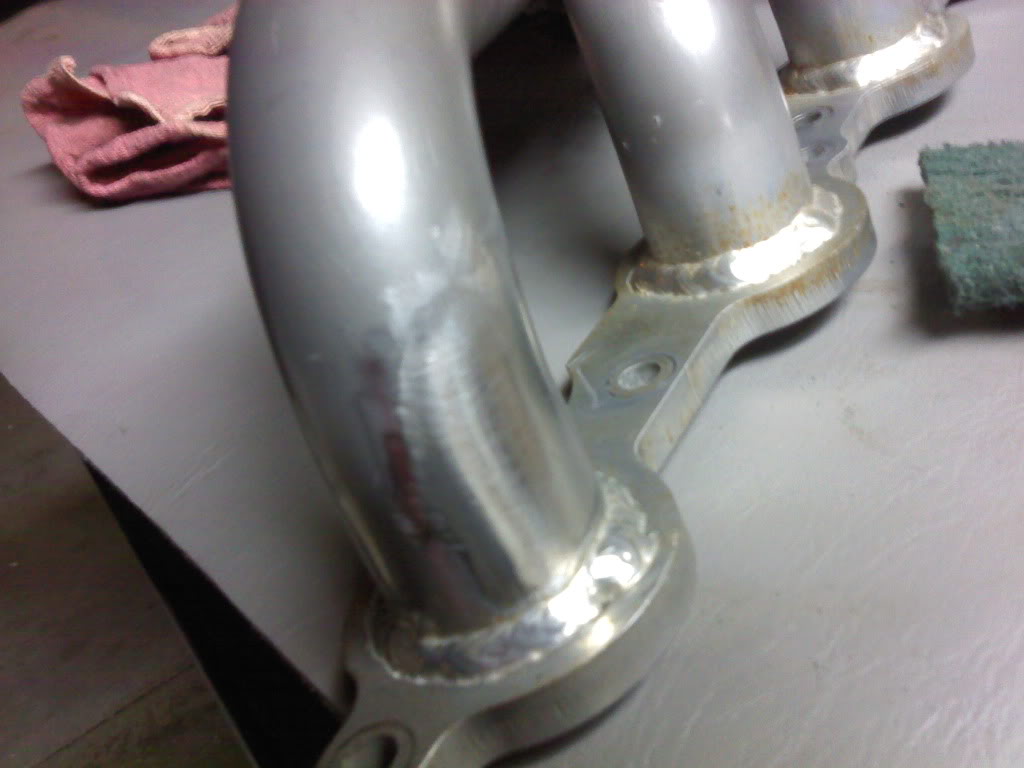
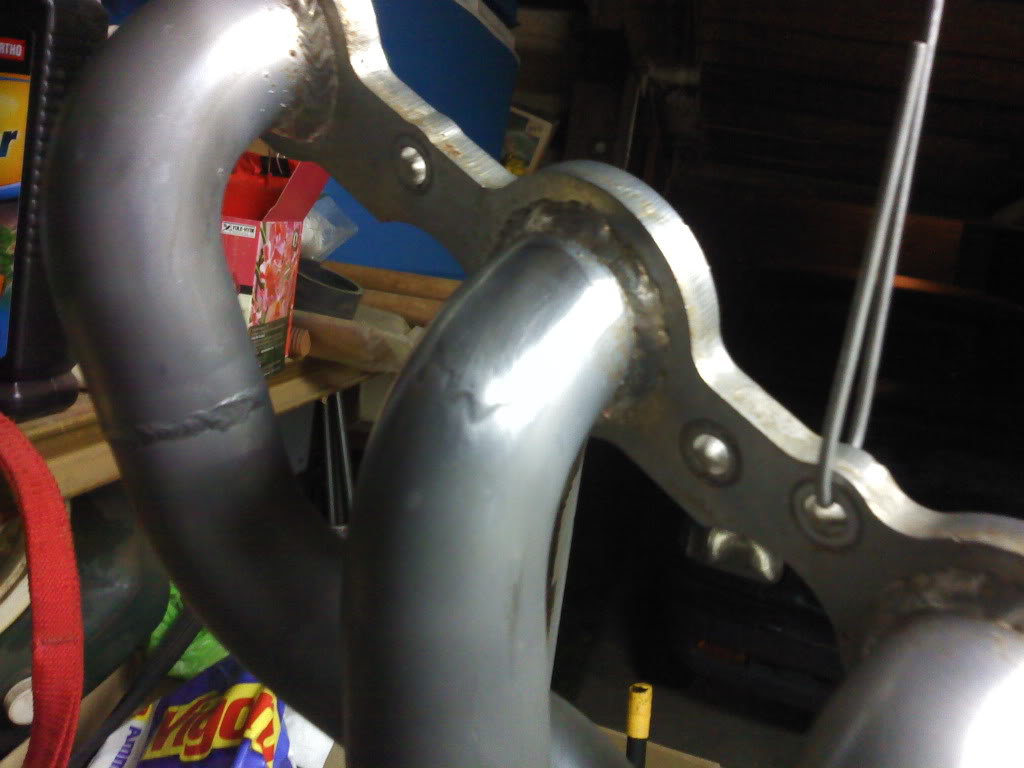
Mocked up on another engine I have, Fancy engine stand, I know..
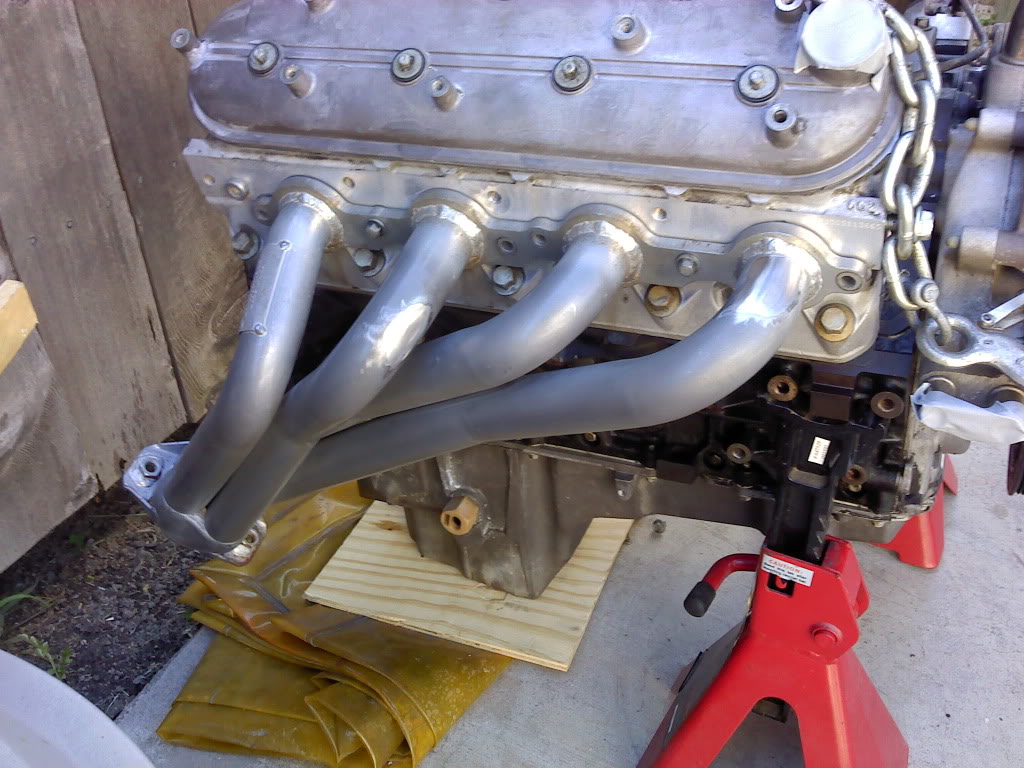
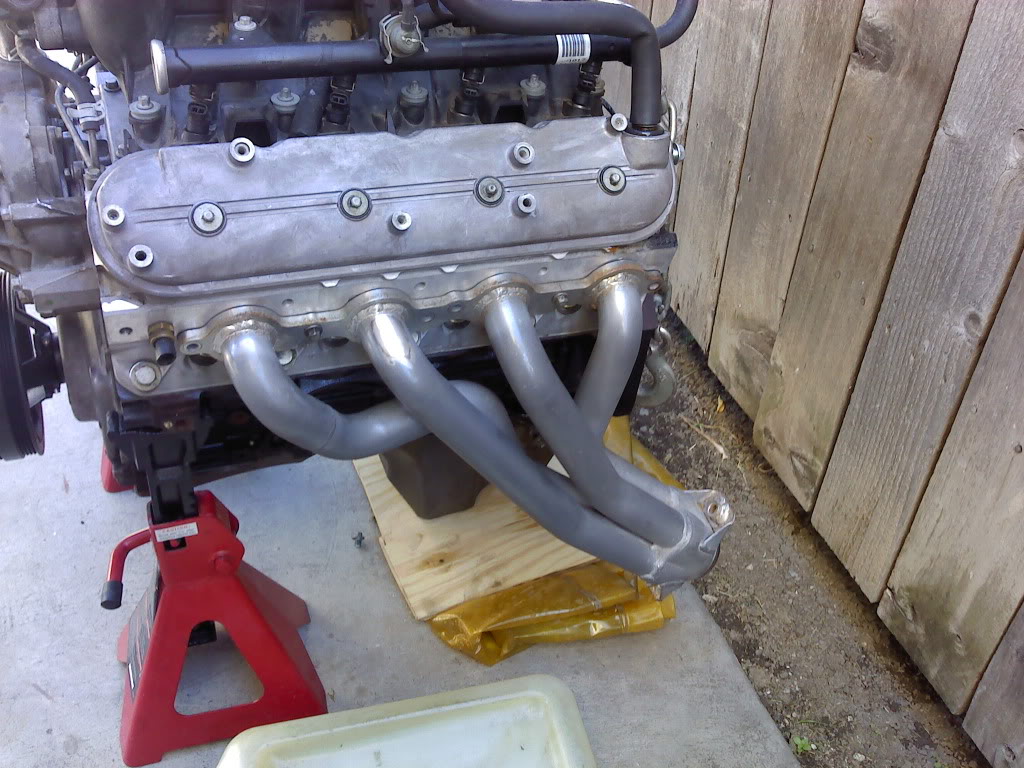
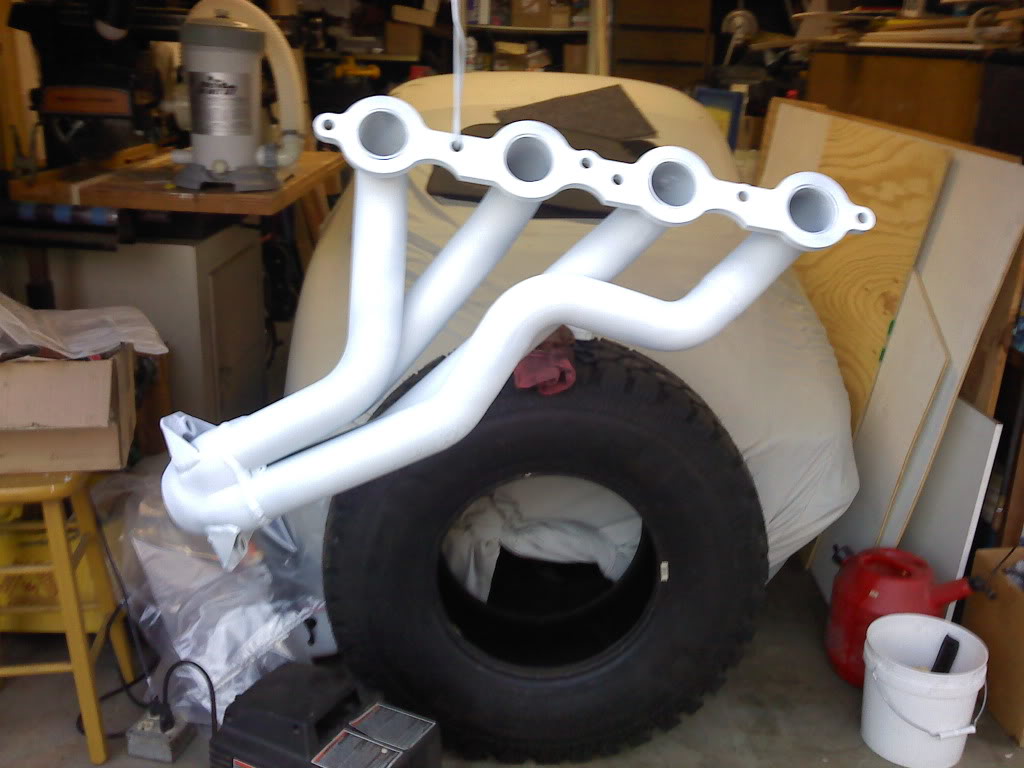
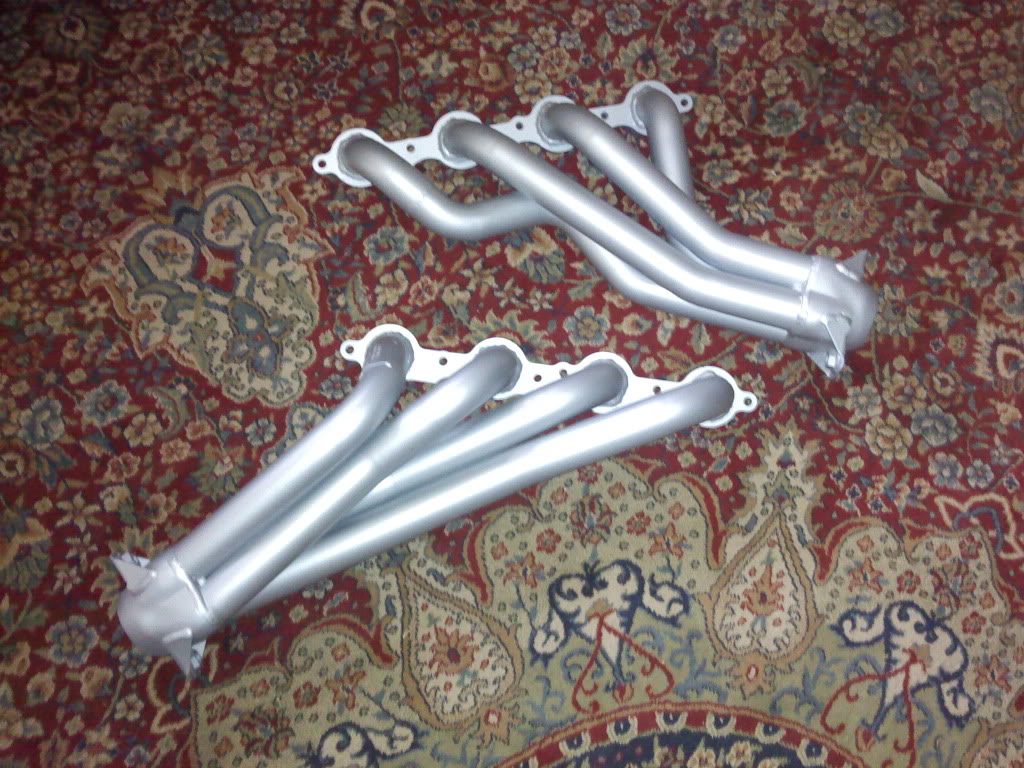
Then I was thinking about getting them stripped and re-ceramic coated, but I don't have the funds... So then I decided to scuff up the ceramic coating and use some VHT High Temp flame proof header primer and paint rated at 2000* I know that many people have used painted headers and had the paint burn off in the first ten minutes, but with the ceramic coating still protecting I think it will be just fine.
High Temp white primer:
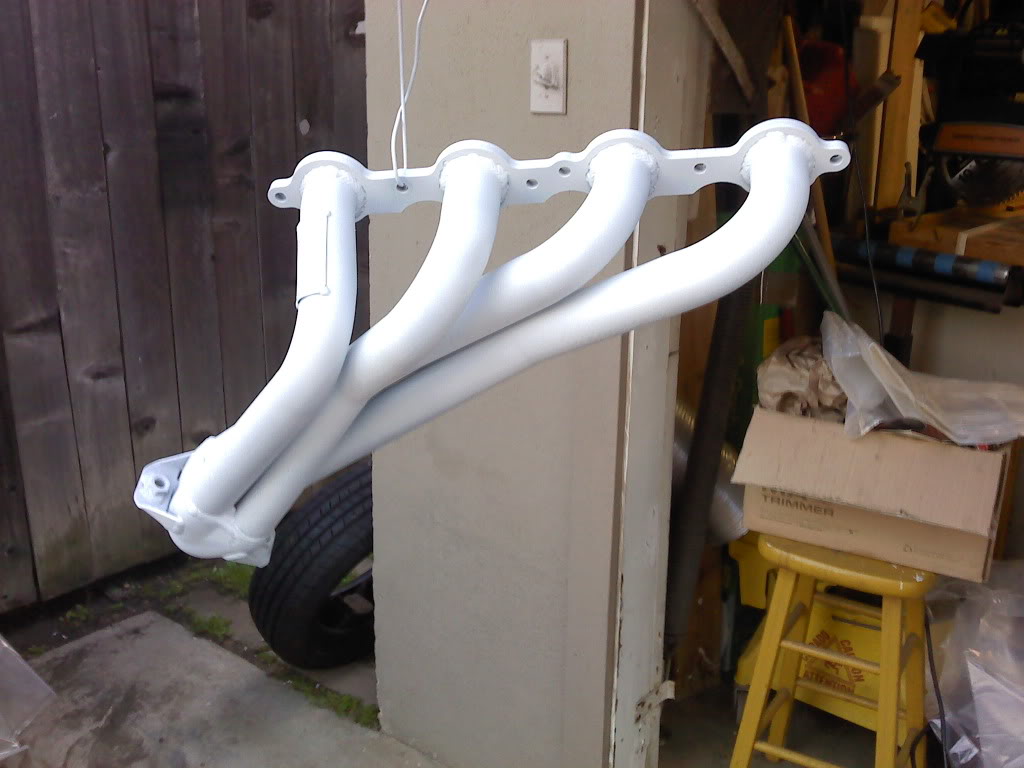
And Silver High Temp Paint:
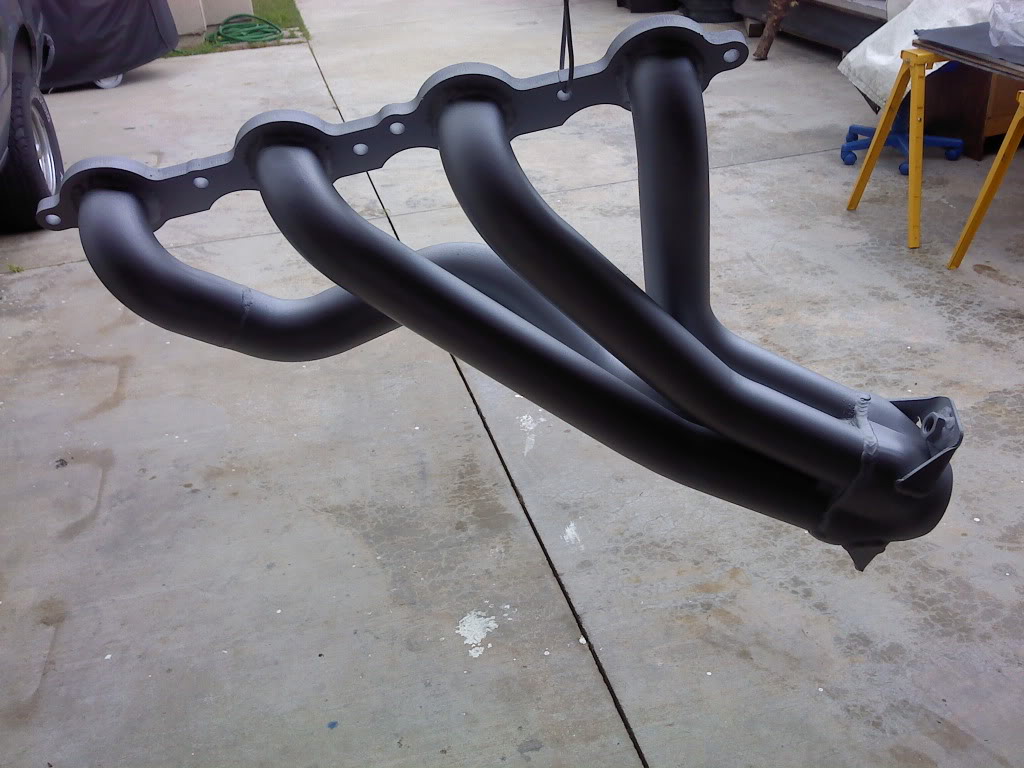
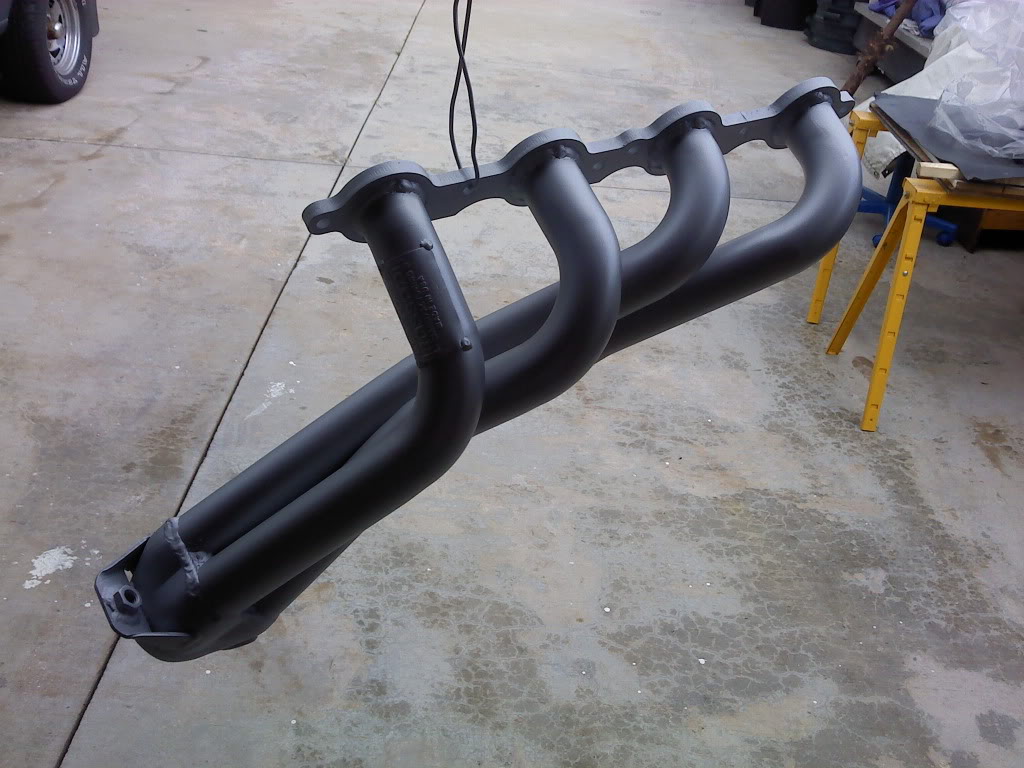
And after baking in the oven to cure them:
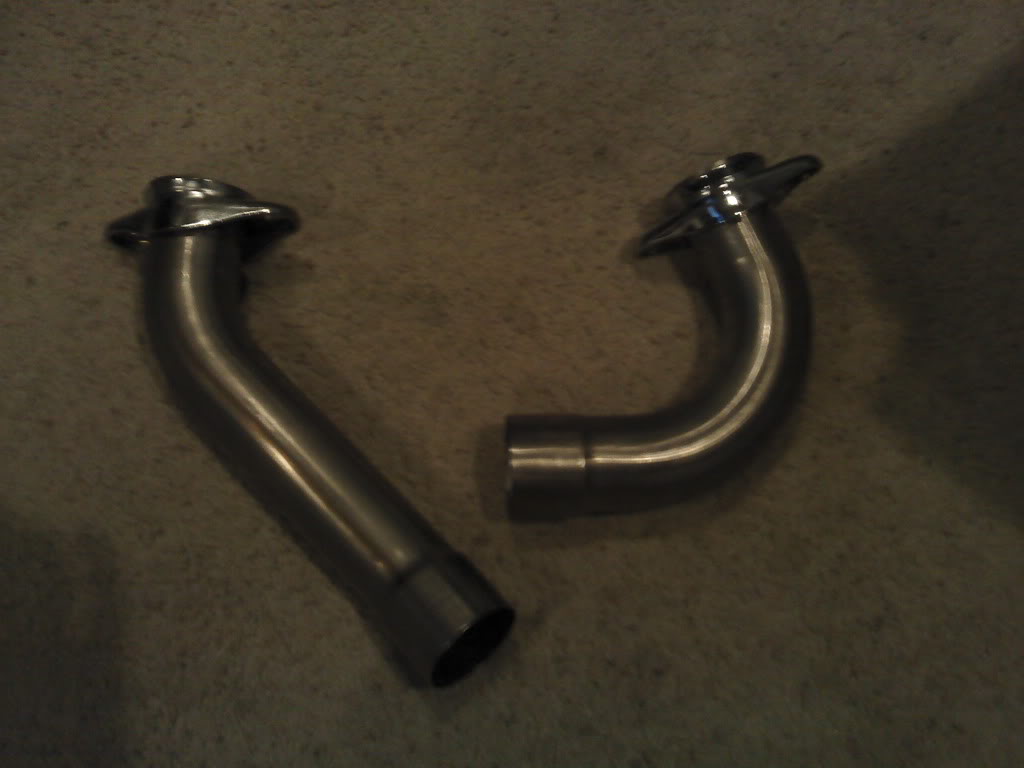
I actually went down to Bassani, in Anaheim, CA, and got the replacement driver and passenger adapters:
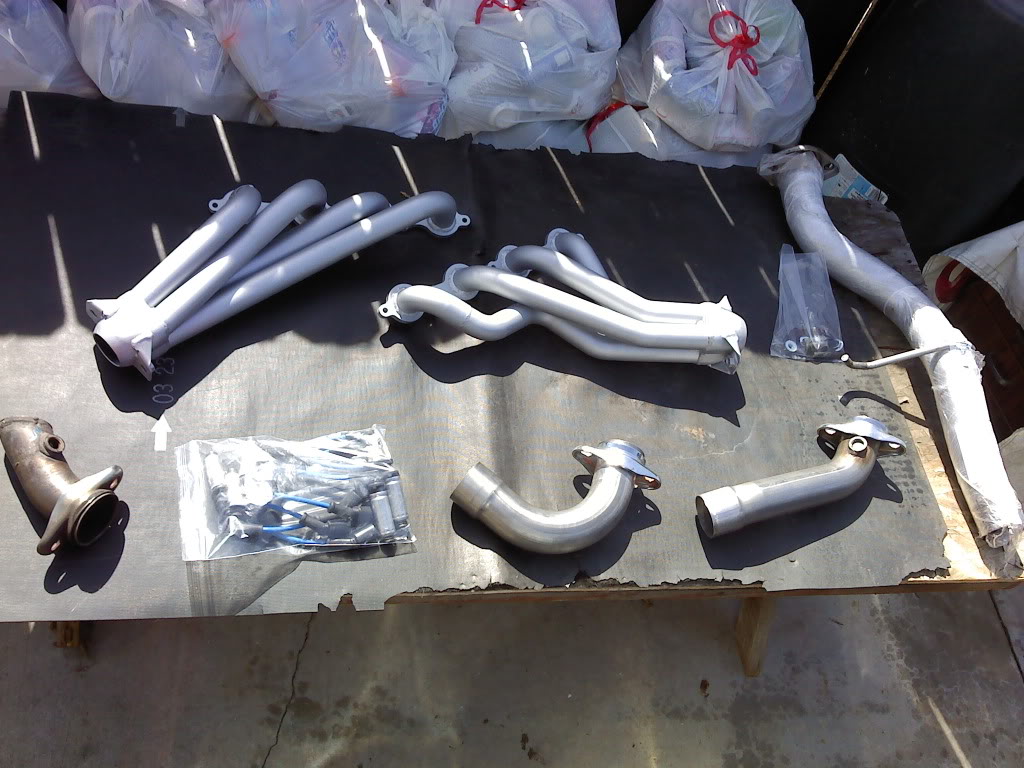
Also got a set of AC Delco GTO spark plug wires from ebay ($38 shipped) and a 3'' intermediate pipe (from the stock y pipe to the muffler) from Kazfan30, to replace the shity modified factory piece.
Well I finally got my headers in and the rest of my exhaust installed. Had to modify and fab a little to get them in, but it all went pretty smooth. So, here it goes:
This is how they looked when I got them, actually an Ebay posting picture. These headers were off a 2001 Silverado, with AIR and EGR.
My truck doesn't have EGR or AIR, so I cut off the flanges...
And ground everything smooth
Then I took them to a guy that is a really good TIG welder and had him fill up all of the holes
Mocked up on another engine I have, Fancy engine stand, I know..
Then I was thinking about getting them stripped and re-ceramic coated, but I don't have the funds... So then I decided to scuff up the ceramic coating and use some VHT High Temp flame proof header primer and paint rated at 2000* I know that many people have used painted headers and had the paint burn off in the first ten minutes, but with the ceramic coating still protecting I think it will be just fine.
High Temp white primer:
And Silver High Temp Paint:
And after baking in the oven to cure them:
I actually went down to Bassani, in Anaheim, CA, and got the replacement driver and passenger adapters:
Also got a set of AC Delco GTO spark plug wires from ebay ($38 shipped) and a 3'' intermediate pipe (from the stock y pipe to the muffler) from Kazfan30, to replace the shity modified factory piece.
Mar 7, 2011 | 02:04 PM
#2
Thread Starter
Joined: Oct 2009
Posts: 991
Likes: 4
From: West Jordan, UT
Part 2:
On to the Install:
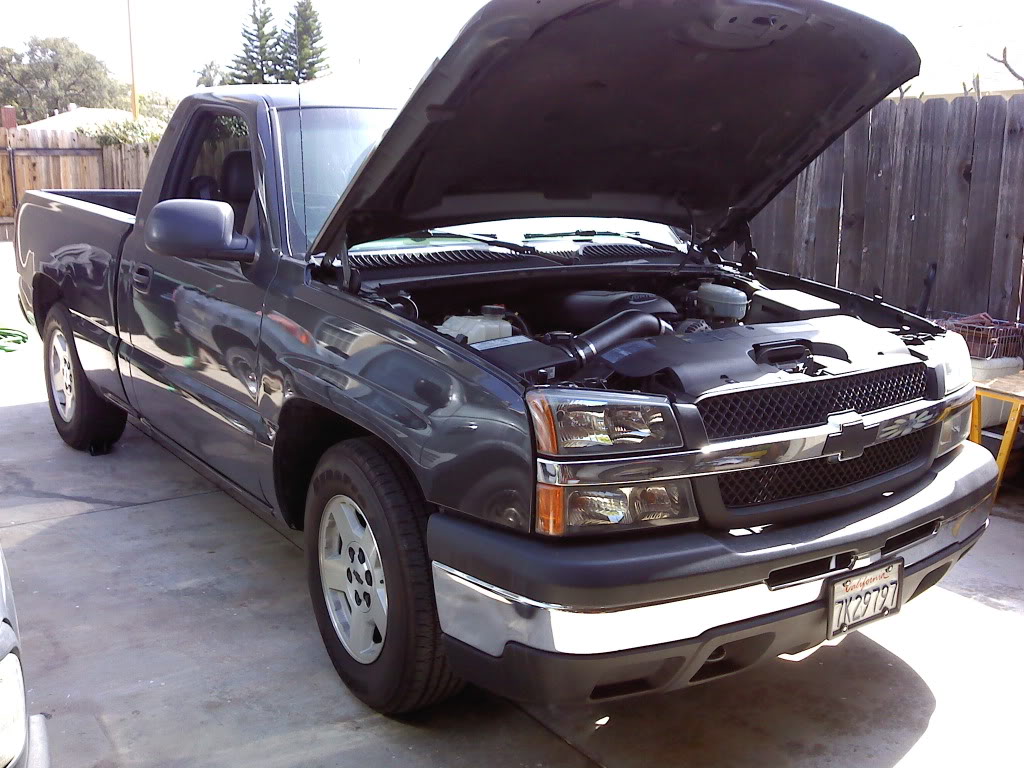
Truck is really dirty... Been raining off and on and never got the chance to wash it.
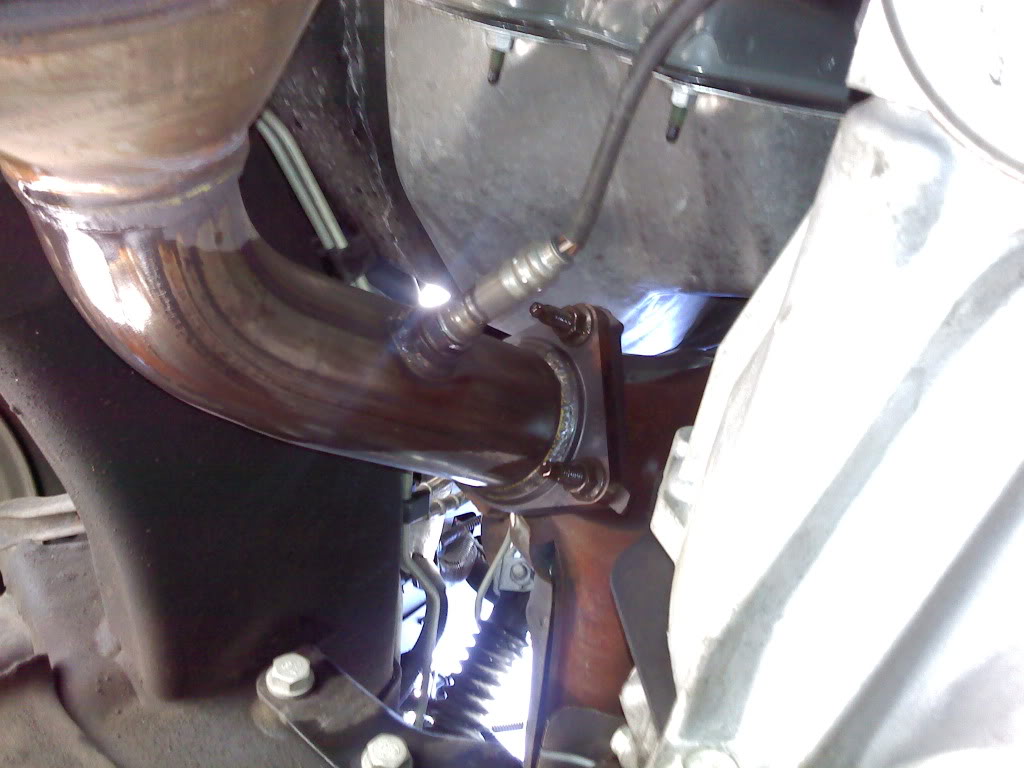
I started by pre-soaking all of the bolts with WD40 a few days before to help get things loose and it definitely paid off. Pulled all of the O2 sensors out and then the manifolds. Manifolds and intermediate pipe came off no problem, not a single bolt broken, had to cut off the shity clamp that held the muffler in, but it was going to be replaced anyway. Those y pipe bolts are on there pretty tight! that was really the only struggle with the whole install.
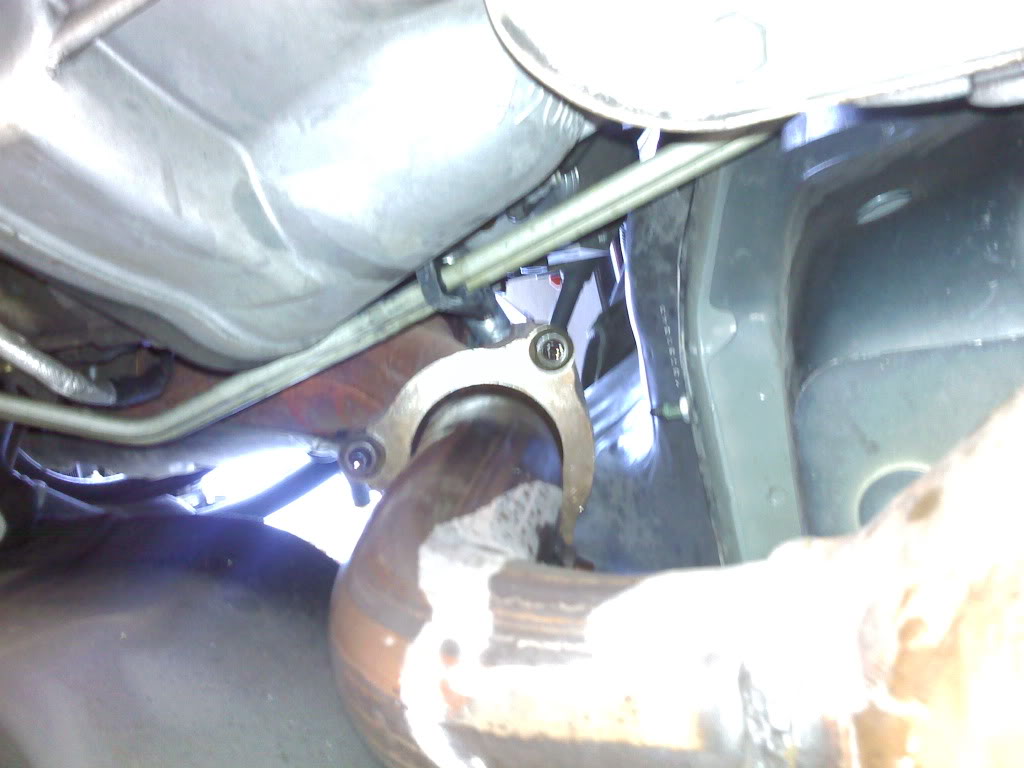
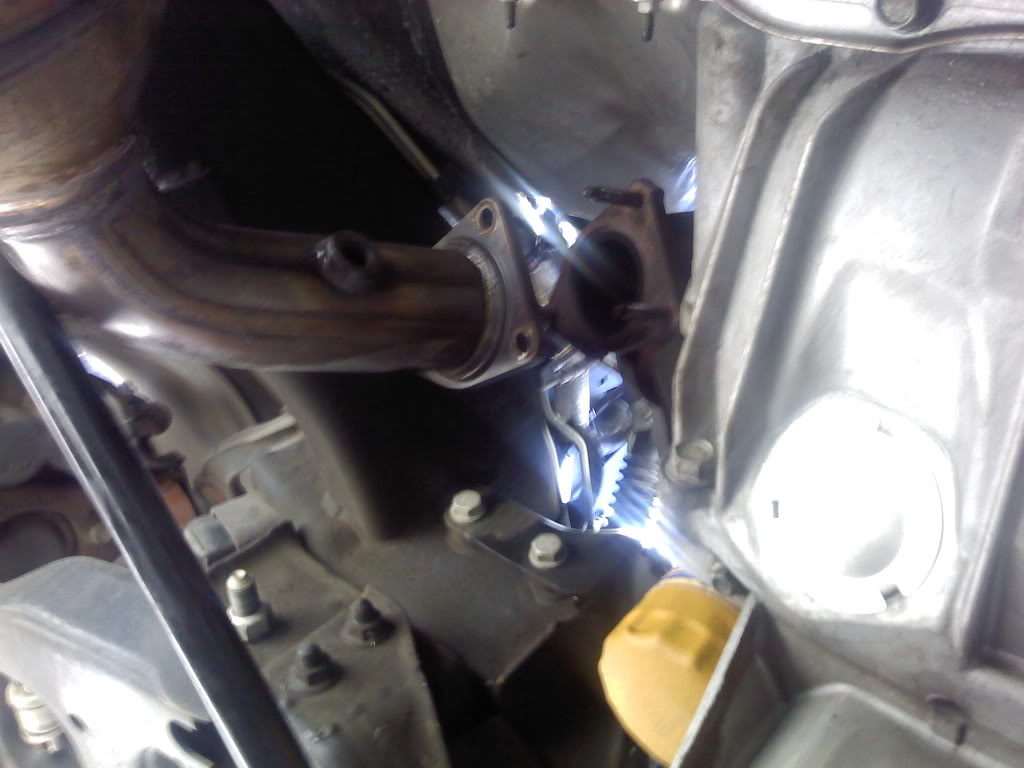
Unbolted the y pipe first and started with the passenger side manifold. Pulled the dip stick out then pulled the plug wires off the coils and left them on the plugs so I wouldn't destroy the wires trying to get them off. It also helped protect the plugs while getting the manifolds off.
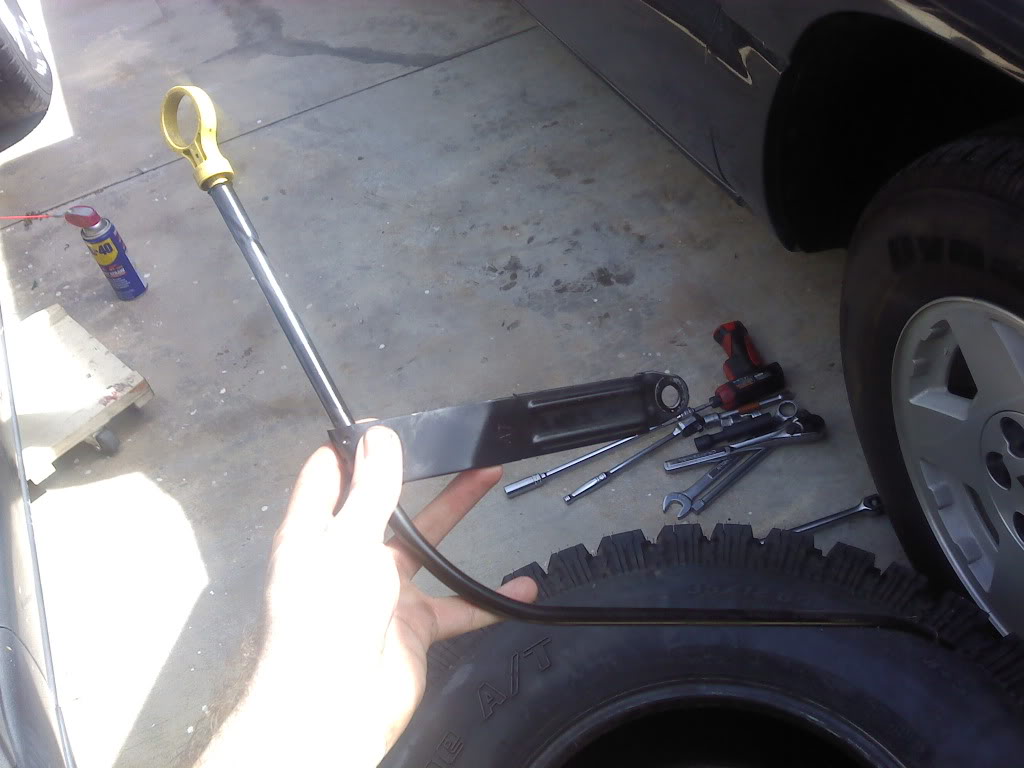
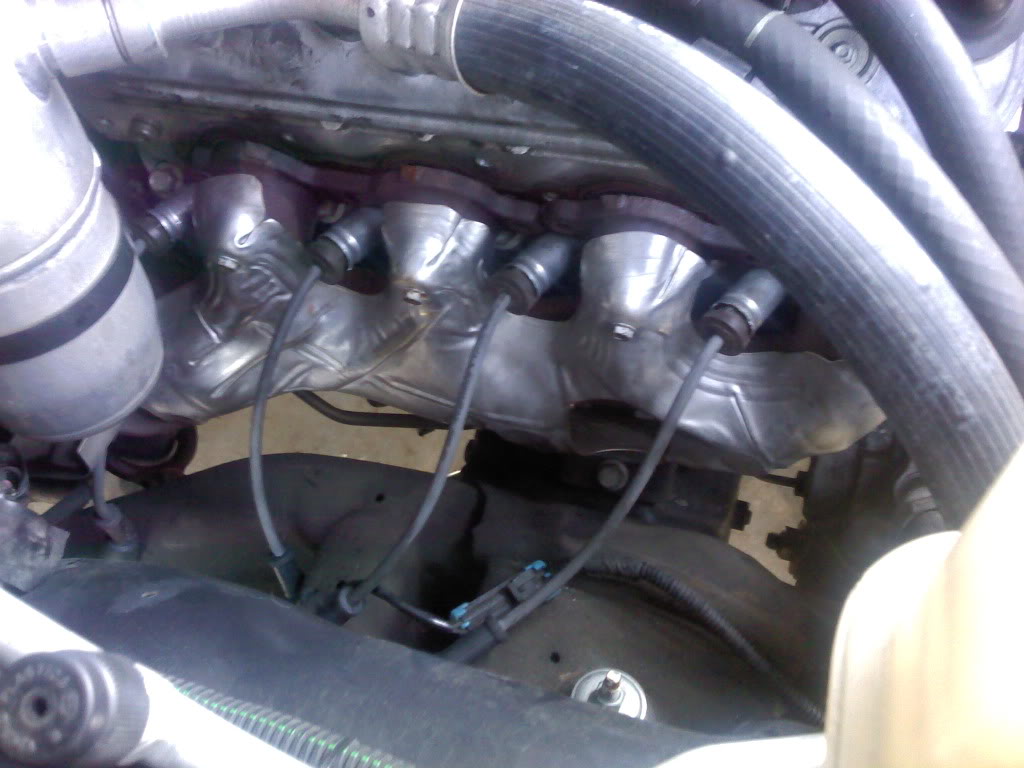
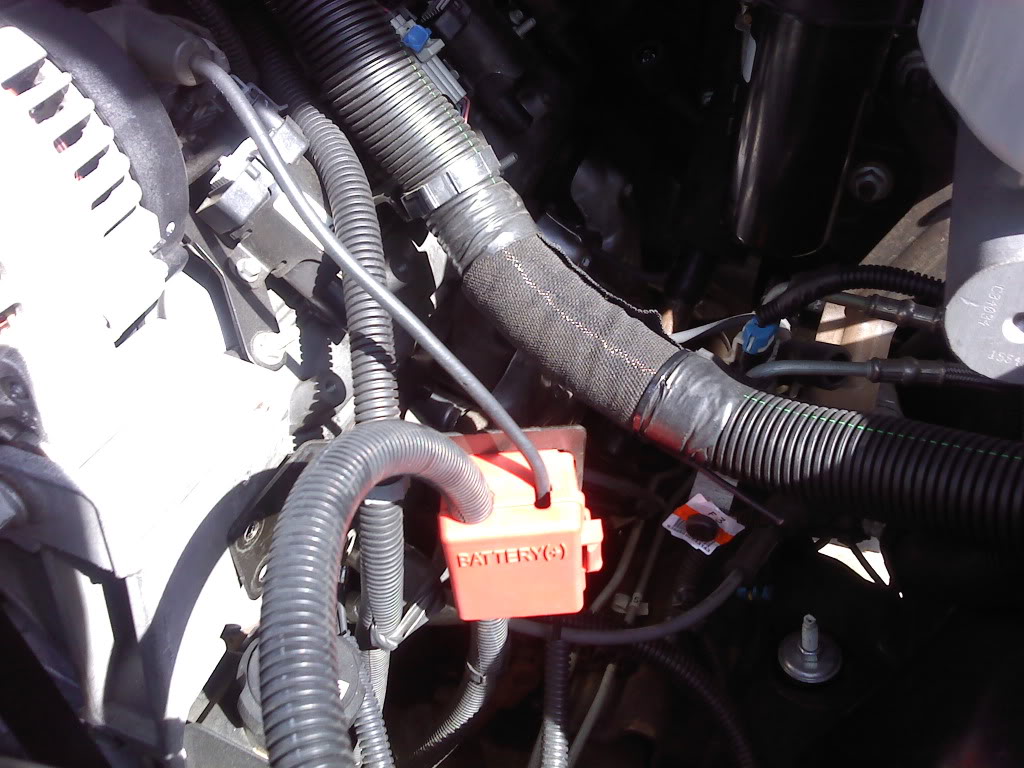
Passenger side out, then driver's side. Lost the driver side out pic.
I pulled the plugs out anyway, just to check them and knowing myself I was going to snap one off getting the headers in if I didn't.
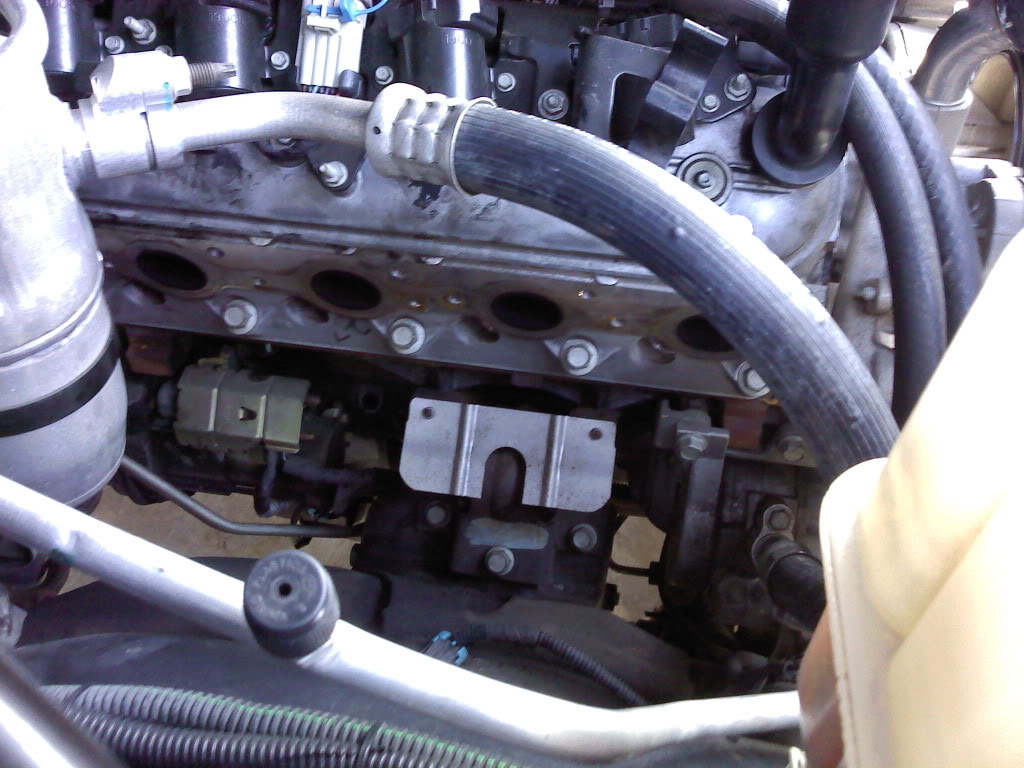
I re-used the stock bolts and gaskets and don't have any issues with them sealing up. Just cleaned the bolts up with a wire brush before I put them back in.
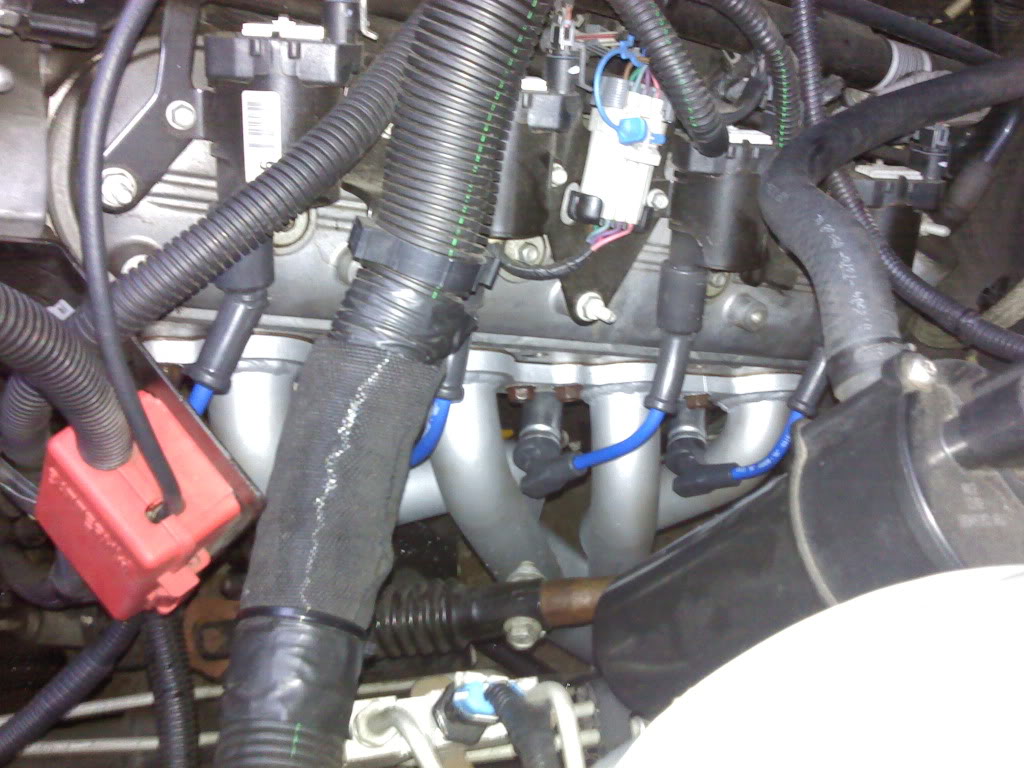
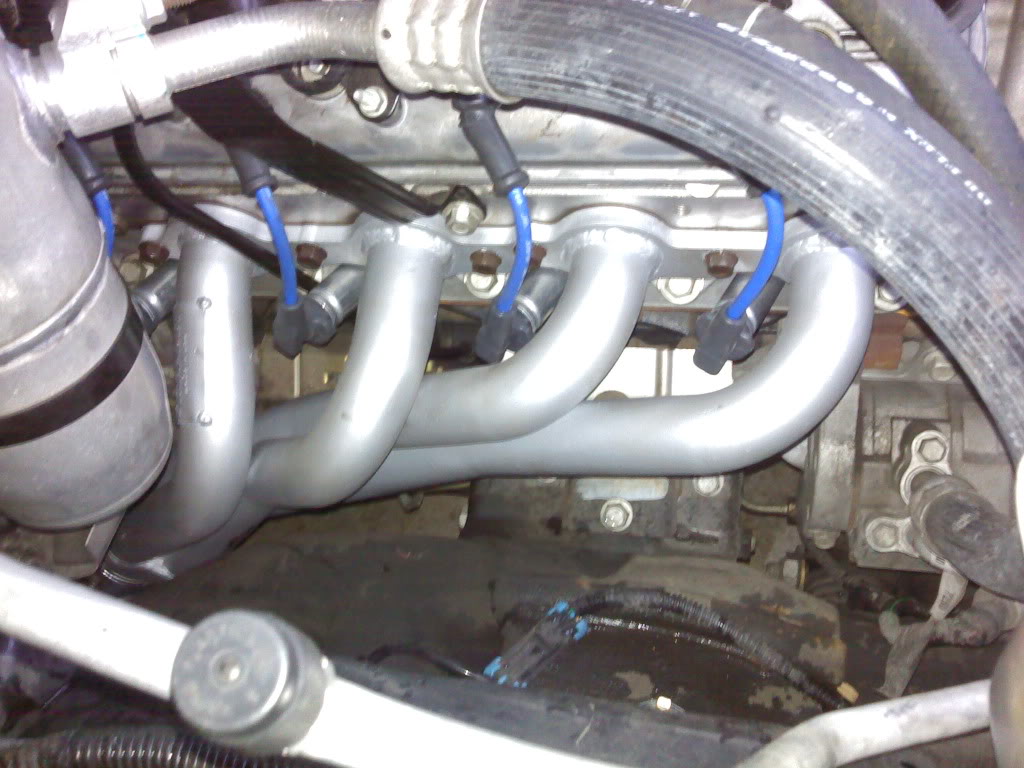
Passenger side header in with the plugs back in and new wires
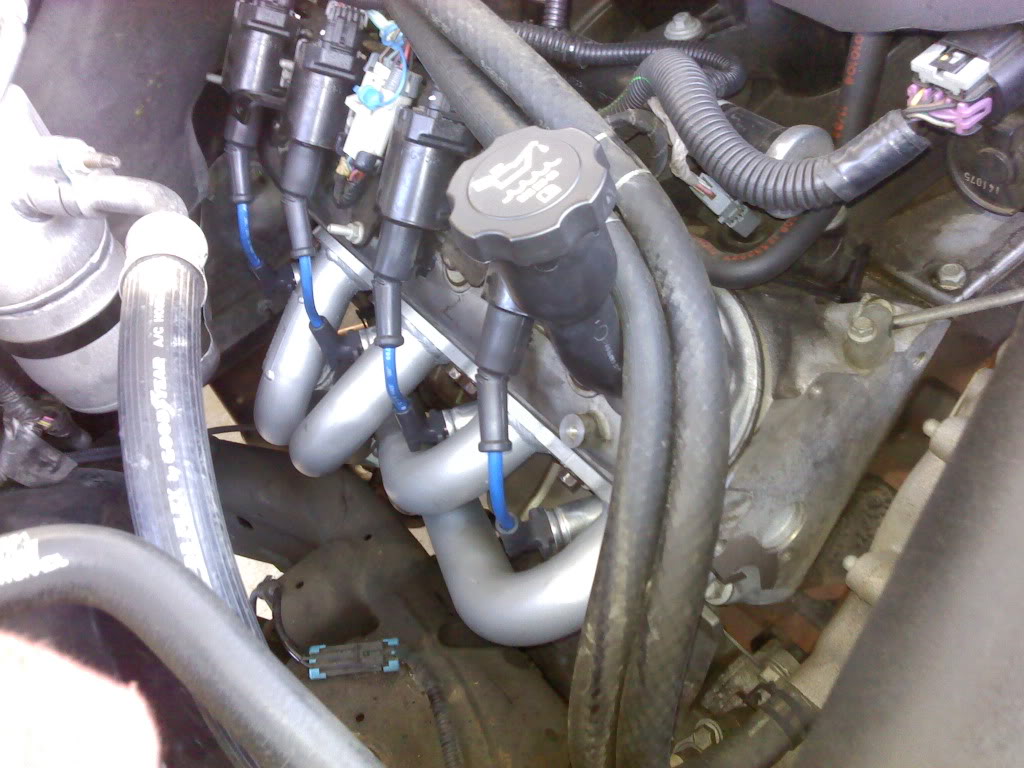
The #4 plug wire is the only one that is close to the primary tube, but it isn't touching.
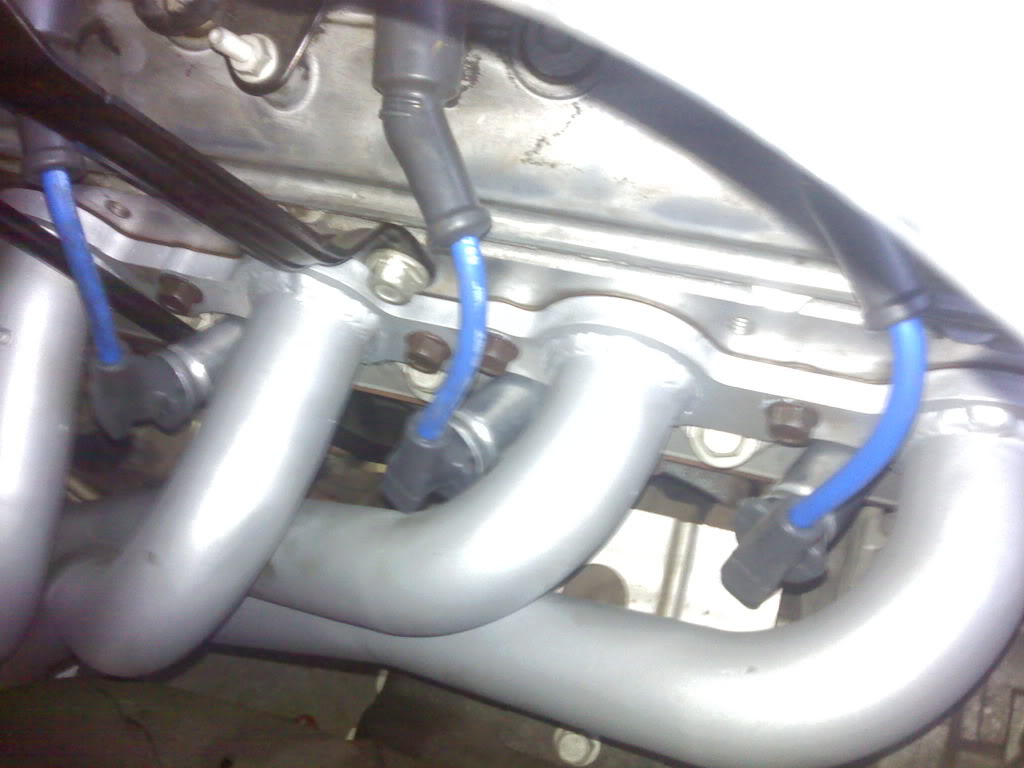
And the driver's side header, plugs and wires installed.

Getting the manifolds out and the headers in wasn't too difficult. It did take most of the day, (about 4-5 hours) but I wanted to take my time and make sure I didn't screw anything up.
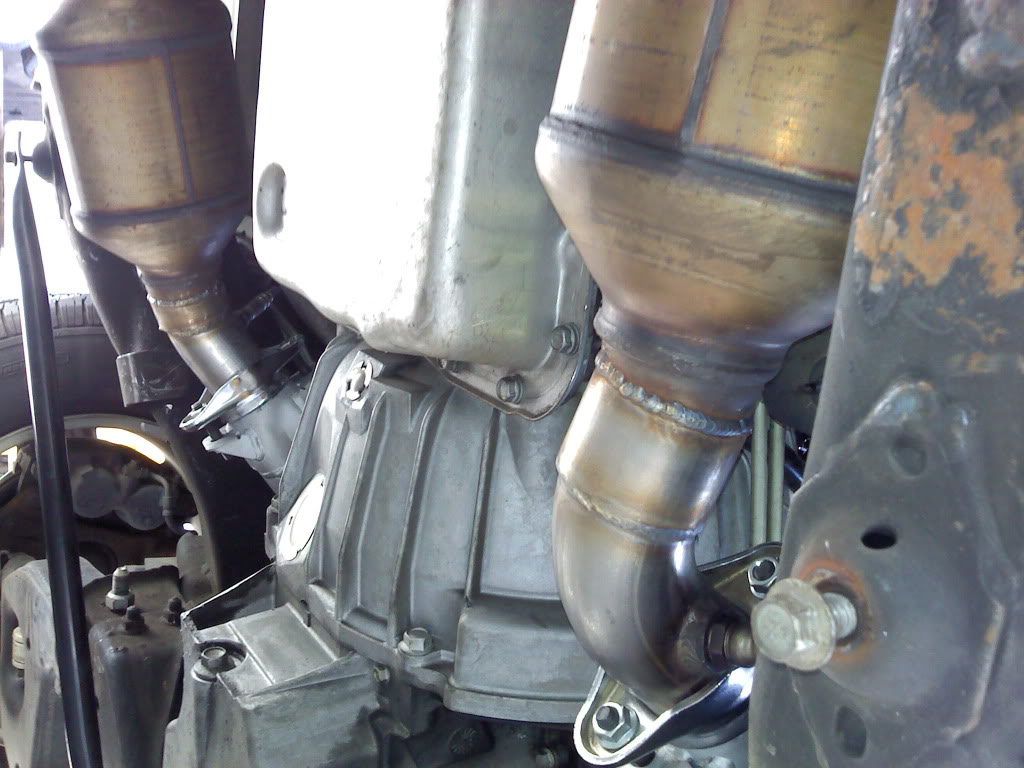
The most time consuming part of this was the adapters that connect the headers to the cats. You must give credit where credit is due and I couldn't have got it done with out my friend Christian. I have welded before, but I am not that good, just because I haven't had very much practice. So I called on Christian to help me out.
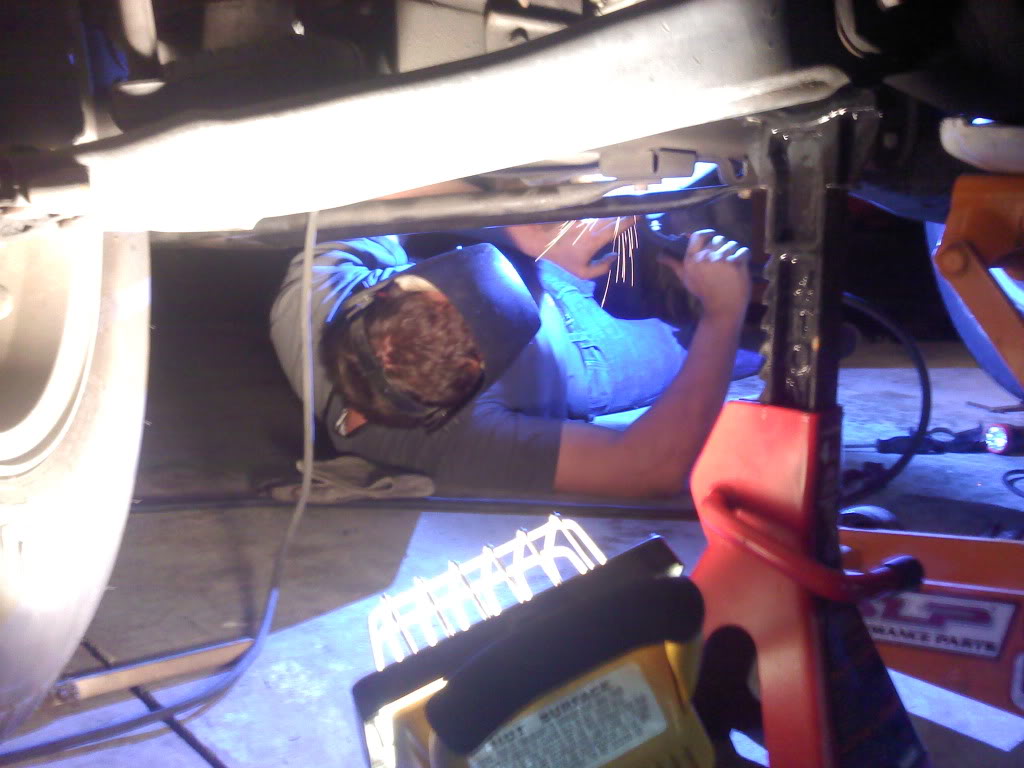
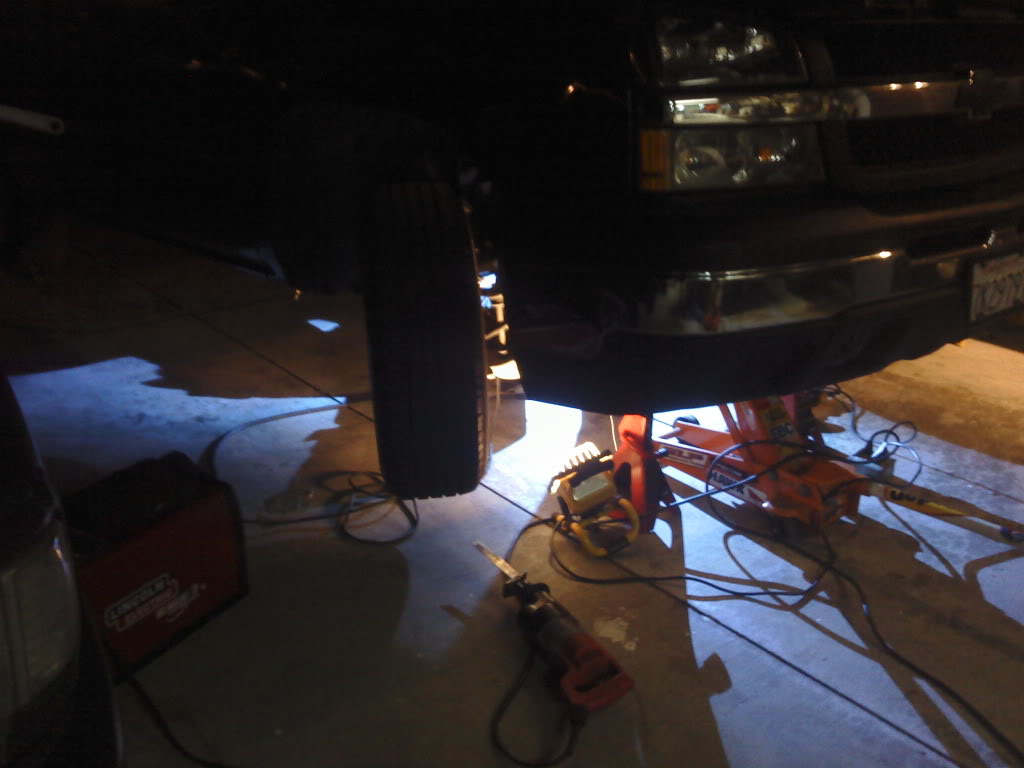
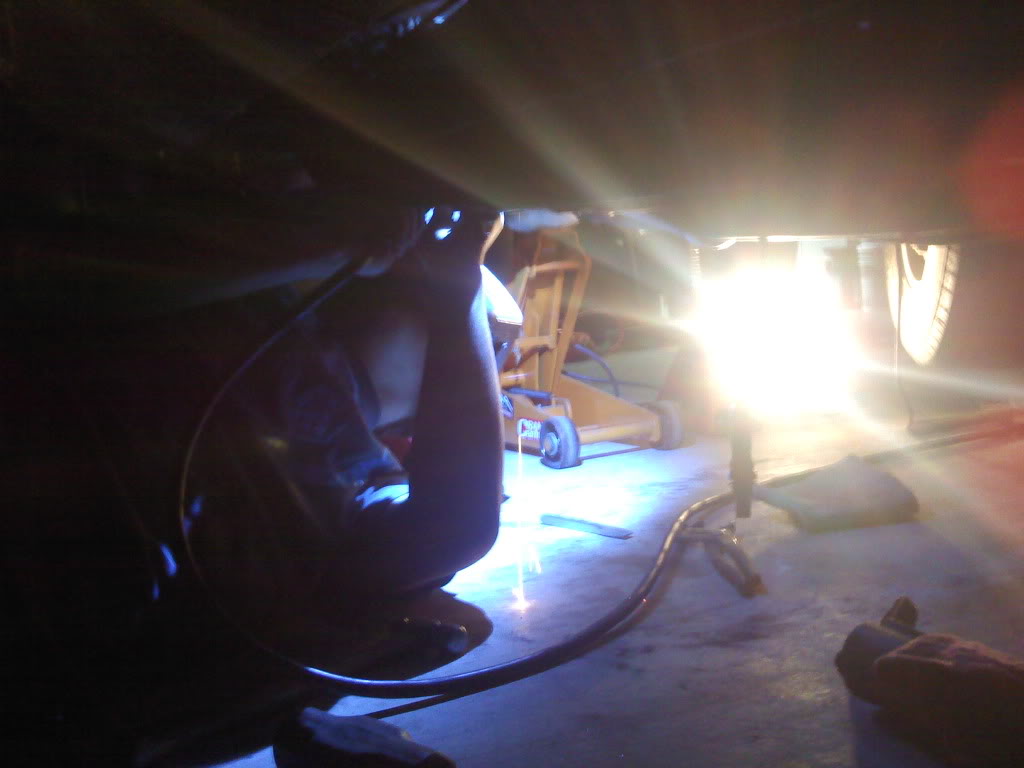
After a couple more hours we called it a night and decided to finish up in the morning. The only issues with the adapters, were getting the tops of them welded up. In the morning I pulled off a tire at a time and that got us enough room to get the mig torch in there to seal everything up.
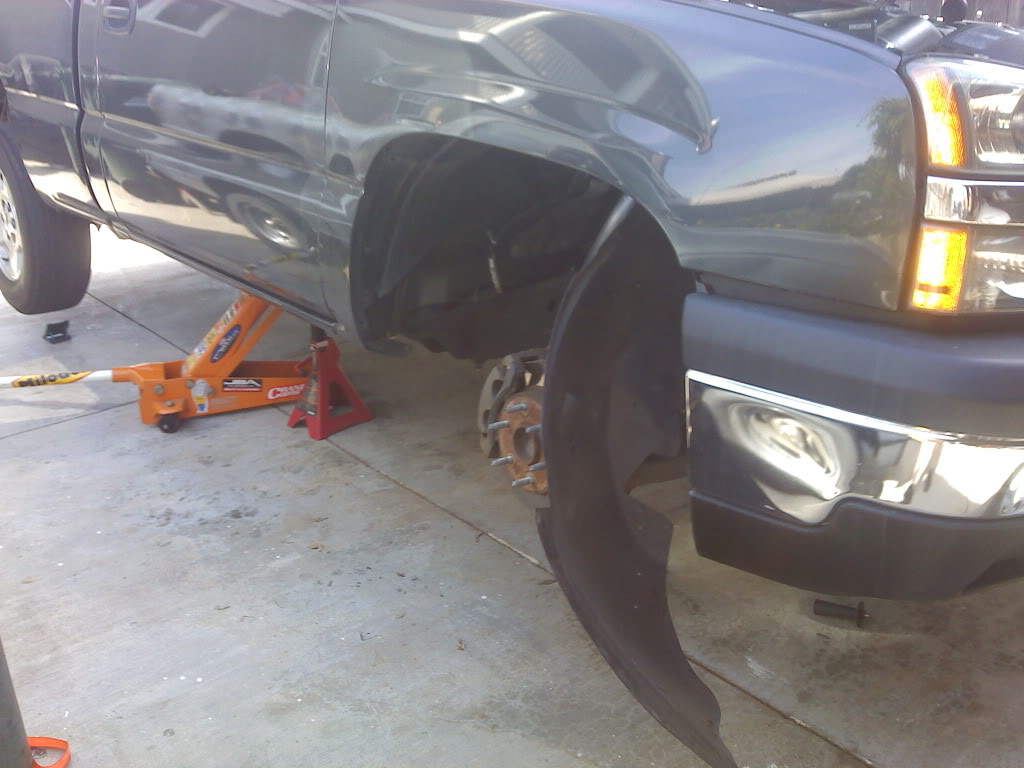
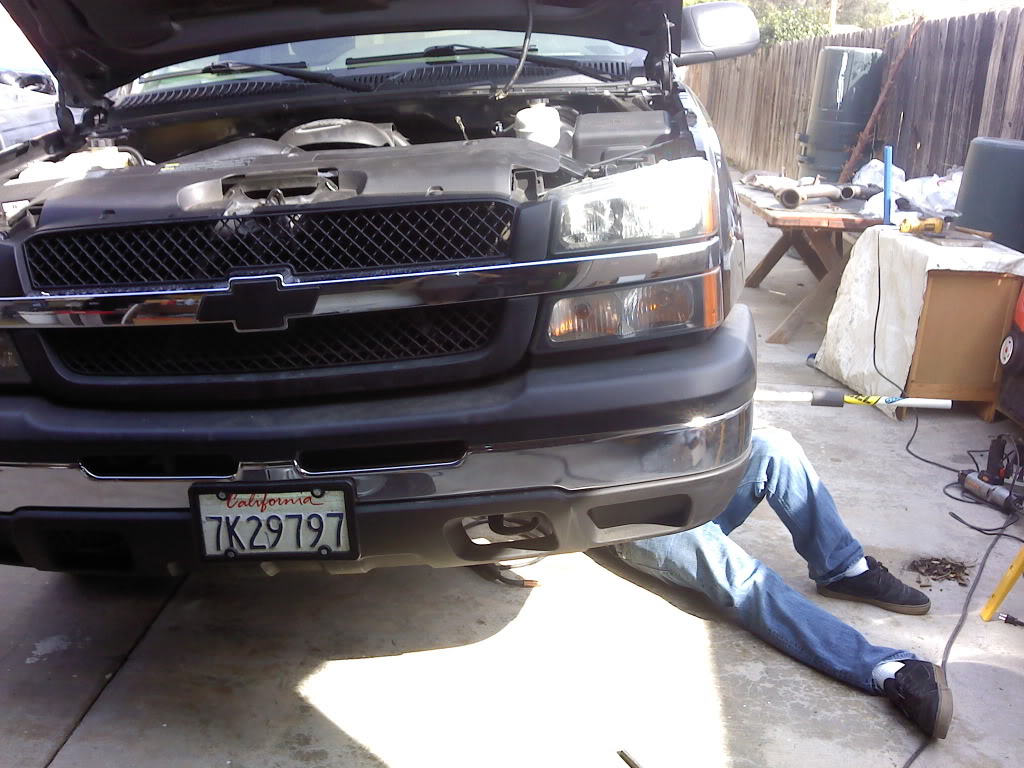
And the flanges all finished:
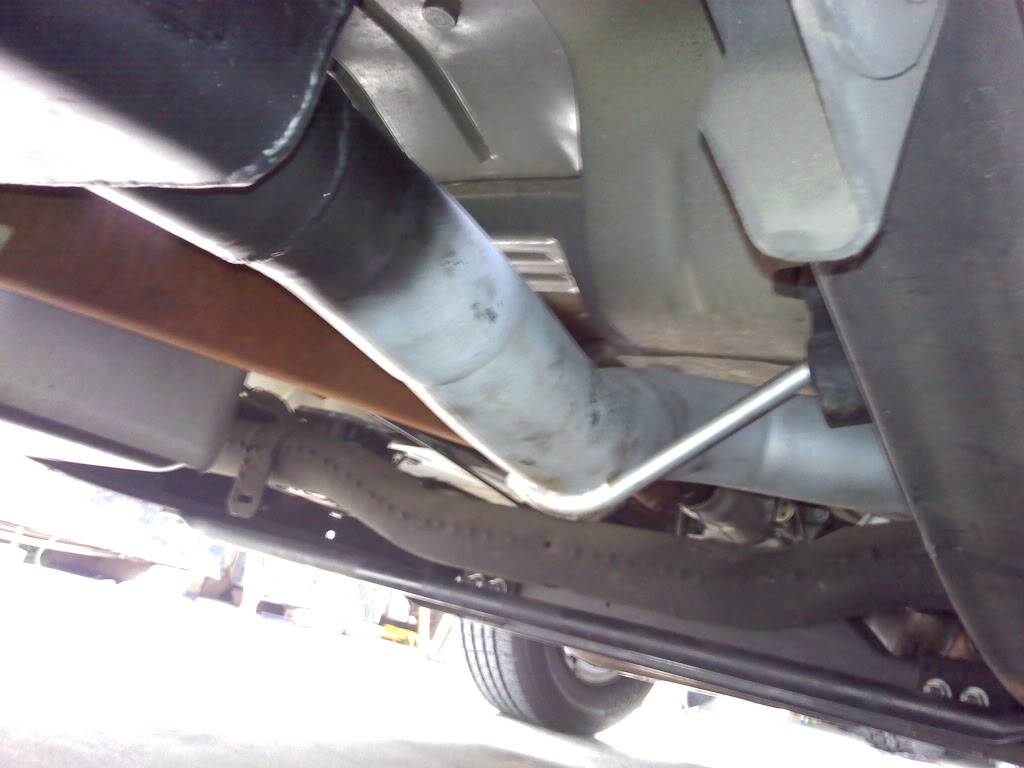
After we got the y pipe finished up I pulled the old intermediate pipe and muffler out and got the new one in and welded up to the Cherry Bomb.
On to the Install:
Truck is really dirty... Been raining off and on and never got the chance to wash it.
I started by pre-soaking all of the bolts with WD40 a few days before to help get things loose and it definitely paid off. Pulled all of the O2 sensors out and then the manifolds. Manifolds and intermediate pipe came off no problem, not a single bolt broken, had to cut off the shity clamp that held the muffler in, but it was going to be replaced anyway. Those y pipe bolts are on there pretty tight! that was really the only struggle with the whole install.
Unbolted the y pipe first and started with the passenger side manifold. Pulled the dip stick out then pulled the plug wires off the coils and left them on the plugs so I wouldn't destroy the wires trying to get them off. It also helped protect the plugs while getting the manifolds off.
Passenger side out, then driver's side. Lost the driver side out pic.
I pulled the plugs out anyway, just to check them and knowing myself I was going to snap one off getting the headers in if I didn't.
I re-used the stock bolts and gaskets and don't have any issues with them sealing up. Just cleaned the bolts up with a wire brush before I put them back in.
Passenger side header in with the plugs back in and new wires
The #4 plug wire is the only one that is close to the primary tube, but it isn't touching.
And the driver's side header, plugs and wires installed.
Getting the manifolds out and the headers in wasn't too difficult. It did take most of the day, (about 4-5 hours) but I wanted to take my time and make sure I didn't screw anything up.
The most time consuming part of this was the adapters that connect the headers to the cats. You must give credit where credit is due and I couldn't have got it done with out my friend Christian. I have welded before, but I am not that good, just because I haven't had very much practice. So I called on Christian to help me out.
After a couple more hours we called it a night and decided to finish up in the morning. The only issues with the adapters, were getting the tops of them welded up. In the morning I pulled off a tire at a time and that got us enough room to get the mig torch in there to seal everything up.
And the flanges all finished:
After we got the y pipe finished up I pulled the old intermediate pipe and muffler out and got the new one in and welded up to the Cherry Bomb.
Last edited by Steve-O-08; Mar 7, 2011 at 02:13 PM.
Mar 7, 2011 | 02:05 PM
#3
Thread Starter
Joined: Oct 2009
Posts: 991
Likes: 4
From: West Jordan, UT
Part 3:
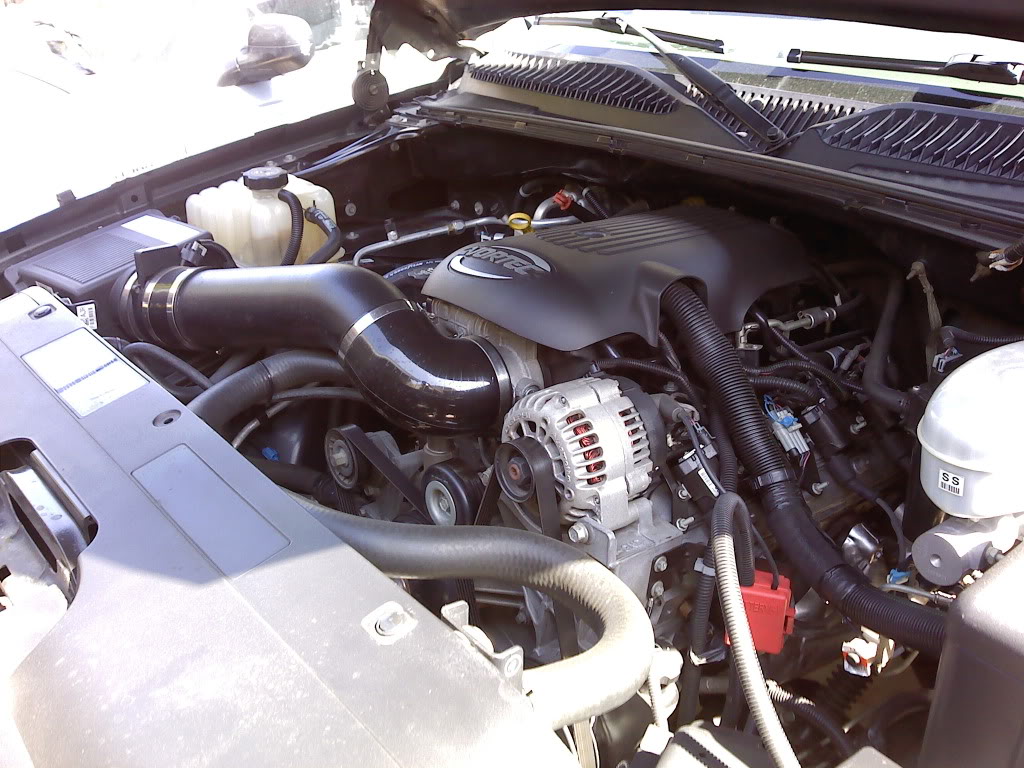
And after a much needed bath, snapped a few pictures of everything
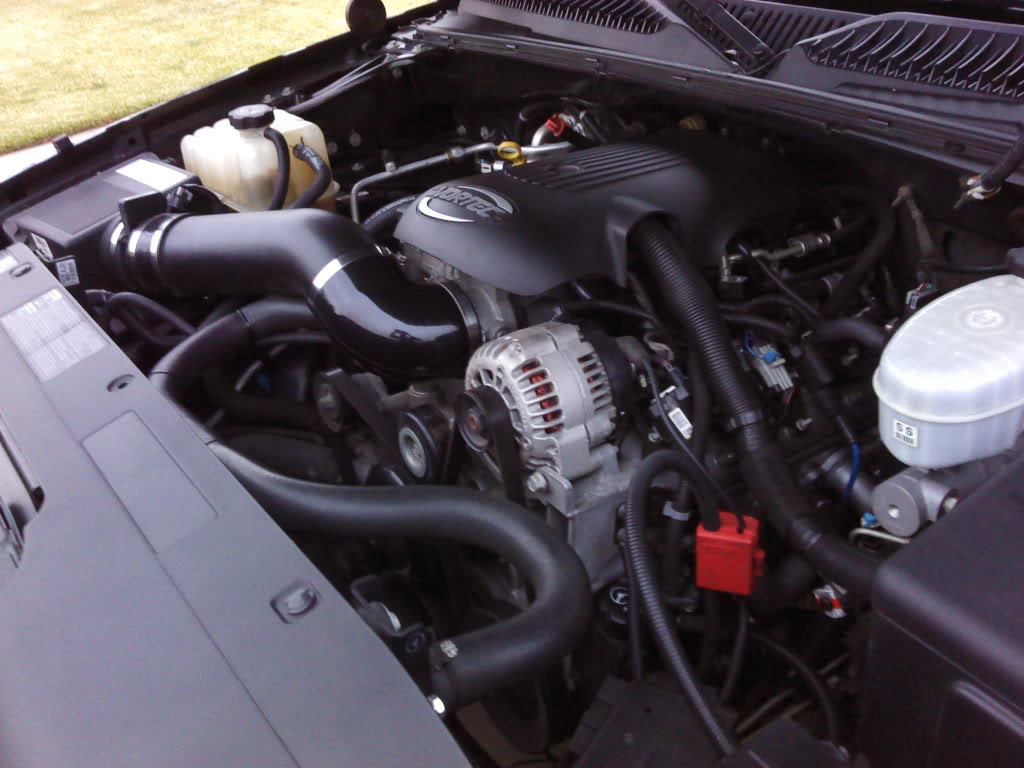
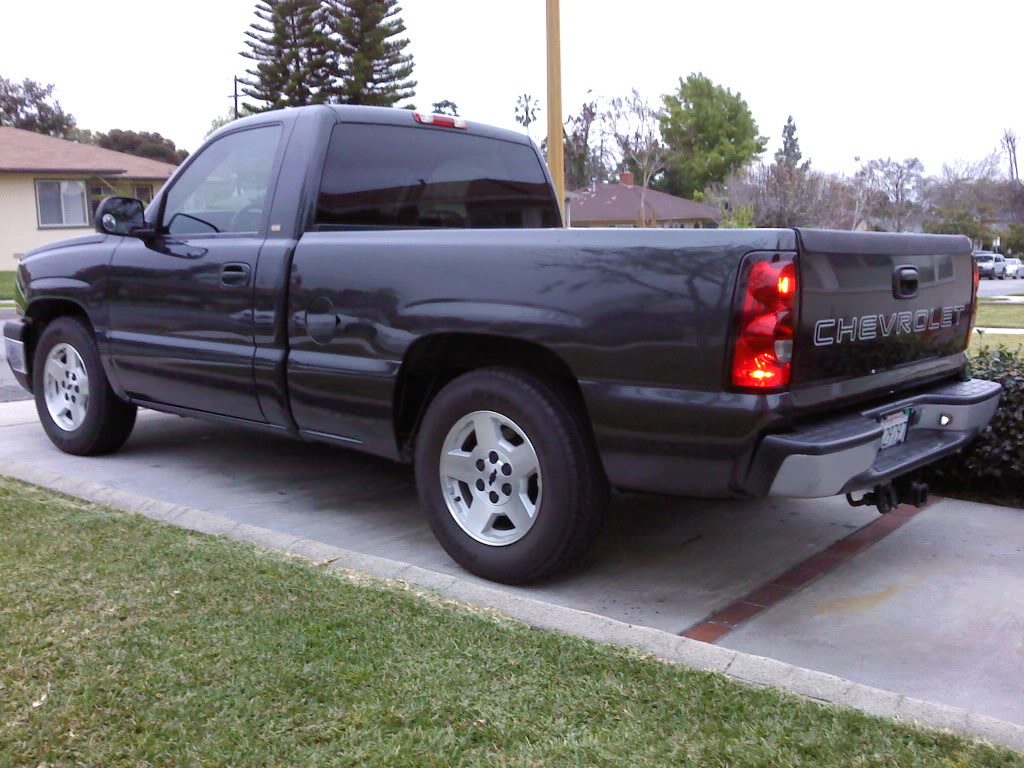
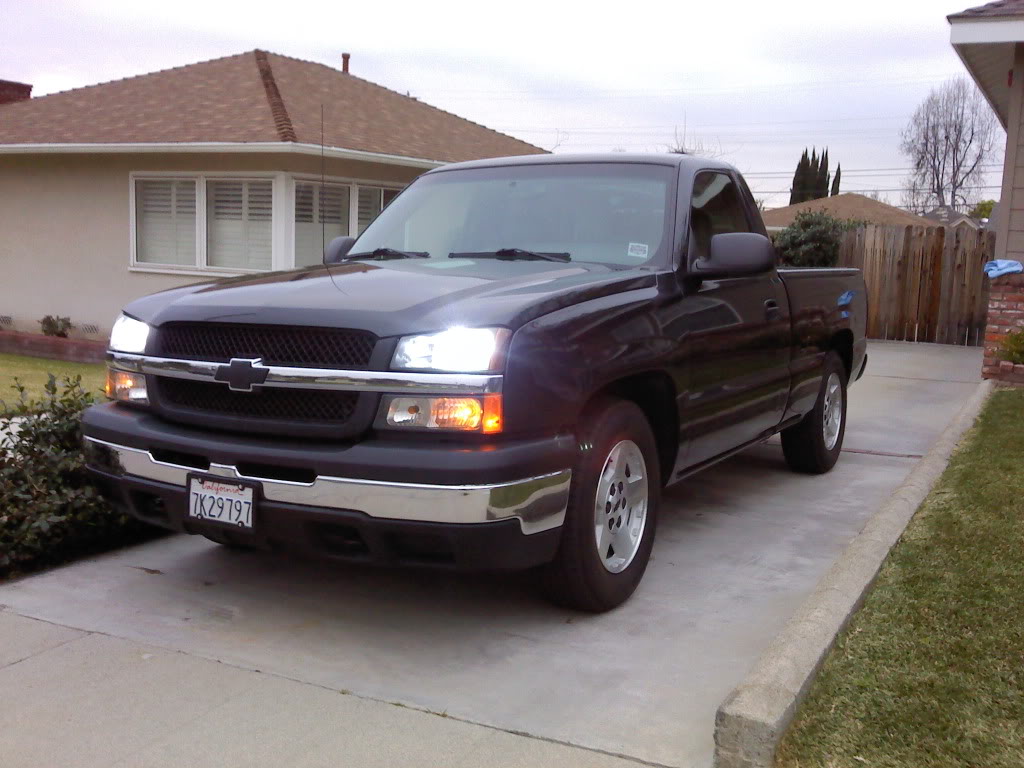
I definitely notice a difference in the sound. Definitely a little deeper tone and a little more raspy during revs. I love the way these turned out and am glad I went with them. And best part of it all is that they come with a CARB sticker, one less thing to be hassled about.
And after a much needed bath, snapped a few pictures of everything
I definitely notice a difference in the sound. Definitely a little deeper tone and a little more raspy during revs. I love the way these turned out and am glad I went with them. And best part of it all is that they come with a CARB sticker, one less thing to be hassled about.





 And you really should take your garbage out more often lol(16th pic)
Trending Topics
Mar 7, 2011 | 03:56 PM
#8
Thread Starter
Joined: Oct 2009
Posts: 991
Likes: 4
From: West Jordan, UT

Haha yeah those are for my little brother, he's on the track team and they are doing some recycle drive thing. just taking up too much space haha. Looks gheto as hell.

 Mar 7, 2011 | 05:18 PM
#10
Thread Starter
Joined: Oct 2009
Posts: 991
Likes: 4
From: West Jordan, UT
Thanks Bud. Paint is holding up pretty well so far. Ran it through a few heat cycles on the truck as well as curing them in the oven. I think the ceramic coating that's on there is going to help protect it.