
"Project LS10"
 Jun 5, 2013 | 07:01 PM
#261
Thread Starter

Joined: Nov 2006
Posts: 648
Likes: 0
From: Drivers seat in Columbia, Mo
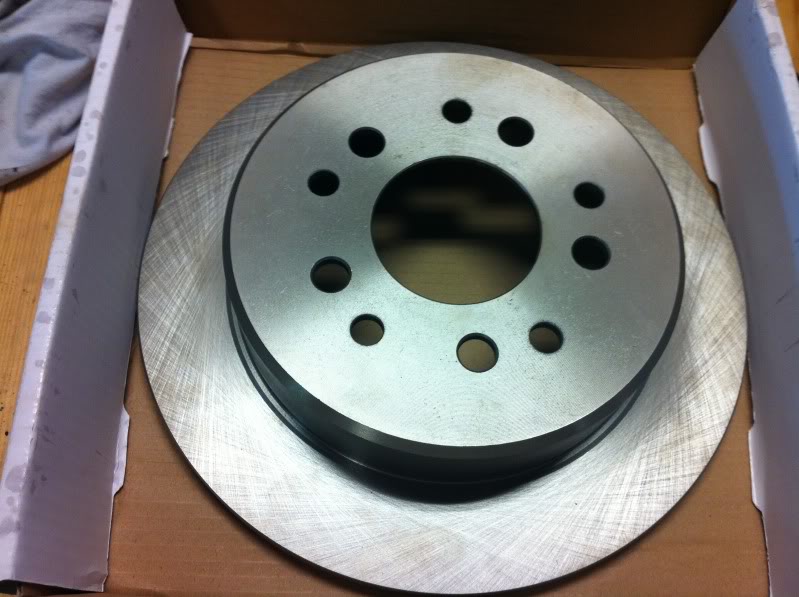
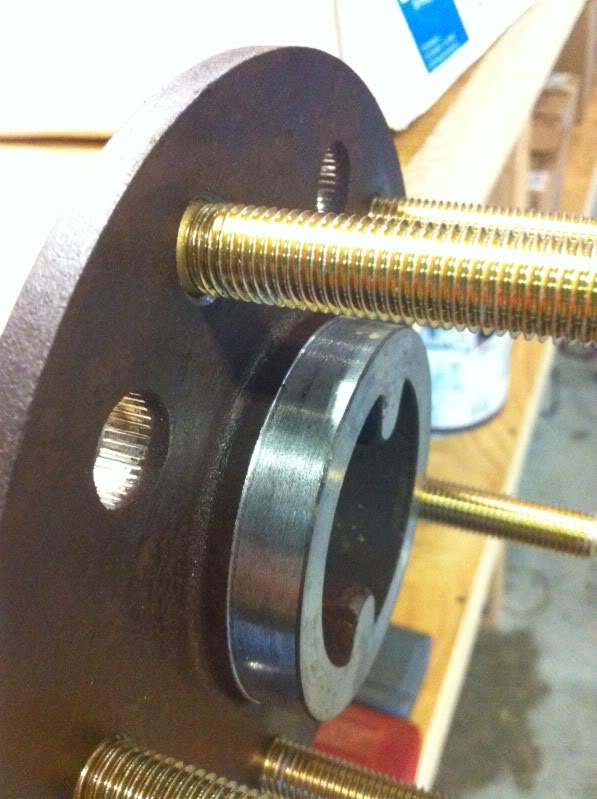
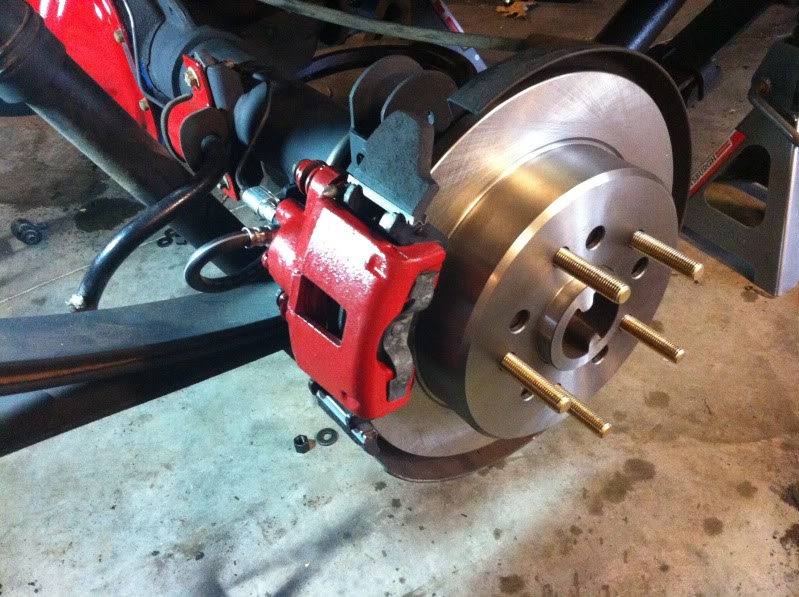
I finally got the axles back from the machine shop. I really like the work done and he will be making the drive shaft for me. I used the stock axles but I did use ARP studs, New solid rotors, and new brake pads. I installed it all tonight but I still need to get one more U-Bolt (one of the ones I had made was 1" short), modify the E-brake ends and bleed the brakes.
Pics:
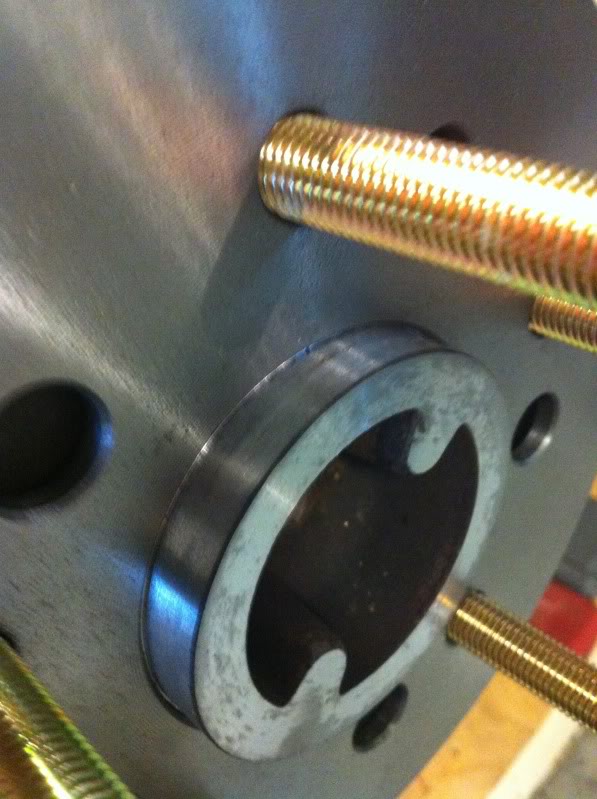
The re-drilled rotors. He drilled them 1/2" so there isn't the factory slop in them.
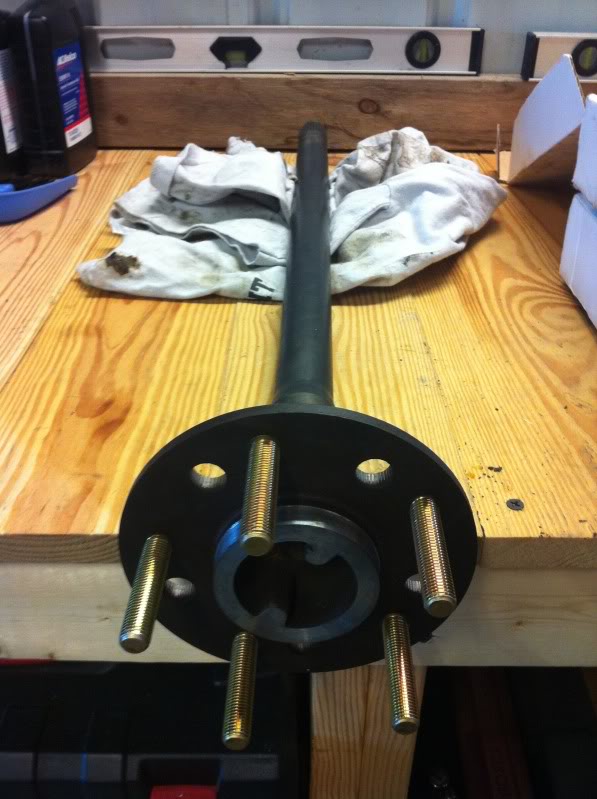
You can see where the hub had to be milled down to 70mm so I could run Corvette wheels. The shoulder had to be left on for a rotor locator.
With the rotor on
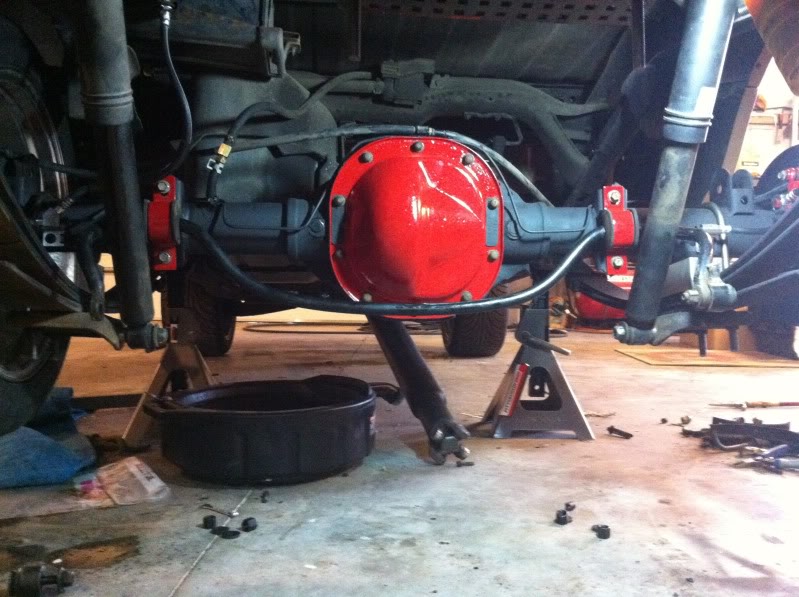
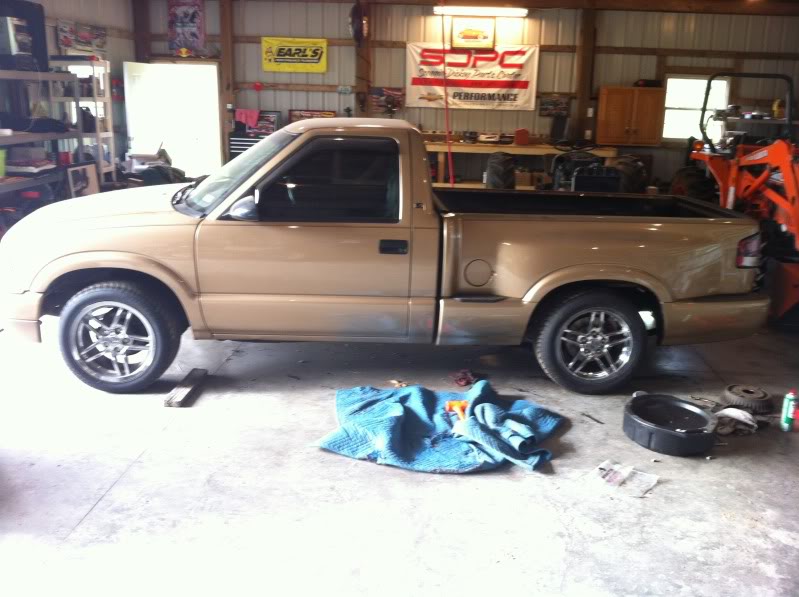
Everything in the truck
I painted the tags the same as the rear and installed them on each side for looks
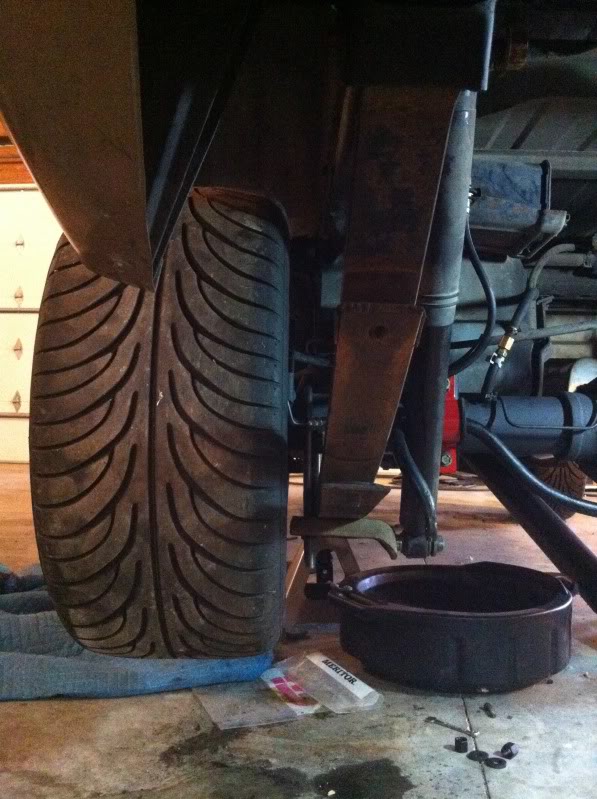
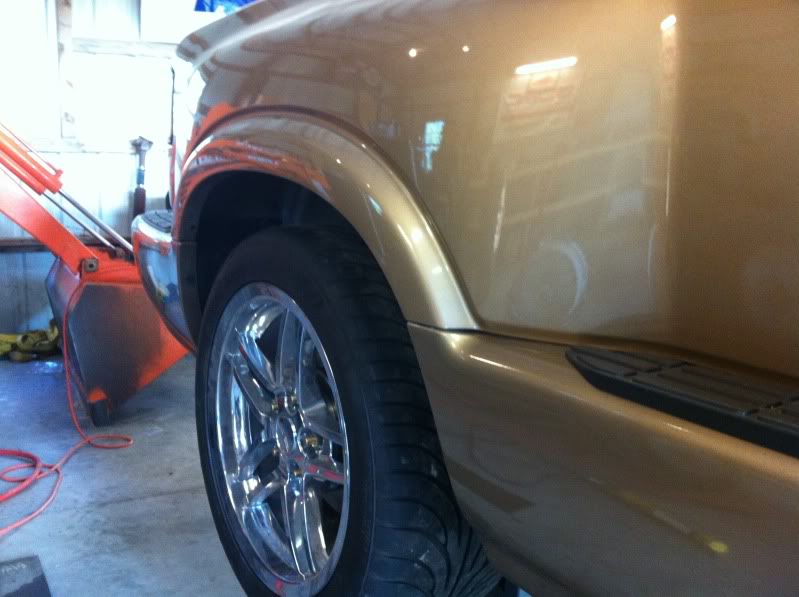
Wheel to spring spacing without the 1/4" spacer
Pics:
The re-drilled rotors. He drilled them 1/2" so there isn't the factory slop in them.


You can see where the hub had to be milled down to 70mm so I could run Corvette wheels. The shoulder had to be left on for a rotor locator.

With the rotor on

Everything in the truck

I painted the tags the same as the rear and installed them on each side for looks

Wheel to spring spacing without the 1/4" spacer
 Jun 6, 2013 | 08:01 PM
#262
Thread Starter
Joined: Nov 2006
Posts: 648
Likes: 0
From: Drivers seat in Columbia, Mo
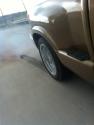
She is on the ground. Right now it has the old gasser look to it. lol I'm building traction bars for it real soon, this weekend prob. I will post up about that and I'm thinking about making a how to thread on it. We will see how they turn out first.


 Jun 7, 2013 | 09:08 PM
#263
Thread Starter
Joined: Nov 2006
Posts: 648
Likes: 0
From: Drivers seat in Columbia, Mo
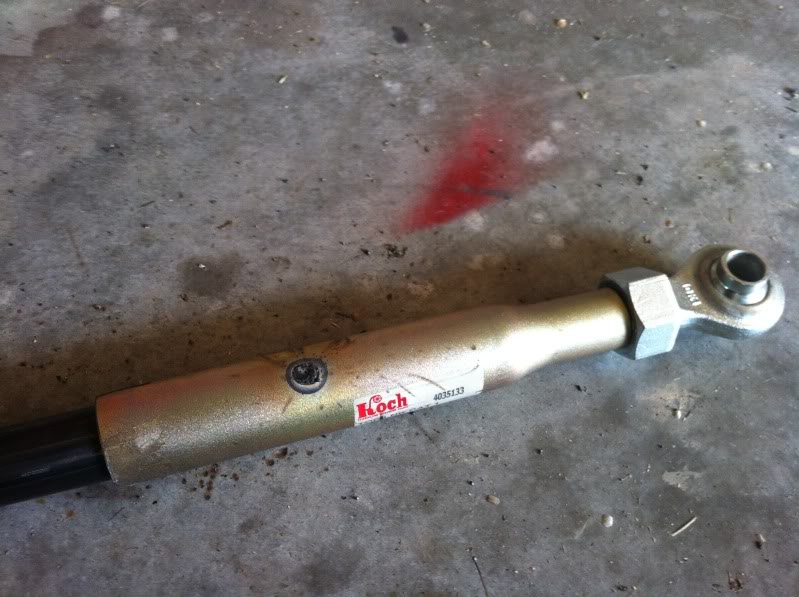
I started working on the traction bars while I am waiting on the driveshaft to be made.
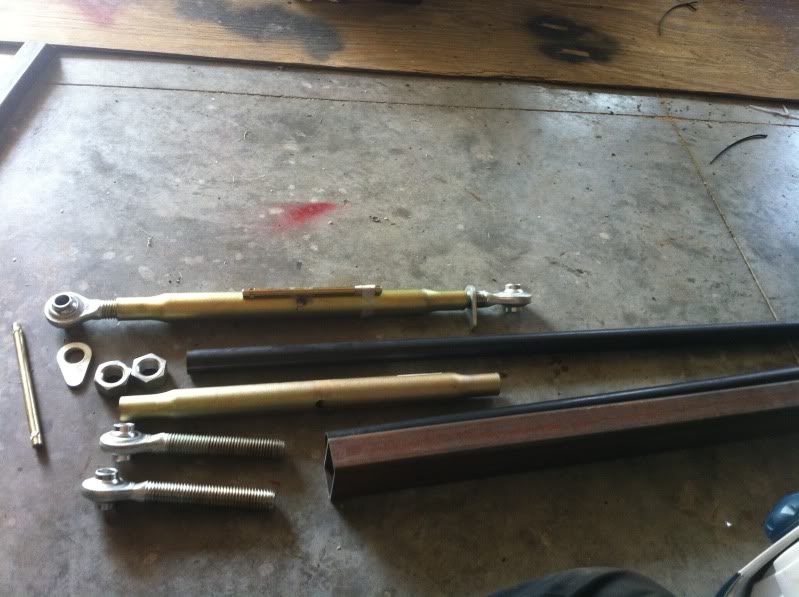
Here is what I started with.
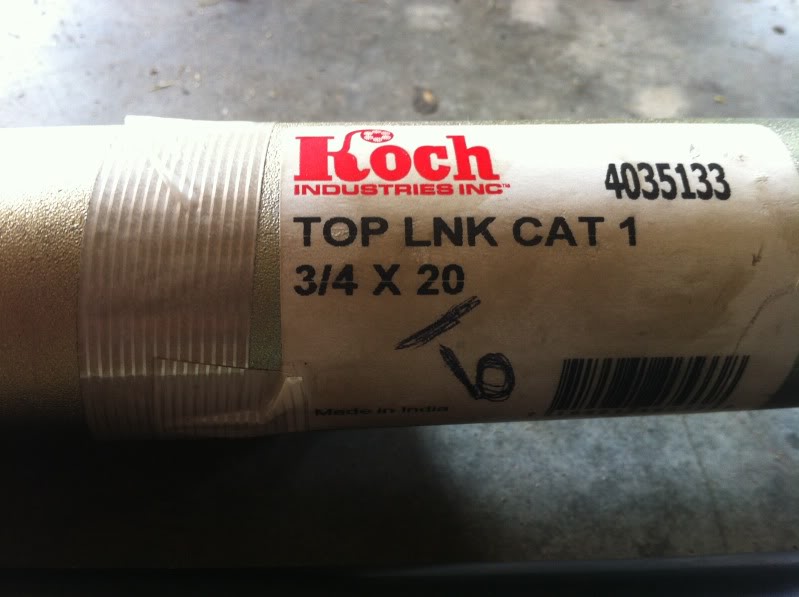
Then I cut the top link in half.

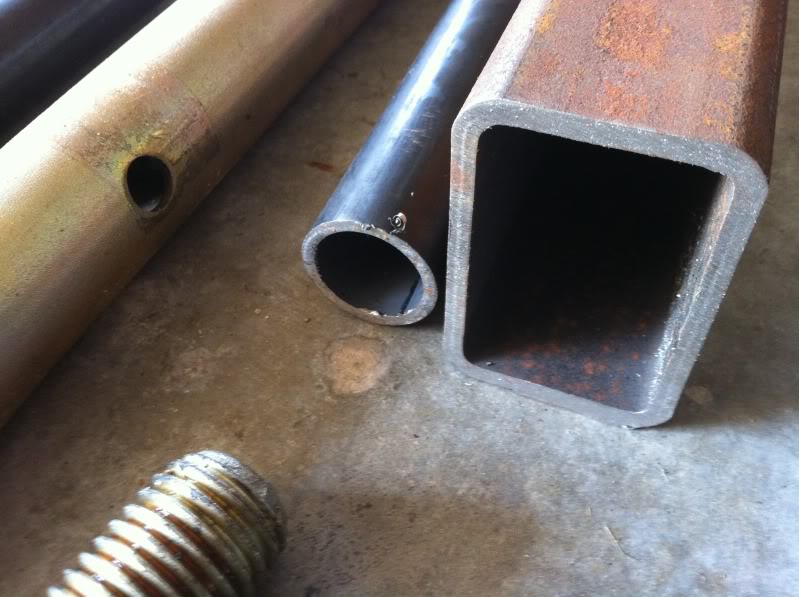
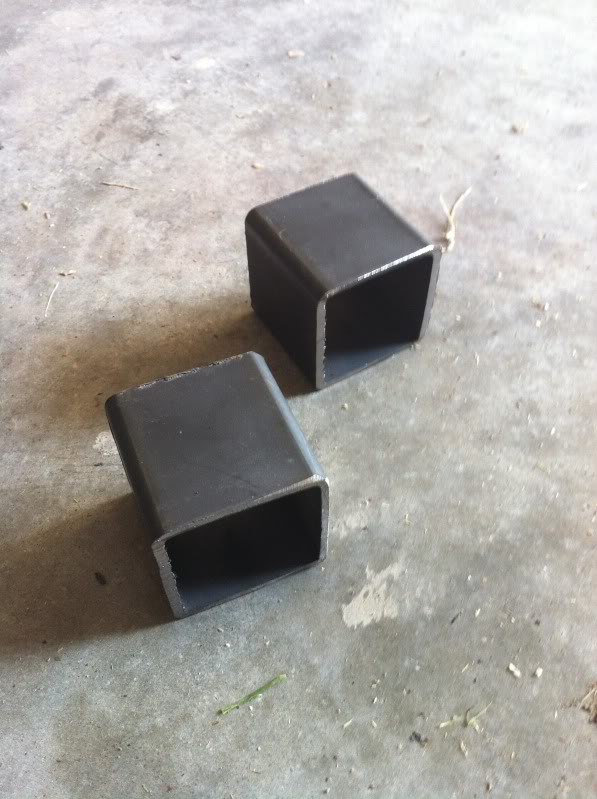
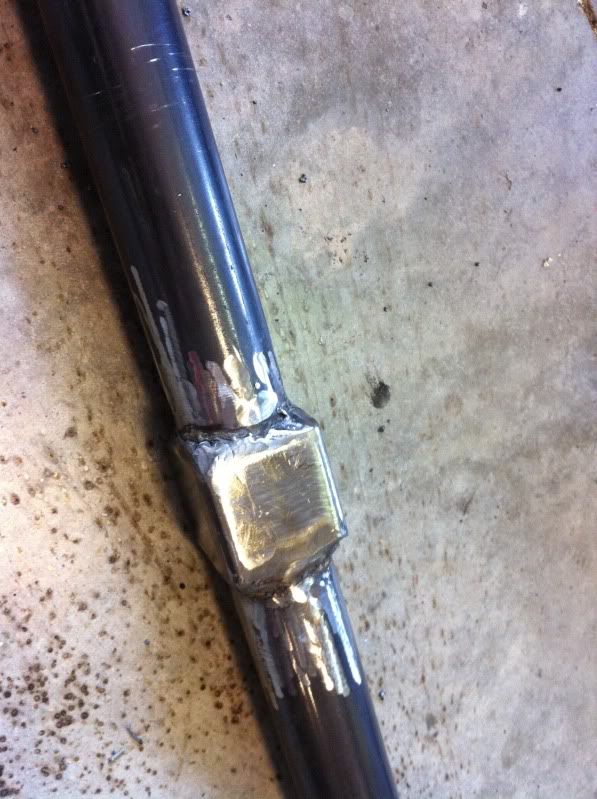
I cut part of some square tubing so I could use them to adjust the traction bars.
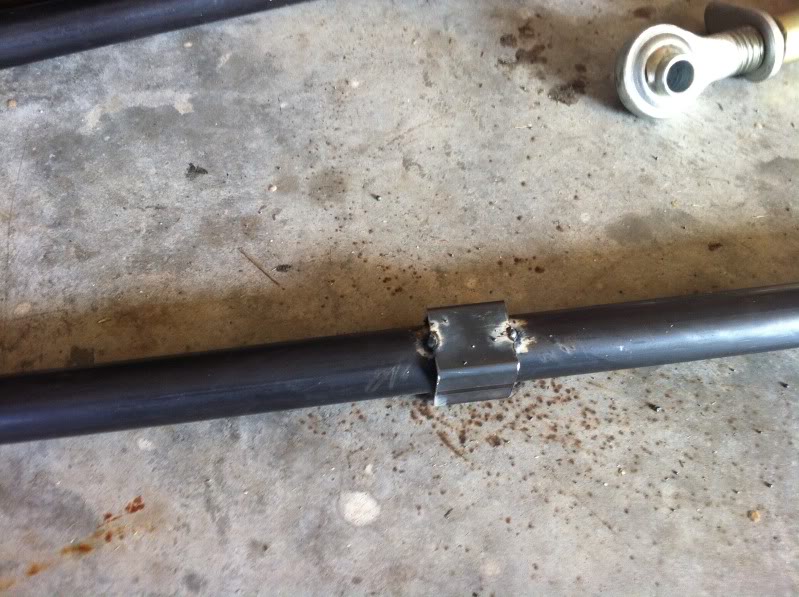
Then welded them in the middle (just spot welded)
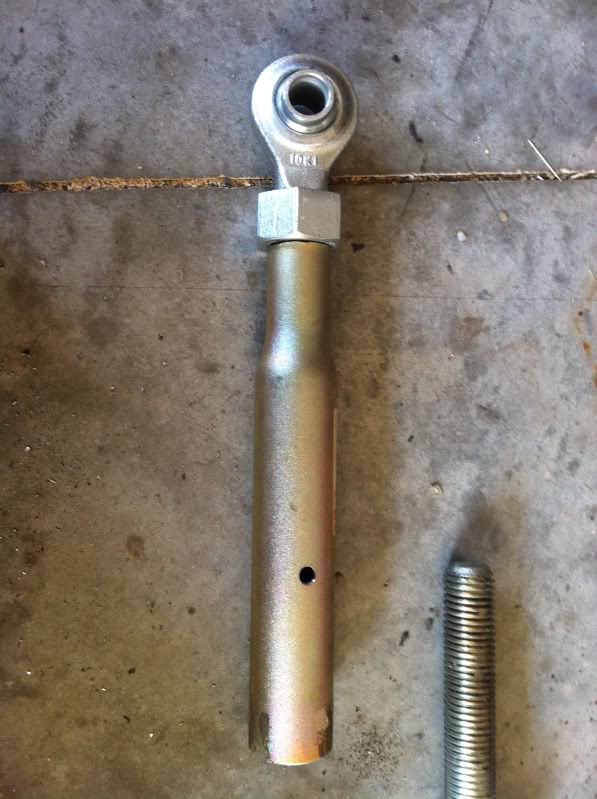
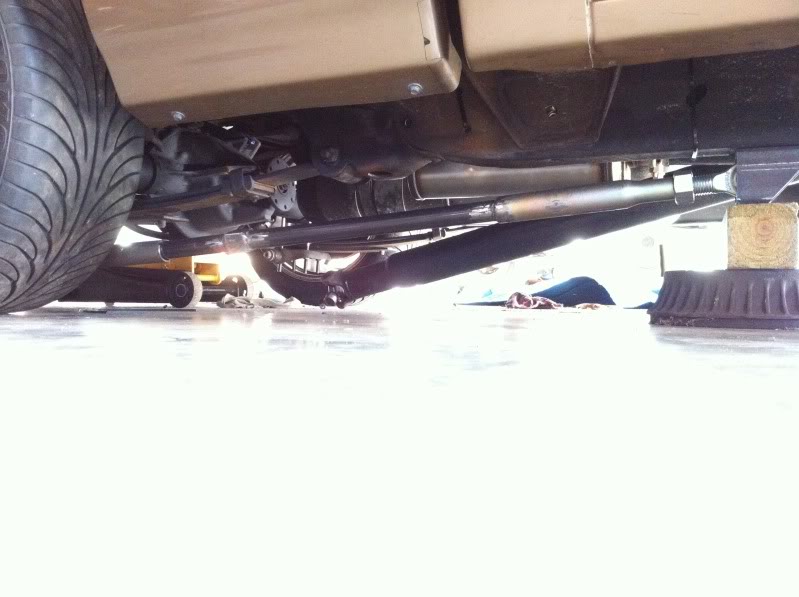
I took the top link and screwed it all the way in and then drilled holes to fill weld to make the ends stronger on the rod. Right now I am just spot welding everything and I will weld all around the ends.
That's all I had time for tonight. More to come tomorrow... I hope.
Here is what I started with.


Then I cut the top link in half.

I cut part of some square tubing so I could use them to adjust the traction bars.

Then welded them in the middle (just spot welded)

I took the top link and screwed it all the way in and then drilled holes to fill weld to make the ends stronger on the rod. Right now I am just spot welding everything and I will weld all around the ends.


That's all I had time for tonight. More to come tomorrow... I hope.
Jun 11, 2013 | 08:15 PM
#264
Thread Starter
Joined: Nov 2006
Posts: 648
Likes: 0
From: Drivers seat in Columbia, Mo
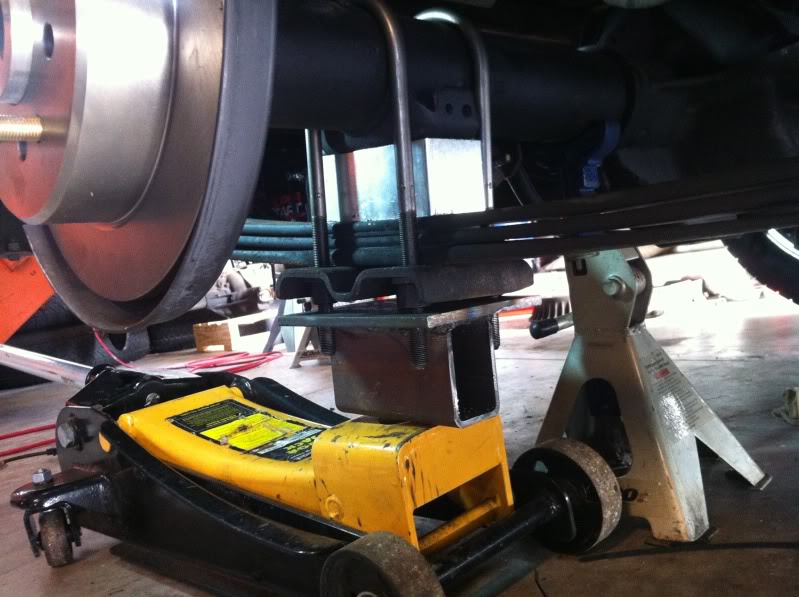
Just a few pic's of what I did in the 97* shop...
The rear mount without a hole for the bolt
Front mount without the hole

The square tube welded on so I can pre-load and adjust the springs
Some mock up pics

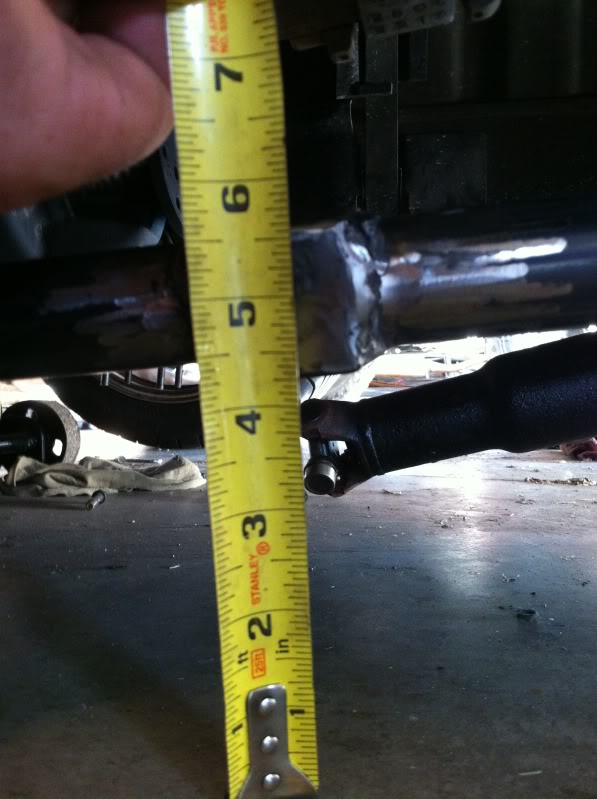
Lowest point of the bar in front of the rear wheel
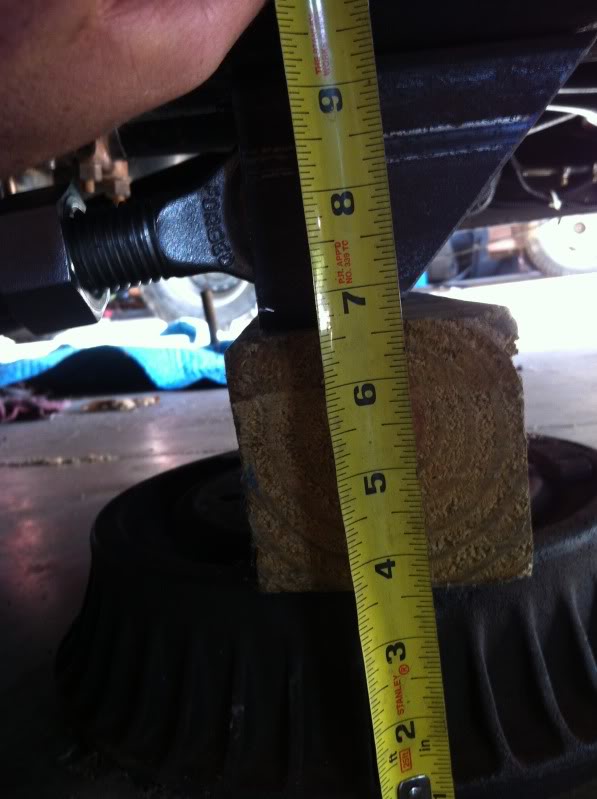
The height of the front mount
The rear mount without a hole for the bolt

Front mount without the hole

The square tube welded on so I can pre-load and adjust the springs

Some mock up pics


Lowest point of the bar in front of the rear wheel

The height of the front mount

 Jun 13, 2013 | 08:33 PM
#268
Thread Starter
Joined: Nov 2006
Posts: 648
Likes: 0
From: Drivers seat in Columbia, Mo
Jun 13, 2013 | 08:34 PM
#269
Thread Starter
Joined: Nov 2006
Posts: 648
Likes: 0
From: Drivers seat in Columbia, Mo
I received my 2" drop springs yesterday but I haven't had time to work on the truck because of hay. I plan on working on it tomorrow after work. I am hoping to get the drive shaft, put it in, put the springs in, work on the traction bars and maybe get the pillar pod installed. Wish me luck


