
Ebay/OBX style header install w/plenty of PICS (LONG, but detailed)

 Jan 12, 2013 | 11:28 PM
#562

TECH Apprentice
Joined: Jul 2008
Posts: 376
Likes: 0
From: Kemah, tx
Hey i was just wondering, I am currently looking at one of these Headers sets as well and it looks just like yours its from DNA motoring on ebay and i was wondering do these cats enable me to pass inspection here in New york or will they still turno on a MIL light? Thanks Kevin
Jan 13, 2013 | 11:31 AM
#563

Registered User
Joined: Jan 2013
Posts: 19
Likes: 0
Thanks guys, so if I bough these though and I got a tune done it will Defintely knockout the potential of any lights or codes during the obd2 inspection? How does that work too? Do the just delete my o2 sensors and give my engine positive/fake results or something
Jan 13, 2013 | 09:49 PM
#564
yeah, usually they just set the rear O2s to not trip a CEL, however, i ended up getting the codes/light a couple months later & it stayed on for a few months then went back out on its own. i never had a chance to ask Justin about it, but after it cleared itself i quit worrying about it
Jan 15, 2013 | 12:15 PM
#565
TECH Apprentice
Joined: Jul 2008
Posts: 376
Likes: 0
From: Kemah, tx
I wrapped my driver side header to help keep the plug wires alive. With new sensors, I throw a slow response code after a while on the unwrapped side. So I get to take that header out and wrap it  this generally happens in colder weather, so I'm not going to blame a bad wire ground just yet. The sensors aren't in collector, they're in the y-pipe. So you lose a lot of heat, and if the seal isn't good to the collector, the readings are skewed.
this generally happens in colder weather, so I'm not going to blame a bad wire ground just yet. The sensors aren't in collector, they're in the y-pipe. So you lose a lot of heat, and if the seal isn't good to the collector, the readings are skewed.
Aug 2, 2013 | 06:46 PM
#566

Teching In
Joined: Aug 2010
Posts: 20
Likes: 0
From: Athens, GA
I see these haven't been talked about in a while. I recently bought a set off Ebay since the price is back down to a 'poor man's' budget.....$318 OBO w/free shipping. Those of you that have been reading between both threads on these headers, the ones I got are the original design with the hump on the driver side.
For you that already own these....I have a question. Was the flared collector that's welded to the resonators the exact same or was one a little smaller? The one that's welded to mate to the driver side either is too small or the collector isn't flared as much. I test fitted them and noticed the passenger side seems have a 'correct' fit. As the driver side leaves a space between the 3-bolt flanges that's about 3/4" to 1" gap. Anyone else with this issue? Should I call DNA about this?
For you that already own these....I have a question. Was the flared collector that's welded to the resonators the exact same or was one a little smaller? The one that's welded to mate to the driver side either is too small or the collector isn't flared as much. I test fitted them and noticed the passenger side seems have a 'correct' fit. As the driver side leaves a space between the 3-bolt flanges that's about 3/4" to 1" gap. Anyone else with this issue? Should I call DNA about this?
Aug 4, 2013 | 07:51 AM
#567

Thread Starter
11 Second Club
iTrader: (42)
Joined: Nov 2005
Posts: 1,643
Likes: 4
From: Baltimore, MD.
Are you sure that the pipe isn't slightly bent or out of round? It's been a while since I installed mine but IIRC they went together everywhere rather easily.
Any chance of getting a pic or two of what you are seeing?
Any chance of getting a pic or two of what you are seeing?
Aug 18, 2013 | 10:48 AM
#568
Teching In
Joined: Aug 2010
Posts: 20
Likes: 0
From: Athens, GA
Well, got the headers installed yesterday. It was nothing short of a monstrosity. I had read on here where a couple of y'all said you installed these specific headers/Y-pipe system ALONE in your driveway in about 4 hours. YOU people deserve some sort of Nobel Prize. I did mine at my buddy's exhaust shop on a lift and it took 8 hours....with a 2nd person. I'm just fortunate to have access to torches, a welder, cutting tools and a pipe bender.
Removing the manifolds was the part I dreaded the most with concern about snapping off bolts in the heads and stuff. It went fairly easy. All but one bolt (which was already missing the head) broke loose and was backed out easily. The headless bolt had to be extracted with Vise grips. We had to take the torch to each nut at the Y-pipe (donut gasket) flange in order to break them loose. Then the last flange after the cats on the mid-pipe....I just rung them off on purpose so it fall apart, which it did. We weren't reusing it anyway. Trying to wrestle the factory Y-pipe free was a bit aggravating....so out came the Sawzall and we remedied that issue quickly.
These headers are supposed to be a direct bolt-on to fit 4WD and 2WD with "No modifications to the factory equipment necessary." BUUULLLLLLL SH*T!!!!
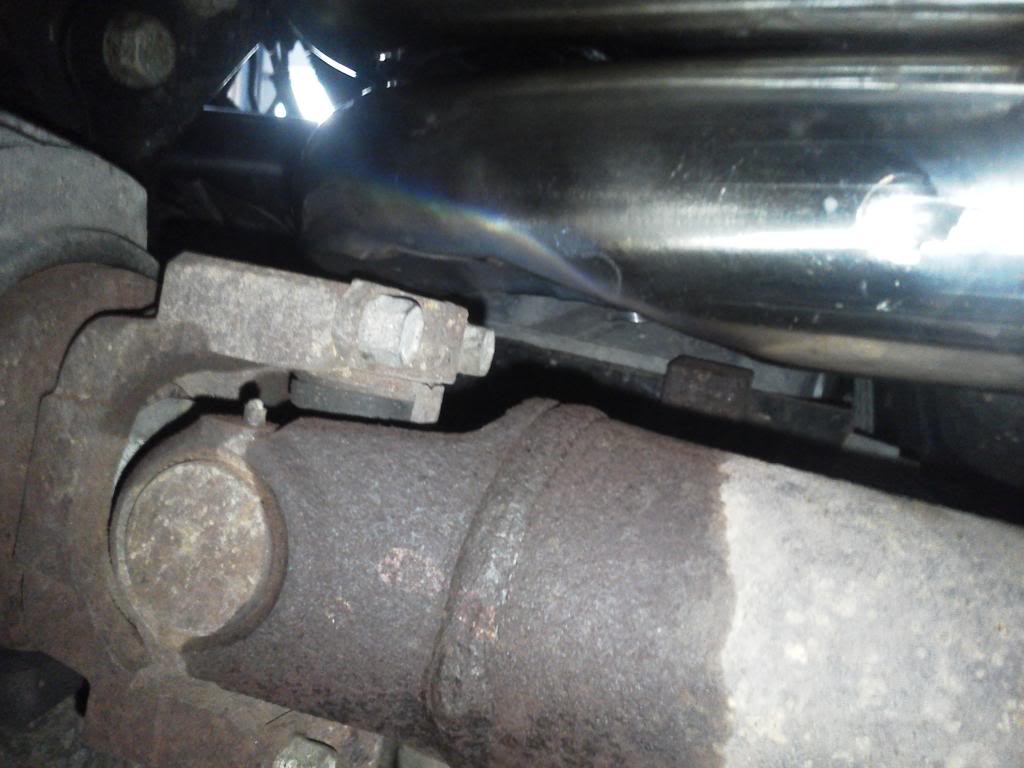
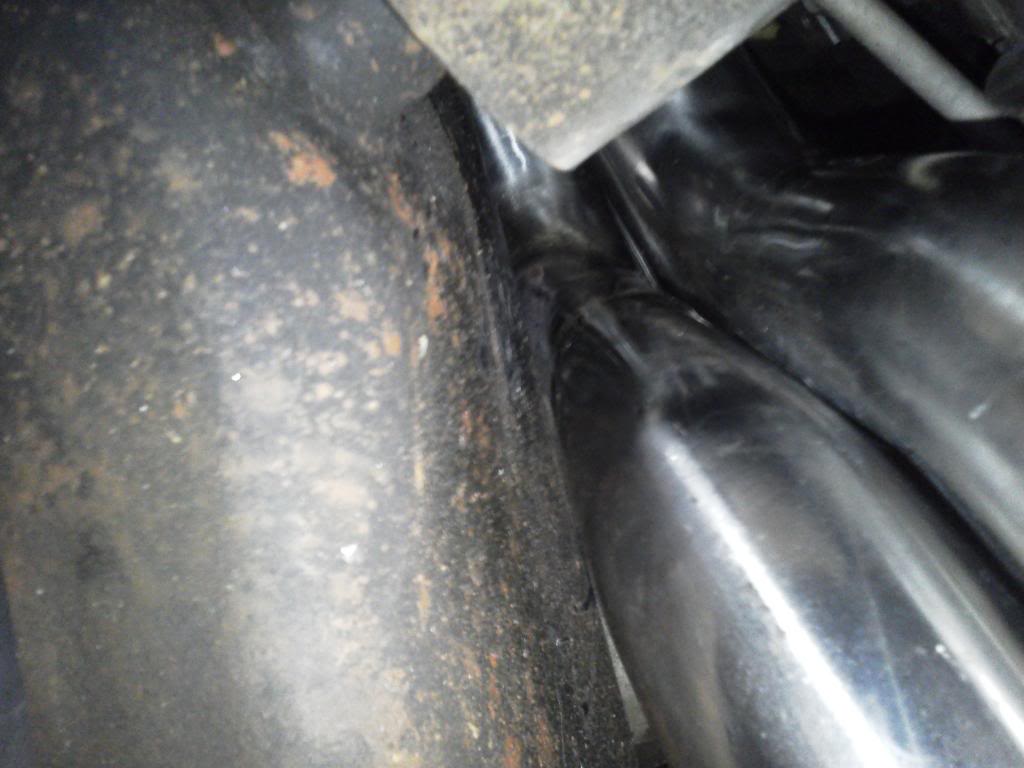
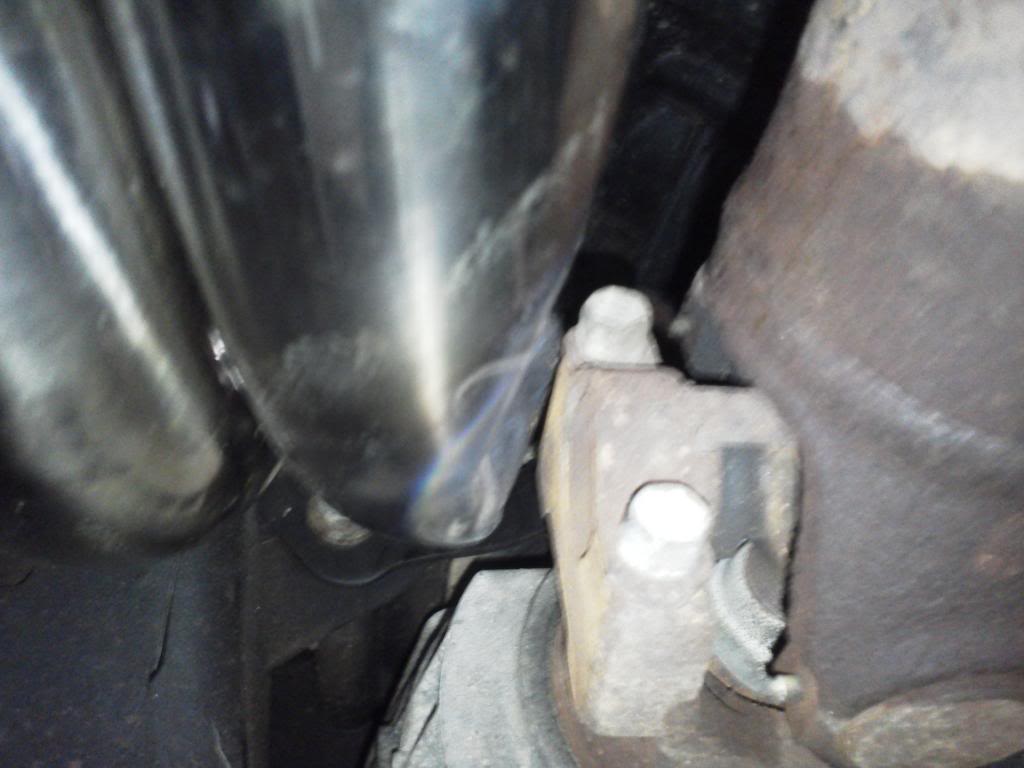
The driverside would not clear the front driveshaft yoke. The passengerside was touching the frame, albeit barely, but touching just the same. We had to put the headers on....tighten it all the way up to check our clearances. I marked it with a Sharpie to know where the pipe needed to be 'massaged' with the BFH. Then took them back off to heat them up and hammer on them, reinstall, mark, remove, repeat. Did this at least 4 times per side.
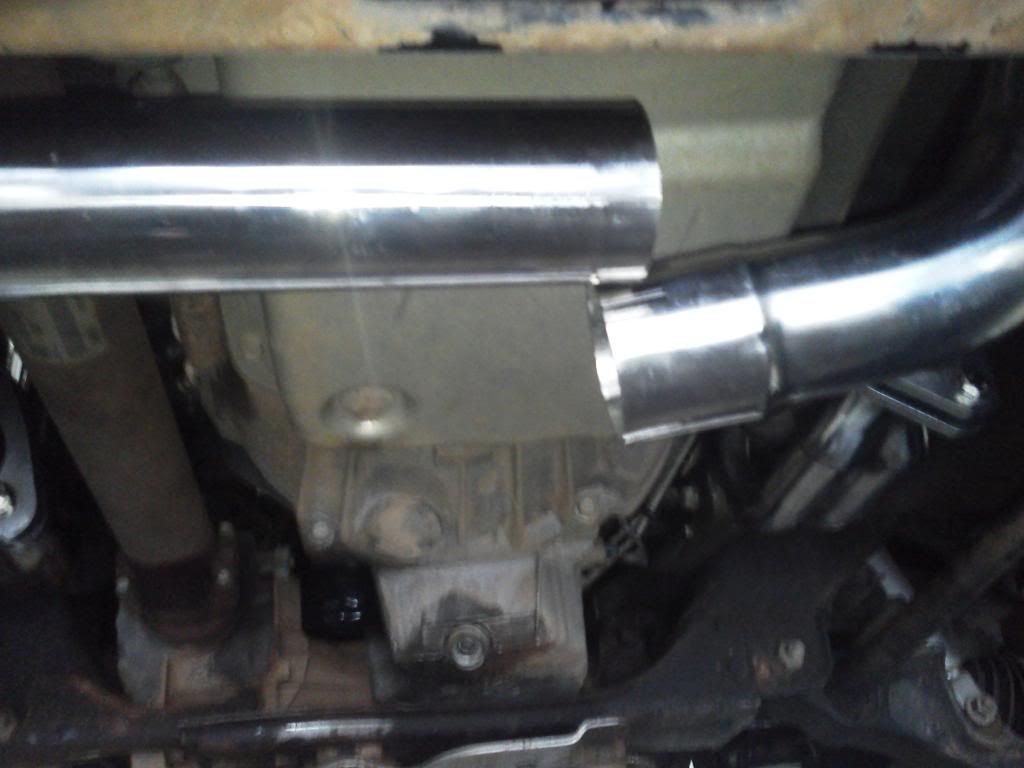
Got all that done....and the rest 'should' have been straight forward. All we're doing is matching up prefabbed pipes. Apparently, the quality control person reads by using Braille. We had to use a pipe expander on the driverside collector so it would fit over the header...(see post my previous post) With the headers on, resonators bolted up in place, the Y-pipe was NOWHERE near mating with the driverside resonator/90% pipe. Had to take measurements and put it in the pipe bender and make not 1, but 2 angle bends to get it where it needed to be. Once all that was aligned and mated properly, we had to cut a section the factory mid-pipe, bend up a piece with a different angle and weld it back in in order to get it to mate to the new Y-pipe. FINALLY it all went together.
Had I known all this would have to be done for these headers to fit....I would have simply done without headers and relied on just a good performance tune and a cat-back system. I would not recommend buying these if their consistency of quality is this bad.

Removing the manifolds was the part I dreaded the most with concern about snapping off bolts in the heads and stuff. It went fairly easy. All but one bolt (which was already missing the head) broke loose and was backed out easily. The headless bolt had to be extracted with Vise grips. We had to take the torch to each nut at the Y-pipe (donut gasket) flange in order to break them loose. Then the last flange after the cats on the mid-pipe....I just rung them off on purpose so it fall apart, which it did. We weren't reusing it anyway. Trying to wrestle the factory Y-pipe free was a bit aggravating....so out came the Sawzall and we remedied that issue quickly.
These headers are supposed to be a direct bolt-on to fit 4WD and 2WD with "No modifications to the factory equipment necessary." BUUULLLLLLL SH*T!!!!
The driverside would not clear the front driveshaft yoke. The passengerside was touching the frame, albeit barely, but touching just the same. We had to put the headers on....tighten it all the way up to check our clearances. I marked it with a Sharpie to know where the pipe needed to be 'massaged' with the BFH. Then took them back off to heat them up and hammer on them, reinstall, mark, remove, repeat. Did this at least 4 times per side.
Got all that done....and the rest 'should' have been straight forward. All we're doing is matching up prefabbed pipes. Apparently, the quality control person reads by using Braille. We had to use a pipe expander on the driverside collector so it would fit over the header...(see post my previous post) With the headers on, resonators bolted up in place, the Y-pipe was NOWHERE near mating with the driverside resonator/90% pipe. Had to take measurements and put it in the pipe bender and make not 1, but 2 angle bends to get it where it needed to be. Once all that was aligned and mated properly, we had to cut a section the factory mid-pipe, bend up a piece with a different angle and weld it back in in order to get it to mate to the new Y-pipe. FINALLY it all went together.
Had I known all this would have to be done for these headers to fit....I would have simply done without headers and relied on just a good performance tune and a cat-back system. I would not recommend buying these if their consistency of quality is this bad.


 Aug 18, 2013 | 10:39 PM
#569


 Aug 18, 2013 | 11:07 PM
#570

TECH Enthusiast
Joined: Oct 2010
Posts: 727
Likes: 1
From: FL