When you click on links to various merchants on this site and make a purchase, this can result in this site earning a commission. Affiliate programs and affiliations include, but are not limited to, the eBay Partner Network.
After looking deeper and finding more info on a site called OEMcats.com, I have found the following info.
New Info for the pedal.
15734409 Now translates to 15906961
OEM part number 15734409. Please keep in mind that this pedal was replaced with 15906961 for the U.S. market on March 1, 2011, and was replaced with 15906961 for Canada market on February 28, 2009.
New info For the pump.
15234828 Now translates to 20756715
OEM part number 15234828. Please keep in mind that this pump is interchangeable with 15909825 for the U.S. market since May 1, 2008.
OEM part number 15909825. Please keep in mind that this pump is interchangeable with 20756715 for the U.S. market since November 1, 2009, and was replaced with 20756715 for Canada market on February 28, 2009.
Last edited by 1FastBrick; Jul 6, 2018 at 11:48 AM.
Reason: new info found using OEMcats.com
Just finished the swap, bleed the hell out the brakes, but still ha end brakes. Truck running I press on the brakes pedal stays on the floor have to pull it back up and can feel the force behind when I pull the pedal back up. If I leave the pedal down amd
ahut the truck off it will come back up by itself. Any ideas???
Long time lurker, right in the middle of a hydro conversion on a 1999 Tahoe and I ran into something fun lol. Thought I might just post and throw it out there in the hopes someone has any extra insight, either way I am gonna be heading back out and bang on it some more after this post.
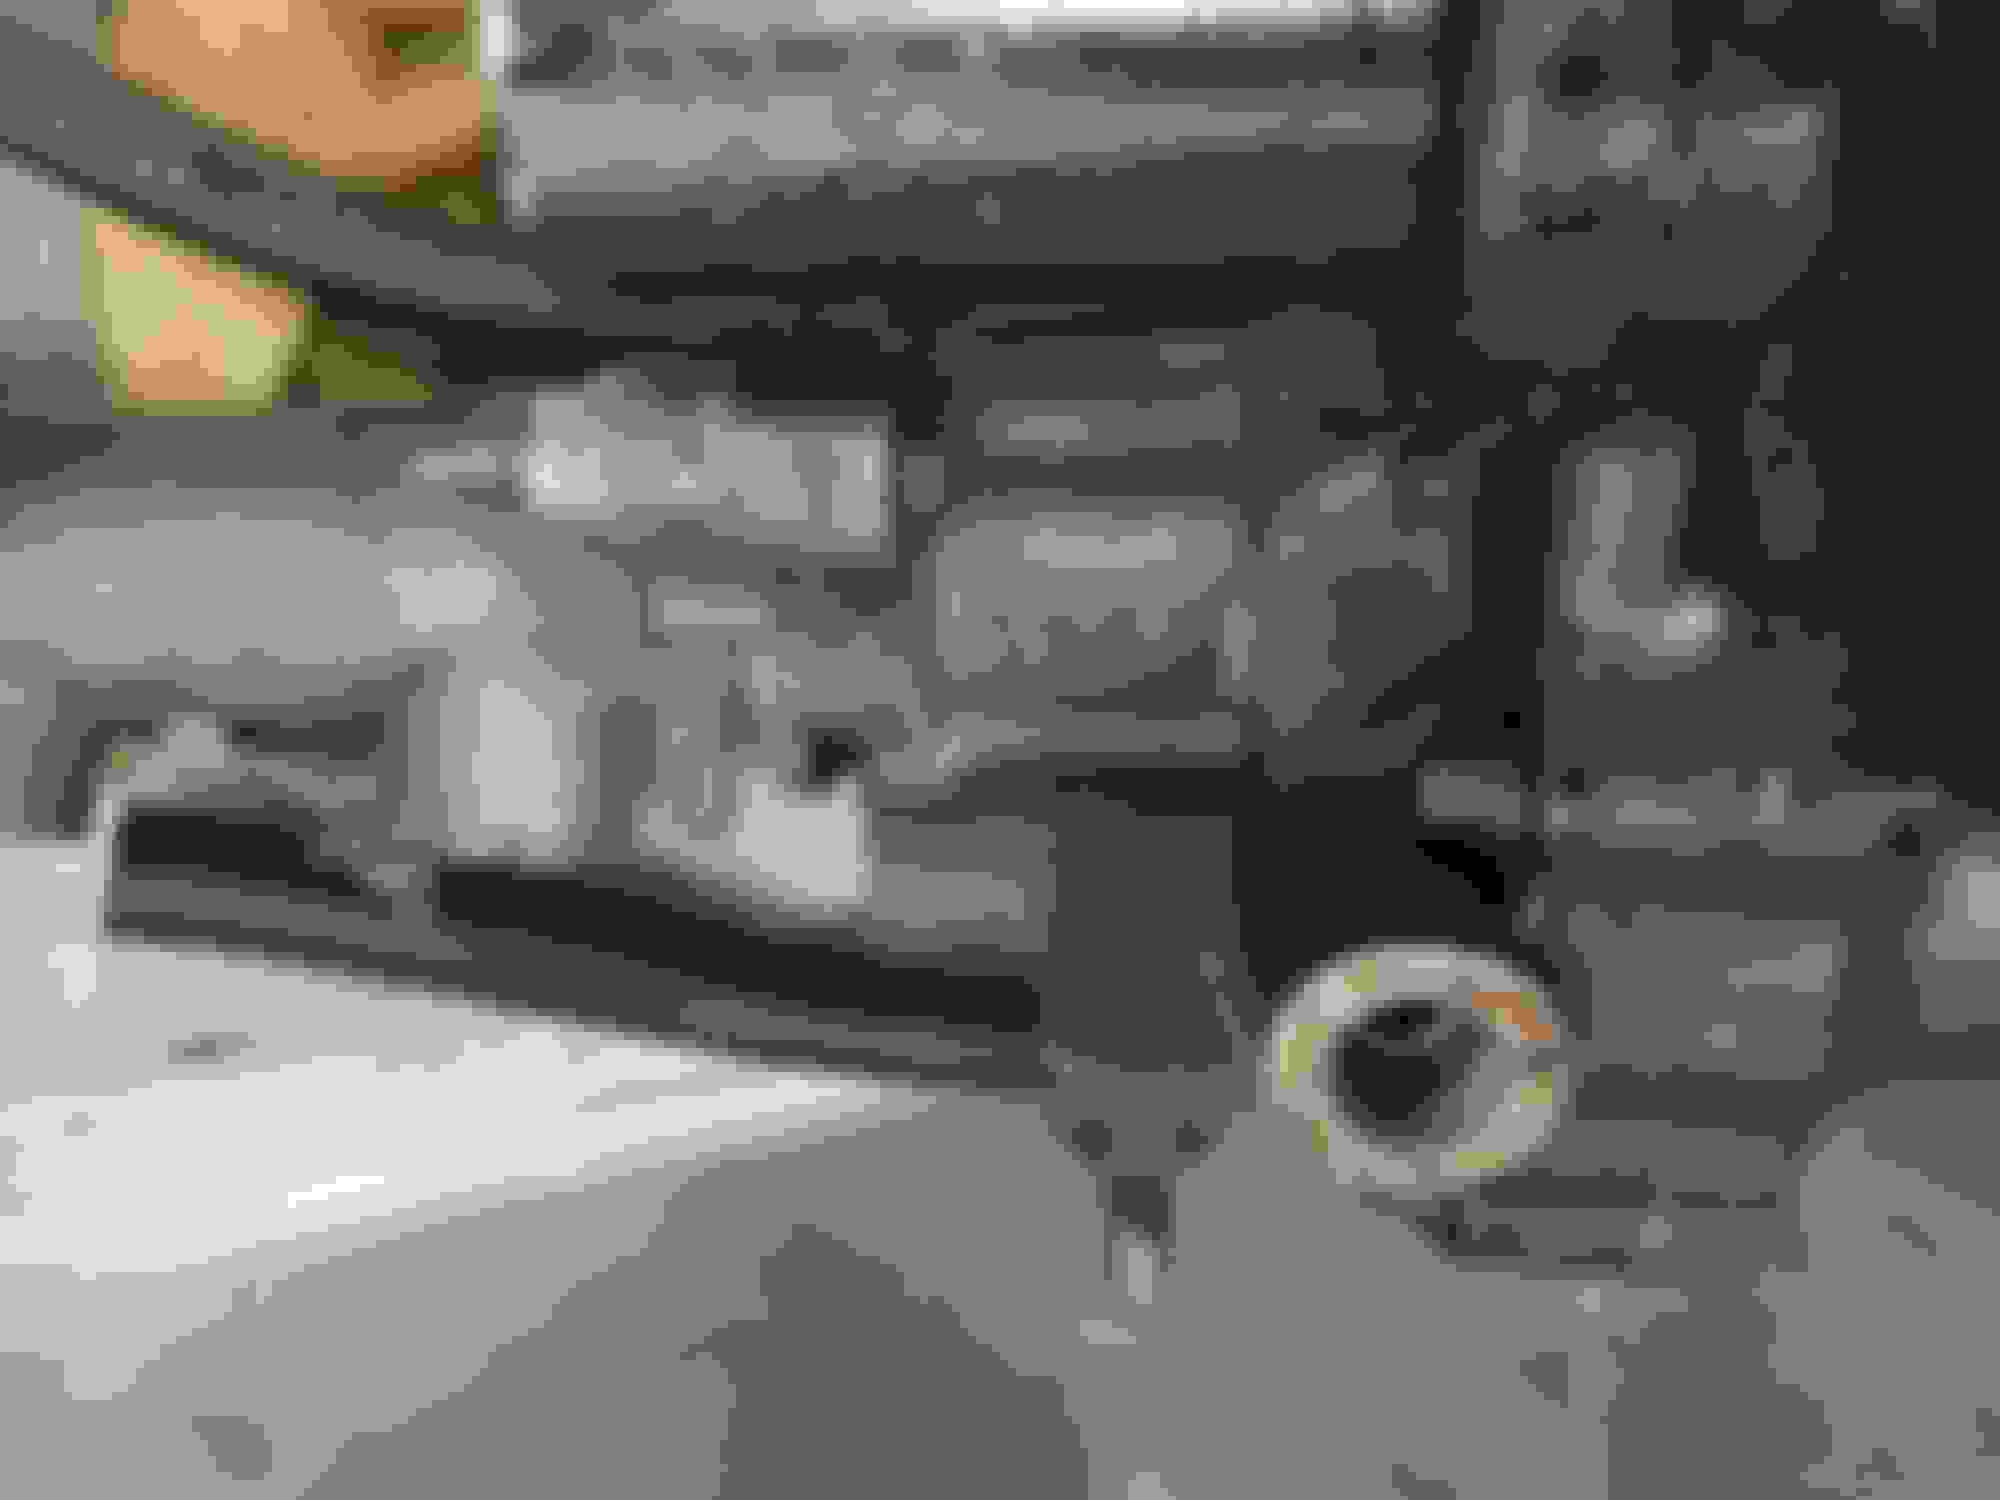
So I am trying to take the brake pedal off and trying to get that main bolt holding it in place is turning into a real drag.
So on the left is from a video I took because I could not actually see this "bolt" but it is the same one as the one in the OPs picture on the right half and as you can see, mine is tac welded to that metal panel and is NOT removable from that side (It is also 21mm). I can just barely see the other side of this bolt which is the side that I have to remove on my 1999 Tahoe and I have no clue how to get to it. I am thinking I might be able to get my ratcheting swivel head crescent in there, but until I go back down for round 2, I honestly have no clue how I am gonna get it off, without taking the whole surrounding area apart, which I really don't want to have to do.
So 1999 Tahoe, trying to get the Vacuum brake booster brake pedal off for my hydro conversion and unable to remove the bolt from the easy side. Anybody else with a 96 to 99 (I think) Tahoe run into this issue and how the heck were you able to get to that bolt to remove the pedal?
Thanks so much for all the amazing information you guys all share here, I would never have been able to get as much done on my truck without all of your insights!
The nut on the pedal and the one you point to are 2 different nuts. The one with the bolt through the shaft has a removable flange nut that has thread locker on it which appears to be reddish in color.
The other nut your pointing too is a standard nut that is press welded in place and has no flange. It also appears to be in a recessed area and has a blue thread locker on it.
What your working on is a GMT 400 series vehicle and the stuff in this thread is predominantly GMT 800 and some GMT 900. there will be difference between the platforms.
Thanks so much for taking the time to share that information with me! After I posted I went back down and started to look around and there were 2 electrical boxes to remove and then a black plate with 2 x 15mm bolts and a small like 7mm bolt. Once all that was removed I was able to get to the bolt end and crank that sucker right out!
I took pictures of everything and will post them once I am done for the day in case anyone else happens to come across this thread in the future with the same layout as myself.
This thread is like a decade old and still incredibly useful! Thanks again for you input man, you guys are the best!
I'm finally getting around to doing this. I'm only mostly through, but here is where I am so far.
I looked up the part numbers, and what I found was the hydroboosts with the factory mounting bolts in a square were on the vans. Whether any of them have the right length, I'm not sure. They changed them every few years. I think your best chance is to get one from a 2003 1500 / 2003-2005 2500/3500. I'm not guaranteeing those will work, but if we have found some that work, I think those are what you are looking for.
Your better option is to just get one from a pickup or SUV and drill the hole. There are two different hydroboosts 99-02 and 03-07. They look nearly identical, and the newer one is the superceded part number, you can use either one. If you really care, the only way I could find to identify the older one has the black "locking nut" where the rod is in, inside the firewall I pulled this one from a 2002 2500HD. The 03-07 has a silver nut.
This is the stamping on the 2002
Here is the hydroboost I bought being told it was from a 2002 escalade.
I added the master cylinder, but the picture I bought it off of, had the 2003-2007 reservoir. The 99-02 reservoir looks like a pill, and the 03-07 is double half an egg. This might have been different for the SUVs, and honestly, I might be wrong.
It looks like the gas chamber is about a hair off, but again, you can use either.
I have the original 2002 master cylinder and I bought a newer one. What I found is that there is a hair of a design difference on the master cylinder in the way the reservoir mounts. It looks like they will even swap. It looks like you should be fine as long as you buy or use whatever reservoir is with the master. The bore size is the same from my old master to new.
I have a 2002 2wd with a 4.8L. I am doing this on jackstands (and I think it would be easier this way than on a lift). I used a creeper, slid in from the front, head in, and was looking at it from rear of the crossmember. I went straight up with a 16mm wrench, pushed the lines slightly out of the way, and was able to get a wrench on and remove the needed line just like that. No crow feet, no pump removal, just a wrench, (now in all fairness, I haven't gotten it installed yet). I didn't need to turn it much, just a couple inches before it came loose, then unscrewed by hand. (I'm in Texas, so you rust people, might have more trouble).
I wanted to try to see if I could, and now I need to drain the PS fluid. A turkey baster ~kinda works, but the battery cable is there, and even without that, it doesn't feel like its working as it should. My plan tomorrow, and my suggestion is to get a little hand siphon pump.
If anyone knows whether or not there is a good way to flush the PS fluid now, I would sure love to know. Wondering if there is an easier step. Otherwise, I will have to clean out what I can, and plan to flush later.
If anyone knows whether or not there is a good way to flush the PS fluid now, I would sure love to know. Wondering if there is an easier step. Otherwise, I will have to clean out what I can, and plan to flush later.
I would try putting the final return line into a contain and then crank it up. Let the pump push out all the old fluid from all components as I add fresh fluid into the reservoir. Do this until it comes out clear and trying my best to not suck air. A second person to shut it off would be nice. Of course be careful to not hurt yourself info rotating accessories..
Thanks for taking the time to share what you�ve found in effort to help others. Very admirable 👍
I need things painfully spelled out some times.
Just to make sure, I am taking the line off that is connected from the (lower bolt) power steering pump to the rack and pinion (/ gear box), and replacing it with
The line that doesn't have bends on one end goes to the PS side of the booster to the steering pump, (connection just removed).
The line with several bends at both ends, and the "J" end going to the Drivers side of the booster, and the "S" end replacing the original line at the rack / gear box.
I am just having a really difficult time getting the original line off at the rack. I am using an 18mm which seems to fit tight, but I am still starting to round it. I'm thinking of just cutting the original line right at the fitting so I can get the box end on, and probably a little hammer tap. Just need to make sure I'm not cutting something I need.
Am I missing something? Should that line not be that difficult to get off? Is there an easier way to get it off? My rack and pinion is not original. It was done previously by a tire shop mechanic and I'm thinking he may have rounded it.
I still can't get this line off, and it is/was definitely rounded. I took off the bolts holding on the plastic skid plate and it gives decent access, its just difficult to get a wrench in there. I got a crowfoot on the nut, but it might have been too late, it just kept trying to round it. I think I'm going to have to take the rack off tomorrow so I can get the line off.

 Jul 6, 2018 | 11:42 AM