When you click on links to various merchants on this site and make a purchase, this can result in this site earning a commission. Affiliate programs and affiliations include, but are not limited to, the eBay Partner Network.
I was all set to use their oil scavenge pump and nifty return line built into a billet oil fill cap setup but then decided i just didn't want one more electric/mechanical piece in the puzzle. So decided to tap the pan.
I found enough space beneath the starter next to the rear passenger side of the pan. Space was still tight so I tracked down some stubby large-diameter drill bits. For 3/8" NPT, the proper drill size is 9/16" and while that isn't the easiest to find by itself in a normal size, finding a short one requires some interwebz shopping.
Got the drill bits in; next we found that they are 1/2" chuck and the only 90 degree drill apparatus I could find is 3/8" max. So to my brother's civil war era Craftsman "commercial" lathe. Neither of us really know how to use it, but we ended up mangling it into somewhere south of 3/8" and it fit in the drill. Ugly but works. That's what she said.
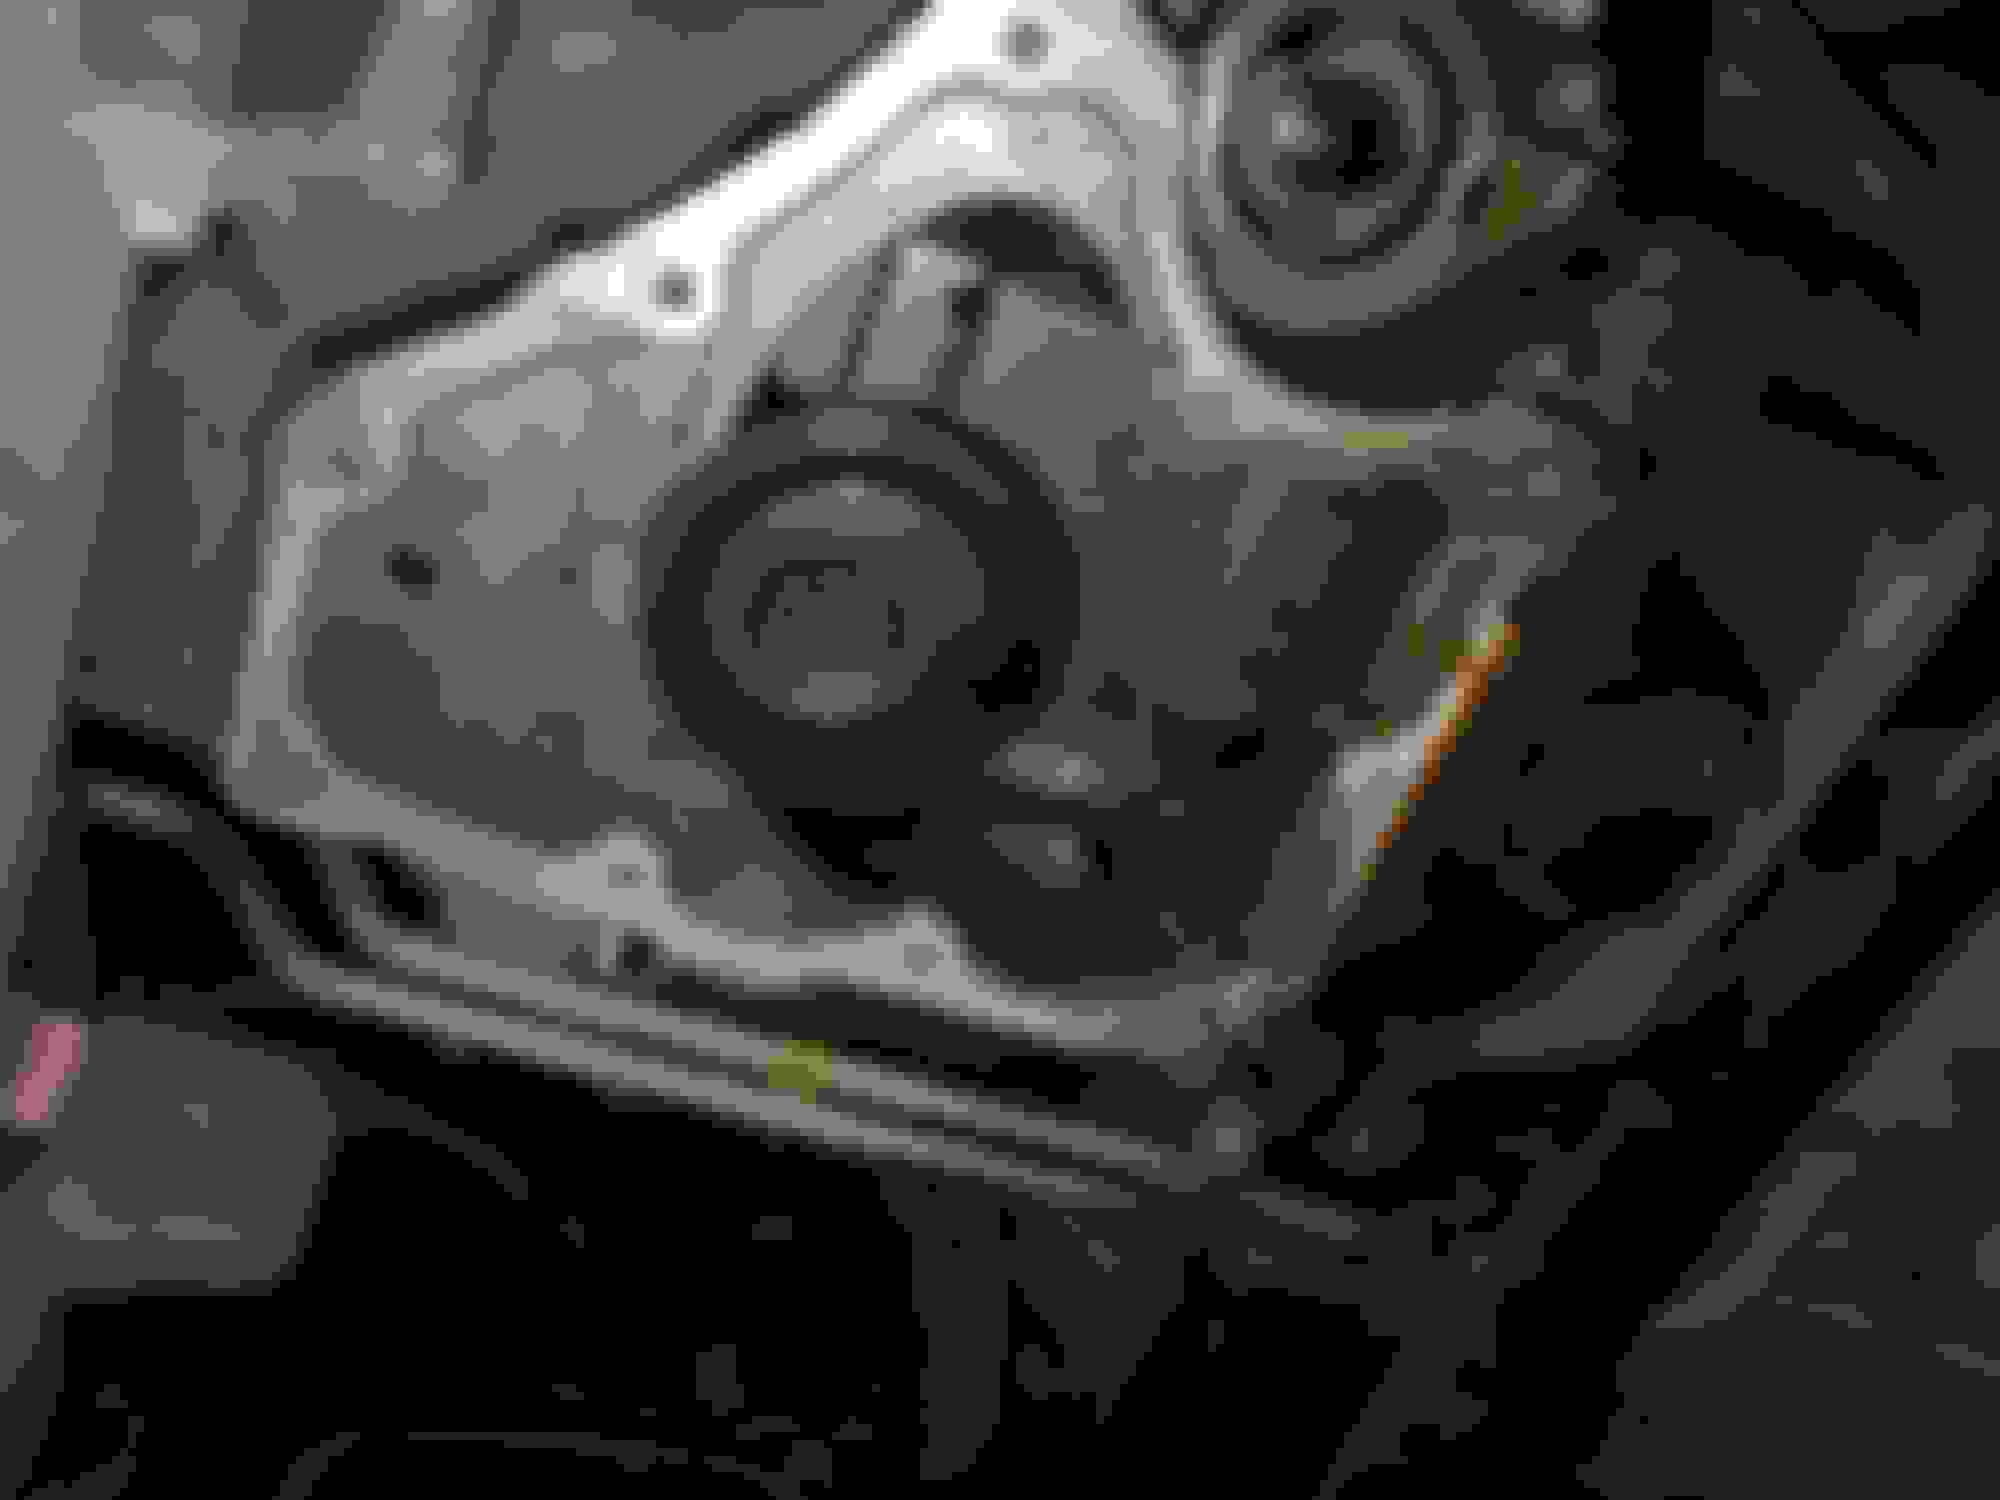
So I was originally set on the scavenge pump because I wasn't comfortable that I could drill/tap the pan and get all the shavings out. Well, GM actually did me a small favor here. While it sucks that we don't have the nifty (sometimes?) reusable gaskets of the past, they blessed the truck with this subpan(what I call it) that basically is the sump of the oil pan. I was able to remove 4 bolts from the crossmember there and then ten or so M10 bolts later, I pried the subpan off and had easy access to both sides of the upper pan.
I pulled the dipstick previously and measured how far down in the pan the "full" mark was(and yes; I know it's at an angle in the pan) but then of course I could SEE it once I pulled the sub. Due to phone camera underneath truck at strange angles, I know the tap point looks pretty low but I made sure it was fully above the "full" line on the dipstick. Being that is full with engine off, running engine I figure would be even a bit lower so unless I'm running the Texas mile(not), I don't think I'll have a problem with oil draining. This was as high as I could get it with the thickness of the chuck of right-angle drill hitting the starter. I did angle it ever so slightly up and forward but you can barely tell. hindsight, my lazy *** should have just removed the starter and gone higher. You'll do yours that way, right?
That Delco RTV is some impressive stuff. It took a surprising amount of force to pop the subpan off and I did end up slightly bending the ear, but it bent right back with no issues.
The angle and depth of a step bit caused concern since the pan is actually pretty thick where I was drilling. Decided to start with step for ease and to reduce risk of the bigger bit jamming up then finish with the proper 9/16" bit. Made a little stop out of a snip off the oil drain hose and snugged it on the step and did the deal.
Why would Chinese tool #1 fit into Chinese tool #2? I guess this technically is square thing and round thing..but we're here to f**k up an oil pan; not make Harbor Freight jokes right?
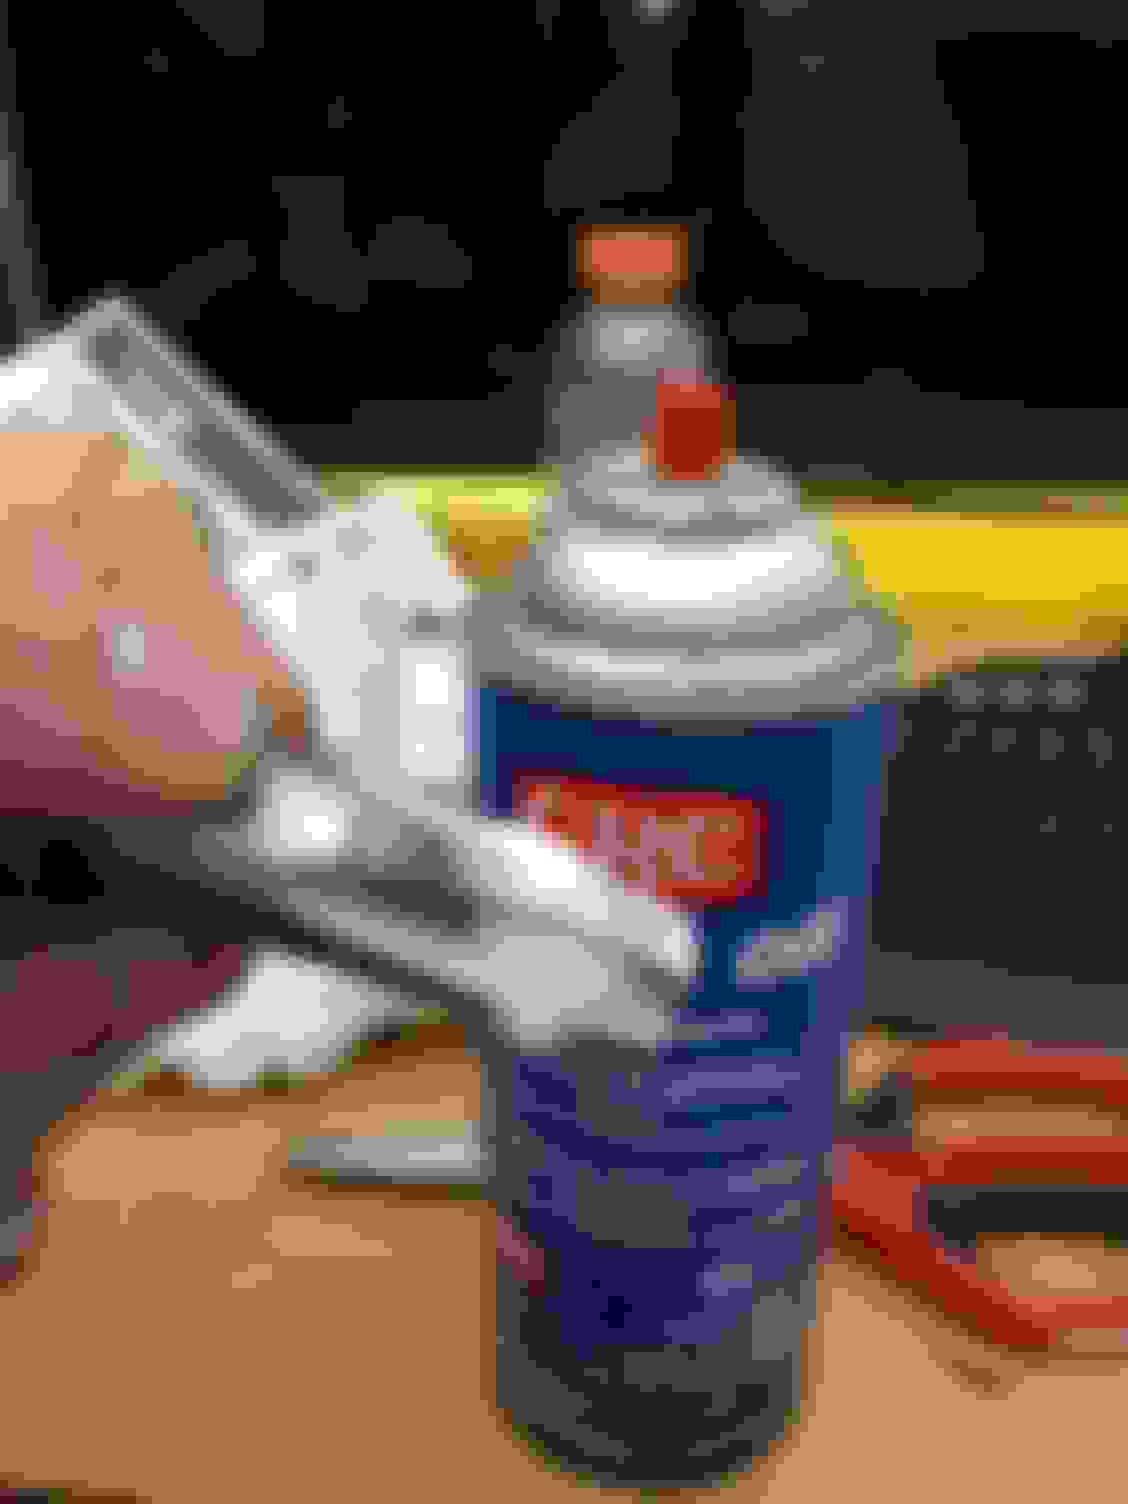
This cutting oil is surprisingly foamy and sticky. I didn't bother with actual grease as I was able to stuff quite a bit of paper in the nooks and crannies in the pan but I think it did just as good a job. My past experience with cutting oil was quite a bit thinner; perhaps this crap sat on the shelf too long but it worked great.
Still after all was drilled and tapped, I ran a can of carb cleaner around the sides of the pan which evacuated the rest of the shavings. Pulled the paper and "rinsed" again. Once dry, finger test seemed to reveal not even the smallest Al shavings or powder.
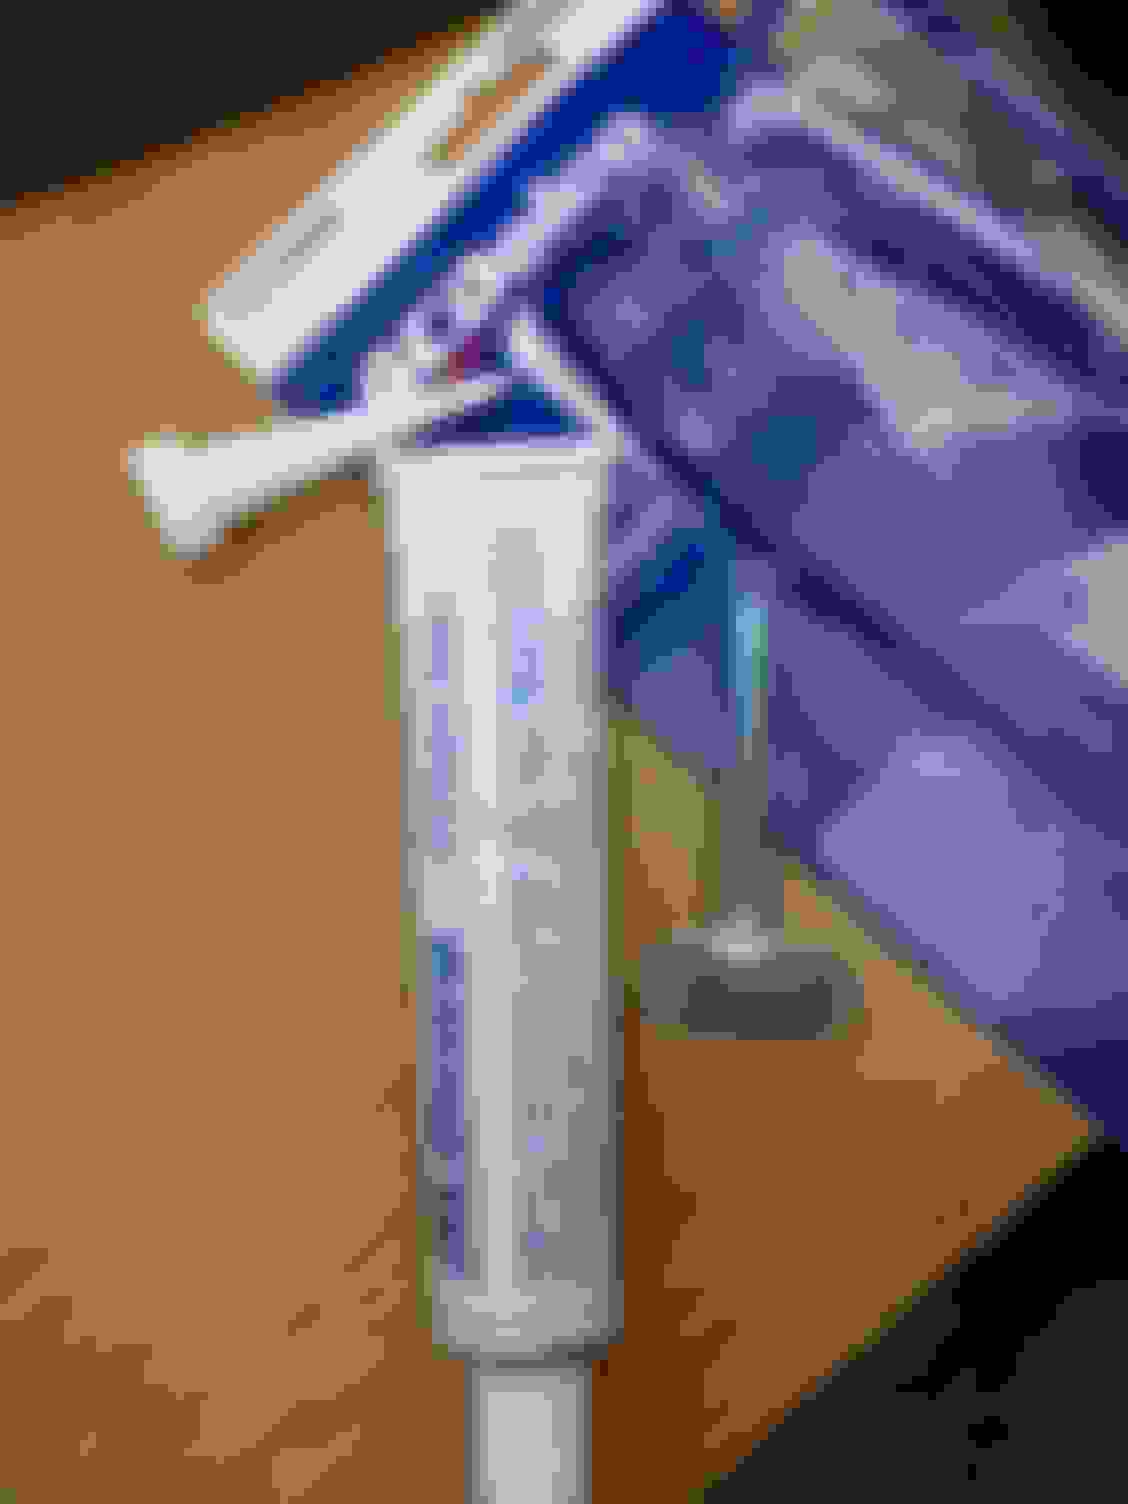
A little thread sealer on the nipple and some surprisingly expensive($15/tube) RTV and we have the pan back on and the drain in place. Probably a bit heavy on the RTV but if I'm paying that much, I'm going to apply the **** out of it and use the rest for toothpaste! Wait; toothpaste is cheaper. Hmm. Halloween is over so I guess it will just harden on the shelf until I go to swap a cam and discover I have to buy a new tube.
So is the metal "spoon" for anything other than to spread the product?
I'm definitely welding a proper(and more direct!) return in the front cover when I venture into a cam swap next year sometime.
Oh and since oil drain on these trucks involves 6 quarts of oil shooting STRAIGHT at the friggin tire(notice very straight shot out of the side of subpan), I decided to make use of this little contraption I had planned on testing on the V1. Stole the rubber washer off the factory drain plug.
So the downpipe hits the passenger side brake line right where it exits hard line and goes flex at a bracket on the frame. I'll BFH a lot of things but have kinked some brake lines in the past so am generally cautious in this area. On3 said their shop 2014 truck didn't have such a thing so I put on my big girl panties and just bent the **** out of it, forward, about 30 degrees. Fits now. Brakes probably still work.
Previous owner obviously had a CAI or similar on this thing and swapped it back to factory before trading in. The screws in the MAF card were pretty much some random junk from the bottom of the toolbox. Generally useless info to most but someone will need to Google "2014 DI Silverado 5.3 MAF bolt or screw" at 3AM one day and here it is: M4-.70x12. GM dealer will tell you M8-1.25x30. Probably airbox or something else but definitely wan't going to fit in here. The MAF wasn't seating great so deburred the edges of the opening and oiled the o-ring and we're ready on that.
Looks like you are running it backwards with the tool upside down. Not saying it won't work but not ideal, especially with the lantern style tool post.
Also running in reverse, cutting force lifts the carriage up off the ways, instead of directing the pressure down towards the ways.
Looks like you are running it backwards with the tool upside down. Not saying it won't work but not ideal, especially with the lantern style tool post.
Ha! You are probably exactly right. I'll share with my brother. He's been collecting a lot of old metalworking equipment and we haven't exactly gotten to the proper usage part yet. At least we used proper form otherwise..cheap whiskey and no safety glasses.
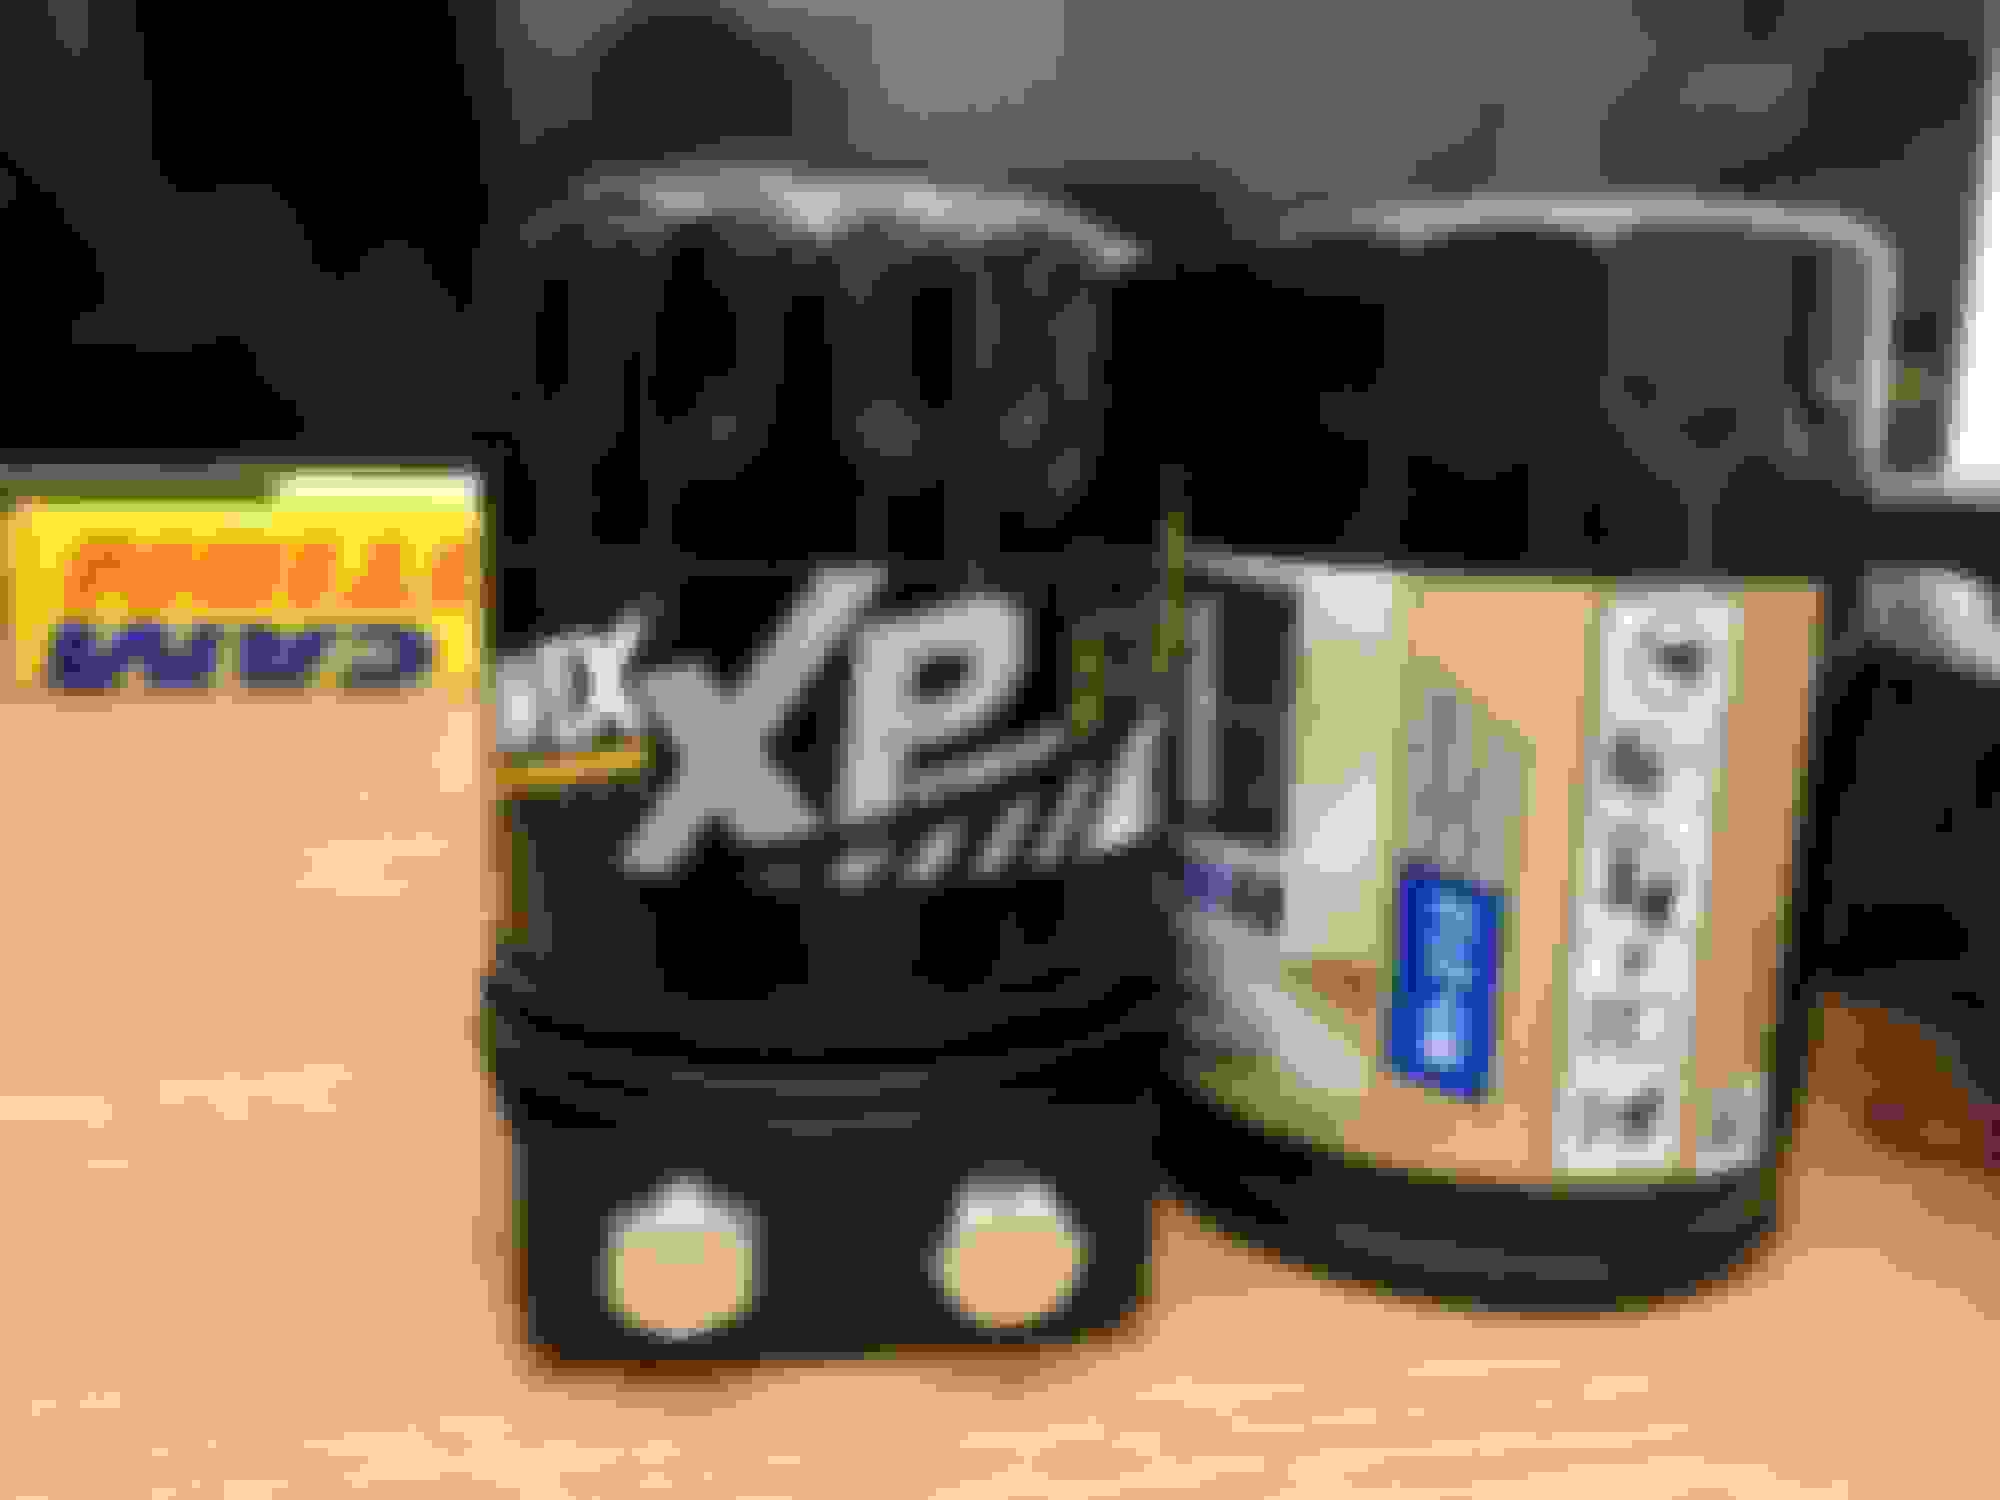
Oil feed time. Using the sandwich adapter provided. The crossmember(at least on this 4x4) is about 3/4" under the stock oil filter so would hit with the added thickness of the sandwich adapter. On3 recommended the '06 Z06 filter. Comes to about the same overall height assembled. The adapter is decent though there were some aluminum hairs hanging around on the tapped holes. Deburred and did the deal.

 Nov 15, 2017 | 03:11 PM