

Project Man-Van
 May 25, 2013 | 01:56 PM
#361

Thread Starter
GFYS and STFU
iTrader: (8)
Joined: Jan 2007
Posts: 13,870
Likes: 4
From: Here and sometimes there too.
(and for those of you that are gonna suggest cutting up the van like some of those other hack modded vans...don't!
 That's a bit too
  for me!)
May 25, 2013 | 06:11 PM
for me!)
May 25, 2013 | 06:11 PM
#362
Thread Starter
GFYS and STFU
iTrader: (8)
Joined: Jan 2007
Posts: 13,870
Likes: 4
From: Here and sometimes there too.


How did you separate the reflectors from the housing? They are connected via ball joints in the back and I can't get to them and have no idea how much pressure to apply without breaking them?
Kinda looks like this....
 May 25, 2013 | 10:27 PM
#364

Are you planning on reusing the reflectors?? Could always build your own custom shrouds around the projectors. That's what I did with some think pliable rummer sheet stuff.
 May 26, 2013 | 12:08 AM
#366
Thread Starter
GFYS and STFU
iTrader: (8)
Joined: Jan 2007
Posts: 13,870
Likes: 4
From: Here and sometimes there too.
Ok yeah, they're a bit different from your motorcycle ones. I was playing around with it a little and I don't think it necessary to pull them apart anyways so I'm just gonna work around them. I spent about 3 hours today on them but I need to buy a dremel at Home Depot so maybe I'll get it done tomorrow.
I am re-using the reflectors, I just painted the low beam half black. Will be interesting to see how it all looks when completed. Gonna test fit it all and depending on how it looks I might do projectors on both high's and low's. Not sure yet...just gonna see how it all works out.
Will have a better updated tomorrow hopefully.
May 26, 2013 | 12:13 AM
#367
Nice. When I get projectors put into my truck I will be doing low's and highs. There is a guy locally on Craigslist that is advertising that he does them, might go check out his work and see if it's worth paying him to do it.
May 27, 2013 | 02:27 AM
#368
Thread Starter
GFYS and STFU
iTrader: (8)
Joined: Jan 2007
Posts: 13,870
Likes: 4
From: Here and sometimes there too.
Welcome to my current Project/Nightmare!! :/
Will do a write up when it's all done but this is not as straight forward as I thought/hoped it was gonna be!!
Will do a write up when it's all done but this is not as straight forward as I thought/hoped it was gonna be!!
May 27, 2013 | 02:31 AM
#369
Good luck man, will look and perform badass when done. Take your time.
May 31, 2013 | 01:27 AM
#370
Thread Starter
GFYS and STFU
iTrader: (8)
Joined: Jan 2007
Posts: 13,870
Likes: 4
From: Here and sometimes there too.
Well...the Nightmare is over!!! 
I'm waiting for the silicone to dry on them and then I can drop them in, but before that, here's all that I had to do to make them work. Have a seat ya'll and grab some
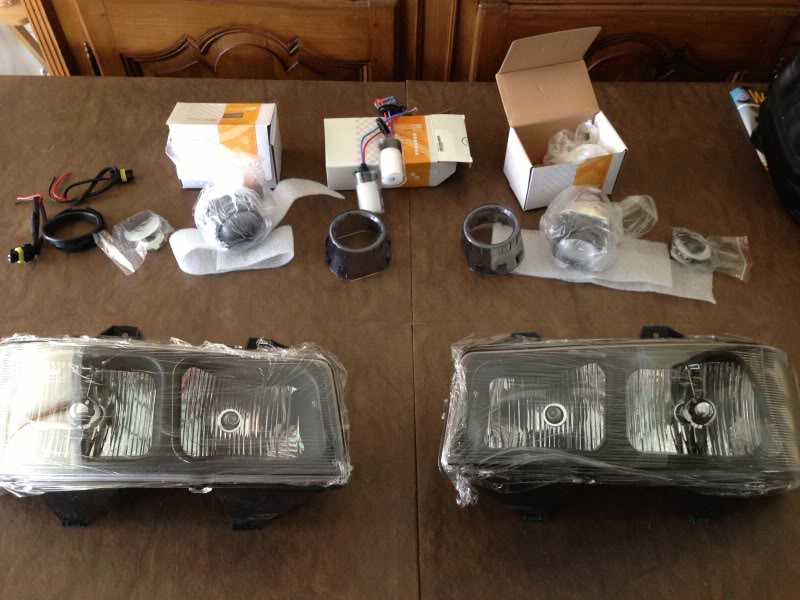
So here's what I started with, Projector conversion and a aftermarket set of new headlights:

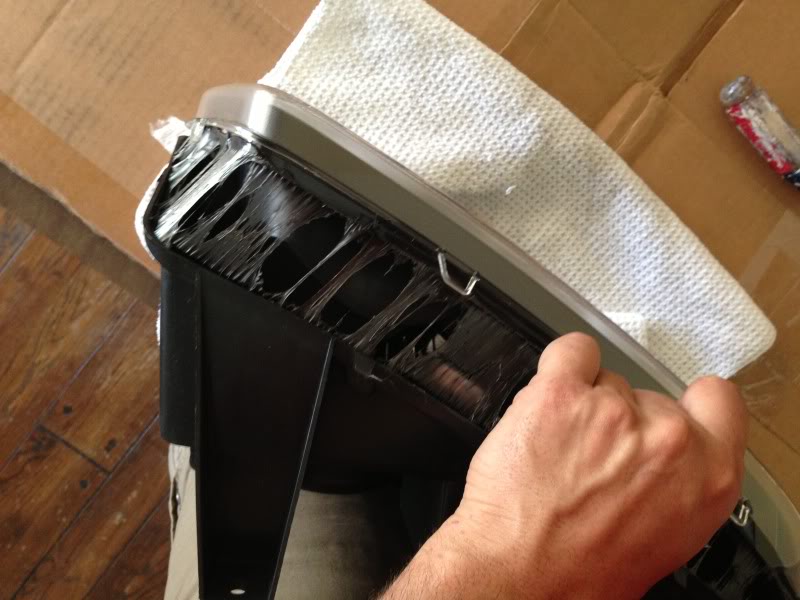
First thing I had to do was do a little baking:
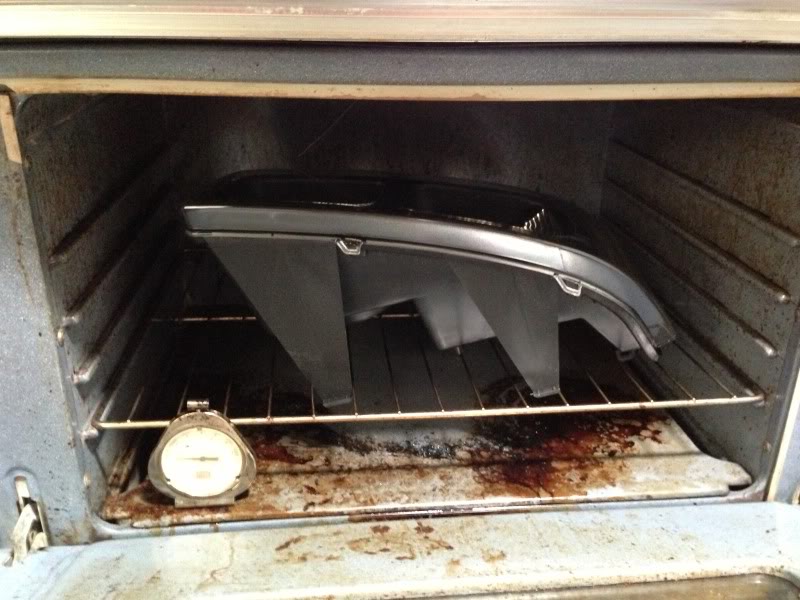
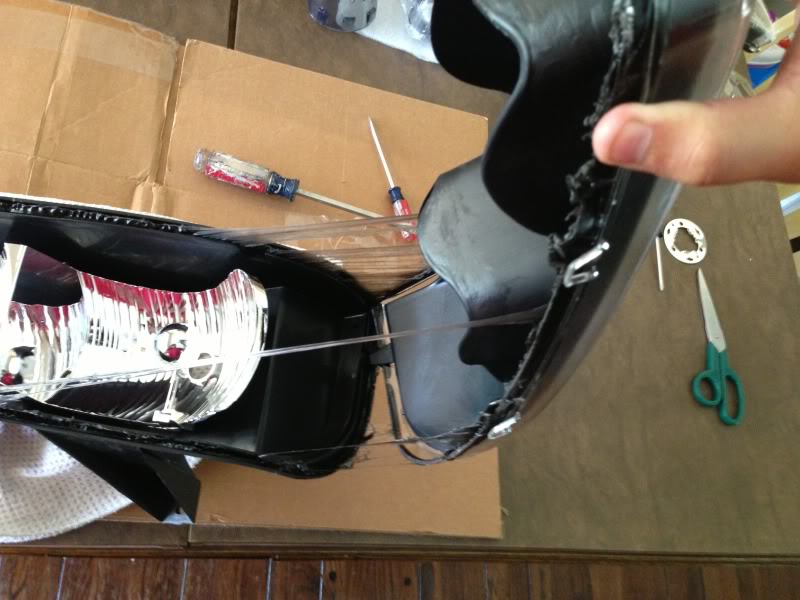
Then Pried them apart (man was that some nasty stuff, but thankfully once it's warm it comes apart pretty easy...considerably)
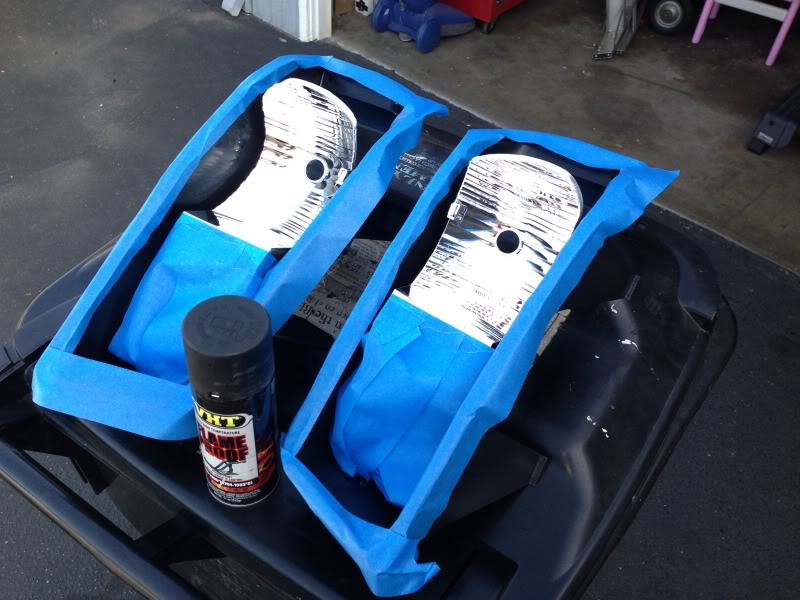
Then I taped off the Hi-Beam reflector and painted the Low-beam black with some Flame proof non-reflective paint.

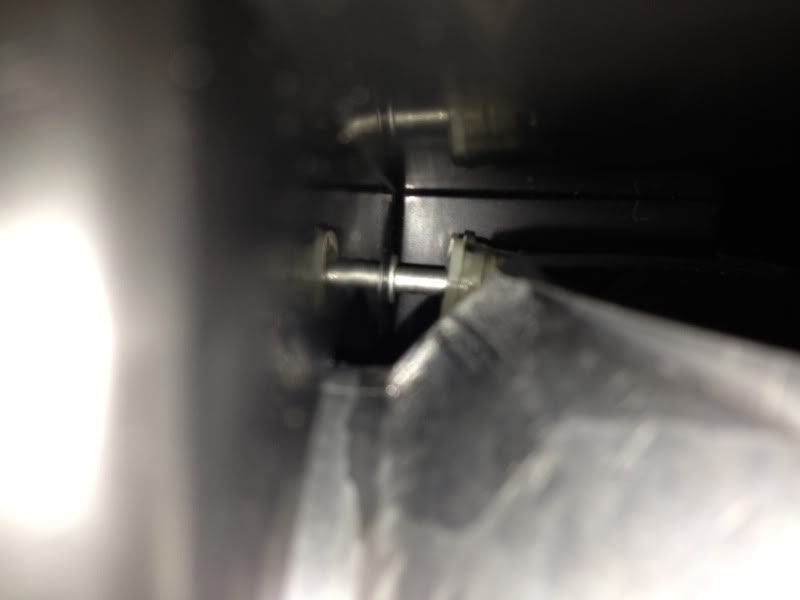
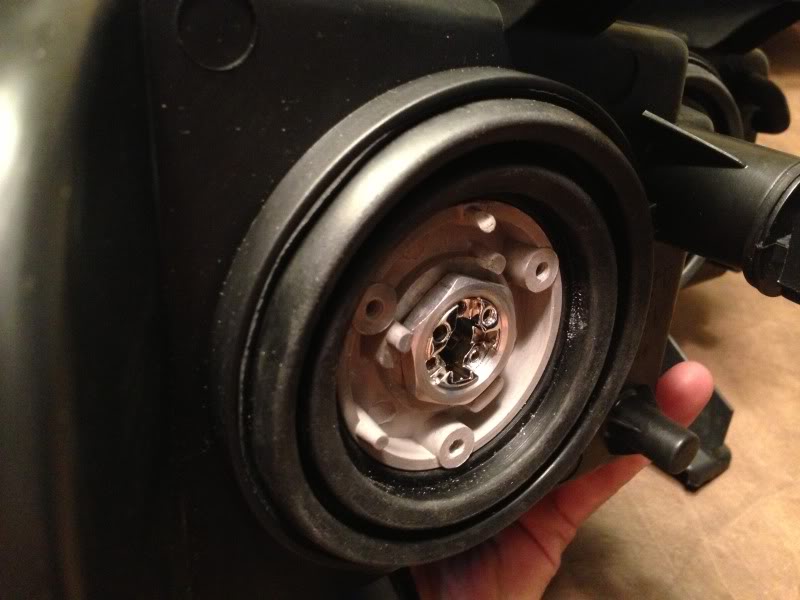
So this is the hole that I started out with that I had hoped I didn't have to modify:
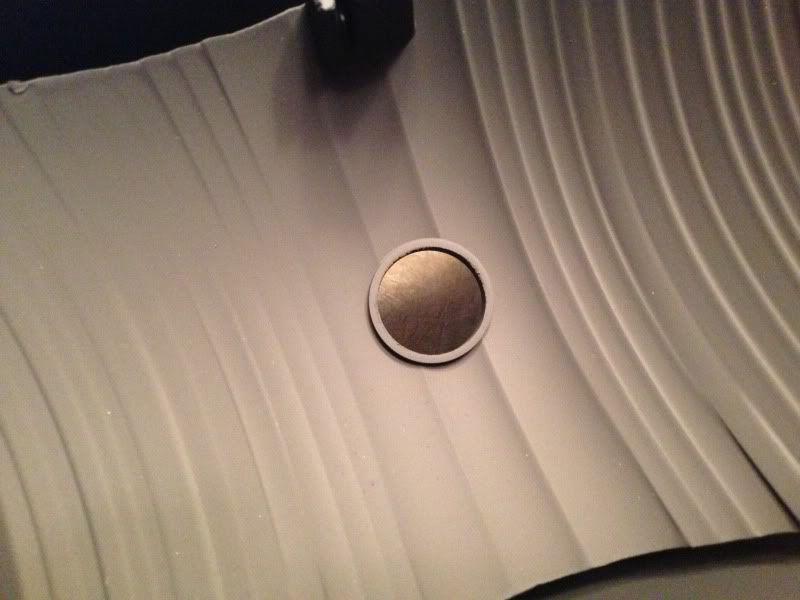
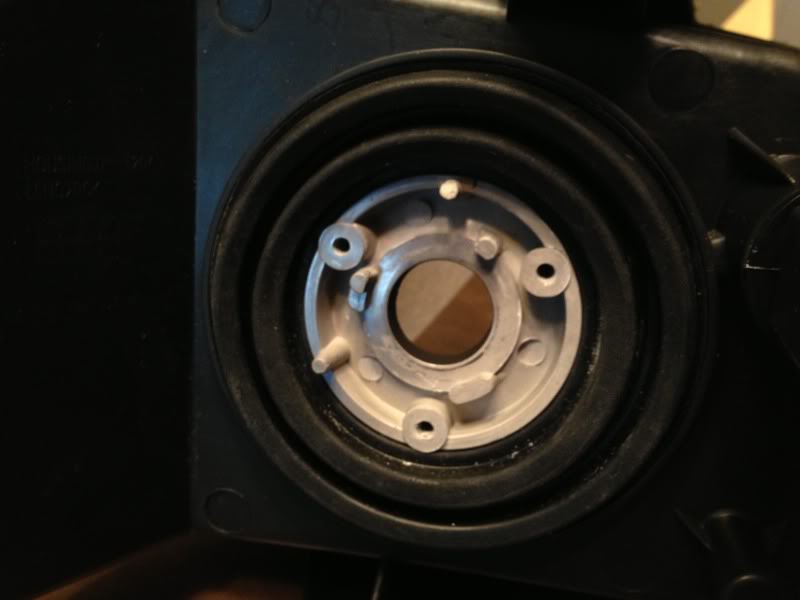
Seemed like it would fit in pretty well with no mods necessary!!
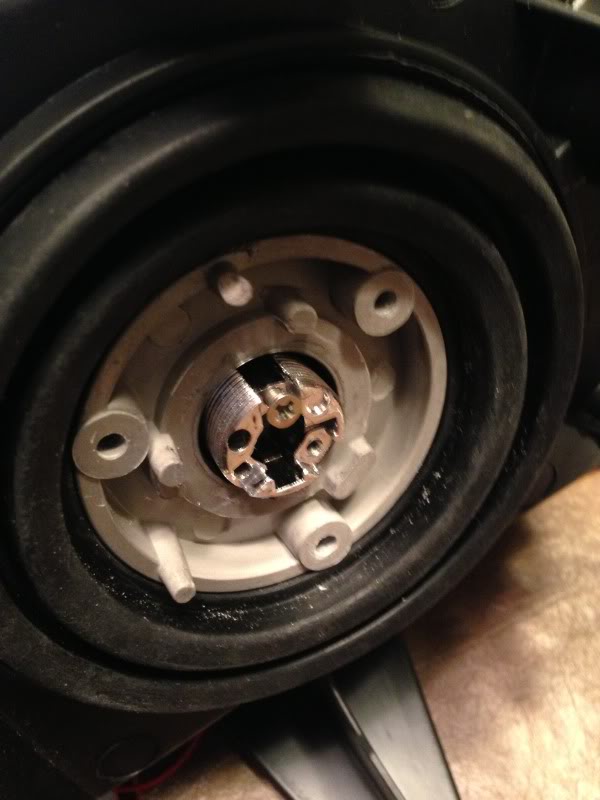
But unfortunately it was not meant to be. First there was not enough thread left in the back to be able to install the bulb retaining clips...
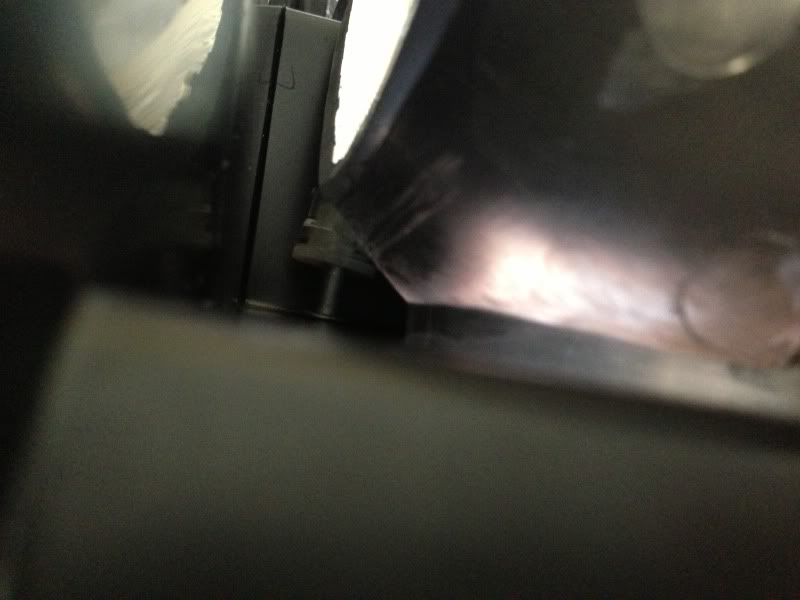
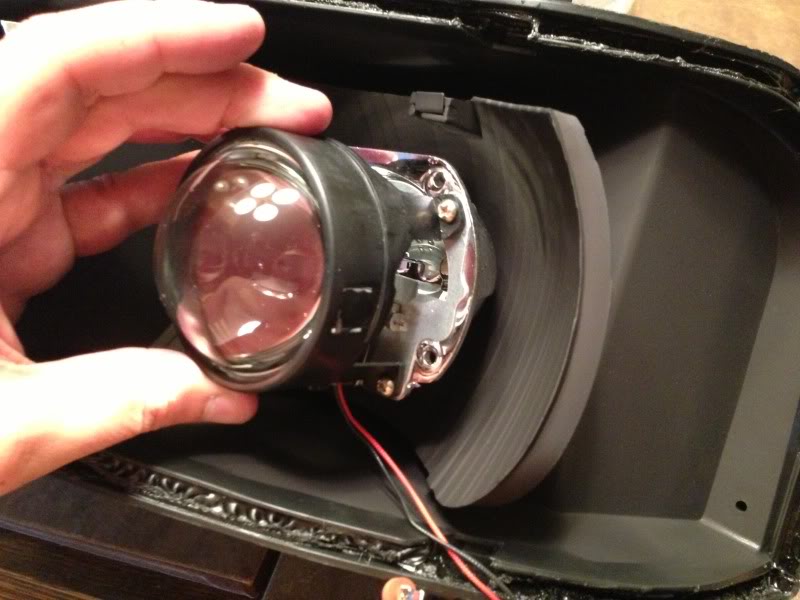
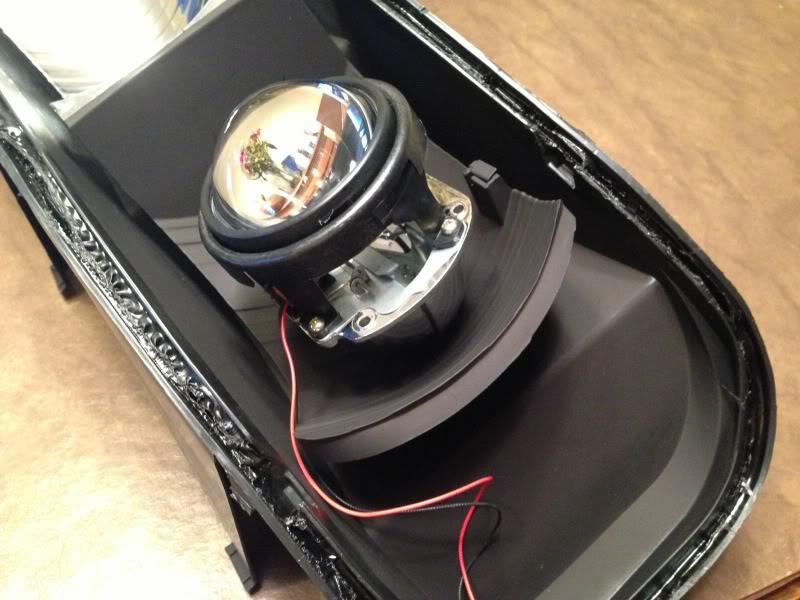
So after 1 hour of grinding to make that work, I put it all back together to find out that the top of the projector would hit the back side of the headlight lens when I put it back together. So I had to grind the living snot out of the reflector to get the projector to sit recessed inside the reflector enough so it wouldn't hit the back of the lens cover.
So started the grinding....
I'm waiting for the silicone to dry on them and then I can drop them in, but before that, here's all that I had to do to make them work. Have a seat ya'll and grab some
So here's what I started with, Projector conversion and a aftermarket set of new headlights:
First thing I had to do was do a little baking:
Then Pried them apart (man was that some nasty stuff, but thankfully once it's warm it comes apart pretty easy...considerably)
Then I taped off the Hi-Beam reflector and painted the Low-beam black with some Flame proof non-reflective paint.
So this is the hole that I started out with that I had hoped I didn't have to modify:
Seemed like it would fit in pretty well with no mods necessary!!
But unfortunately it was not meant to be. First there was not enough thread left in the back to be able to install the bulb retaining clips...
So after 1 hour of grinding to make that work, I put it all back together to find out that the top of the projector would hit the back side of the headlight lens when I put it back together. So I had to grind the living snot out of the reflector to get the projector to sit recessed inside the reflector enough so it wouldn't hit the back of the lens cover.
So started the grinding....