

Project Kermit
 Sep 11, 2009 | 12:24 AM
#742
Thread Starter
GFYS and STFU
iTrader: (8)
Joined: Jan 2007
Posts: 13,870
Likes: 4
From: Here and sometimes there too.
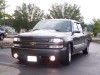
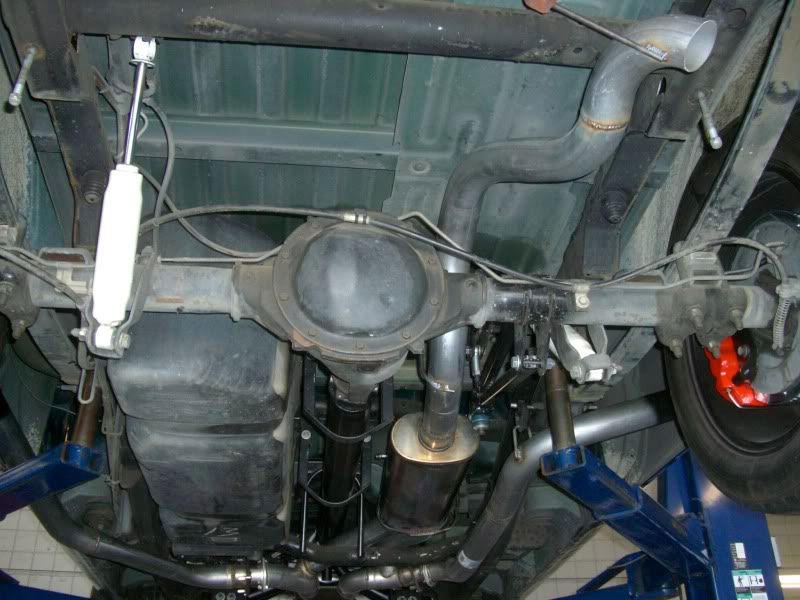
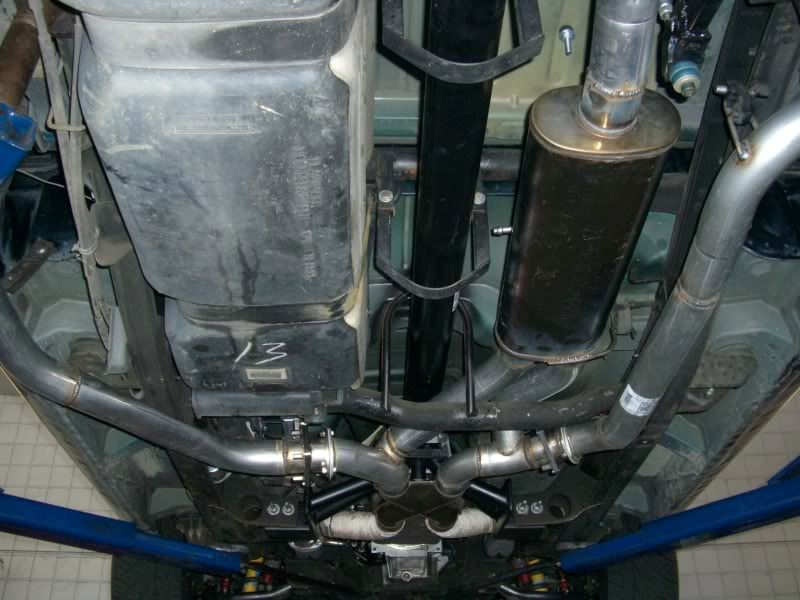
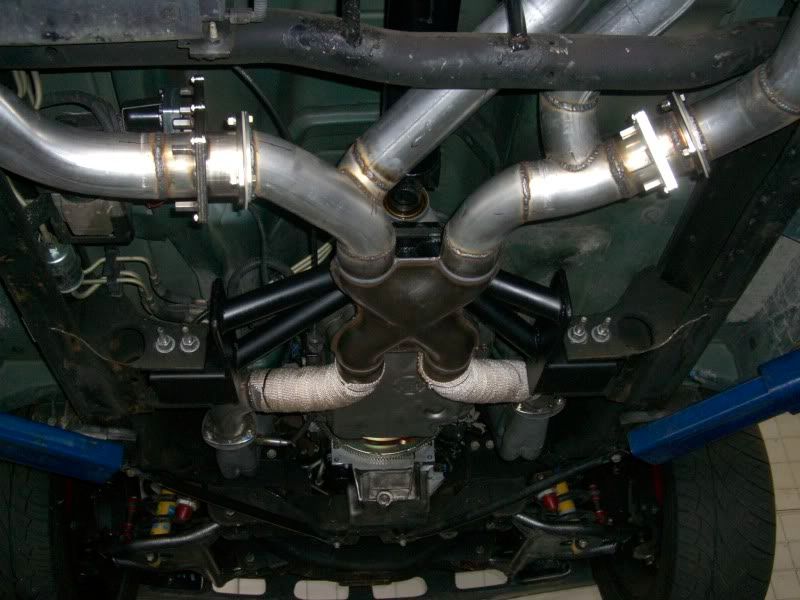
Well...I did a little work on her tonight and I'm gonna need a little directions since it deals with wiring. But before that, here's some pics of the finished exhaust.
I'll start from the back and go forwards...
Didn't take any pictures of it when it's on the ground but I'll take some tomorrow when the sun's out.
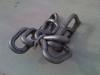
Also pulled out that backwards brake pad!!
Here's the metal plate side where the pistons usually push down on...you can see the wear marks from the rotor!

And here's the brake pad side where you can see where the pistons dug into it!

Re-installed it but the wheel is still sticking real bad!!

I jacked the truck up and stood on the wheel and it wouldn't spin with my full weight on it!! Took a video of it and I'll see if I can't post it later. Any ideas?
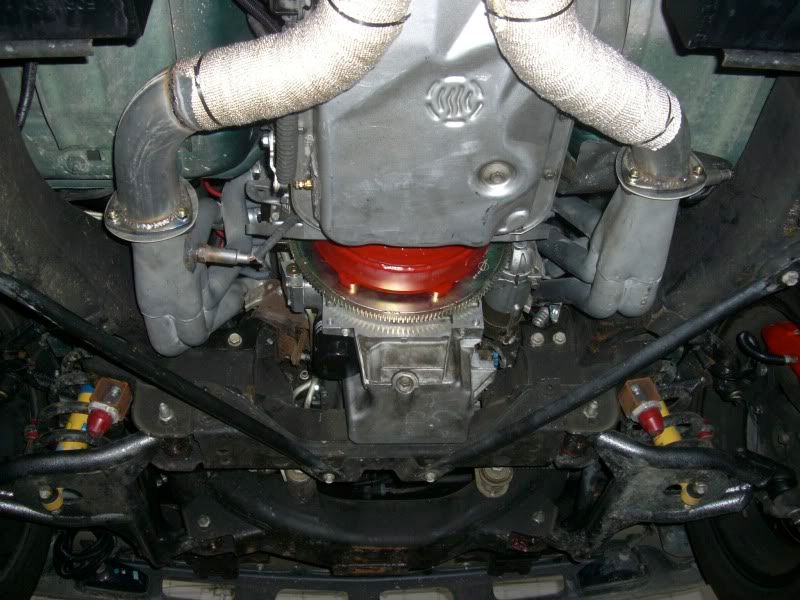
I also bolted up the inspection cover, had to go buy some bolts though because I was all out of bolts that size...

Here's the before...

And after...

Not sure why but it's a freaking relief to have that damn thing on...I know it's not a big deal but it kinda bugged me not having it on.
I'll start from the back and go forwards...
Didn't take any pictures of it when it's on the ground but I'll take some tomorrow when the sun's out.
Also pulled out that backwards brake pad!!
Here's the metal plate side where the pistons usually push down on...you can see the wear marks from the rotor!
And here's the brake pad side where you can see where the pistons dug into it!
Re-installed it but the wheel is still sticking real bad!!
I jacked the truck up and stood on the wheel and it wouldn't spin with my full weight on it!! Took a video of it and I'll see if I can't post it later. Any ideas?
I also bolted up the inspection cover, had to go buy some bolts though because I was all out of bolts that size...
Here's the before...
And after...
Not sure why but it's a freaking relief to have that damn thing on...I know it's not a big deal but it kinda bugged me not having it on.
Sep 11, 2009 | 12:32 AM
#743
Thread Starter
GFYS and STFU
iTrader: (8)
Joined: Jan 2007
Posts: 13,870
Likes: 4
From: Here and sometimes there too.

Yeah of course, not sure on how I want them to look yet but when the times comes I'll be sure to post up some pics, I don't see if happening for a couple weeks though, I have some other things to finish up first.
right on defiantely, i mean the work looks just great specially the cross member. good choice on the shop!!! yeah man i might hit u up about them if i ever need more work done on my exhaust but they to be a BIT outta my price range. but i eventually want a turbo so maybe than...
cant wait to hear this bad boy in person tho!!!
-Rob
cant wait to hear this bad boy in person tho!!!
-Rob
 Sep 11, 2009 | 12:48 AM
#744
Thread Starter
GFYS and STFU
iTrader: (8)
Joined: Jan 2007
Posts: 13,870
Likes: 4
From: Here and sometimes there too.
Anyways, I ran the wiring for the Cut-outs, Fuel pressure gauge, and the Wideband...
Started up by soldering some extensions from the passenger side cut-out to the drivers side...

Half way done...

It's not easy soldering upside down right above your face!! Eye protection required!!
Put some heat shrink on it...

And then ran some wire loom and taped off the ends with electrical tape...

Then I ran those wires up and over the tranny, had to drill some holes in the bottom of the cab but made sure I didn't go through the cab, but I was able to attach it up into the tranny tunnel and clear of anything that would get it hot or snag it and rip it down...


Then I wired up the second cut-out with it and finally three-way'ed them into the switch wiring using those screw caps(not sure what they are called). Thought about soldering both sets of three together but that would of proved difficult given the tools I have which are limited. Wire loomed and electrical taped all of it and zip-tie'd it up and out of the way...

Next I ran all the wiring alongside the frame rail...

and into the cab, and while I was there I also ran the wiring for the electric FPR and also the Wideband...

Here they are coming into the cab, freaking tight in there!!

And I ran the FPR wire up on top of the dash, I have a triple gauge pod but it doesn't match with the interior but at this point I don't think I care! lol

So my only question is where should I tap in for power for the three items?
The Cut-outs I'd like to find a live wire inside the cab so I can open them regardless of whether the key is in the ignition or not, also can I ground the system inside the truck?
Here's the power and ground wires...

Should I plug them into the fuse panel? Here's the fuse panel that's inside the cab by the driver's door...

The FRP and the Wideband I need a wire that get's power when the key is in the on position and that wire I need to find it in the engine bay, anyone have any ideas on where I can tap into them?
Here's the engine bay fuse panel in case this is a good place to look for power...

I want it to be clean and not all hacked up looking so the best place you guys can recommend! If need be I'll dig into the wiring looms!
Started up by soldering some extensions from the passenger side cut-out to the drivers side...
Half way done...
It's not easy soldering upside down right above your face!! Eye protection required!!
Put some heat shrink on it...
And then ran some wire loom and taped off the ends with electrical tape...
Then I ran those wires up and over the tranny, had to drill some holes in the bottom of the cab but made sure I didn't go through the cab, but I was able to attach it up into the tranny tunnel and clear of anything that would get it hot or snag it and rip it down...
Then I wired up the second cut-out with it and finally three-way'ed them into the switch wiring using those screw caps(not sure what they are called). Thought about soldering both sets of three together but that would of proved difficult given the tools I have which are limited. Wire loomed and electrical taped all of it and zip-tie'd it up and out of the way...
Next I ran all the wiring alongside the frame rail...
and into the cab, and while I was there I also ran the wiring for the electric FPR and also the Wideband...
Here they are coming into the cab, freaking tight in there!!
And I ran the FPR wire up on top of the dash, I have a triple gauge pod but it doesn't match with the interior but at this point I don't think I care! lol
So my only question is where should I tap in for power for the three items?
The Cut-outs I'd like to find a live wire inside the cab so I can open them regardless of whether the key is in the ignition or not, also can I ground the system inside the truck?
Here's the power and ground wires...
Should I plug them into the fuse panel? Here's the fuse panel that's inside the cab by the driver's door...
The FRP and the Wideband I need a wire that get's power when the key is in the on position and that wire I need to find it in the engine bay, anyone have any ideas on where I can tap into them?
Here's the engine bay fuse panel in case this is a good place to look for power...
I want it to be clean and not all hacked up looking so the best place you guys can recommend! If need be I'll dig into the wiring looms!
Sep 11, 2009 | 01:41 AM
#745

TECH Addict
Joined: Dec 2007
Posts: 2,862
Likes: 0
From: Mesa, AZ
Exhaust is looking Pimp!
When I wired the cutouts on my camaro i tapped into the wires under the kick panel below the steering column. I had mine powered on only when the key was in the first position or truck was running which was the pink wire.
You can run them off the accesorry circuit which is the orange, or the constant power which is red there should be two of those
http://www.bulldogsecurity.com/New%2...lsize99-02.htm
Sep 11, 2009 | 07:40 AM
#746


but any who the exhaust looks real good the only thing is i would get it powder coated or ceramic coated just a thought as far as wiring the cutouts i would wire them like stated above inside the cab. why no picks of were the cutouts are dumped

oh we need video of how she sounds
Last edited by 02_Orange_D1SC; Sep 11, 2009 at 07:56 AM.
Sep 11, 2009 | 08:08 AM
#747


The exhaust is a work of art! You might have already said this prior but what FI will you eventually run?
That rear brake that is stuck you might want to re-bleed that caliper again.I had to re-bleed mine because one caliper was sticking.
That rear brake that is stuck you might want to re-bleed that caliper again.I had to re-bleed mine because one caliper was sticking.
Sep 11, 2009 | 08:50 AM
#748

They are actually fairly priced. Labor rates is $75/hr and they actually rounded DOWN the hours and basically I paid $1,250 for parts and labor including the crossmember. Cut-outs I supplied myself though. Not bad right? Well at least for as complex and detailed as this was and the quality of the work I think I found a good shop.
WoW!!! yeah man thats not a bad price at all actually, a little over my range now but i will definately hit them when i need my exhaust redone again. hhhmmm makes me wanna get a turbo sooner
...-Rob
 Sep 11, 2009 | 11:32 AM
#750
thanks man and I want to put something there but i just havent found something to go around both of them that i like i may just take a piece of stainless i have sitting in the garage and make my own the exhaust looks **** by the way.

