


My LQ9 Build
 Mar 18, 2011 | 12:01 AM
#22

TECH Fanatic
Joined: Feb 2010
Posts: 1,245
Likes: 0
From: el paso, tx

cool build man. ill def be checking in for updates. i hope that i get the time/money to do an engine build when i get out of the military. that way it will be ready in case my 5.3 pops later down the road. its awesome to see you guys doing projects like these in auto school. im getting out next year and hoping to do something very similar. best of luck on your build.
Mar 20, 2011 | 09:09 AM
#23

TECH Enthusiast
Joined: Nov 2009
Posts: 746
Likes: 0
Good work man, a little extra cleaning and some good prep go a long way on engine block painting..
Now when you install it and nick the paint you will be like a baby...
Ive been there done that too many times to count..
Keep up the good work, i wanna hear that thing run!!
Now when you install it and nick the paint you will be
like a baby...Ive been there done that too many times to count..
Keep up the good work, i wanna hear that thing run!!
Mar 20, 2011 | 04:15 PM
#24
Thread Starter

Joined: Oct 2009
Posts: 991
Likes: 4
From: West Jordan, UT
cool build man. ill def be checking in for updates. i hope that i get the time/money to do an engine build when i get out of the military. that way it will be ready in case my 5.3 pops later down the road. its awesome to see you guys doing projects like these in auto school. im getting out next year and hoping to do something very similar. best of luck on your build.
Yeah I know I'm going to be handling it like it was glass haha. Kept a little paint for touch up haha.
Mar 20, 2011 | 04:47 PM
#25

Looking good Steve! Your school has some great gear! Hey, be sure to scrape the Chevy Orange off of the sealing surface for the front cover gasket (and any other gasket surfaces that paint may have gotten on to), or you could end up with a leak 
Mar 20, 2011 | 04:52 PM
#26

Wow , steve i hade not seen this build of urs , it's looking bad *** man congrats ! Hey i might have some thing laying around if you need something let me know ! I might just have it and would be more then happy to let you have it ! Good job man!
Mar 20, 2011 | 10:27 PM
#27
Thread Starter
Joined: Oct 2009
Posts: 991
Likes: 4
From: West Jordan, UT

 I'll let you know if I need anything.
Mar 27, 2011 | 11:15 PM
I'll let you know if I need anything.
Mar 27, 2011 | 11:15 PM
#28
Thread Starter
Joined: Oct 2009
Posts: 991
Likes: 4
From: West Jordan, UT
Another Update
Alright, so now that the block is all cleaned up and painted, I inspected the crank and rods.
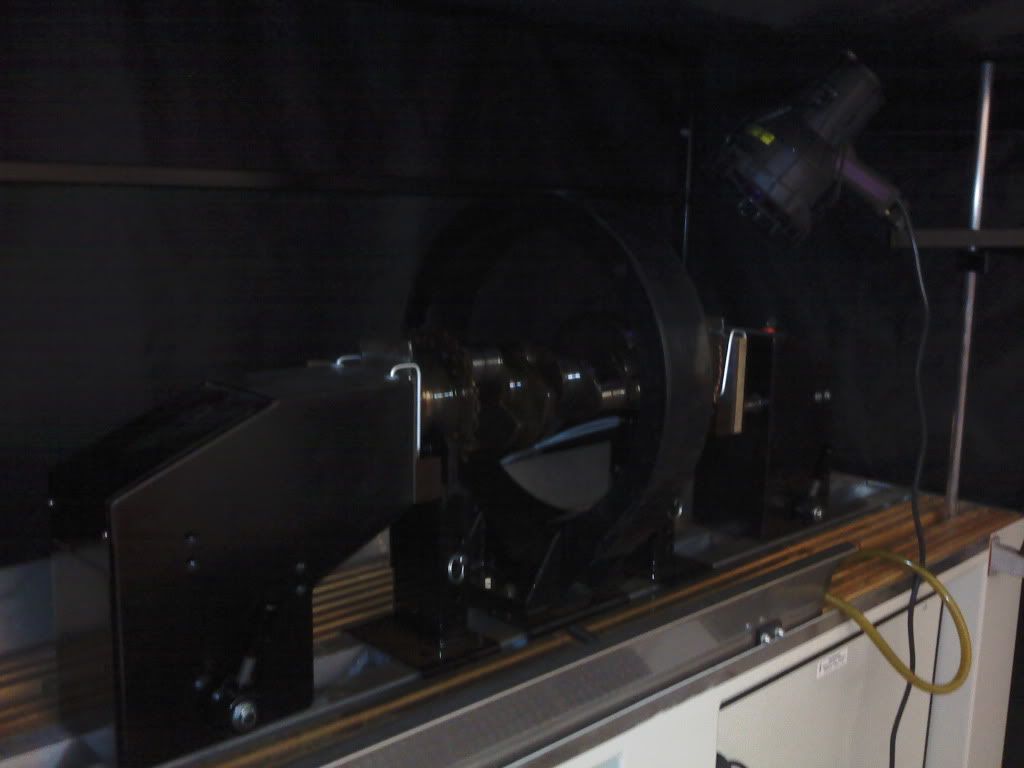
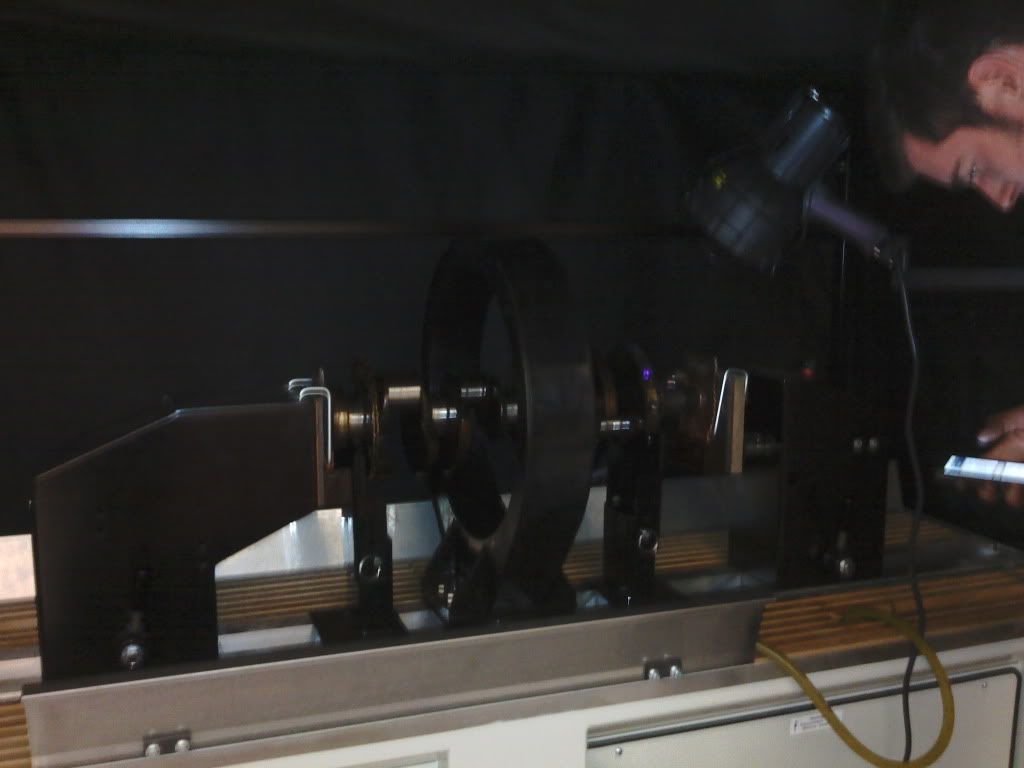
First was magnafluxing the crankshaft.
Crank set up in the machine.
Adam Textin'
Adam and his tall self...
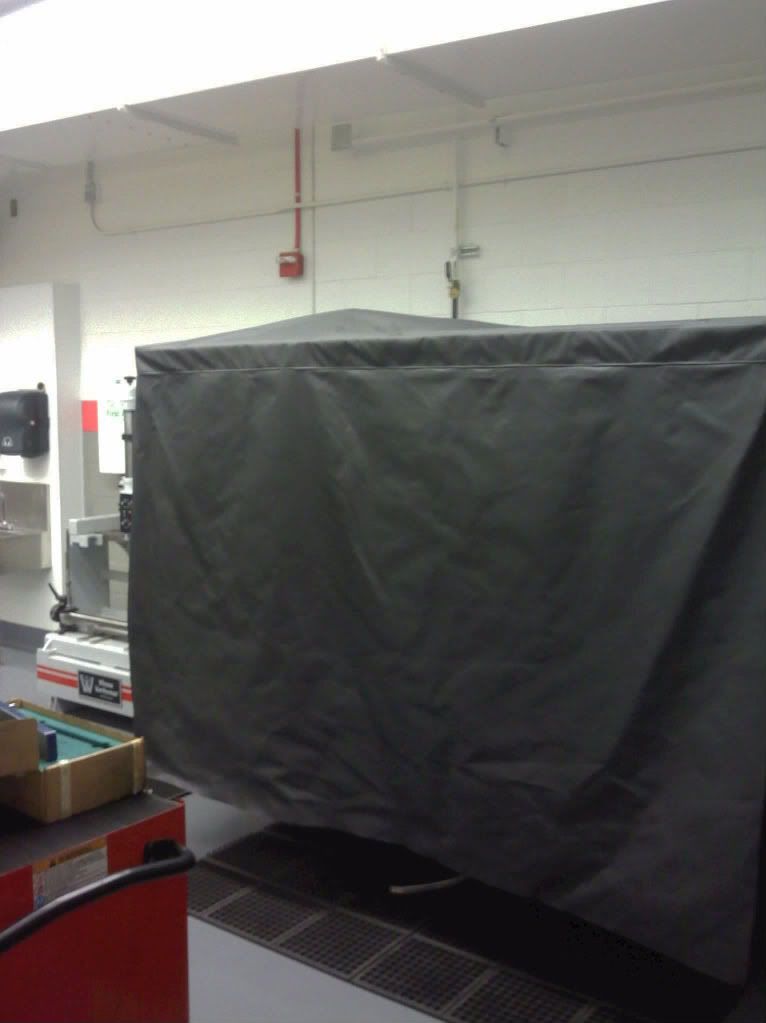
A little tall for the hood.
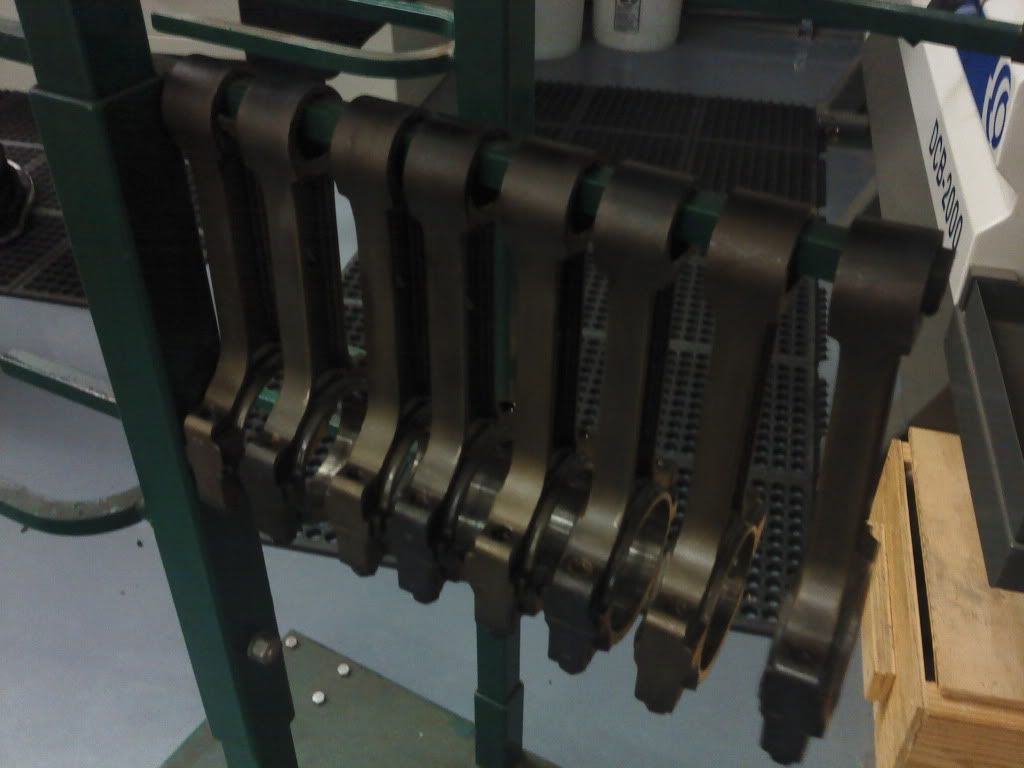
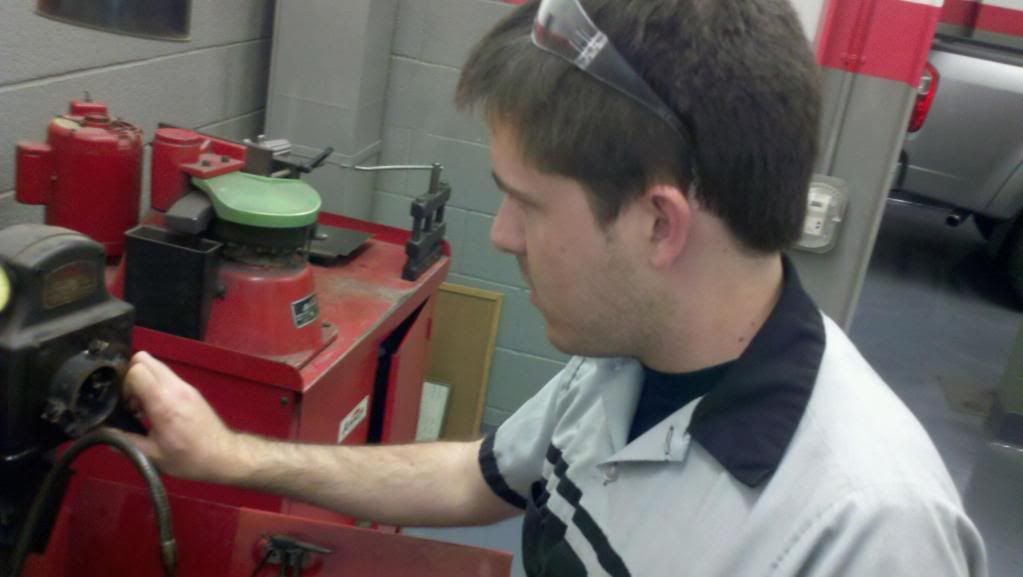
And checking the rods.
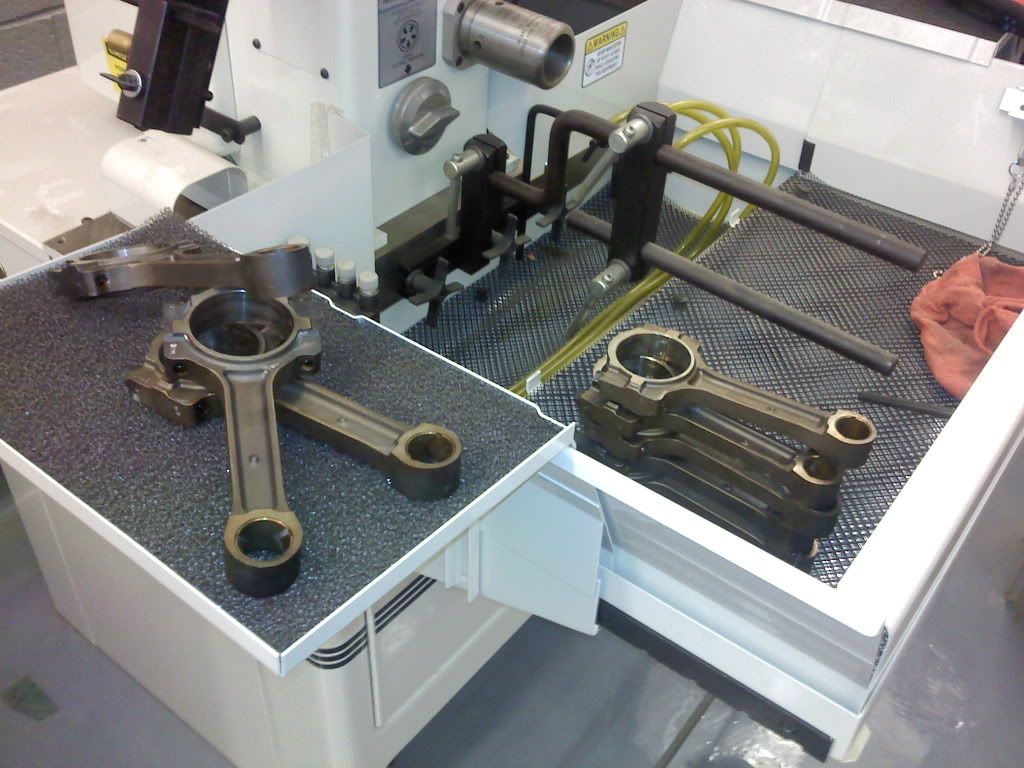
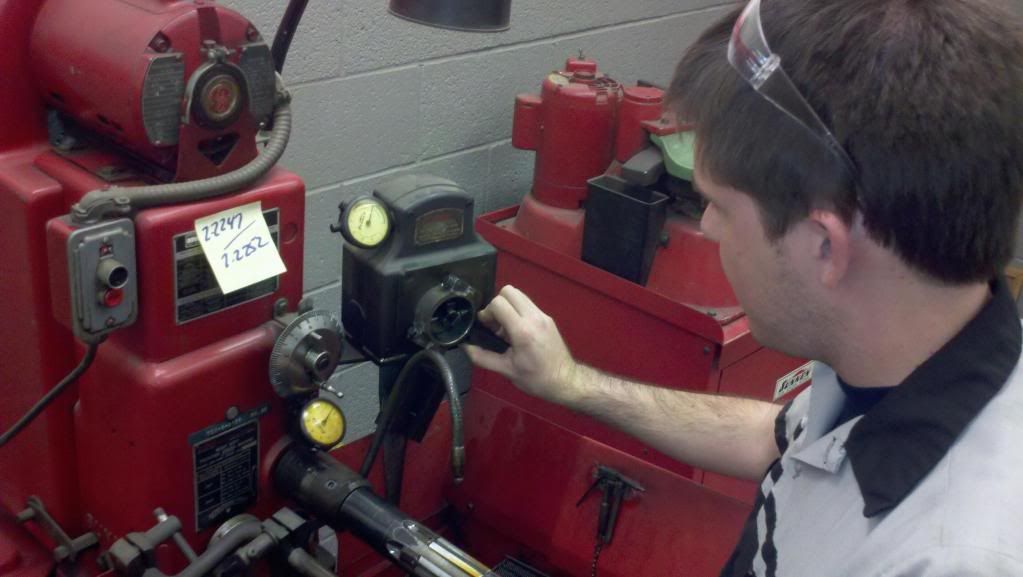
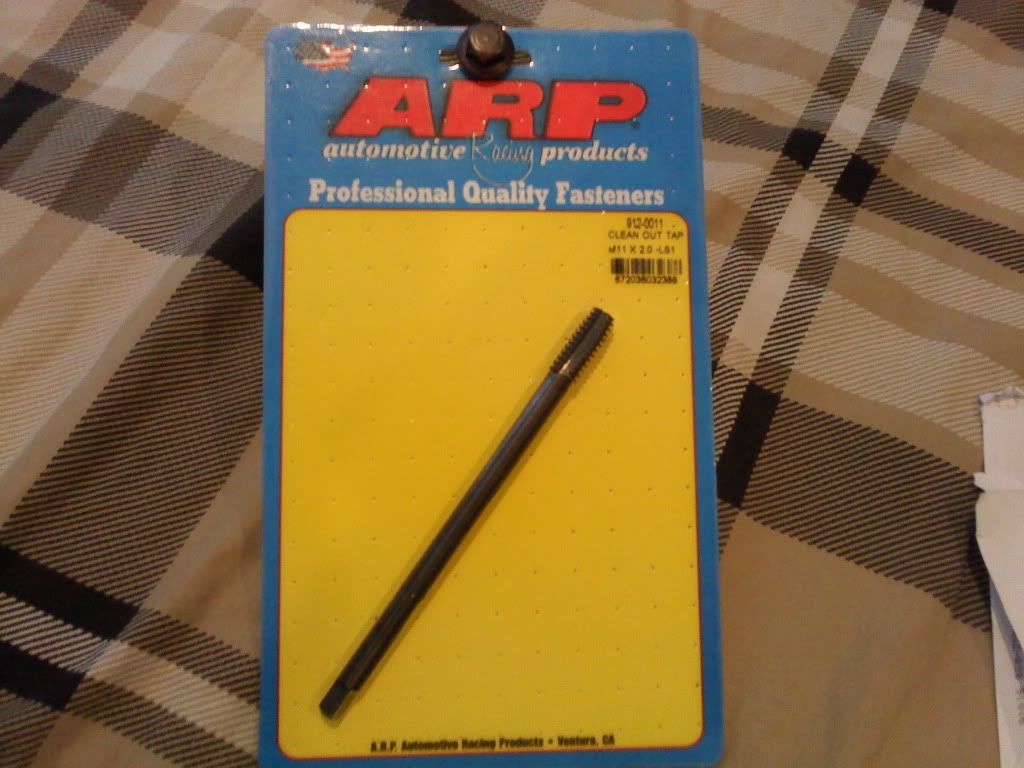
And finally got my cylinder head bolt tap.
Alright, so now that the block is all cleaned up and painted, I inspected the crank and rods.
First was magnafluxing the crankshaft.
Crank set up in the machine.
Adam Textin'
Adam and his tall self...
A little tall for the hood.
And checking the rods.
And finally got my cylinder head bolt tap.
Apr 7, 2011 | 12:56 AM
#29
Thread Starter
Joined: Oct 2009
Posts: 991
Likes: 4
From: West Jordan, UT
Update
So I have ordered ARP Main studs and Rod bolts, so in the mean time I began measuring the crank and block. I reused the stock bolts for the mains and rods to get the measurements
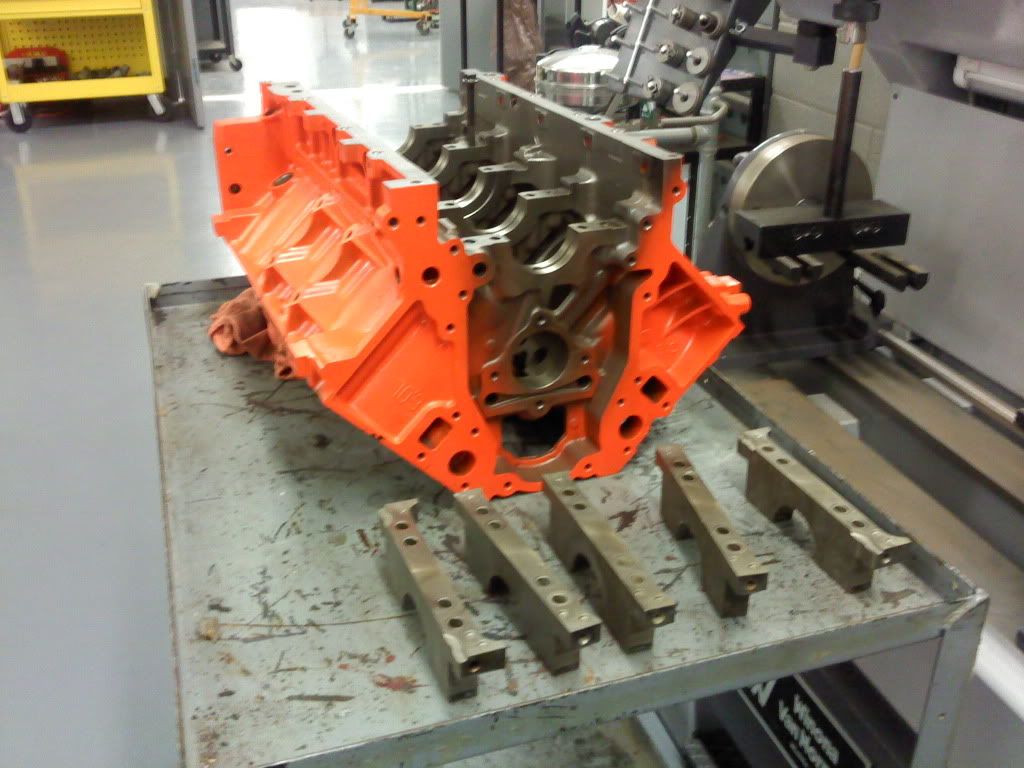
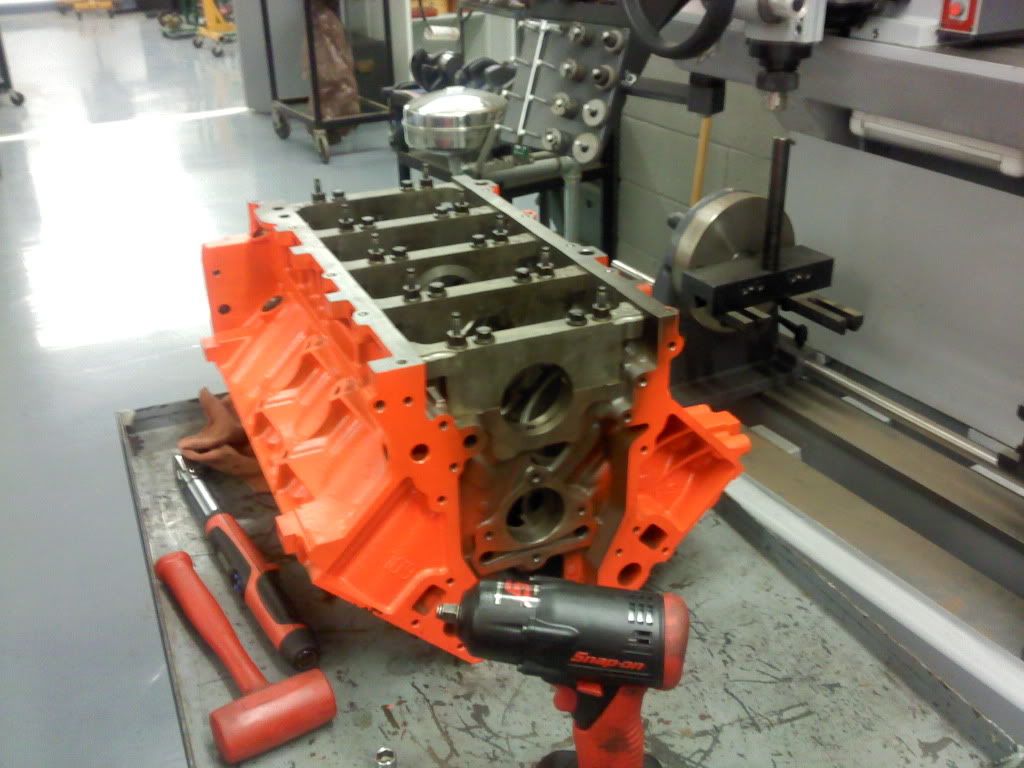
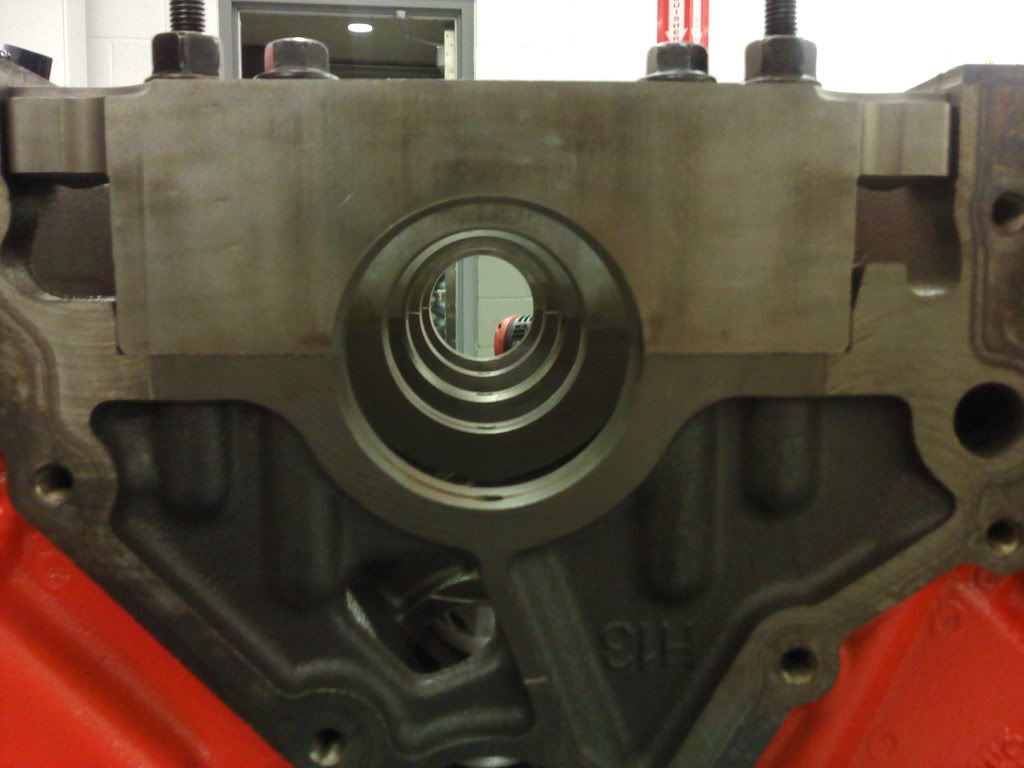
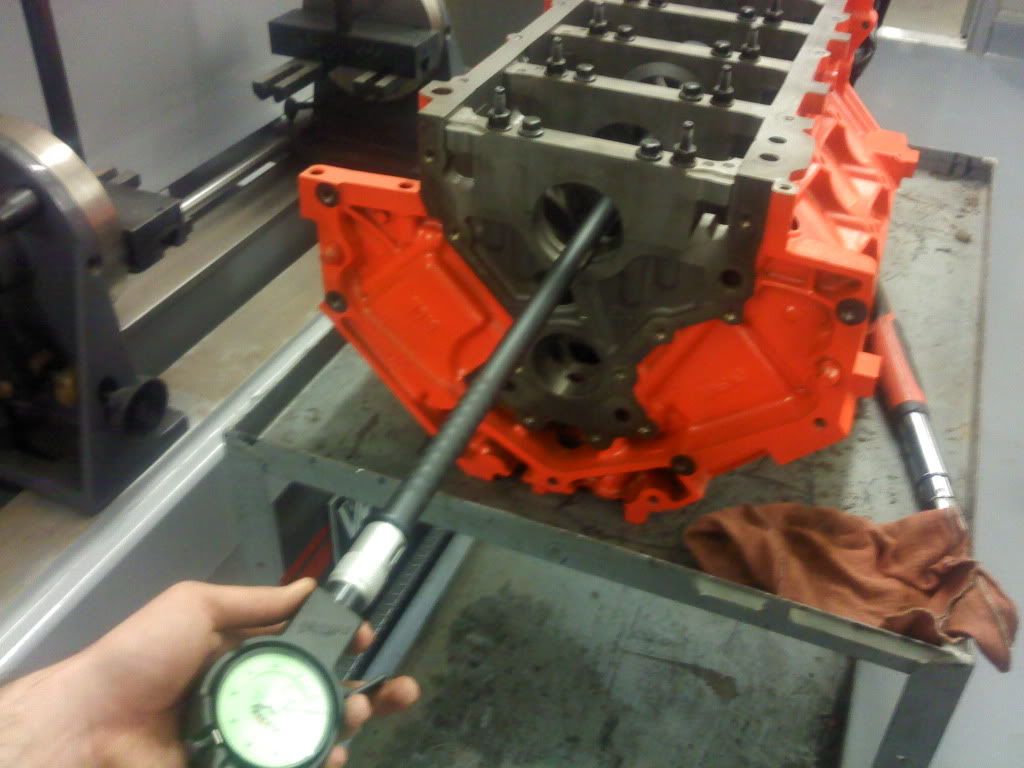
Everything looked good. Going to wait for the studs and double check everything.
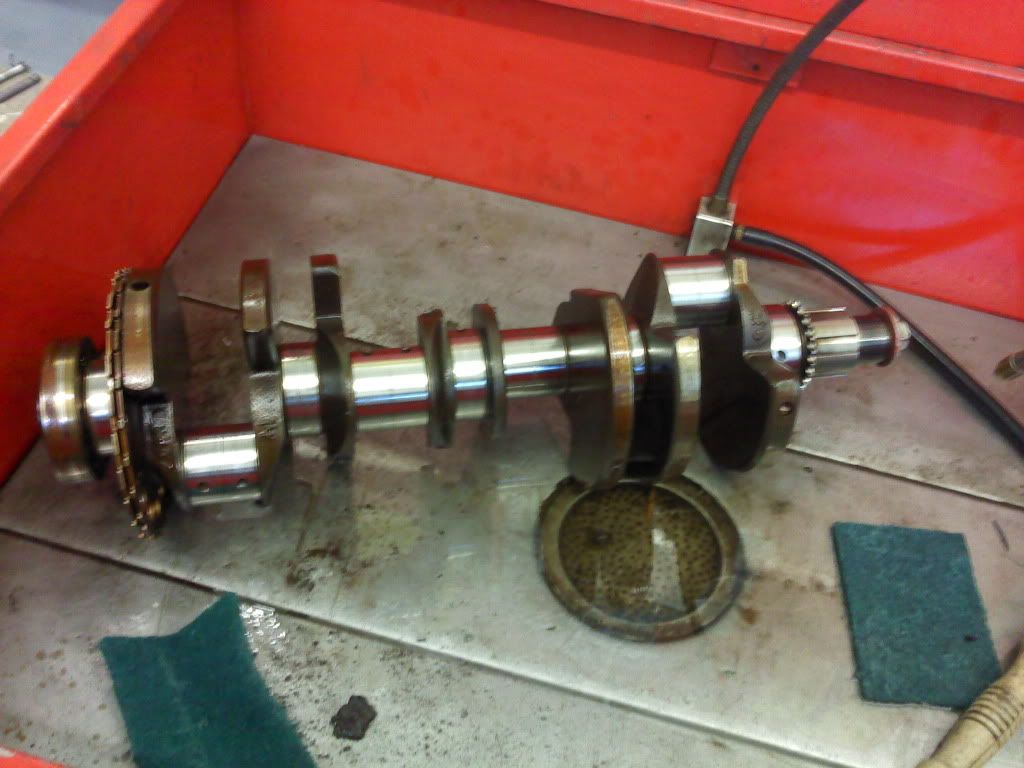
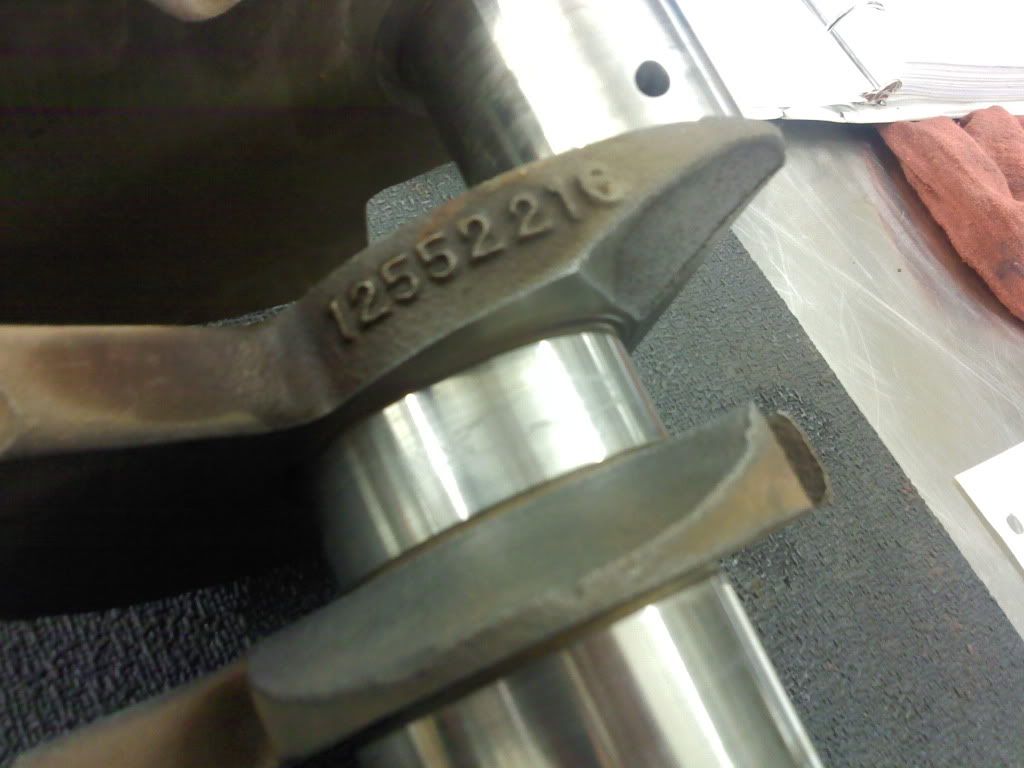
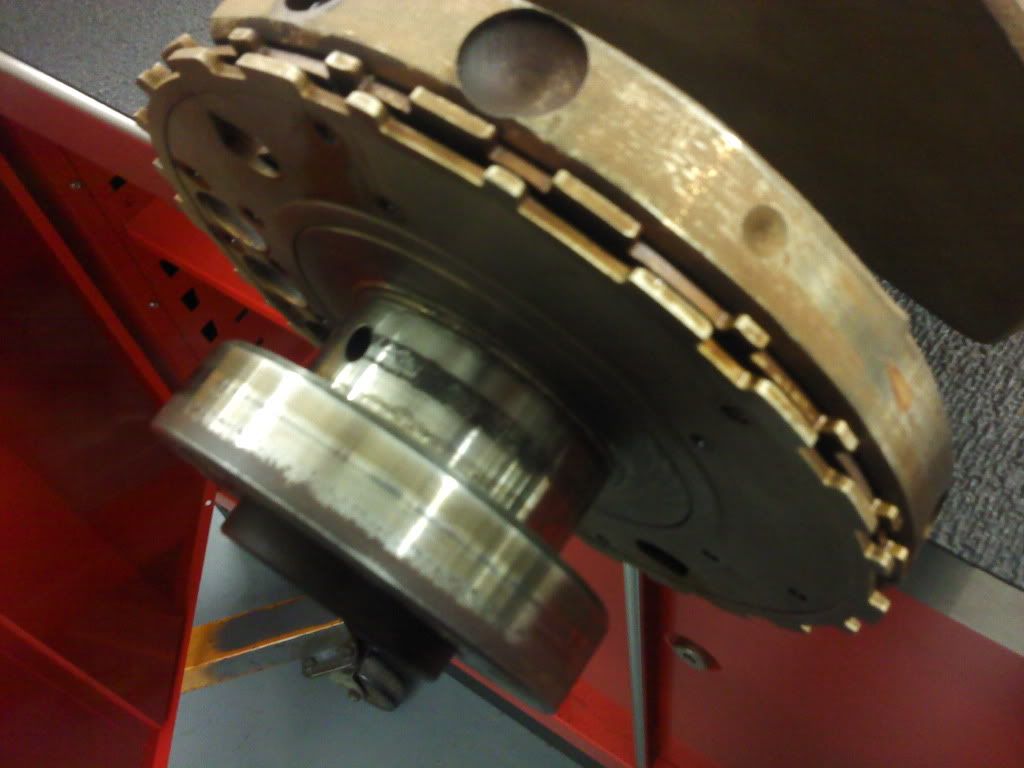
Got the crank cleaned up in the solvent tank. No major damage to the journals, but the rear main journal has a little bit of material on it from the bearing. Going to have to take it to a local machine shop to have it micro polished. Not able to do it at school due to an issue with our lathe.
Should have my hardware by the end of the week. Going to continue work on monday.
Everything looked good. Going to wait for the studs and double check everything.
Got the crank cleaned up in the solvent tank. No major damage to the journals, but the rear main journal has a little bit of material on it from the bearing. Going to have to take it to a local machine shop to have it micro polished. Not able to do it at school due to an issue with our lathe.
Should have my hardware by the end of the week. Going to continue work on monday.

