Blown06-New Build: Cage, 4-Link, Cog Drive, + Too Much More

 Mar 25, 2015 | 01:54 AM
#1802
Formerly ScreamingL
Joined: Oct 2003
Posts: 3,456
Likes: 5
From: From the 412
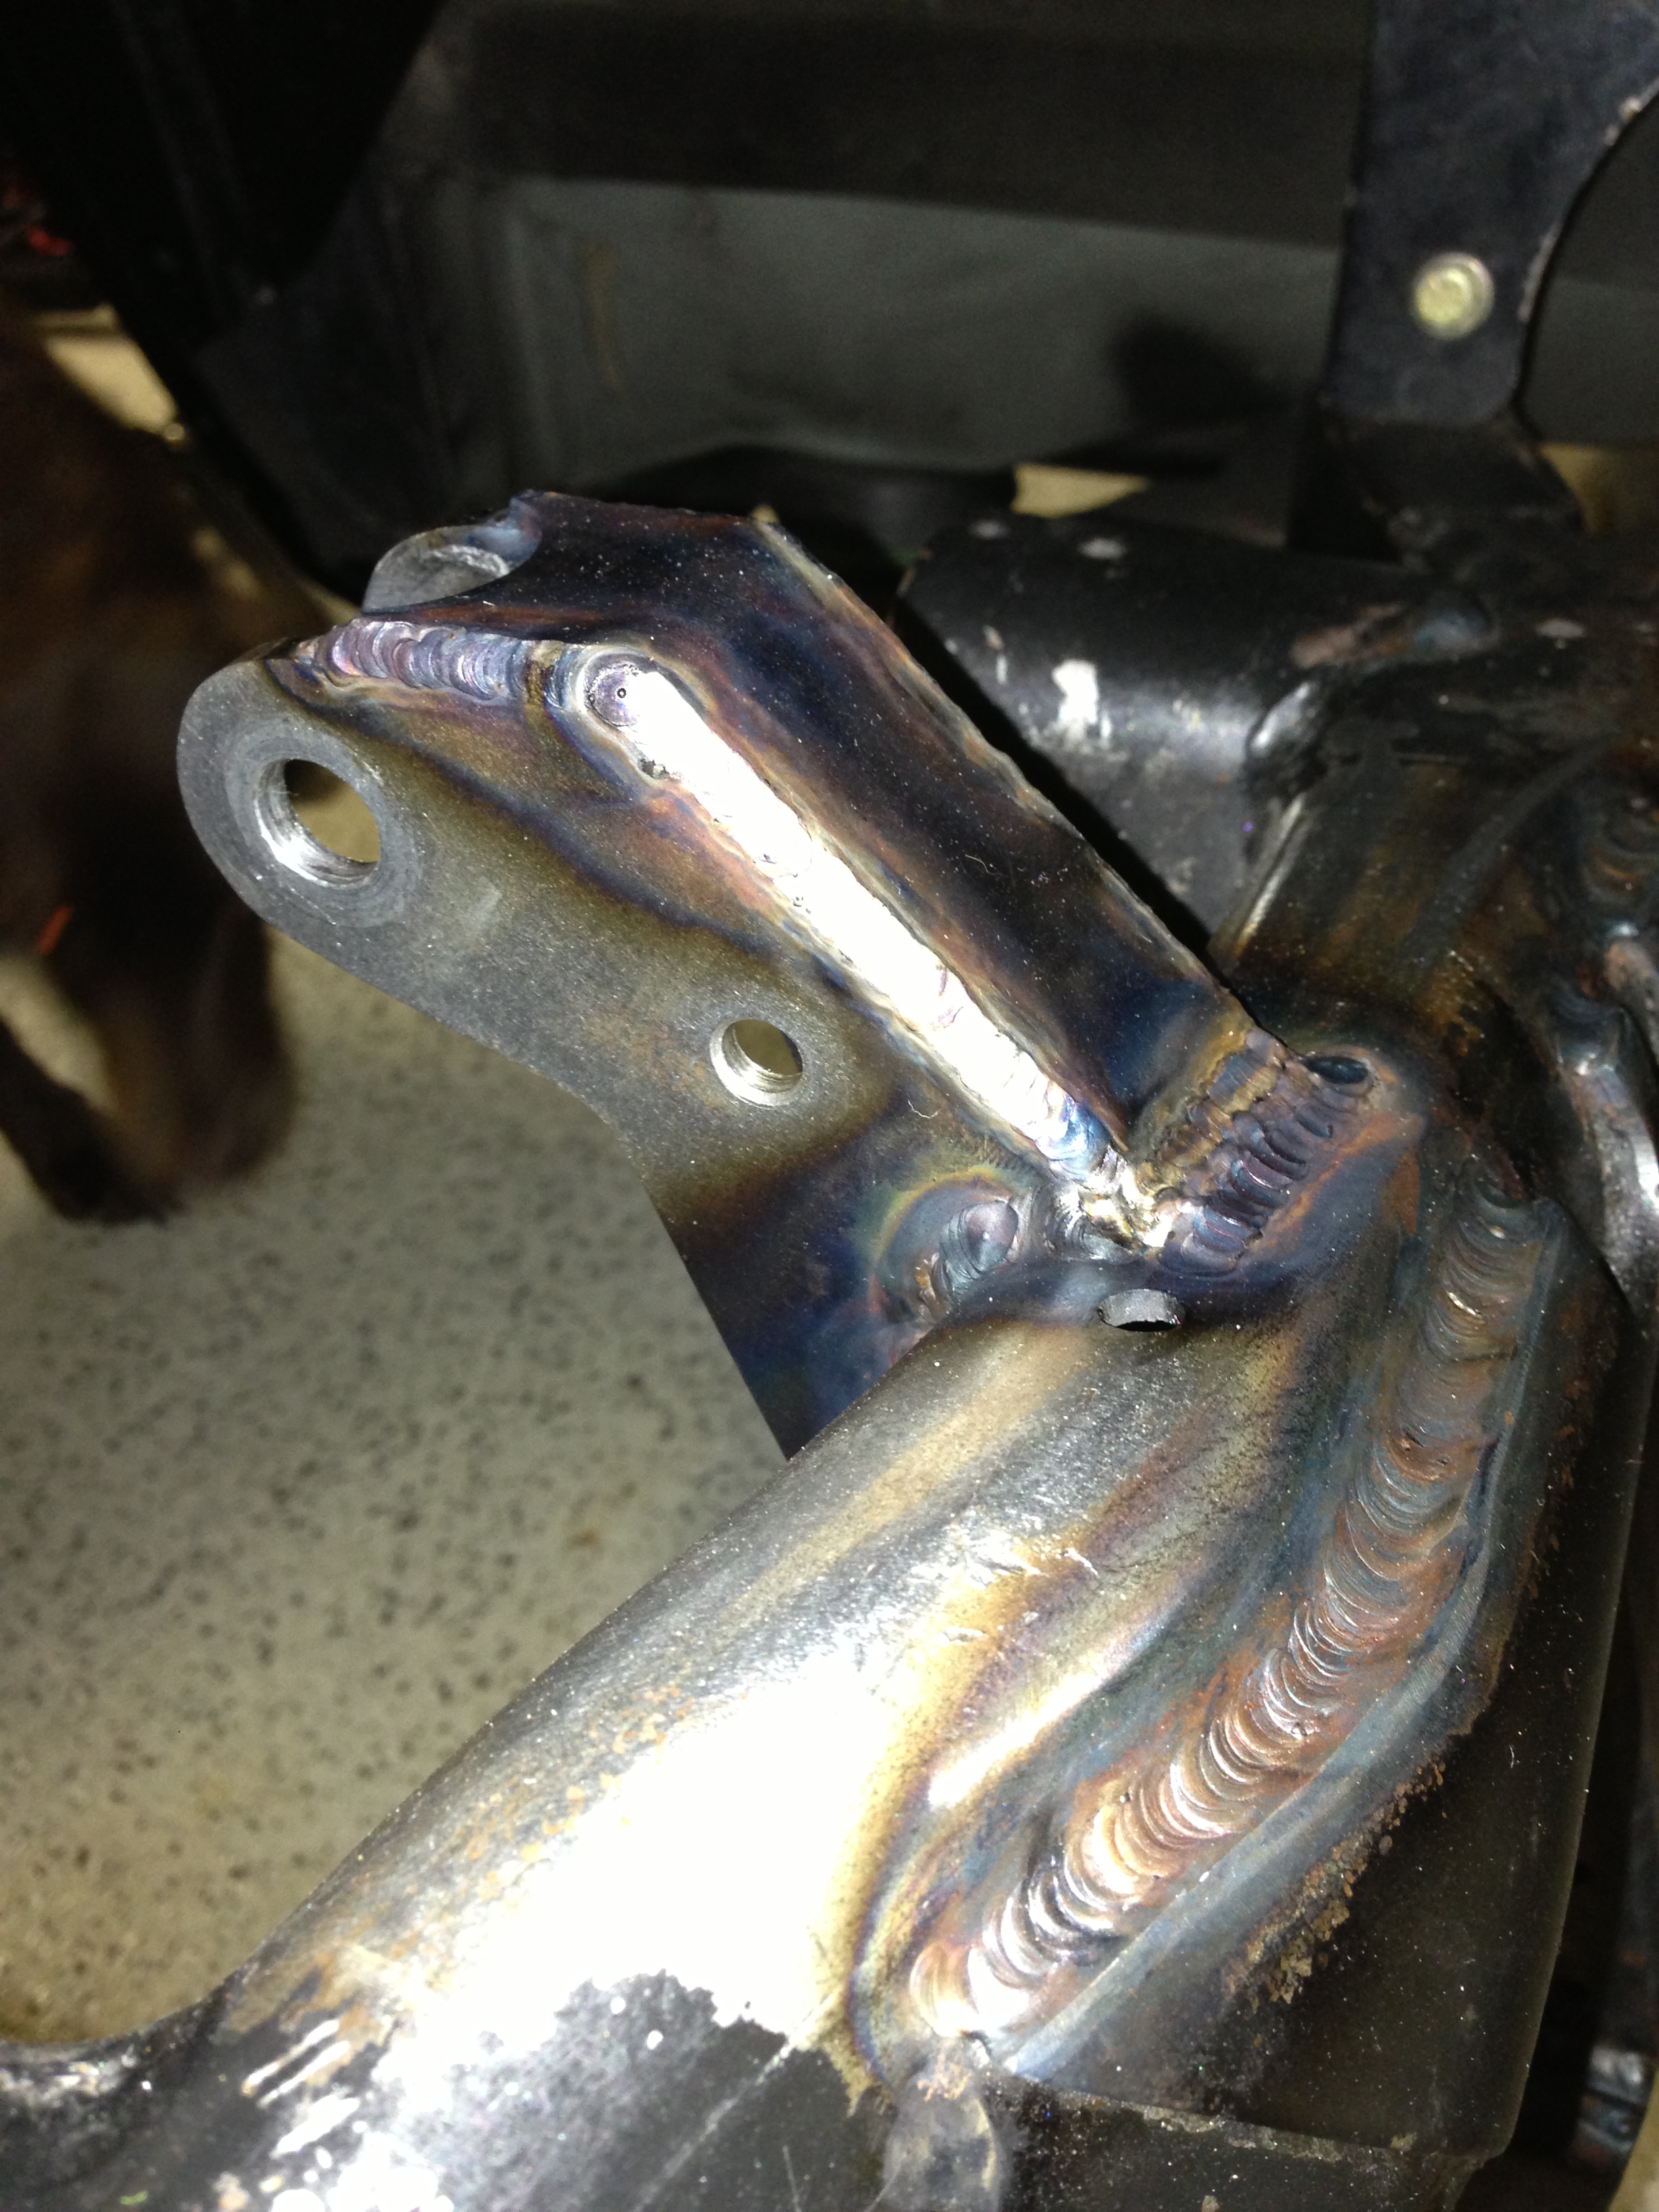
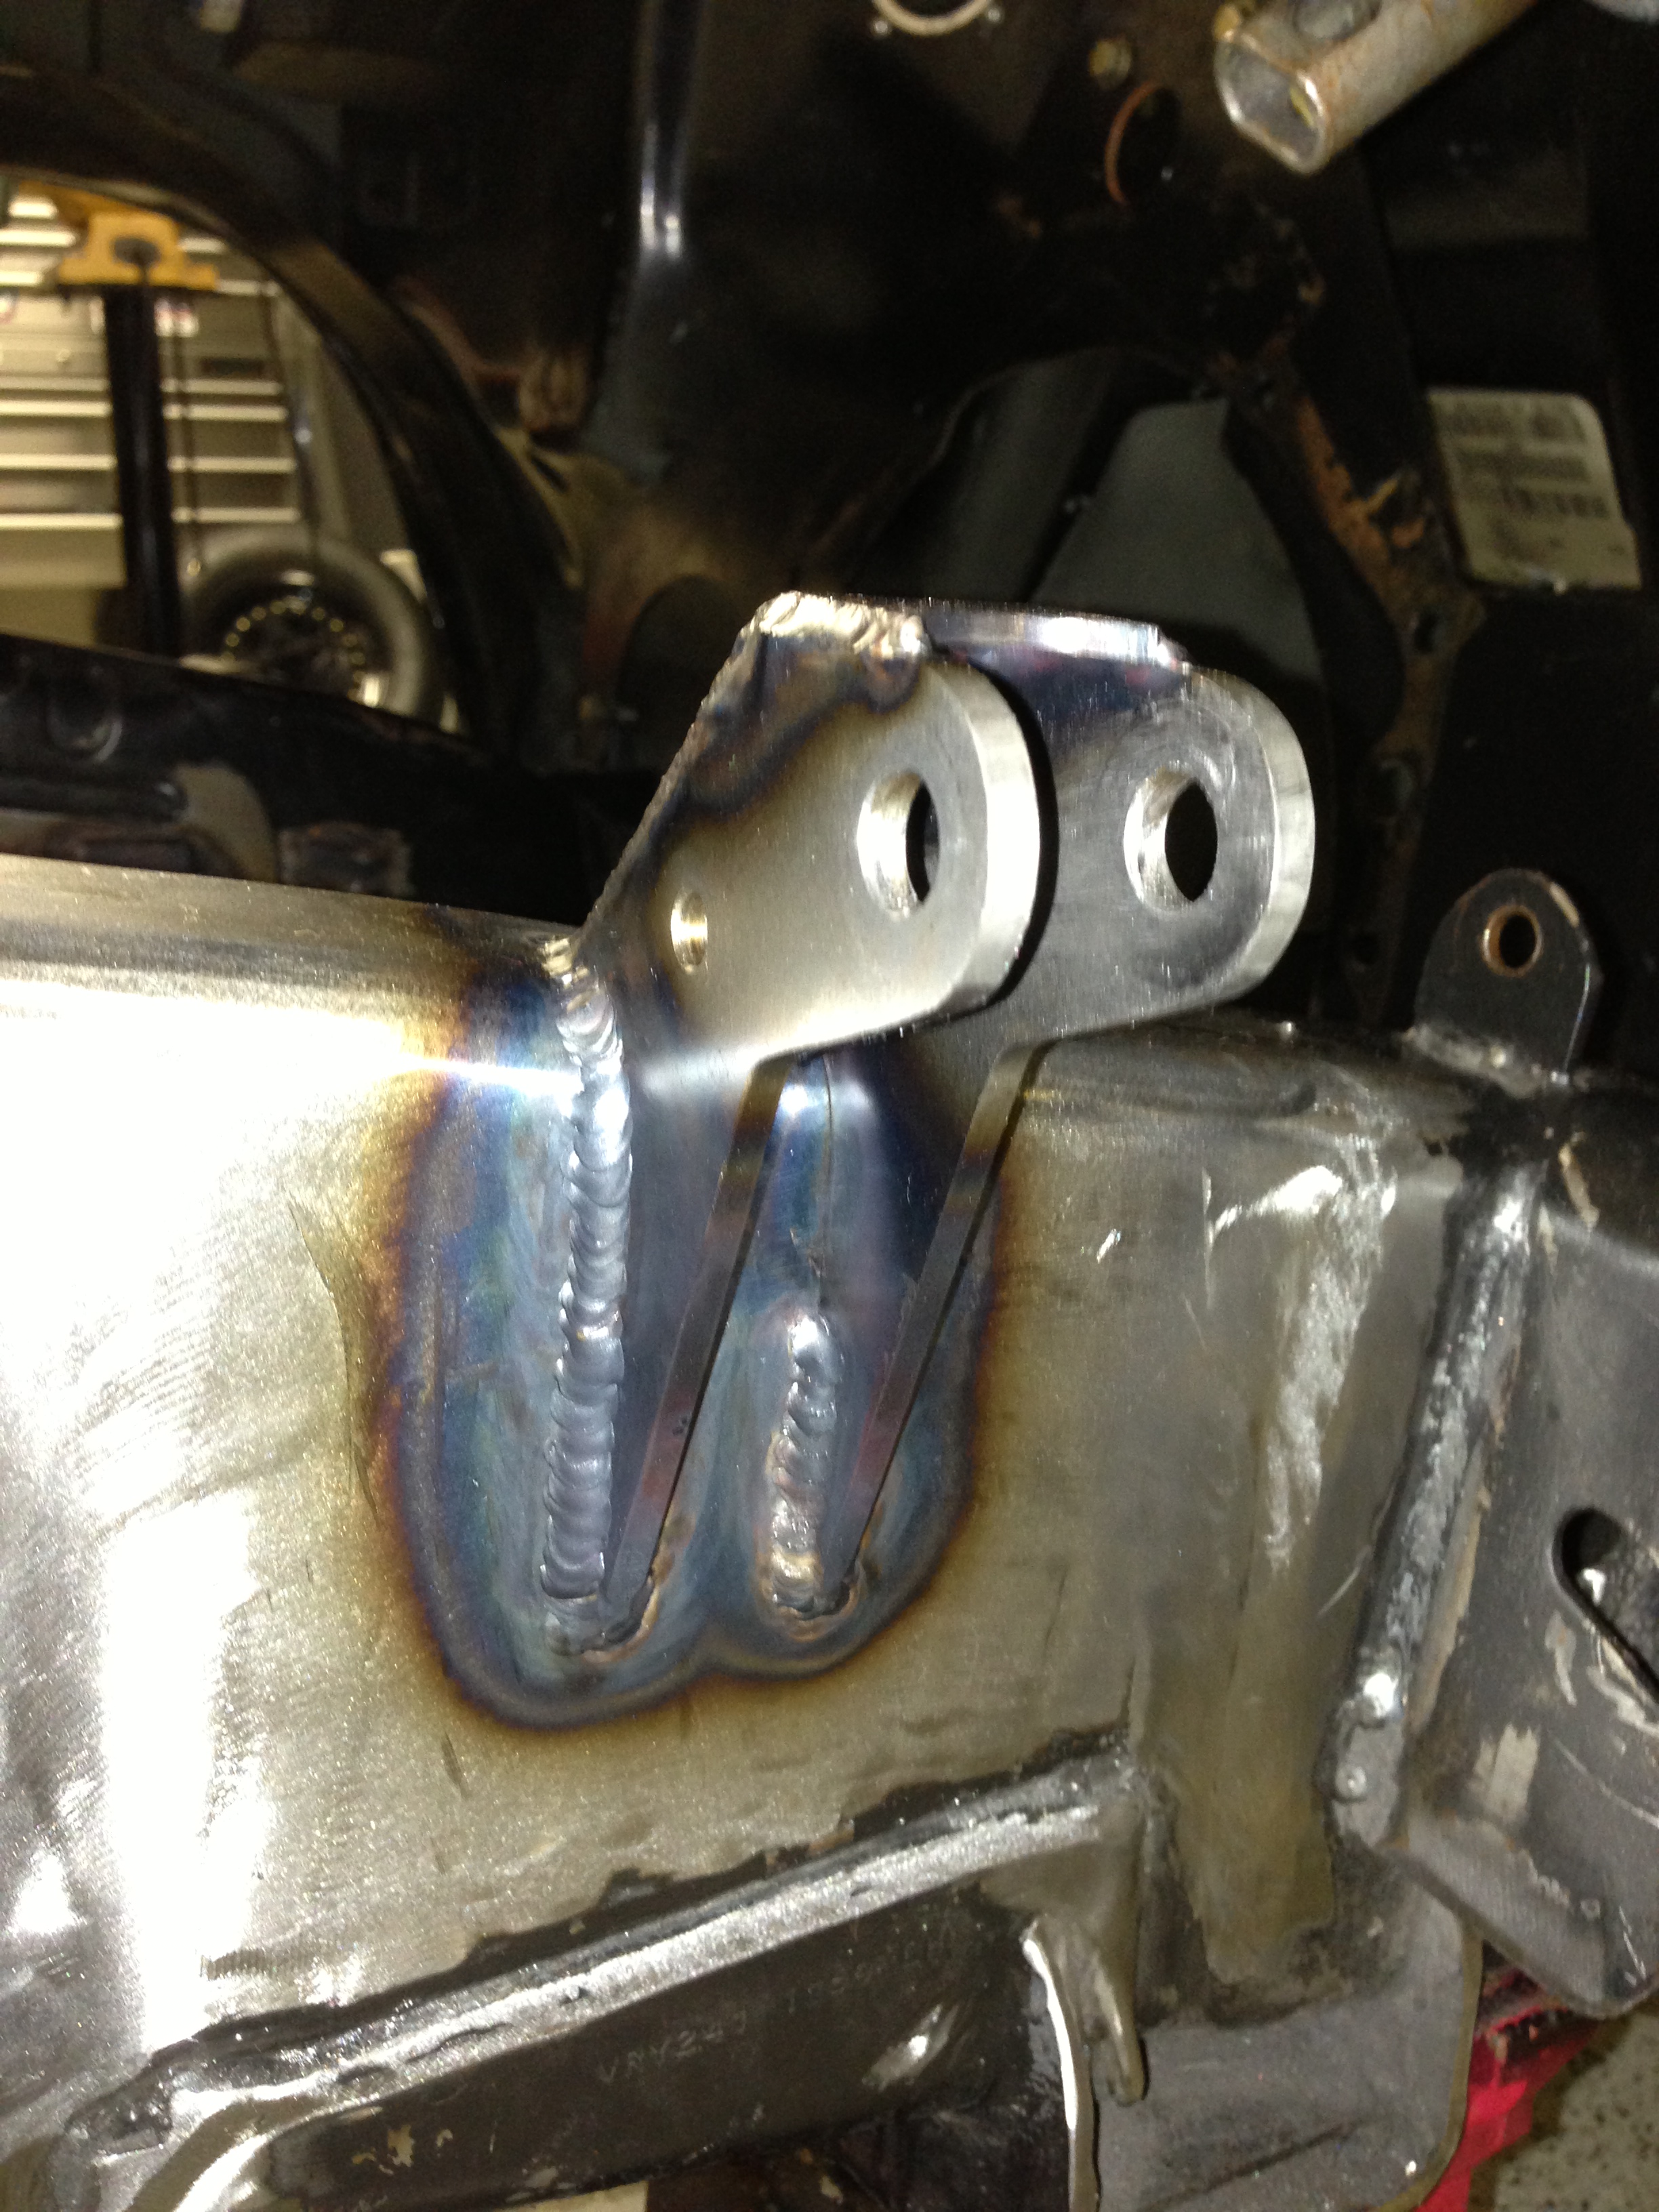
not sure if you saw where i had stated but
swap to larger tungsten
set machine to about 160 amps
use larger cup
pulse from bottom to top
torch about 10-15 degree angle
pulse is where youre on and off the pedal.....you go 100% then back off to about 40% move torch little go 100% again then back off to about 40% then move torch little go 100% then back off to about 40% and etc
try to give yourself a 60% overlap to keep the puddles tight so youre only going to be moving about 40% of a puddle which in this case is hair over 1/16 of inch
before making a pass use a steel wire brush and brush the area youre gonna weld
Mar 25, 2015 | 02:04 AM
#1805
I guess I'm just a bit worried by your comment that I may have compromised the frame rail by going to slow (too much heat).
Seriously, I'll cut this **** out and weld in a new 3/16 section of frame rail if I have fucked it up. Not really something I want to chance.
Seriously, I'll cut this **** out and weld in a new 3/16 section of frame rail if I have fucked it up. Not really something I want to chance.


 Mar 31, 2015 | 12:48 AM
#1809
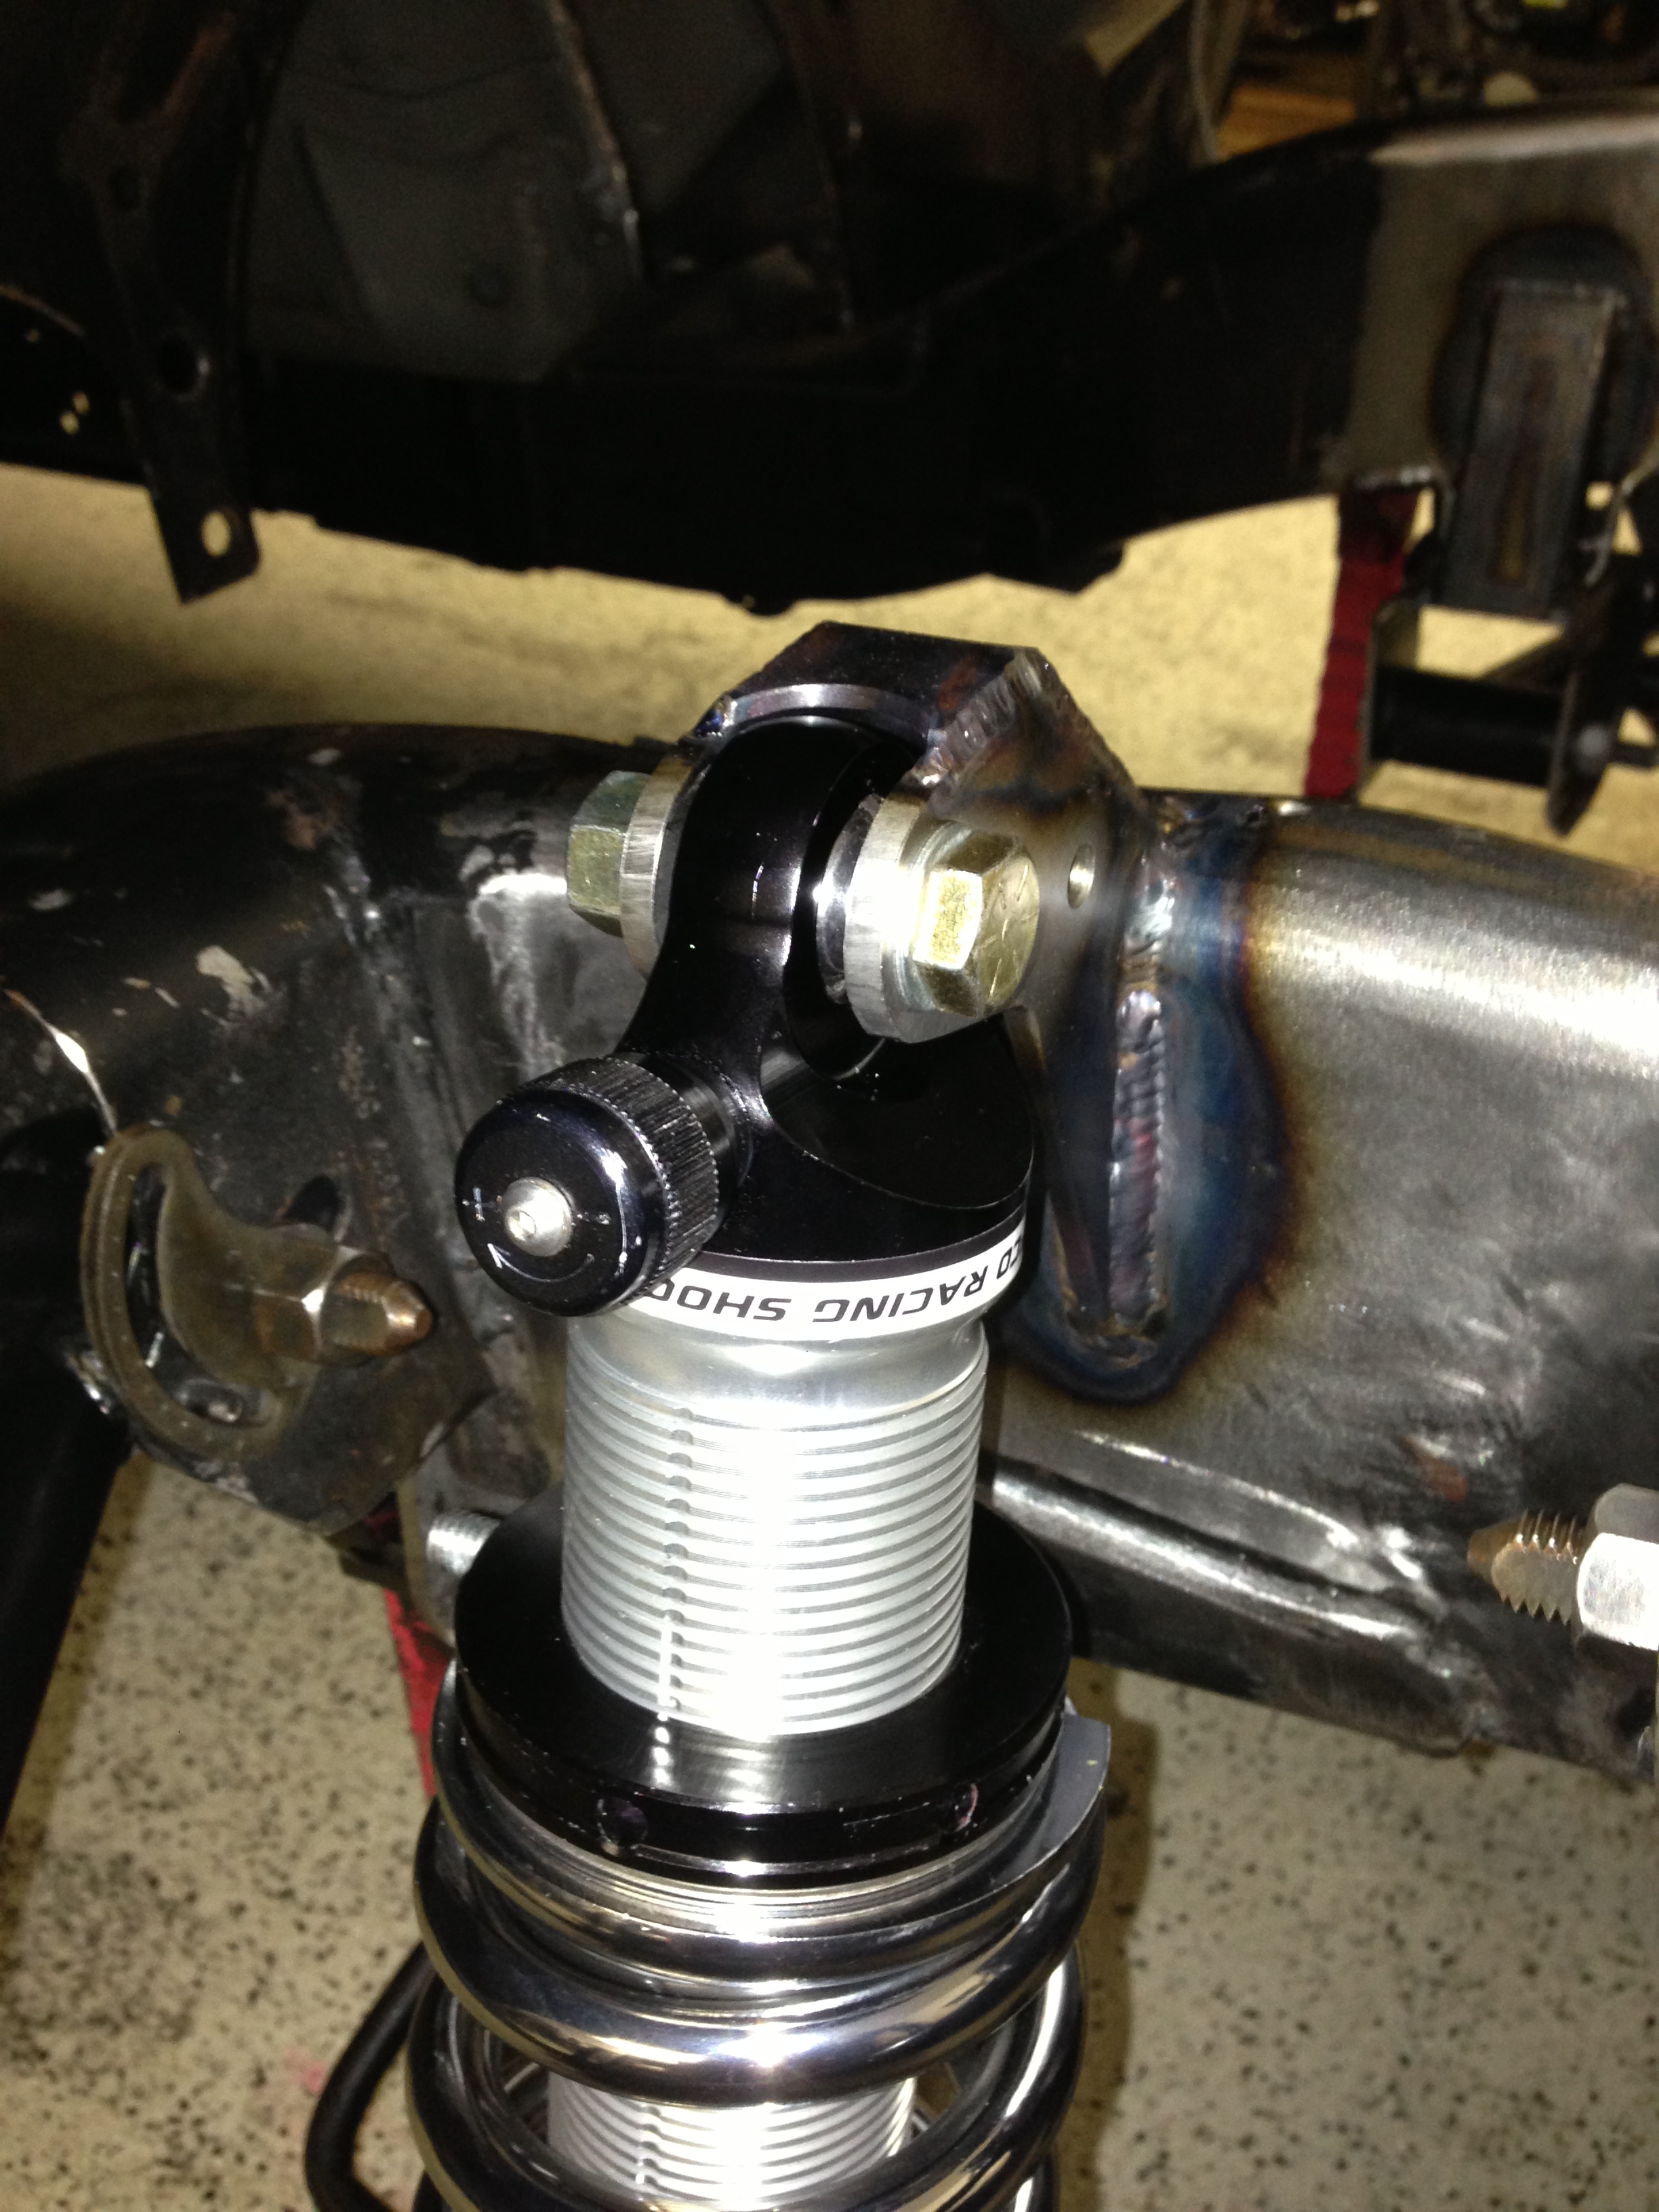
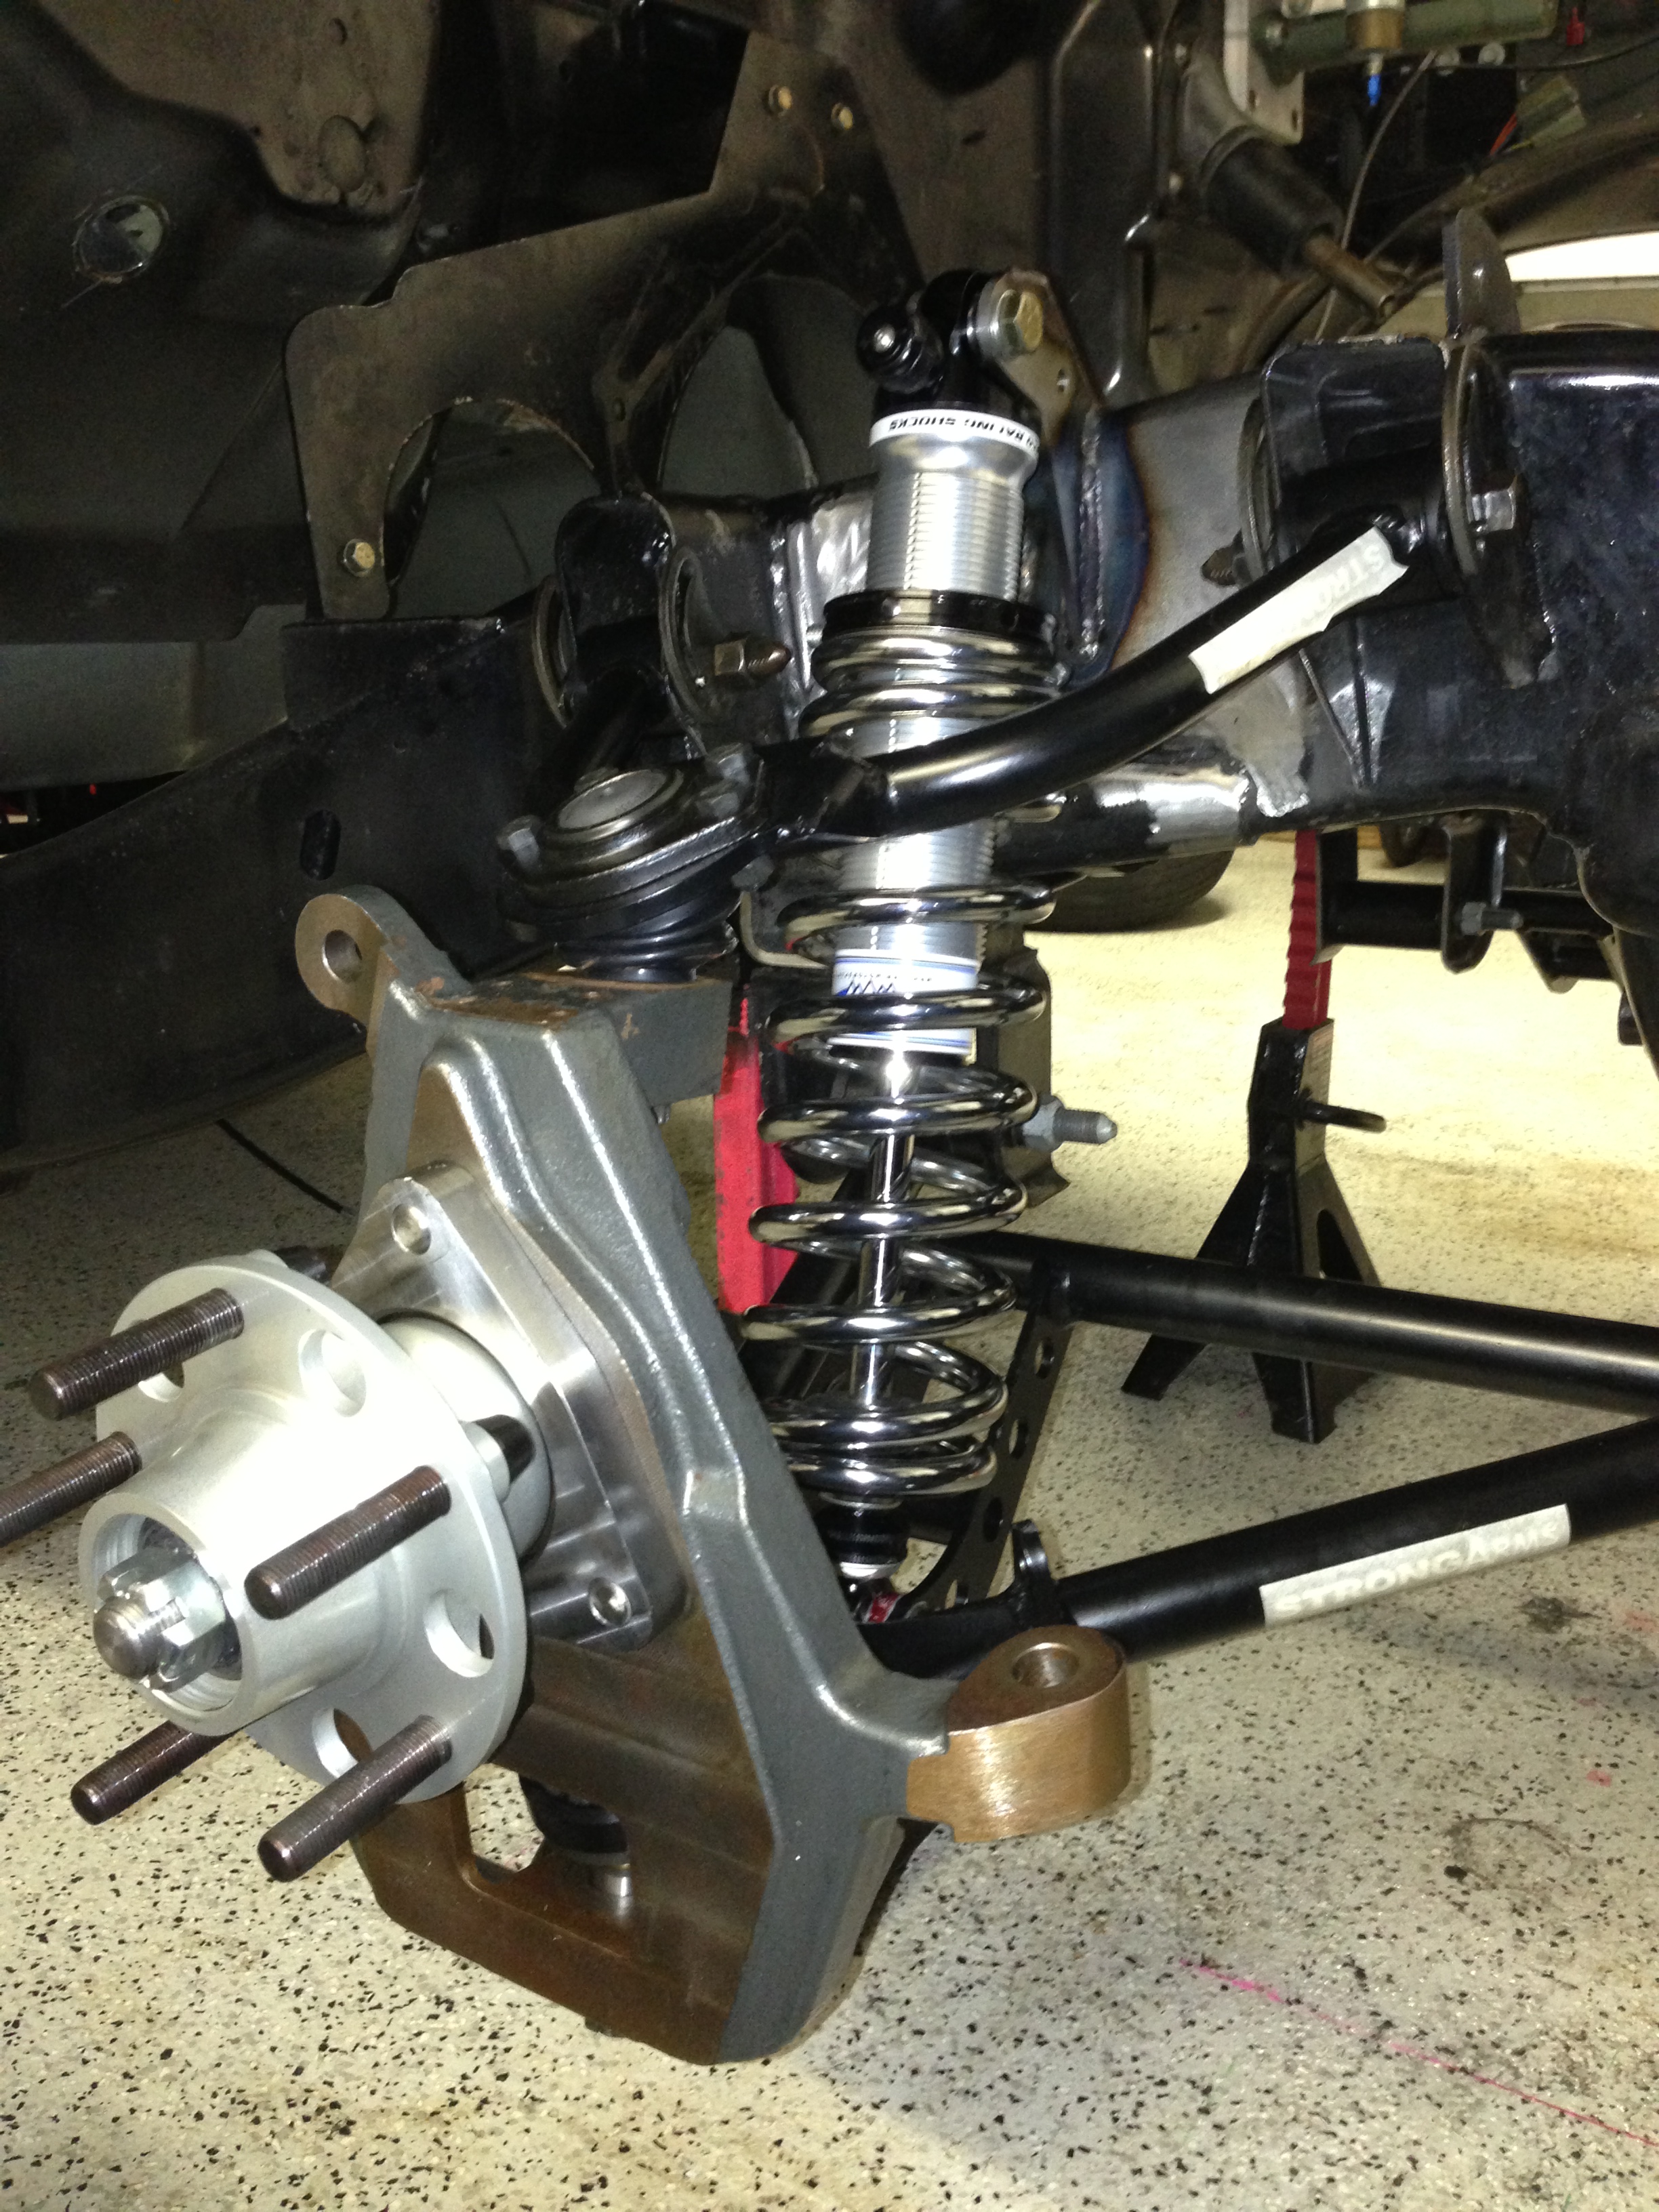
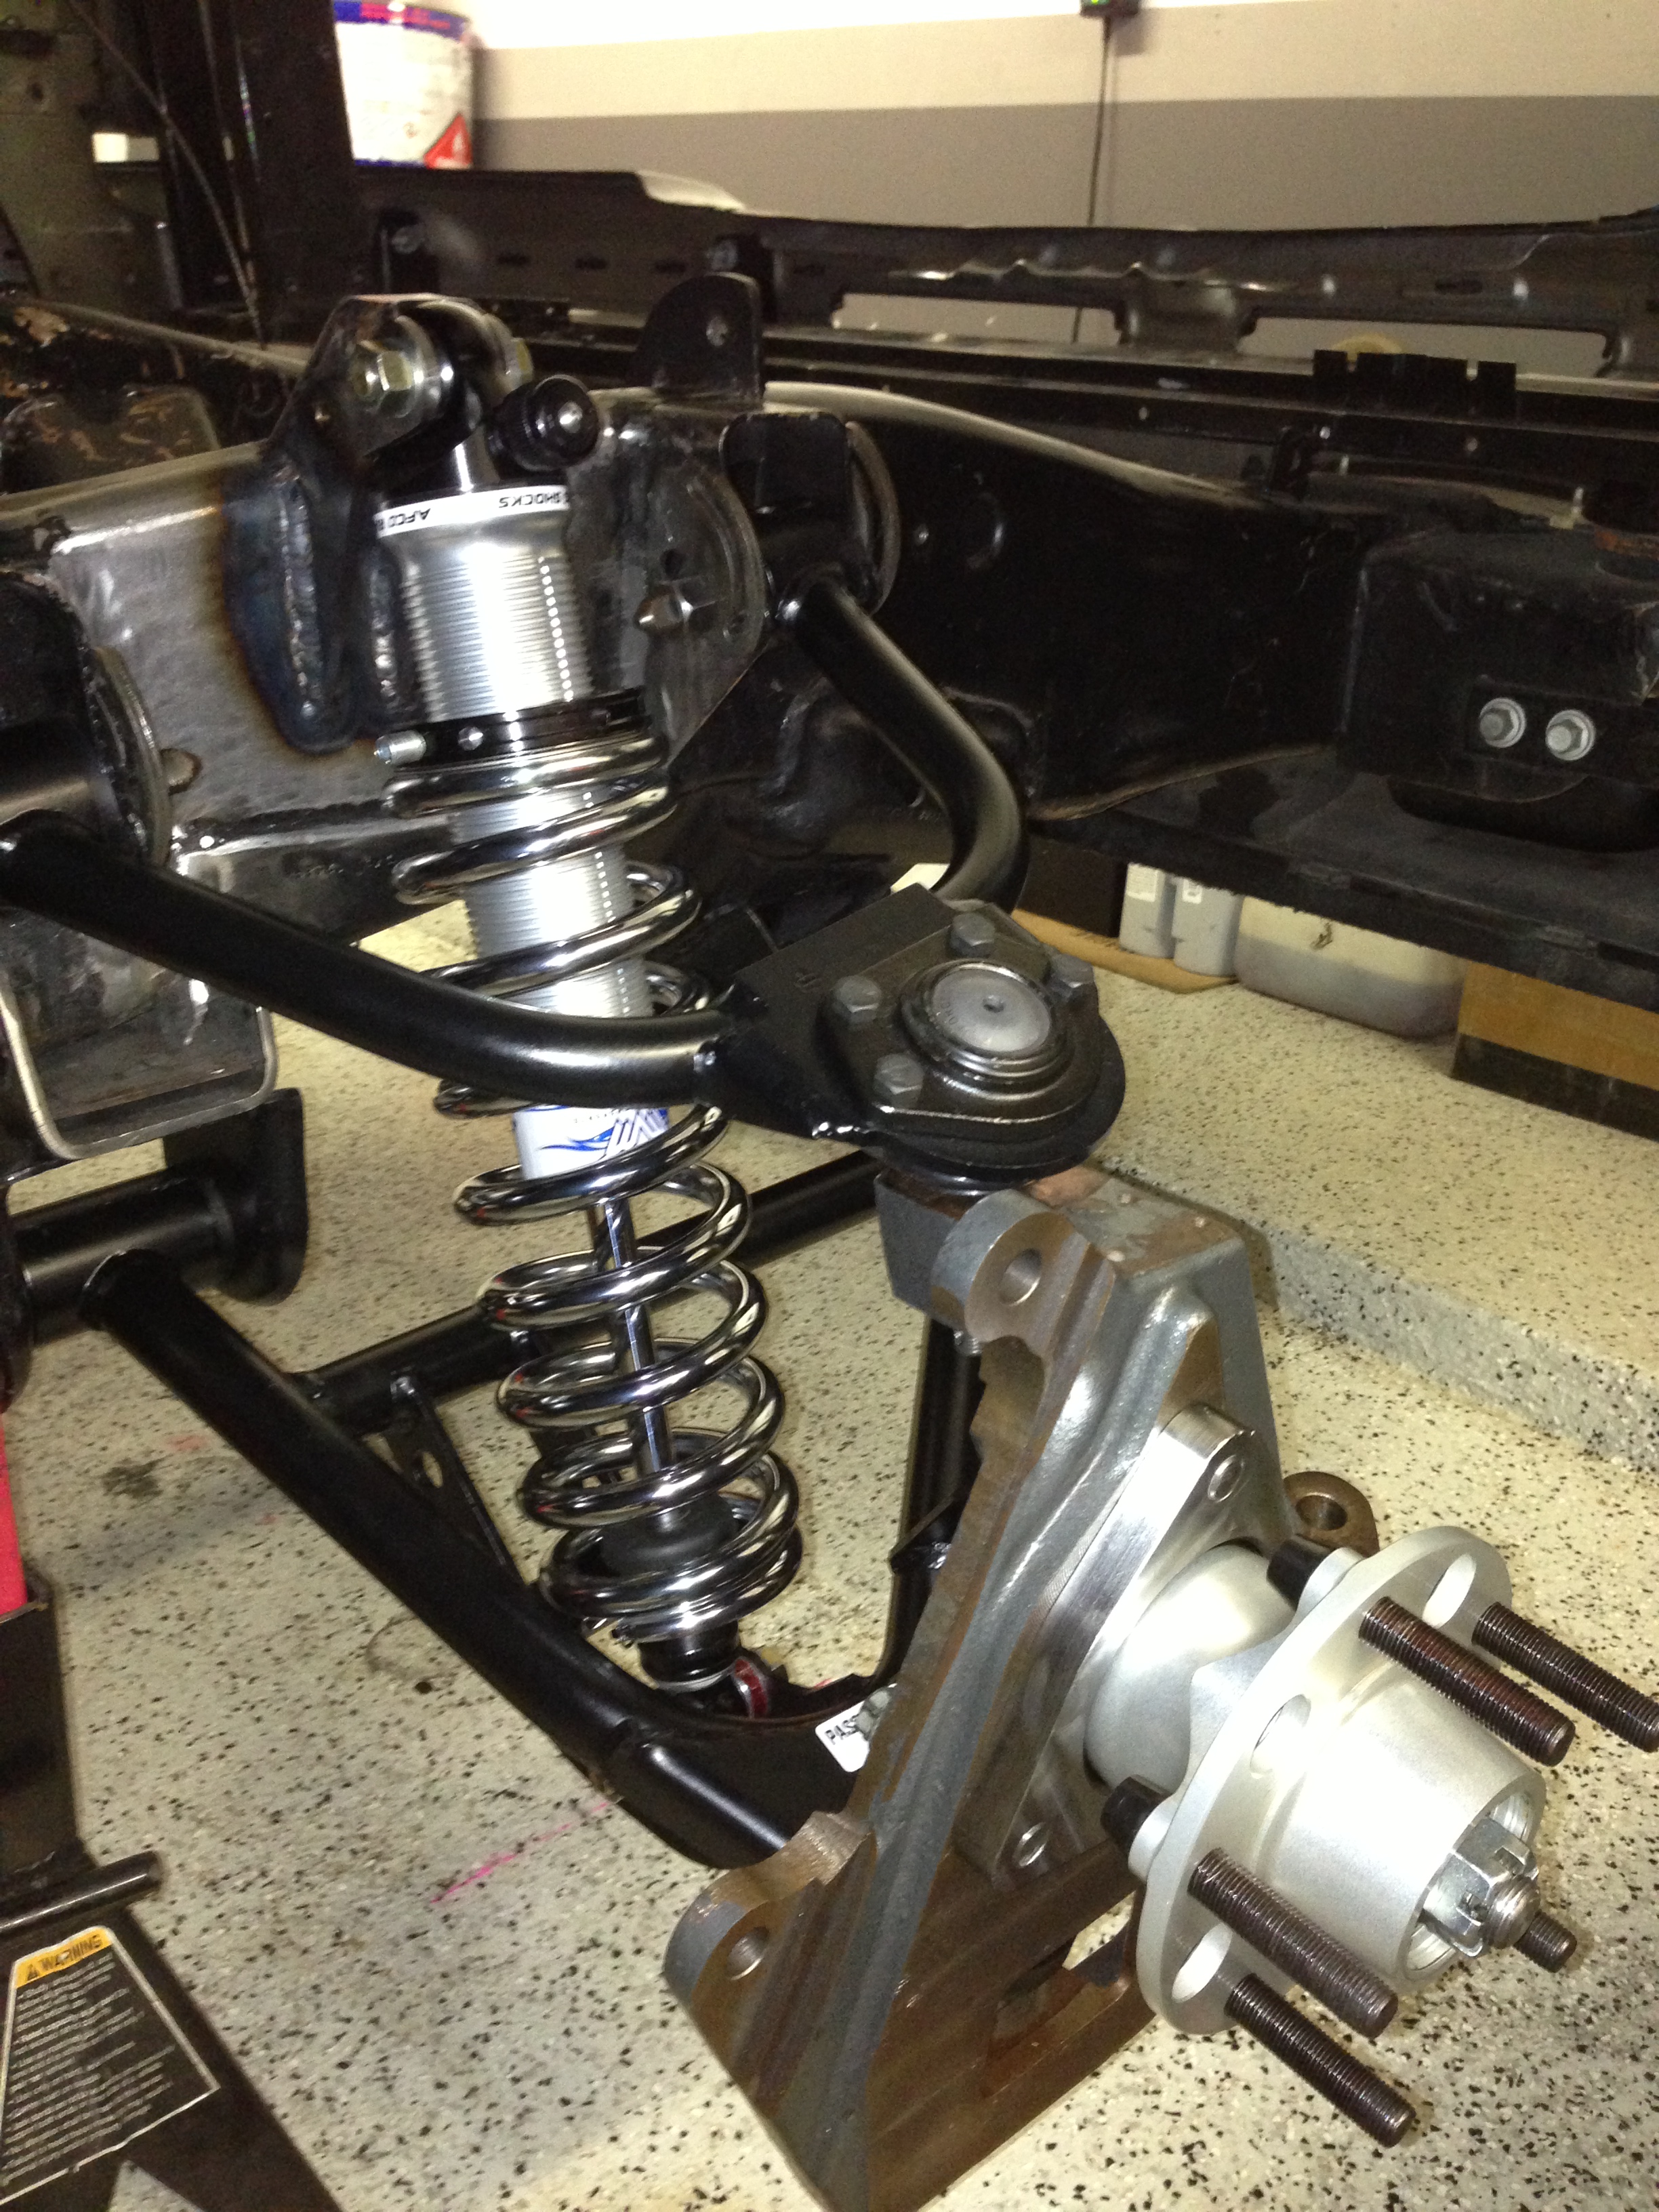
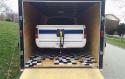
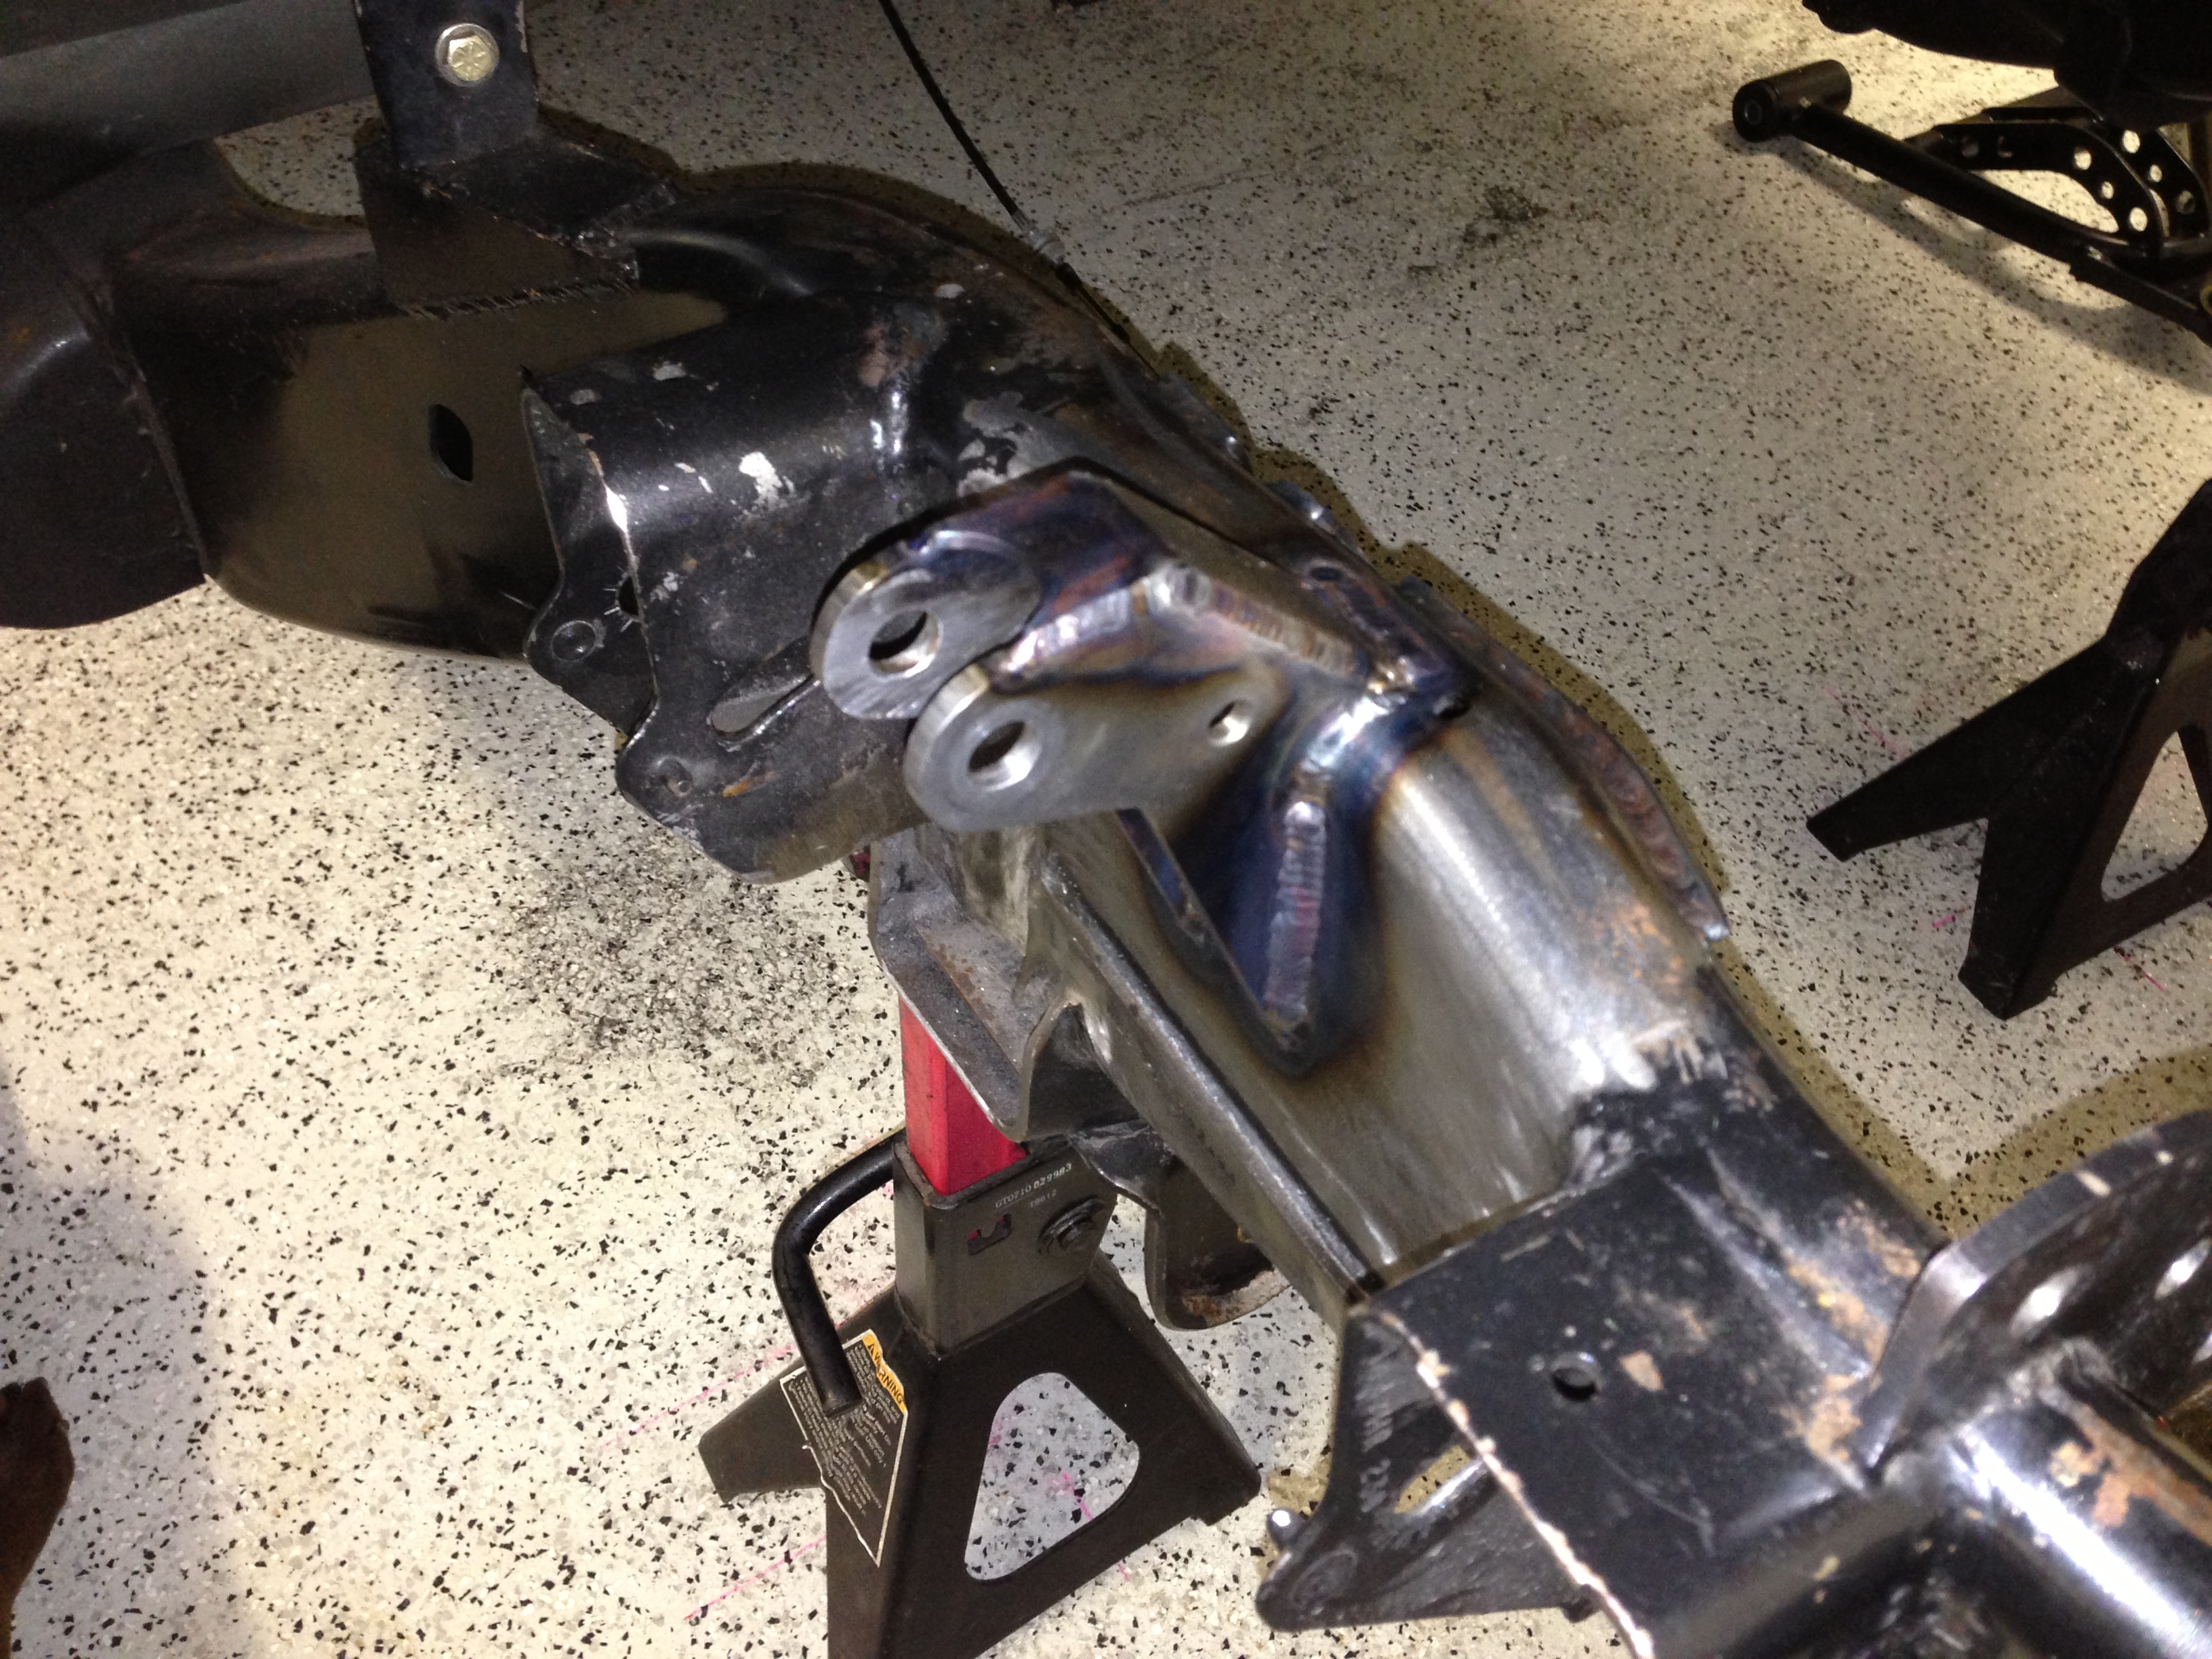
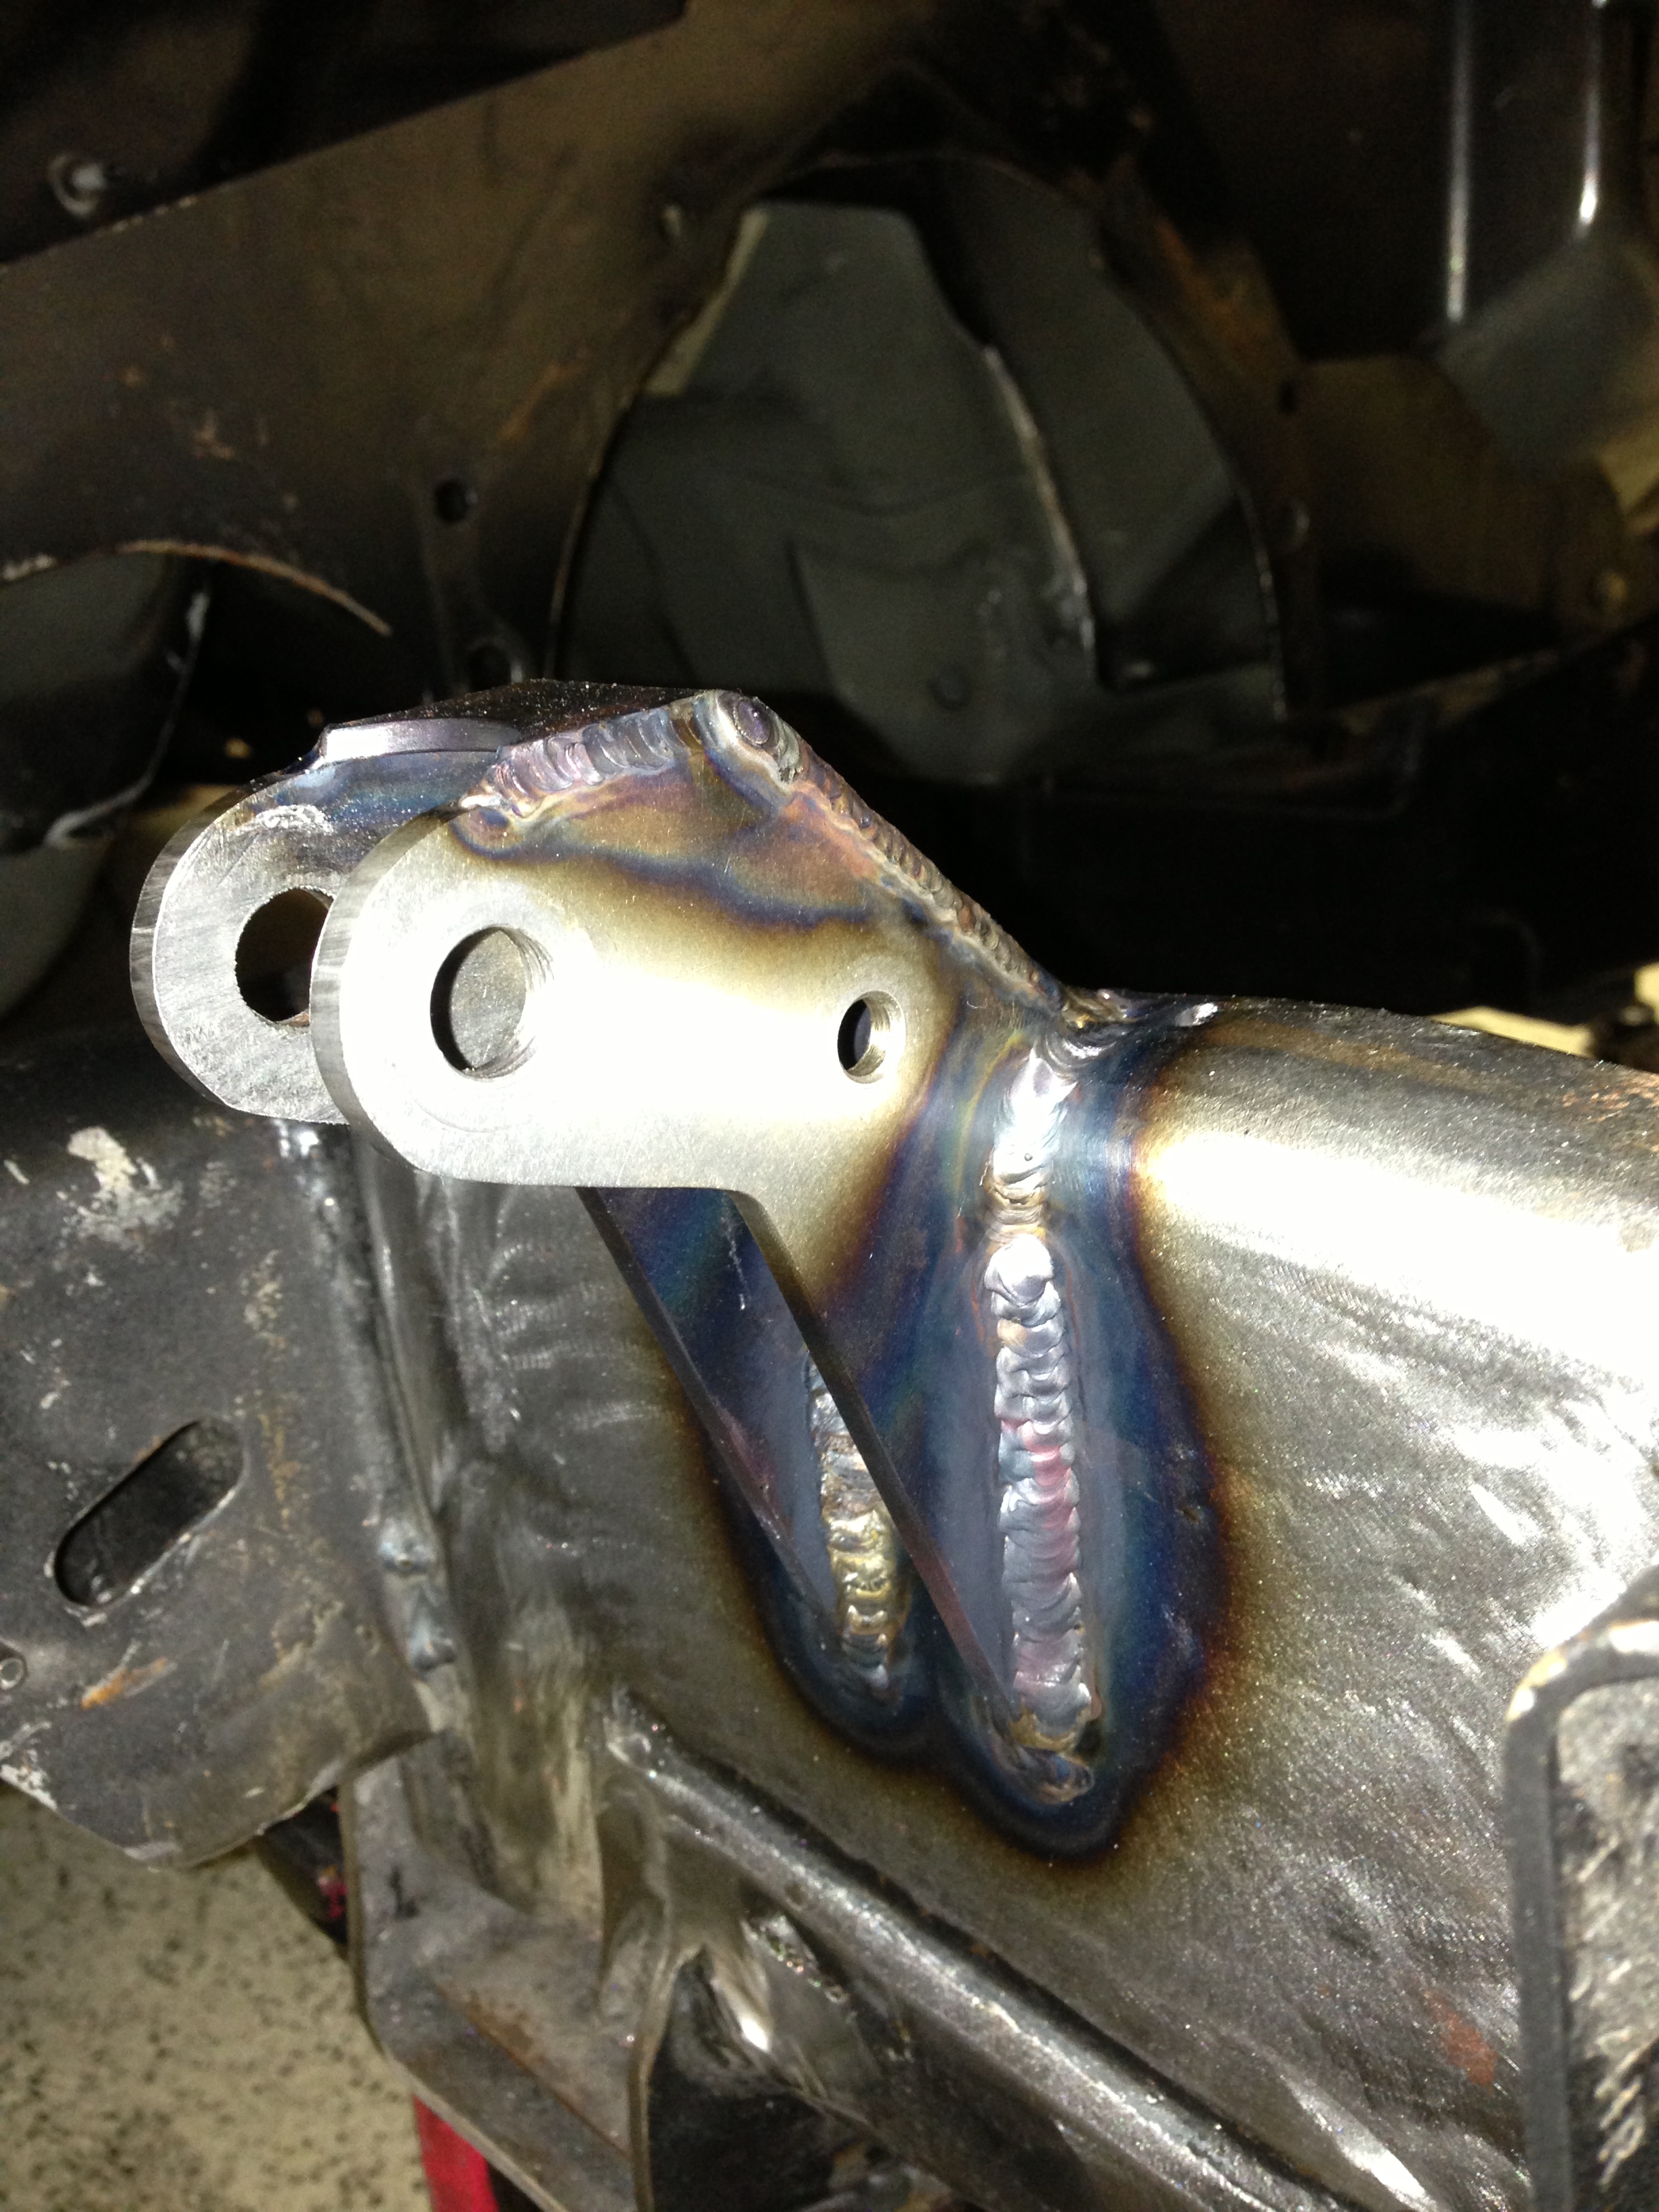
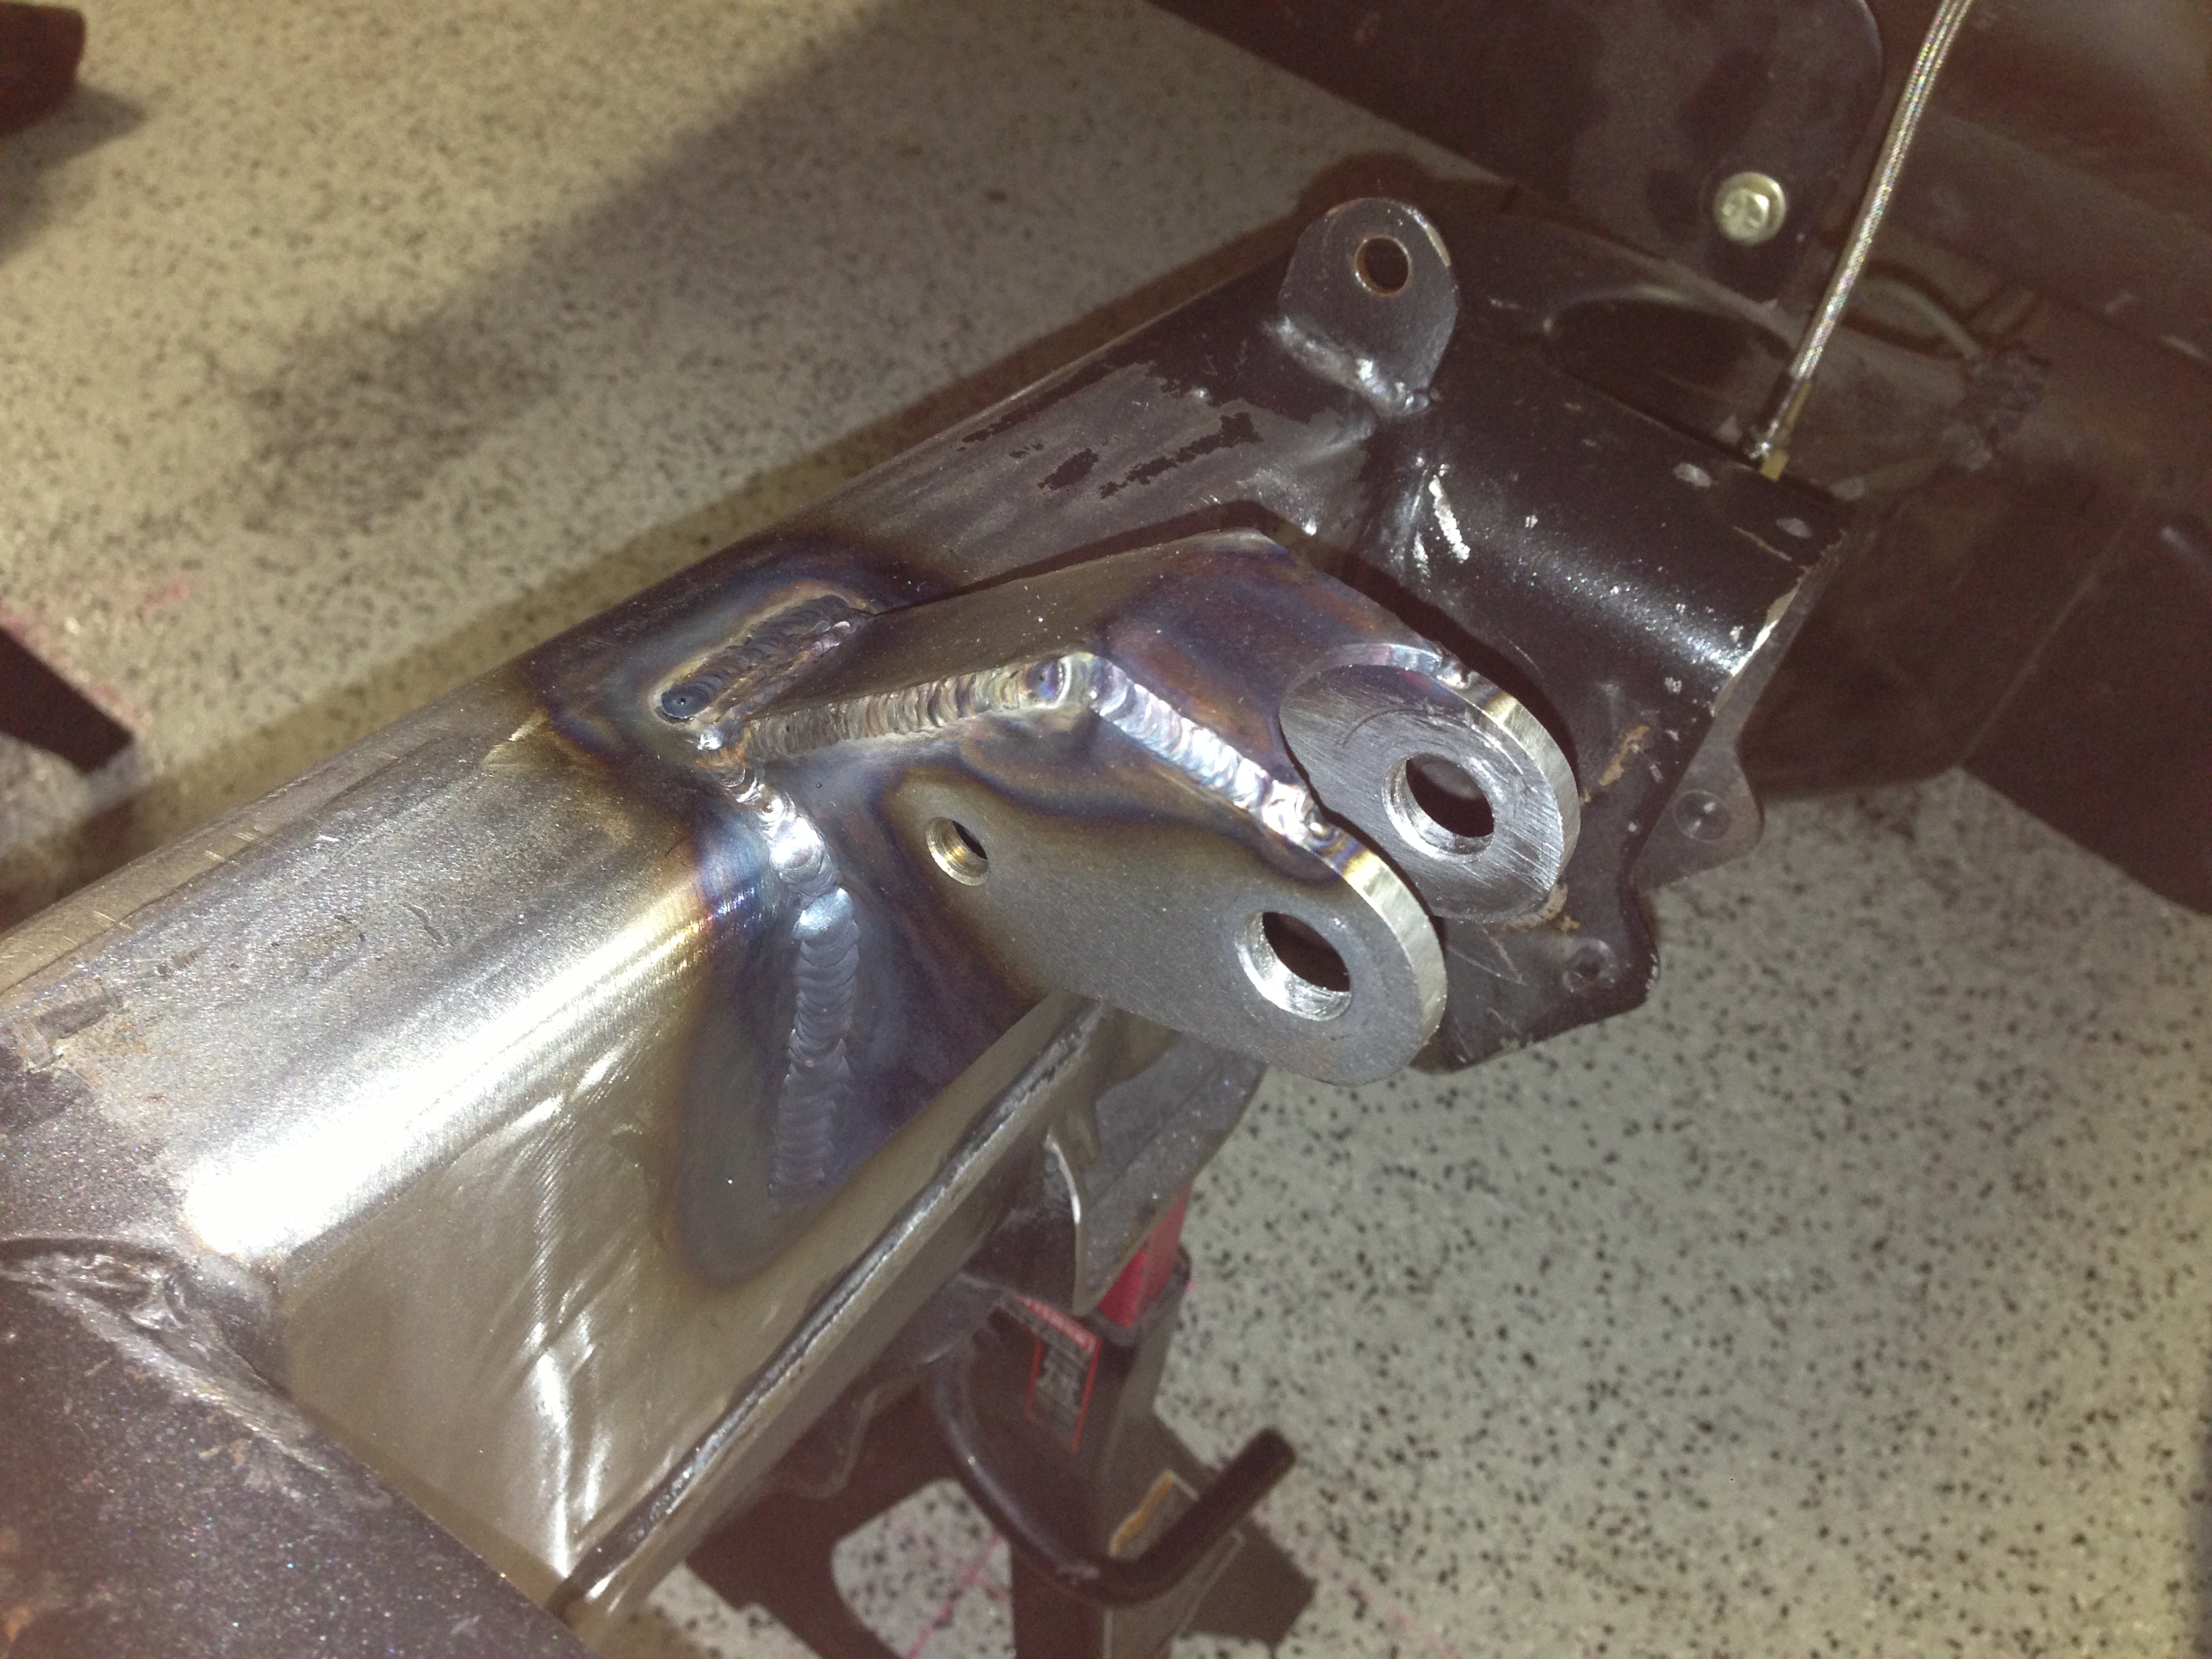
I went back over it, then welded the inside seam, then welded the top on. The tops welded on very nice I thought. Here it is all mocked up so I can toss a motor in it to dummy up some more **** I need to change to correct some problems.

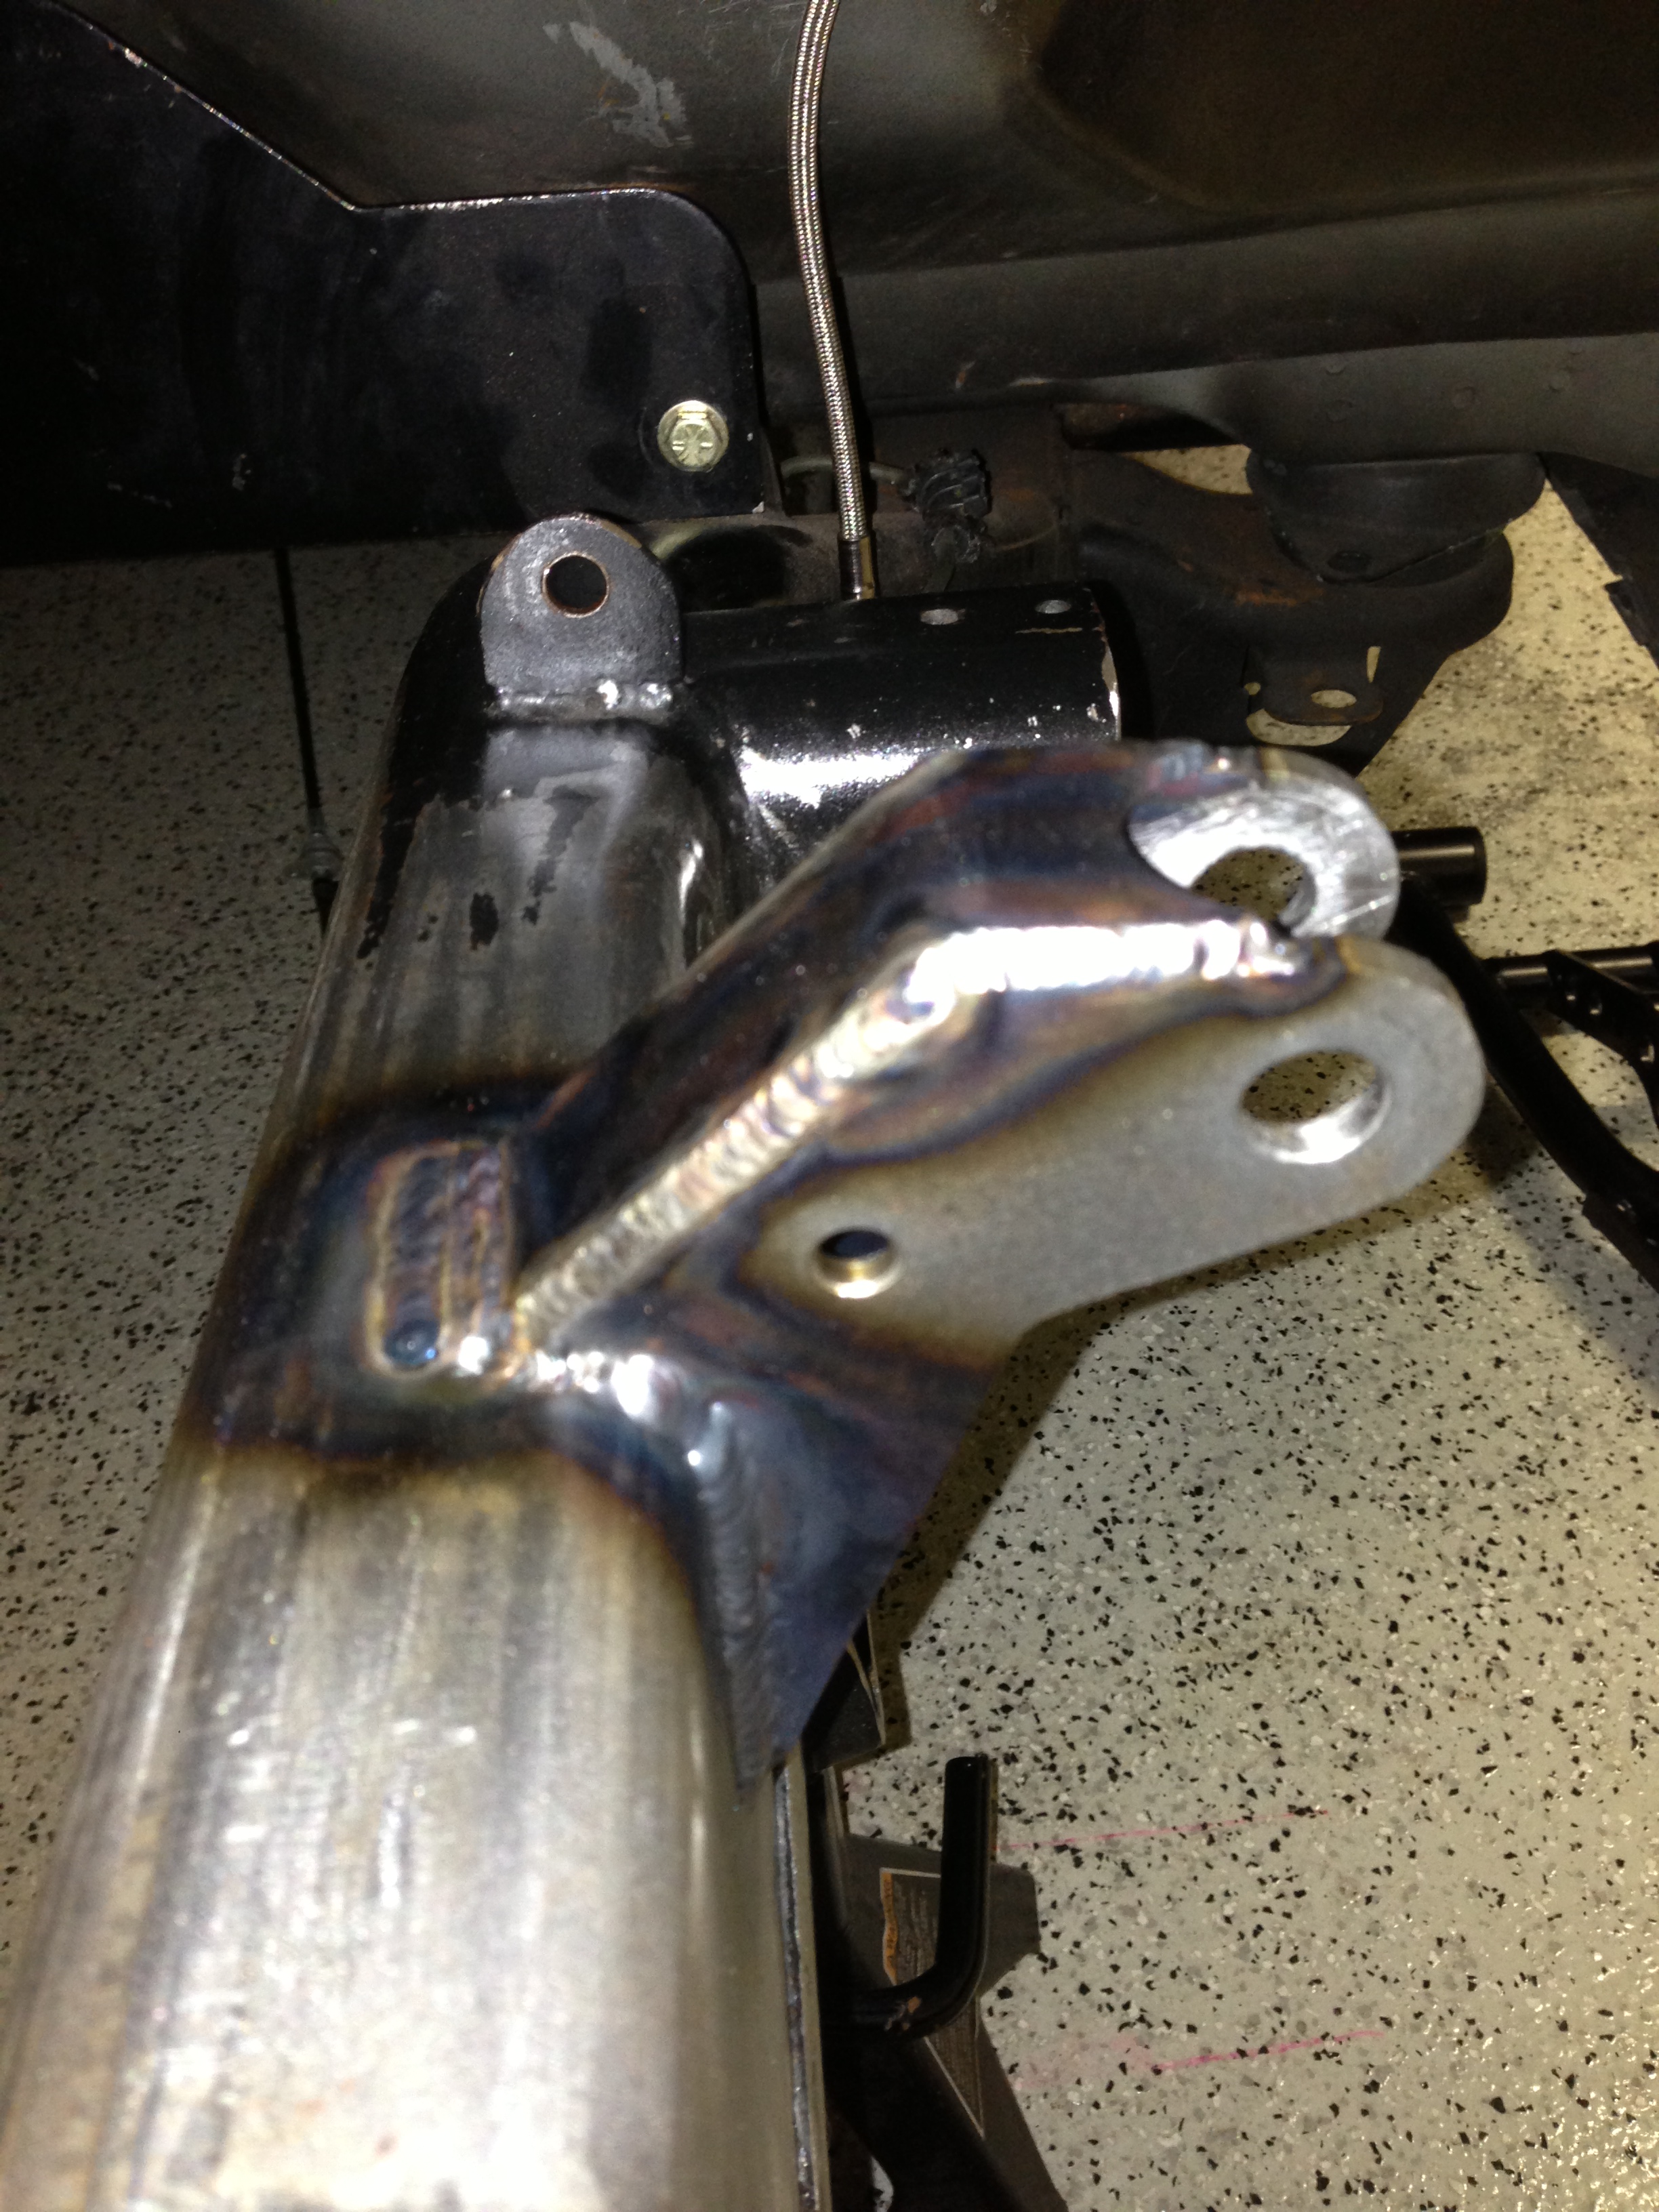


 Mar 31, 2015 | 12:49 AM
#1810
I went back over it, then welded the inside seam, then welded the top on. The tops welded on very nice I thought. Here it is all mocked up so I can toss a motor in it to dummy up some more **** I need to change to correct some problems.