

2006 ECSSB Silverado Project
 Mar 25, 2017 | 12:56 PM
#31

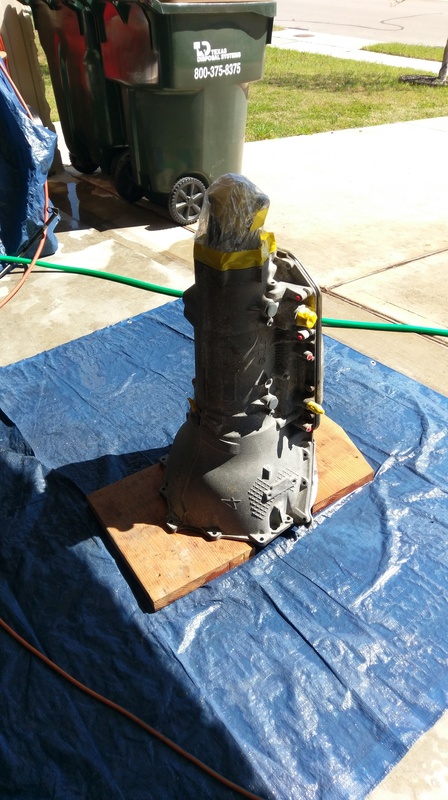
Well decided to clean up and paint the transmission. Probably won't last but it will at least look nice sitting in my garage until I can install it.
Degreased and hosed down 3 times
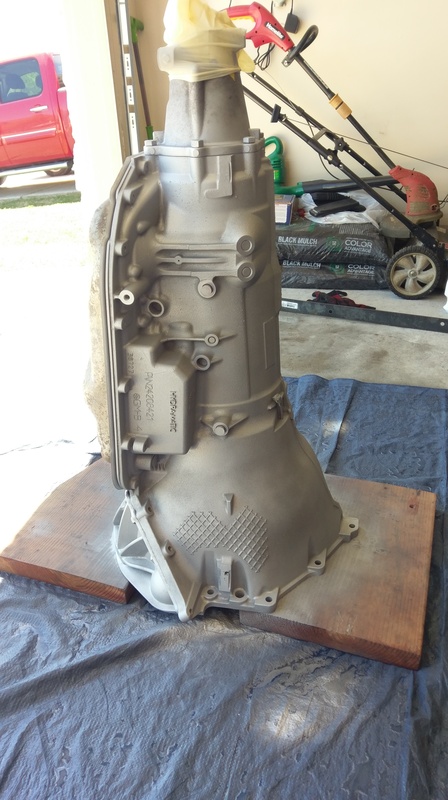
Chose this for the paint

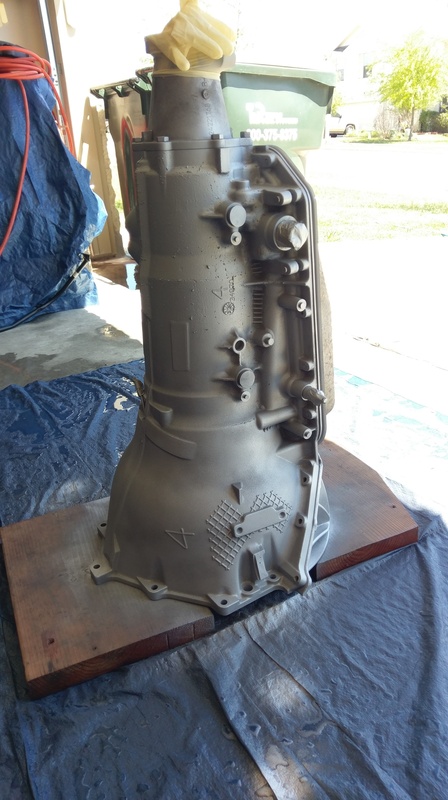
Two coats in, waiting for it to flash off so I can do more coats
I've got a new pan gasket ordered so I just painted right over it. I might order a new pan as well, so I didn't bother with that either. Once the trans is done I will remove the tail housing and paint that separate
Degreased and hosed down 3 times

Chose this for the paint

Two coats in, waiting for it to flash off so I can do more coats


I've got a new pan gasket ordered so I just painted right over it. I might order a new pan as well, so I didn't bother with that either. Once the trans is done I will remove the tail housing and paint that separate

 Mar 25, 2017 | 03:07 PM
#33

The trans looks really nice all painted up. You sure have put a lot of time and work in your truck.
Now you have me sweating when you mention going to the stealership to get the DIC programmed. I can see that as $1000 just for that alone. I looked at a wheel off of an 06 Silverado w/controls but he wants $50. I had checked on the Clock spring on ebay also but it was over $200.
Chevrolet GMC Cadillac Steering Wheel Module Coil Kit Clock Spring new OEM | eBay
Thanks for the help.


 Apr 8, 2017 | 12:36 PM
#35
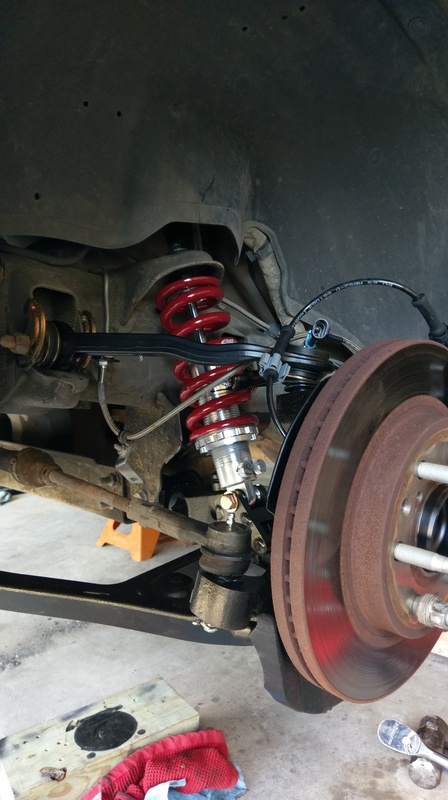
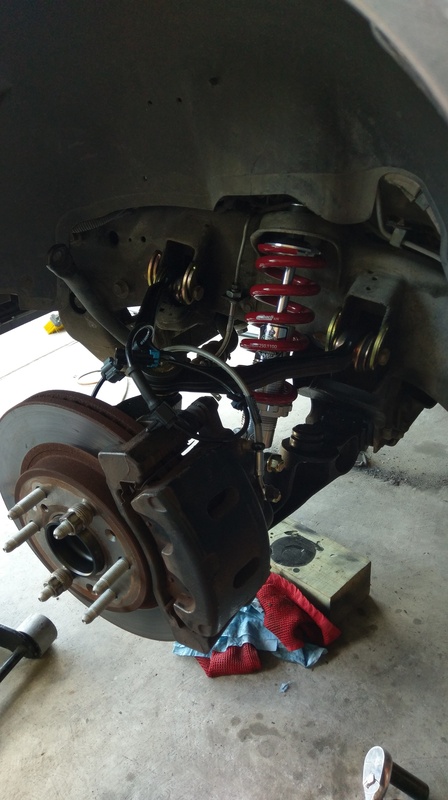
Pressed in the belltech camber bushings
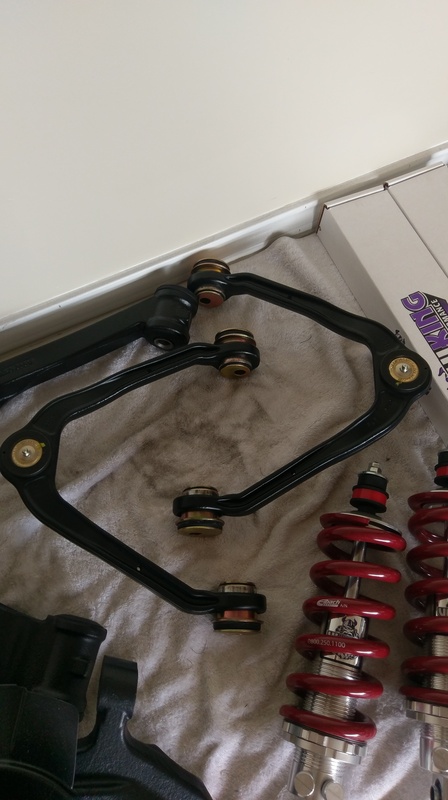
Installed the button bumpstops on the LCAs
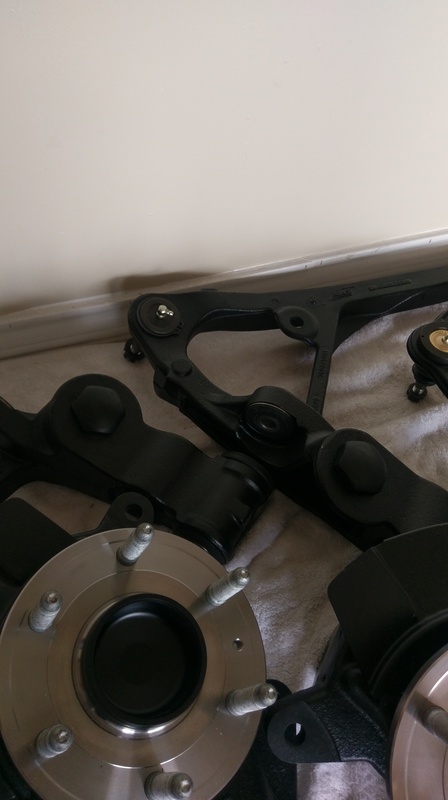
Pressed in the rear shock bushing sleeves, but modified the top ones to fit the factory bolt. The bottom ones are the 1/2" sleeves and I'm going to get new grade 8 bolts for that

Got some new M10x1.5x30mm bolts and put the extension housing back on
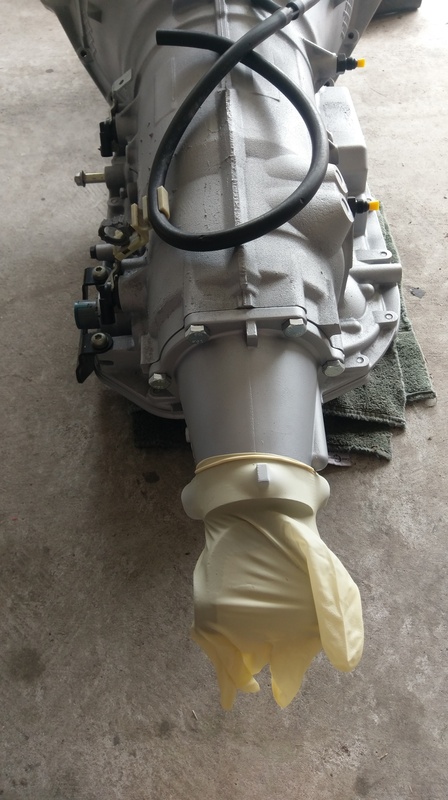
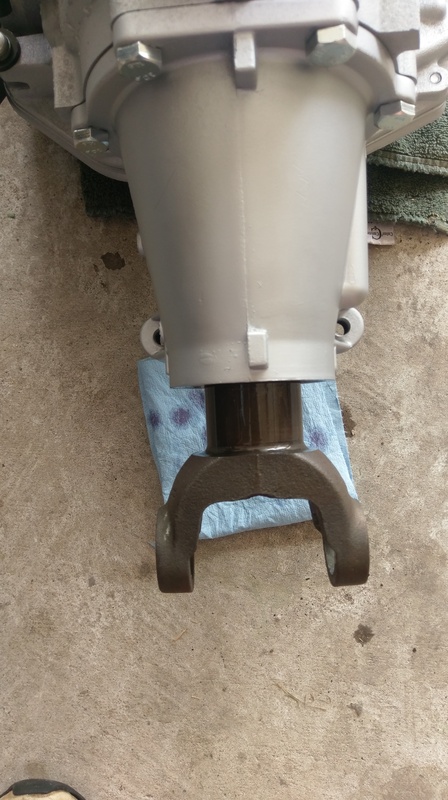
Trying to figure out my driveshaft measurements. This is the yoke all the way in
pulled out 3/4"
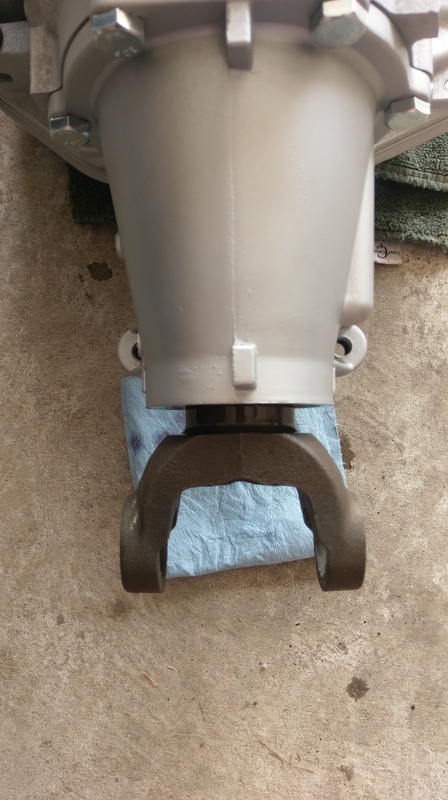
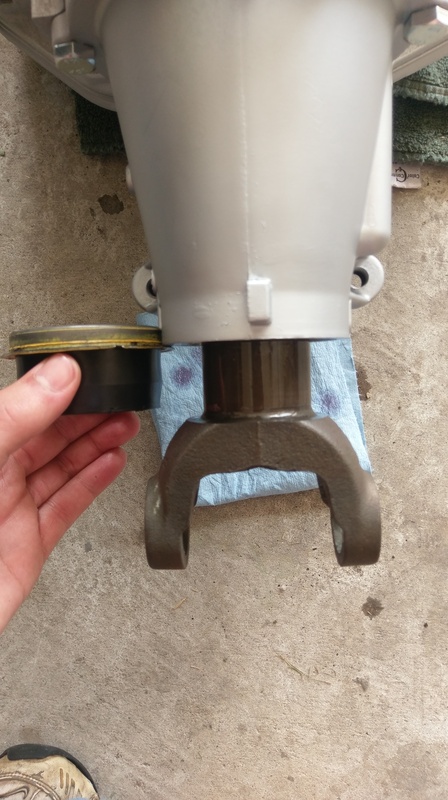
but here's the booted seal that came on the transmission factory, looks like that won't work. I could either pull the yoke out more, or get a non-booted seal. I have to order a new seal regardless

Installed the button bumpstops on the LCAs

Pressed in the rear shock bushing sleeves, but modified the top ones to fit the factory bolt. The bottom ones are the 1/2" sleeves and I'm going to get new grade 8 bolts for that


Got some new M10x1.5x30mm bolts and put the extension housing back on

Trying to figure out my driveshaft measurements. This is the yoke all the way in

pulled out 3/4"

but here's the booted seal that came on the transmission factory, looks like that won't work. I could either pull the yoke out more, or get a non-booted seal. I have to order a new seal regardless
 Apr 14, 2017 | 07:41 PM
#36
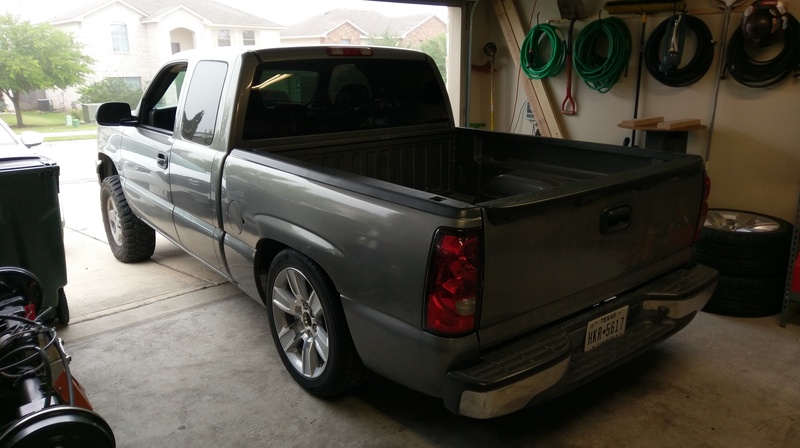
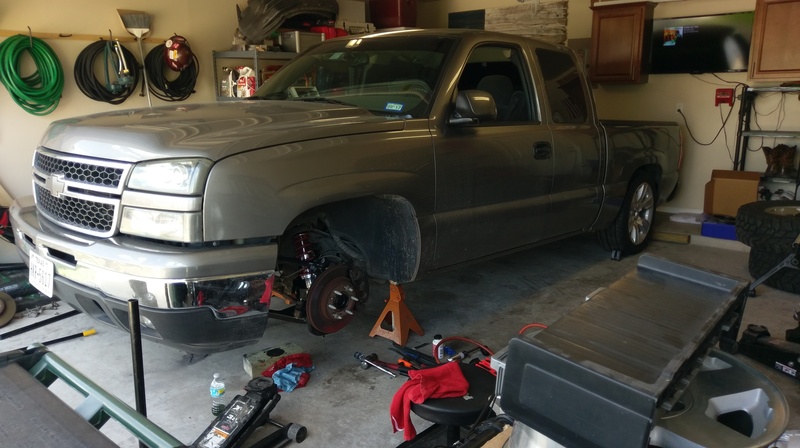
Finally installing this drop now that I have a three day weekend. Got the rear flip kit done Thursday night after work, then today started the front stuff. I still have to finish the front, do the c-notch and other small stuff. I have to get an alignment tomorrow, so worst case scenario I put a bump stop on the frame and drive it to the shop to align


 Apr 15, 2017 | 09:45 PM
#39

So I drove the truck down to Firestone to get an alignment, very bumpy road and no notch was a pain, but it turns out they can't align it because it's too low. Total bullshit since I bought a lifetime alignment only one alignment ago.
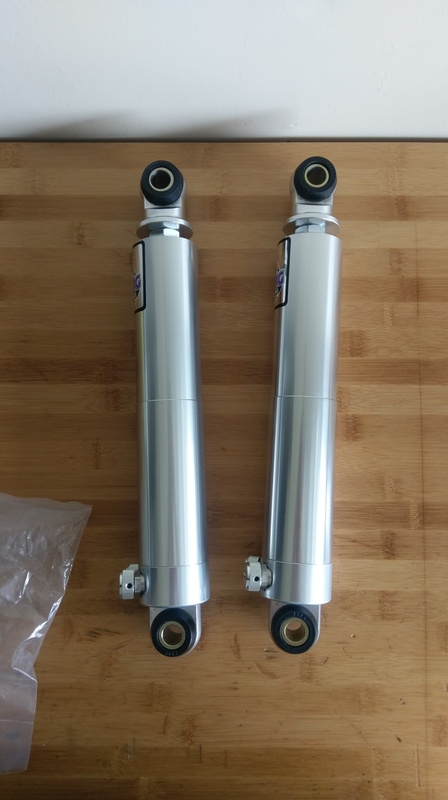
Got the rear shocks put on with the extenders

Glad I waited to do the notch. You can see my centerline compared to where it should be now with the flip kit

Drivers side cut

Working on passenger side

Holes drilled (sucked ***)

I got everything drilled and bolted up except the 4 bottom ones on the drivers side. I'll drill and bolts those up tomorrow. Since I can't get an alignment, I'll try to do a DIY alignment to get it close. I also need to adjust the ride height since it settled another inch or so after initial setup


