

2001 Frame up build


 Nov 4, 2007 | 04:50 AM
#53
Thread Starter
TECH Fanatic
iTrader: (12)
Joined: Mar 2005
Posts: 1,513
Likes: 6
From: Massachussetts
yea Im not done with it. its really only for the radiator support anyway. But it still strong, people have been doin this (channeling) for years. If I were to even hit anything ( i hope not) that little section of frame is the last thing Im going to worry about.
Nov 4, 2007 | 11:52 PM
#54
Thread Starter
TECH Fanatic
iTrader: (12)
Joined: Mar 2005
Posts: 1,513
Likes: 6
From: Massachussetts
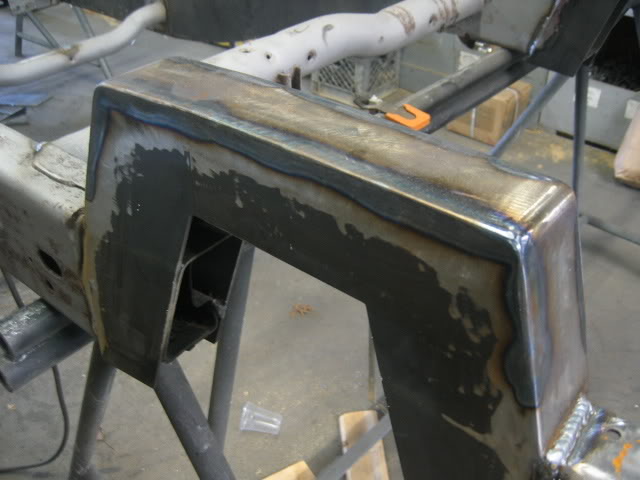
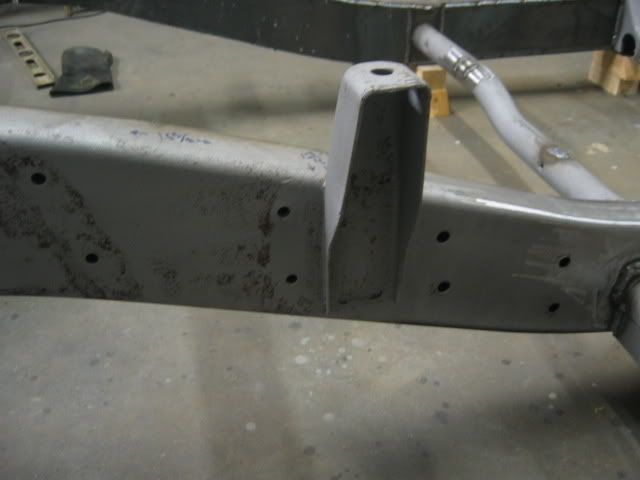
Finished up the front end, when i flip the frame to weld everything underneath Ill do the final touches on the bottom part.
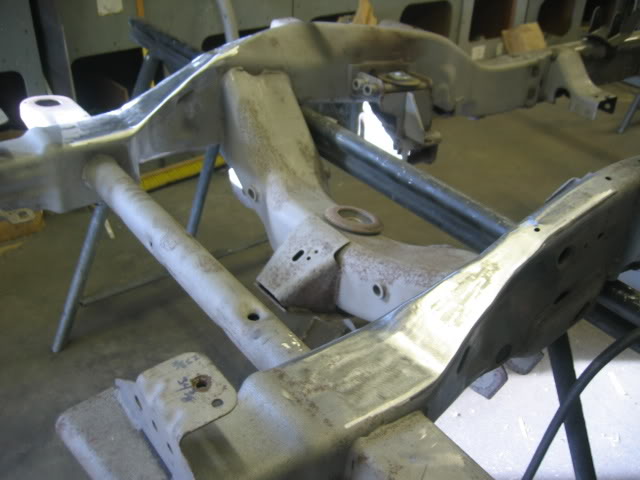
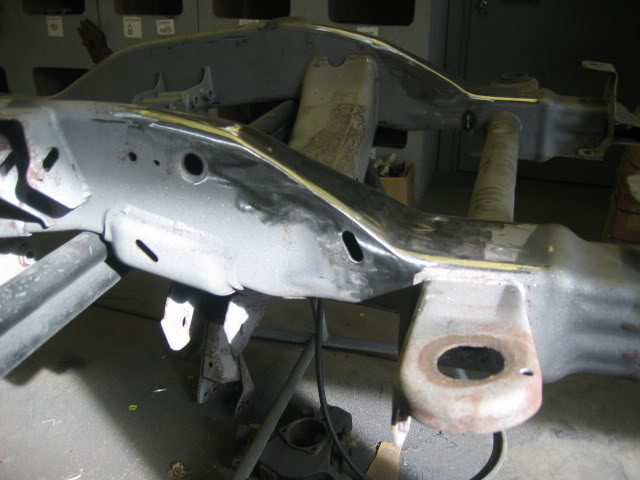
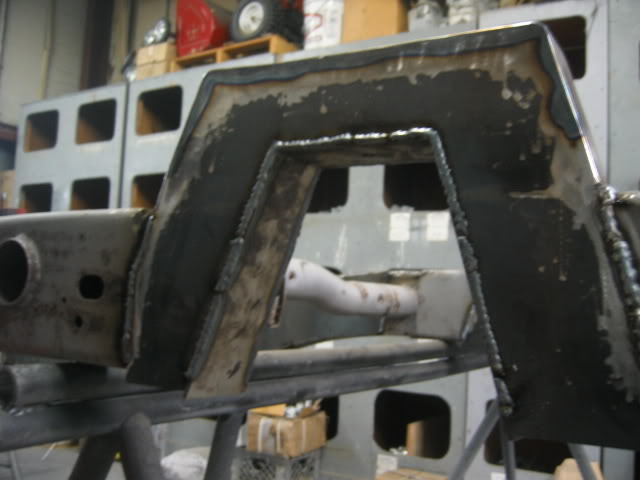
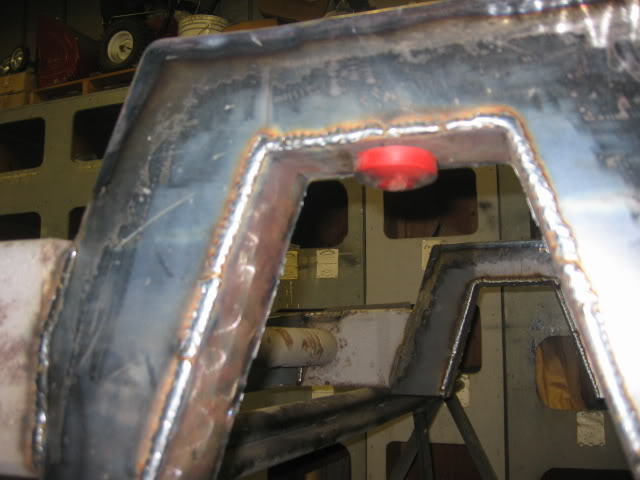
Cut the notch out
Welded inside to make sure this thing is strong.
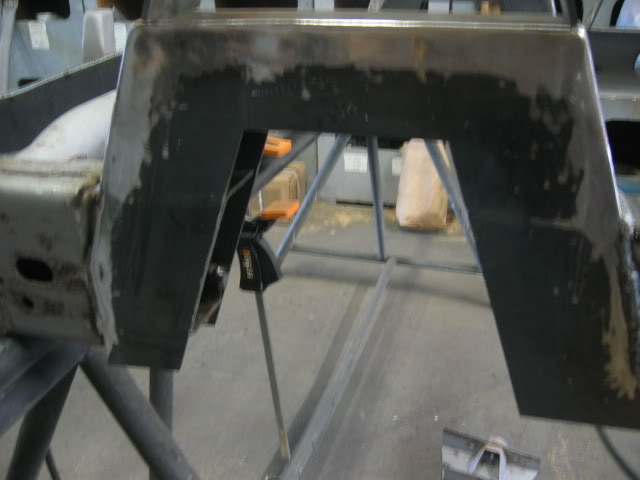
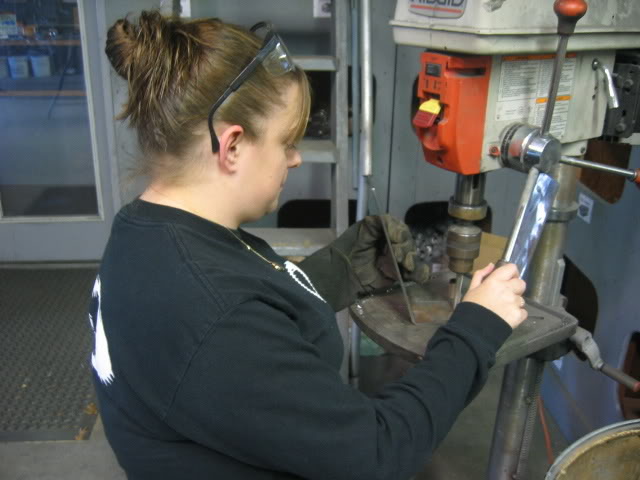
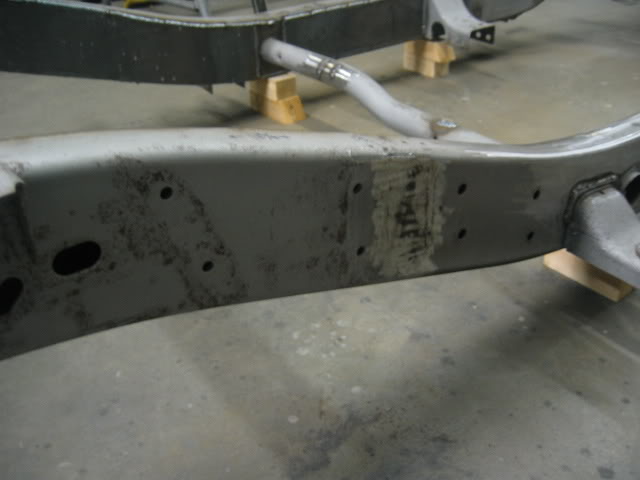
Girlfriend helping me out drilling some holes for the bump stops
Tacked a nylock nut, yes the nylon melted a little but before it hardened I threaded the bumpstop in, and it cooled perfectly and works just like new.
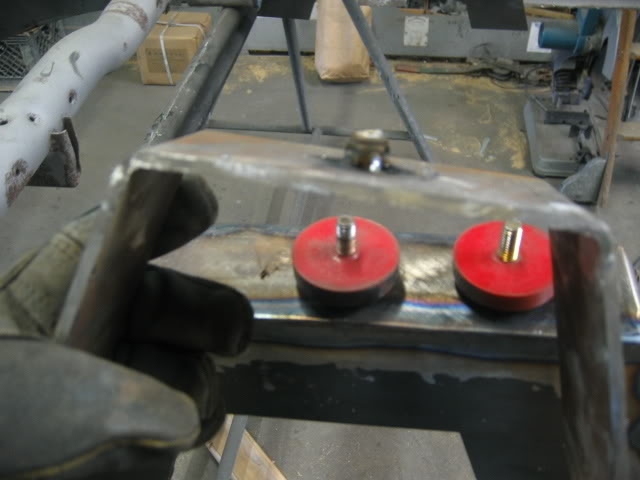
Installed
With bump stop
Time to get the frame back down on the ground
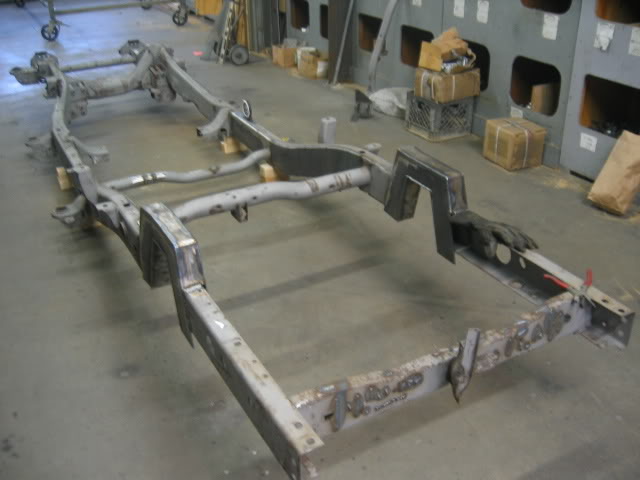
Set at ride height 4" off the ground, and completely level all the way around
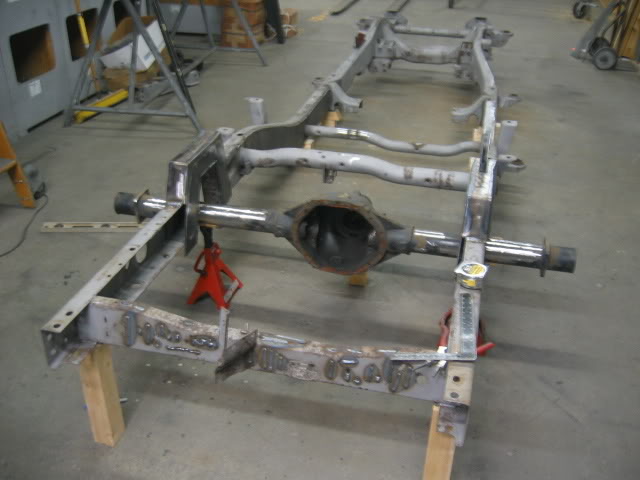
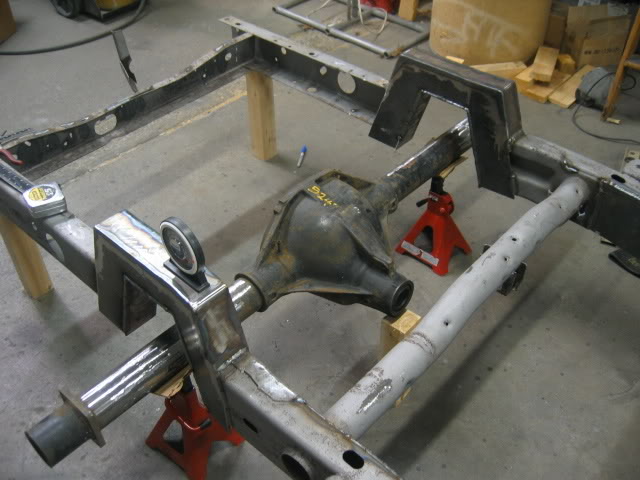
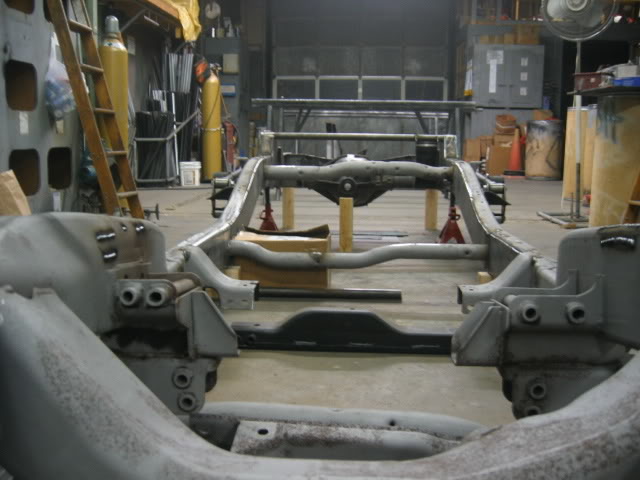
Rear end, man did grinding all this **** off suck :pow:
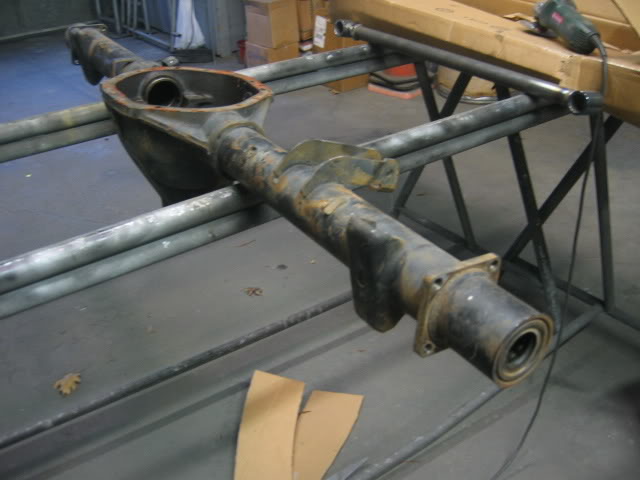

Underneath truck set with a 2.5* pinion angle
Spent FAR too much time placing this thing perfectly, level, centered, pinion ect ect ect.
33" 4link bars run into the bed support.... what should I do?
BAM! Ill work something out after the 4link is situated, thats more important.
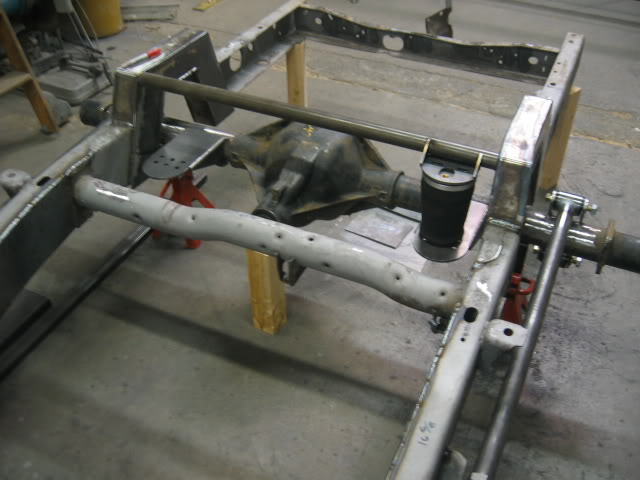
4link up set lower bar at 0* upper bar is 3* tacked
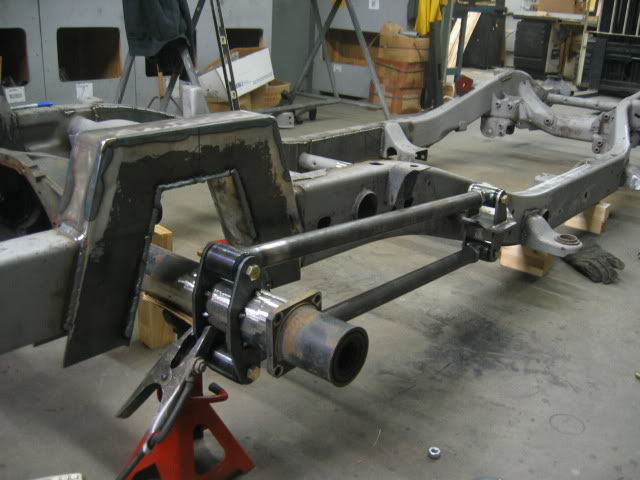
Nice and straight, and more importantly square.

Front cross member tacked in place along with bag plates, unfortunately laid out compresses the bag 2" more than its made to be compressed, and I refuse to lift the upper bar, due to looks. So I need to figure out how to lower the lower mount down 2"
Cut the notch out
Welded inside to make sure this thing is strong.
Girlfriend helping me out drilling some holes for the bump stops
Tacked a nylock nut, yes the nylon melted a little but before it hardened I threaded the bumpstop in, and it cooled perfectly and works just like new.
Installed
With bump stop
Time to get the frame back down on the ground
Set at ride height 4" off the ground, and completely level all the way around
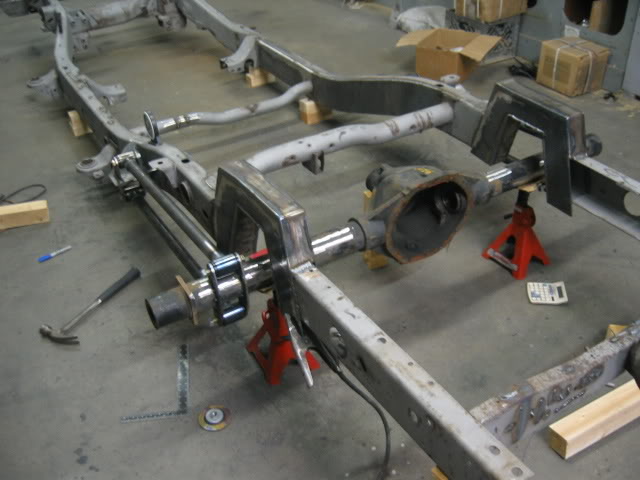
Rear end, man did grinding all this **** off suck :pow:
Underneath truck set with a 2.5* pinion angle
Spent FAR too much time placing this thing perfectly, level, centered, pinion ect ect ect.
33" 4link bars run into the bed support.... what should I do?
BAM! Ill work something out after the 4link is situated, thats more important.
4link up set lower bar at 0* upper bar is 3* tacked
Nice and straight, and more importantly square.
Front cross member tacked in place along with bag plates, unfortunately laid out compresses the bag 2" more than its made to be compressed, and I refuse to lift the upper bar, due to looks. So I need to figure out how to lower the lower mount down 2"
Nov 4, 2007 | 11:53 PM
#55
Thread Starter
TECH Fanatic
iTrader: (12)
Joined: Mar 2005
Posts: 1,513
Likes: 6
From: Massachussetts
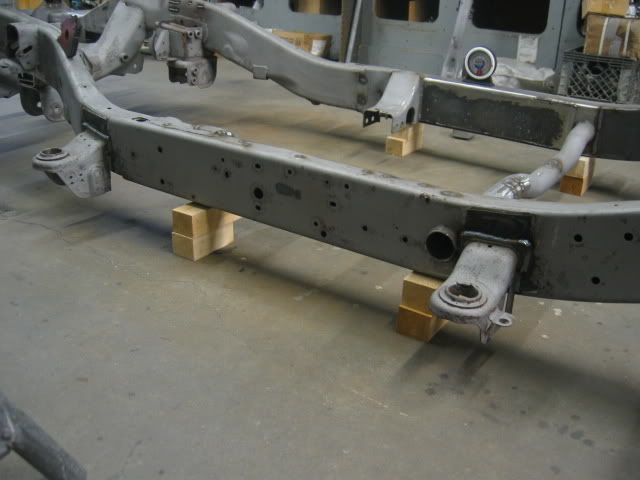
Front shot
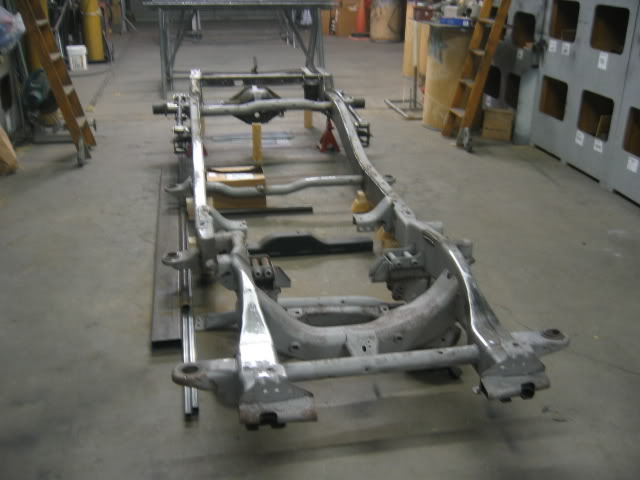
Guess that crossmember can't stay. For some reason I doubt remember other needing to get rid of it?
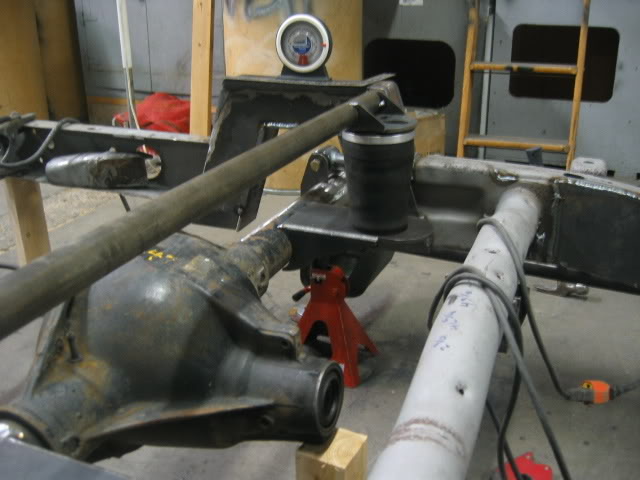
Final shot of rearend
Thats all for this weekend. Need to send out my rearend to be narrowed. Got to figure out the lower bag placement, and order my torsion brackets, panhard, and hopefully my $650 shocks soon :pow:
Guess that crossmember can't stay. For some reason I doubt remember other needing to get rid of it?
Final shot of rearend
Thats all for this weekend. Need to send out my rearend to be narrowed. Got to figure out the lower bag placement, and order my torsion brackets, panhard, and hopefully my $650 shocks soon :pow:

 Can you just flip those lower bag mount over? Might need to make some spacers to get you exactly where you need to be or drop your upper bag mounts.
  Nov 5, 2007 | 11:46 AM
#59
Thread Starter
TECH Fanatic
iTrader: (12)
Joined: Mar 2005
Posts: 1,513
Likes: 6
From: Massachussetts
I dont want to drop the crossmembner it looks too sweet flush mounted, I could flip and add spacers, but I think Im going to go with a new bracket thats built perfectly to fit it. I dont want spacers, I want this truck to be built like it was supposed to be that way, if that makes any sense, haha. Thanks for the idea tho :thumbsup:
