PROJECTS GALLERY Vehicle builds | Engine Swaps | Conversions | Installation write ups |
Sponsored by:
Sponsored by: CARiD

2001 Frame up build

Thread Tools
 
Search this Thread
 
Old Dec 26, 2008 | 01:10 AM
  #481  
MustangPunk's Avatar
On The Tree
iTrader: (1)
 
Joined: Jan 2007
Posts: 192
Likes: 1
From: Afghanland
Default

Man I hate being in Korea, we barely ever see anything domestic much less a truck... Can't wait to get back home, keep it up bud looks great...
Reply
Old Dec 26, 2008 | 07:01 AM
  #482  
Thread Starter
TECH Fanatic
iTrader: (12)
 
Joined: Mar 2005
Posts: 1,513
Likes: 6
From: Massachussetts
Default

Originally Posted by BlownChevy
Amazing work!

Originally Posted by KySilverado
Wearing me out just looking at the pictures! Amazing work dude
haha, got to keep posting pictures or I get a hundred messages for updates, plus I like to show the steps. thanks!
Originally Posted by MustangPunk
Man I hate being in Korea, we barely ever see anything domestic much less a truck... Can't wait to get back home, keep it up bud looks great...
thanks man,
Reply
Old Dec 26, 2008 | 10:53 AM
  #483  
venomhp's Avatar
TECH Fanatic
iTrader: (13)
 
Joined: Dec 2007
Posts: 1,868
Likes: 0
From: Houston, TX
Default

how you stay motivated amazes me dude
Reply
Old Dec 26, 2008 | 11:21 PM
  #484  
Thread Starter
TECH Fanatic
iTrader: (12)
 
Joined: Mar 2005
Posts: 1,513
Likes: 6
From: Massachussetts
Default

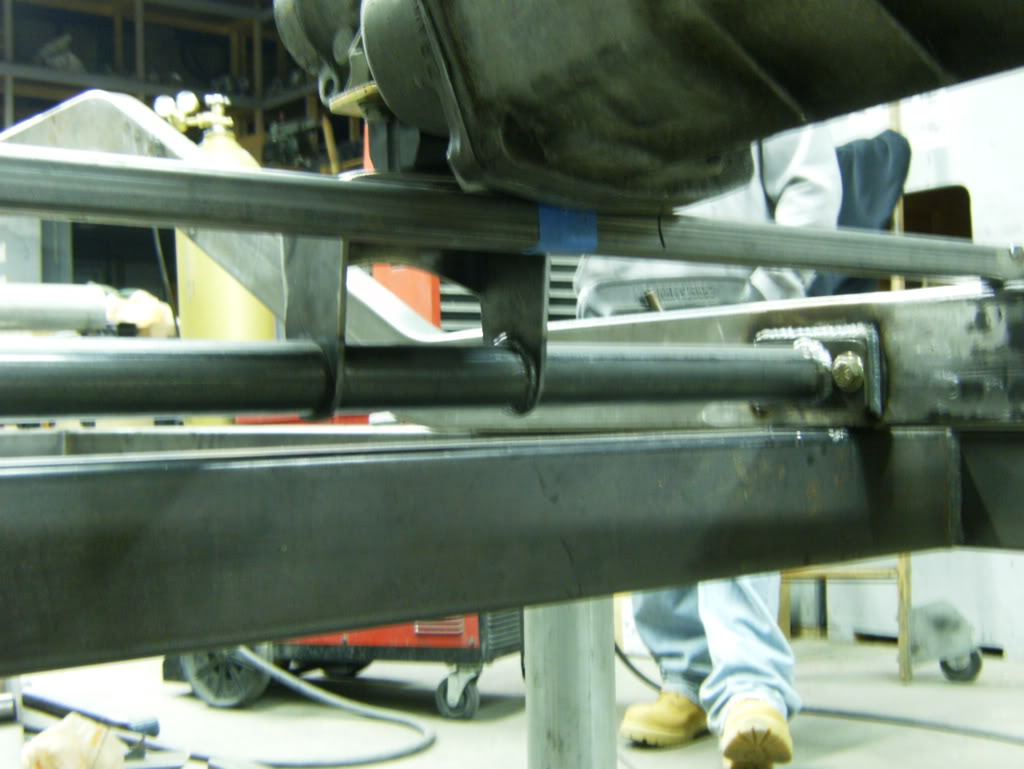
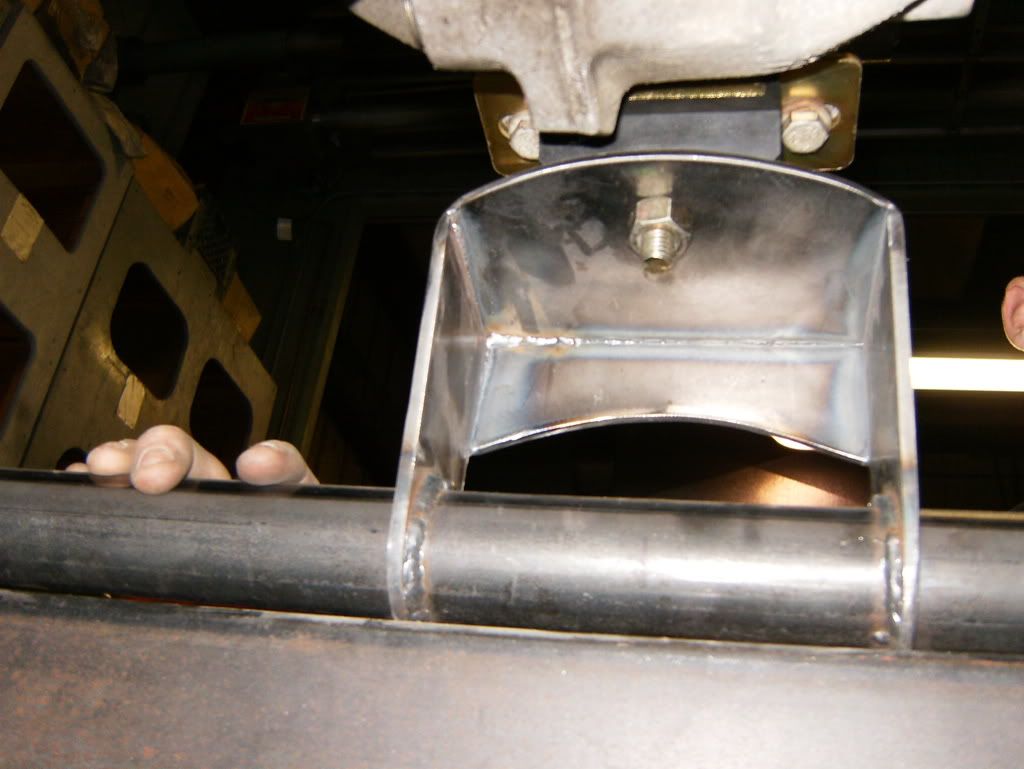
well finished the trans crossmember...

Drilled some holes to recess the nuts
Name:  HPIM1633.jpg
Views: 186
Size:  86.7 KB
Name:  HPIM1635.jpg
Views: 212
Size:  76.7 KB
Name:  HPIM1636.jpg
Views: 189
Size:  90.5 KB
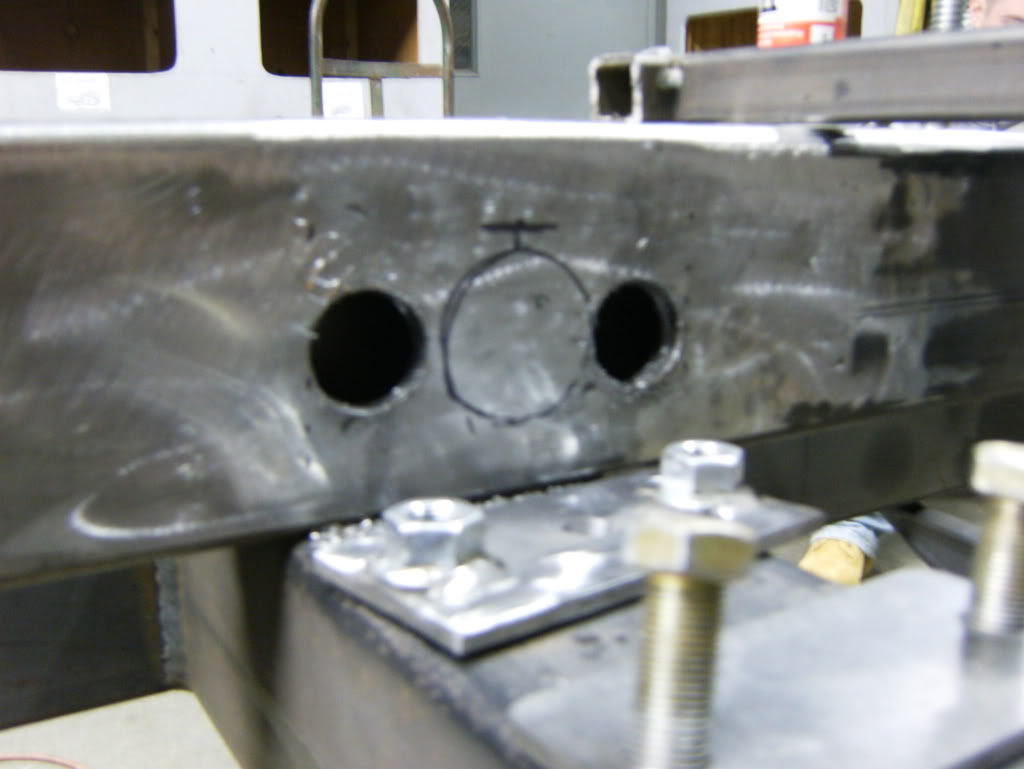
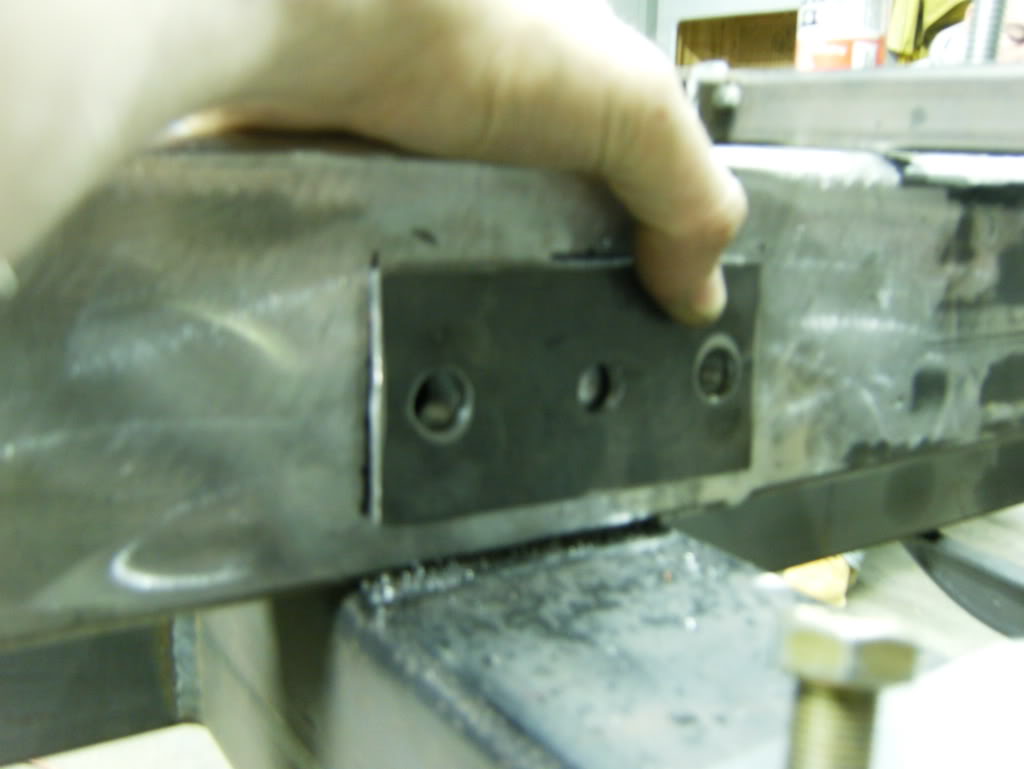
Cut the crossmember and tac'd it in place
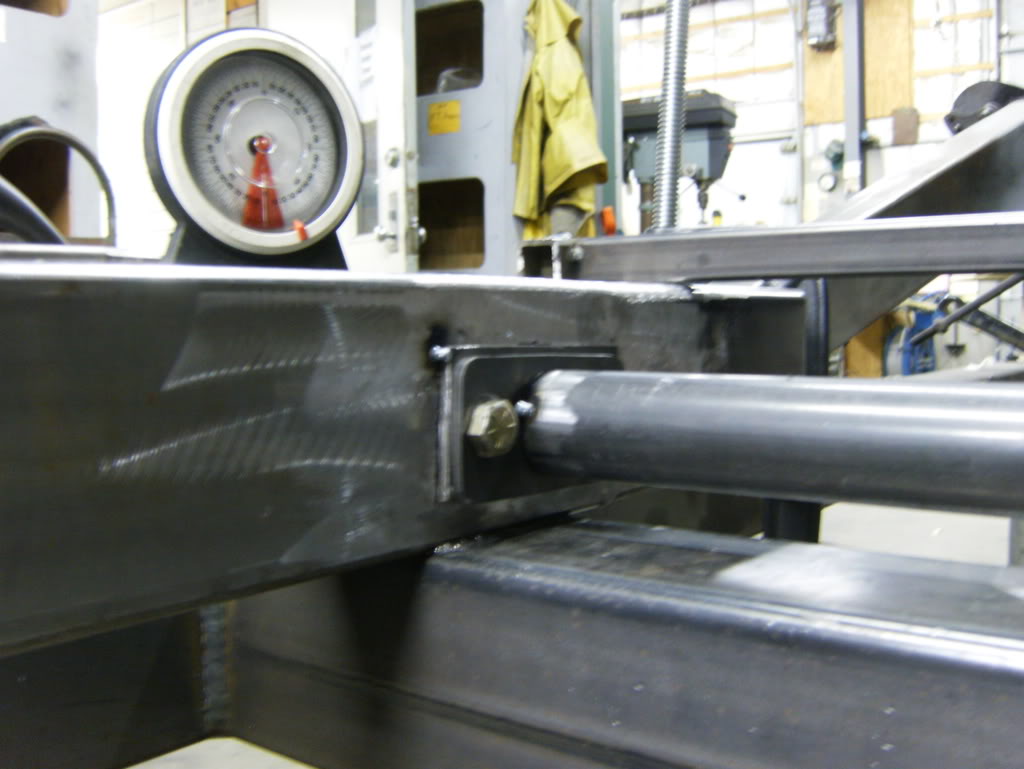
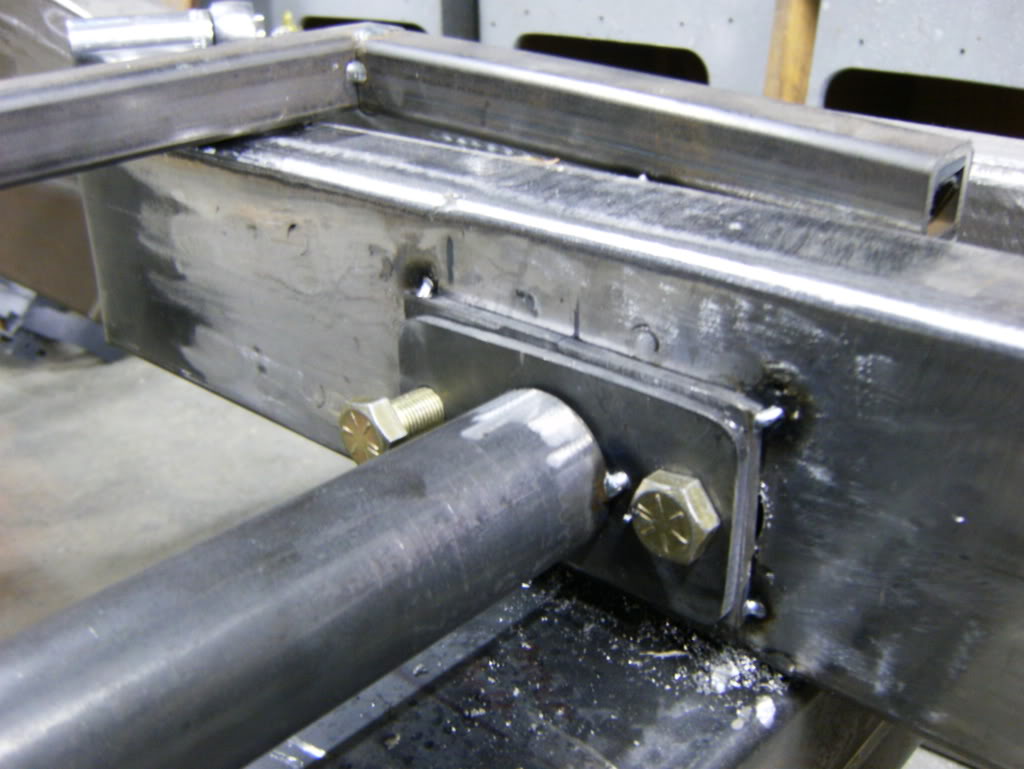
Name:  HPIM1638.jpg
Views: 198
Size:  105.2 KB
Name:  HPIM1641.jpg
Views: 223
Size:  113.6 KB
All set
Name:  HPIM1643.jpg
Views: 199
Size:  137.4 KB
Name:  HPIM1644.jpg
Views: 200
Size:  182.8 KB
Name:  HPIM1645.jpg
Views: 171
Size:  137.0 KB
Name:  HPIM1647.jpg
Views: 196
Size:  110.2 KB
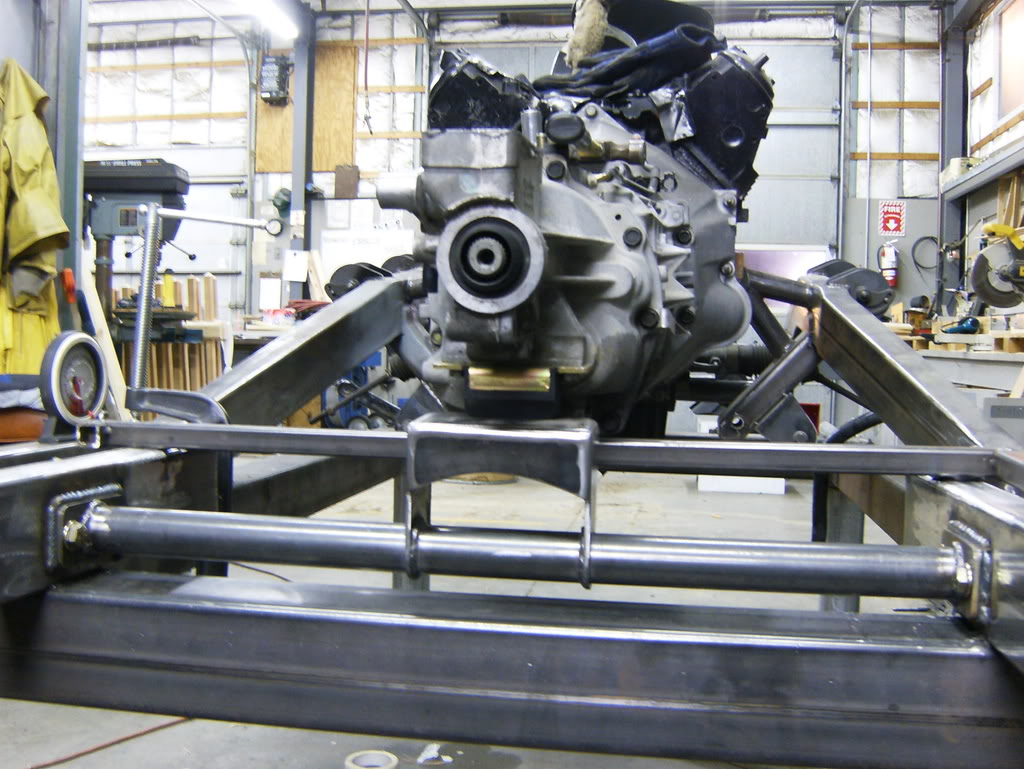
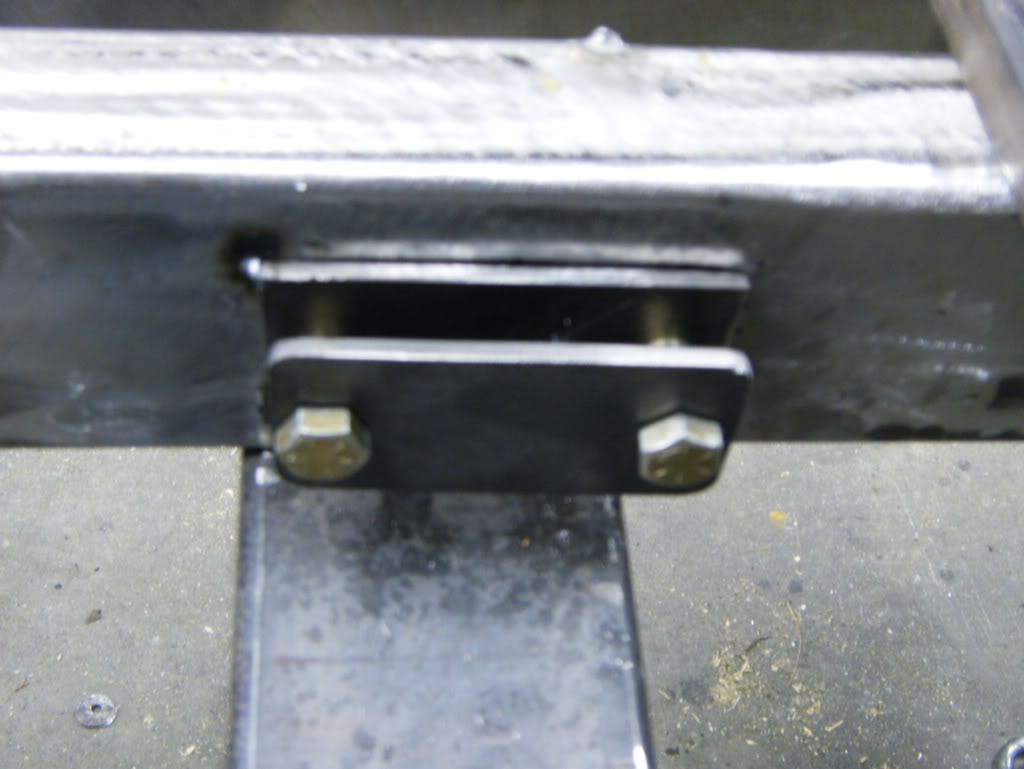
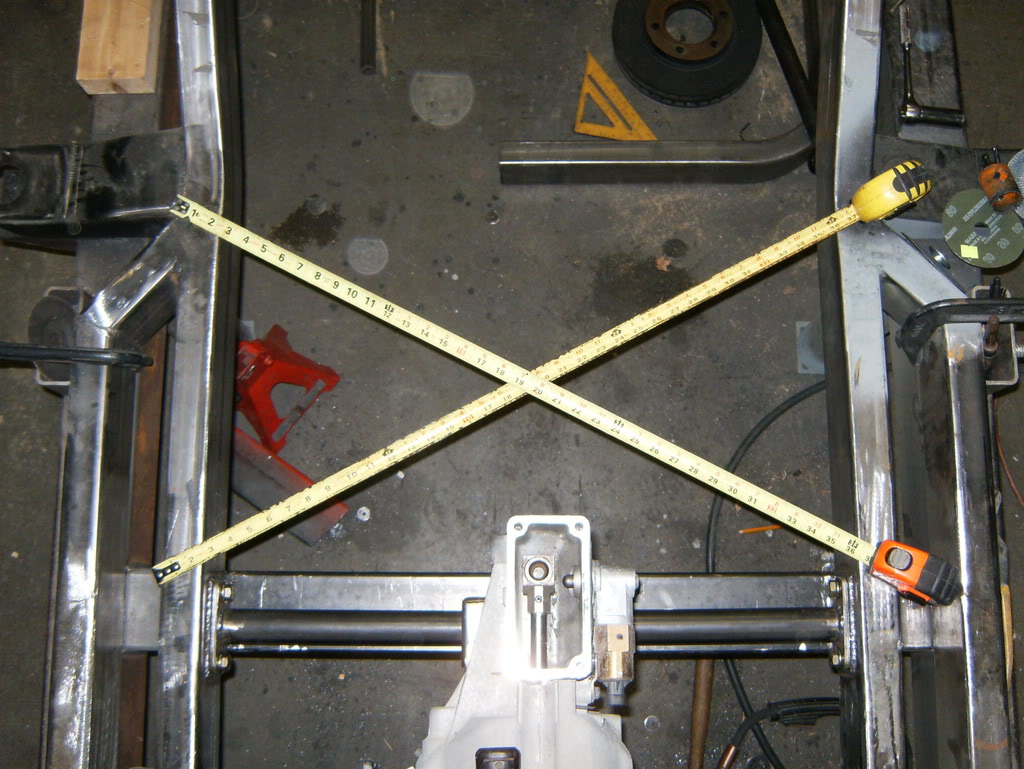
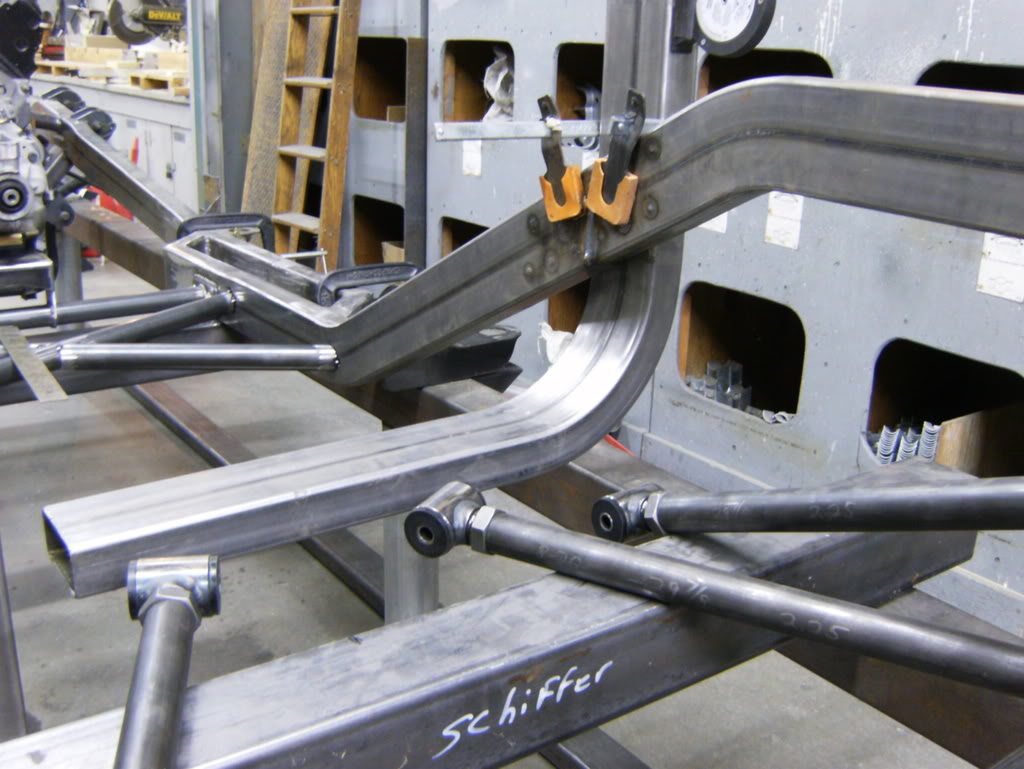
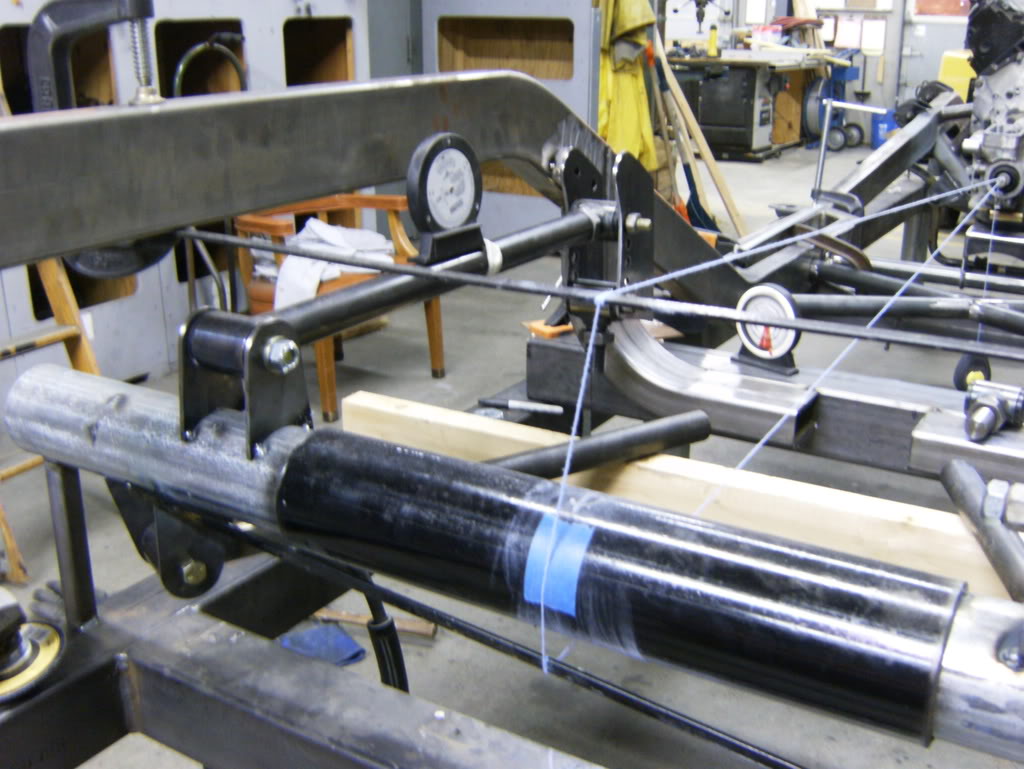
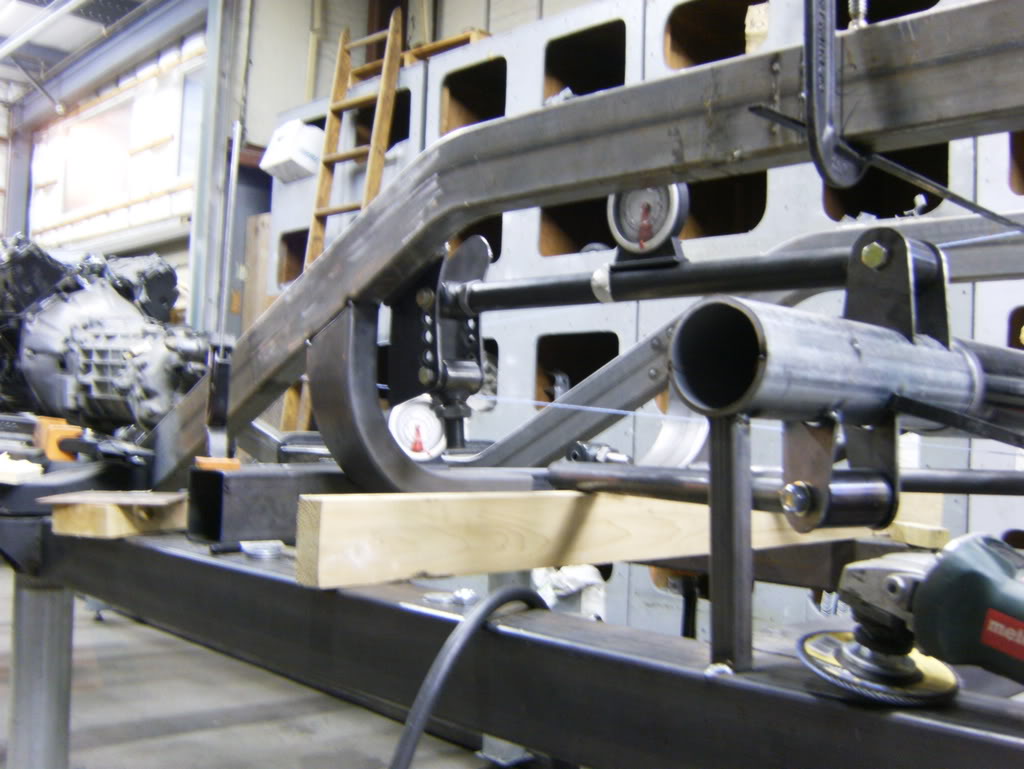
Then played with some ideas for the next crossmember, and since I wanted to have one at the sweep up, and one 6" back from the ujoints I needed to come up with a good looking way to do so, instead of three round bars in a row, so I added another X
Name:  HPIM1648.jpg
Views: 190
Size:  174.9 KB
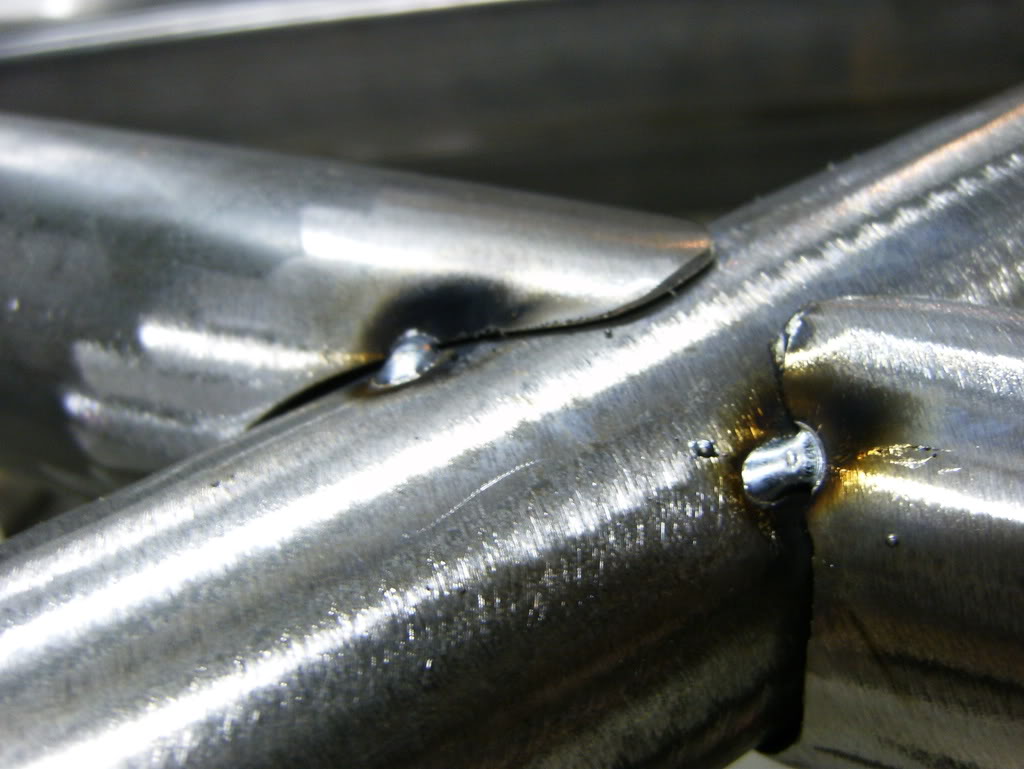
Cut some tubing, and notched the small pieces
Name:  HPIM1650.jpg
Views: 186
Size:  115.2 KB
Name:  HPIM1652.jpg
Views: 219
Size:  137.6 KB
Name:  HPIM1653.jpg
Views: 198
Size:  144.0 KB
Name:  HPIM1654.jpg
Views: 229
Size:  147.9 KB
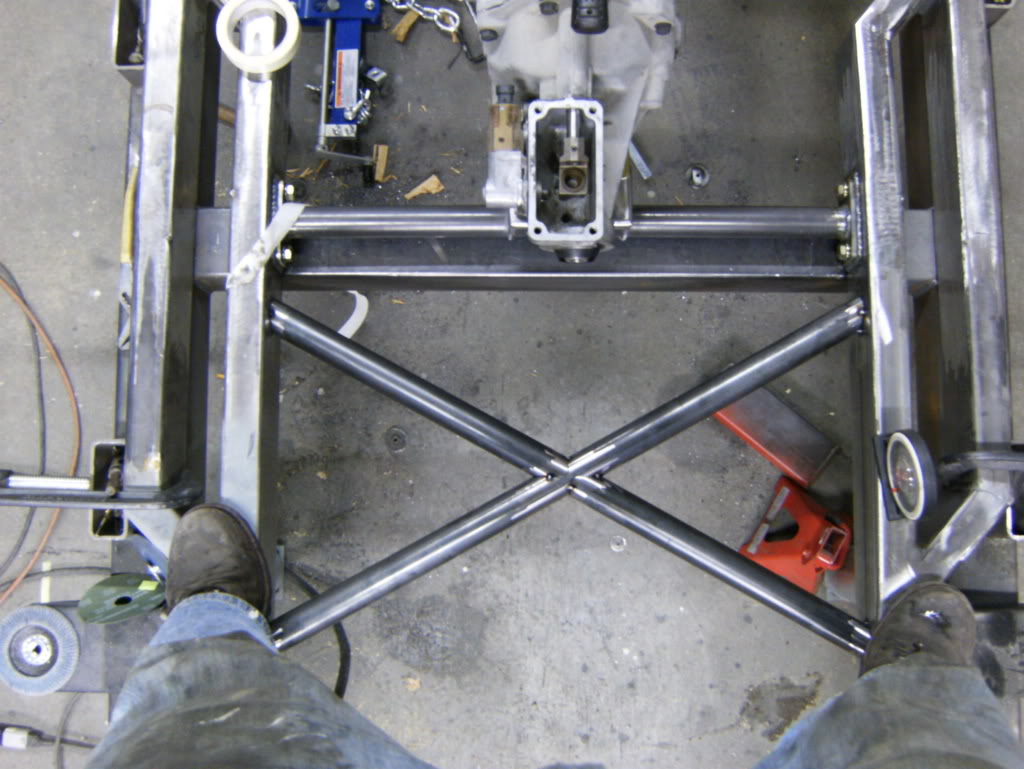
All done by eye and a hole saw on a drillpress
Name:  HPIM1658.jpg
Views: 207
Size:  115.1 KB

Last edited by GMracer; Dec 26, 2008 at 11:26 PM.
Reply
Old Dec 27, 2008 | 12:35 AM
  #485  
lsx10's Avatar
TECH Regular
iTrader: (3)
 
Joined: Apr 2008
Posts: 436
Likes: 0
From: arizona
Default

looks good man keep it up.
Reply
Old Dec 27, 2008 | 12:37 AM
  #486  
TXsilverado's Avatar
Moderator
20 Year Member
Loved
Liked
Community Favorite
iTrader: (19)
 
Joined: Jan 2005
Posts: 18,364
Likes: 291
From: Humble Texas
Default

so when will the truck be back on the road?
Reply
Old Dec 27, 2008 | 03:19 AM
  #487  
1FastBrick's Avatar
Custm2500's Rude Friend
15 Year Member
Loved
Liked
Community Favorite
iTrader: (17)
 
Joined: Apr 2007
Posts: 14,592
Likes: 900
From: JunkYard
Default

I am curious??? Do you forsee any issues with the drivetrain fitting under the stock sheetmetal???
Reply
Old Dec 27, 2008 | 07:56 AM
  #488  
TG02Z71's Avatar
TECH Veteran
iTrader: (2)
 
Joined: Mar 2003
Posts: 4,134
Likes: 0
From: Wisconsin
Default

Originally Posted by GMracer
Finished up the trans crossmember...
Mocked it up
Not being a critic at all but after smoothing out all the outside welds from the trans crossmember box do you think it needs some internal welding or some small gussets?
This whole thing just amazes me how much initiative and talent you have!!
Great job.
Reply
Old Dec 27, 2008 | 07:56 AM
  #489  
Thread Starter
TECH Fanatic
iTrader: (12)
 
Joined: Mar 2005
Posts: 1,513
Likes: 6
From: Massachussetts
Default

Originally Posted by TXsilverado
so when will the truck be back on the road?
its all money, so when I have it lol

Originally Posted by 1FastBrick
I am curious??? Do you forsee any issues with the drivetrain fitting under the stock sheetmetal???
yes, the whole body was dropped and the motor was raised, so the trans tunnel will be modified
Reply
Old Dec 28, 2008 | 11:58 PM
  #490  
Thread Starter
TECH Fanatic
iTrader: (12)
 
Joined: Mar 2005
Posts: 1,513
Likes: 6
From: Massachussetts
Default

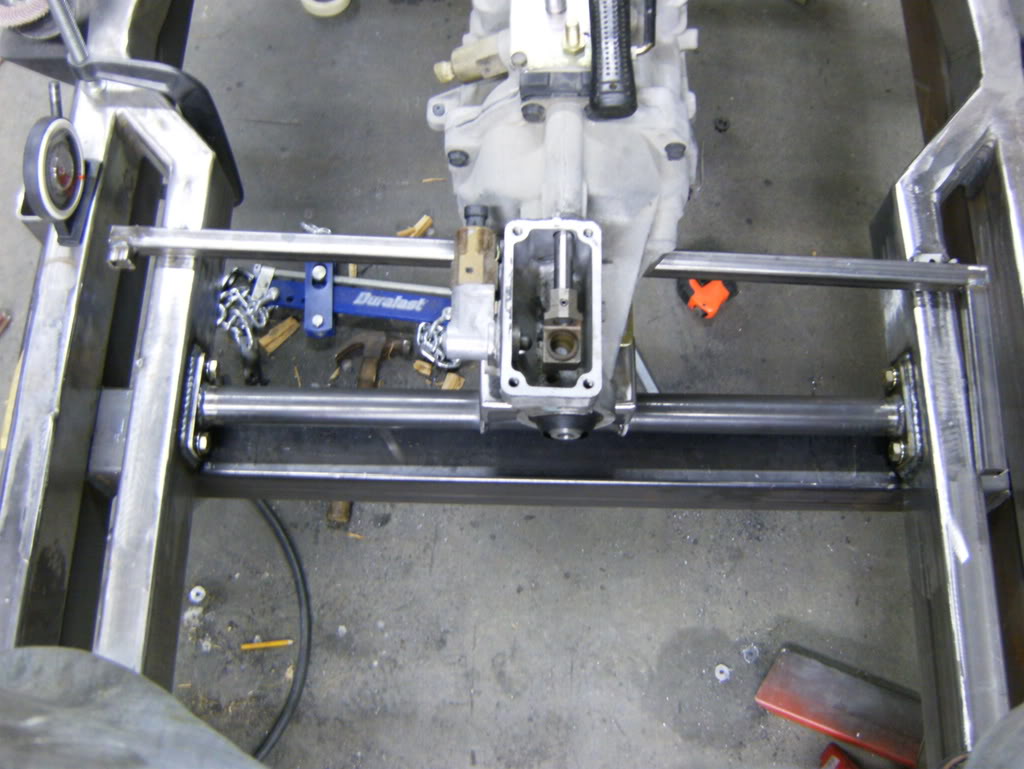
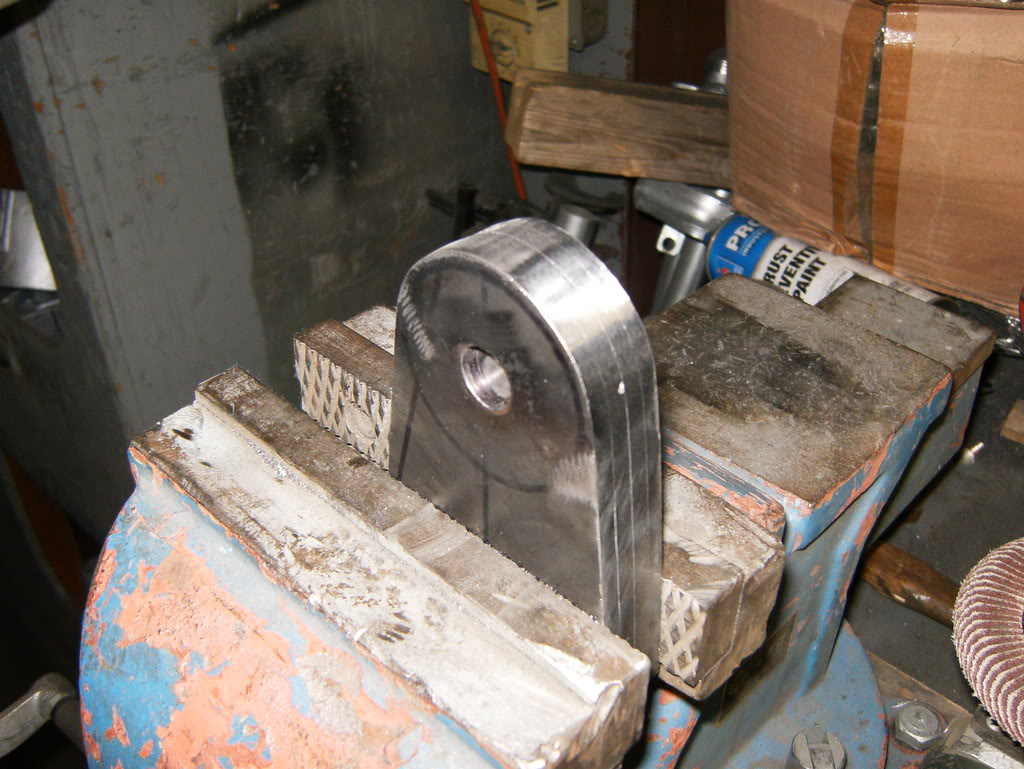
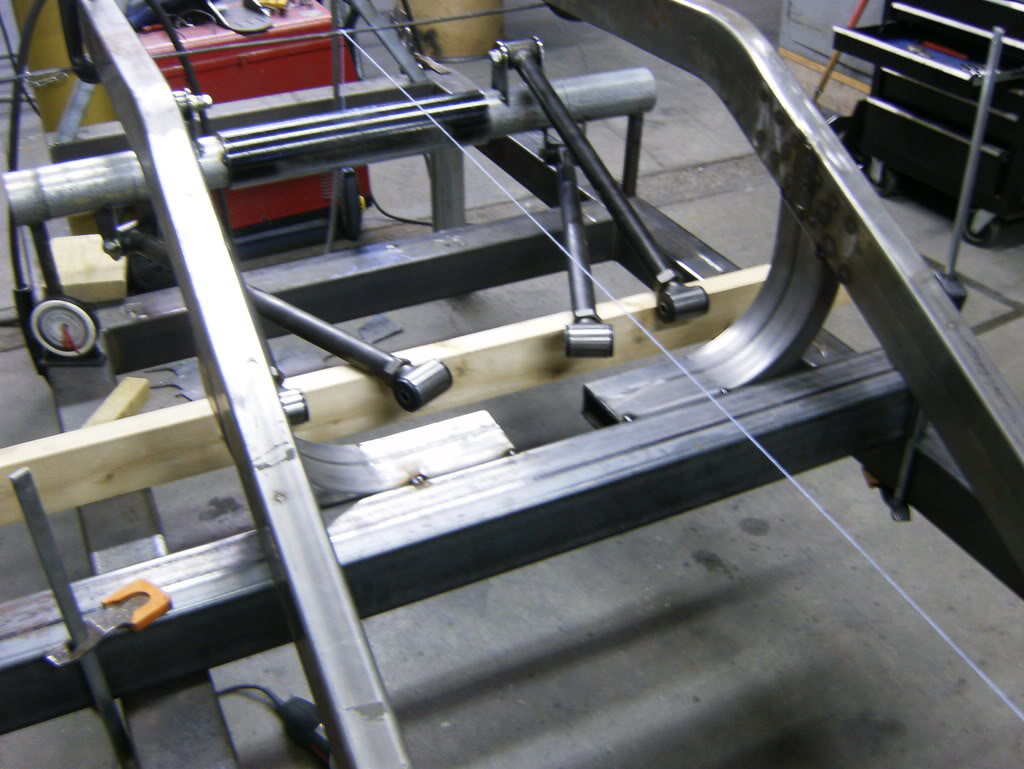
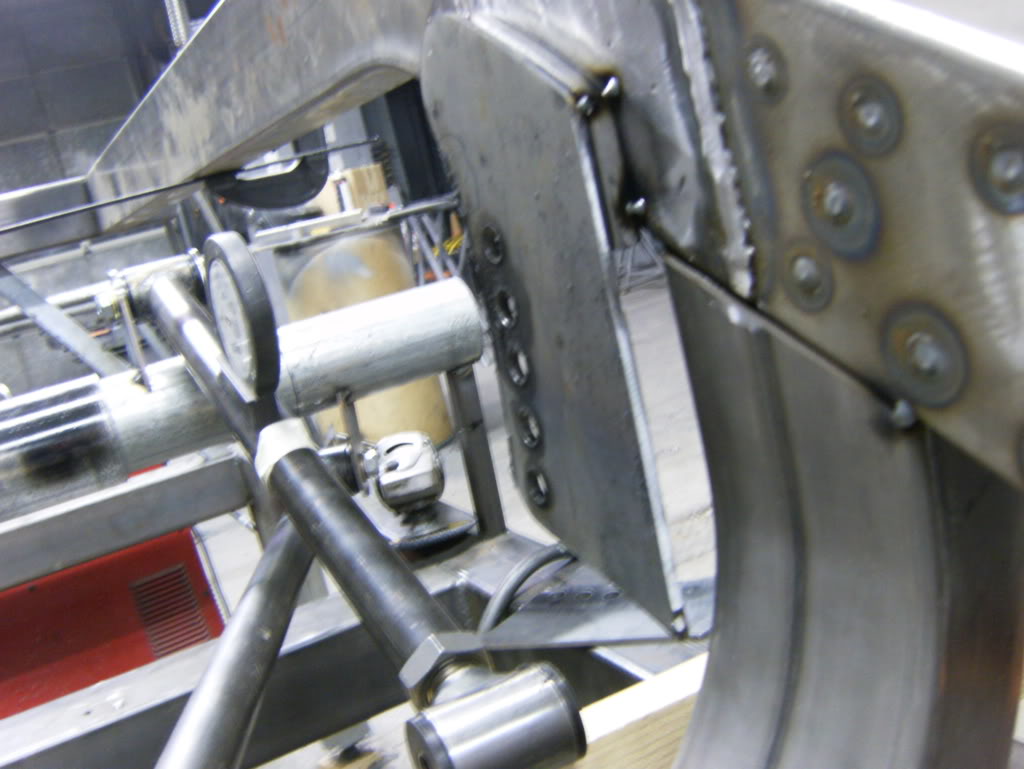
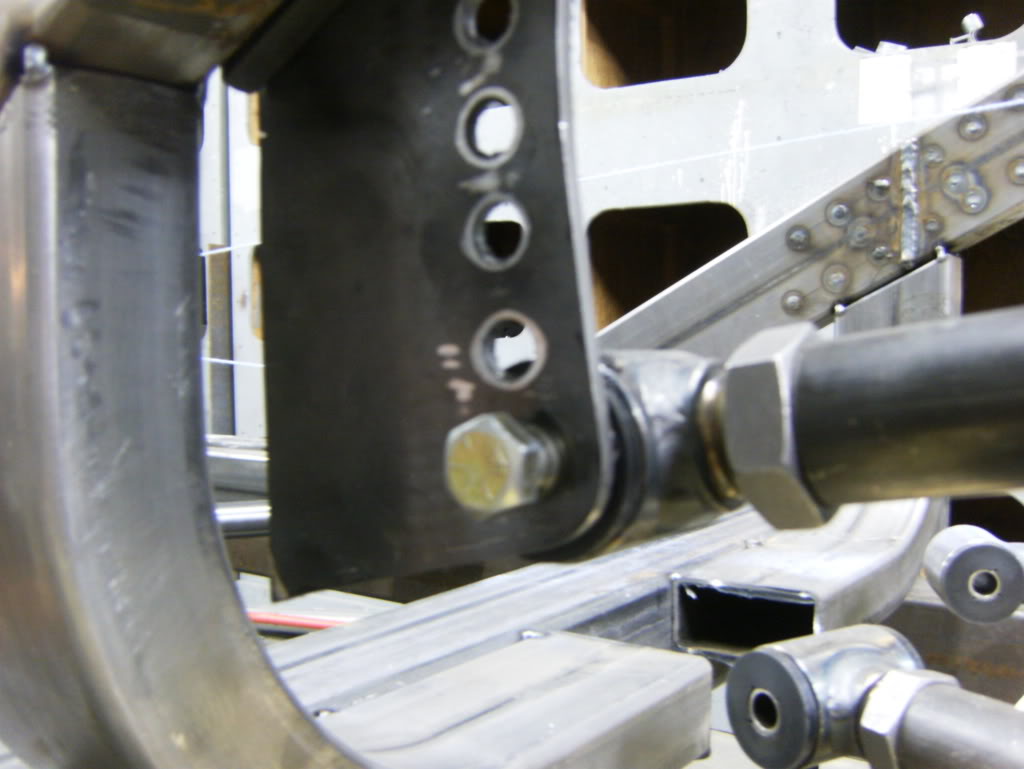
Rear suspension mock up, I HATE waiting for laser cut brackets to come in, so I took my sheet of 3/16"s and some cut off wheels and flap disks and made my own brackets... yet again :crazy:
Name:  Dec273.jpg
Views: 193
Size:  167.6 KB
Name:  Dec272.jpg
Views: 181
Size:  190.7 KB
Mounted the bars
Name:  Dec2713.jpg
Views: 174
Size:  142.9 KB
Took my mandrels I ordered and got those ready to cut
Name:  Dec2721.jpg
Views: 156
Size:  141.8 KB
Cut and tac'd in place
Name:  Dec286.jpg
Views: 174
Size:  139.2 KB
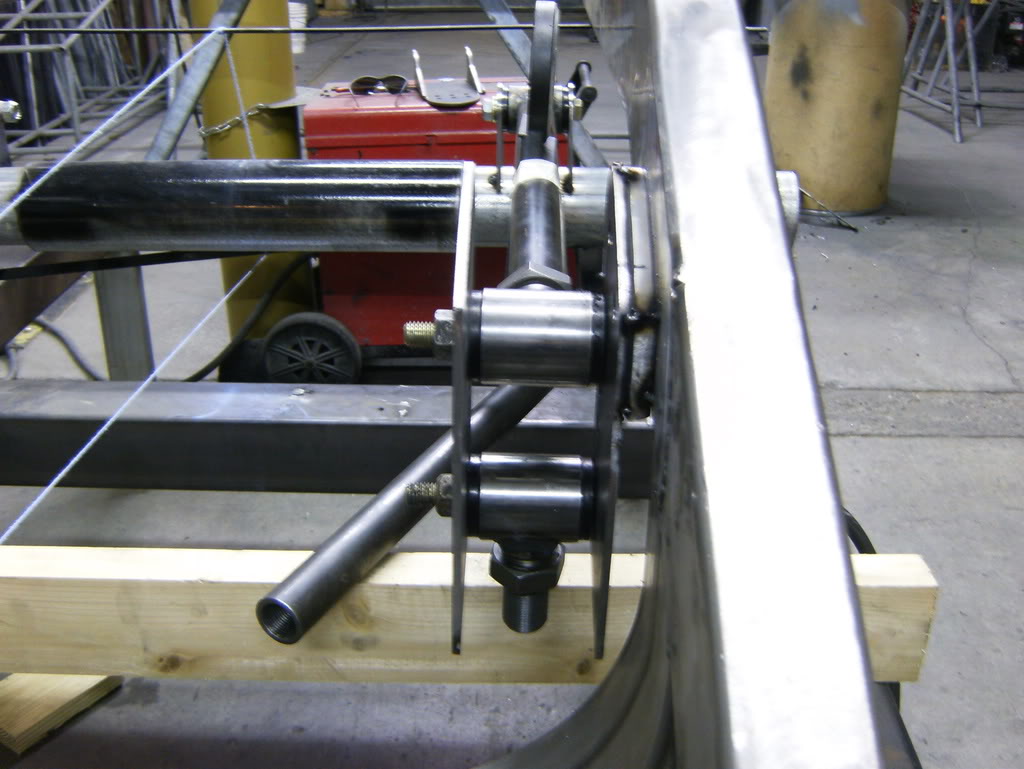
Now I want everything adjustable, that way I can play with my settings, but again I didn't want to wait for my brackets
so I made these too, then ran out for the other side
Name:  Dec289.jpg
Views: 191
Size:  117.4 KB
Name:  Dec284.jpg
Views: 186
Size:  98.8 KB
Name:  Dec2819.jpg
Views: 177
Size:  94.3 KB
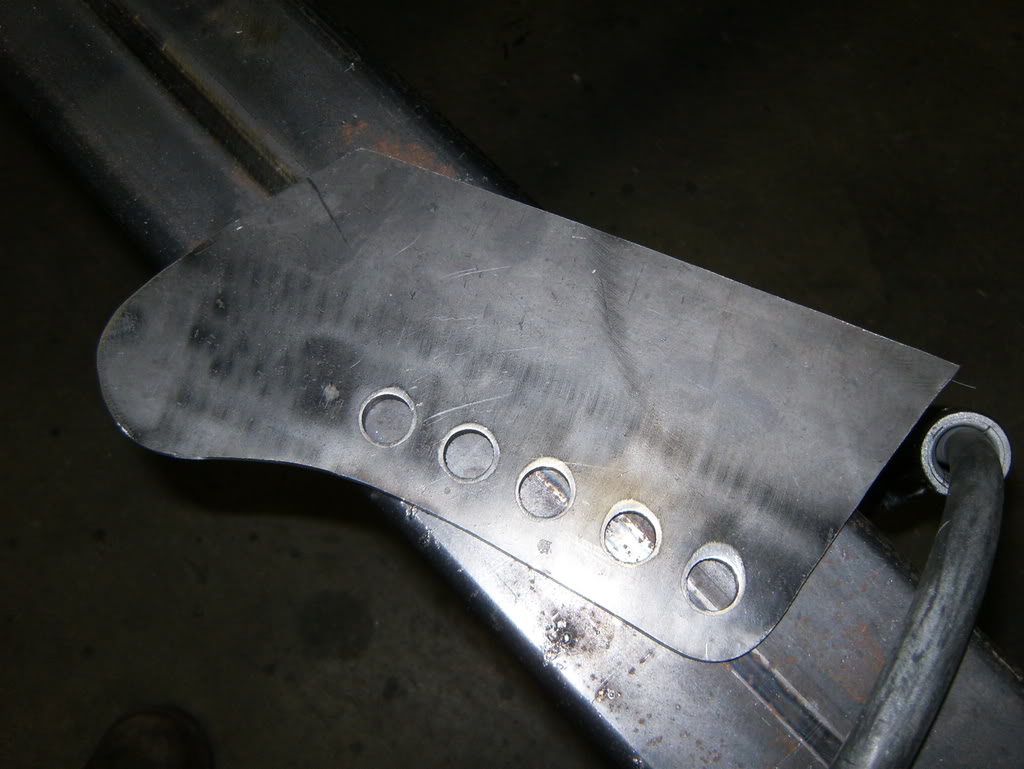
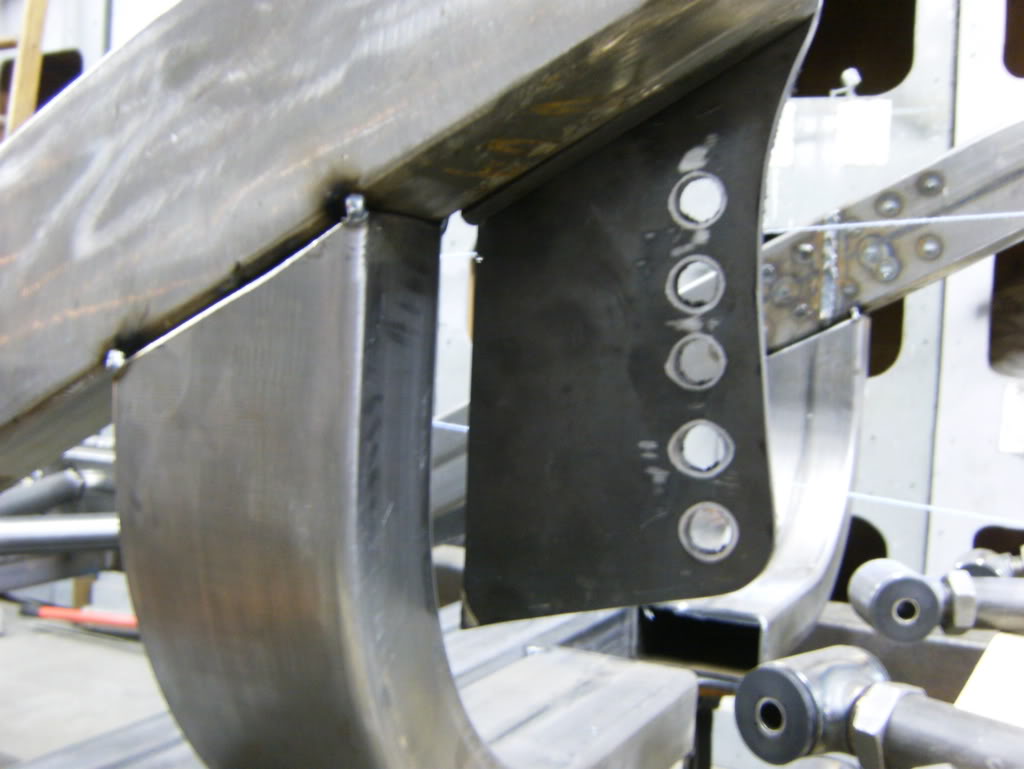
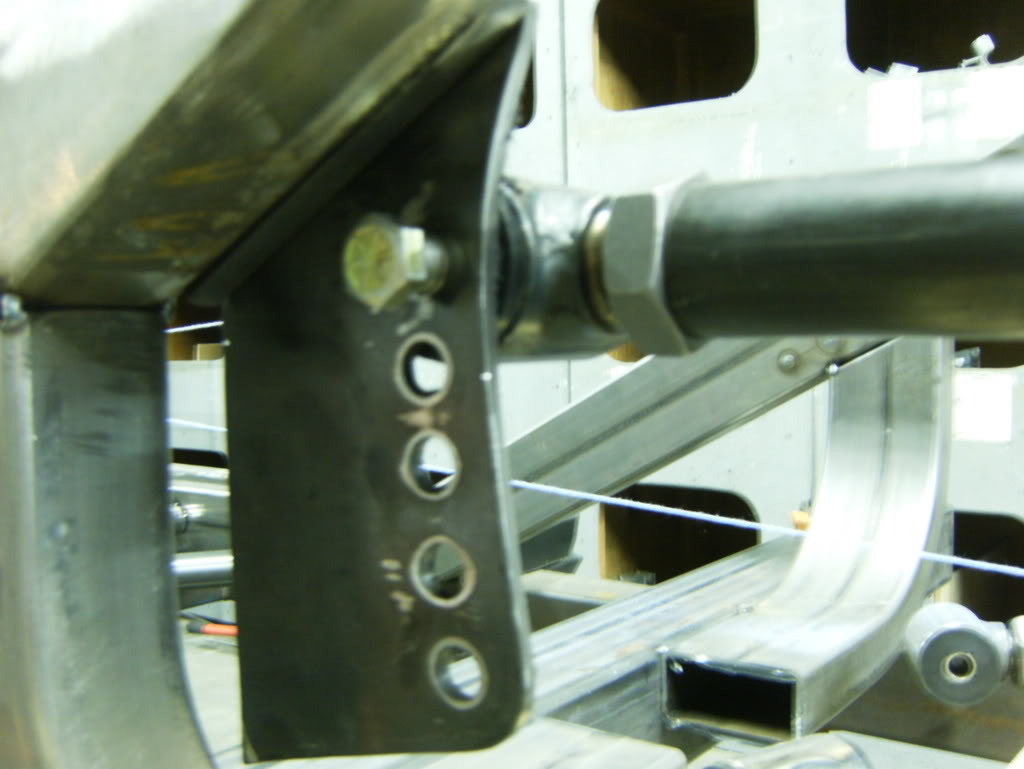
Needed to space it out to match the axle side
Name:  Dec287.jpg
Views: 175
Size:  115.1 KB
The bolted extra bushing for spacer and ran out of material for the night
Name:  Dec288.jpg
Views: 195
Size:  129.3 KB
Name:  Dec2821.jpg
Views: 183
Size:  107.2 KB
Name:  Dec2815.jpg
Views: 167
Size:  127.7 KB
Name:  Dec2817.jpg
Views: 168
Size:  152.2 KB
Name:  Dec2818.jpg
Views: 177
Size:  137.1 KB
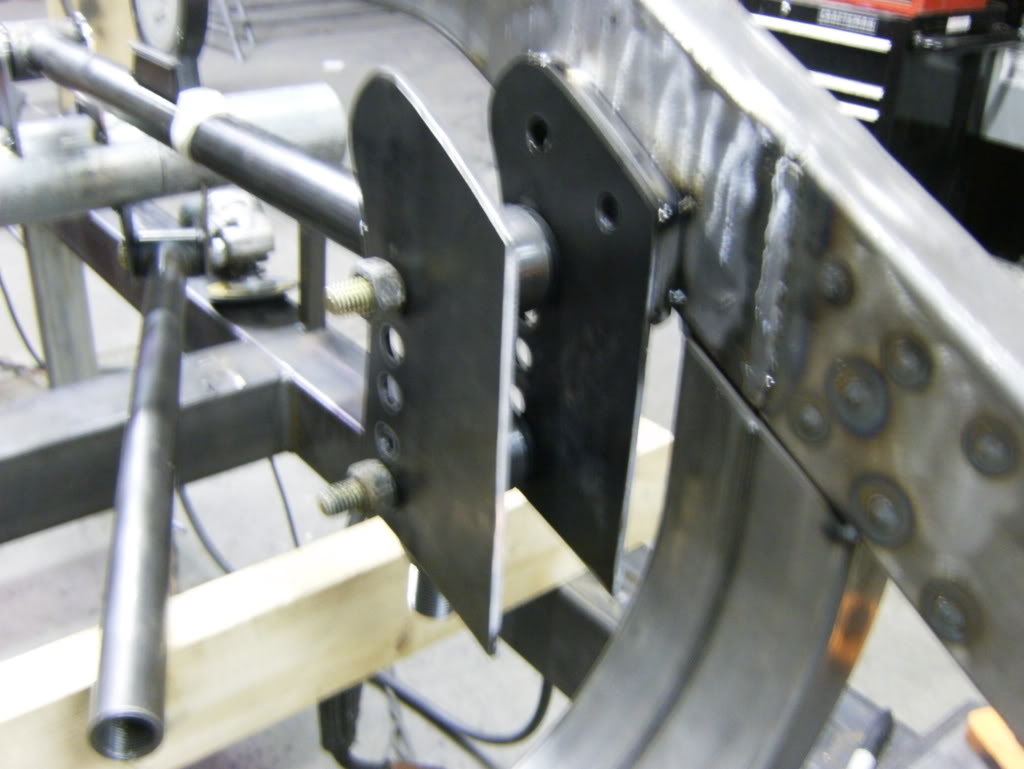
The plate is for JUST the top link, and allows 0*-10* change, 5 positions, all I need to do exactly what I need.
(shown in the 10* spot)
Name:  Dec281.jpg
Views: 193
Size:  98.4 KB
Reply


All times are GMT -5. The time now is 08:08 PM.