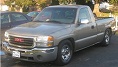
2000 Chevy Silverado project "Charlie Murphy"
 Mar 26, 2016 | 07:06 PM
#491
Ok. So that tells you the computer thinks your VE is too lean. While you're tuning it and dialing in the VE, turn the LTFT's off, but enable the STFT's. When your VE error is +/-5% for most or all cells (when LTFT's are off) you know you have a good VE MAP. Once the VE is dialed in and your done tuning it, you can re-enable the LTFT's.
I don't have all the details or facts but this is what I'm envisioning: You reset the LTFT's when you swapped the LQ4 in and did some tuning with the old injectors and logged enough miles and time to get the LTFT's to populate and store in the computer. But then you swapped injectors. After any major fueling or airflow changes made to the system (new injectors, increased fuel pressure, different intake, larger throttle body) you should reset your LTFT's. If the truck is still running around with stored LTFT's from the old injectors, it will take time for the LTFT's to readjust meanwhile the STFT's could possibly be working against you to counteract the incorrect or outdated LTFT's.
I would 1) Either recommend turning LTFT's off while dialing in the VE, or 2) Resetting them. Either way, ensure the STFT's are still enabled. Once LTFT's are turned off or reset, slowly drive around (don't beat on it too hard) and check the AFR and STFT's to see how far off the VE is from there (what I am getting at is that your AFR may not be safe to beat on it as hard as you were prior to resetting/turning off LTFT's).
That's my .02 buddy. Hit me up in a PM if you got questions.
Mar 26, 2016 | 10:44 PM
#492


Joined: Jan 2006
Posts: 16,282
Likes: 438
From: Huntsville, AL
Dont worry about HPT rounding numbers, thats not a big deal, its normal.
I think you double scaled for your injectors. They are 60lb@3bar and you are running 4 bar pressure (58psi), so they actually flow 60*((4/3)^0.5) which is 69.28lb/hr which should be in the IFR table, not the 82lb/hr you said you put in there. I think that will take care of a lot of your fueling problem. Also like said disable the LTFTs while you are working on the tune. You can turn them back on when you are done tuning, but you probably wont need or want to honestly.
I peaked at your tune, and I dont remember what cam you have in there, but if its not huge then you could start with a stock VE table and be in a good working range of being close. Are you still using the MAF? If so you will want to tune that first, then tune the VE table.
Mar 27, 2016 | 04:26 AM
#493

Ok. So that tells you the computer thinks your VE is too lean. While you're tuning it and dialing in the VE, turn the LTFT's off, but enable the STFT's. When your VE error is +/-5% for most or all cells (when LTFT's are off) you know you have a good VE MAP. Once the VE is dialed in and your done tuning it, you can re-enable the LTFT's.
I don't have all the details or facts but this is what I'm envisioning: You reset the LTFT's when you swapped the LQ4 in and did some tuning with the old injectors and logged enough miles and time to get the LTFT's to populate and store in the computer. But then you swapped injectors. After any major fueling or airflow changes made to the system (new injectors, increased fuel pressure, different intake, larger throttle body) you should reset your LTFT's. If the truck is still running around with stored LTFT's from the old injectors, it will take time for the LTFT's to readjust meanwhile the STFT's could possibly be working against you to counteract the incorrect or outdated LTFT's.
I would 1) Either recommend turning LTFT's off while dialing in the VE, or 2) Resetting them. Either way, ensure the STFT's are still enabled. Once LTFT's are turned off or reset, slowly drive around (don't beat on it too hard) and check the AFR and STFT's to see how far off the VE is from there (what I am getting at is that your AFR may not be safe to beat on it as hard as you were prior to resetting/turning off LTFT's).
That's my .02 buddy. Hit me up in a PM if you got questions.
I don't have all the details or facts but this is what I'm envisioning: You reset the LTFT's when you swapped the LQ4 in and did some tuning with the old injectors and logged enough miles and time to get the LTFT's to populate and store in the computer. But then you swapped injectors. After any major fueling or airflow changes made to the system (new injectors, increased fuel pressure, different intake, larger throttle body) you should reset your LTFT's. If the truck is still running around with stored LTFT's from the old injectors, it will take time for the LTFT's to readjust meanwhile the STFT's could possibly be working against you to counteract the incorrect or outdated LTFT's.
I would 1) Either recommend turning LTFT's off while dialing in the VE, or 2) Resetting them. Either way, ensure the STFT's are still enabled. Once LTFT's are turned off or reset, slowly drive around (don't beat on it too hard) and check the AFR and STFT's to see how far off the VE is from there (what I am getting at is that your AFR may not be safe to beat on it as hard as you were prior to resetting/turning off LTFT's).
That's my .02 buddy. Hit me up in a PM if you got questions.
For the MAP tuning, I copied the Spark Advance High Octane table over to the Low Octane table. Then I changed the MAF Fail High setting from 14000HZ to 0 and changed the DTC to MIL on the first error.
Since installing the 60lb injectors, I started over again tuning the MAF first. I could barely move the truck. Any throttle I gave would result in sputtering. I ended up changing the table back to stock and starting over, which brings me to a question. How many samples should each box really have? 20? 100? 500? I can�t imagine revving through the rpm range quickly would result in very reliable data.
After dicking around with the MAF sensor tuning, I changed over to VE tuning. Here, the truck ran pretty well actually. Something is definitely up with the MAF. It was WAY off.
Dont worry about HPT rounding numbers, thats not a big deal, its normal.
I think you double scaled for your injectors. They are 60lb@3bar and you are running 4 bar pressure (58psi), so they actually flow 60*((4/3)^0.5) which is 69.28lb/hr which should be in the IFR table, not the 82lb/hr you said you put in there. I think that will take care of a lot of your fueling problem. Also like said disable the LTFTs while you are working on the tune. You can turn them back on when you are done tuning, but you probably wont need or want to honestly.
I peaked at your tune, and I dont remember what cam you have in there, but if its not huge then you could start with a stock VE table and be in a good working range of being close. Are you still using the MAF? If so you will want to tune that first, then tune the VE table.
I think you double scaled for your injectors. They are 60lb@3bar and you are running 4 bar pressure (58psi), so they actually flow 60*((4/3)^0.5) which is 69.28lb/hr which should be in the IFR table, not the 82lb/hr you said you put in there. I think that will take care of a lot of your fueling problem. Also like said disable the LTFTs while you are working on the tune. You can turn them back on when you are done tuning, but you probably wont need or want to honestly.
I peaked at your tune, and I dont remember what cam you have in there, but if its not huge then you could start with a stock VE table and be in a good working range of being close. Are you still using the MAF? If so you will want to tune that first, then tune the VE table.
So, I screwed up the injector values. Looking at the excel sheet, it says 58psi ratings, and that�s my fuel pressure, so I figured that�s what I needed to do.

So I multiplied everything in red by 1.1547.

Now I�m confused. I don�t need to multiply the red values then? I should have put 72.020 in the IFR table? Looking at that first page really screwed me up, but you�re right. The description on their webpage says the injectors flow 60lb at 43.5psi. I�m dumb. I�ll do some googling so I can better understand fuel injectors. I probably shouldn't have multiplied the offset table either. When it said psi ratings, I thought that meant that both red values needed to be modified.
The only real performance modification in this engine is the Z06 camshaft, and it's pretty mild as far as camshafts go.
I�ve been disabling the LTFT while tuning, but after tuning the MAF and VE tables independently, I reenable everything and keep an eye on the LTFT and Knock. I guess I�m using those as indicators to gauge how correct the tune is. I guess I shouldn�t? LOL
Looks like I'll be starting tuning all over again�again. HAHA!
Here�s the latest log and tune, but they�re kinda worthless now. LOL.
LOG
TUNE
Thanks for helping guys! This is the scariest part of the entire build so far.
Mar 27, 2016 | 07:08 PM
#494
I don't know what data to go with. It clearly states that "All data listed is for 300 kpa (43.5 psi) ratings. Then it says "For 400 kpa (58 psi) multiply values by 1.1547".
Atomic's math comes out to 69.28, which is close to the 72.020 in the IFR table.
So which one is correct? Am I to assume that all the values are already scaled for 58 psi? If so, why state otherwise?
Atomic's math comes out to 69.28, which is close to the 72.020 in the IFR table.
So which one is correct? Am I to assume that all the values are already scaled for 58 psi? If so, why state otherwise?
 Jun 17, 2016 | 07:33 PM
#499
Over the last few days I have been doing a bit of work here and there on my truck. I have a list of things and with any luck, by the end of summer, I might finally be turbocharged.
Lately, I have been messing around with paint. Awhile back I ordered a kit of sorts from automotivetouchup.com. I ordered the basics and figured I'd give it a try and see how a "professional" rattle can setup would turn out.

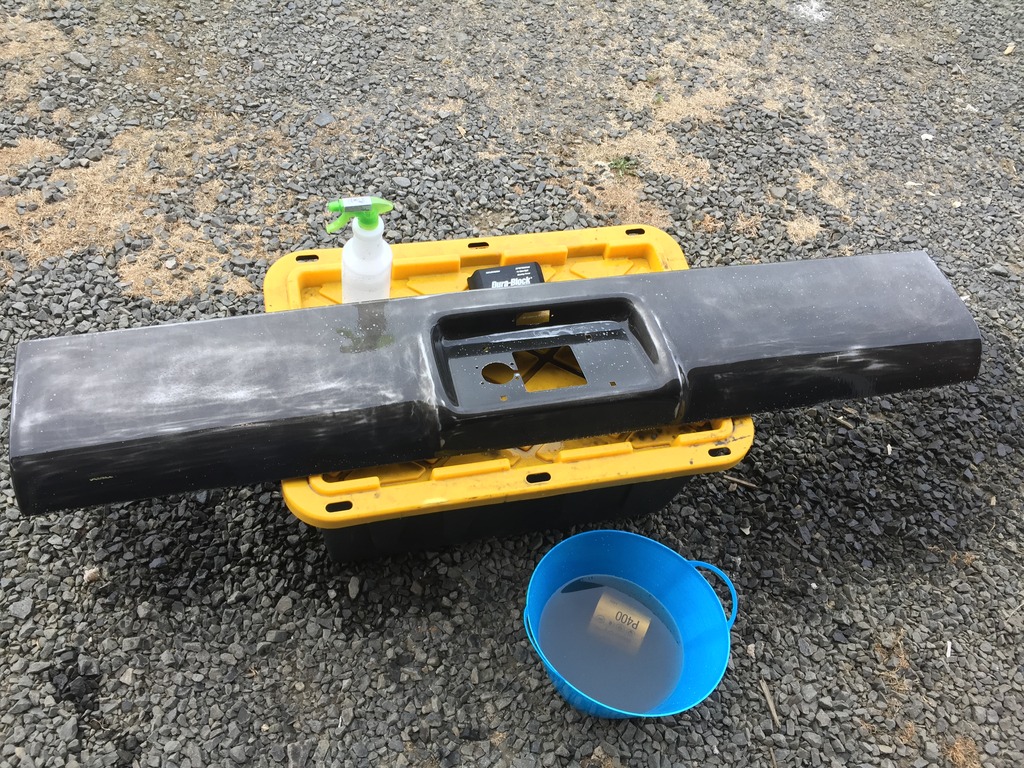
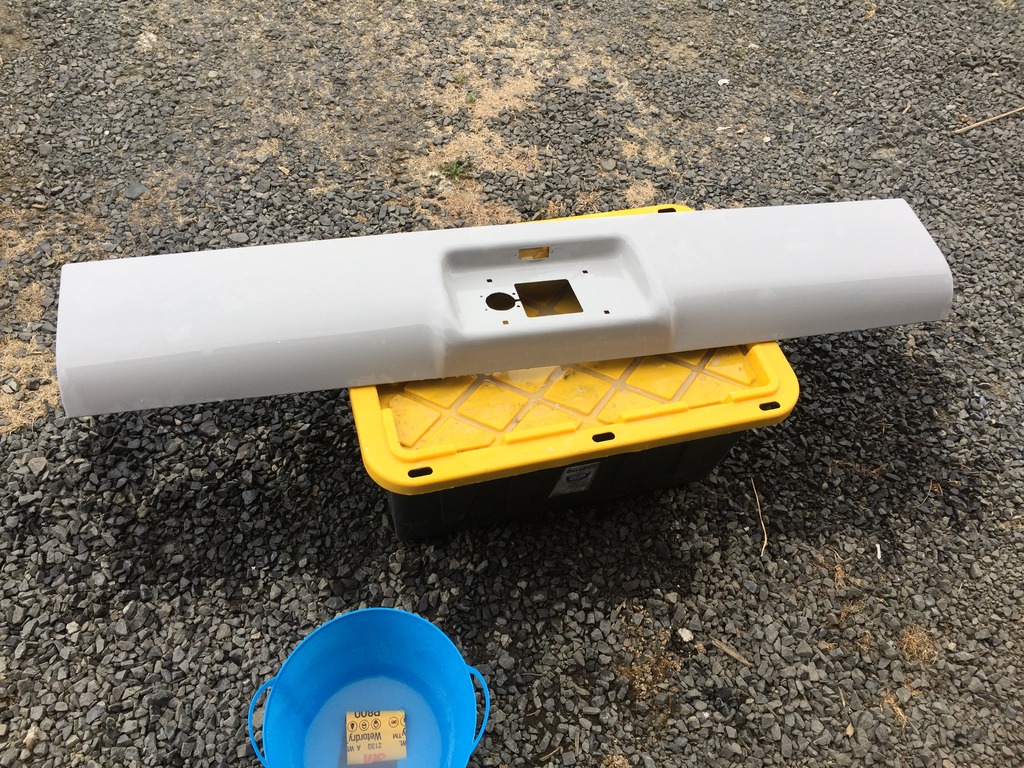
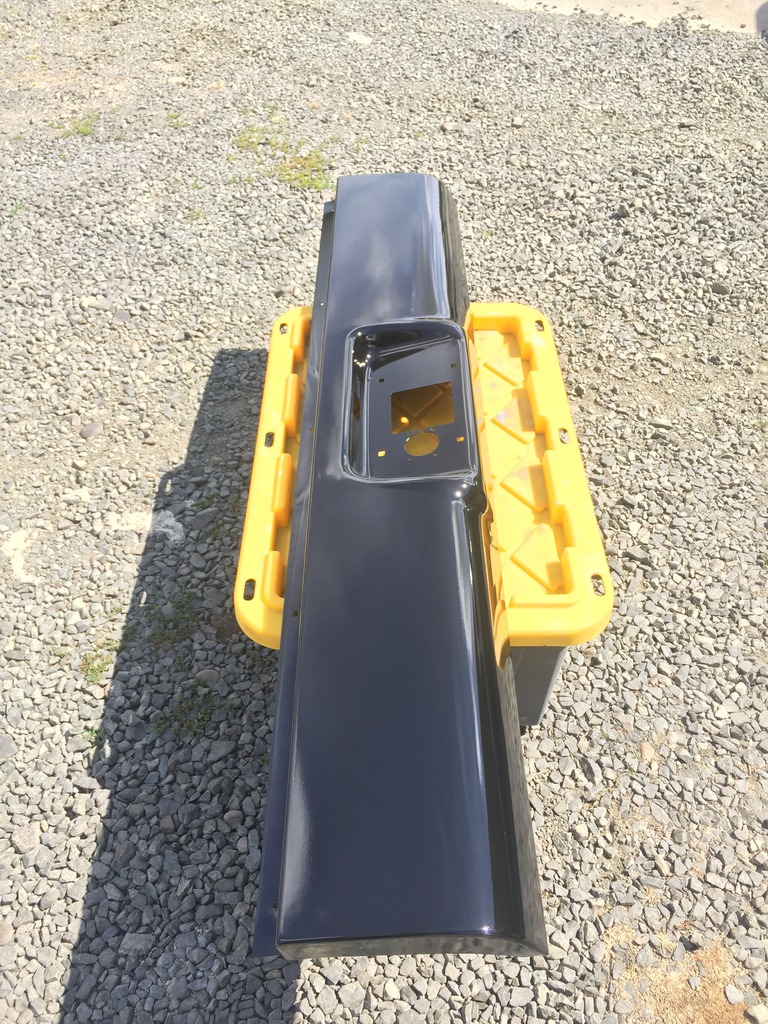
I went through the basics. Firstly, I have been running the roll pan "temporarily" for quite awhile now. I removed the roll and and cleaned it up. Next I proceeded to wet sand it with 400 grit sand paper, soap and water.
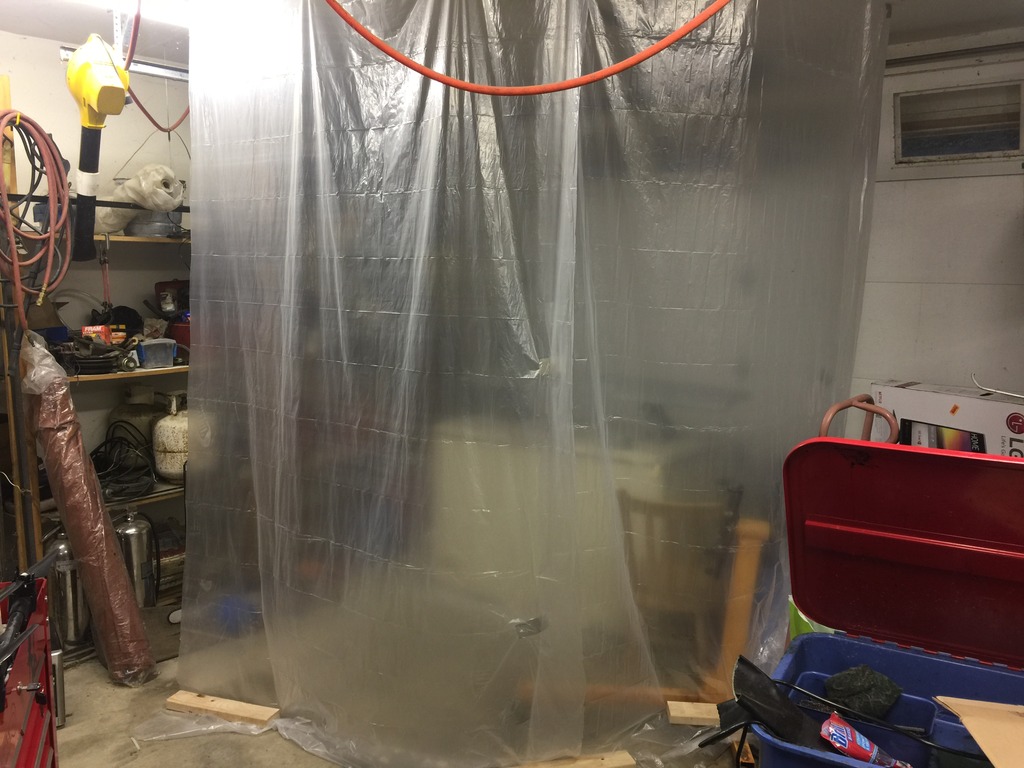
I taped off a little area to control overspray, and I built a Dexter style kill room.
Several layers of high fill primer. Basically I'd spray a light layer and wait for it to flash off, then repeat.
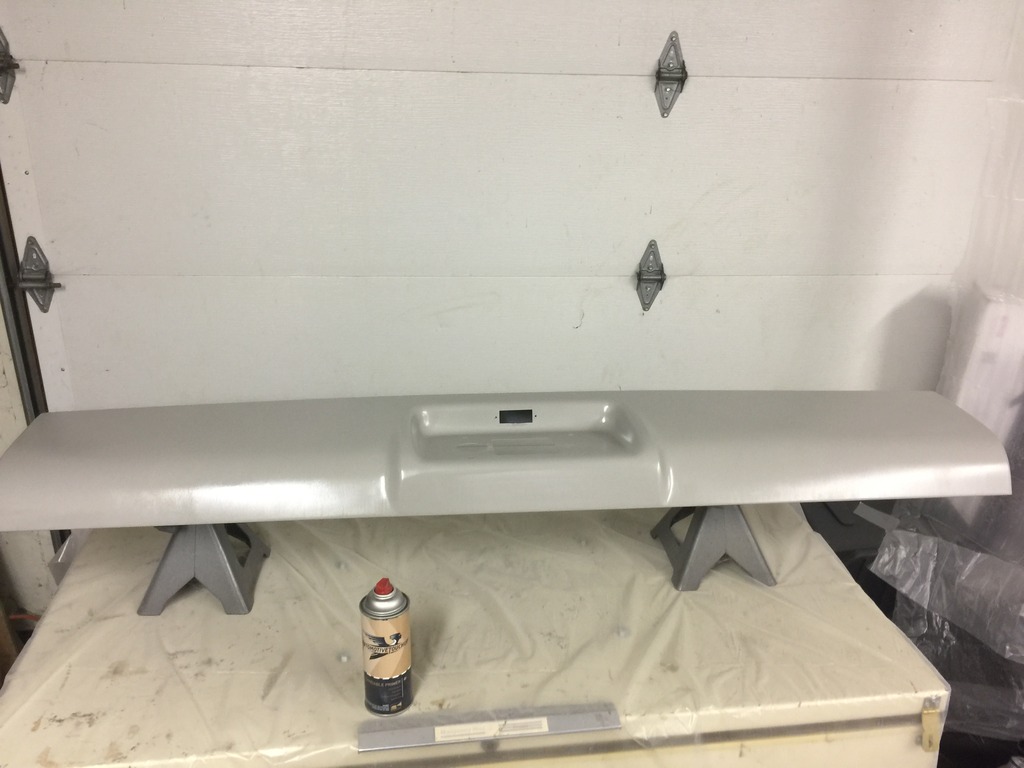

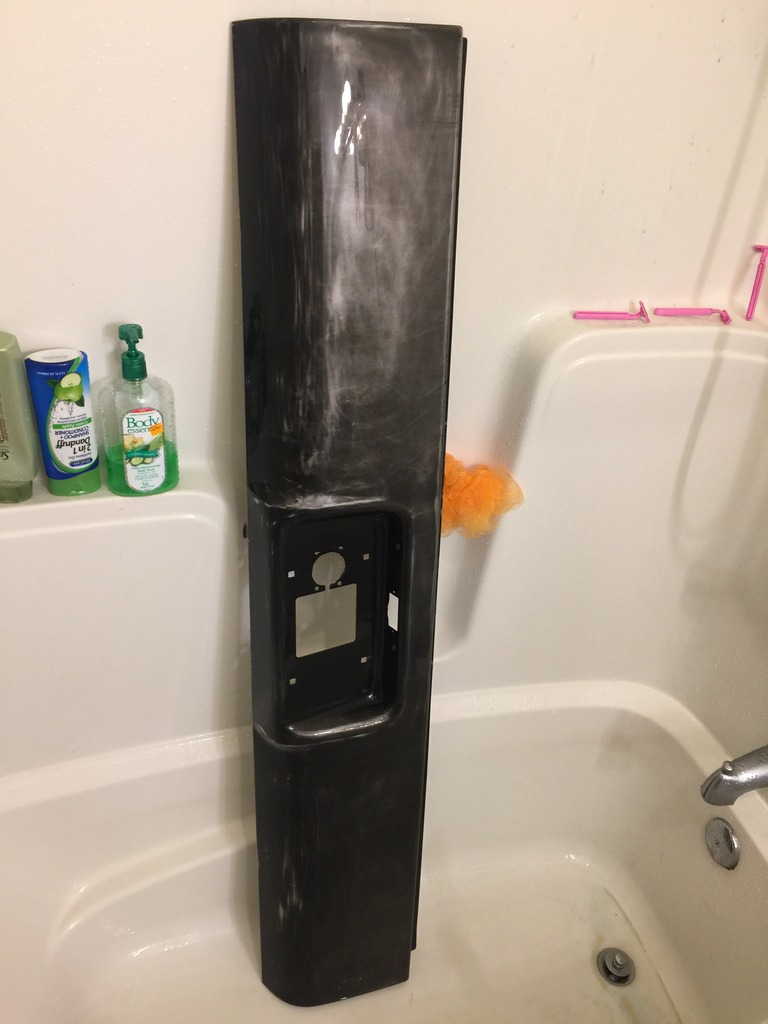
I let it sit over night and wet sanded the primer with 800 grit sand paper and water.
After cleaning and drying the primed panel, I set into painting the base coat. Same process as before; spray a light layer, wait 5-10 minutes, repeat.
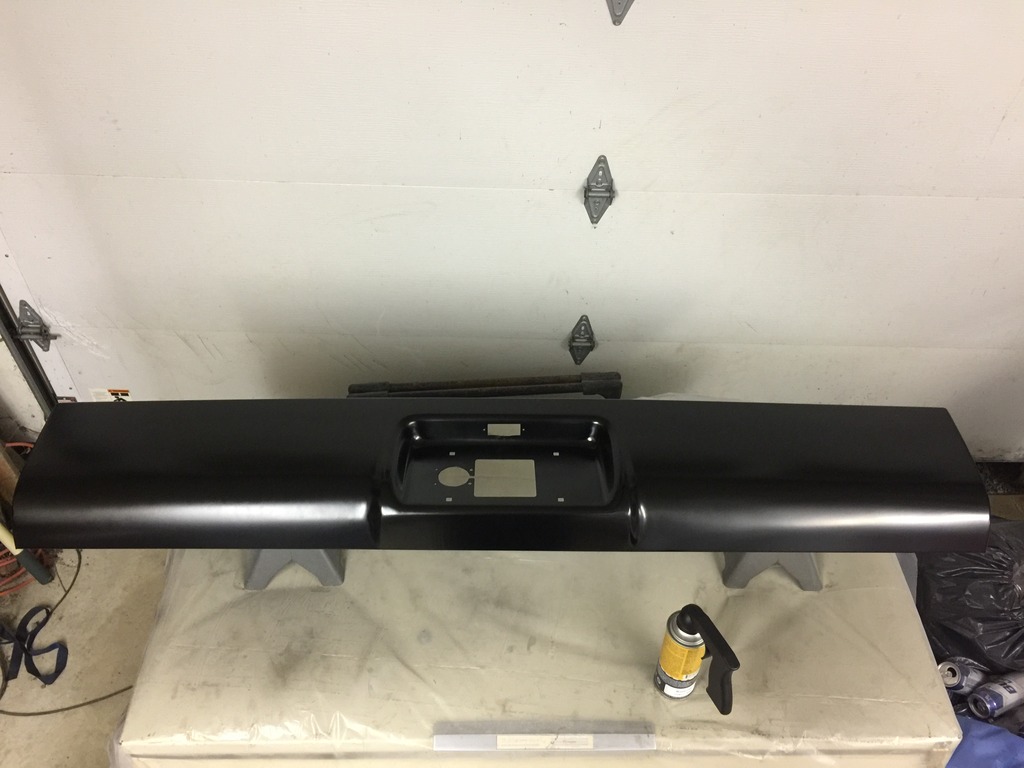
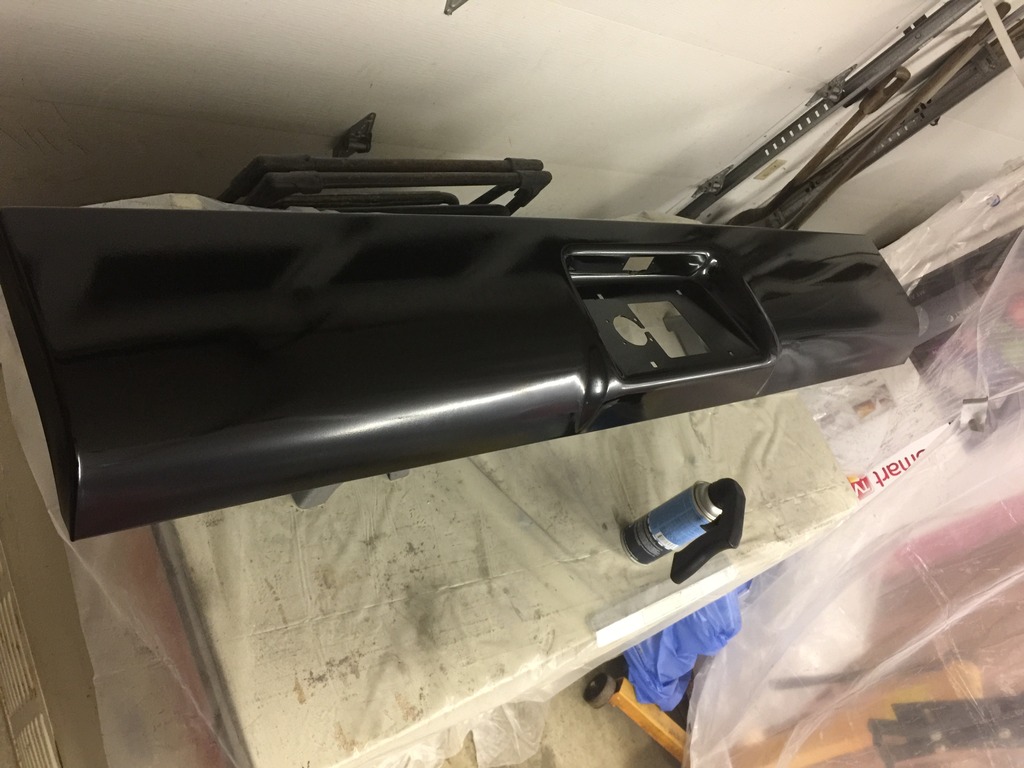
Finally, the clear coat. This was late last night, and I'm not super happy with how it turned out honestly.
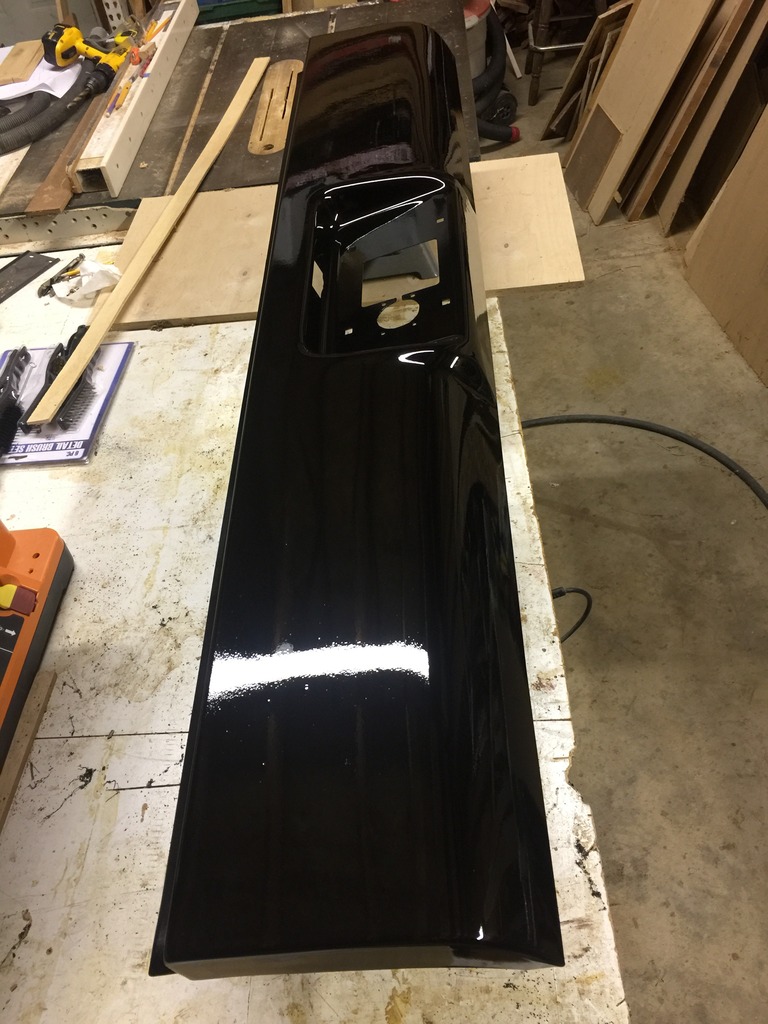
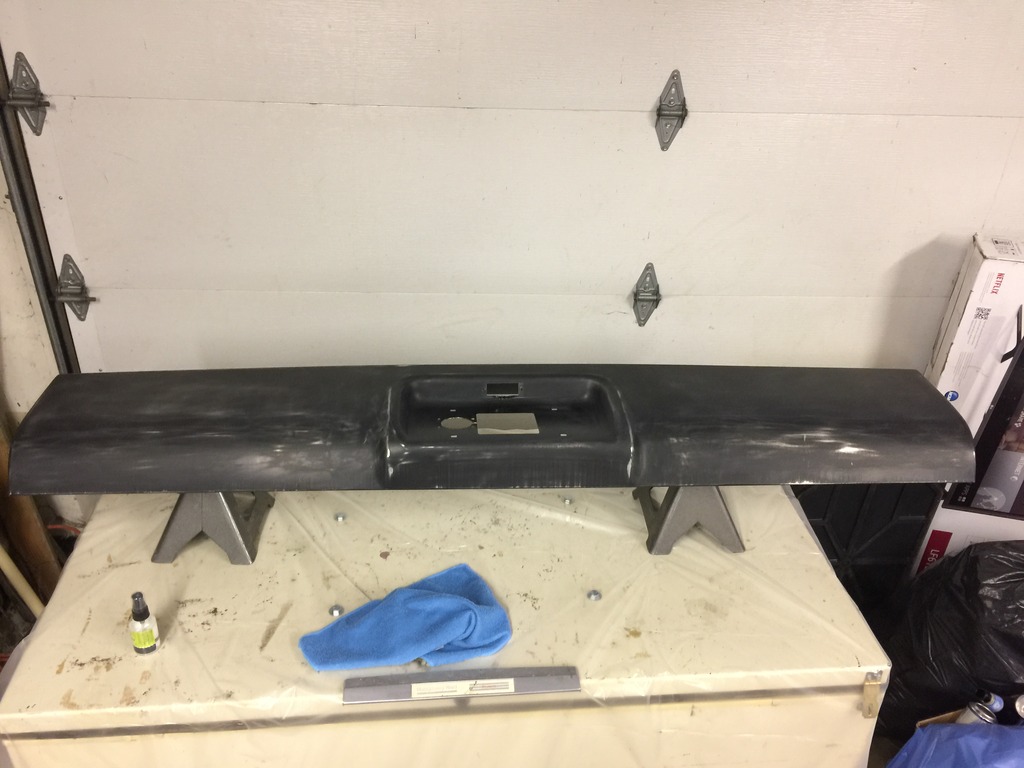
Here are a few pics from today. I was planning on wet sanding with 1500 grit or so and then cut and buff. I'm still going to do that, but I figure I'm in no hurry, so let's let the panel sit a few days. No need to rush it.
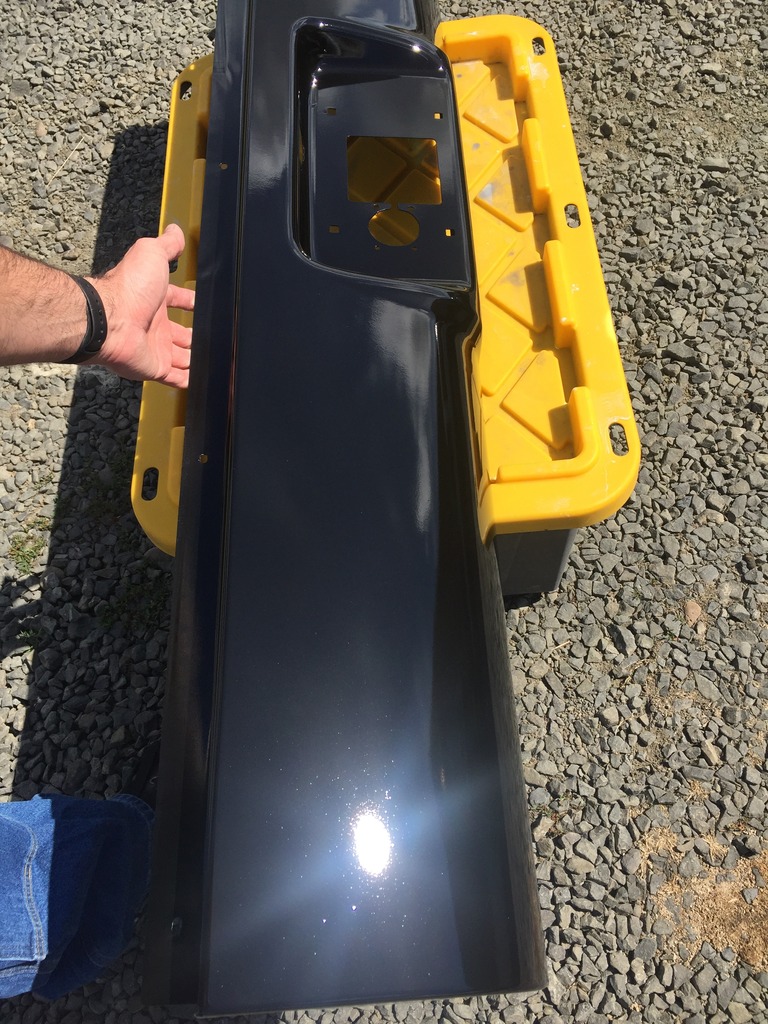
I don't know if I can recommend this setup or not. Sure, it's fine for a little repair here or there, but the fact is, it's the same amount of prep work so why not just spray the panel with a paint gun? I have the tools, but I wanted to see how well this would work. In the end, I think I may be just too neurotic to paint this way. It bothers me that it's not perfect, then again, the truck isn't perfect at all. That's the nature of black. Later, I will cut and buff the entire truck.
Just for fun I held the panel up next to the truck for comparison. Remember, no finishing work has been done yet.
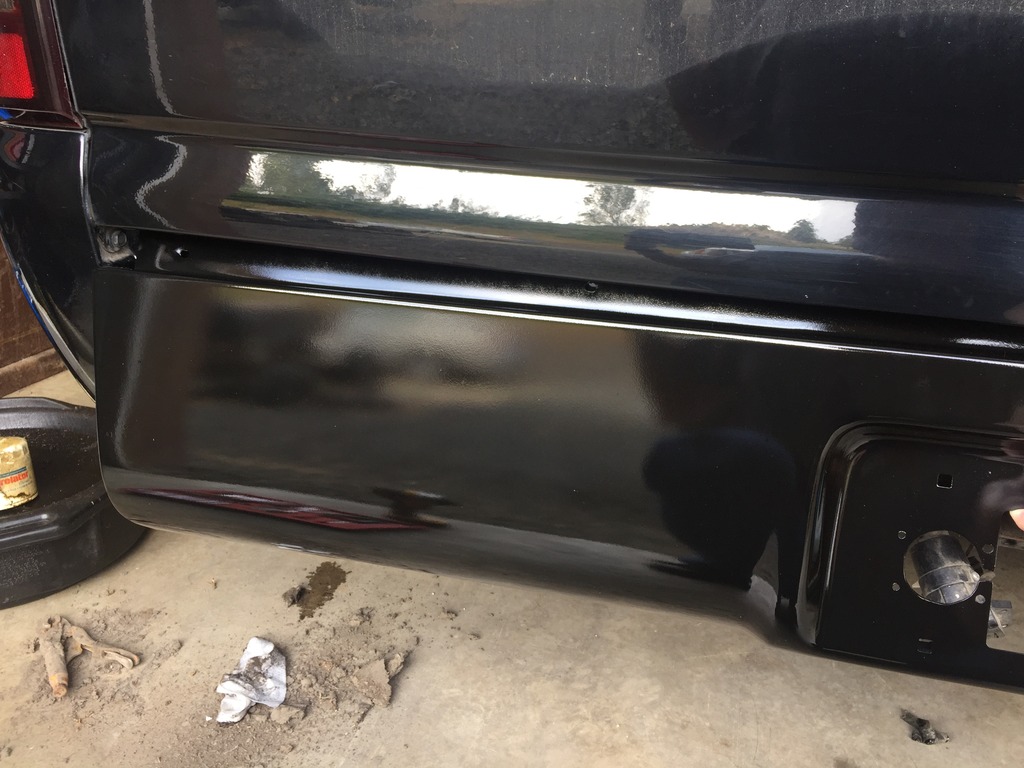

You can really see the orange peel effect in this one.

Lately, I have been messing around with paint. Awhile back I ordered a kit of sorts from automotivetouchup.com. I ordered the basics and figured I'd give it a try and see how a "professional" rattle can setup would turn out.

I went through the basics. Firstly, I have been running the roll pan "temporarily" for quite awhile now. I removed the roll and and cleaned it up. Next I proceeded to wet sand it with 400 grit sand paper, soap and water.


I taped off a little area to control overspray, and I built a Dexter style kill room.


Several layers of high fill primer. Basically I'd spray a light layer and wait for it to flash off, then repeat.


I let it sit over night and wet sanded the primer with 800 grit sand paper and water.

After cleaning and drying the primed panel, I set into painting the base coat. Same process as before; spray a light layer, wait 5-10 minutes, repeat.


Finally, the clear coat. This was late last night, and I'm not super happy with how it turned out honestly.

Here are a few pics from today. I was planning on wet sanding with 1500 grit or so and then cut and buff. I'm still going to do that, but I figure I'm in no hurry, so let's let the panel sit a few days. No need to rush it.


I don't know if I can recommend this setup or not. Sure, it's fine for a little repair here or there, but the fact is, it's the same amount of prep work so why not just spray the panel with a paint gun? I have the tools, but I wanted to see how well this would work. In the end, I think I may be just too neurotic to paint this way. It bothers me that it's not perfect, then again, the truck isn't perfect at all. That's the nature of black. Later, I will cut and buff the entire truck.
Just for fun I held the panel up next to the truck for comparison. Remember, no finishing work has been done yet.


You can really see the orange peel effect in this one.