

2000 Chevy Silverado project "Charlie Murphy"
 Dec 27, 2015 | 02:00 AM
#431

Not that anybody asked, but here's my opinion.
When you tightened down the rockers did you happen to pay attention to how many turns past "zero lash" until torqued to spec? (with the cam on base circle) If you had about half a turn you should be in the ballpark.
As far as checking with the tool, the way I have always been told was to shorten the adjustable pushrod until you can torque the rocker down to spec with "zero lash" or basically at the point where the rocker just barely puts any pressure on the pushrod and lifter. Then measure the length of the tool and add the amount of preload to it you desire (say 0.060"), and that's your final length. When I did a VVT cam swap in my 5.3 with LS7 lifters, I went from 7.400" pushrods (stock) to a 7.350" to get the right amount of preload.
I sure didn't pay attention when I was torquing everything down. That being said, nothing felt "bad." I don't think it would do any good to shorten down an adjustable push rod at this point. I think the plan is to swap the engine, get it running for a few minutes, then pull the valve covers off and measure. That way the lifters have oil in them.
I was all set to use some sort of epoxy in the head so I could use a matching exhaust stud. I even picked this stuff up. It has a crazy high temperature rating.

You guys threw such a fit about it (in a good way, lol) that I got to talking to my stepfather about it. He said "Hey, I've got a helicoil kit you can use." Well, he does but it's not metric.

He does happen to have a M12 helicoil, but doesn't remember what he bought it for. LOL. "Maybe a spark plug?" He said. We briefly talked it over an for a moment considered drilling it out as big as possible, then cutting a bolt where the bolt would be flush with the head after is was installed. After that, we could tap the bolt to M8 and use the stud!
I decided to say **** it, and go with a 7/6 bolt. I now have one ridiculous exhaust bolt. Haha.

I used the manifold as the guide and carefully drilled it out to the correct size. (It happened to be really close.) Then I cleaned up the shavings and installed the helicoil. I don't think it's quite perfect, but it'll work. This is the only bolt I could find that is the right size. I'll pick up a shorter bolt tomorrow.


Hope you guys are happy. Sheesh!
(I'm kidding...)


 Dec 29, 2015 | 12:39 AM
#433
Well, there was no easy way to make it metric.
I'm a bit concerned about the larger size bolt. It's not a tight fit, but there certainly isn't much wiggle room. I'm guessing the factory bolts were smaller for thermal expanding and contracting. Should I drill out the manifold and give the larger bolt some more room?
First things first...engine swap time. I haven't driven my truck daily in years really. I haven't put 5 miles on it since I swapped the 9.5" 14 bolt.
Alrighty. First go for a quick drive, remembering how much you love this stupid machine. Then, pull into the shop.
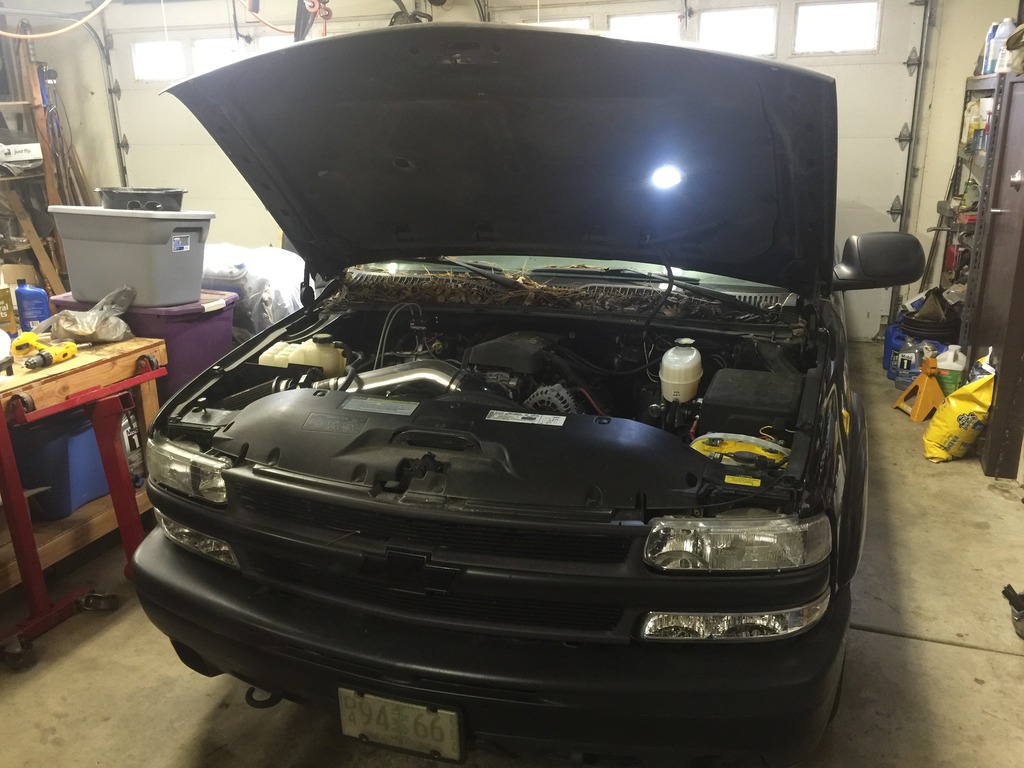
Put hood into service position and disconnect battery.
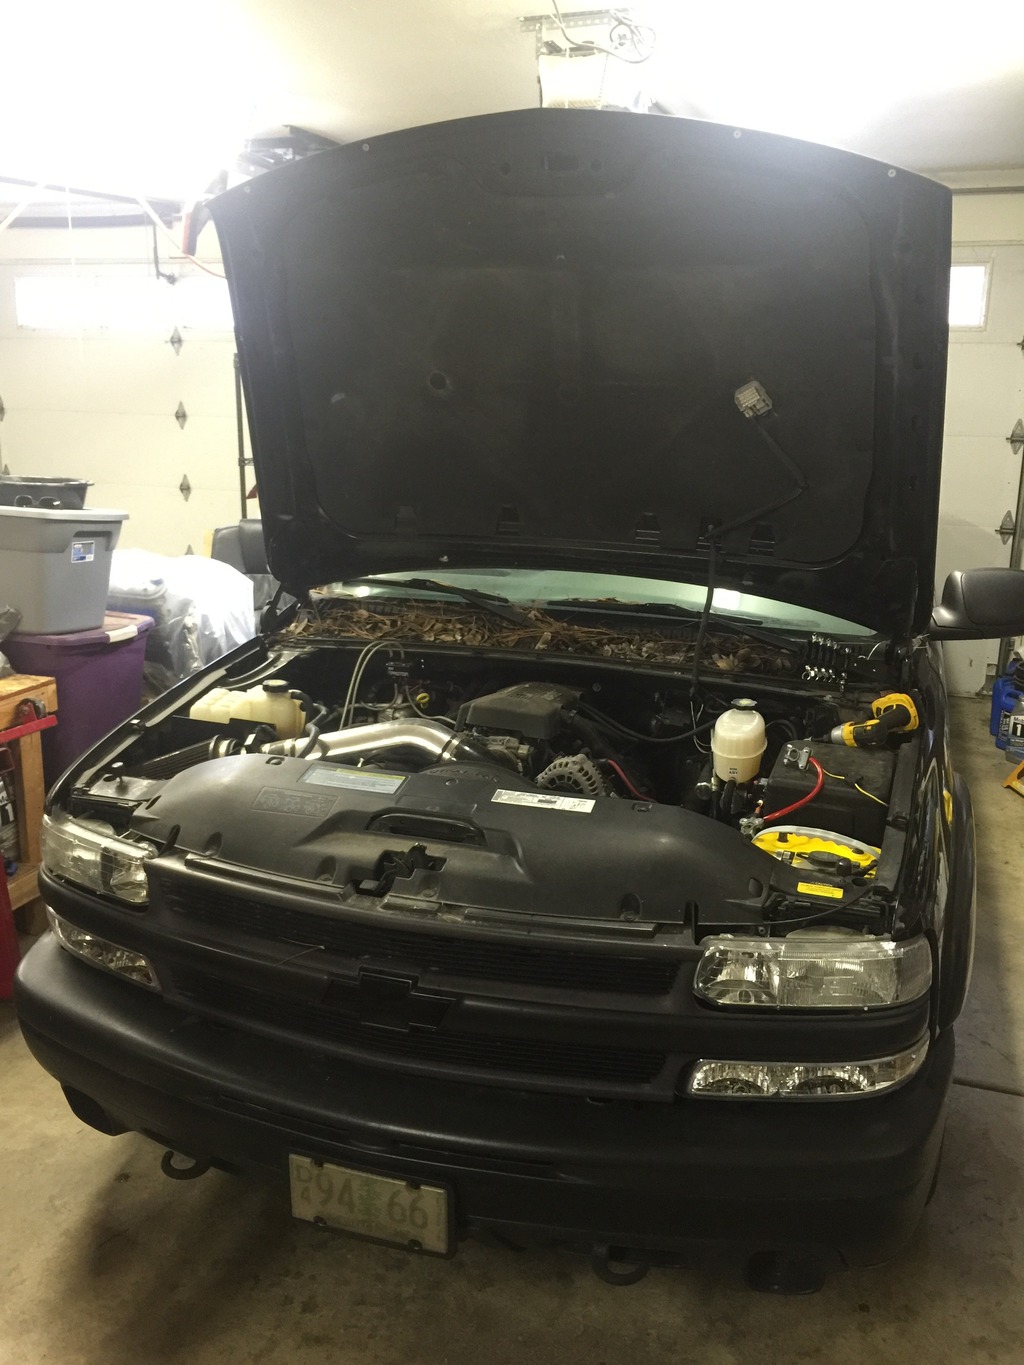
Take weirdo panoramic picture of engine bay so you can hope to have a chance of getting everything back close to where it was.

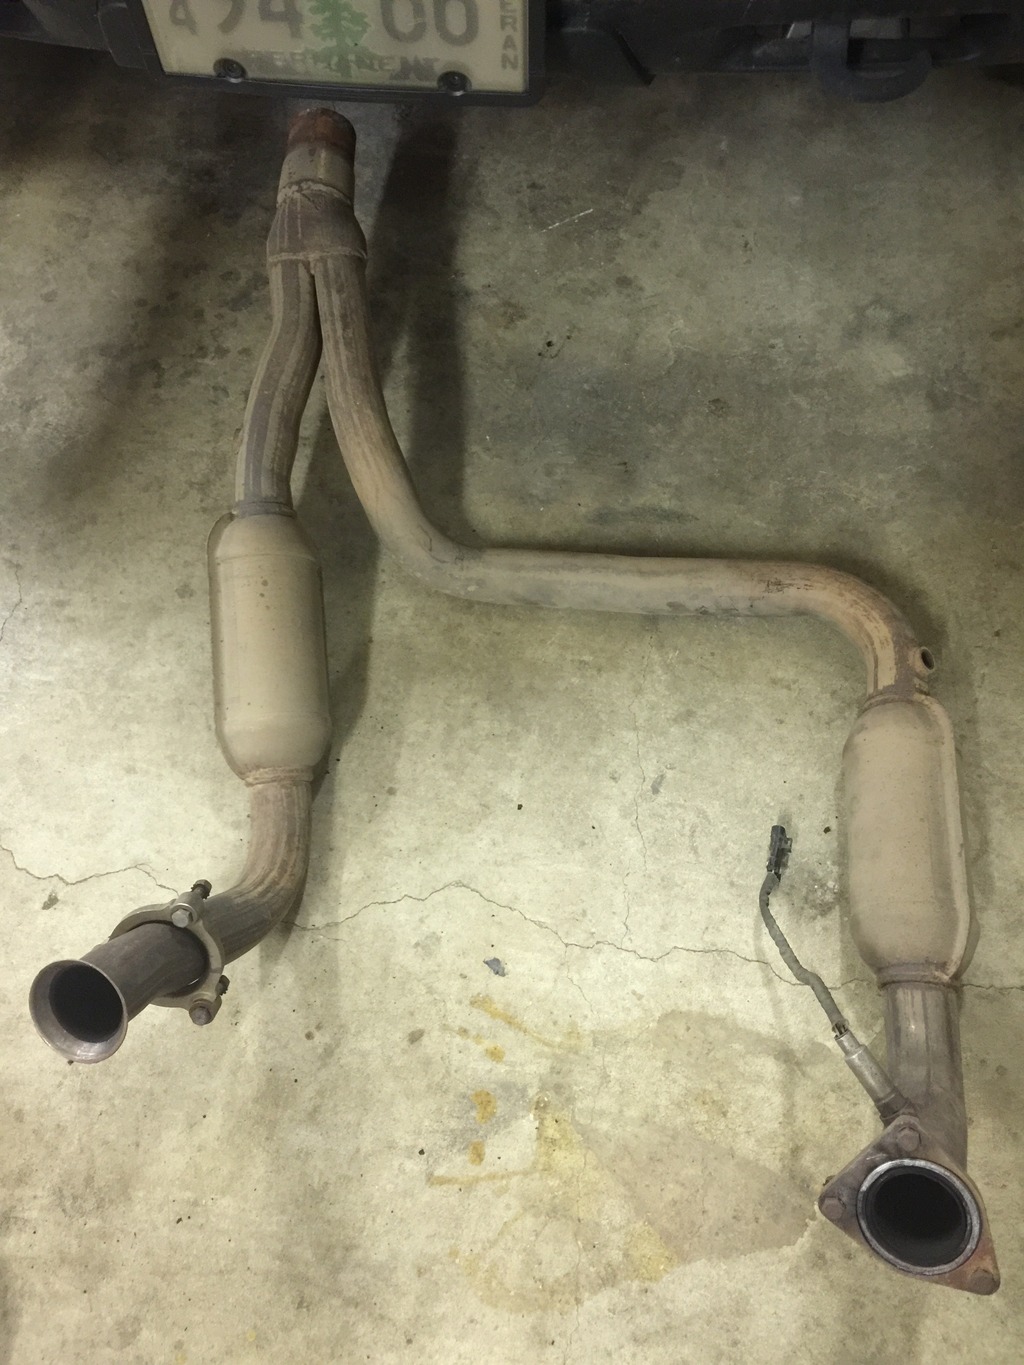
Jack truck up high enough that you can take the exhaust off.
I have a question. I'm planning on welding an O2 sensor bung for my wideband. Where do you guys recommend?
Remove engine cover - 8mm bolts
Remove cold air intake
Unplug MAF
Remove upper fan shroud. I had been using the clutch fan shroud to hold the LS1 fans in place.

Drain radiator and make a giant mess.

Remove upper, lower and 2 heater hoses. Make giant mess again.
Find a scrap piece of wood and cut it to fit in front of the radiator because you know you'll hit it otherwise.
Remove throttle body cables and brackets. Also, remove wiring and pull locks off of injectors.
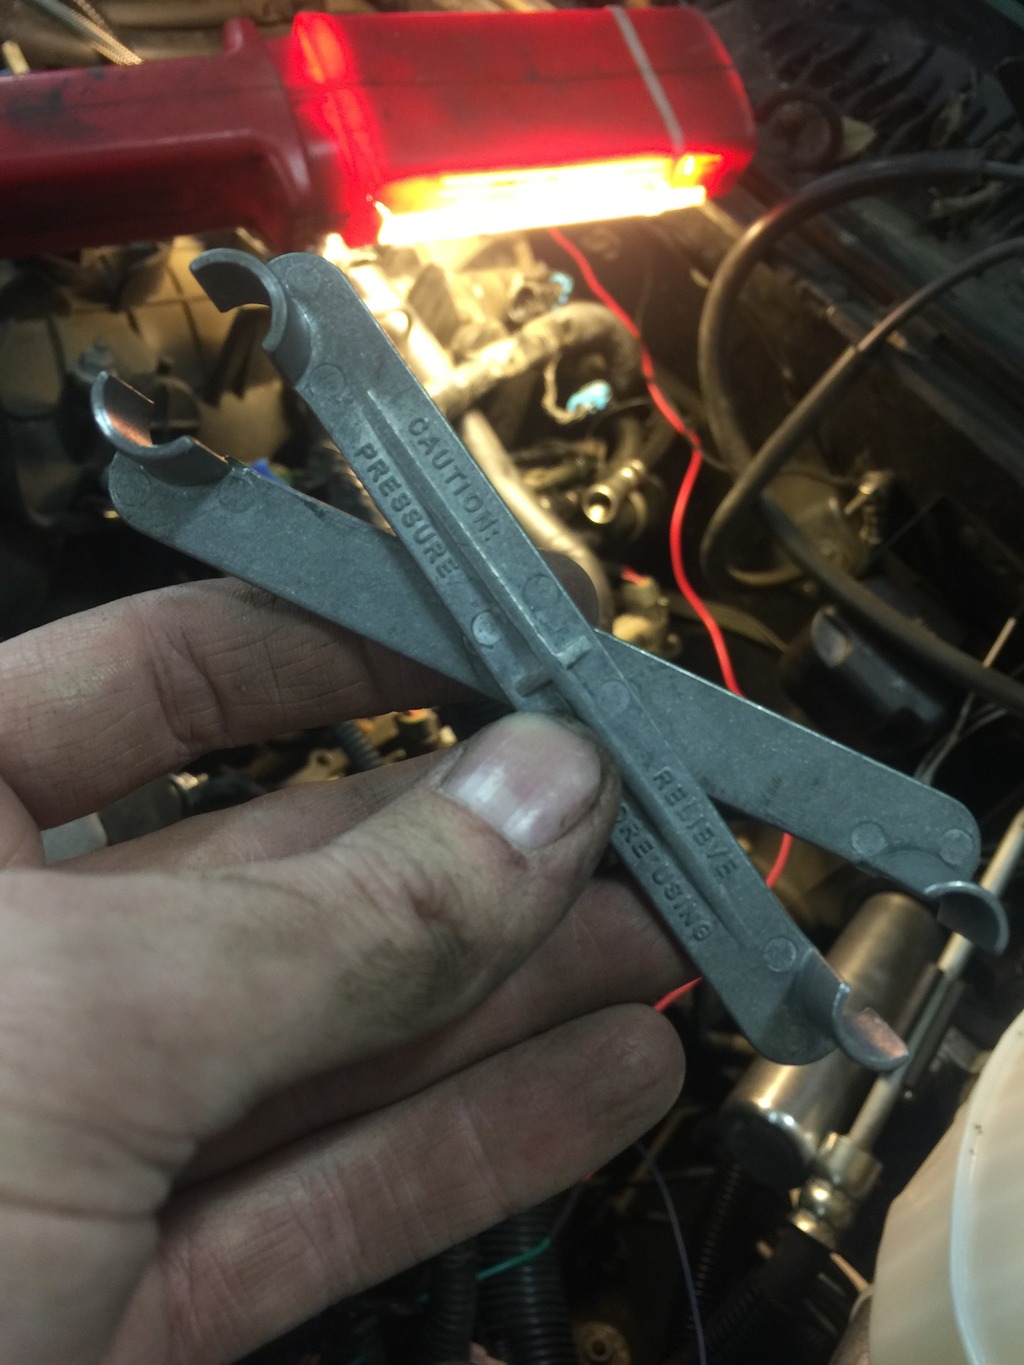
Here's a tool I didn't know I needed. Luckily my stepfather had one for AC repair. I was about to make something. I was considering cutting off the end of a funnel.
Remove fuel rails and injectors. Prior to this, I removed my nitrous fuel line so there was no pressure in there.

Remove EGR and loosen intake bolts. Should I delete the EGR system?

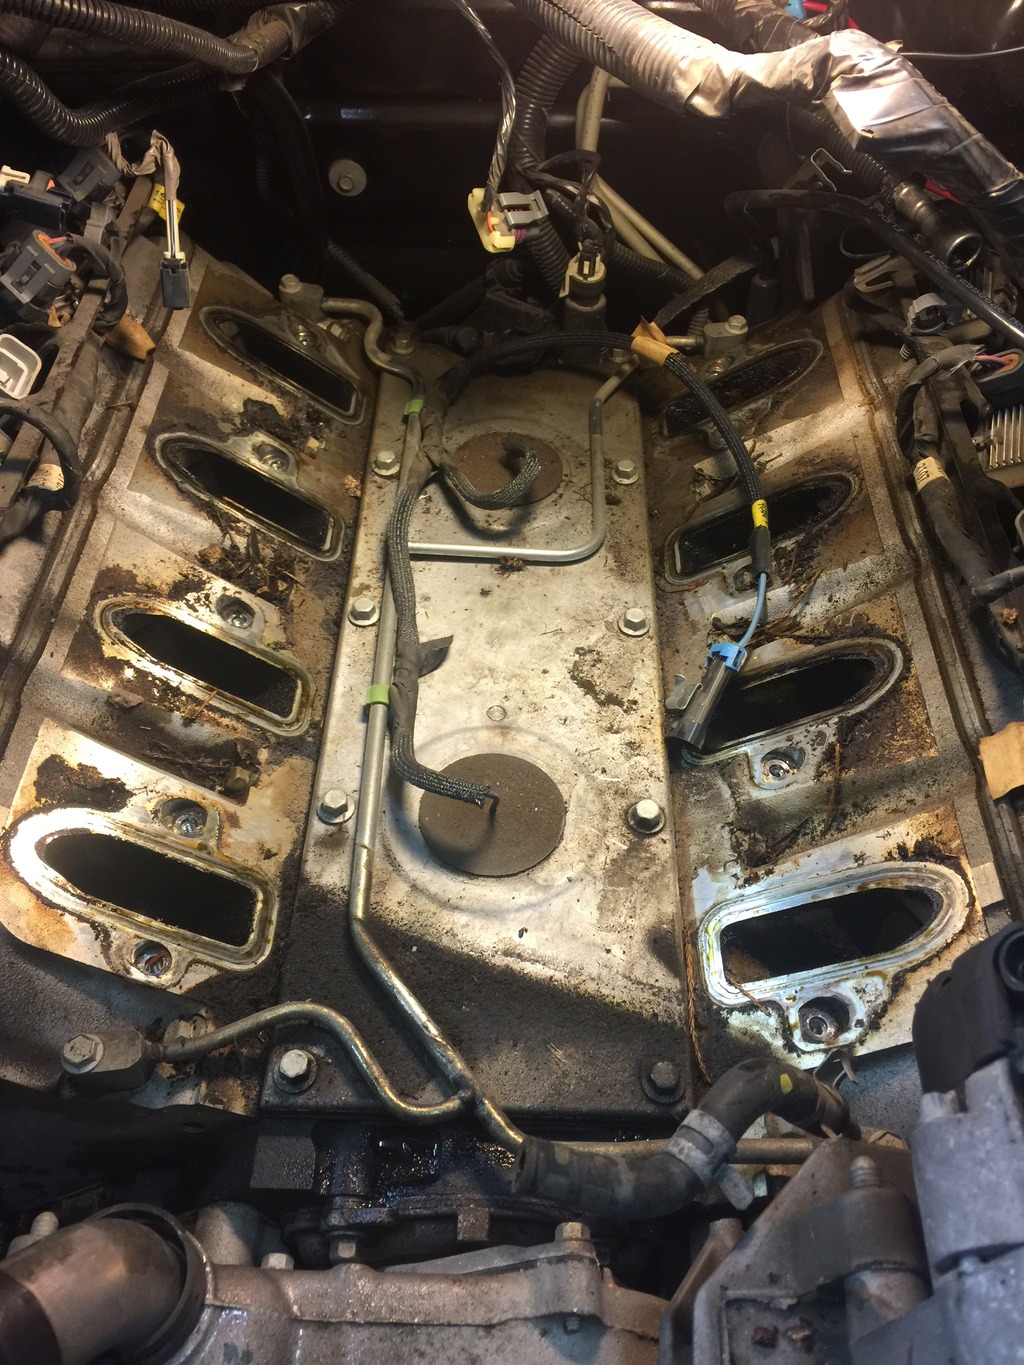
Intake is off and the steam pipe setup is different than the LQ4.
I'm going to have to come up with a better solution than this. I did this when I went hydroboost.

I just buy a block off plate from GM right?
Should I, or can I, run the 05 intake with my DBC throttle body? I'm not sure which intake is better or if it even matters.
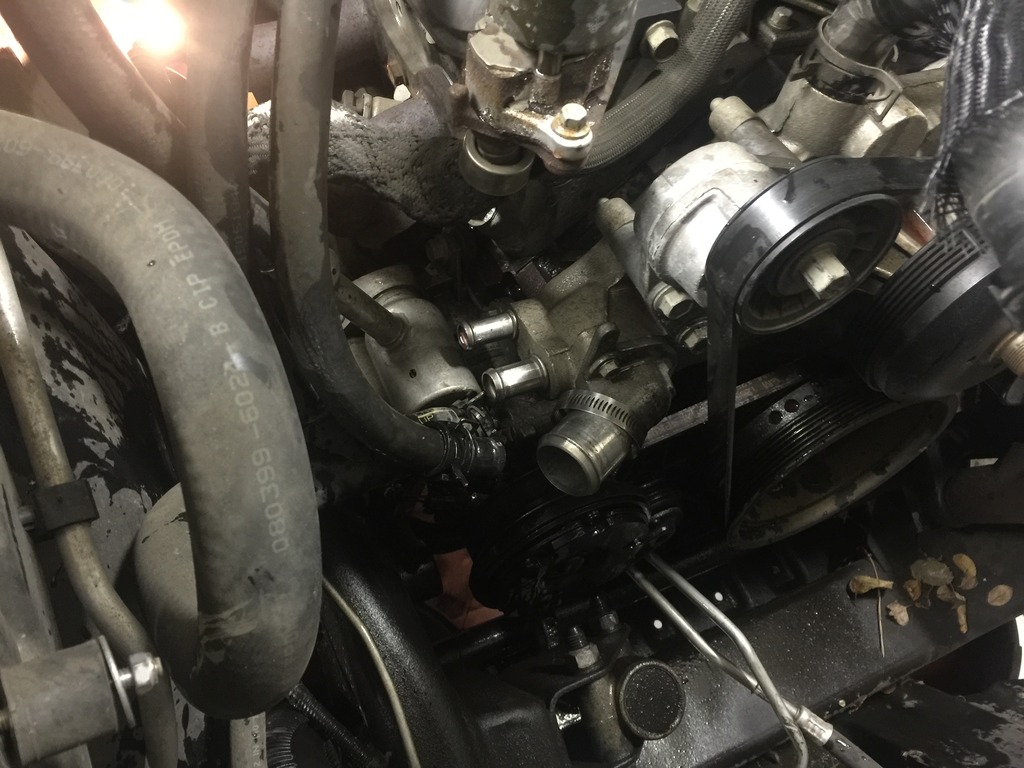
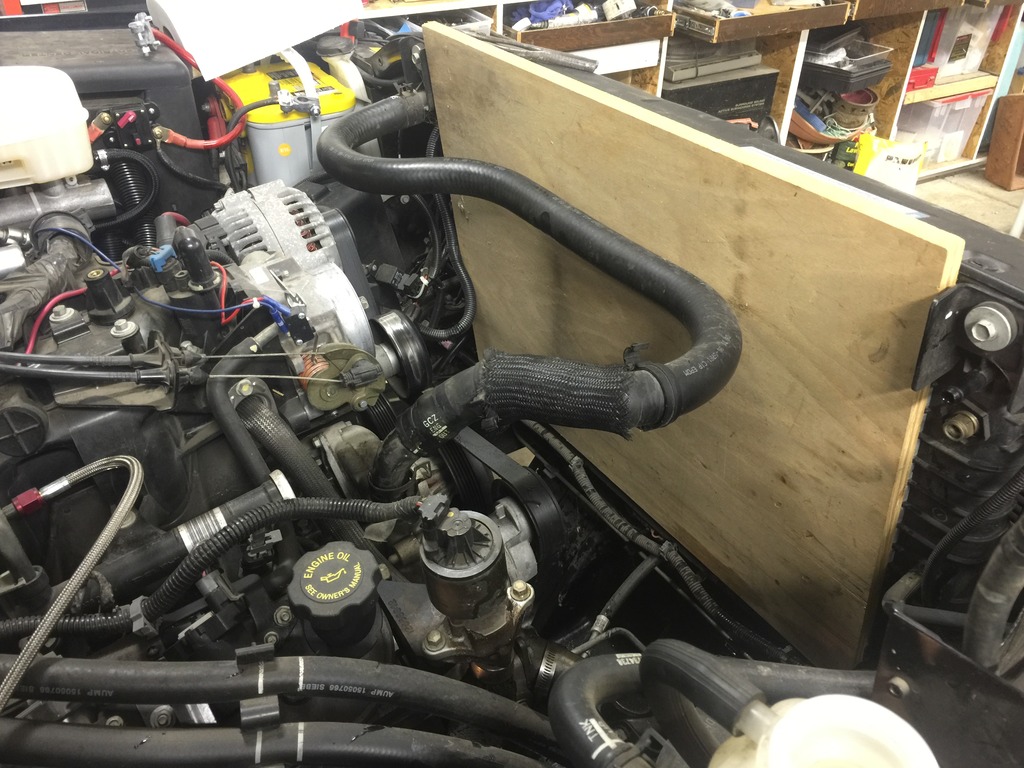
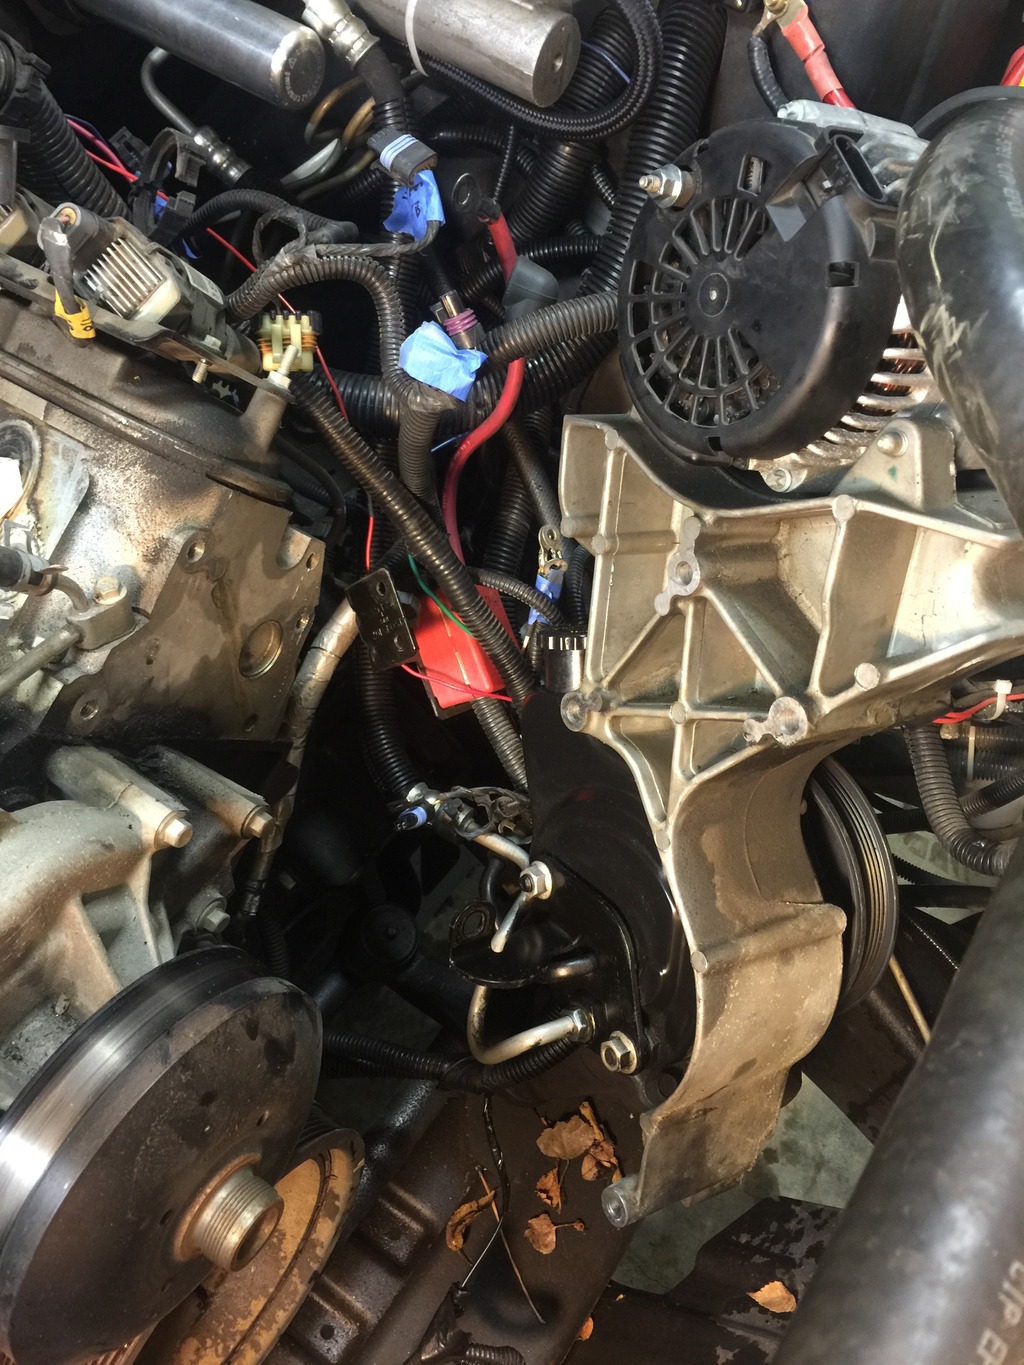
I unbolted the driver's side accessory bracket, leaving the alternator and power steering pump attached. I set it aside like this, hoping it'll be out of the way.
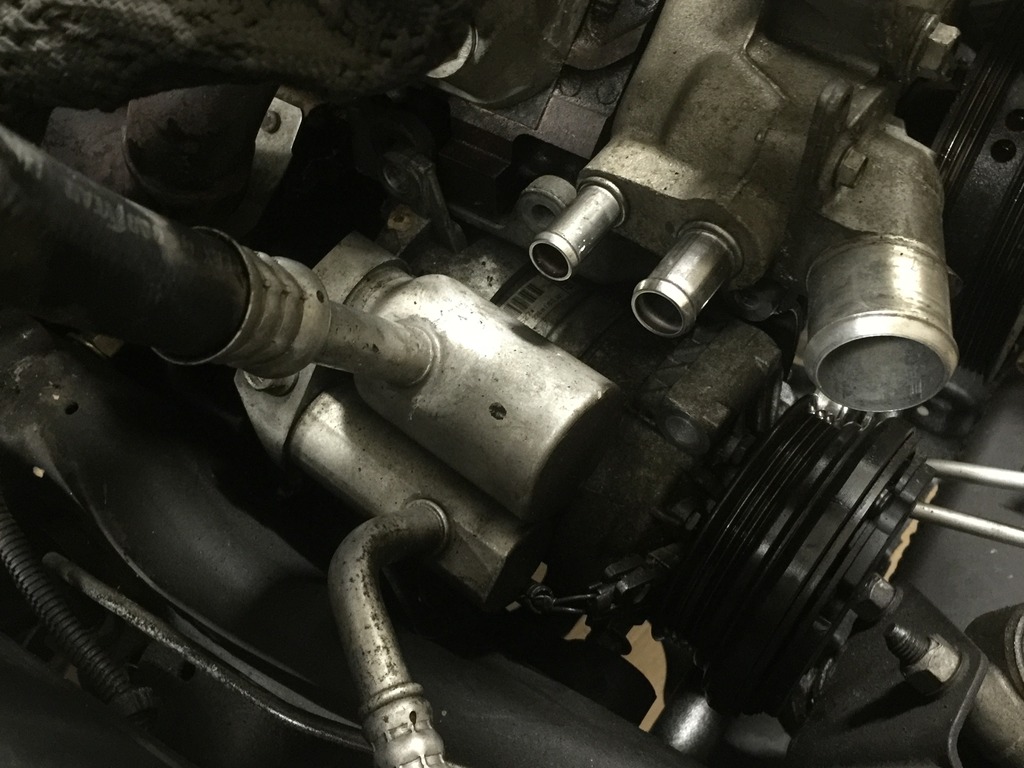
I went to do something similar on the passengers side. I tried to unbolt the AC compressor. I managed to get 3 of the 4 bolts out. The bottom 2 were so frustrating that I had to call it quits. Everything is slippery because of the antifreeze and there's hardly any room under the compressor. The 4WD is in the way.
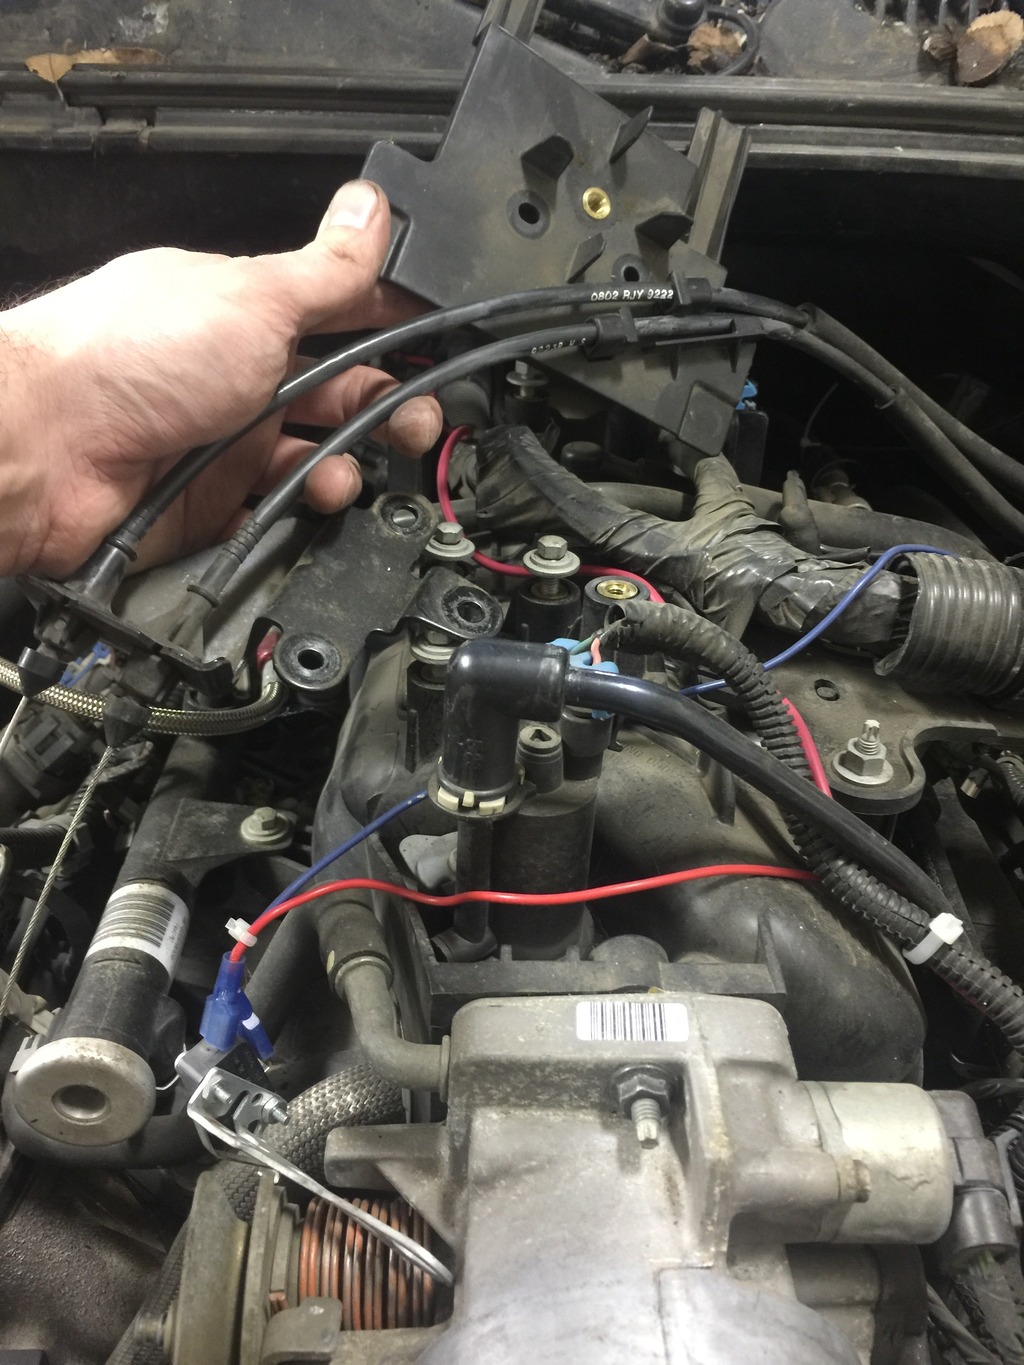
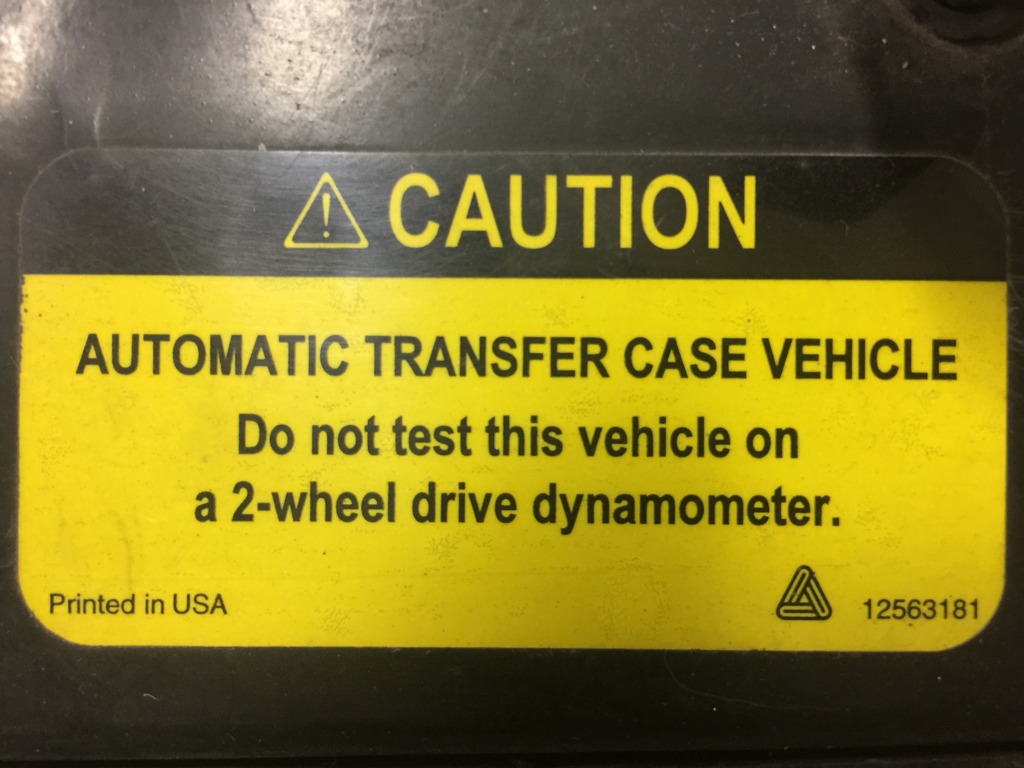
I never noticed this decal before. Was GM really that concerned with possible dyno runs? Seems like a strange warning. I mean, I'd understand if it were in the owners manual, but up front with the belt routing decal? Weird.
I'm a bit concerned about the larger size bolt. It's not a tight fit, but there certainly isn't much wiggle room. I'm guessing the factory bolts were smaller for thermal expanding and contracting. Should I drill out the manifold and give the larger bolt some more room?
First things first...engine swap time. I haven't driven my truck daily in years really. I haven't put 5 miles on it since I swapped the 9.5" 14 bolt.
Alrighty. First go for a quick drive, remembering how much you love this stupid machine. Then, pull into the shop.

Put hood into service position and disconnect battery.

Take weirdo panoramic picture of engine bay so you can hope to have a chance of getting everything back close to where it was.

Jack truck up high enough that you can take the exhaust off.
I have a question. I'm planning on welding an O2 sensor bung for my wideband. Where do you guys recommend?

Remove engine cover - 8mm bolts
Remove cold air intake
Unplug MAF
Remove upper fan shroud. I had been using the clutch fan shroud to hold the LS1 fans in place.

Drain radiator and make a giant mess.

Remove upper, lower and 2 heater hoses. Make giant mess again.

Find a scrap piece of wood and cut it to fit in front of the radiator because you know you'll hit it otherwise.

Remove throttle body cables and brackets. Also, remove wiring and pull locks off of injectors.

Here's a tool I didn't know I needed. Luckily my stepfather had one for AC repair. I was about to make something. I was considering cutting off the end of a funnel.

Remove fuel rails and injectors. Prior to this, I removed my nitrous fuel line so there was no pressure in there.

Remove EGR and loosen intake bolts. Should I delete the EGR system?

Intake is off and the steam pipe setup is different than the LQ4.

I'm going to have to come up with a better solution than this. I did this when I went hydroboost.

I just buy a block off plate from GM right?

Should I, or can I, run the 05 intake with my DBC throttle body? I'm not sure which intake is better or if it even matters.
I unbolted the driver's side accessory bracket, leaving the alternator and power steering pump attached. I set it aside like this, hoping it'll be out of the way.

I went to do something similar on the passengers side. I tried to unbolt the AC compressor. I managed to get 3 of the 4 bolts out. The bottom 2 were so frustrating that I had to call it quits. Everything is slippery because of the antifreeze and there's hardly any room under the compressor. The 4WD is in the way.

I never noticed this decal before. Was GM really that concerned with possible dyno runs? Seems like a strange warning. I mean, I'd understand if it were in the owners manual, but up front with the belt routing decal? Weird.

Last edited by iregret; Dec 29, 2015 at 04:59 AM.
 Dec 29, 2015 | 08:23 PM
#436
Here's what I'm talking about.

See that tiny end wrench? That's the bolt. Anywho...I'm making this into a bigger deal than it is.
Thanks for the tips fellas! Any advice on the EGR? I'm thinking I should just delete it and put on factory headers. I've read a 1 3/8 plug from Home Depot will fill the EGR hole, but I'm not sure how that'll handle boost in the future.
 Dec 29, 2015 | 11:22 PM
#439
Holy F............
I lost track of all the questions but let me see if I can Help.
Not sure on emission requirements in your area but here is what I would do if you don't have visual inspection for emissions.
Use the 05 intake manifold. It's physically the same with no EGR or AIR injection provisions. A cable TB will bolt right up.
Use a non EGR style passenger manifold/header.
Yes you can drill the next size hole for a little more clearance if need be on that one hole.
On the Wide band. I am no expert but I believe you want to be around 6-8 inches from the flange. Notice where the upstream 02 sensor is???
On the back of the Intake manifold epoxy it shut or find a factory plug. If you know someone with a machine shop you can make your own plug. It unclips like a quick disconnect.
HTH!!!
Dec 30, 2015 | 06:09 AM
#440
Holy F............
I lost track of all the questions but let me see if I can Help.
Not sure on emission requirements in your area but here is what I would do if you don't have visual inspection for emissions.
Use the 05 intake manifold. It's physically the same with no EGR or AIR injection provisions. A cable TB will bolt right up.
Use a non EGR style passenger manifold/header.
Yes you can drill the next size hole for a little more clearance if need be on that one hole.
On the Wide band. I am no expert but I believe you want to be around 6-8 inches from the flange. Notice where the upstream 02 sensor is???
On the back of the Intake manifold epoxy it shut or find a factory plug. If you know someone with a machine shop you can make your own plug. It unclips like a quick disconnect.
HTH!!!
I lost track of all the questions but let me see if I can Help.
Not sure on emission requirements in your area but here is what I would do if you don't have visual inspection for emissions.
Use the 05 intake manifold. It's physically the same with no EGR or AIR injection provisions. A cable TB will bolt right up.
Use a non EGR style passenger manifold/header.
Yes you can drill the next size hole for a little more clearance if need be on that one hole.
On the Wide band. I am no expert but I believe you want to be around 6-8 inches from the flange. Notice where the upstream 02 sensor is???
On the back of the Intake manifold epoxy it shut or find a factory plug. If you know someone with a machine shop you can make your own plug. It unclips like a quick disconnect.
HTH!!!
First up, I'm in rural Oregon. The only emissions, that I'm aware of in Oregon, are in Portland. I wouldn't be surprised if Eugene has something, but they are more of a logging community so maybe not. Either way, no emissions for me.
So let's look at the intake manifolds.
2000 intake on the left, 05 on the right.

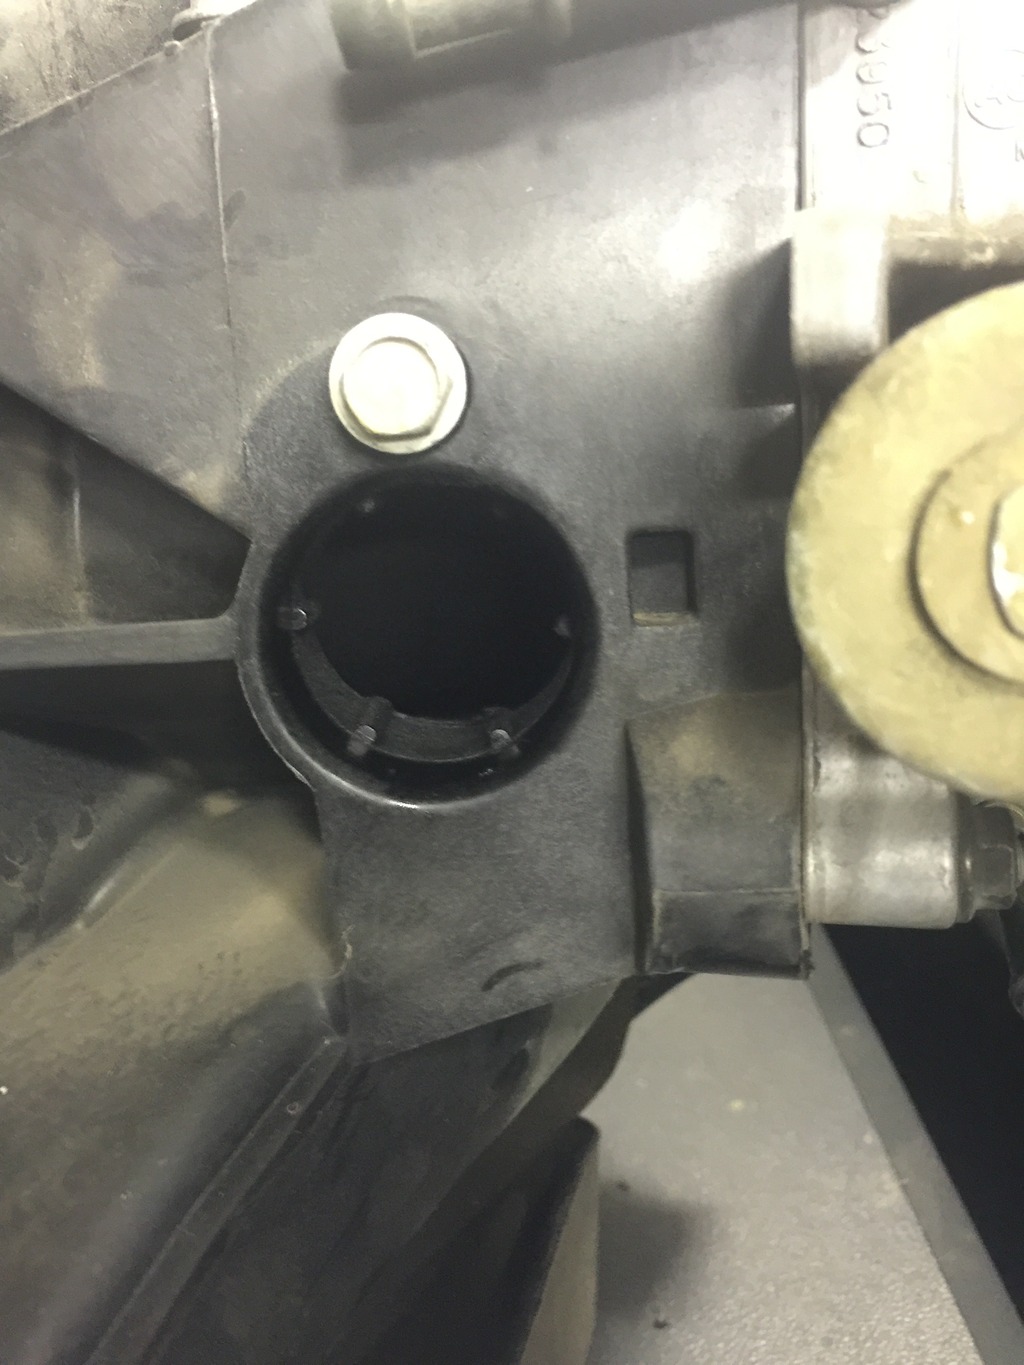
It appears there are a few differences between them. The newer one has a PCV return in the intake, the older is into the throttle body. The older one has a port for the fuel pressure regulator, the newer one does not. The newer one has fewer mounts on top to mount the throttle cable brackets to and has little wing things on the back. Like this:

Also, it appears the port in the rear is already plugged although, the piece does move around. That's a factory plug right?
So, none of this is that big of a deal. I'll be running a catch can setup so I can plug the PCV from the throttle body into the plug in the manifold. LOL. I can tap a port for the fuel pressure regulator and I can figure something out for the missing mounts. Either tap the plastic or glue in a nut or something. Not sure why GM added the kickouts on the rear.
As far as the O2 bung, is it okay if it's near the existing O2 sensor? I mean, you probably don't want it directly in front of the existing sensor, but if it's closer to the flange, that'd be okay right?
FINALLY remove AC and set to the side.

Remove torque converter bolts.

Remove 10mm bolt on passenger side that holds wiring. There's another 10mm bolt in the front corner of the oil pan on the driver's side. After that, the wire loom can come down. While you're down here, remove the 4 15mm engine mount bolts. I ended up getting the front 2 on each side from above.

Unplug cam position sensor, oil pressure and the unbolt the 2 ground bolts. Also, I could get to 3 of the upper bell housing bolts from above.

I used a load leveler from harbor freight. I had one before but someone must have borrowed it or something. Anyway, I couldn't find it so I bought another one. There around $25 and help quite a bit. One thing though, the new version has a plastic handle, the old version used a nut you turned with a ratchet. The plastic handle works but I prefer the old version.
I bolted it to the heads and the back of the block using engine mount bolts. After I took this pic, I ended up taking 2 links out of the chains so there'd be more room.

Next I put the jack with a 2x4 under the transmission pan to support it while I while the engine is out. After that I put the cherry picker in place. Well, I tried to anyway.

FML. Lowered truck problems. Haha. So I jacked the truck up a bit and put a 4x4 under the crossmember in front of the engine. A jack stand was too tall and since the tires are still on the ground, a 4x4 was safe to use.
After that, I slowly began pulling the engine. Checking everything carefully along the way. To get the engine separated from the transmission, I jacked the transmission up a tiny bit and pulled on the cherry picker. They came apart easily.


I ended up pulling the water pump to help me finagle the engine out. It was about this point when I thought to myself, "Have you ever seen a dipshit pull a perfectly good engine out of a truck to put in an engine that has more miles on it?" Haha

I knew it'd be close, but not this close. On my old leveler, I cut this angled piece off. It would have been much easier if I had done so to this one as well. I ended up having to take the passenger's side header off to get it to clear the firewall.


Success! (Also, at this point, Goodbye Stranger happened to be playing on the radio. LOL.)

Is it normal to not have a bell housing mount here?

Obligatory empty engine bay pic.

Goodnight truck. See you tomorrow.
