

1932 Ford pro street....re-build

 May 23, 2013 | 09:07 PM
#72


 Jun 12, 2013 | 07:29 PM
#74
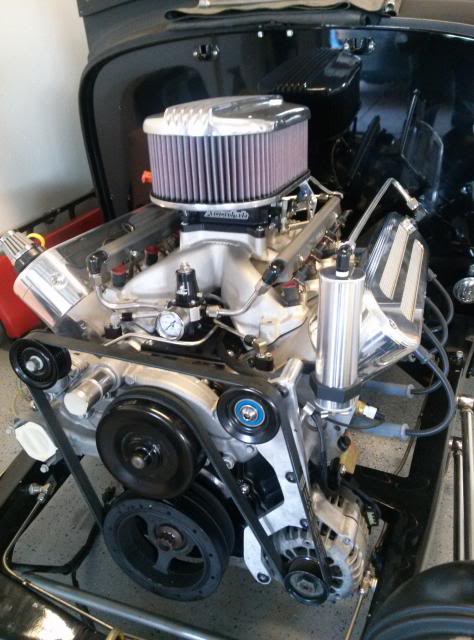
Tiny update: Still trying to move some things around at the shop and get 2 cars out of there so I have enough room to bring it out where I can actually get some **** done.
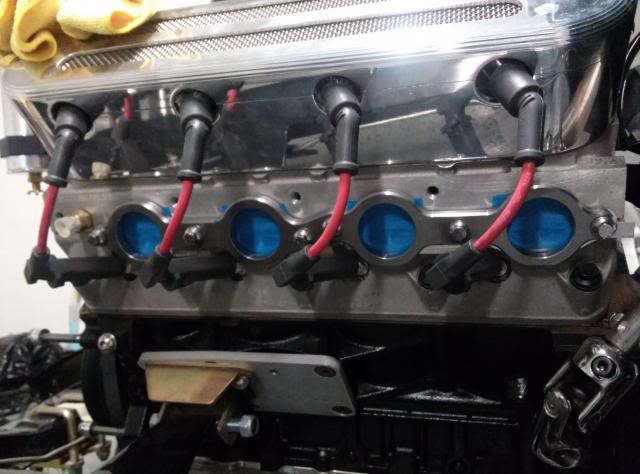
SPD 1.75" Flanges... I will be building 1.75 to 1.875" stepped longtubes

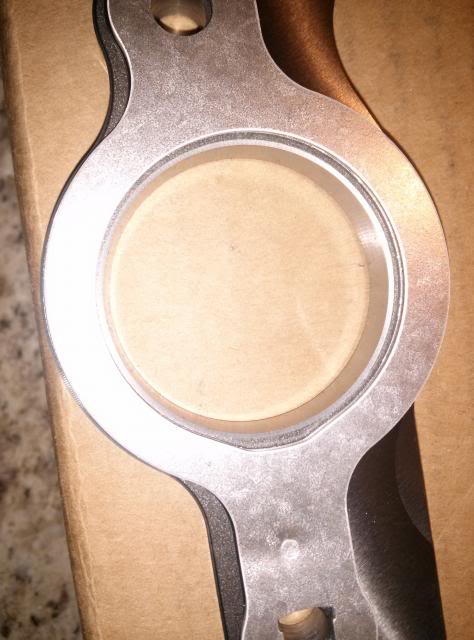
GM MLS Gasket fit
Test fit on engine... these things are built perfect.... they better be they are just under 200.00 a set LOL.
I also ordered some more 1.75" bends and a power XS starter and 150amp polished alternator from powermaster. Hopefully it will show up next week.
SPD 1.75" Flanges... I will be building 1.75 to 1.875" stepped longtubes

GM MLS Gasket fit

Test fit on engine... these things are built perfect.... they better be they are just under 200.00 a set LOL.

I also ordered some more 1.75" bends and a power XS starter and 150amp polished alternator from powermaster. Hopefully it will show up next week.
Jun 21, 2013 | 07:02 PM
#75
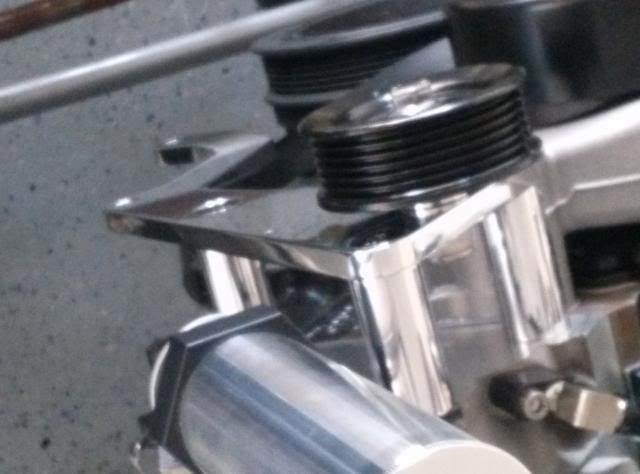
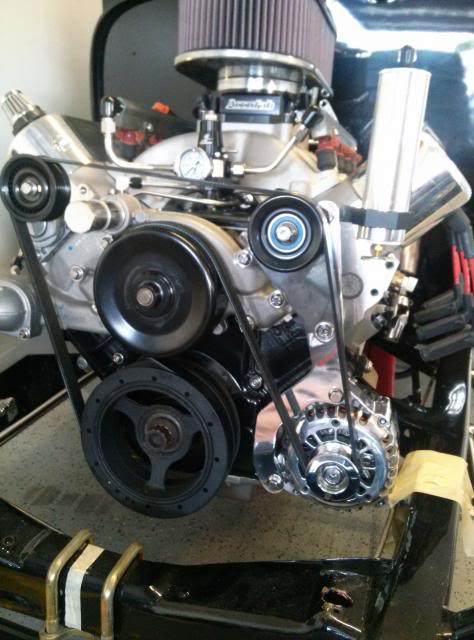
Not much has been done with all the work we have at the shop. Got bored after work one day and decided to do some polishing. I polished the bracket I made and the stand offs. Also got my power master 150amp alternator on.


 Jun 22, 2013 | 03:36 PM
#77
 Jun 23, 2013 | 12:23 PM
#79

GFYS and STFU
iTrader: (8)
Joined: Jan 2007
Posts: 13,870
Likes: 4
From: Here and sometimes there too.
Ahhh...so happy to see an LS motor in these early Hot Rod trucks! Personally I'm not a fan of the flat head stuff. This is sweet! Looking forward to seeing this on the road. Nice job with the alternator too!
Jul 26, 2013 | 03:49 PM
#80
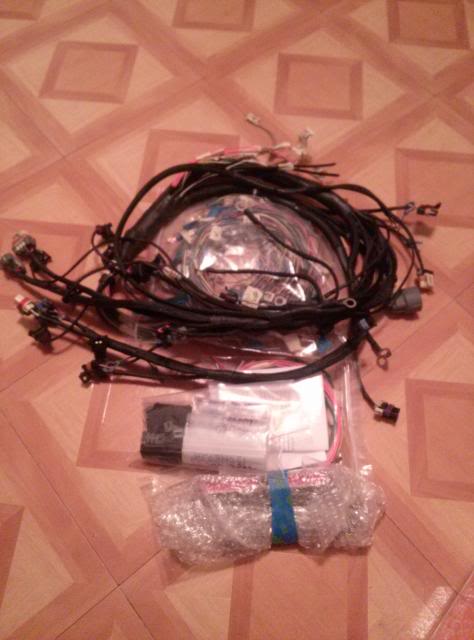
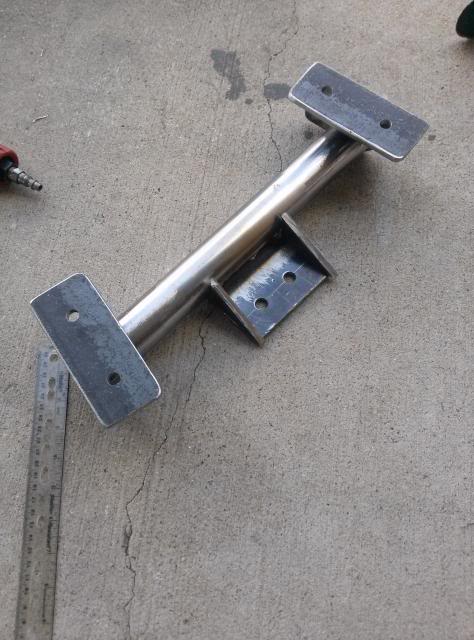
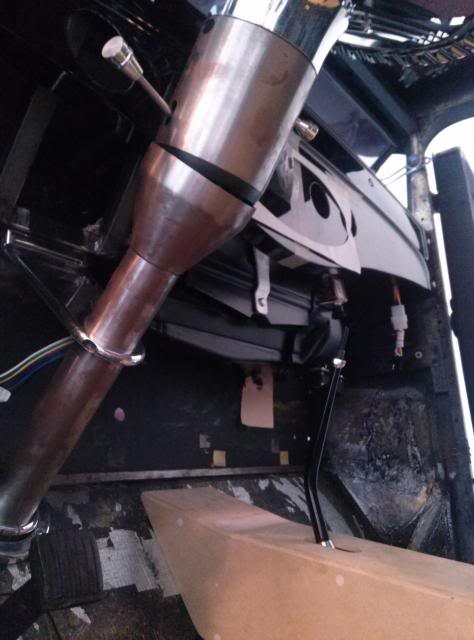
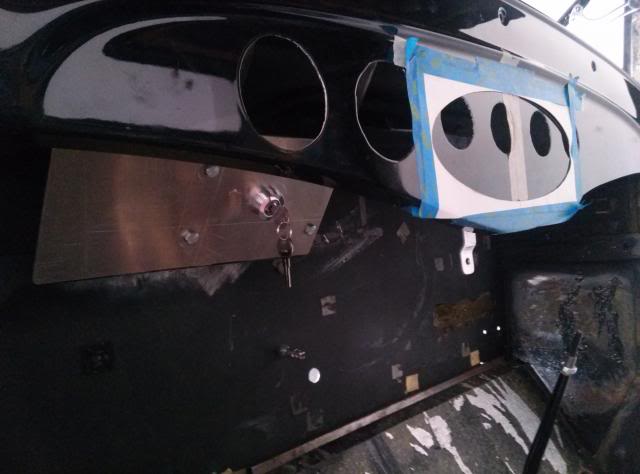
A small update as I managed to get a small bit of work done. I do not have a Tig at home so I had to use the Mig to make the transmission crossmember. Also got the harness 99% completed. It is sitting at BP Automotive waiting to have the PCM pins crimped on and the 80 pin connectors installed. Also scored a caravan seat for 20.00 which I may or may not keep. Got the steering column bracing finalized and the vintage air box mounted too! You can also see the start of the ignition switch/headlight switch panel.... it is still in "rough" shape.
All pictures are from my shitty cell phone as the Nikon battery was dead!
Harness ready for a box
Caravan seat in mock up

Transmission crossmember from mock up to complete (minus paint) All it made from .250 mild steel.


Steering Column and AC box with dash placed in position
Start of the switch panel
All pictures are from my shitty cell phone as the Nikon battery was dead!
Harness ready for a box

Caravan seat in mock up

Transmission crossmember from mock up to complete (minus paint) All it made from .250 mild steel.


Steering Column and AC box with dash placed in position

Start of the switch panel


