GMT 900 illuminated Door Sills OEM
 Sep 4, 2013 | 03:09 PM
#1

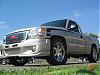
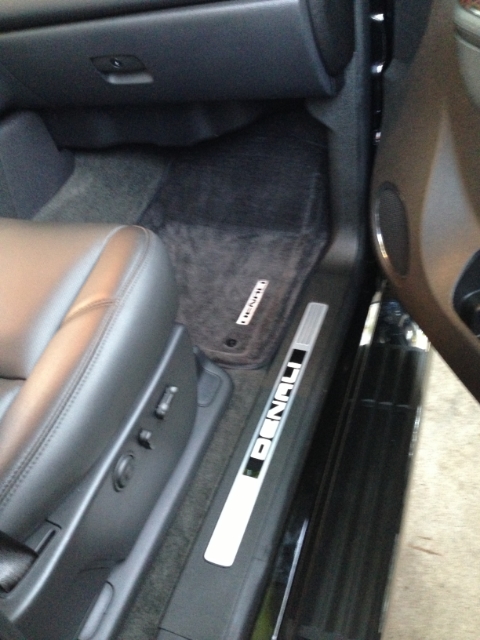
Guys I found a good price for some OEM illuminated door sills for my Denali and figured I would share some pics and a quick how to, as I couldn't find any good pics.
GM Part # (this could be out of date, so verify before you order)
19171554 "Chevrolet" (white)
19171555 "GMC" (red)
19171556 "Escalade" (white) Escalade
19172905 "Cadillac" [cursive script] (red)
19202873 "Denali" (white) Denali
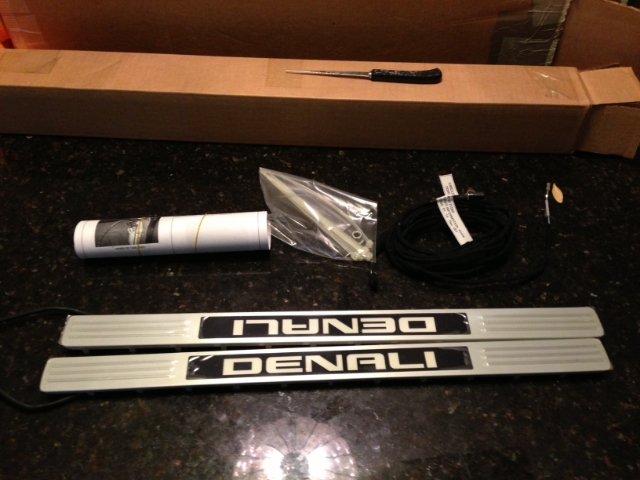

Ok its a very simple and straight forward install: The sills come with instructions including the hole templates
Here's my quick how to install version:
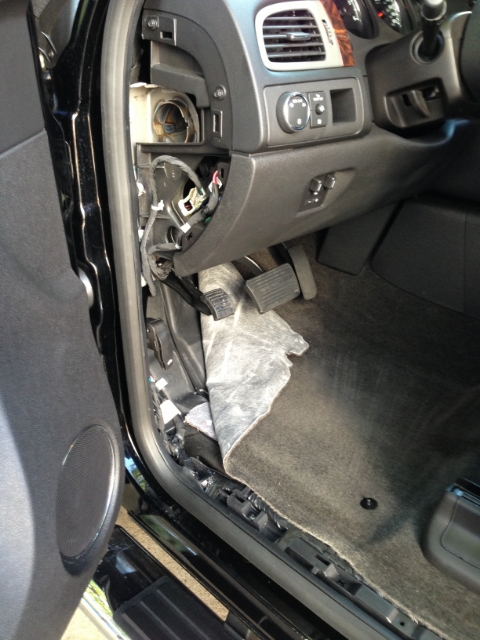
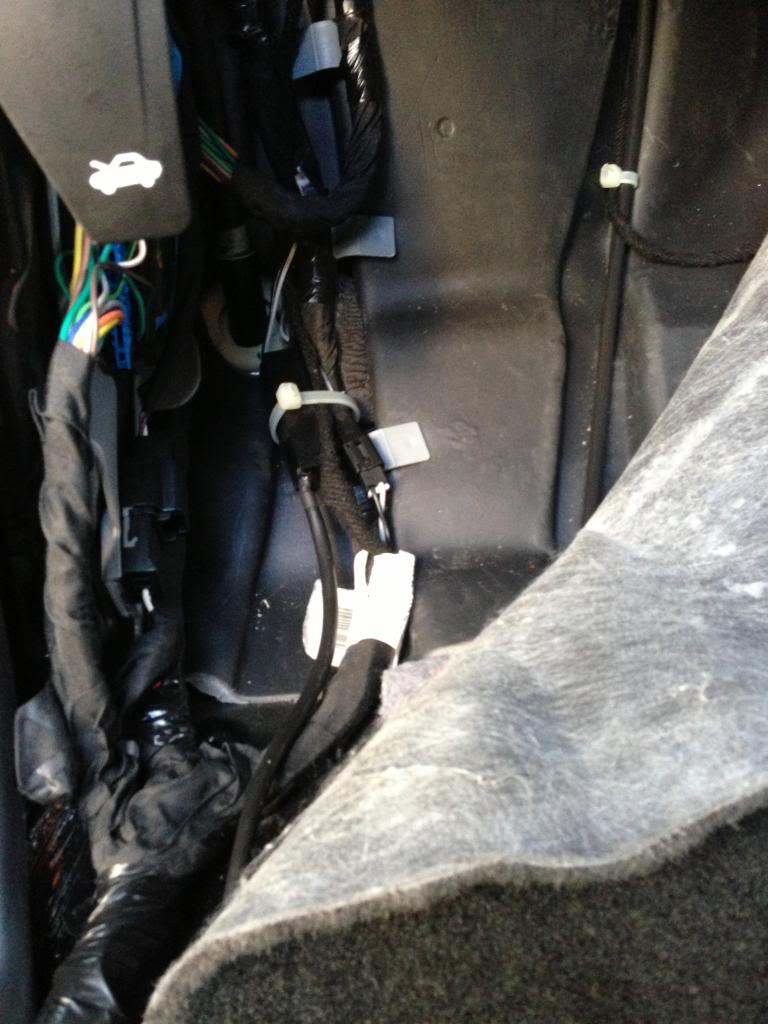
1. Remove the door sill/s, A-pillar kick panel/s & fuse panel cover/s, pull carpet back to run the wiring harness.
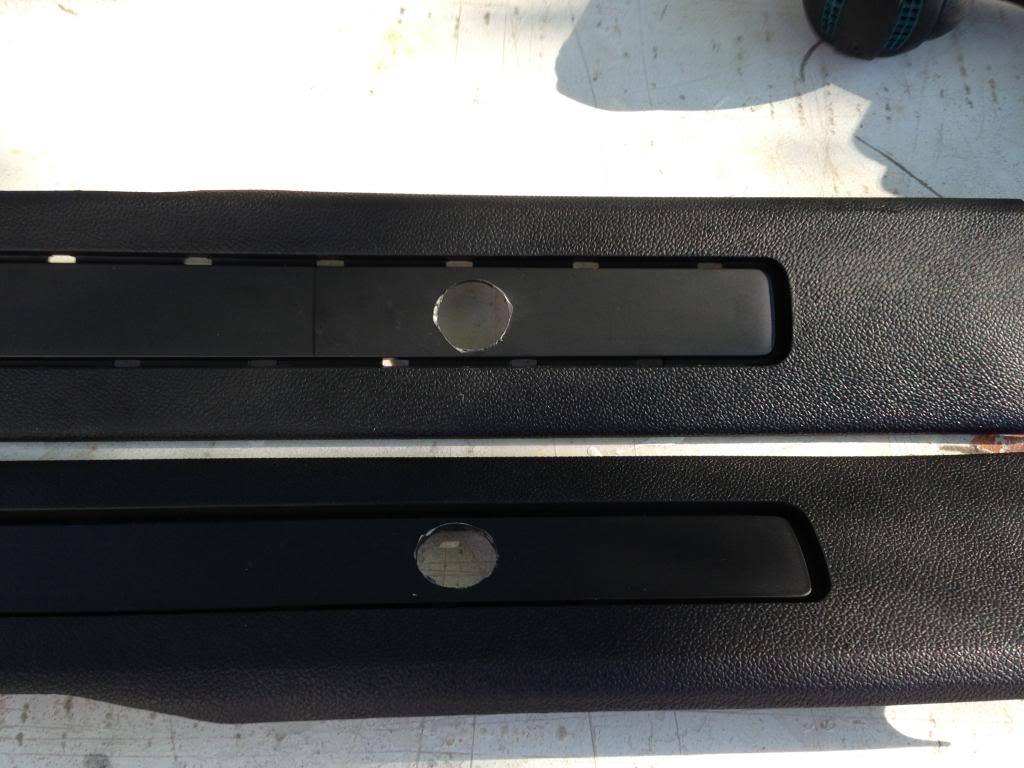
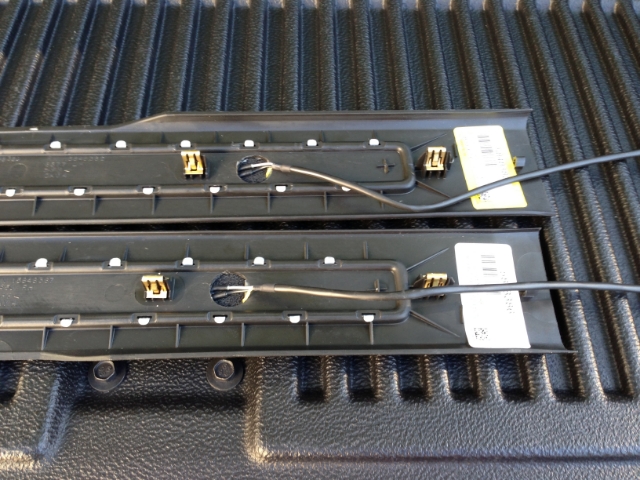
2. R&R metal inserts from the sill assy... by folding the tabs back to a straight position and the inserts just fall out. (I don't think a pic is needed)
3. using the temples drill a 1" hole in the forward section of the sill assy... I did this in steps, stepped up to a larger bit each time, as the plastic is soft and can tear ( the hole is to allow the transformer through)

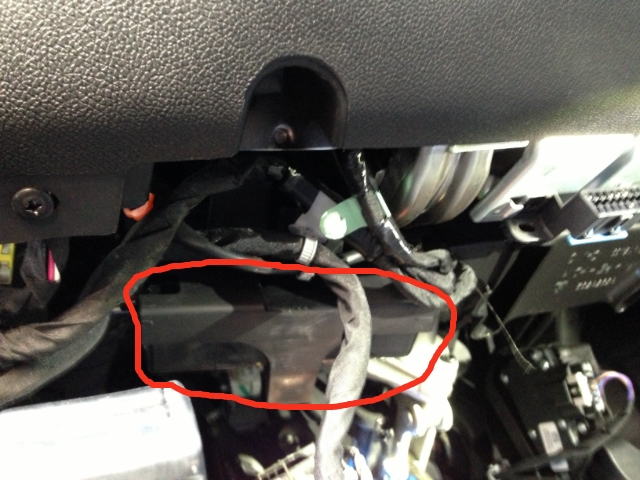
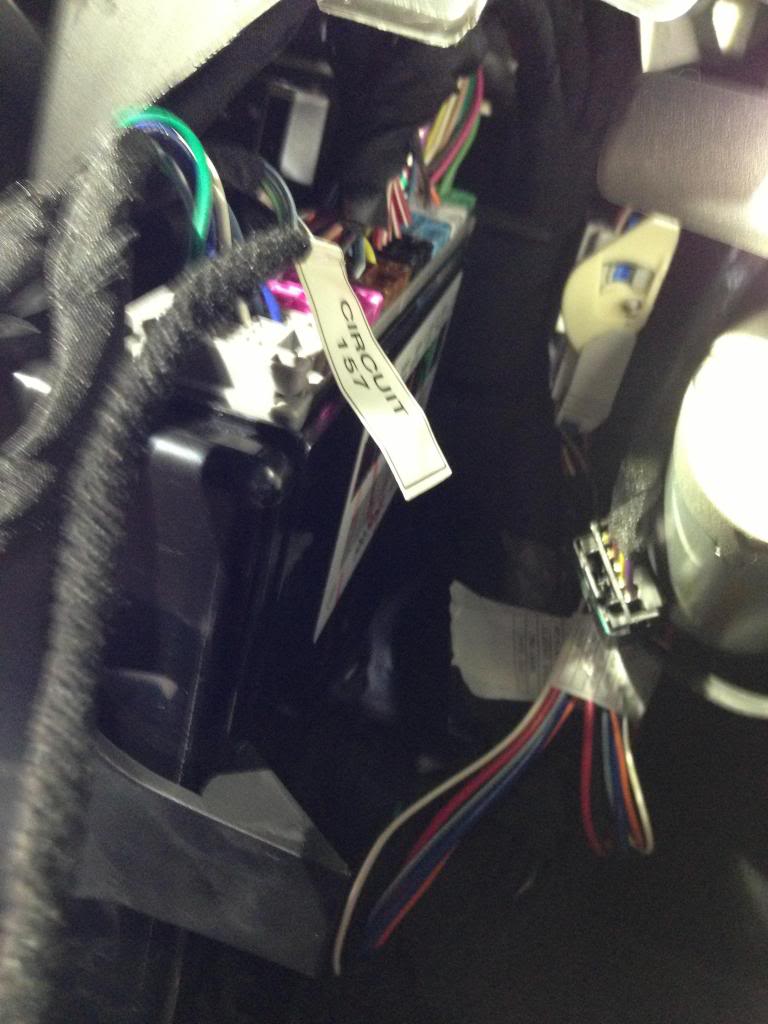
4. Remove battery ground, R&R BCM Body Control Module.
(located just above the OBD2 port behind the knee guard panel)
5. RR pink connector or J6 connector from BCM
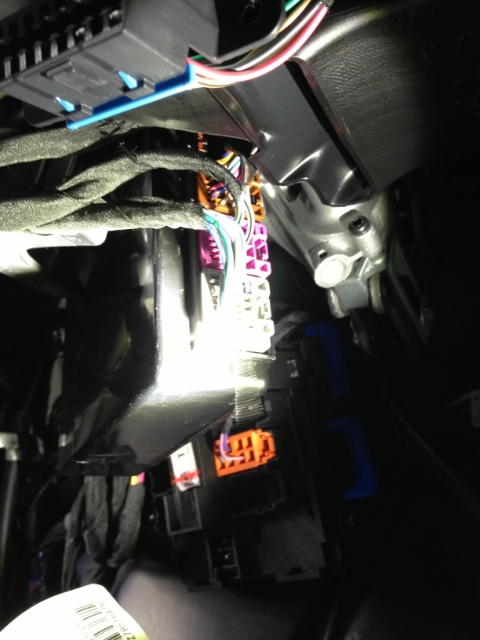
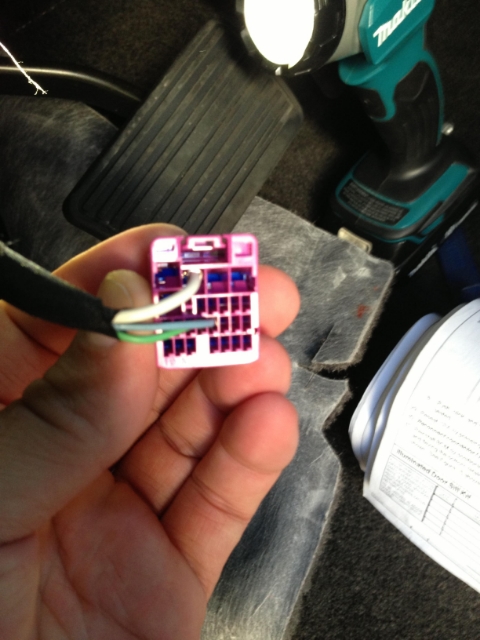
6. Install the Power/Positive pin into J6 connector "pin 1"

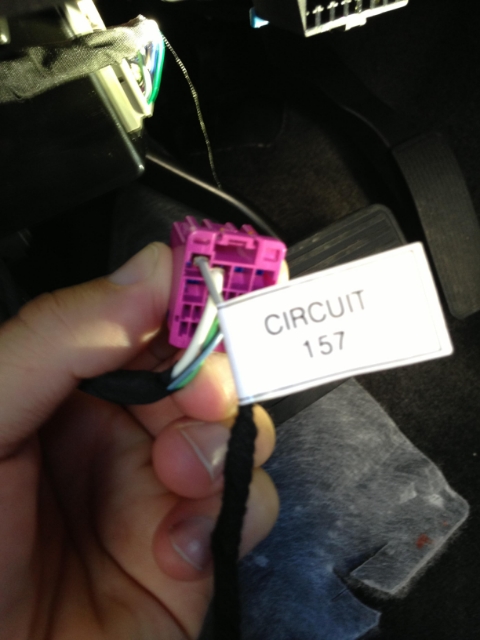
7. Reinstall J6 pink connector & BCM and run the wiring
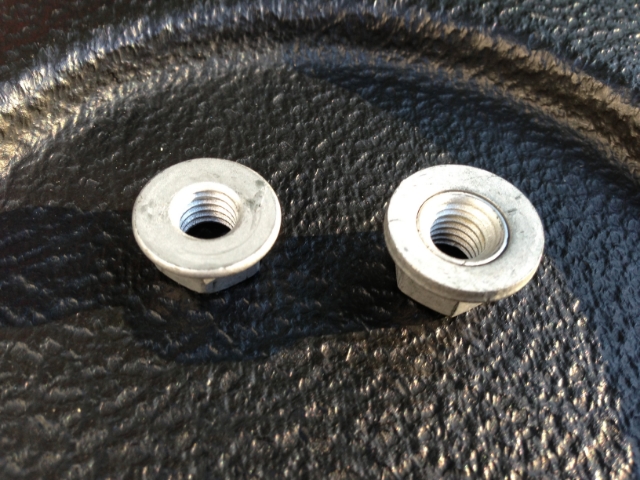
8. Install ground wire (ground location is just behind the parking brake pedal, it gets a new nut as pictured on the right, left is old R&R old and replace with new style)
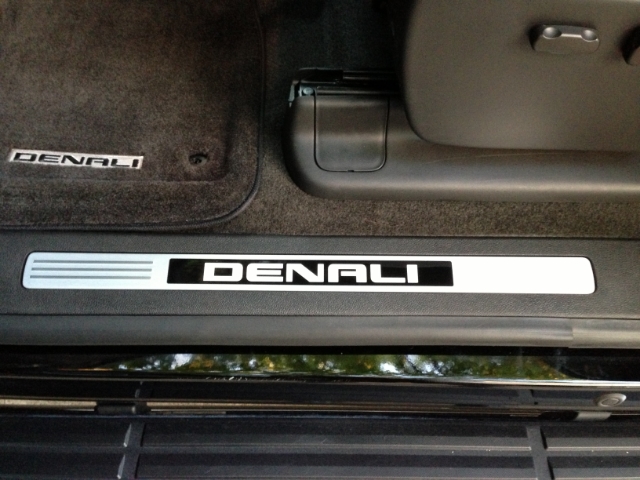
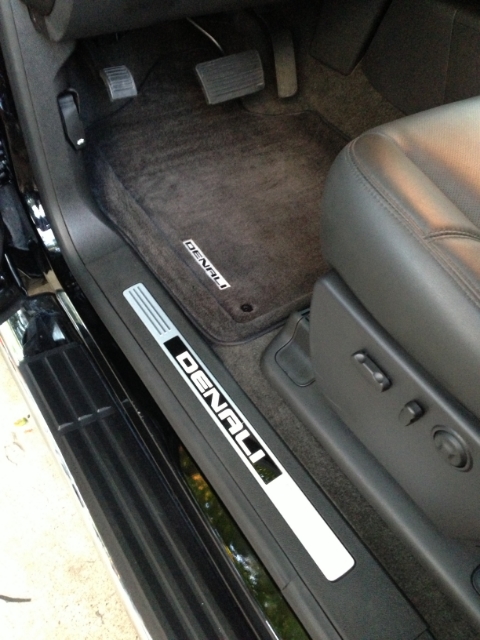
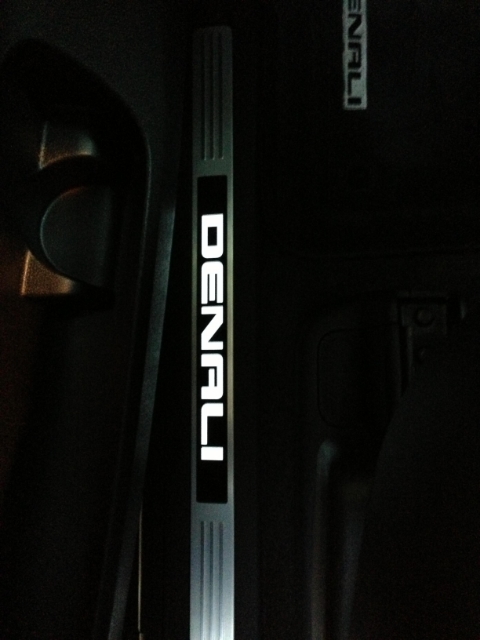
9. Route the wiring to the illuminated door sill, and run the wire to the passenger front side. (reconnect battery, then check operation of door sills before reinstalling trim panels, note they are very dim in the day as they are white light)
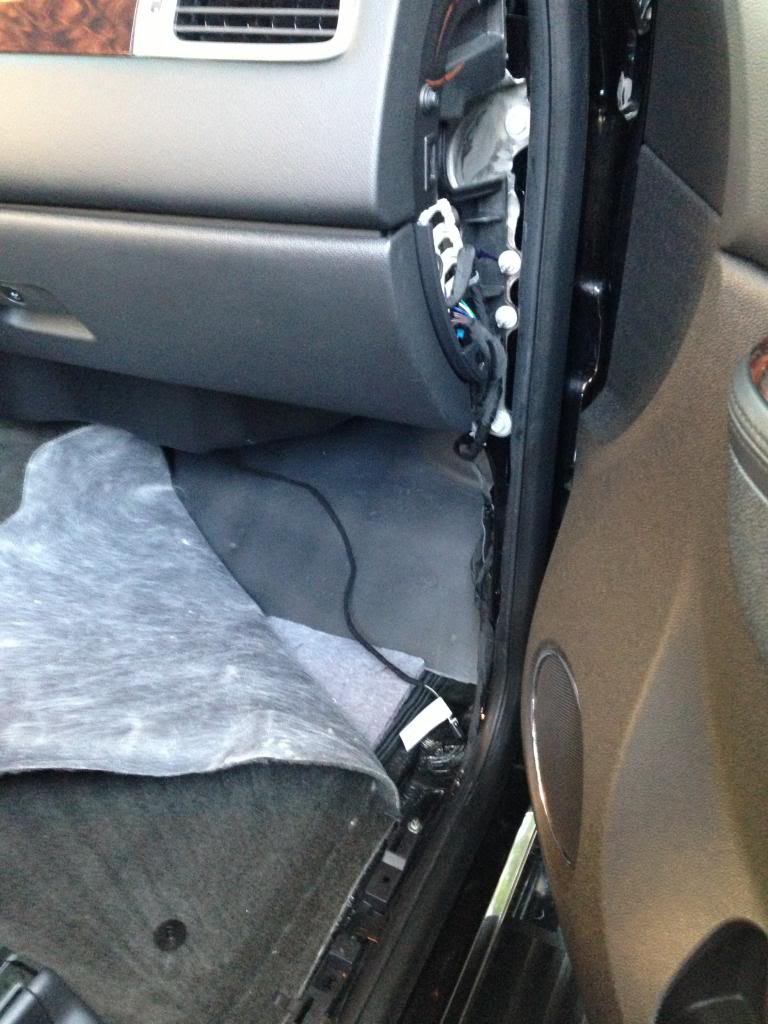
10. Reinstall all panels and sills be careful not to pinch the wiring.
Click the image below to watch a short video
GM Part # (this could be out of date, so verify before you order)
19171554 "Chevrolet" (white)
19171555 "GMC" (red)
19171556 "Escalade" (white) Escalade
19172905 "Cadillac" [cursive script] (red)
19202873 "Denali" (white) Denali


Ok its a very simple and straight forward install: The sills come with instructions including the hole templates
Here's my quick how to install version:
1. Remove the door sill/s, A-pillar kick panel/s & fuse panel cover/s, pull carpet back to run the wiring harness.

2. R&R metal inserts from the sill assy... by folding the tabs back to a straight position and the inserts just fall out. (I don't think a pic is needed)
3. using the temples drill a 1" hole in the forward section of the sill assy... I did this in steps, stepped up to a larger bit each time, as the plastic is soft and can tear ( the hole is to allow the transformer through)


4. Remove battery ground, R&R BCM Body Control Module.
(located just above the OBD2 port behind the knee guard panel)

5. RR pink connector or J6 connector from BCM


6. Install the Power/Positive pin into J6 connector "pin 1"


7. Reinstall J6 pink connector & BCM and run the wiring

8. Install ground wire (ground location is just behind the parking brake pedal, it gets a new nut as pictured on the right, left is old R&R old and replace with new style)

9. Route the wiring to the illuminated door sill, and run the wire to the passenger front side. (reconnect battery, then check operation of door sills before reinstalling trim panels, note they are very dim in the day as they are white light)


10. Reinstall all panels and sills be careful not to pinch the wiring.
Click the image below to watch a short video
Last edited by camcamaro1991; Oct 26, 2013 at 09:49 PM.