


HOMEMADE Tow Hook Scoops Pics Part-3 w/ How-To write up (56k suffer)
 Nov 19, 2006 | 03:06 PM
#1

Thread Starter
Resident Retard
iTrader: (31)
Joined: Jan 2006
Posts: 17,216
Likes: 20
From: Fort Worth - TX
 HOMEMADE Tow Hook Scoops Pics Part-3 w/ How-To write up (56k suffer)
Part-1
Part-2
I decided along with the new Intake lid, I wanted a Tow Hook scoop (maybe 2, one for each side) for a little fresh air. In my two other threads some guys wanted to know how I made the Lid, so I this is a how-to on making a tow Hook Scoop.
1. First trace the outline of the tow hook opening and transfer that to a piece of MDF (I use MDF cause it is soft and easy to sand.
2. Cut additional pieces smaller than the previous and nail together. Making a stair like incline.
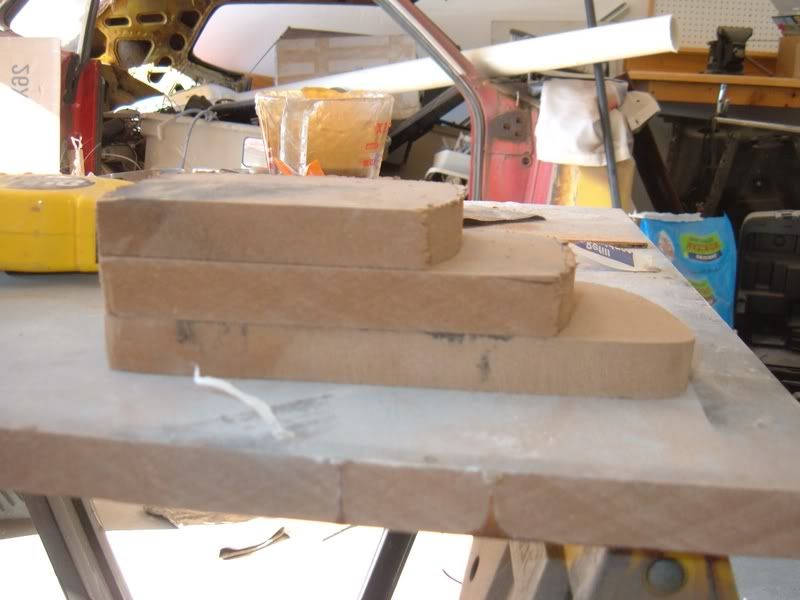
3. Using some sort of sander smooth down the edges. I used an angle grinder with a flexible disk. BEWARE this makes a MONSTEROUS mess!!!
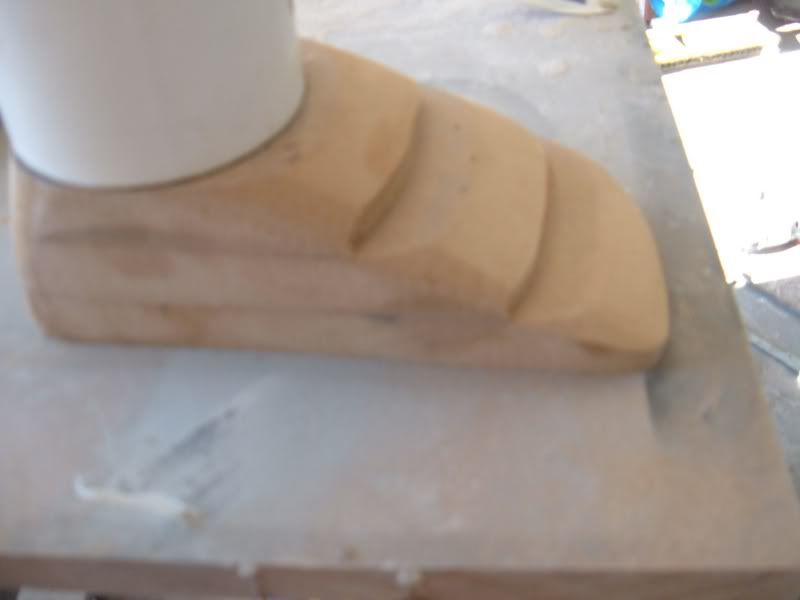
4. Apply some fiberglass to seal in the wood.
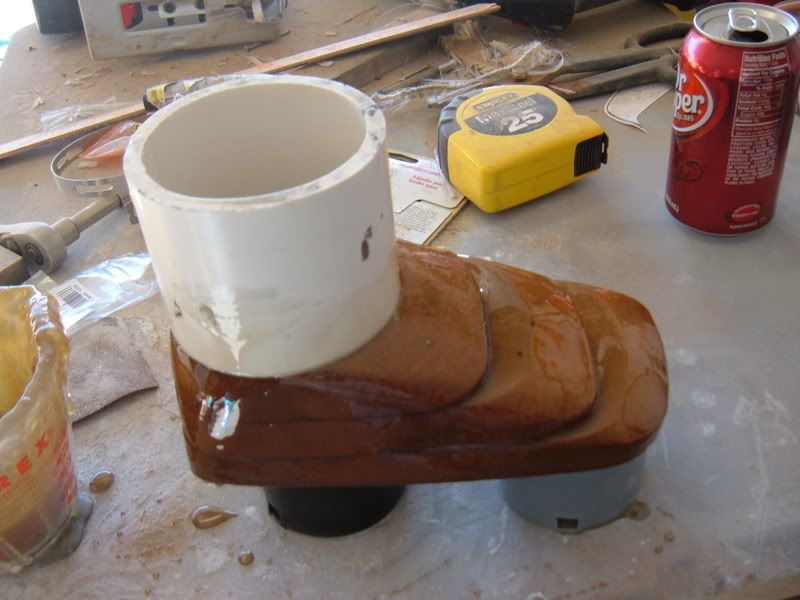
5. Apply some body filler, enough to for a smooth finish. the cheaper the body filler the easier it is to sand!
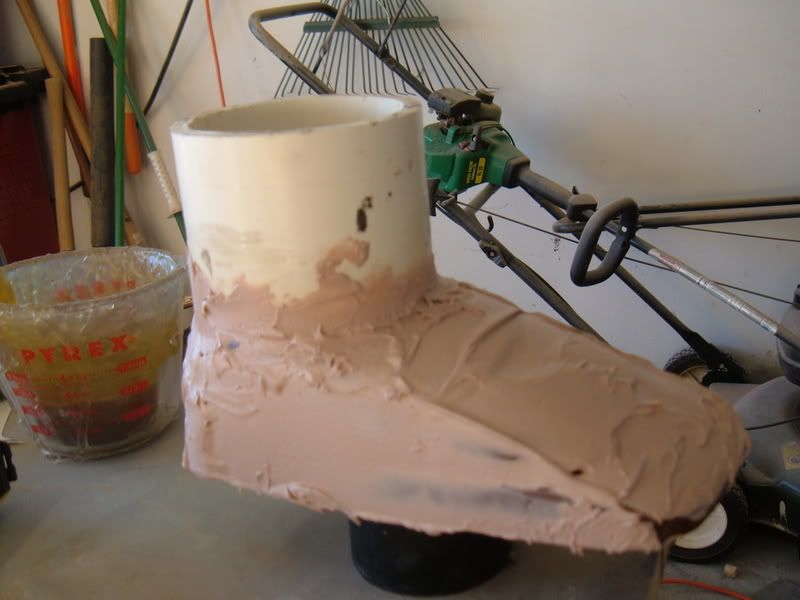
6. Sand down the body filler
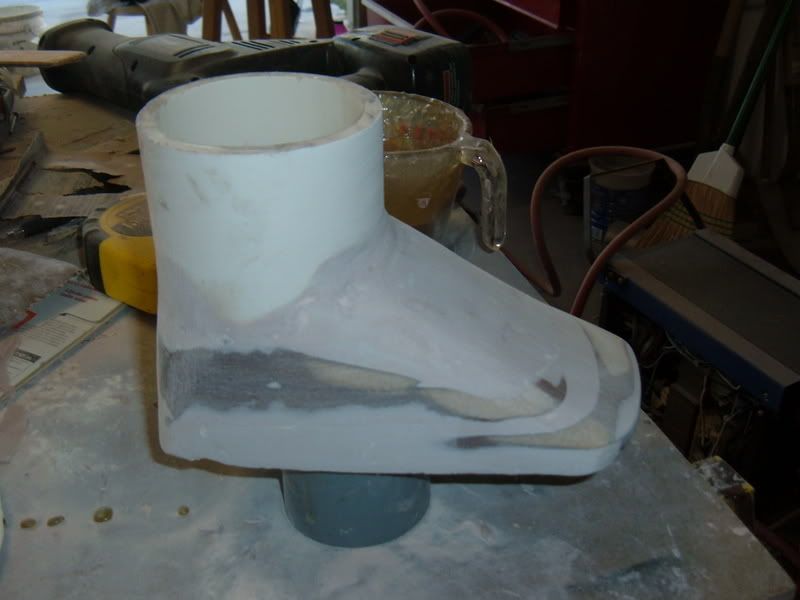
7. I added and additional 2 inches of wood so I can have some extra material to be sure it fits properly
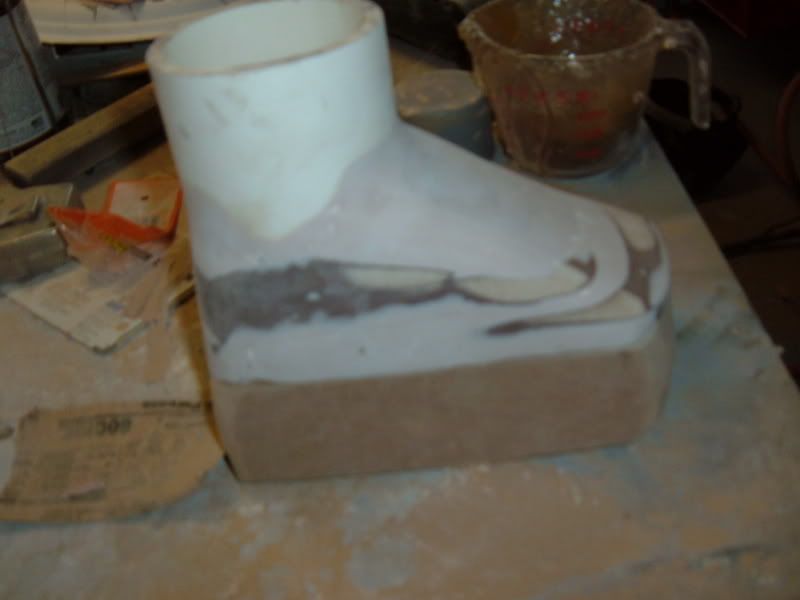
8. Add more body filler and sand smooth. Attach the mold to a piece of wood, use screws from the bottom so the wood can be removed later.
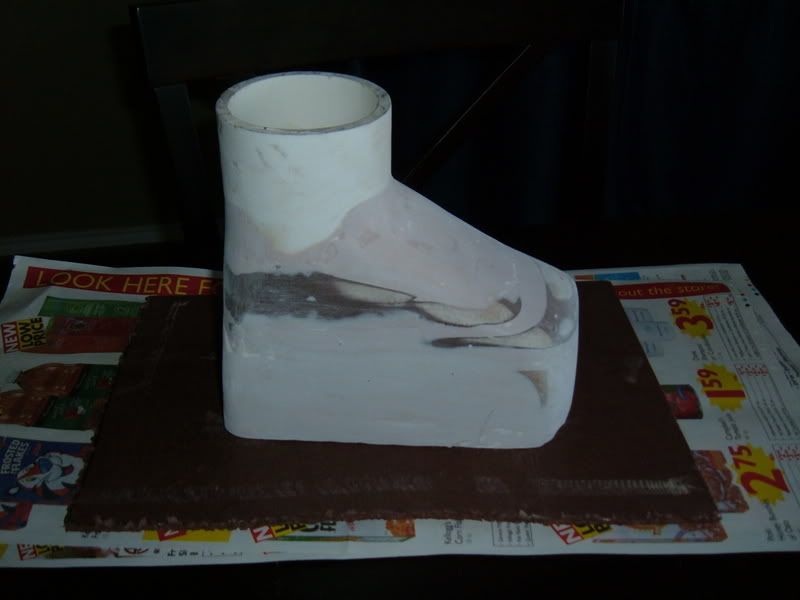
9. Cover the mold in Foil. The smoother the foil is the smoother the piece will be. This prevents the fiberglass from bonding with the mold.
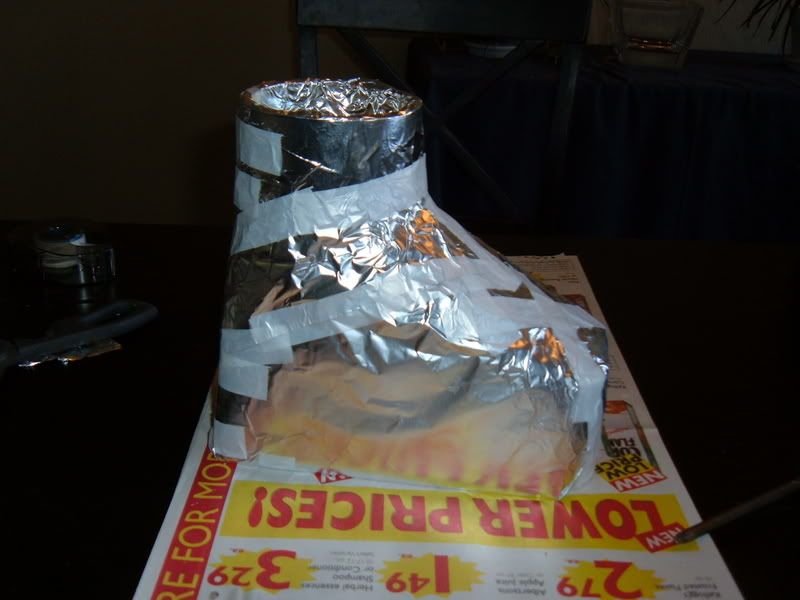
10. Now cover the foil in clear packing tape. This helps the foil stay in place and prevents leaking into foil or wood.
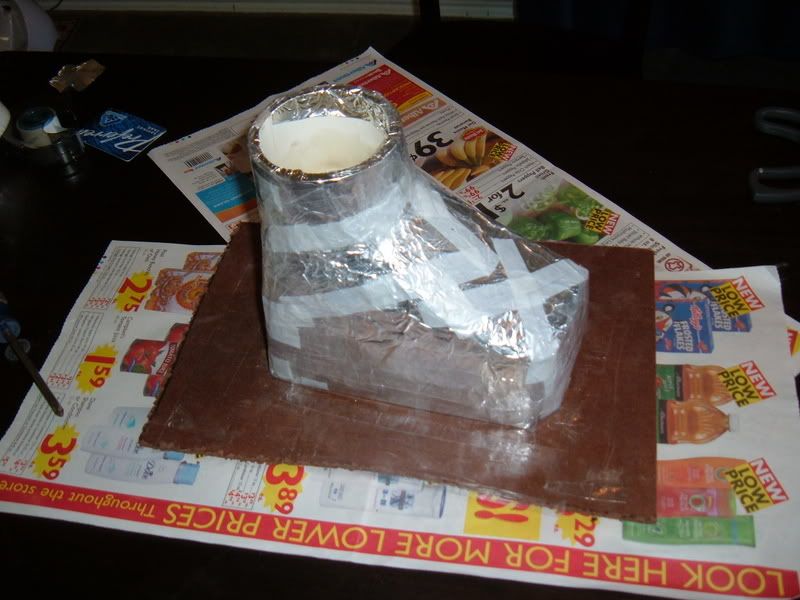
11. Brush on some fiberglass resin. Use cheap brushes since the resin will ruin them. I put on like 5 coats waiting about 10-15 min between coats or until the resin starts to harden, but still tacky.
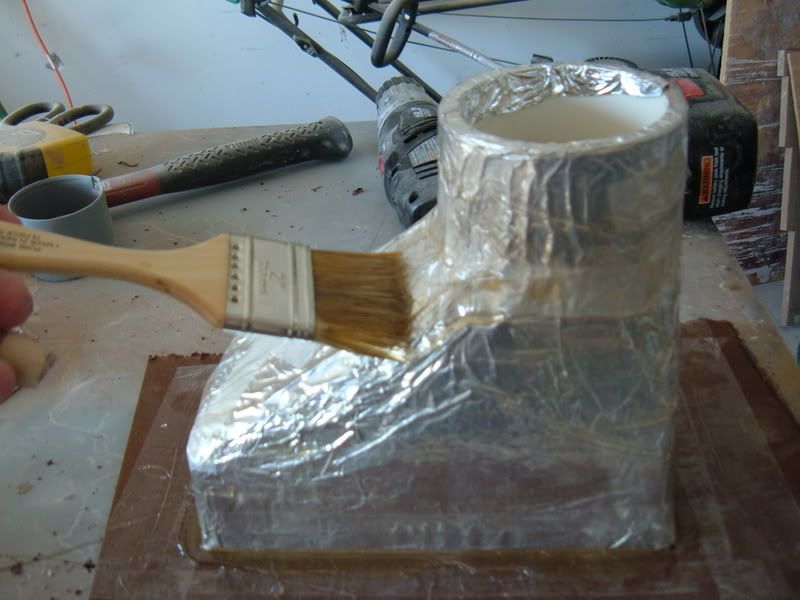
12. After final coat allow it to harden for about 30 min. You don't want to wait to long (hours) because you need the fiberglass to still be plyable in order to remove it from the mold.
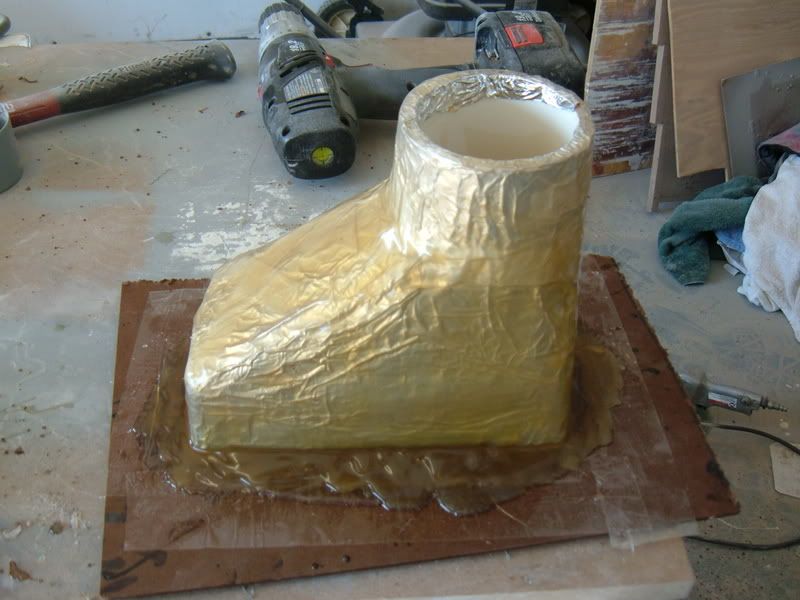
13. Remove the bottom board and pull the mold out.
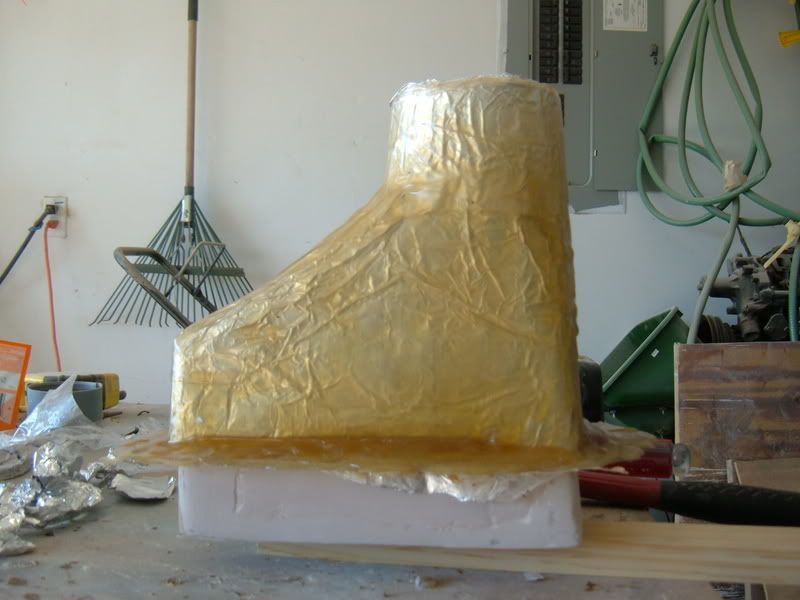
14. The raw scoop
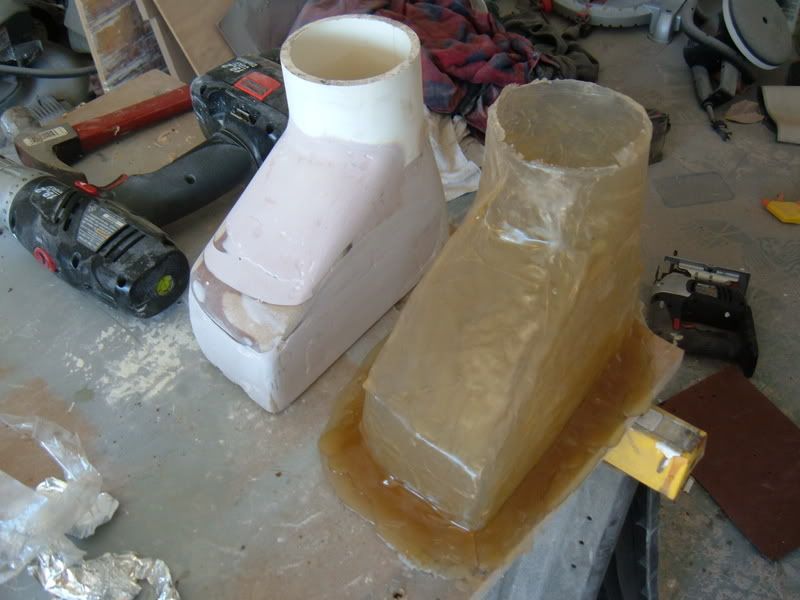
15. Trim off the excess. I used a cut-off-wheel
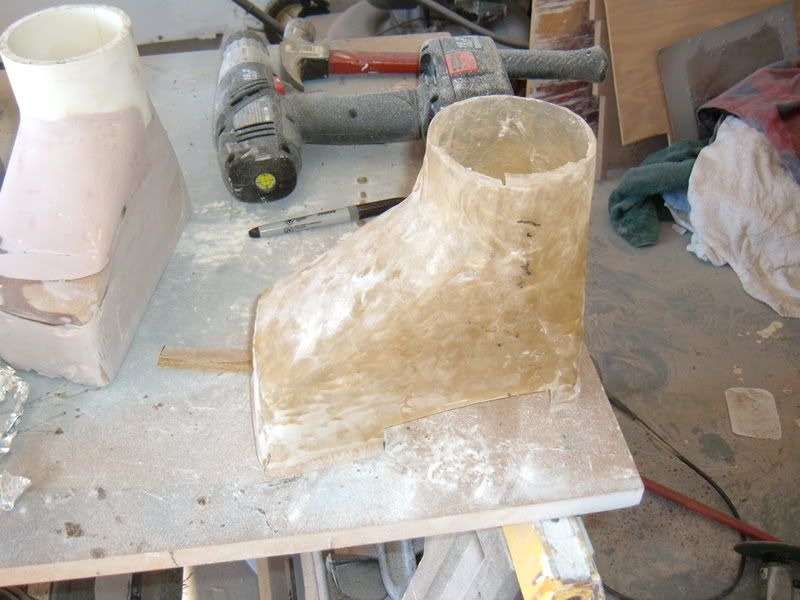
16. Front view
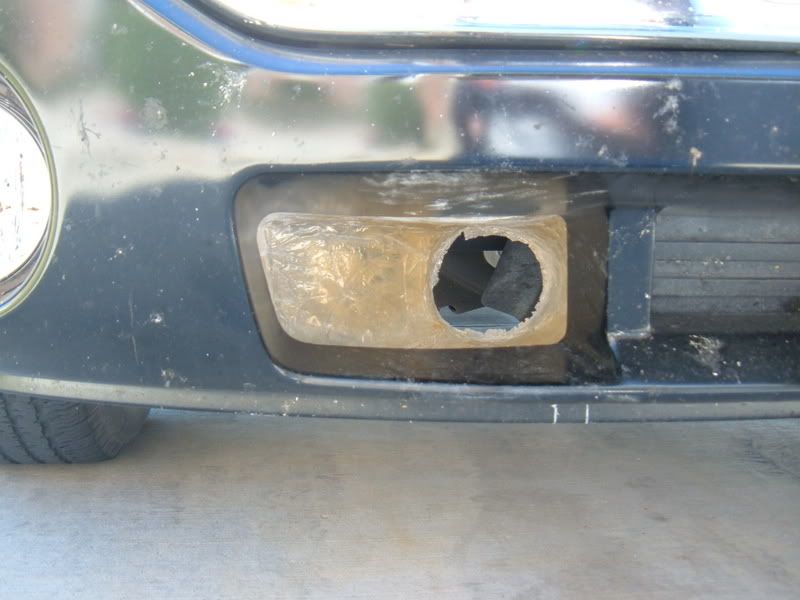
17. Back view
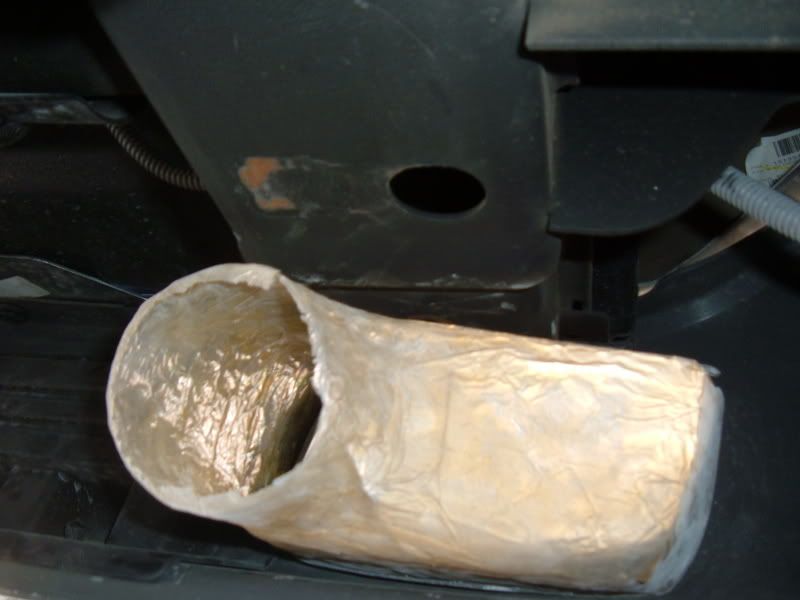
the piece still needs some more resin applied and matting, and sanded smooth and painted but that will be in another update.
Enjoy.
Part-2
I decided along with the new Intake lid, I wanted a Tow Hook scoop (maybe 2, one for each side) for a little fresh air. In my two other threads some guys wanted to know how I made the Lid, so I this is a how-to on making a tow Hook Scoop.
1. First trace the outline of the tow hook opening and transfer that to a piece of MDF (I use MDF cause it is soft and easy to sand.
2. Cut additional pieces smaller than the previous and nail together. Making a stair like incline.
3. Using some sort of sander smooth down the edges. I used an angle grinder with a flexible disk. BEWARE this makes a MONSTEROUS mess!!!
4. Apply some fiberglass to seal in the wood.
5. Apply some body filler, enough to for a smooth finish. the cheaper the body filler the easier it is to sand!
6. Sand down the body filler
7. I added and additional 2 inches of wood so I can have some extra material to be sure it fits properly
8. Add more body filler and sand smooth. Attach the mold to a piece of wood, use screws from the bottom so the wood can be removed later.
9. Cover the mold in Foil. The smoother the foil is the smoother the piece will be. This prevents the fiberglass from bonding with the mold.
10. Now cover the foil in clear packing tape. This helps the foil stay in place and prevents leaking into foil or wood.
11. Brush on some fiberglass resin. Use cheap brushes since the resin will ruin them. I put on like 5 coats waiting about 10-15 min between coats or until the resin starts to harden, but still tacky.
12. After final coat allow it to harden for about 30 min. You don't want to wait to long (hours) because you need the fiberglass to still be plyable in order to remove it from the mold.
13. Remove the bottom board and pull the mold out.
14. The raw scoop
15. Trim off the excess. I used a cut-off-wheel
16. Front view
17. Back view
the piece still needs some more resin applied and matting, and sanded smooth and painted but that will be in another update.
Enjoy.


 Nov 19, 2006 | 04:32 PM
#5
Thread Starter
Resident Retard
iTrader: (31)
Joined: Jan 2006
Posts: 17,216
Likes: 20
From: Fort Worth - TX
Originally Posted by TXMaro
a little rattle can would make it look much nicer, but nice install
 Nov 19, 2006 | 05:00 PM
#7
Thread Starter
Resident Retard
iTrader: (31)
Joined: Jan 2006
Posts: 17,216
Likes: 20
From: Fort Worth - TX
Originally Posted by xchevyx24
thats sweet im going to try to see if i can do this stuff. well im off to home depot

Trending Topics
Nov 19, 2006 | 05:54 PM
#8

TECH Enthusiast
Joined: Jun 2005
Posts: 601
Likes: 0
From: Napoleonville,La.
Originally Posted by BlackGMC
One word of advice, make sure to get all the sticky resin off of your hands before playing with your wife/GF *****, I got a good slapping for that one...
Nov 19, 2006 | 06:48 PM
#9

Originally Posted by BlackGMC
One word of advice, make sure to get all the sticky resin off of your hands before playing with your wife/GF *****, I got a good slapping for that one...
good work man, looks like you're getting pretty good at working with glass now. I'm tellin ya, try the fleece just one time and you'll love it, you dont have to sand near as much and it's strong as ****.
Nov 19, 2006 | 06:56 PM
#10

i have been toying with the idea to make a cold air scoop in the fog light hole. i am going to try this tomorrow. off to lowes in the morning!! btw, how did that other air lid project of yours turn out? i bet that your g/f was pissed when she found her good pyrex measuring cup in the garage ruined 
Last edited by LS1TRUCKGUY; Nov 19, 2006 at 07:01 PM.