
My 4L80e Build Thread
 May 10, 2017 | 04:34 PM
#71

Thread Starter
TECH Senior Member
iTrader: (5)
Joined: Dec 2010
Posts: 5,235
Likes: 4
From: Las Vegas, NV
Well...I'm back on it two years later. Haven't been on this site in a long while but I'm going to try and keep this updated. I need your guys' help!!
Here is where I am right now. Started knocking all the bushing out yesterday. What a bitch that is. I have two places where I might have to cut the bushings out with a dremel... Hopefully I can get most of the new bushings in tonight. Have all of you used a press to get new bushings in??
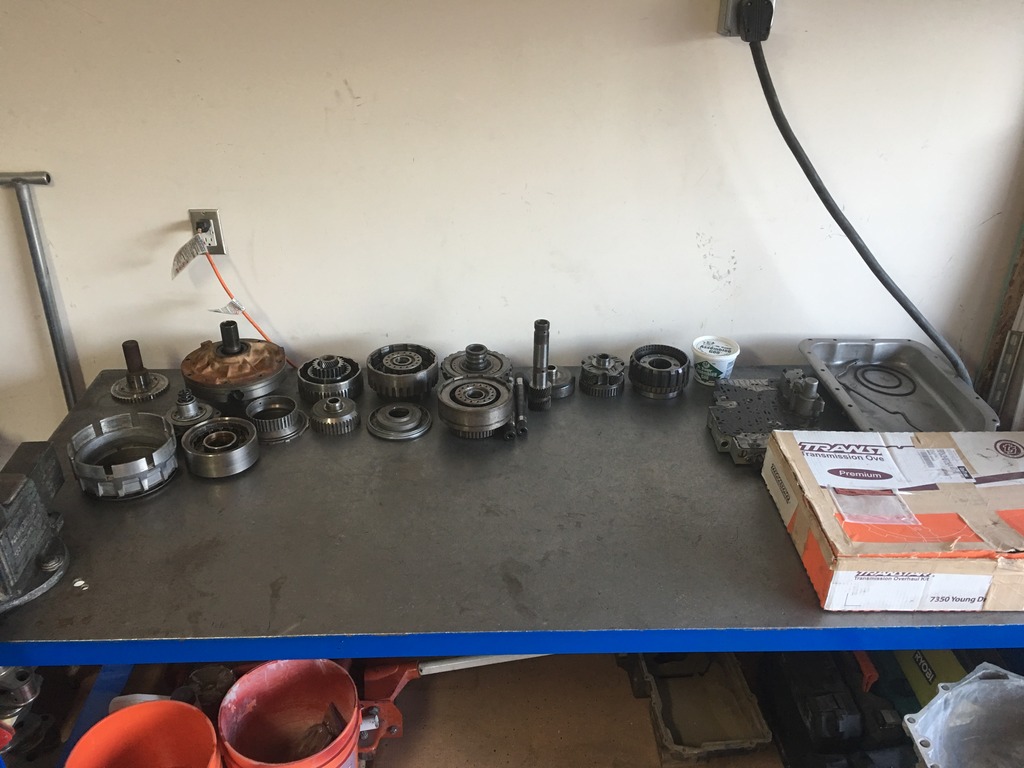
Here is where I am right now. Started knocking all the bushing out yesterday. What a bitch that is. I have two places where I might have to cut the bushings out with a dremel... Hopefully I can get most of the new bushings in tonight. Have all of you used a press to get new bushings in??
 May 11, 2017 | 09:56 AM
#72
Thread Starter
TECH Senior Member
iTrader: (5)
Joined: Dec 2010
Posts: 5,235
Likes: 4
From: Las Vegas, NV
Got the rest of the bushings out yesterday. Had to use the dremel on the sun gear shaft bushings, and front planet, but I got them out. 
I installed all the new bushings last night and am ready to get going on the rest of the build. This core is a 4wd and I'll need to convert it to 2wd. So I'm going to order a new output shaft and extension housing today. Anyone know how to get the silver plug out of the rear of the case to install the 2wd plug so the extension housing gets lube for the yoke??
I installed all the new bushings last night and am ready to get going on the rest of the build. This core is a 4wd and I'll need to convert it to 2wd. So I'm going to order a new output shaft and extension housing today. Anyone know how to get the silver plug out of the rear of the case to install the 2wd plug so the extension housing gets lube for the yoke??
May 12, 2017 | 09:28 AM
#73
Thread Starter
TECH Senior Member
iTrader: (5)
Joined: Dec 2010
Posts: 5,235
Likes: 4
From: Las Vegas, NV
Since I'm converting from a 4wd core to 2wd, I went and found an extension housing and output shaft locally last night. I got home, put the new bushing in the output shaft, went to put the new bushing in the extension housing, and the bushing fell right through the bore...
So after looking through transtars catalog, I realized they gave me parts for a later model core.. The early cores have two lube holes and an o-ring provision in the output shaft where the one they gave me didn't have either. Hopefully I get the correct parts today so I can start putting everything in the case.
Does anyone know if I can buy just the springs out of the transgo HD2 kit somewhere? No reason to spend $100 when I'm just going to use the springs out of it.
I am doing the internal dual feed mods, drilling 3/64" hole in pump stator, and drilling 1/16" hole in direct drum. What about the block off screw for the case to complete the dual feed? Does that come with the HD2 kit or where is everyone getting those?
May 15, 2017 | 10:49 AM
#74
Thread Starter
TECH Senior Member
iTrader: (5)
Joined: Dec 2010
Posts: 5,235
Likes: 4
From: Las Vegas, NV
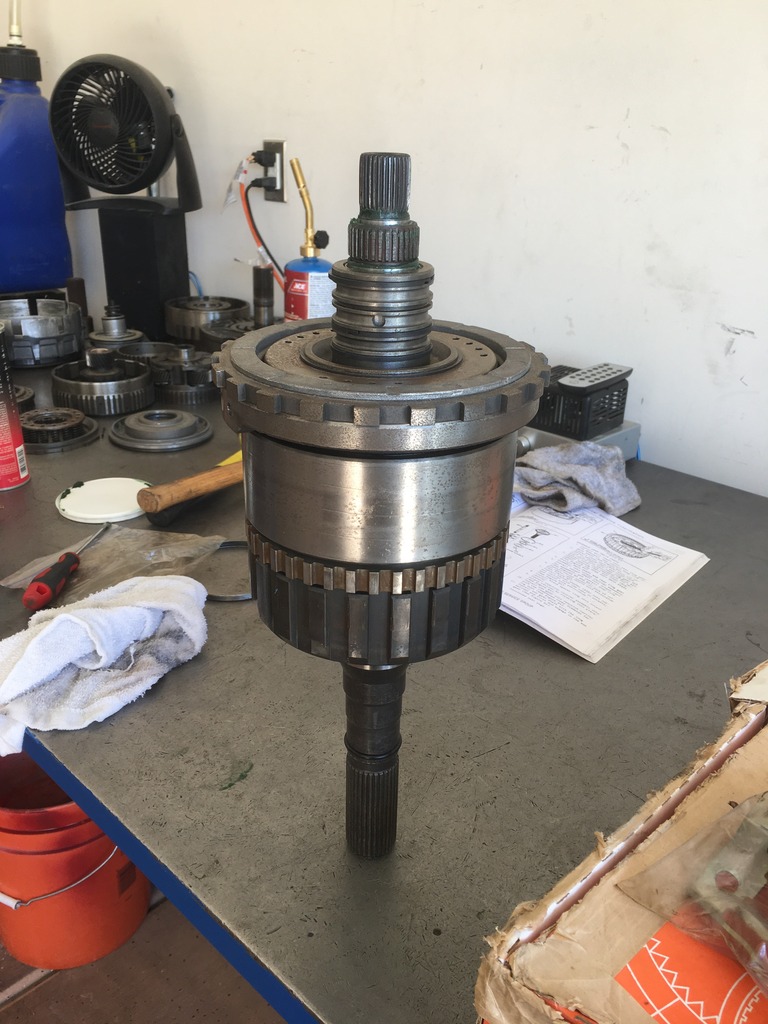
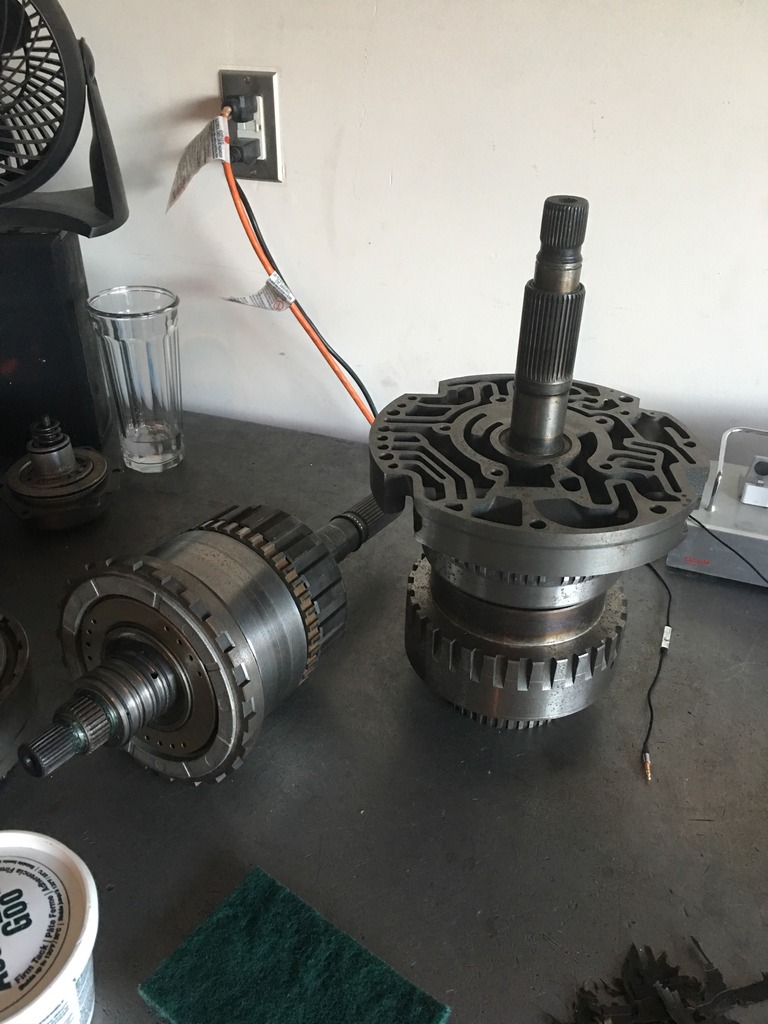
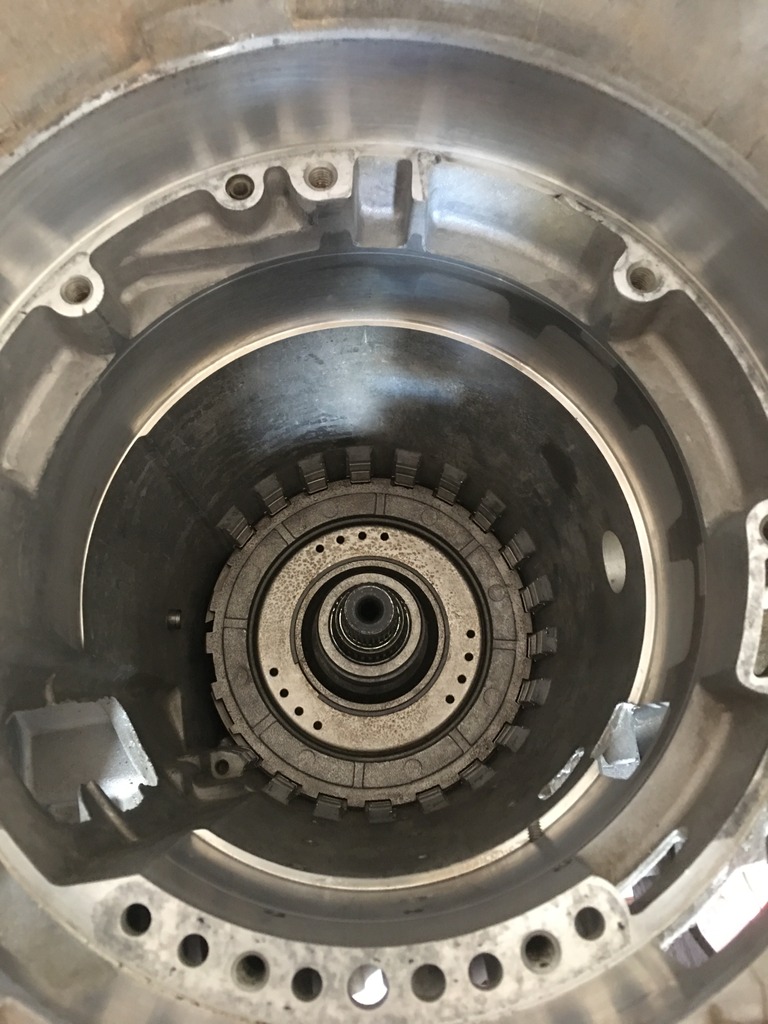
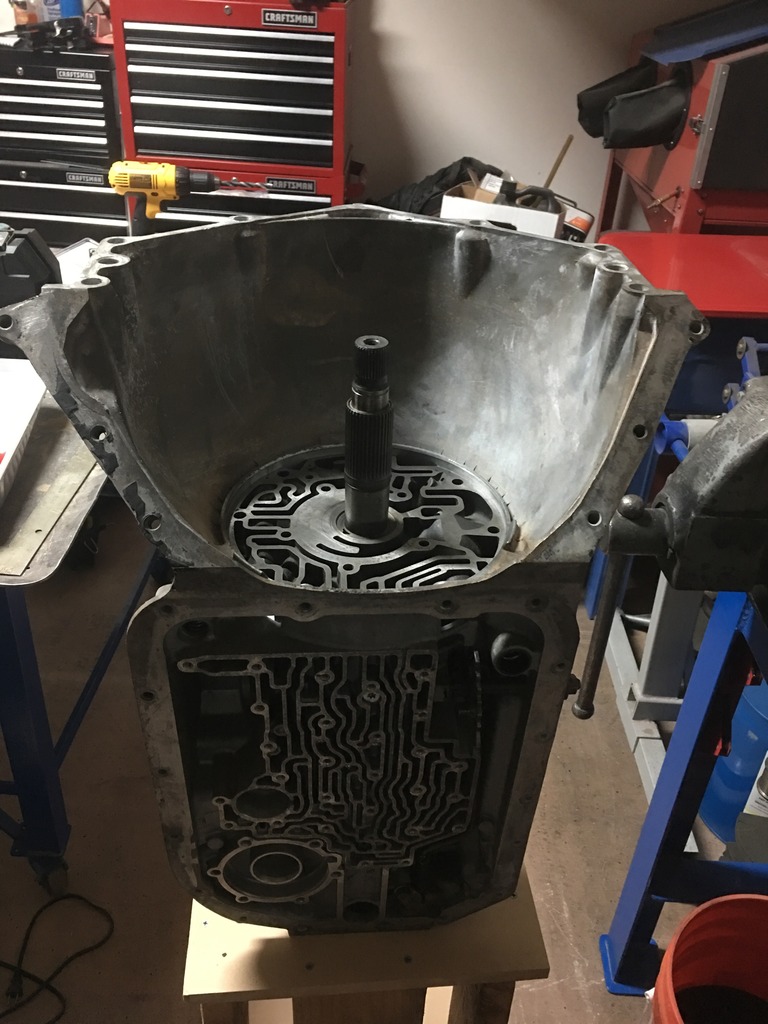
Got a good jump on the build Saturday! I got the 4wd plug removed from the rear of the case... Actually wasn't as bad as I was expecting from what I've read. Just drilled a small hole off to one side of the plug and then stepped up drill bits until I could pull the plug out. You can see the 2wd seal in place now:

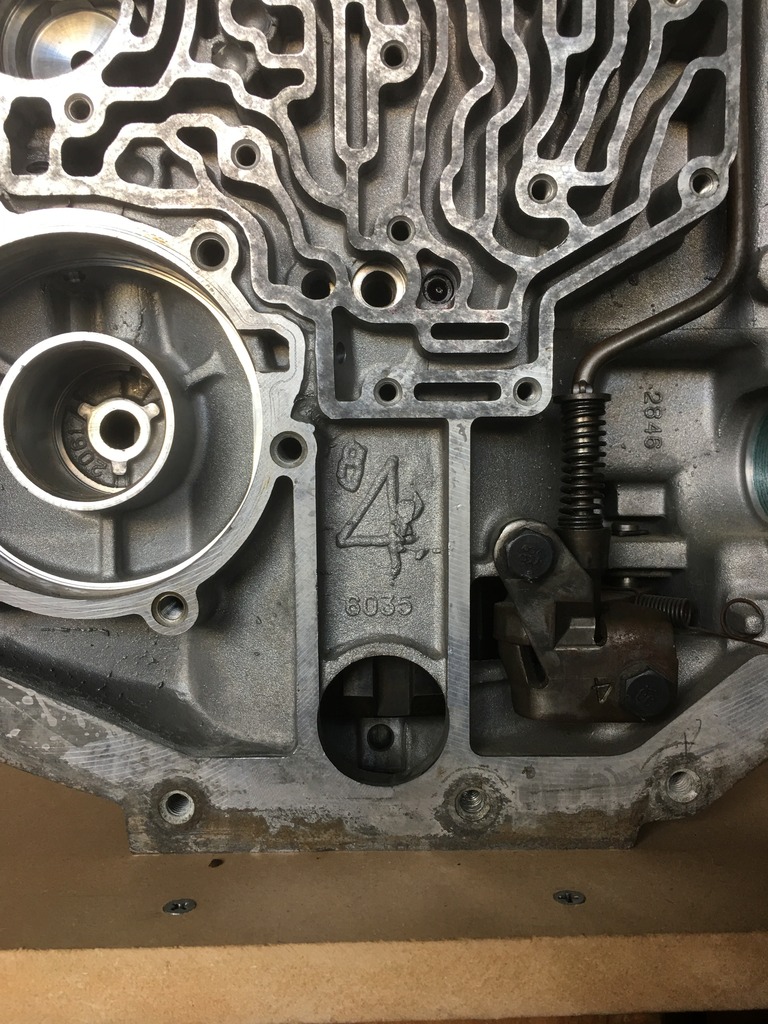
Then I drilled the stock vb plate, drilled the direct drum, and drilled the pump. After that, I got all the sub assemblies put together. Everything is ready to go in the case. I have some left over wood in my garage I might make a simple little stand to keep the case upright. Should have everything in the case tonight.
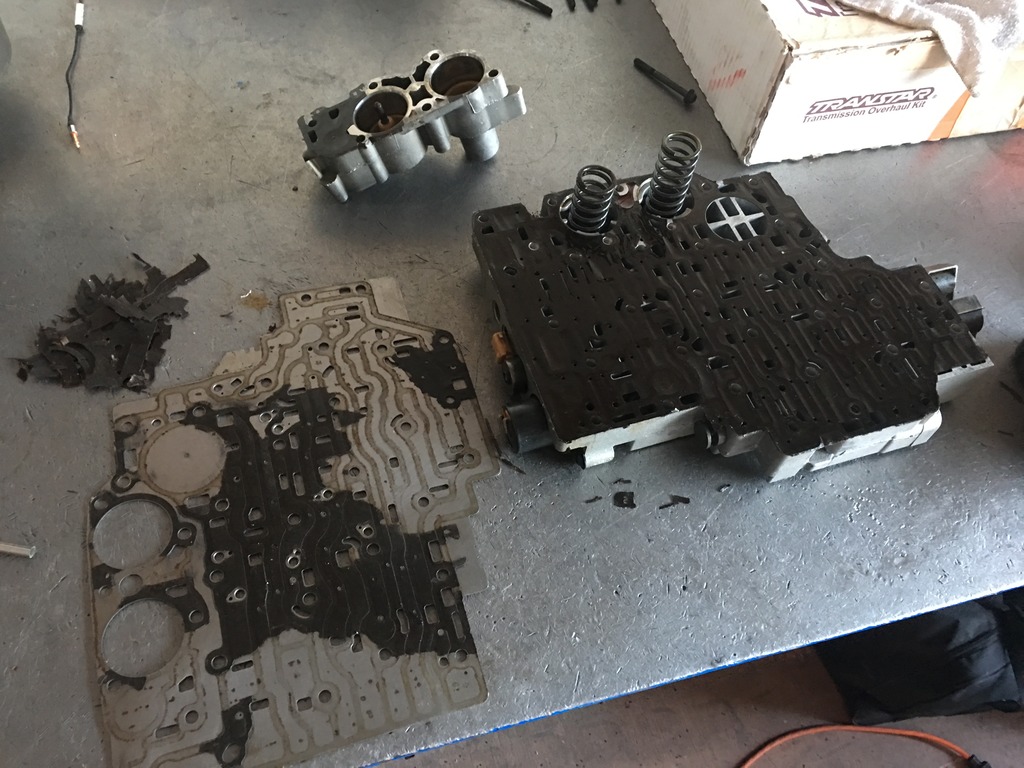
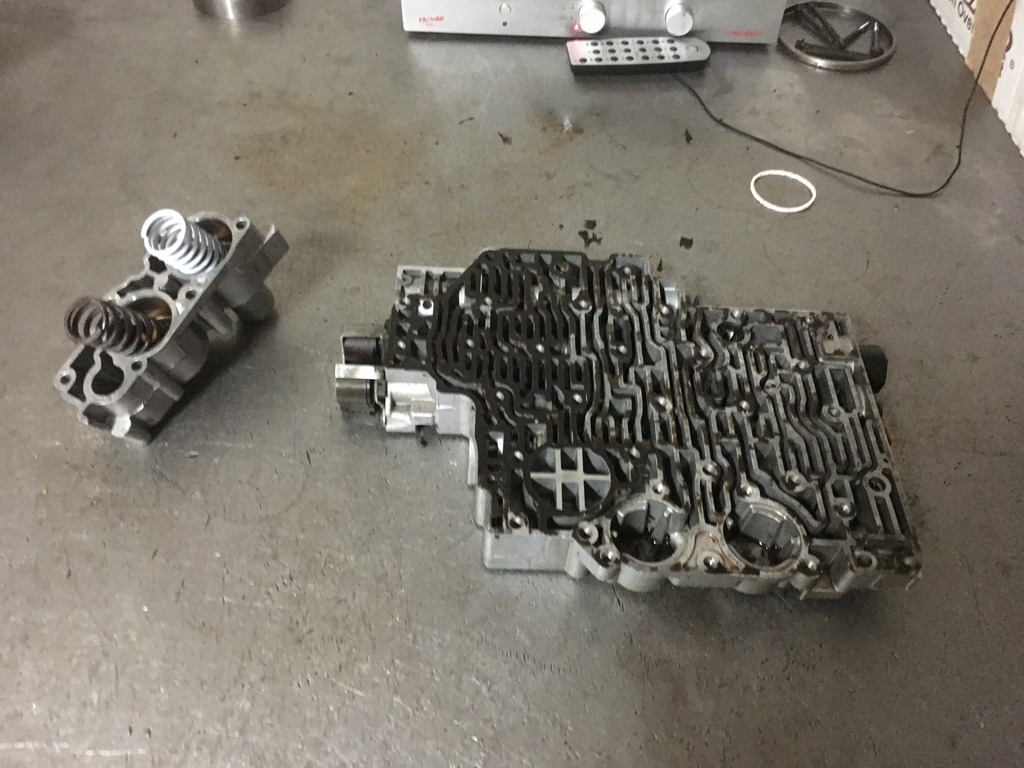
Once I get everything in the case, I can finish scraping the valve body. That gasket is a bitch to get off...Then I need to figure out if I need to order a boost valve and a transgo hd2 kit or not...Converter should be here next week from Circle D
 May 16, 2017 | 09:06 AM
#77
Thread Starter
TECH Senior Member
iTrader: (5)
Joined: Dec 2010
Posts: 5,235
Likes: 4
From: Las Vegas, NV
Can anyone help me with checkball placement? I'm doing the internal dual feed process, so what checkballs can I omit to firm up shifts?
I read that Jake says I have to leave the two checkballs in the valve body so the I don't have a leak in 3rd gear. But I can omit the #9 reverse checkball. Are there any other ones that can be taken out?
The link below shows how jake takes out 5 checkballs in the valvebody but I know he sends an accumulator block off plate with his kits... Any advice would be appreciated!
http://www.jakesperformance.com/wp-c...s-12222016.pdf
May 16, 2017 | 10:10 PM
#78
Thread Starter
TECH Senior Member
iTrader: (5)
Joined: Dec 2010
Posts: 5,235
Likes: 4
From: Las Vegas, NV
I messed up.....
Looks like I swapped the pump bushing with the rear case bushing. Went to lower the first gear train in the case and the output shaft wont slip into the bushing. I already staked the bushing in the pump so I guess I need new ones. Ugh I'm so pissed.
Looks like I swapped the pump bushing with the rear case bushing. Went to lower the first gear train in the case and the output shaft wont slip into the bushing. I already staked the bushing in the pump so I guess I need new ones. Ugh I'm so pissed.
May 17, 2017 | 09:04 AM
#79
Thread Starter
TECH Senior Member
iTrader: (5)
Joined: Dec 2010
Posts: 5,235
Likes: 4
From: Las Vegas, NV
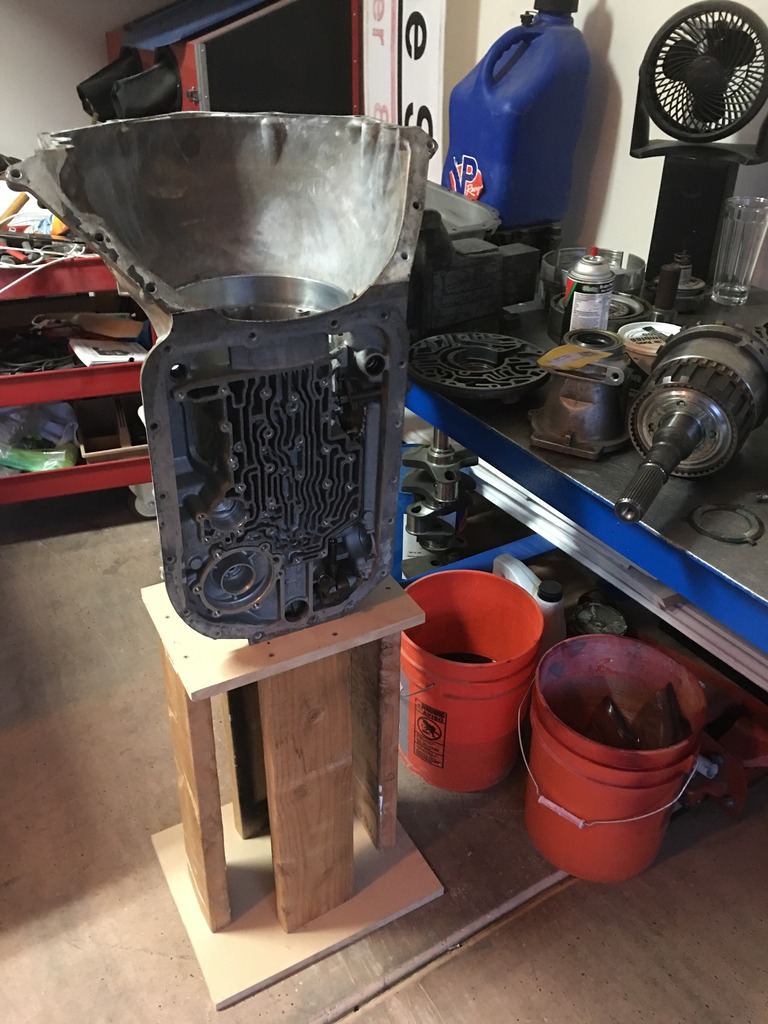
Here is a dumb little stand I made in 10 min to drop everything in the case last night. All wood I had laying around so at least I used it for something useful. I just used a 2-1/2" hole saw so the output shaft had a place to slide through the top, and then drilled the holes for the output shaft studs with a bit smaller than 1/2". The case slips right in and fits snug so it doesn't wobble around on me.
 May 17, 2017 | 11:39 PM
#80
Thread Starter
TECH Senior Member
iTrader: (5)
Joined: Dec 2010
Posts: 5,235
Likes: 4
From: Las Vegas, NV
Turns out I put the correct bushing in the case and pump so I'm not sure what happened. I guess they put the wrong ID bushing in the bushing kit... weird but I guess it's possible. I swapped the case bushing and seal and got to work.
I got everything in the case tonight, then went to put the thicker snap ring in since the instructions said it was the last snap ring to go in the case, and it didn't fit. Way too small. Turns out it's the intermediate snap ring so I had to pull half the gear train out, change the snap ring and reassemble... it's always interesting doing something for the first time. I'm learning a lot. And having a lot of fun doing it.
Tomorrow I'll get the valve body cleaned up and hopefully installed but we will see. That gasket is really on there.


I set the pump half in the case to keep the sealing rings formed. I'll be back at it tomorrow.