
HOW TO rebuild a T3/T4 turbo
 Sep 3, 2009 | 02:07 PM
#1
Ok after i got my turbos running i had oil blowing out of both inlets so i knew it was rebuild time. I made a few phone calls and every one wanted 375$+ to rebuild them. I then decided to take it upon my self to tackle it. Honestly it isnt hard but there are a few very important things you have to do before taking them apart.
1. Mark your compressor side impeller, jam nut and shaft for alignment when putting them back together. The reason you do this is for proper balancing. These things spin at extreme rpm and the balance of the compressor impeller exhuast impeller and other parts are vital to the life of the turbo. They are machine balanced and thats why your jam nut and exhuast impeller nut have material taken from them.
2. The shafts are reverse thread so dont get all brody with them when loosening them cause your probably turning it the wrong way.
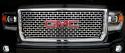
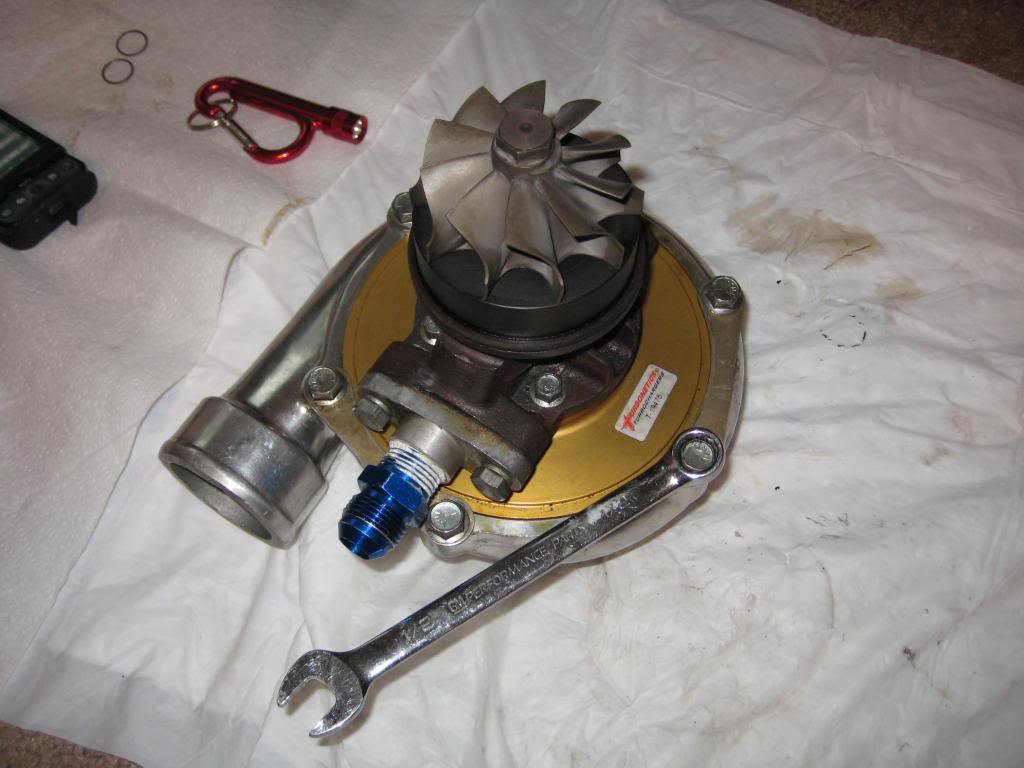
Most your T3/T4 turbos are similar. Wether the are turbonetics or Garrets or what ever brand you choose. BUT you cant use a garret rebuild kit on a turbonetics. My turbos are a little older so when i called with a model number they were not sure of the rebuild kit. Not to worry you can figure what kit you need by measuring your shaft. there are 1/4 inch and 5/16 inch shafts. The 5/16 inch shafts are called the "big" shaft kit. I got my rebuild kits for my turbonetics 62mm turbos from Gspec performance and they were 145$ a piece. A little pricey but nessesary.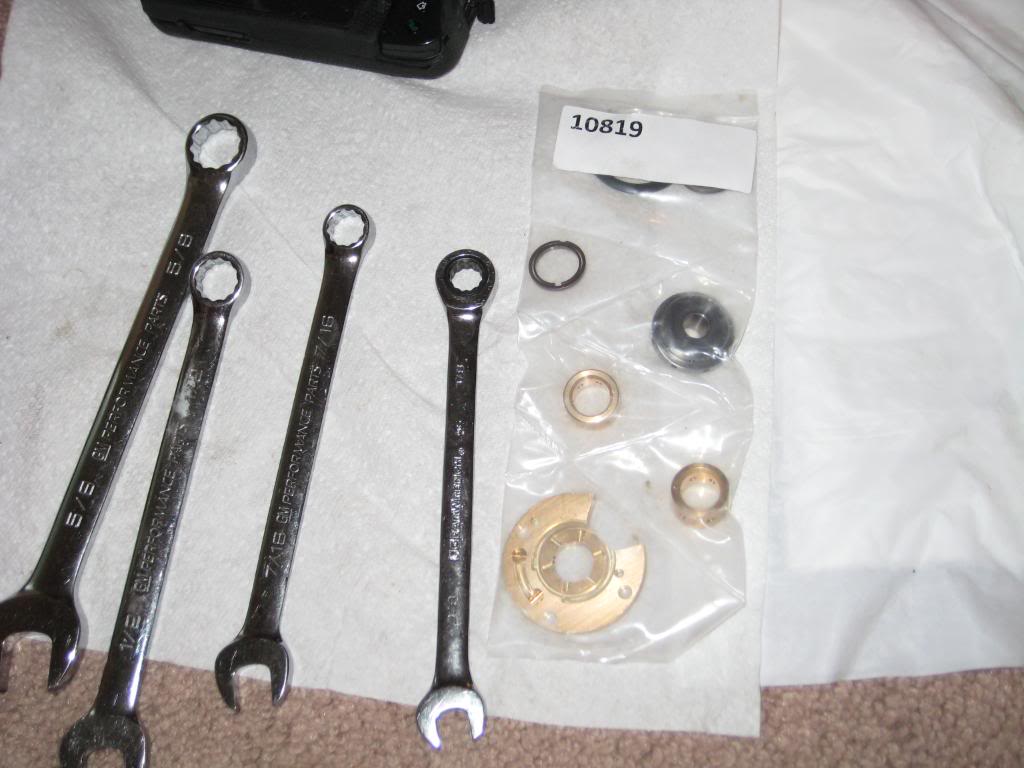
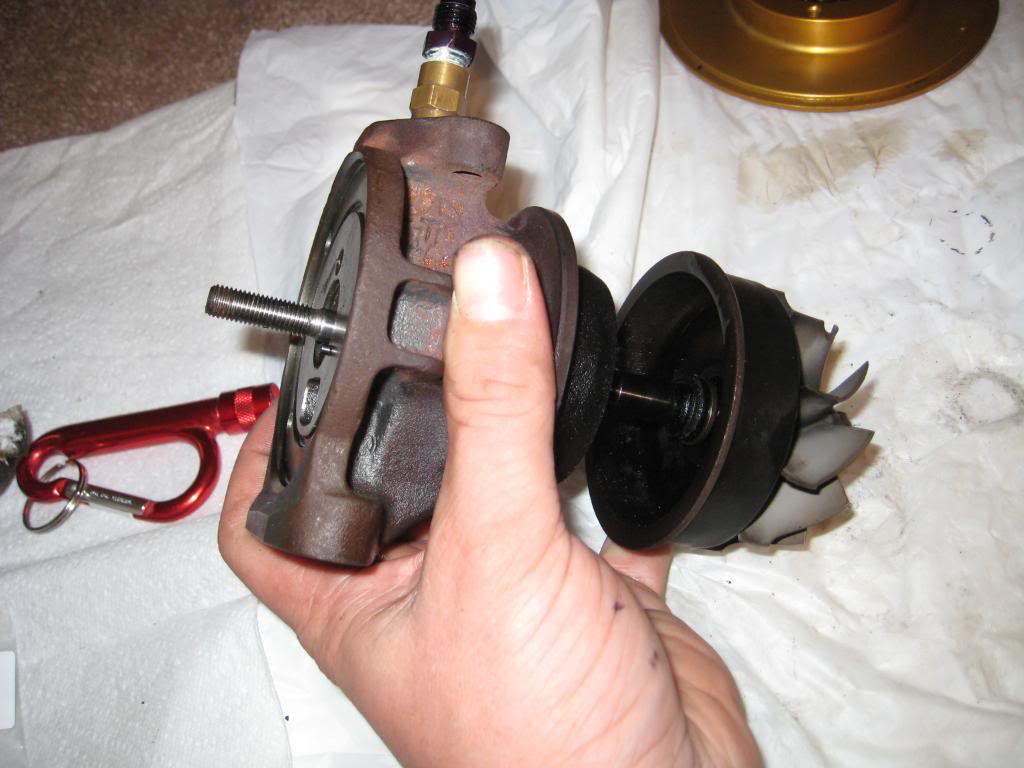
Here is the tear down and rebuild step by step with pictures. The tear down begins after i have removed the compressor from the exhaust housing.
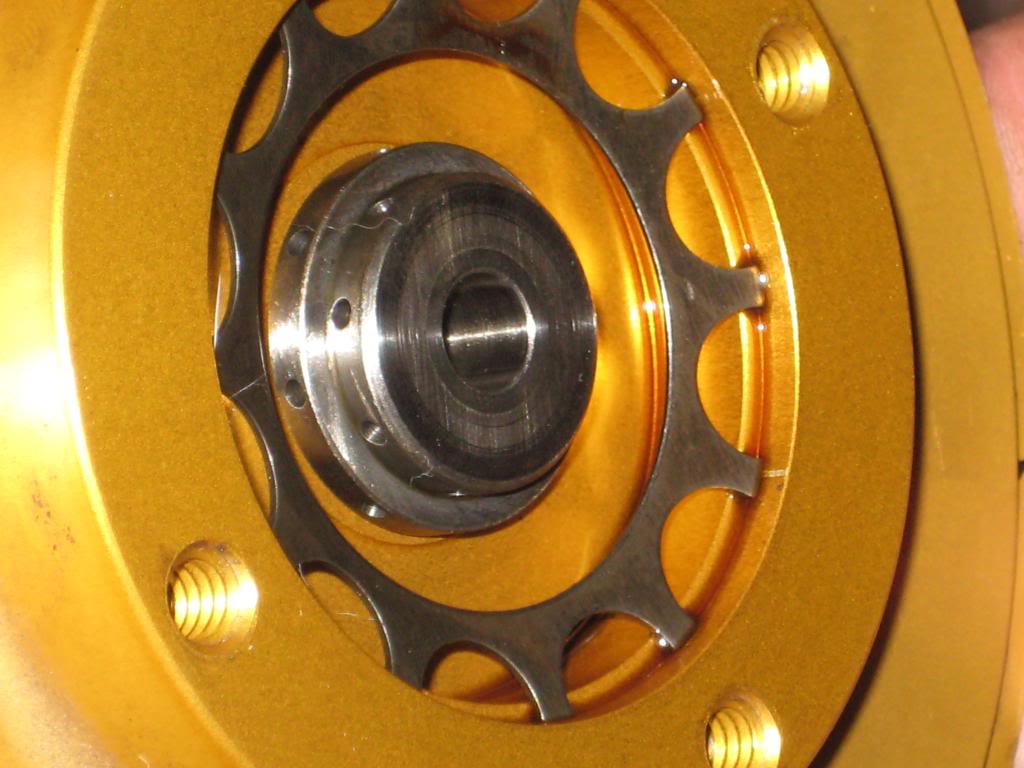
1. Remove the anodized plate from the comp housing. 1/2 inch wrench

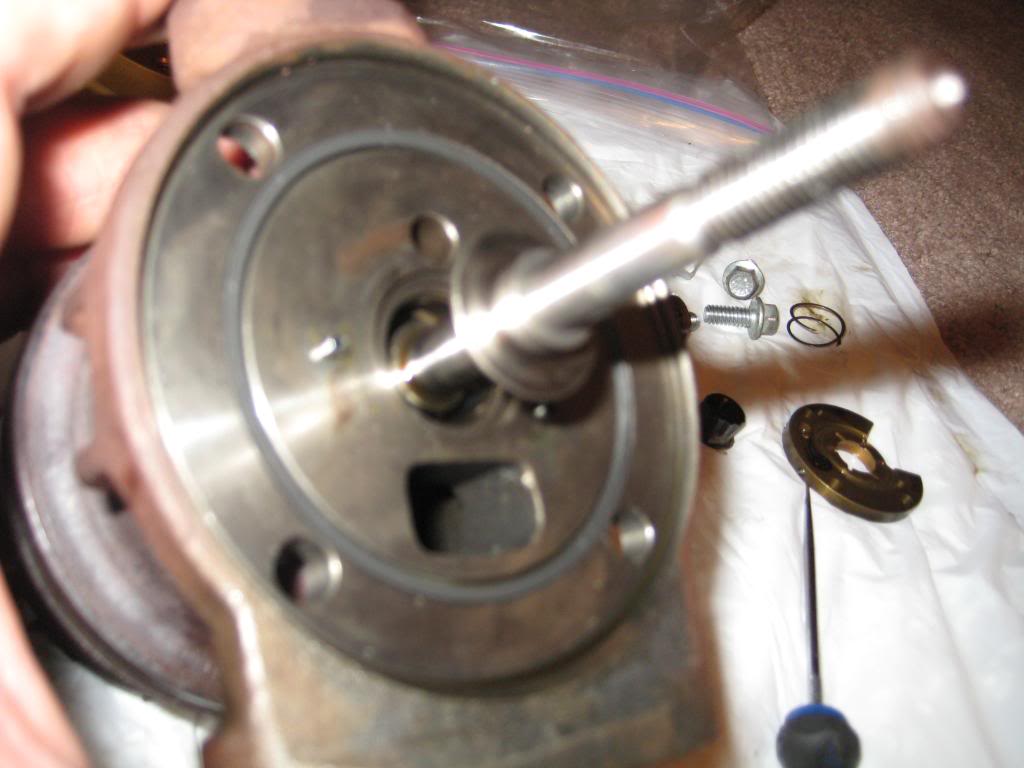
2. Remove the jam nut from the shaft. Use a 5/8 and 7/16 to lossen. Remember they are left handed threads and remember to mark them using a sharpy or paint pen.
3. Remove the compressor impeller it pulls off but be gentle not to bend the blades or cut the hell out of yourself

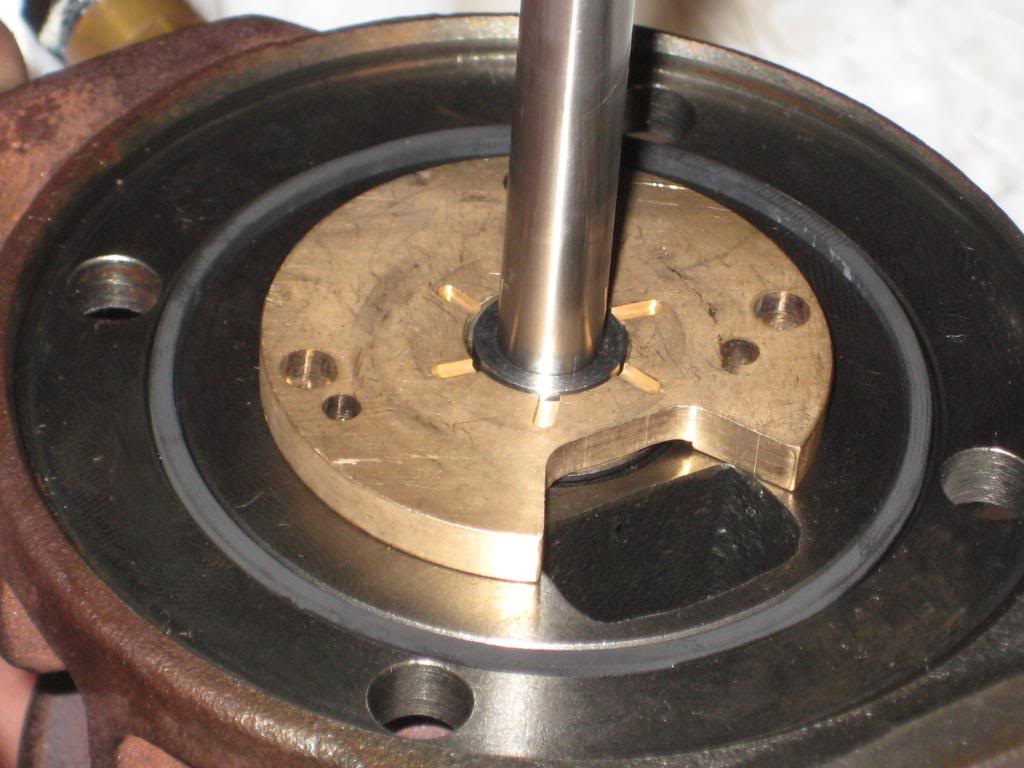
4. remove the anodized plate be sure not to loose the oil bearing
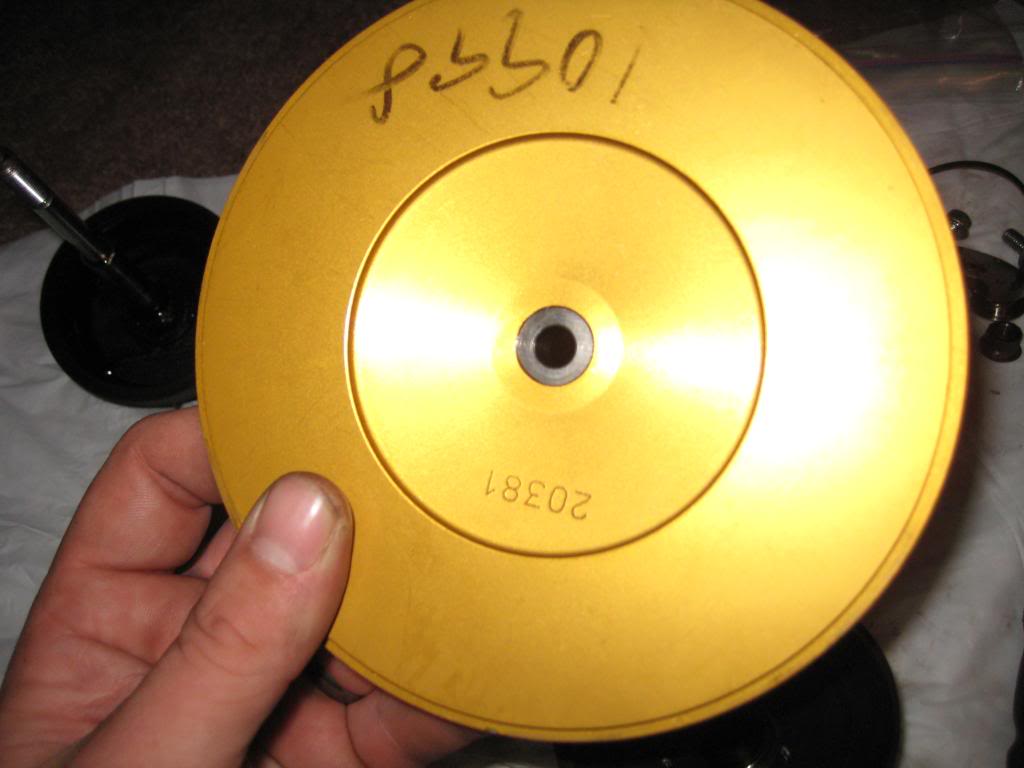
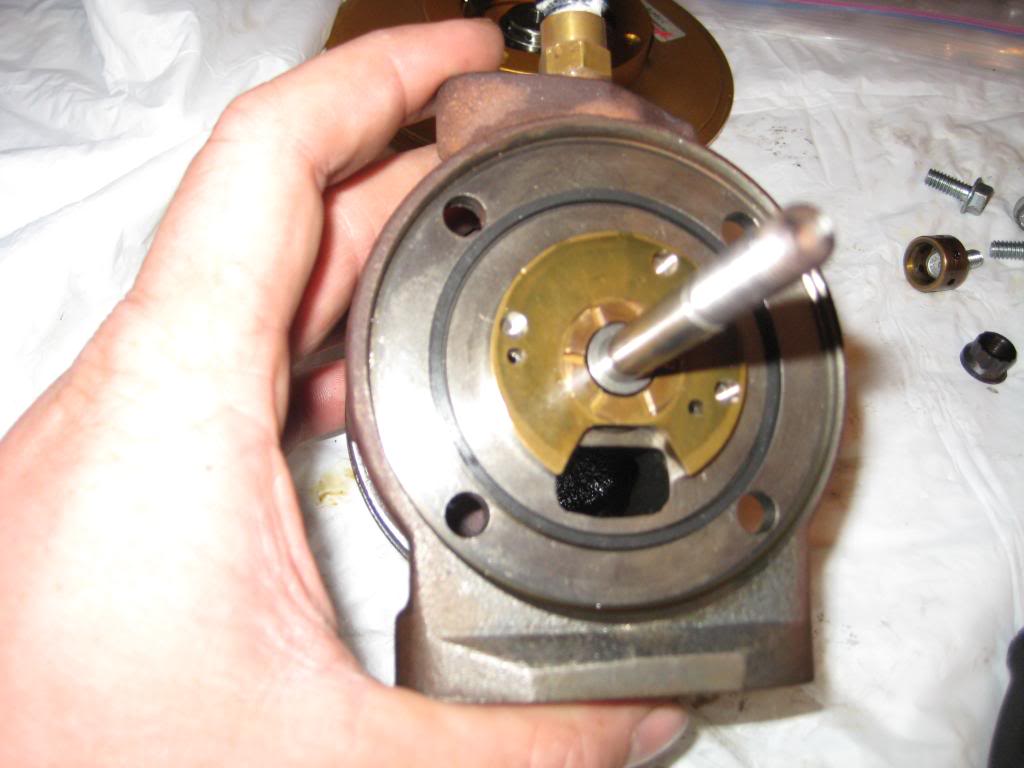
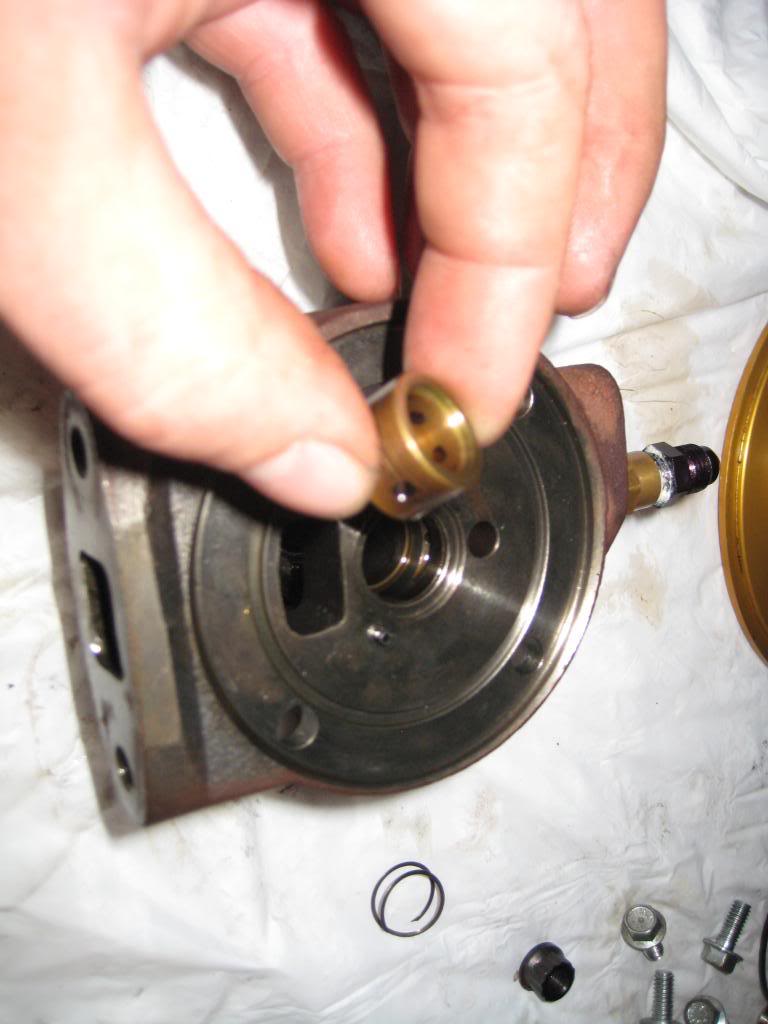
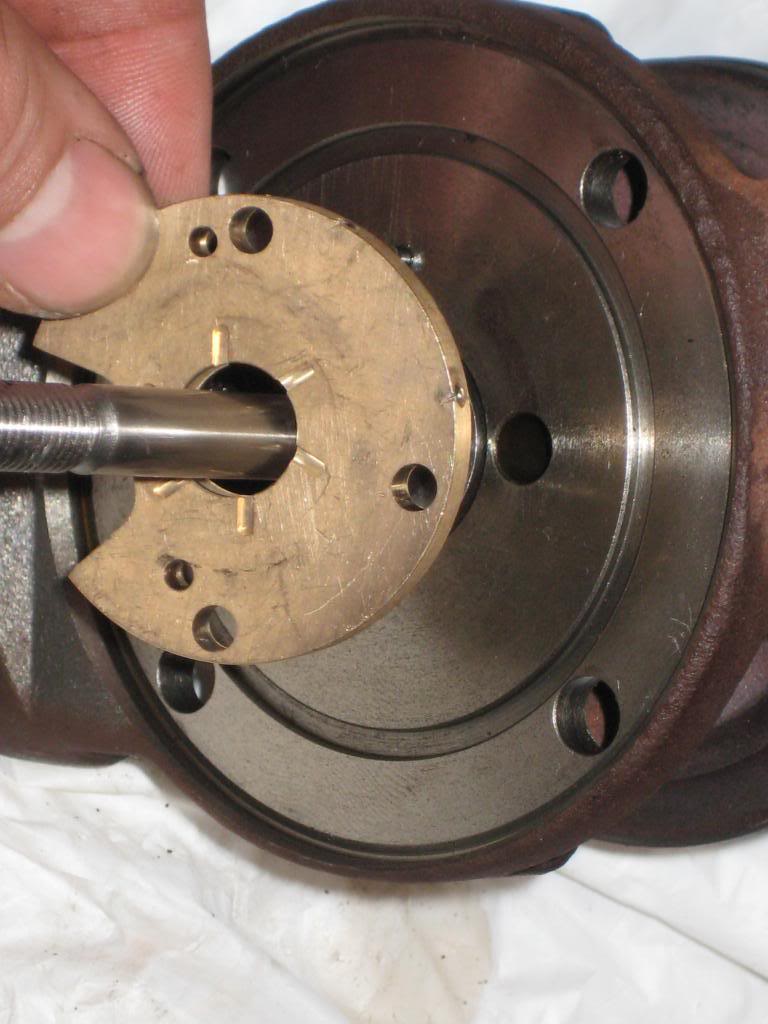
5. Remove the brass piece and rubber seal and spacer. this will expose you bearing/bushing.
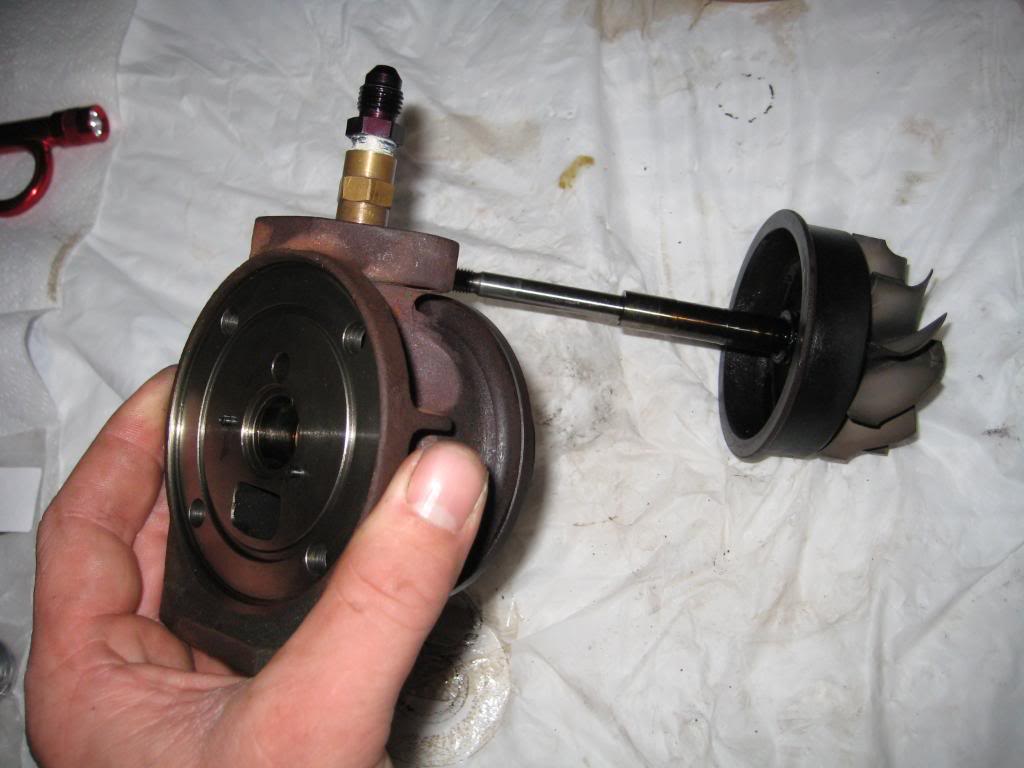
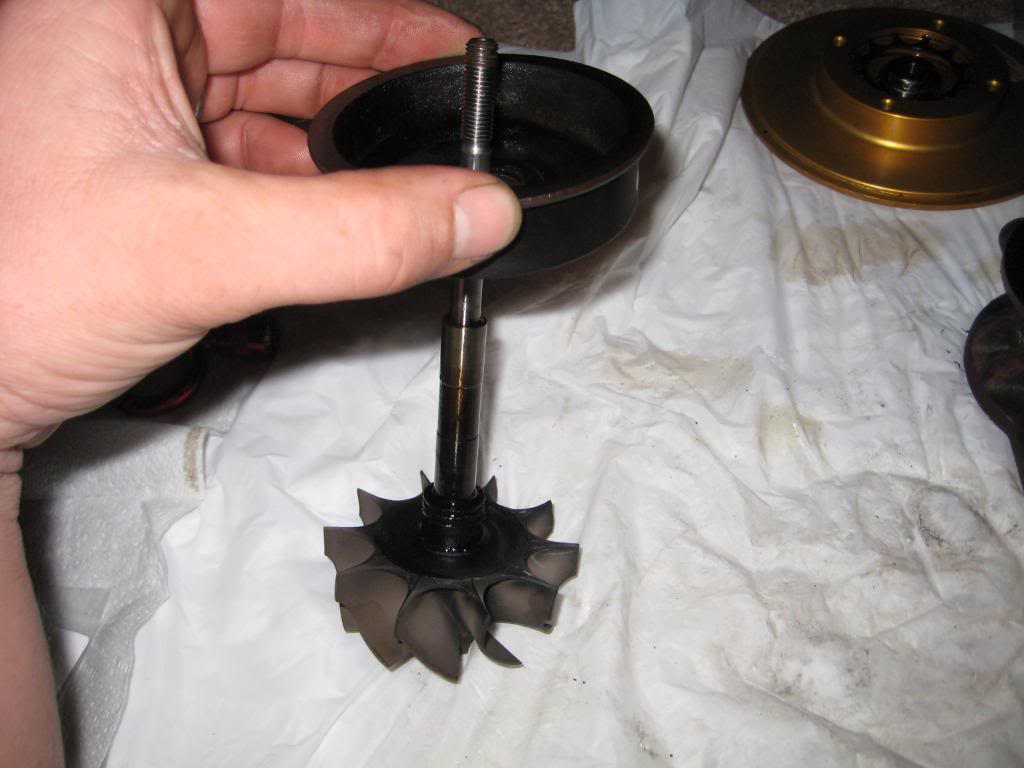
6. the shaft will come out after this is done. Be gentle when forcing it out so you dont bend the shaft
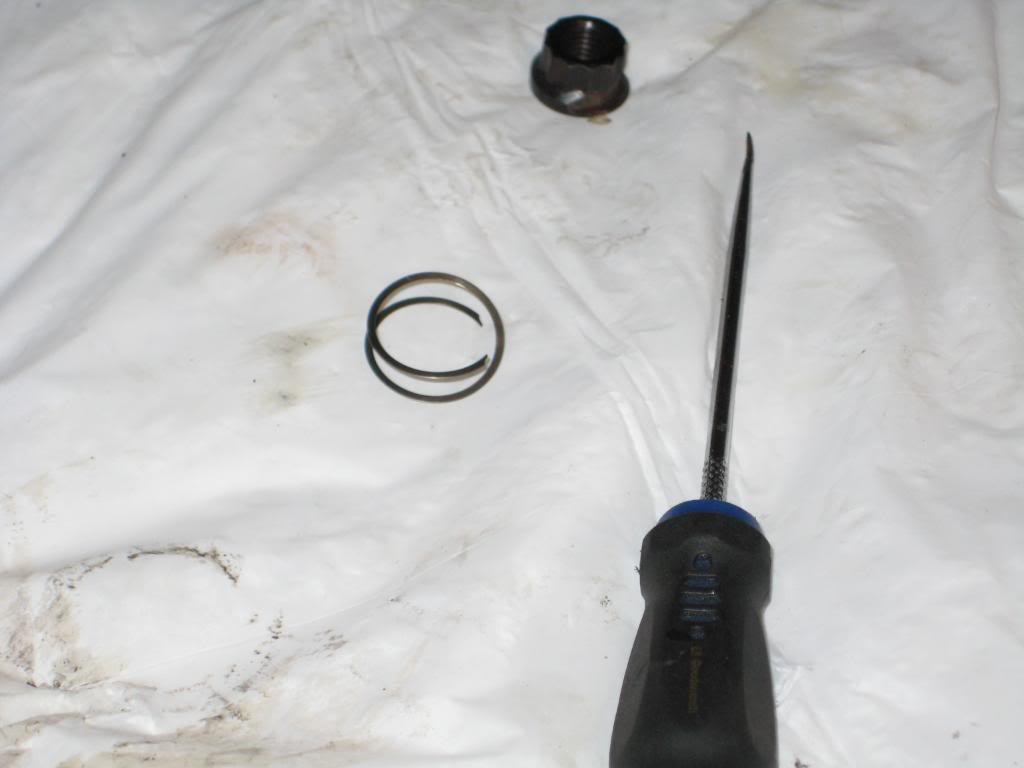
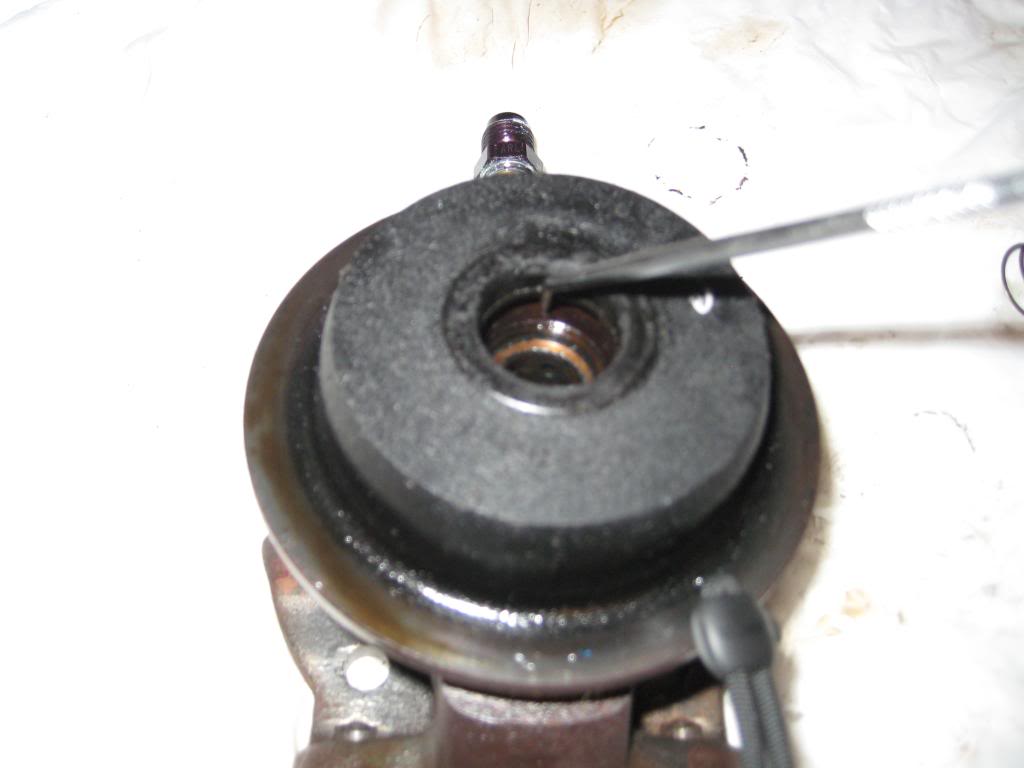
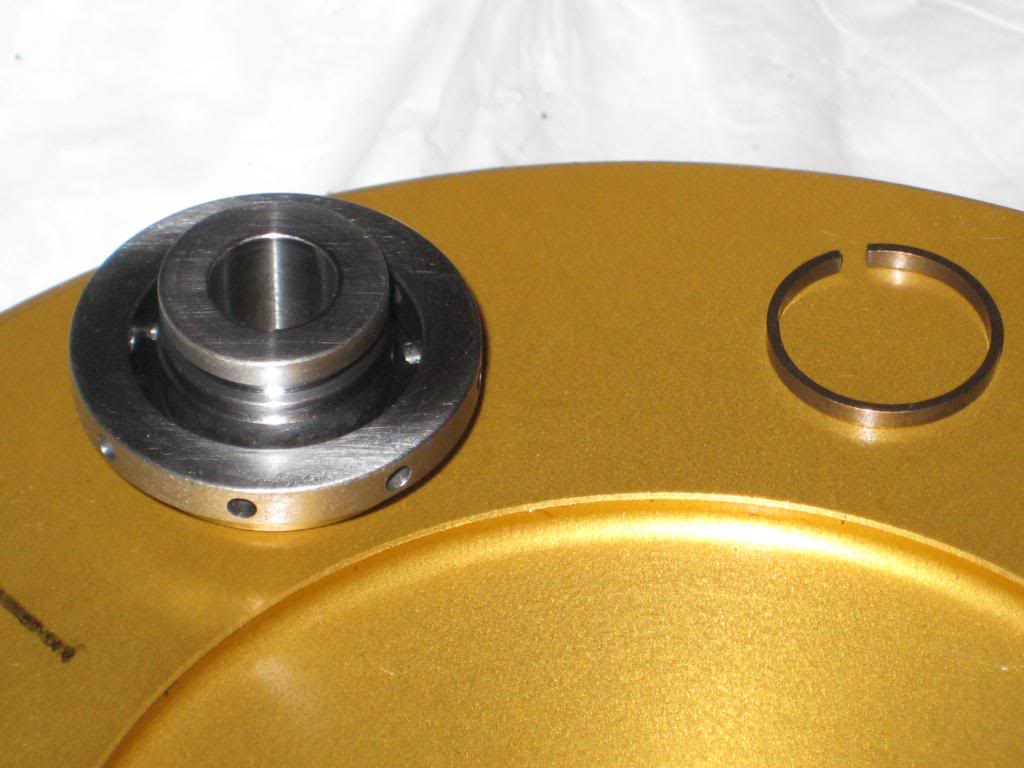
7. The bearings are held in with spiral clamps or C clips. mine were the spiral clips. you can remove these with a pick. once that is done the bearing will slide out.
8. do the same on the exhaust side.

9. put the new bushing bearings in and replace the clips with the new ones in your kits.
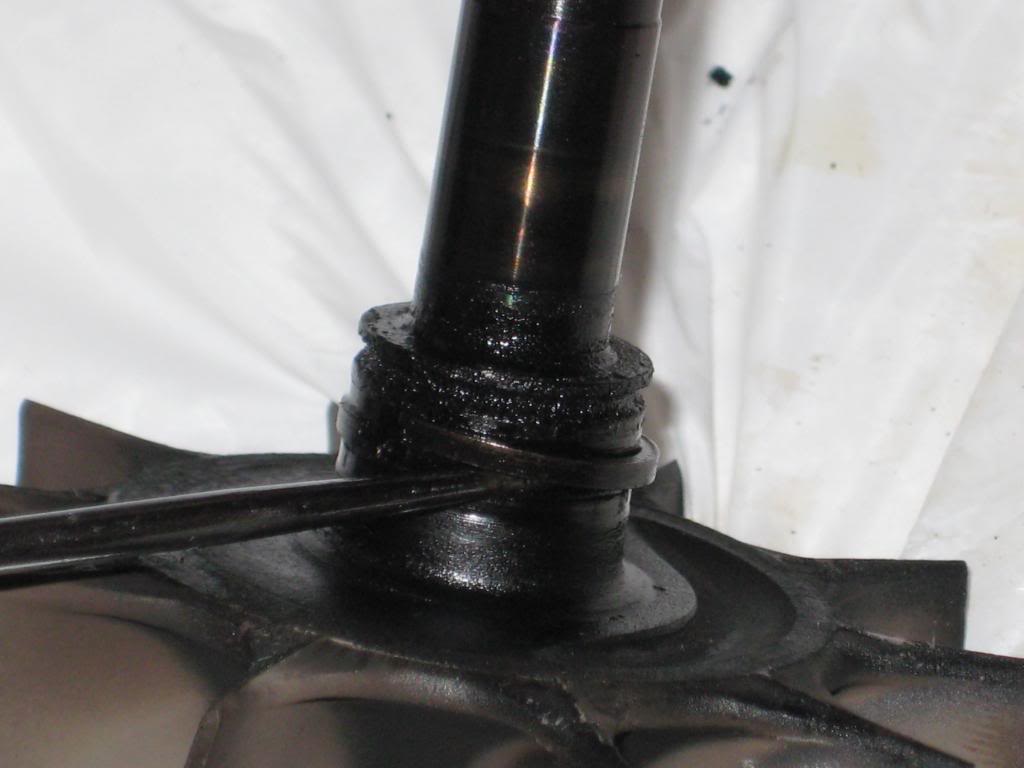
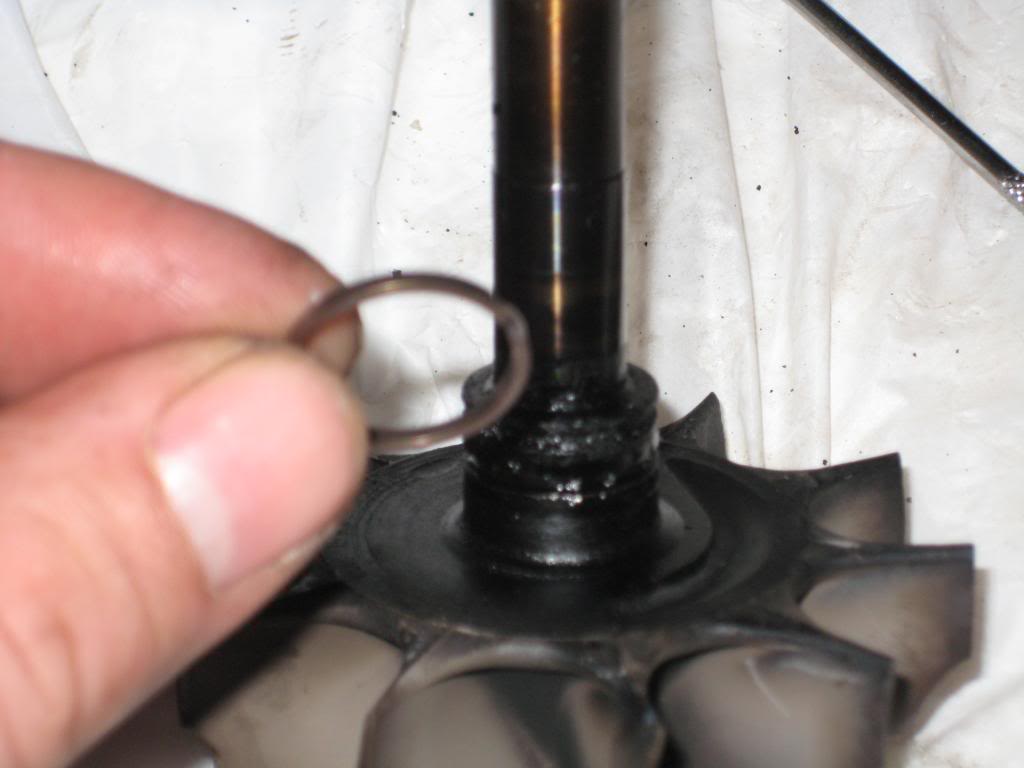
10. the exhaust shaft has a ring similar to a piston ring this seal is keeps the oil from blowing out the downpipes replace it at this time. use a pick to remove it.
11. place the shaft back in the housing push gently and it will click in. that the piston ring sliding in its place.
12. The anodized plate has a similar piston ring in the bearing. replace it as well. you can push the bearing out of the anodized plate.
1. Mark your compressor side impeller, jam nut and shaft for alignment when putting them back together. The reason you do this is for proper balancing. These things spin at extreme rpm and the balance of the compressor impeller exhuast impeller and other parts are vital to the life of the turbo. They are machine balanced and thats why your jam nut and exhuast impeller nut have material taken from them.
2. The shafts are reverse thread so dont get all brody with them when loosening them cause your probably turning it the wrong way.
Most your T3/T4 turbos are similar. Wether the are turbonetics or Garrets or what ever brand you choose. BUT you cant use a garret rebuild kit on a turbonetics. My turbos are a little older so when i called with a model number they were not sure of the rebuild kit. Not to worry you can figure what kit you need by measuring your shaft. there are 1/4 inch and 5/16 inch shafts. The 5/16 inch shafts are called the "big" shaft kit. I got my rebuild kits for my turbonetics 62mm turbos from Gspec performance and they were 145$ a piece. A little pricey but nessesary.
Here is the tear down and rebuild step by step with pictures. The tear down begins after i have removed the compressor from the exhaust housing.
1. Remove the anodized plate from the comp housing. 1/2 inch wrench
2. Remove the jam nut from the shaft. Use a 5/8 and 7/16 to lossen. Remember they are left handed threads and remember to mark them using a sharpy or paint pen.
3. Remove the compressor impeller it pulls off but be gentle not to bend the blades or cut the hell out of yourself
4. remove the anodized plate be sure not to loose the oil bearing
5. Remove the brass piece and rubber seal and spacer. this will expose you bearing/bushing.
6. the shaft will come out after this is done. Be gentle when forcing it out so you dont bend the shaft
7. The bearings are held in with spiral clamps or C clips. mine were the spiral clips. you can remove these with a pick. once that is done the bearing will slide out.
8. do the same on the exhaust side.
9. put the new bushing bearings in and replace the clips with the new ones in your kits.
10. the exhaust shaft has a ring similar to a piston ring this seal is keeps the oil from blowing out the downpipes replace it at this time. use a pick to remove it.
11. place the shaft back in the housing push gently and it will click in. that the piston ring sliding in its place.
12. The anodized plate has a similar piston ring in the bearing. replace it as well. you can push the bearing out of the anodized plate.
Sep 3, 2009 | 02:07 PM
#2
13. install the new brass oiler plateand rubber gasket and place the anodized plate back on. Be sure the rubber gasket lays flat and fasten it on with the 4 bolts. 3/8 wrench

14. place the impeller back on the shaft and tighten them down aligning the markings you made like a good school boy. This assures the balance will be right. Dont get brody and over tighten them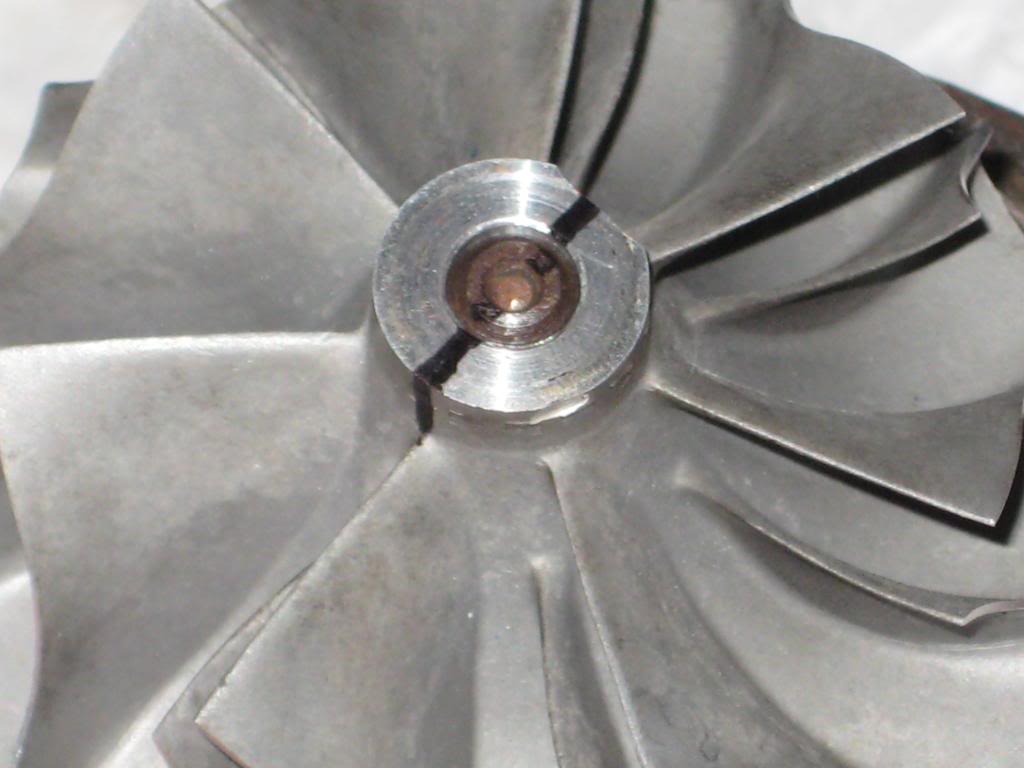
15. replace the anodized plate back on the comp housing using a star pattern when tightening. remember your tightning a steel bolt in a aluminum housing so no need to get HULK on it and ruin you day.
16. install back on truck and be on your marry way.
Ok i know some of my terminology is wrong so for all you perfectionist i appologize.
i hope this helps some out and saves money. This isnt for if you turbo is damaged then you need to send it off to a professional.


Thread
Thread Starter
Forum
Replies
Last Post
Raggedz71
TOWING & OFFROAD PERFORMANCE
3
Jul 29, 2016 10:20 AM
SleeperGMC
GM Drivetrain & Suspension
0
Jul 29, 2015 10:22 AM
zaathur151
GM Drivetrain & Suspension
5
Jul 6, 2015 10:57 PM