LED dash swap install instructions: 03-08 Classic Silverado
 Dec 27, 2009 | 07:42 PM
#1

Thread Starter
TECH Senior Member
iTrader: (79)
Joined: Jun 2002
Posts: 5,175
Likes: 1
From: League City, Tx
This is for the 03 and up classic trucks and some suburbans/Tahoes.
these are pretty simple install instructions. . . I'm trying to make it easy. IF you don't have the tools get creative. This is how I do mine. Everyone has their own way of doing things.
First off - Everything is temperature sensitive. Blue is easy . . .easier to make even/display vs red . . red uses twice as many LEDs. White comes out more like a white with a green tint to it.
I don't like tearing apart stuff that does not need to come out, so if something is not completely torn apart with detailed explanations . . . that's why.
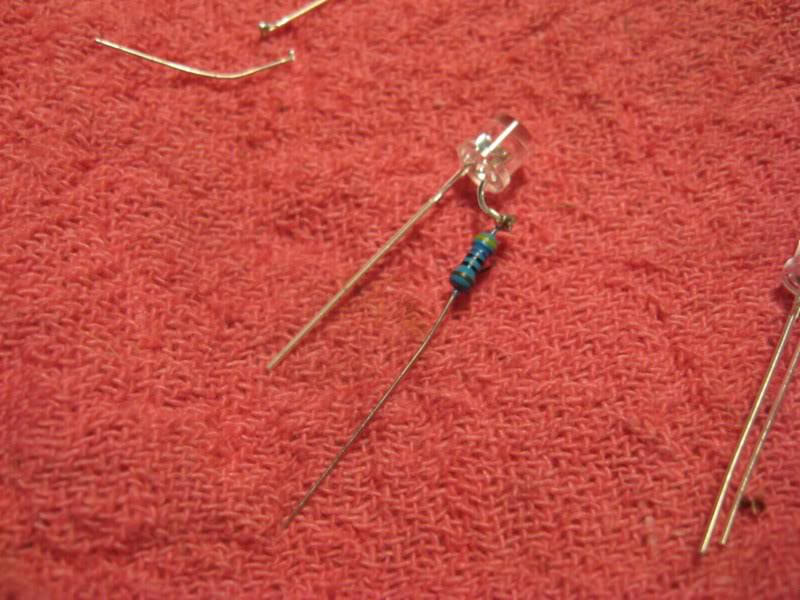
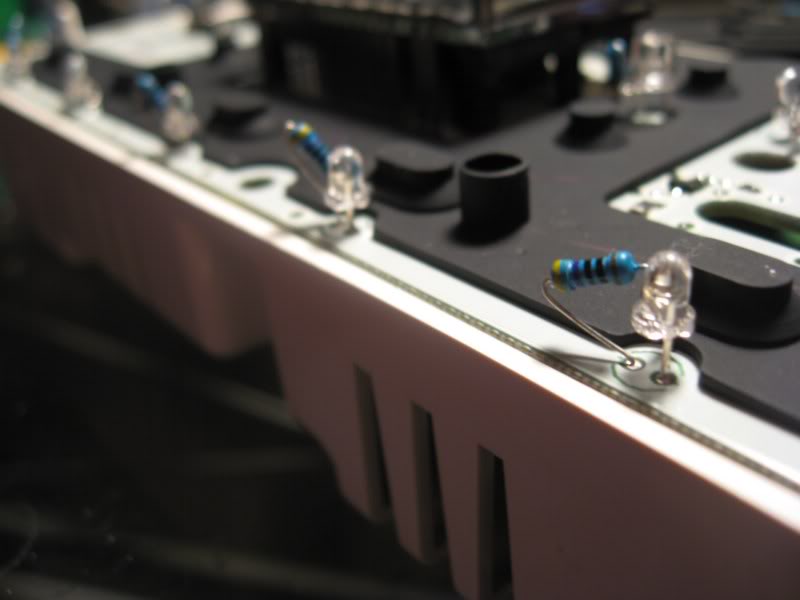
LEDs are parity dependent. Meaning positive has to go with positive, or wire them up in a series. The longer "leg" of the LED is the positive. Here's a simple soldering the resistor to the LED.
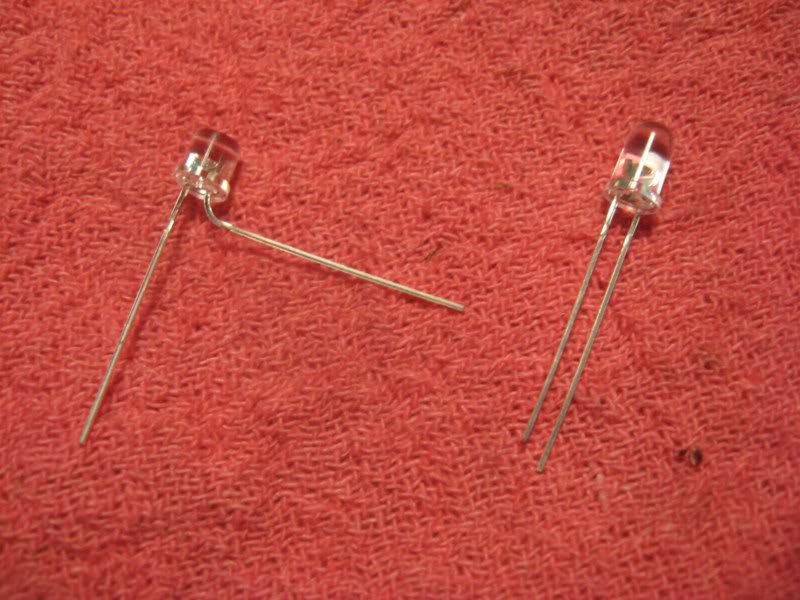
Flat vs Dome top LEDs. Flat tops spread the light more evenly. If you have two of the same spec LEDs and the only difference is the tops..... the flat top will have a little more of a lighter color to it. Example: a blue LED will be a royal blue with the dome top, and with a flat top it'll be more of a lighter blue.
Blue & white use a 470 resistor
red uses a 510 resistor.
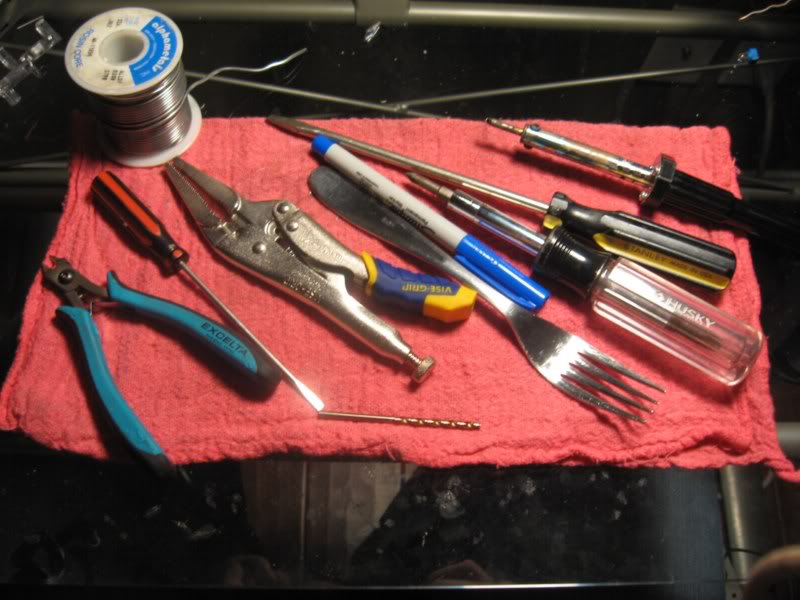
Tools needed:
3-5 watt pencil soldering iron.
several small to large flat head screw drivers
7mm, 5mm sockets
dinner fork
small, needle nose clippers.
needle nose vise grips.
Dremel with part off wheel.
1/8" drill bit
5mm, and 3mm LEDs
470 resistors,
Speed-o-Cluster
take off the dash trim unit you can remove the 4 bolts that are holding the cluster in.
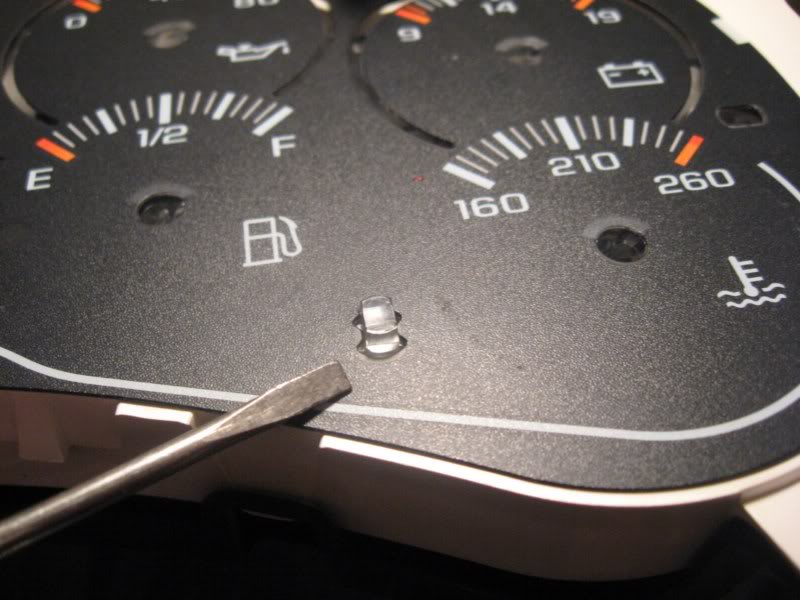
Use the large flat blade screw driver to take off the tabs.
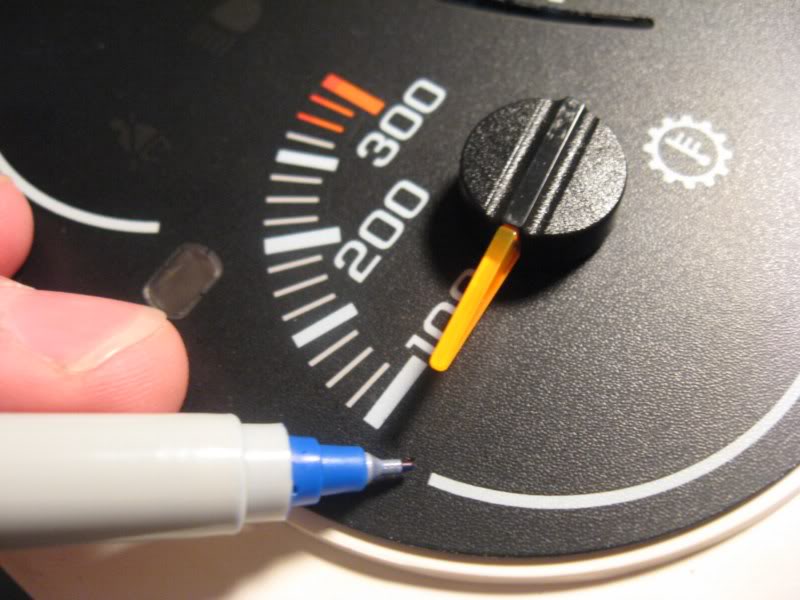
Using a pin, felt tip marker or whatever you've got to mark the needle's location on the outside edge.
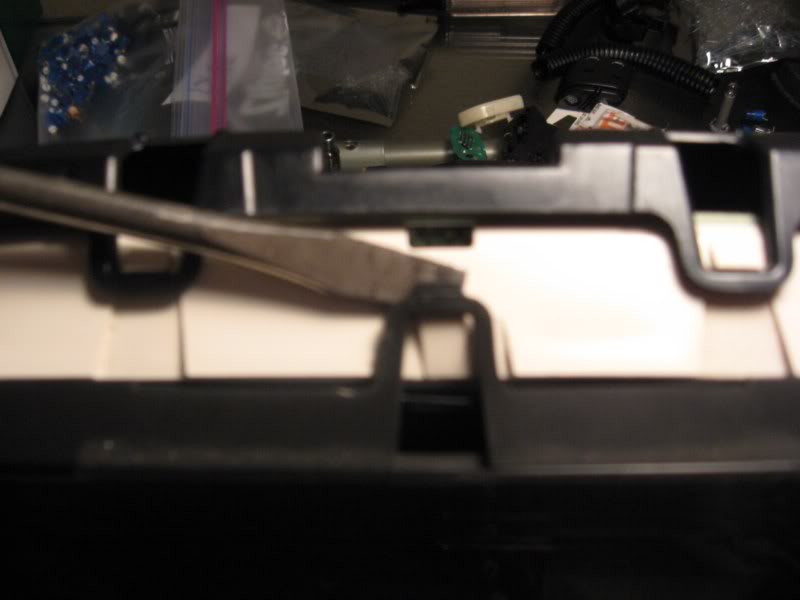
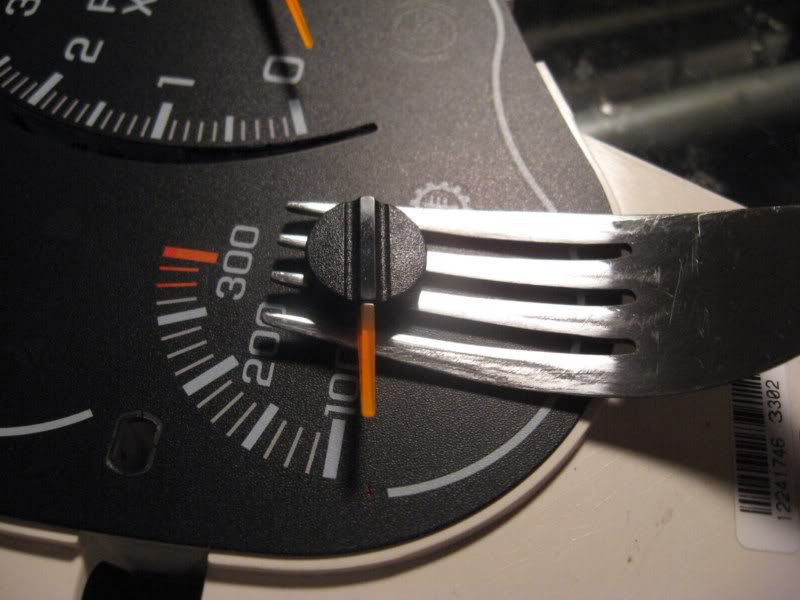
Get your skinny flat head, and wiggle/pry off the gauge over lay. Then use a dinner fork to "gently" remove the needles.
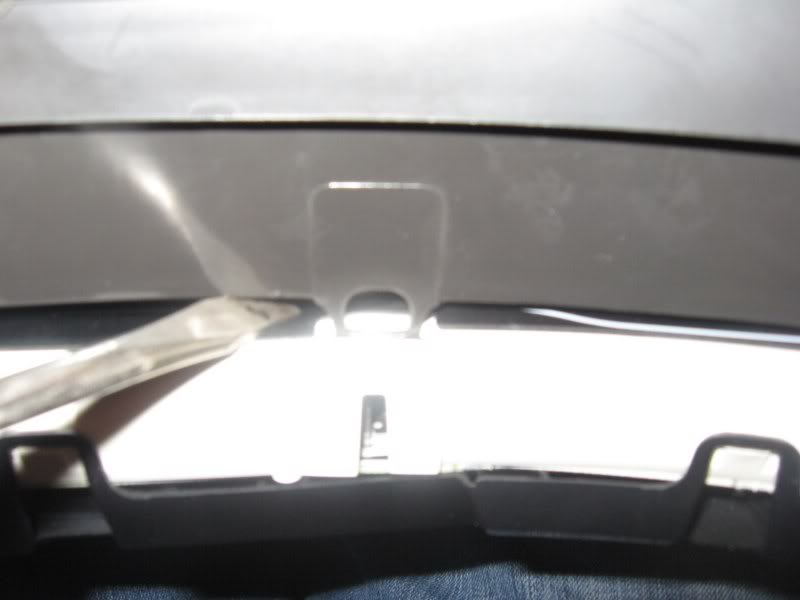
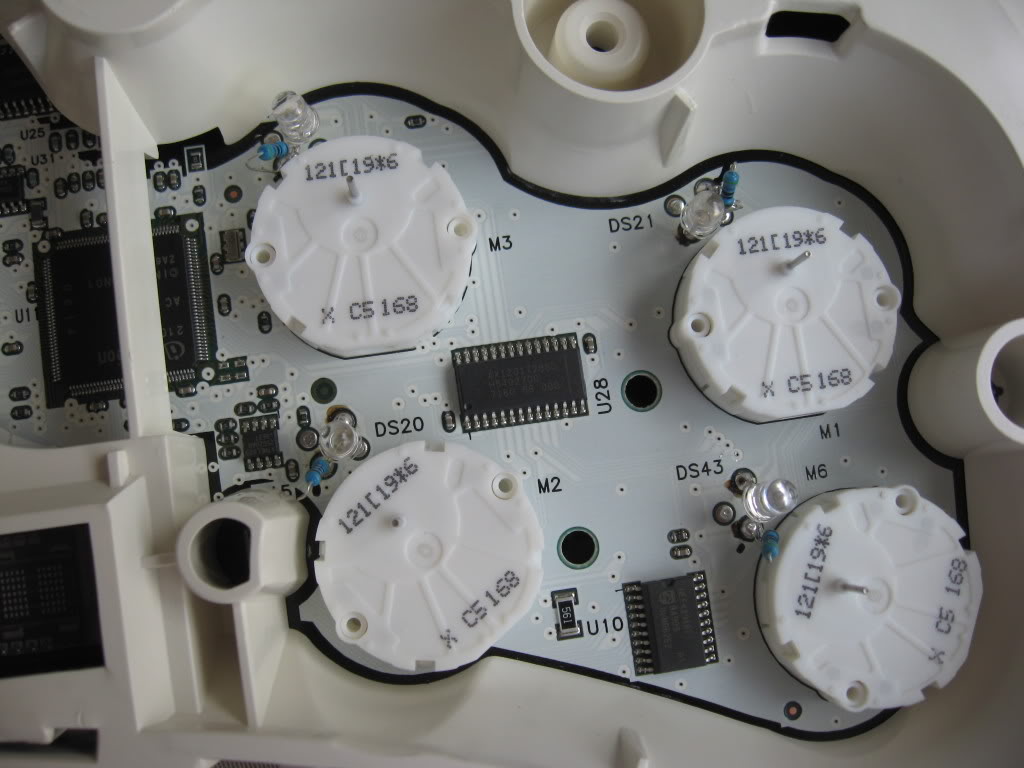
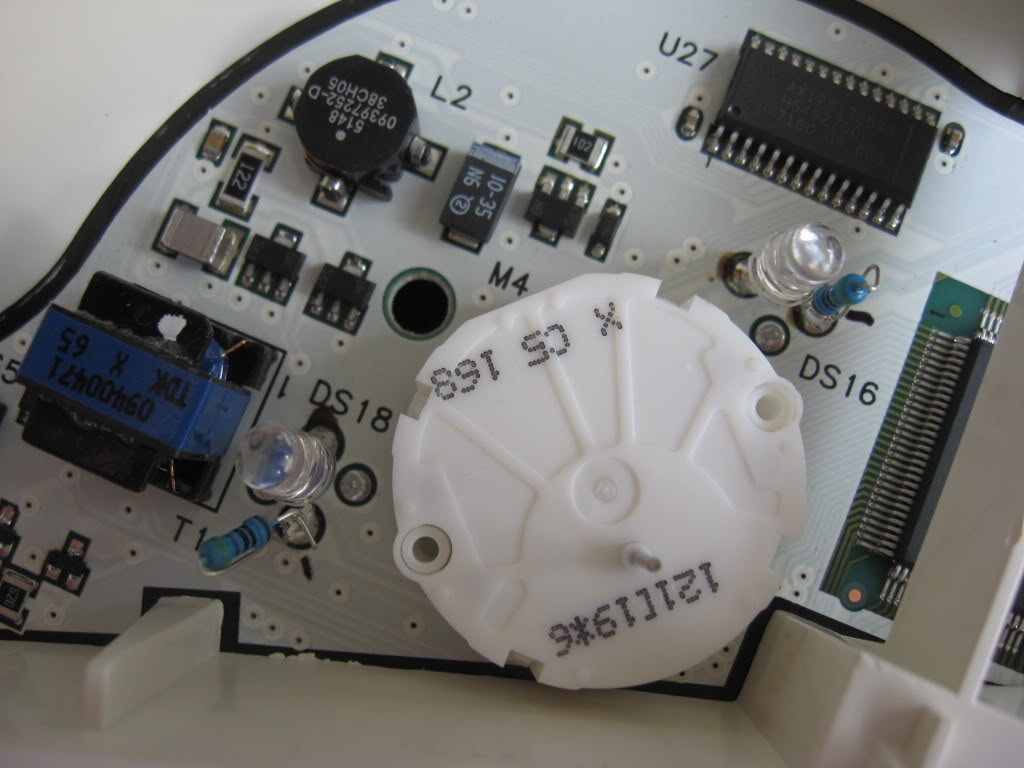
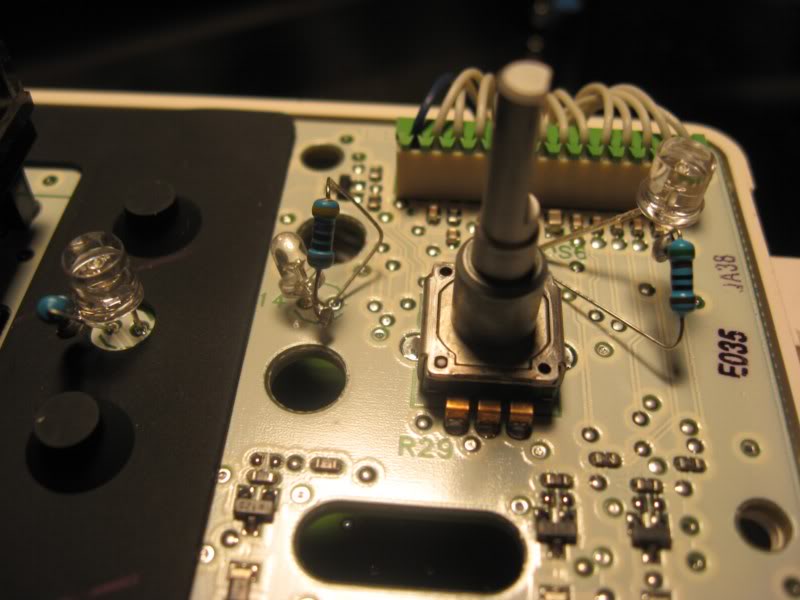
Cluster Back lights (cake walk on the easy scale)- Here's what the stock back lights look like. You can either twist them off the board, or use the soldering iron at the corners to remove them from the board. Here's a few pics, follow these or add or place the LEDs to however bright or dark you want the lights.
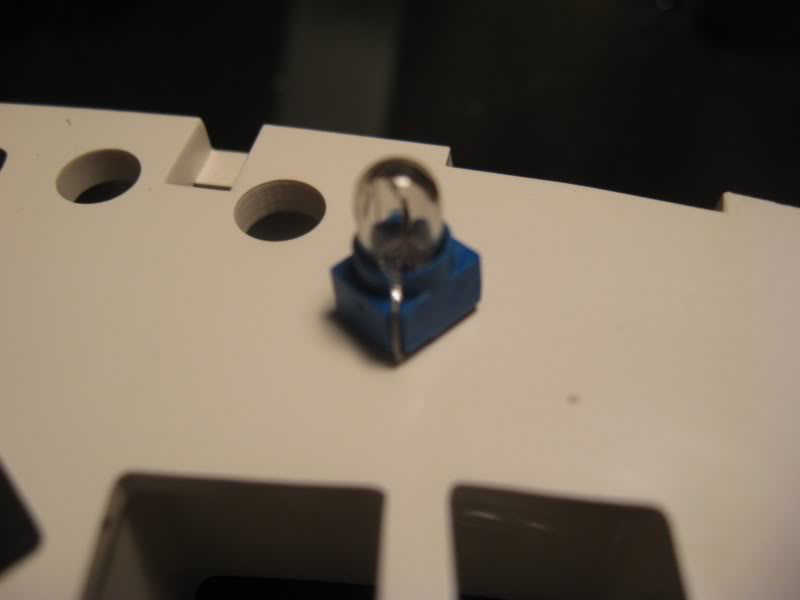
http://i122.photobucket.com/albums/o.../LucyLu003.jpg
these are pretty simple install instructions. . . I'm trying to make it easy. IF you don't have the tools get creative. This is how I do mine. Everyone has their own way of doing things.
First off - Everything is temperature sensitive. Blue is easy . . .easier to make even/display vs red . . red uses twice as many LEDs. White comes out more like a white with a green tint to it.
I don't like tearing apart stuff that does not need to come out, so if something is not completely torn apart with detailed explanations . . . that's why.
LEDs are parity dependent. Meaning positive has to go with positive, or wire them up in a series. The longer "leg" of the LED is the positive. Here's a simple soldering the resistor to the LED.
Flat vs Dome top LEDs. Flat tops spread the light more evenly. If you have two of the same spec LEDs and the only difference is the tops..... the flat top will have a little more of a lighter color to it. Example: a blue LED will be a royal blue with the dome top, and with a flat top it'll be more of a lighter blue.
Blue & white use a 470 resistor
red uses a 510 resistor.
Tools needed:
3-5 watt pencil soldering iron.
several small to large flat head screw drivers
7mm, 5mm sockets
dinner fork
small, needle nose clippers.
needle nose vise grips.
Dremel with part off wheel.
1/8" drill bit
5mm, and 3mm LEDs
470 resistors,
Speed-o-Cluster
take off the dash trim unit you can remove the 4 bolts that are holding the cluster in.
Use the large flat blade screw driver to take off the tabs.
Using a pin, felt tip marker or whatever you've got to mark the needle's location on the outside edge.
Get your skinny flat head, and wiggle/pry off the gauge over lay. Then use a dinner fork to "gently" remove the needles.
Cluster Back lights (cake walk on the easy scale)- Here's what the stock back lights look like. You can either twist them off the board, or use the soldering iron at the corners to remove them from the board. Here's a few pics, follow these or add or place the LEDs to however bright or dark you want the lights.
http://i122.photobucket.com/albums/o.../LucyLu003.jpg
Last edited by Tootall; Dec 30, 2009 at 06:54 AM.
Dec 27, 2009 | 07:42 PM
#2
Thread Starter
TECH Senior Member
iTrader: (79)
Joined: Jun 2002
Posts: 5,175
Likes: 1
From: League City, Tx
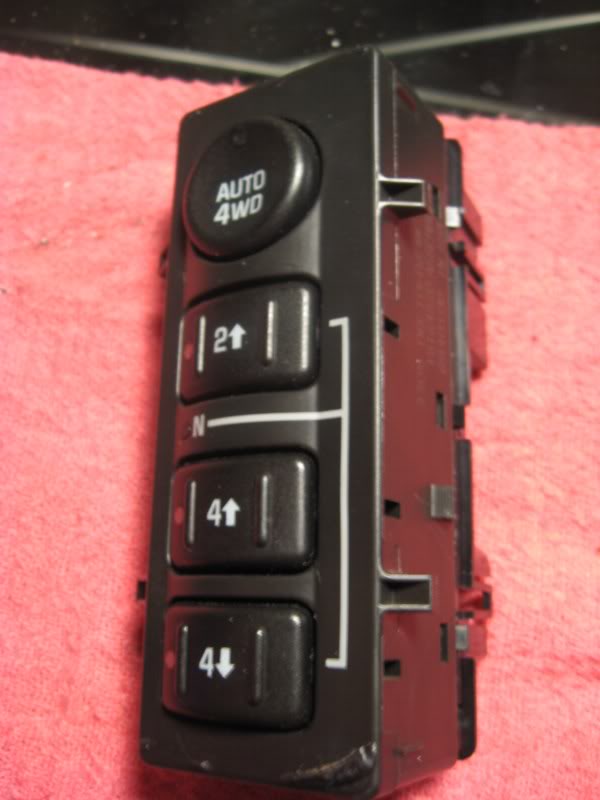
HVAC - Digital (automatic) controls. (easiest to do, easiest to burn)
You can use all blue or do blue and red.
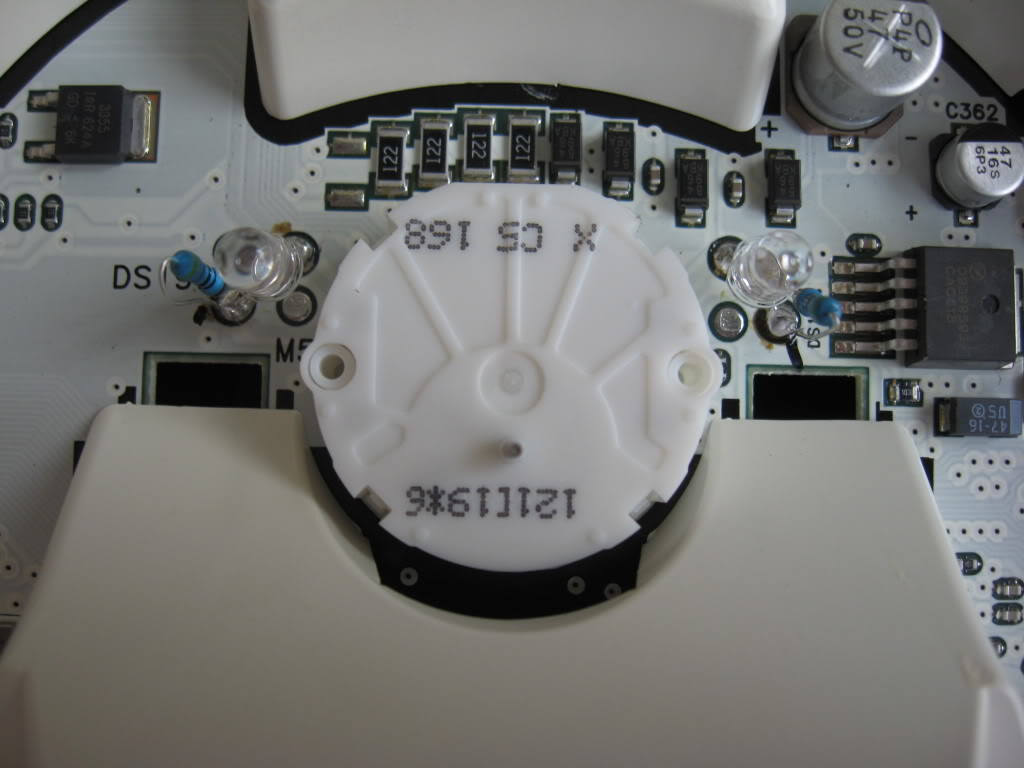
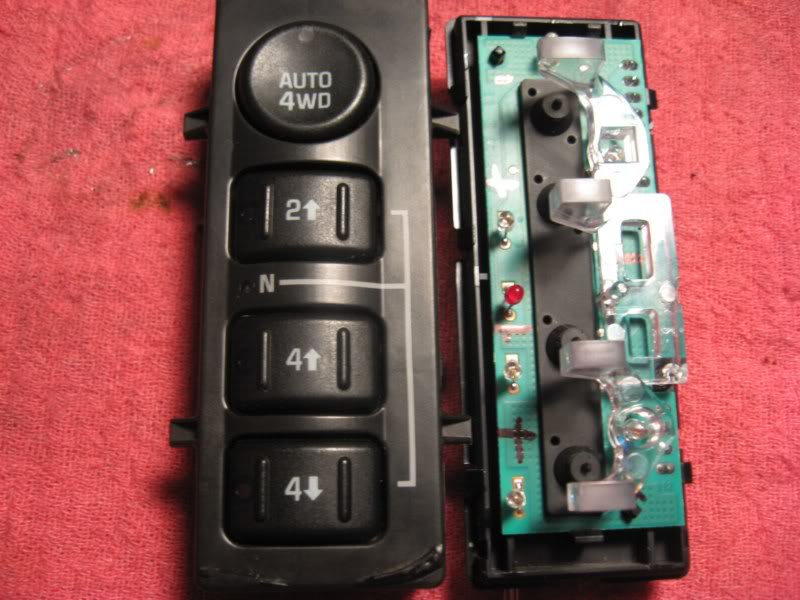
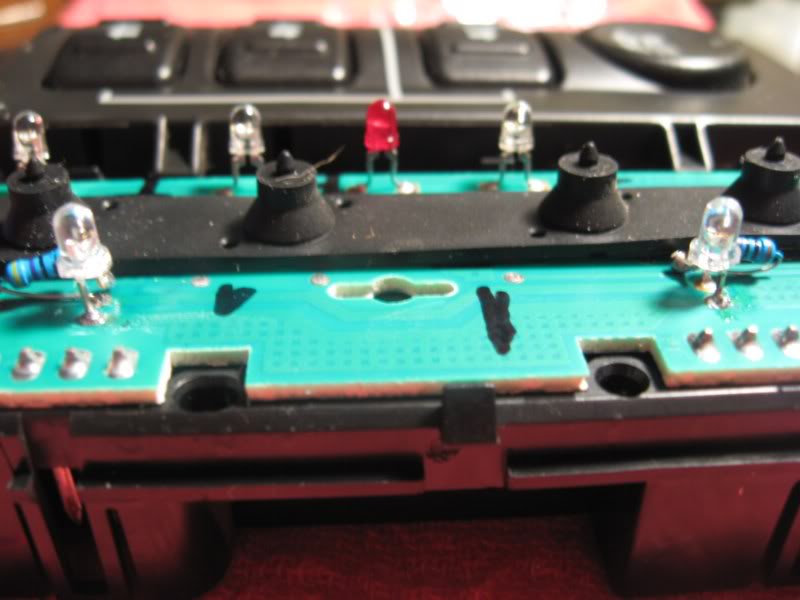
Take a 5mm socket or the needle nose vise grips to the 4 screws located on the back. Pull off the black ***** and then you'll see the circut board. Here's a few pics with the LEDs mounted.
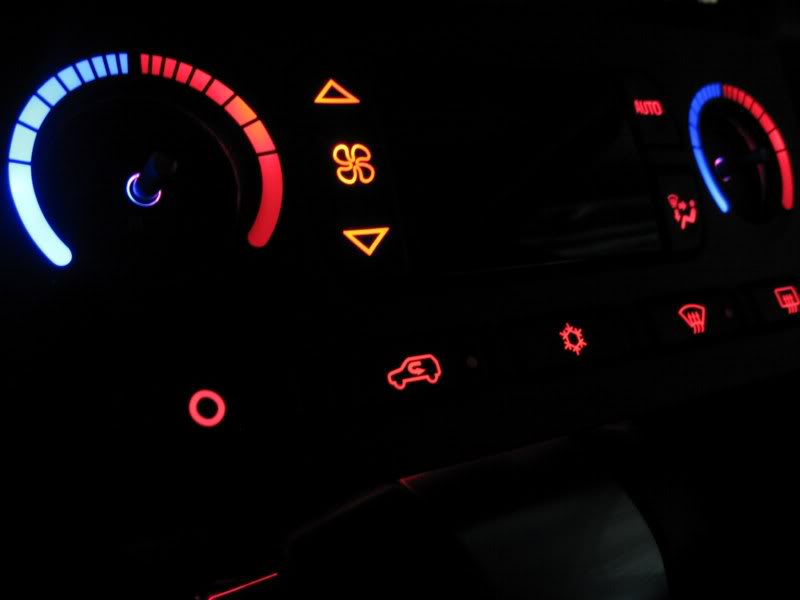
You can use all blue or do blue and red.
Take a 5mm socket or the needle nose vise grips to the 4 screws located on the back. Pull off the black ***** and then you'll see the circut board. Here's a few pics with the LEDs mounted.
Last edited by Tootall; Dec 27, 2009 at 08:02 PM.

Trending Topics
Dec 27, 2009 | 08:55 PM
#9
i was like the 3rd he did. and he still didnt break anything doing it. the steering wheel controls where easy to get out but harder to get back in. yea matt i need to come down there for a touch up on mine. just been real busy lately. we will make it down there soon. do you still have those pink ones for lindsay's car ?