


SHOPTRK build

 Nov 2, 2012 | 10:10 PM
#15


*shrug*...not that I know of haha...that's similar to how they are on stock 240sx's so I didn't think it'd be an issue. We'll find out in a week or two if the brakes work or not haha.

 Nov 10, 2012 | 11:55 PM
#19
Been super busy this past week, winter tire season is here so we're swamped in the shop. Regardless, I've been plugging away and gotten quite a bit done on the rig.
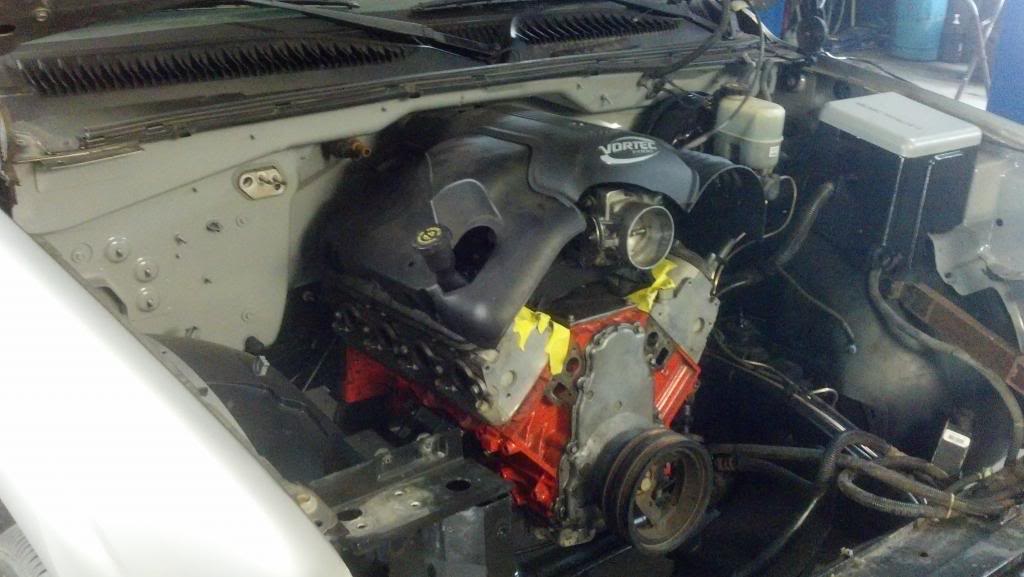
Truck pan and intake sitting on the 6.0l/T56 setup

Made some spacers and found some longer bolts for the EV1 injectors

Three piece covers came in, thanks to twolow02fransen!

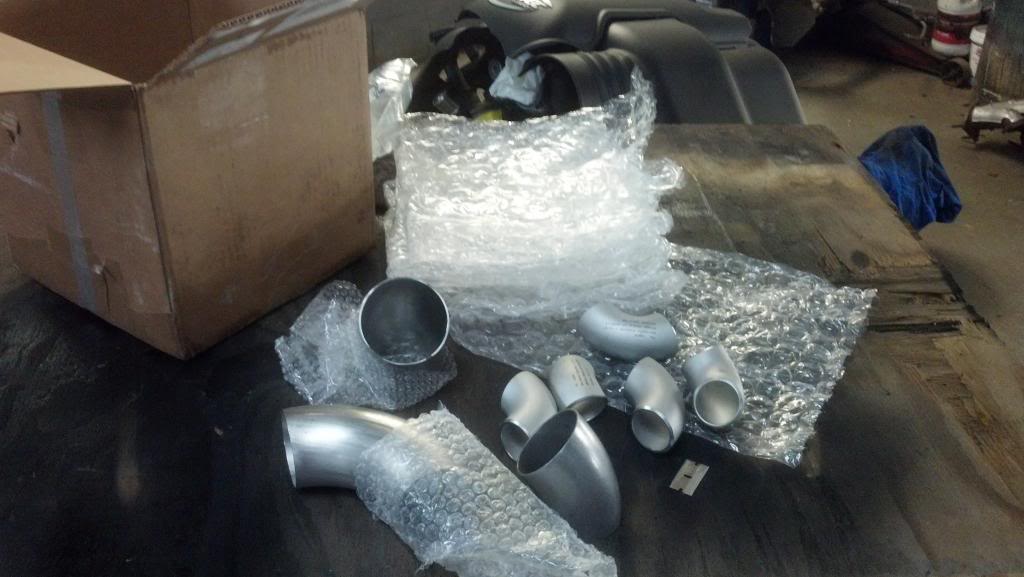
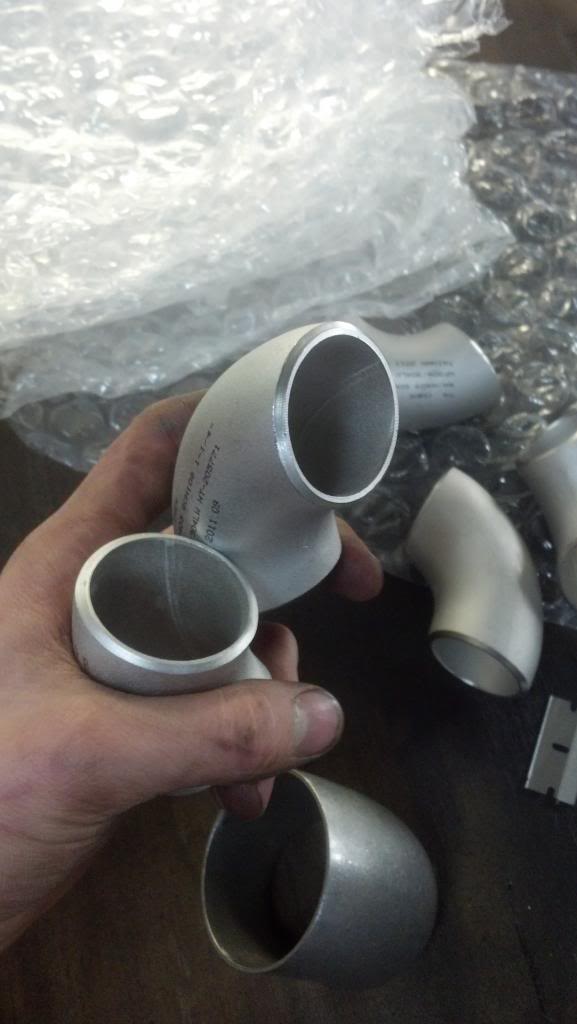
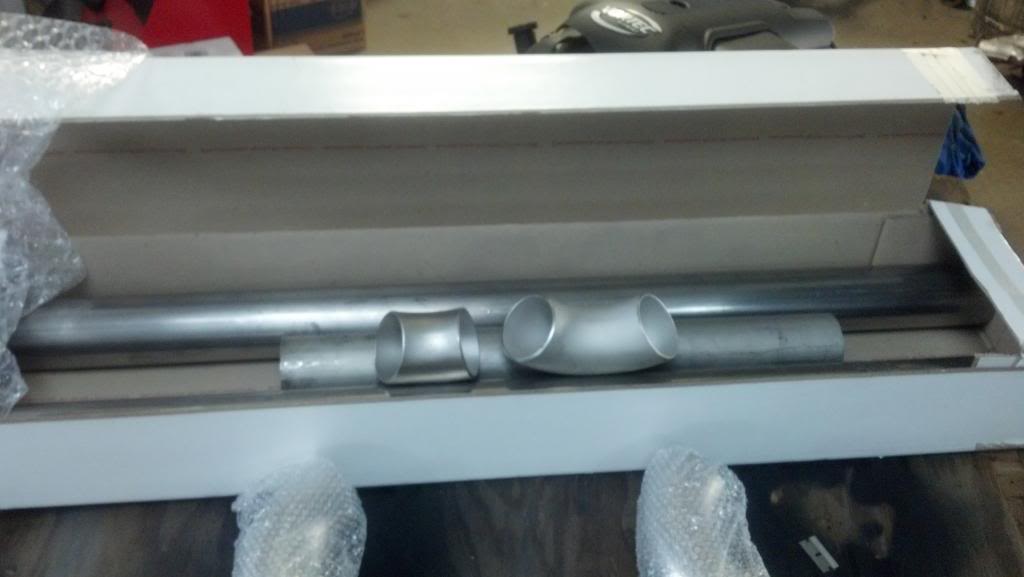
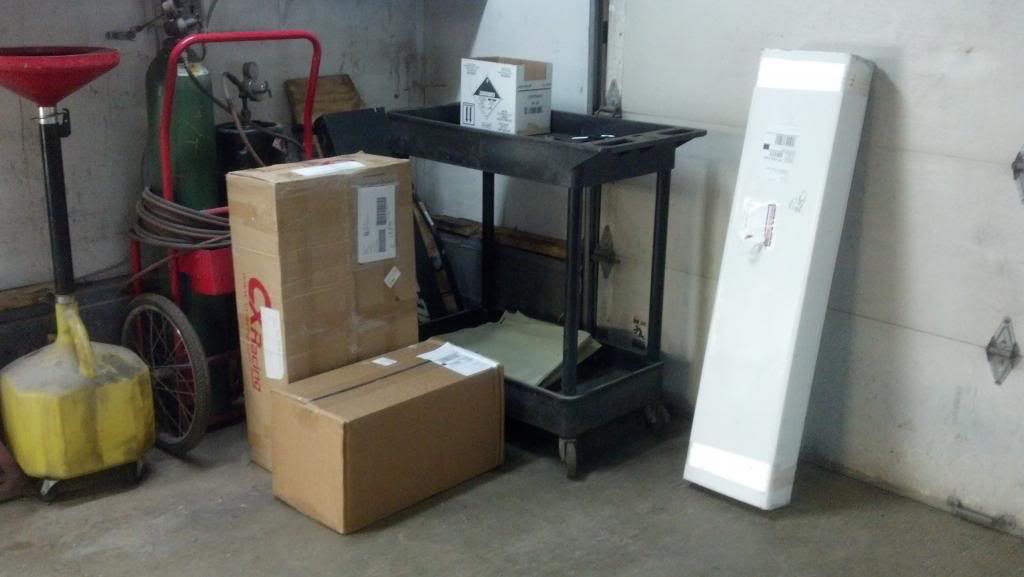
Parts and what not started showing up, schedule 10 bends and pipe, and mandrel bends and pipe for the exhaust, all 304 stainless
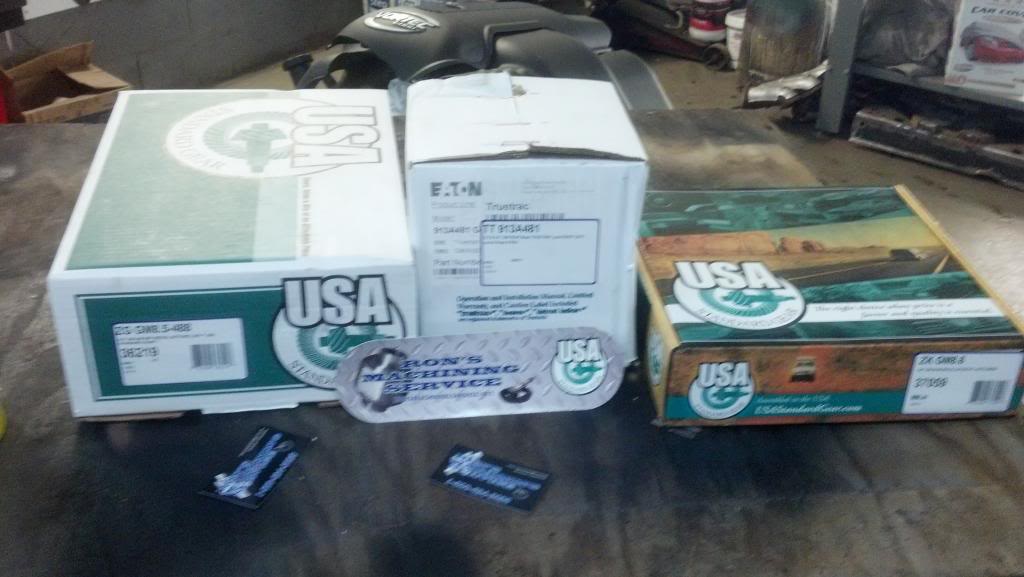
Gear/rear end parts
Intercooler stuff

Got underneath and cleaned up/painted the frame back to the end of the cab
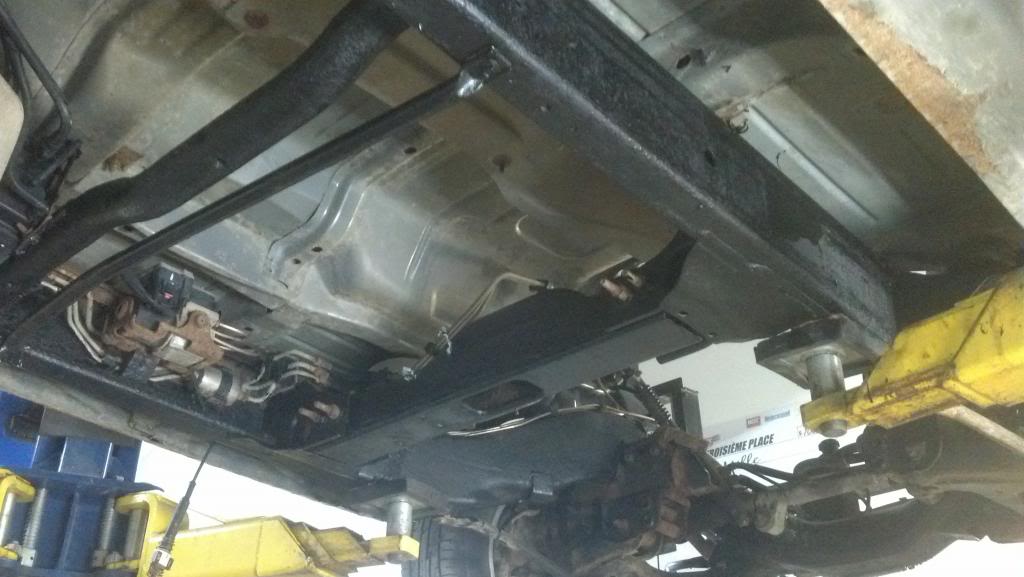
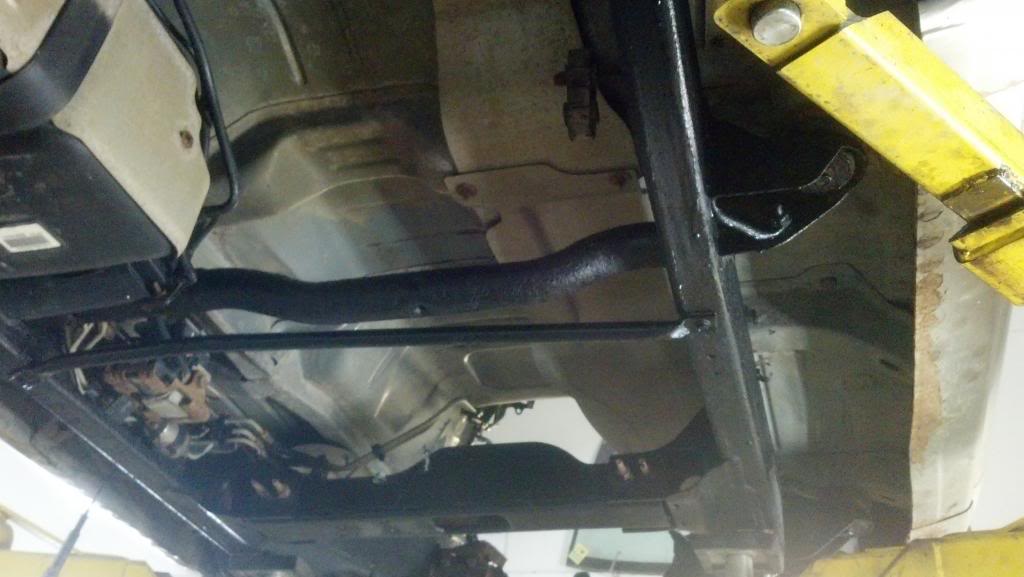
This past Tuesday, me and a buddy set to getting the motor and trans in and mounted up. I didn't end up ordering a 5spd transmission mount, so I decided to just modify my stock one after seeing a few modified ones for 4l80e swaps and what not.
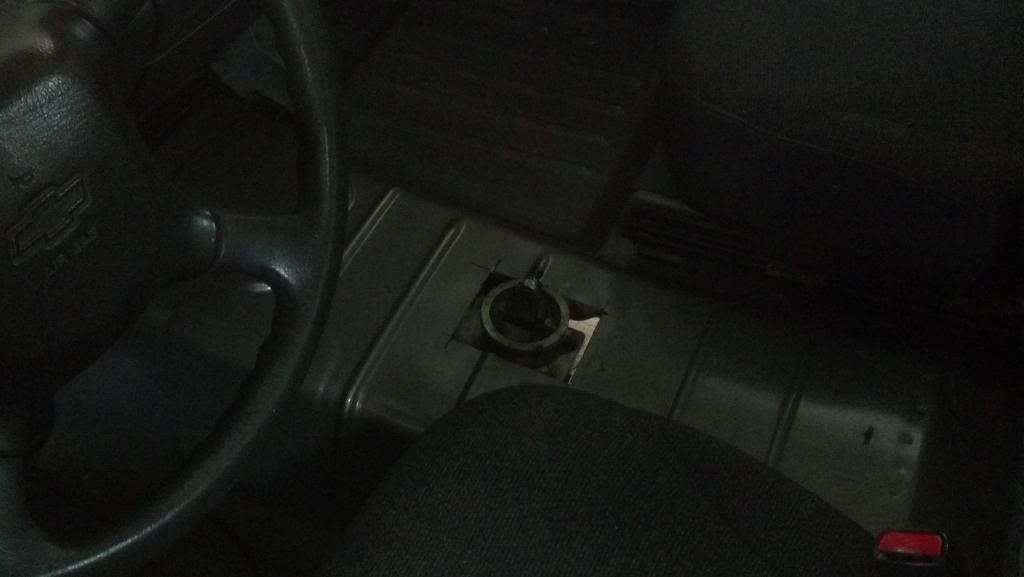
Started with lining up where the shifter hole needed to be...made some measurements on the bottom, crossed some lines and drilled a hole. Went up top, stripped the interior out real quick, made some lines off the hole, cut the top, boom, first try all went in great!

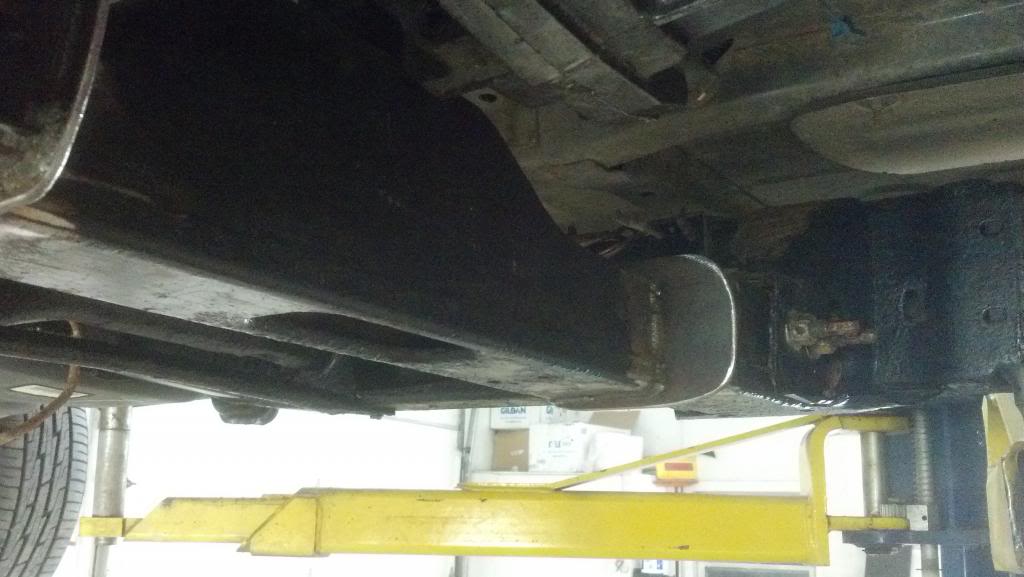
Trans mount, real simple, just cut both sides, ground the ends down until the 3/16" hardened steel plate slide between, lined/measured things, tacked it, pulled it off and welded it all, then clean up the edges/cornes and reinstall.
In for a while
Back of the truck is a mess...digging around for parts is getting old!

Thursday night I decided to tackle the wonderful job of installing the clutch pedal....this sucked. I decided to not take the truck off the lift or remove the dash...both would have made this a hundred times easier...regardless, after an hour or so of fighting and tearing out sound deadening while laying on my neck/head I got everything bolted up and installed.
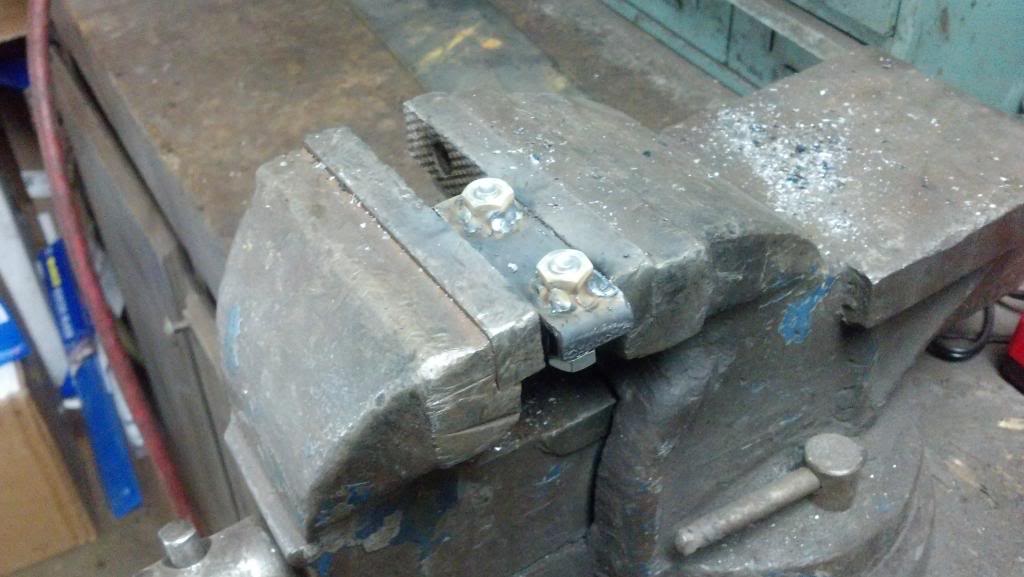
Bracket to bolt the pedal too
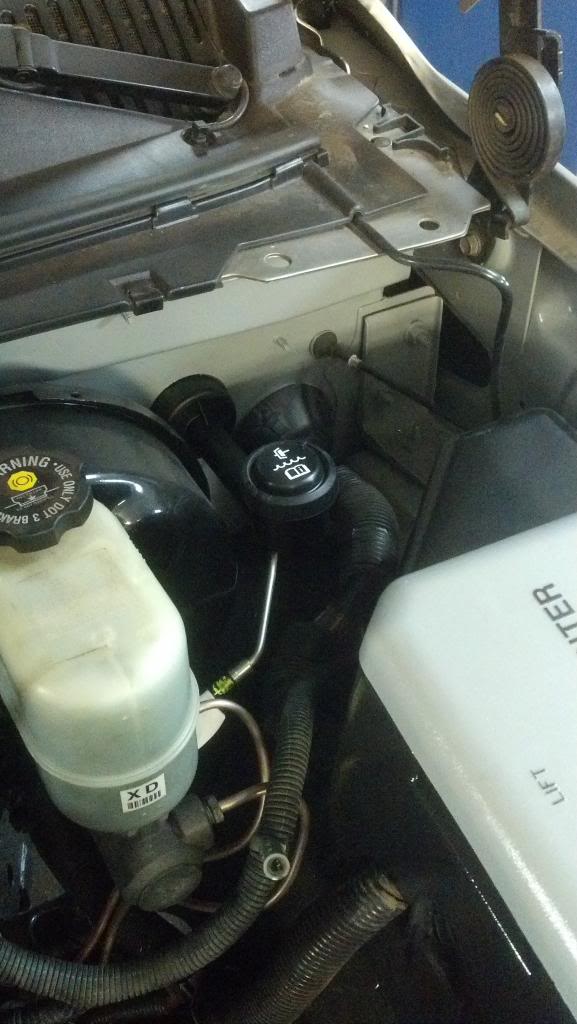
Master installed

Truck pan and intake sitting on the 6.0l/T56 setup
Made some spacers and found some longer bolts for the EV1 injectors
Three piece covers came in, thanks to twolow02fransen!
Parts and what not started showing up, schedule 10 bends and pipe, and mandrel bends and pipe for the exhaust, all 304 stainless
Gear/rear end parts
Intercooler stuff
Got underneath and cleaned up/painted the frame back to the end of the cab
This past Tuesday, me and a buddy set to getting the motor and trans in and mounted up. I didn't end up ordering a 5spd transmission mount, so I decided to just modify my stock one after seeing a few modified ones for 4l80e swaps and what not.
Started with lining up where the shifter hole needed to be...made some measurements on the bottom, crossed some lines and drilled a hole. Went up top, stripped the interior out real quick, made some lines off the hole, cut the top, boom, first try all went in great!
Trans mount, real simple, just cut both sides, ground the ends down until the 3/16" hardened steel plate slide between, lined/measured things, tacked it, pulled it off and welded it all, then clean up the edges/cornes and reinstall.
In for a while
Back of the truck is a mess...digging around for parts is getting old!
Thursday night I decided to tackle the wonderful job of installing the clutch pedal....this sucked. I decided to not take the truck off the lift or remove the dash...both would have made this a hundred times easier...regardless, after an hour or so of fighting and tearing out sound deadening while laying on my neck/head I got everything bolted up and installed.
Bracket to bolt the pedal too
Master installed
Nov 10, 2012 | 11:56 PM
#20
Friday after work I pulled the motor out, installed the turbo oil drain, the CBR Performance turbo feed block and swapped the clutch slave line from the custom -4an setup I had to the stock 5spd truck line.
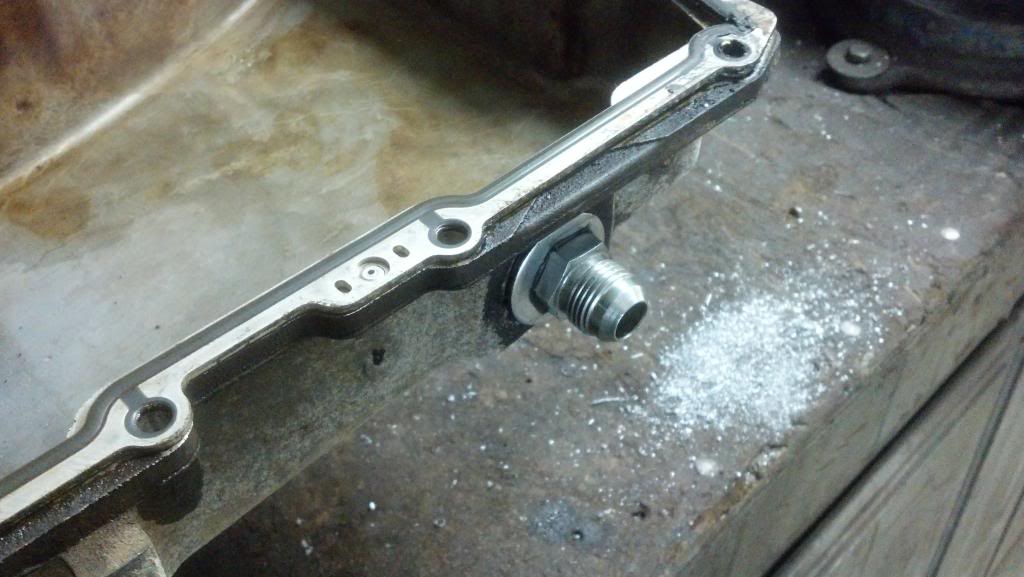
Pan drilled and tapped, fitting RTV'd and installed

This morning I started by getting the wiring back in and putting some misc brackets and stuff back on.

Once most of the wiring was back in, I went to grab the 34" radiator I thought I had saved from several years back....I don't have the slightest clue what this rad goes to but it's HUGE, it wouldn't even begin to fit in the stock core support haha. Sooo off to Carquest to get the right radiator I went. Got that in and started mocking up my turbo manifold.
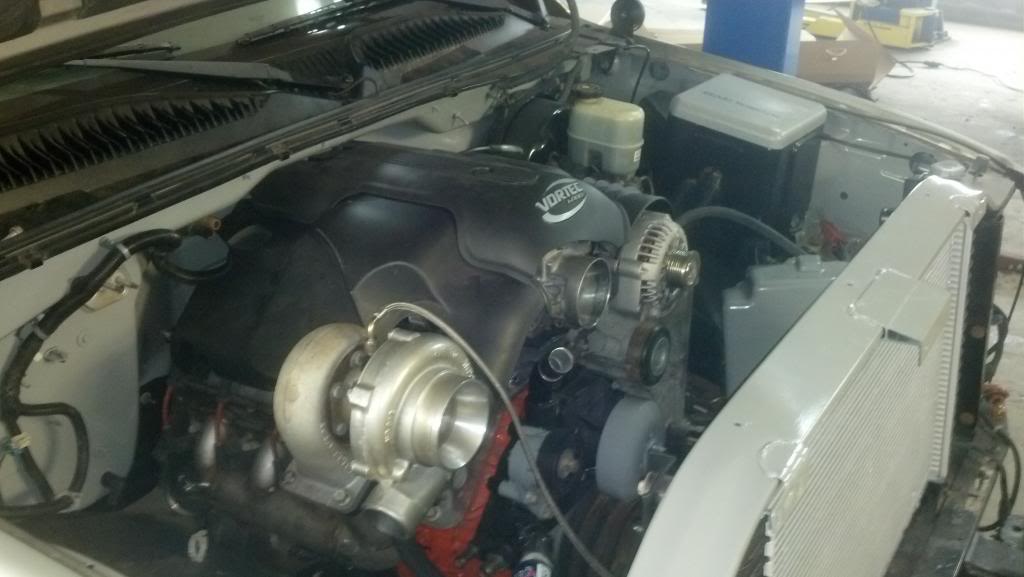
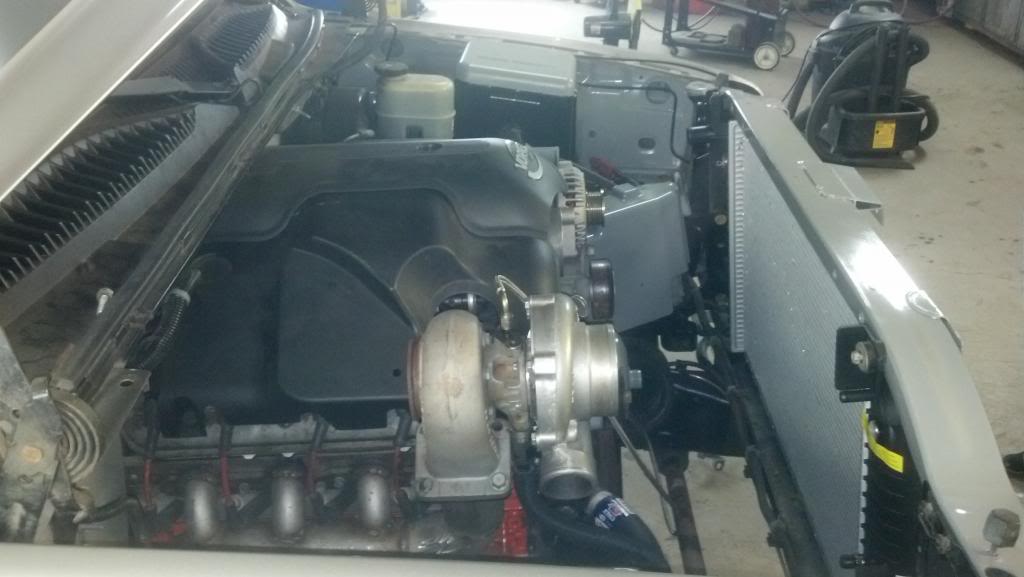
The manifold seemed super tricky to make at first and had me holding things all over and scratching my head quite a bit...but then things just kind of clicked and it went together very easily and I'm super happy with the end result!

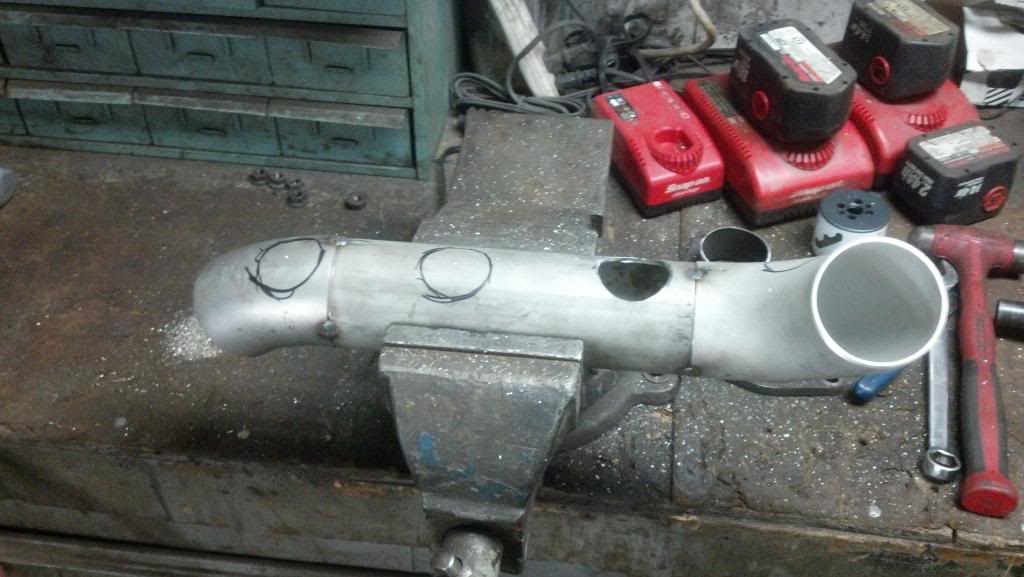


Once the manifold was together, I started working on the turbo flange. I took some of the 2.5" schedule 10 piping and had some fun with a hammer and surprisingly it oval'd out and fit the Vibrant T4 turbo flange well.
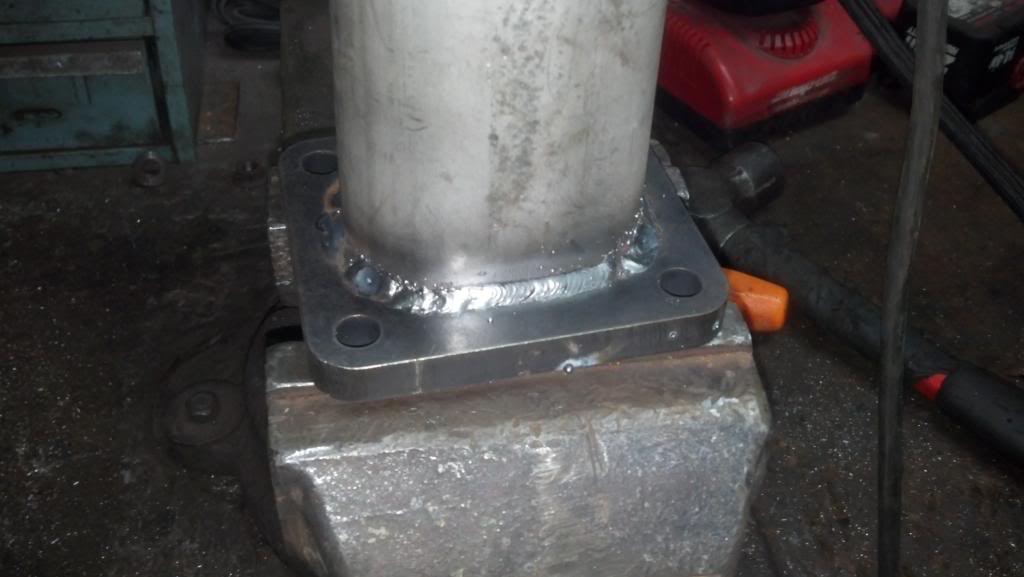
Then I pretty much called it a night, set the turbo on and put the three piece covers on just to see how things look.
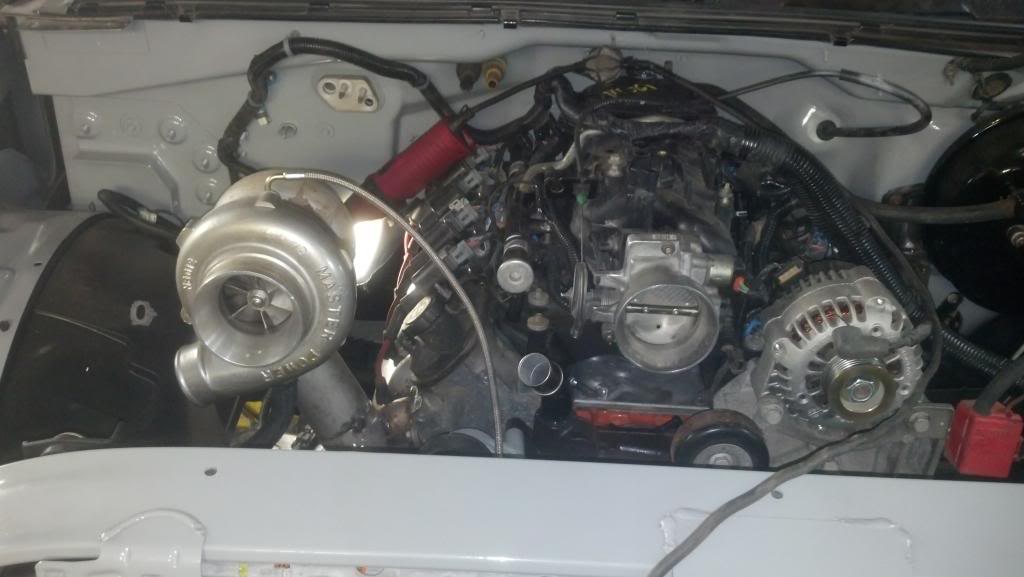

Hood closed

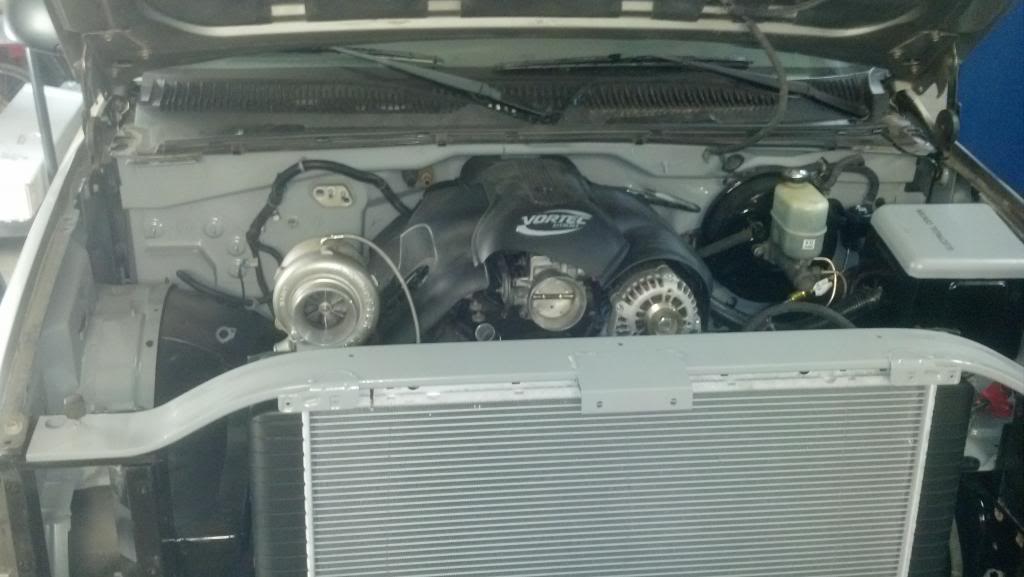
Manifold

Crossover pipe, external gate, rest of the exhaust and hopefully most of the intercooler stuff will get buttoned up tomorrow. Temporary fuel line should be made tomorrow to use the stock pump just so I can move the rig in and out of the shop under it's own power until I can get a hand to pull the bed off and get the fuel system done.
Pan drilled and tapped, fitting RTV'd and installed
This morning I started by getting the wiring back in and putting some misc brackets and stuff back on.
Once most of the wiring was back in, I went to grab the 34" radiator I thought I had saved from several years back....I don't have the slightest clue what this rad goes to but it's HUGE, it wouldn't even begin to fit in the stock core support haha. Sooo off to Carquest to get the right radiator I went. Got that in and started mocking up my turbo manifold.
The manifold seemed super tricky to make at first and had me holding things all over and scratching my head quite a bit...but then things just kind of clicked and it went together very easily and I'm super happy with the end result!
Once the manifold was together, I started working on the turbo flange. I took some of the 2.5" schedule 10 piping and had some fun with a hammer and surprisingly it oval'd out and fit the Vibrant T4 turbo flange well.
Then I pretty much called it a night, set the turbo on and put the three piece covers on just to see how things look.
Hood closed
Manifold
Crossover pipe, external gate, rest of the exhaust and hopefully most of the intercooler stuff will get buttoned up tomorrow. Temporary fuel line should be made tomorrow to use the stock pump just so I can move the rig in and out of the shop under it's own power until I can get a hand to pull the bed off and get the fuel system done.