Preston129/BlkSlvrdo129 Build thread - TVS1900, EPS cam and more
 06-19-2011, 08:13 PM
#131

Day 4: Got the new valley cover on and bolted and swapped the oil pressure sensor at the rear. Cleaned up the deck surfaces and bolt holes using razor blade scraper, shop vac, rolled up shop towels, compressed air (4 passes) and a cleaning tap for the 10 larger bolt holes. Laid the LS9 gaskets, installed the head studs, replaced a dowel pin and dropped the heads back on. LS7 lifters and trays also went in before quitting for the day.
Tomorrow aiming to get the front cover seal punched out and new one pressed in, torque the cam gear bolts, spin the engine a couple times to make sure everything's feeling smooth, measure the pushrod length and hope I guessed right, if so install them and torque the rocker ams in.
Furthermore, I'd like to get the damper pressed back on and pin it, get the starter bolted back in then I'll try to drop the headers in place. That would all make a successful day; forecast is calling for rain wednesday-friday, so I may put in a couple extra hours per day to get ahead. Still need to go get my exhaust pieces from the bodyshop that's welding it and drop the one off at powdercoating...not enough hours in a day!
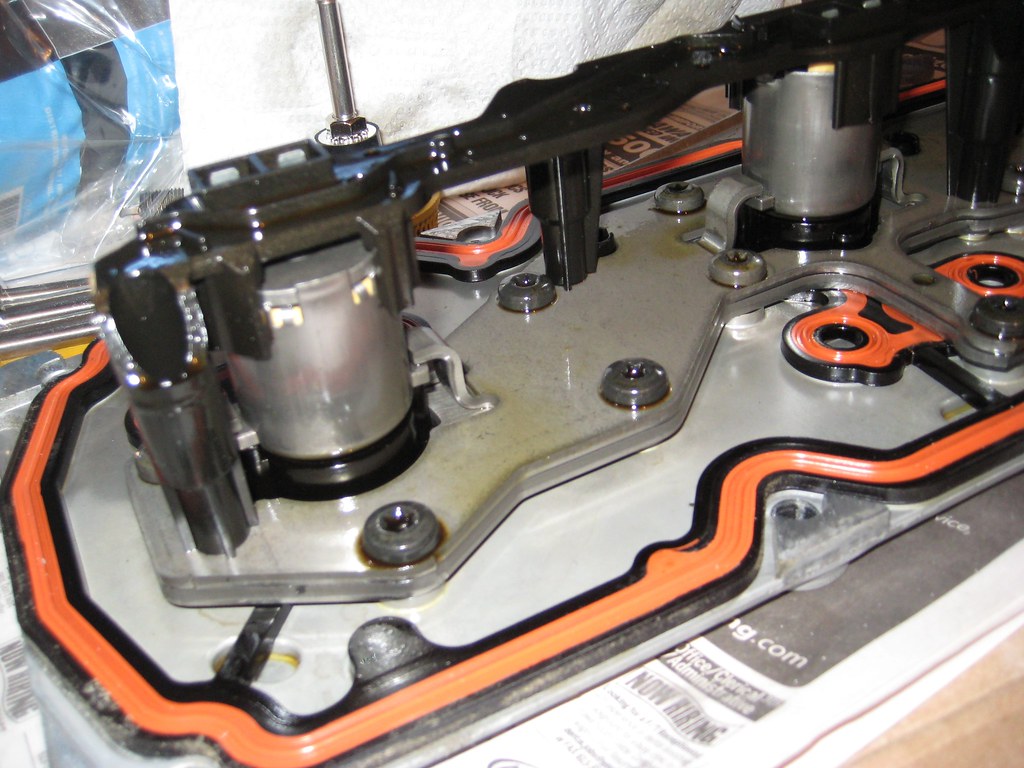
Thought these pics of the old valley cover were cool; pretty neat they can come up with a way to go from 8-4cyls as seamlessly as it does. Obviously it's at odds with anyone interested in modifying the engine, and I would have loved to not have had to pull the heads, but still pretty ingenious.
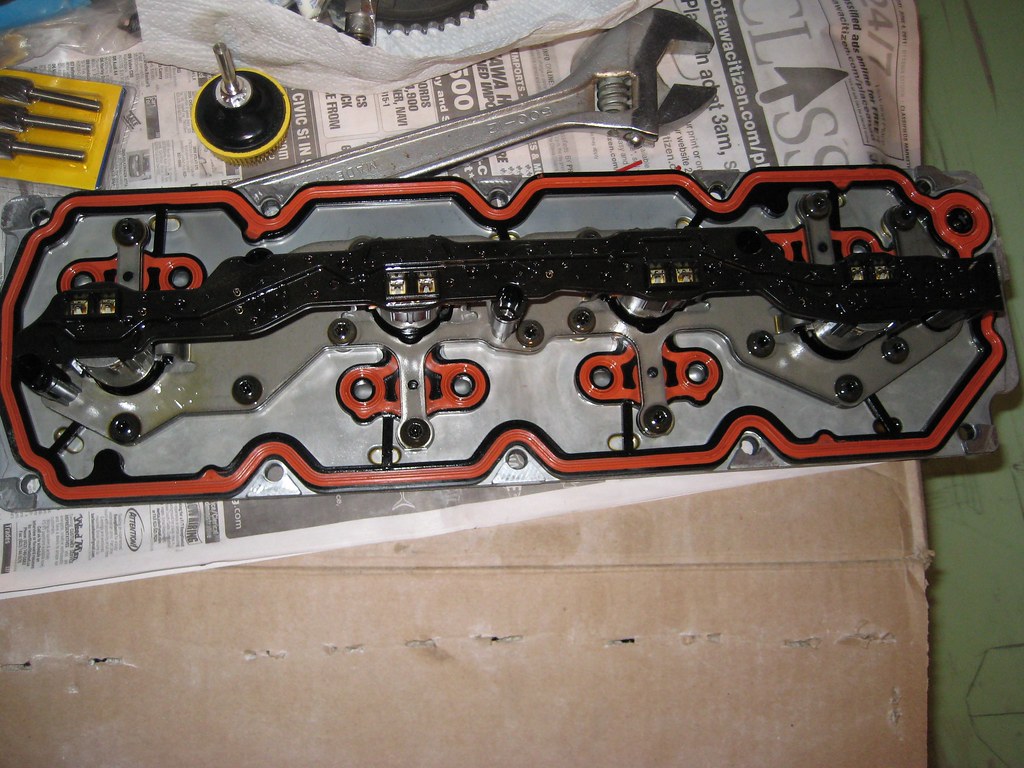
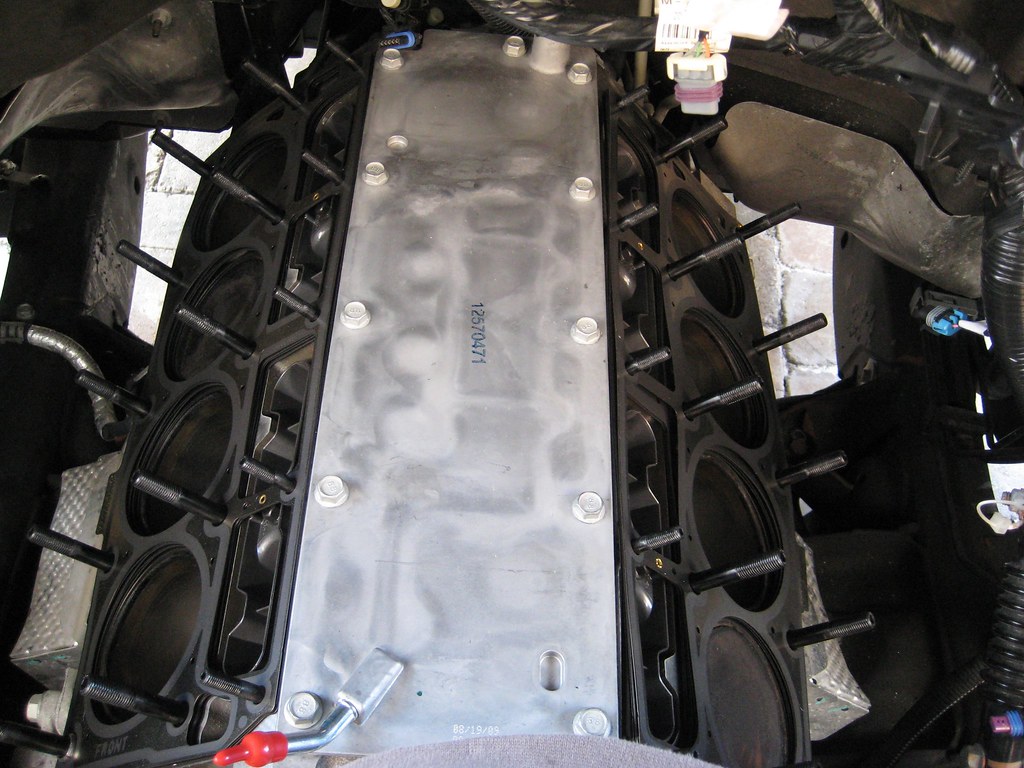
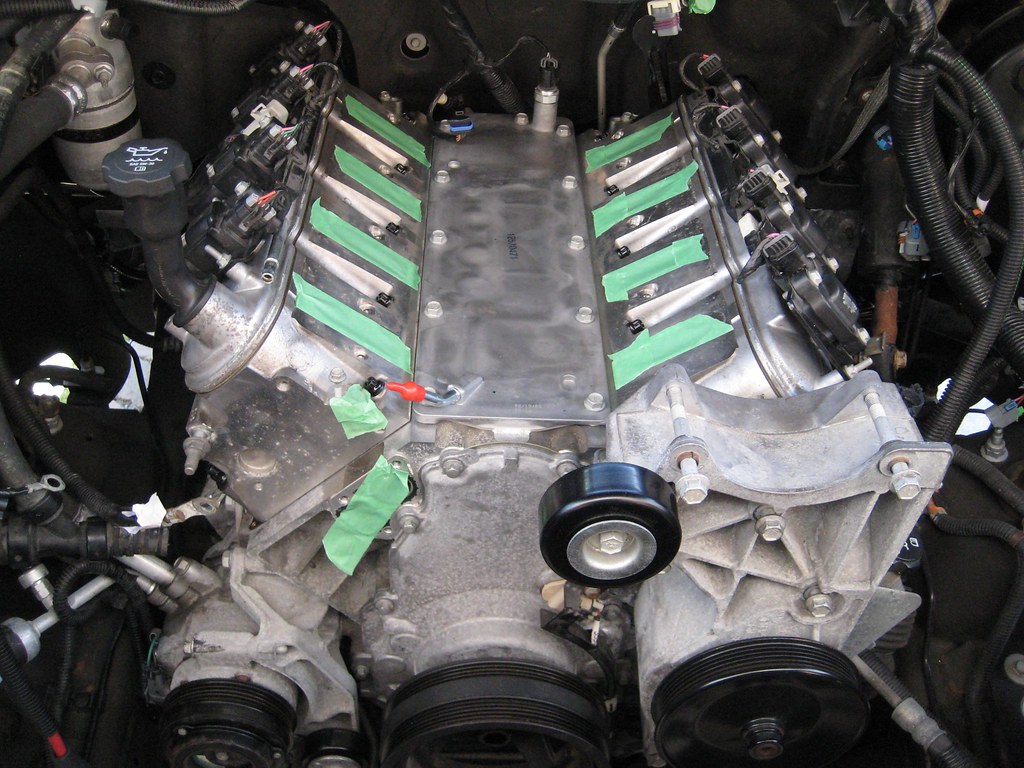
Forget what stage this was at, but I think I had just finished swapping the valley cover and was just beginning to clean the decks:
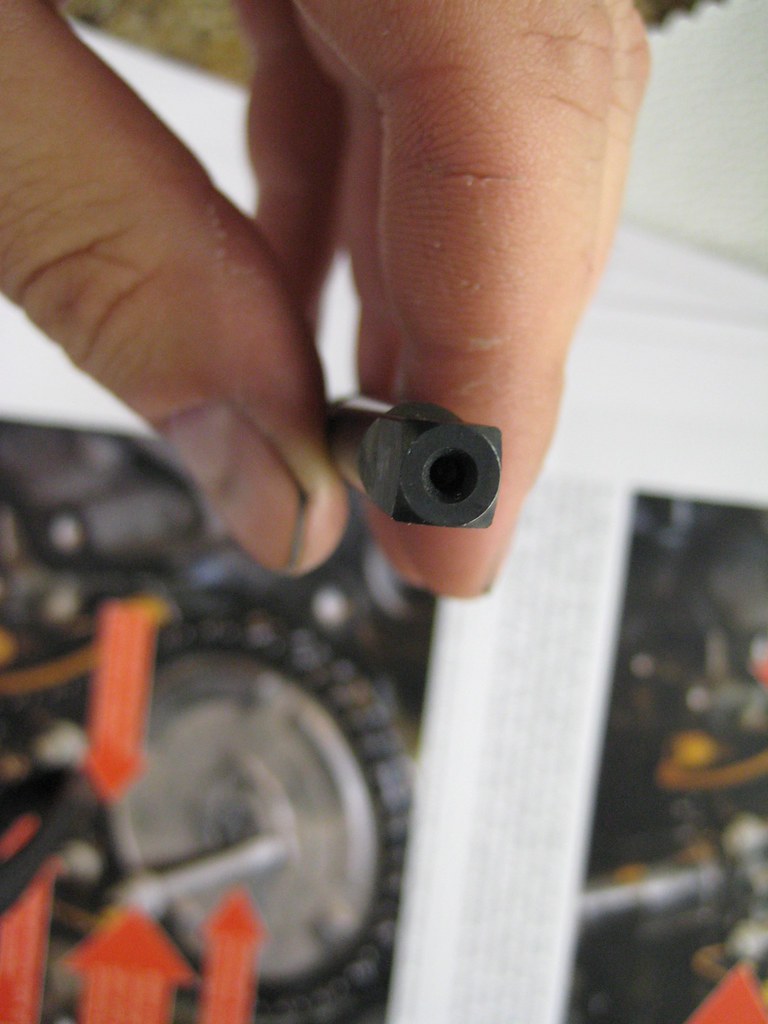
ARP cleaning tap and LS9 headgasket:
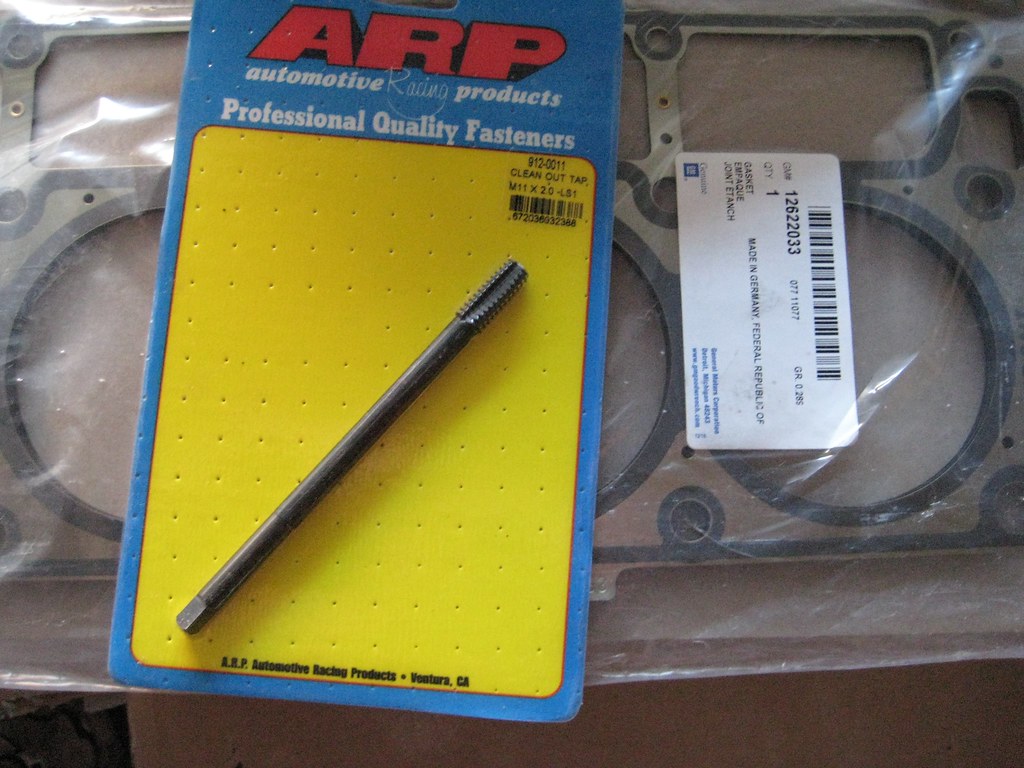
This tap was a really good investment but I'd really like to ask the guy that designed it why you'd put a square end on it and not a more common 1/4" hex cap or something a little more helpful. Using a crescent wrench and vicegrips got old pretty fast on the exterior bolt holes. At least throw in a T-handle with it if you're going to make wacky **** like this :facepalm:
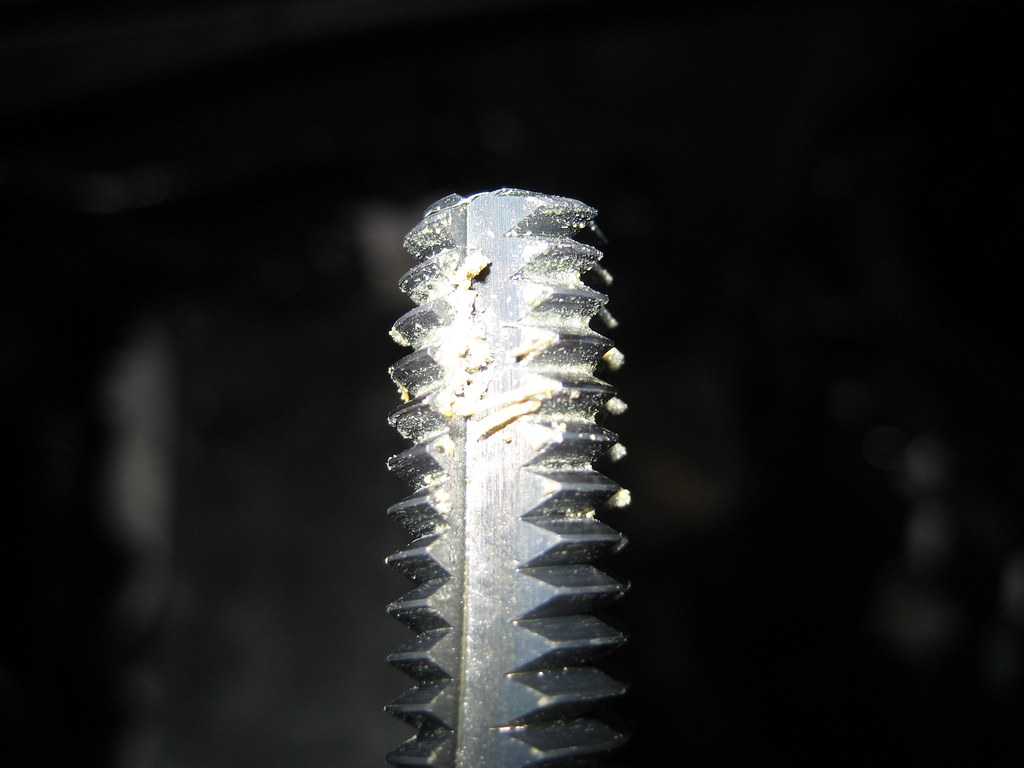
Here's why you want to clean out the threads with a tap:
I've been moving this thing for 3 days now so if anyone's looking for a cat back in good shape and low miles...

Studs installed in the block:

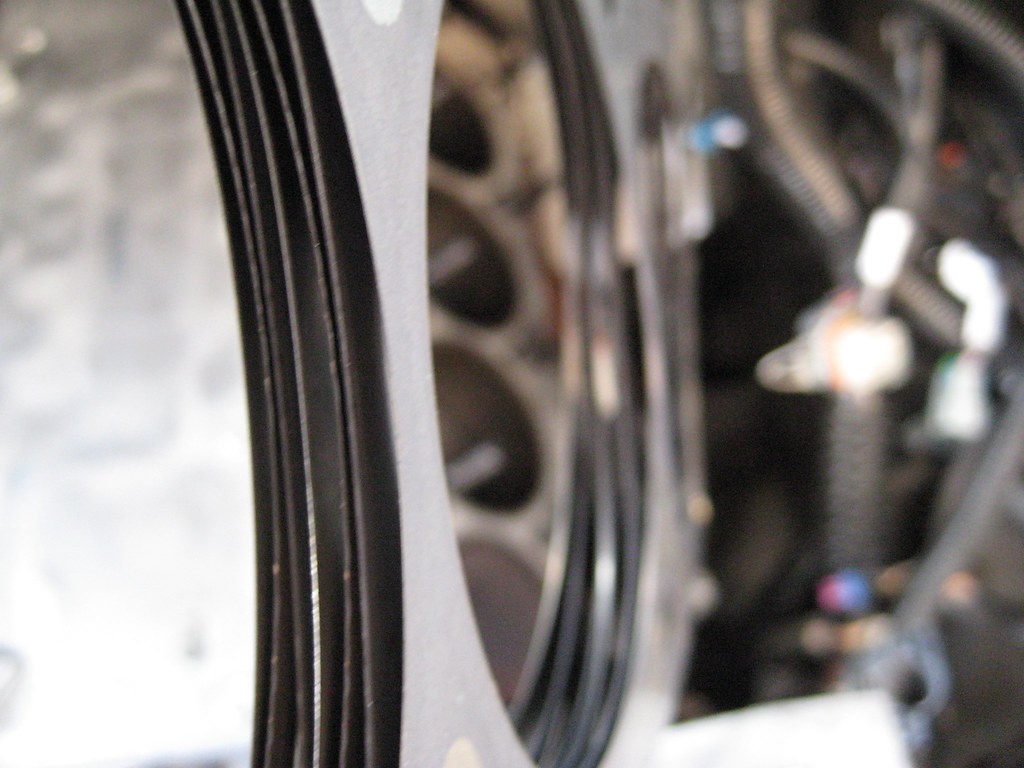
This pic didn't really turn out but I was trying to get a clear shot of the reason for the LS9 gaskets on a boosted application; the 7 layers versus the regular count of 5:
Laid down on the block:
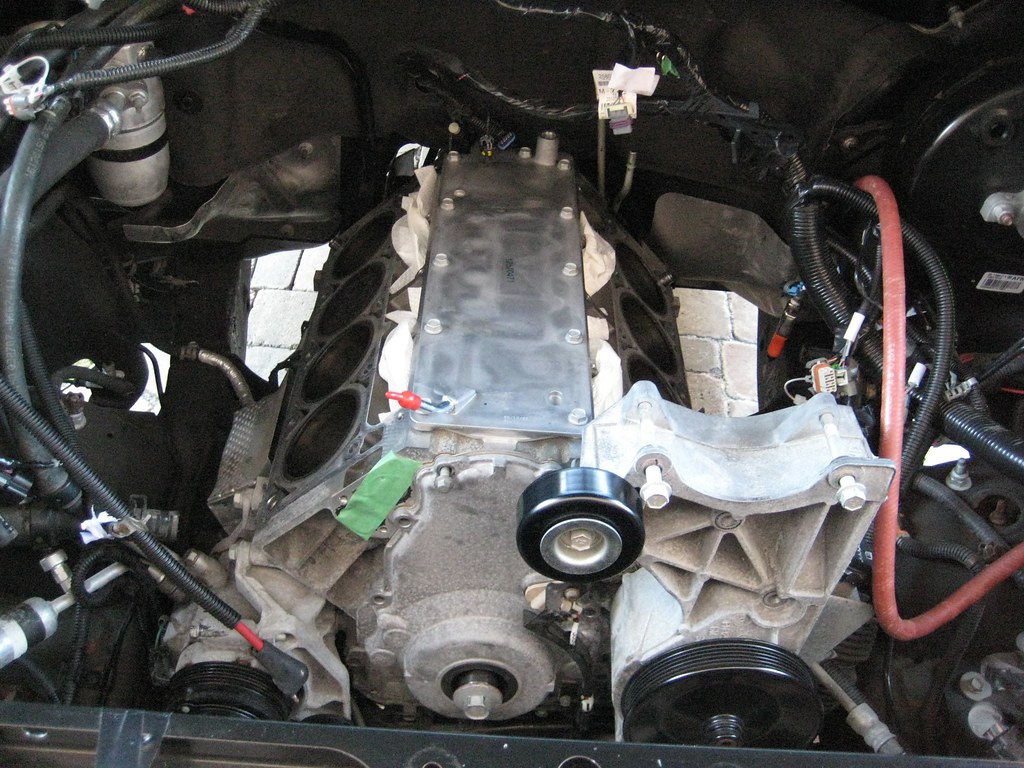
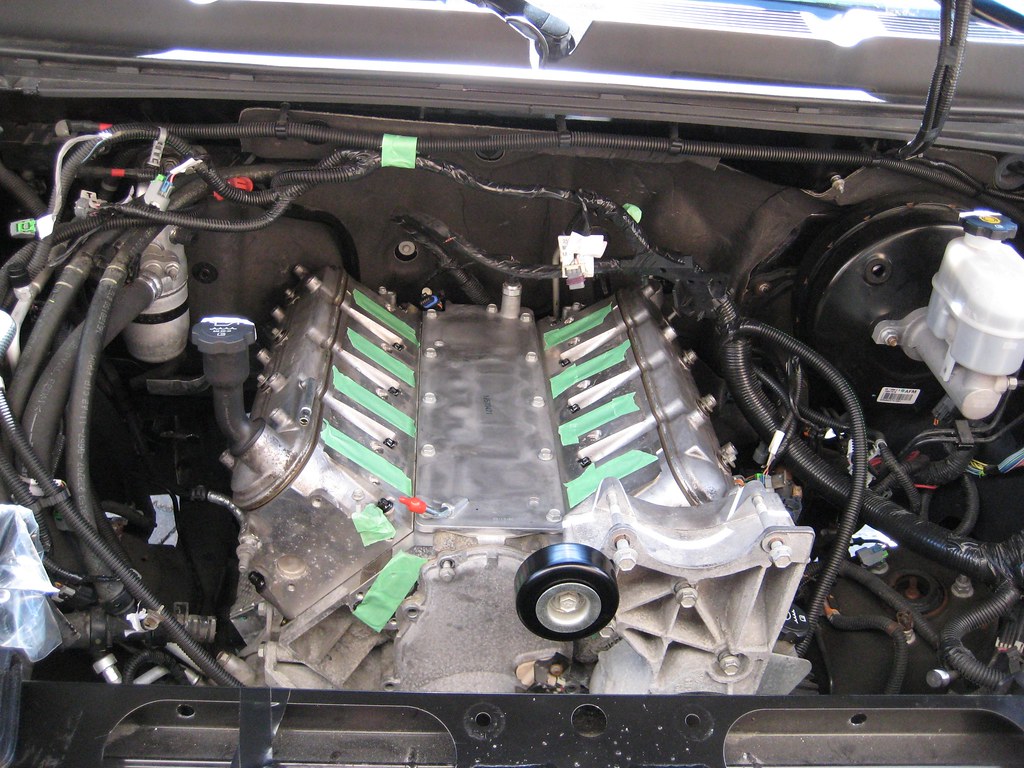
Heads torqued down and valve covers laid down just to keep dirt out. Going to try to clean up the valve covers, they're not looking too flashy. It's starting to look like an engine again!!
Tomorrow aiming to get the front cover seal punched out and new one pressed in, torque the cam gear bolts, spin the engine a couple times to make sure everything's feeling smooth, measure the pushrod length and hope I guessed right, if so install them and torque the rocker ams in.
Furthermore, I'd like to get the damper pressed back on and pin it, get the starter bolted back in then I'll try to drop the headers in place. That would all make a successful day; forecast is calling for rain wednesday-friday, so I may put in a couple extra hours per day to get ahead. Still need to go get my exhaust pieces from the bodyshop that's welding it and drop the one off at powdercoating...not enough hours in a day!
Thought these pics of the old valley cover were cool; pretty neat they can come up with a way to go from 8-4cyls as seamlessly as it does. Obviously it's at odds with anyone interested in modifying the engine, and I would have loved to not have had to pull the heads, but still pretty ingenious.
Forget what stage this was at, but I think I had just finished swapping the valley cover and was just beginning to clean the decks:
ARP cleaning tap and LS9 headgasket:
This tap was a really good investment but I'd really like to ask the guy that designed it why you'd put a square end on it and not a more common 1/4" hex cap or something a little more helpful. Using a crescent wrench and vicegrips got old pretty fast on the exterior bolt holes. At least throw in a T-handle with it if you're going to make wacky **** like this :facepalm:
Here's why you want to clean out the threads with a tap:
I've been moving this thing for 3 days now so if anyone's looking for a cat back in good shape and low miles...
Studs installed in the block:
This pic didn't really turn out but I was trying to get a clear shot of the reason for the LS9 gaskets on a boosted application; the 7 layers versus the regular count of 5:
Laid down on the block:
Heads torqued down and valve covers laid down just to keep dirt out. Going to try to clean up the valve covers, they're not looking too flashy. It's starting to look like an engine again!!


 06-20-2011, 07:53 PM
#135
Day 5: Pressed the new front seal on and re-installed the front cover. Measured pushrod length and installed 7.425 hardened ones and the rockers then torqued everything up top down. Cleaned up the valve covers and coil brackets a little and re-installed those. Gapped the BR7EF spark plugs to .035 and installed them. Pressed the pulley on and pinned it then re-installed the starter.
Tomorrow going to install the headers, grind away some of the alt bracket, re-install the a/c belt and if I go to the dealership to get my exhaust pipes, I also need to pick up a water pump gasket then I can re-install that and maybe the two heater core hoses. After that it's pretty much time to start on the maggie install, which by comparison to the past 4 days work seems pretty easy!
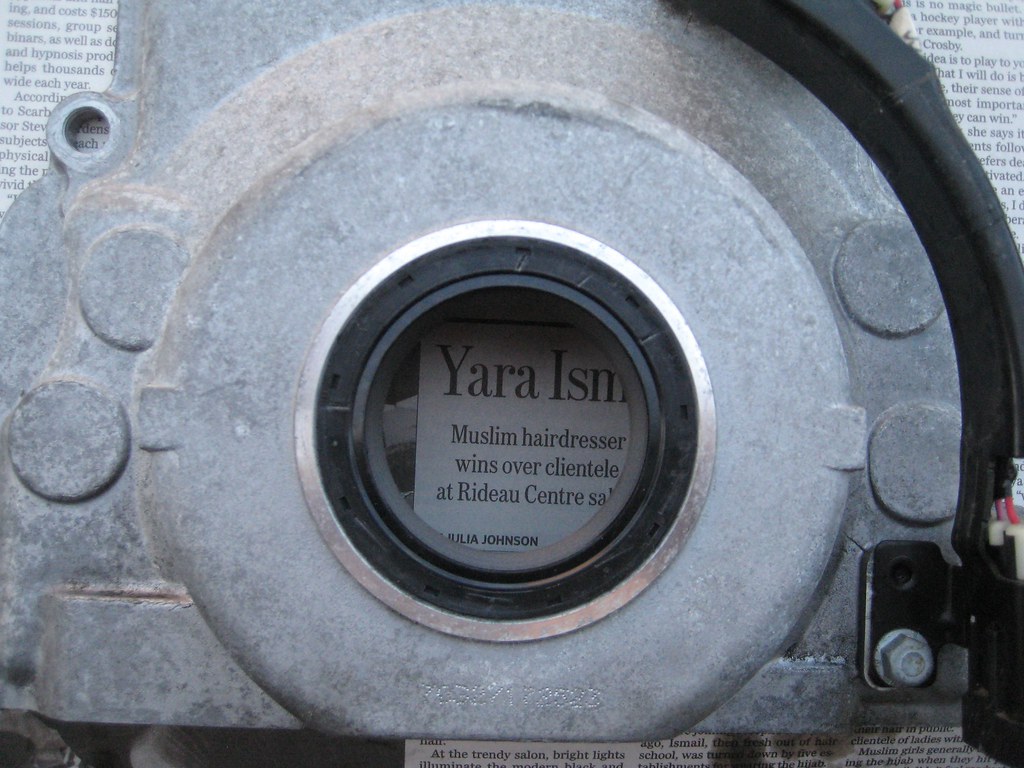
First job was getting old front seal out and new one pressed back in. Super easy, two hits with a hammer and large slotted screwdriver and it fell out. Applied a thin film of oil to the inner rim where the new seal sits and punched it in with the same screwdriver, going around it at each hour mark.
I didn't take a pic but at each point on the oil pan where the front of the block ends I dabbed a bit of RTV black gasket maker just to be on the safe side.
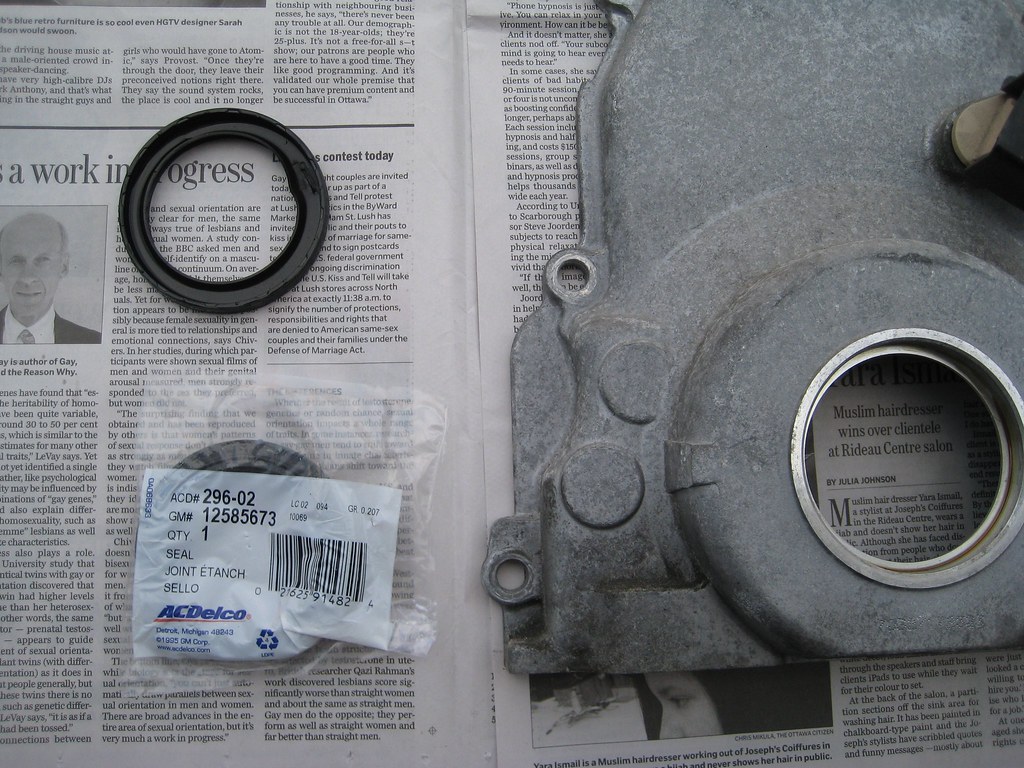
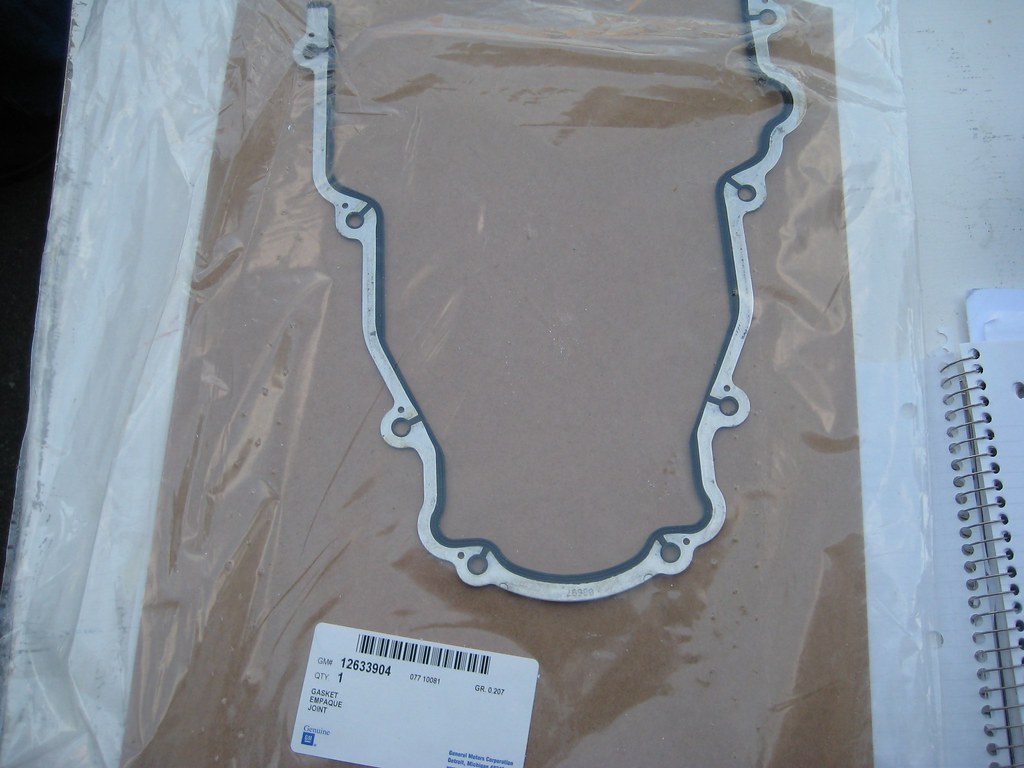
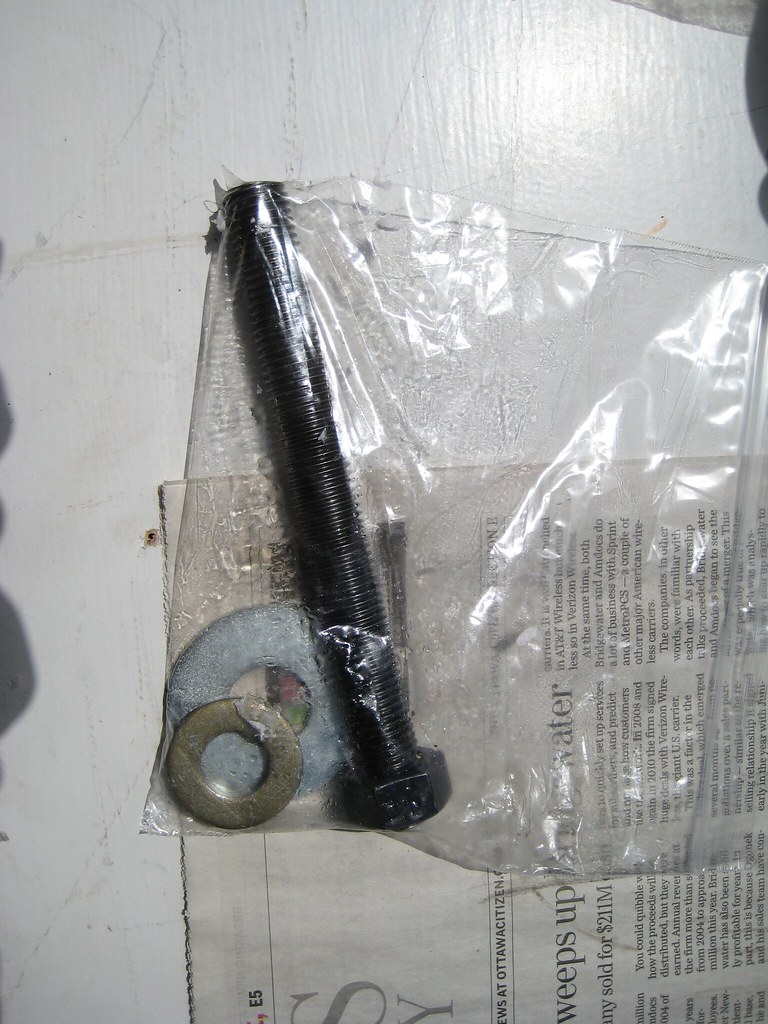
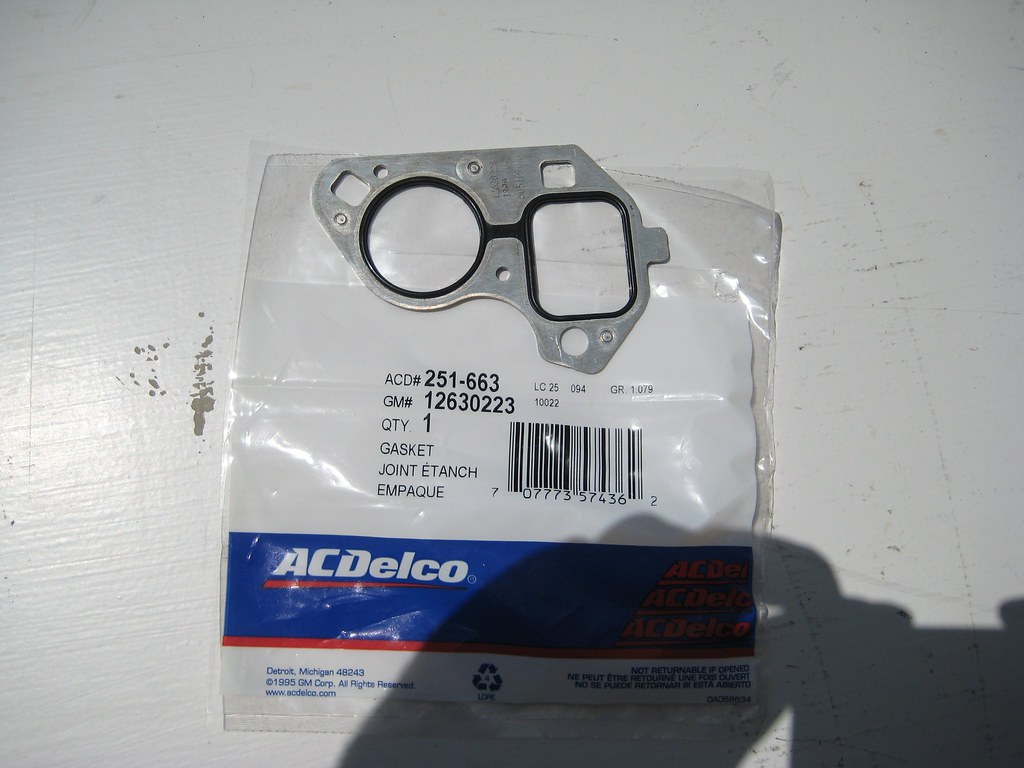
I'm replacing about 99% of the gaskets just to be on the safe side. I'm sure you can re-use them, but I'm not going to bother this time around. Here's the old gasket in the new one's bag, but pic taken just to show the p/n in case anyone's in need:
The timing cover has 10 bolts holding it on (8 at the front and 2 going up through the oil pan) and the two going through the pan are impossible to reinstall without a really low-profile flex ratcheting wrench, and even then I don't know if you could get them in with that. The reason for this is the negative battery terminal wire runs right under these bolts, and it's attached to the block with a plastic bracket. To get this bracket away, there's a 10mm bolt that goes in from the driver side. It's impossible to see from above, but you can feel it if you run your hand under the PS pump.
Here's a pic of the bracket unbolted and out of the way:
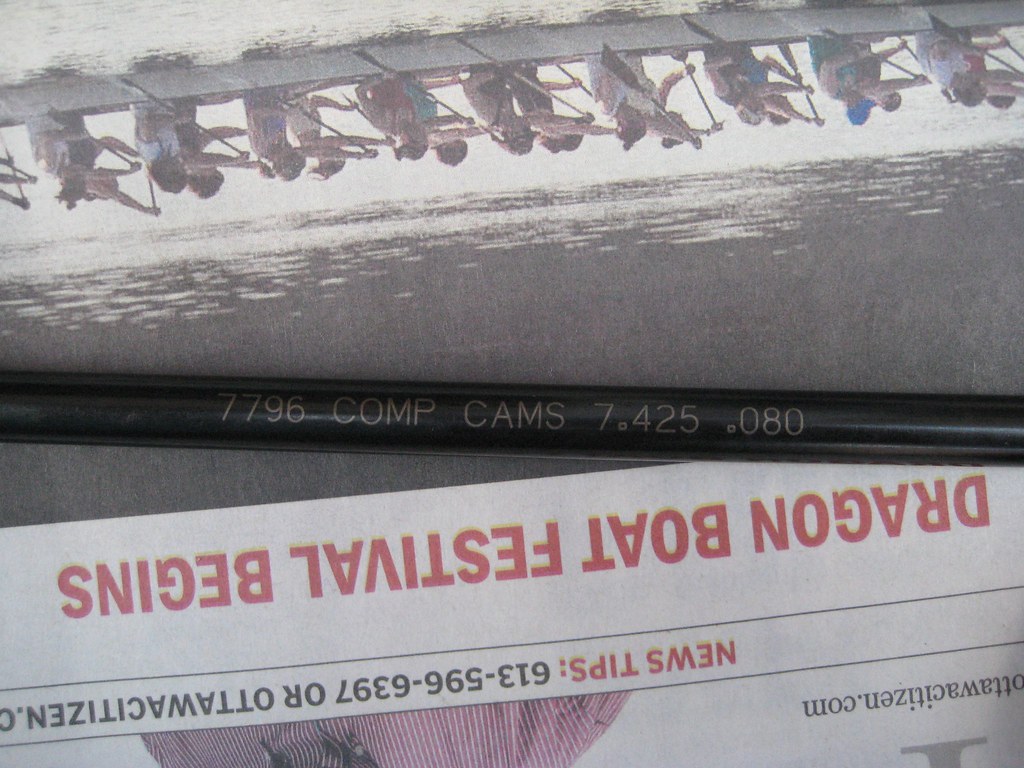
Next it was time to check pushrod length. I had 7.35 and 7.425 hardened PRs on hand, and was really hoping one of the two would fit!
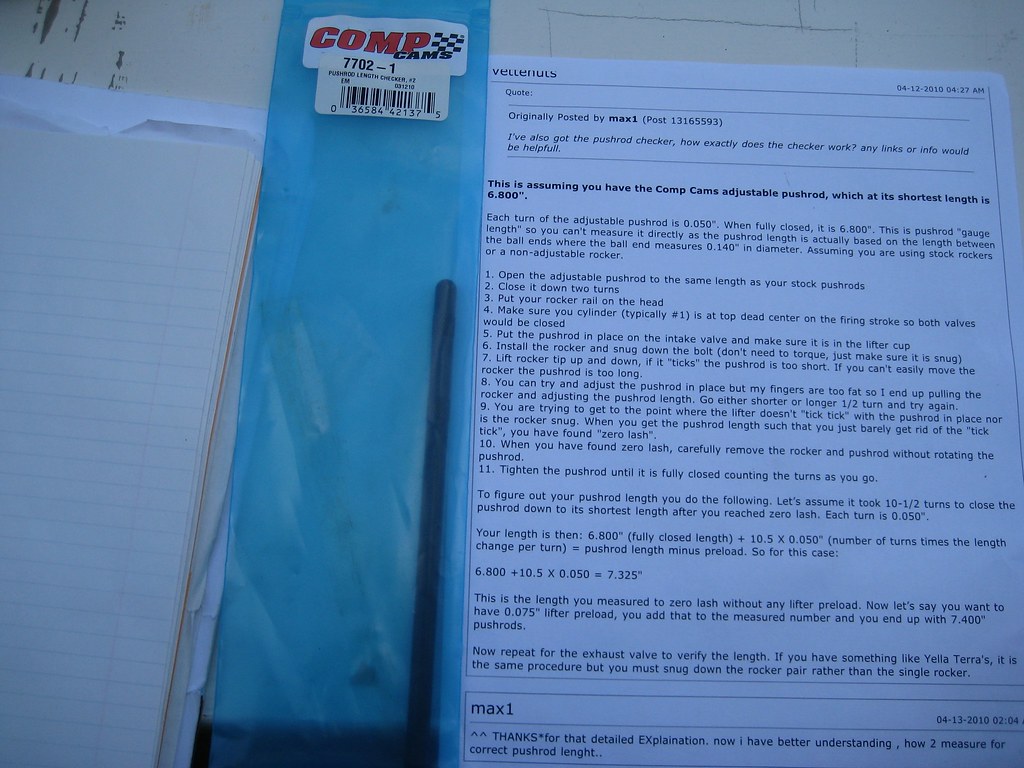
7.35 gave me zero lash, so factoring in .075 lifter preload, I used the 7.425 PRs.
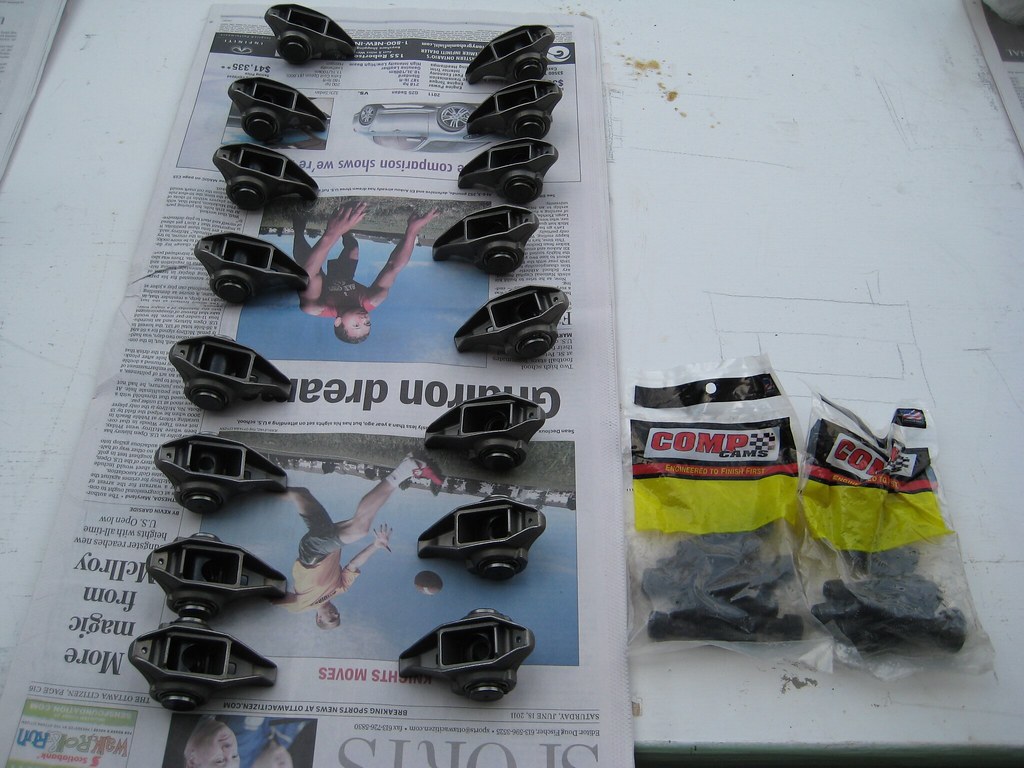
Laid out the rocker arms that I had the Comp trunion upgraded rollers pressed into and ARP bolts:
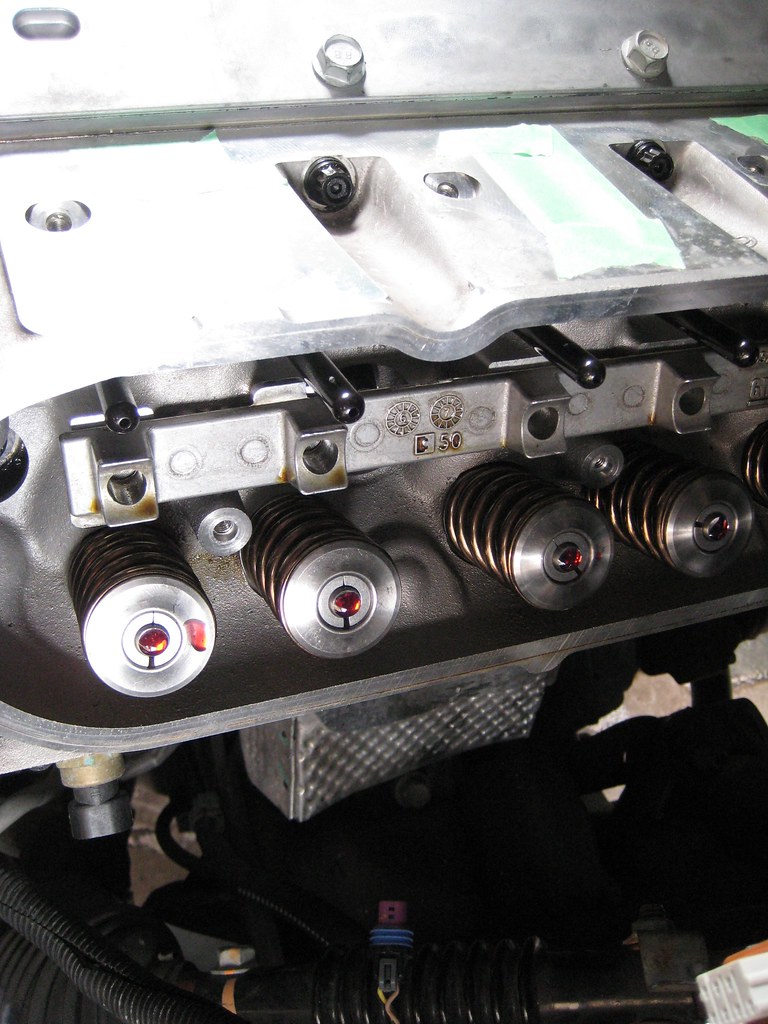
Put some Comp cam assembly lube on the top of the valves to reduce some friction when it's time to start the engine:
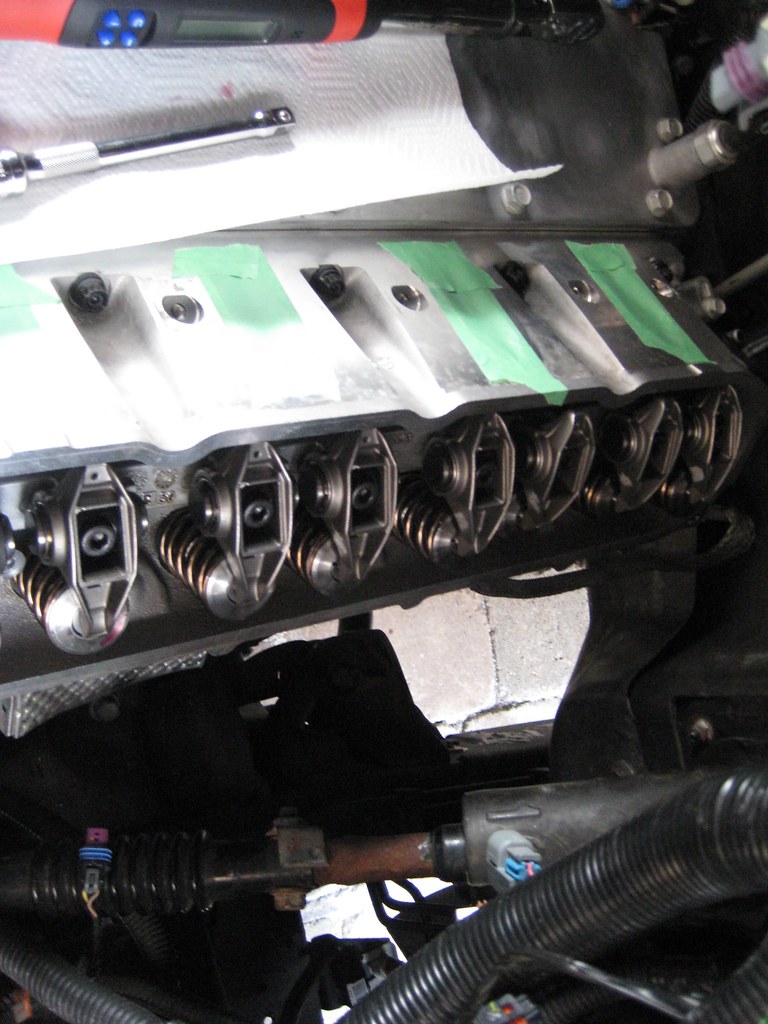
Rockers on:
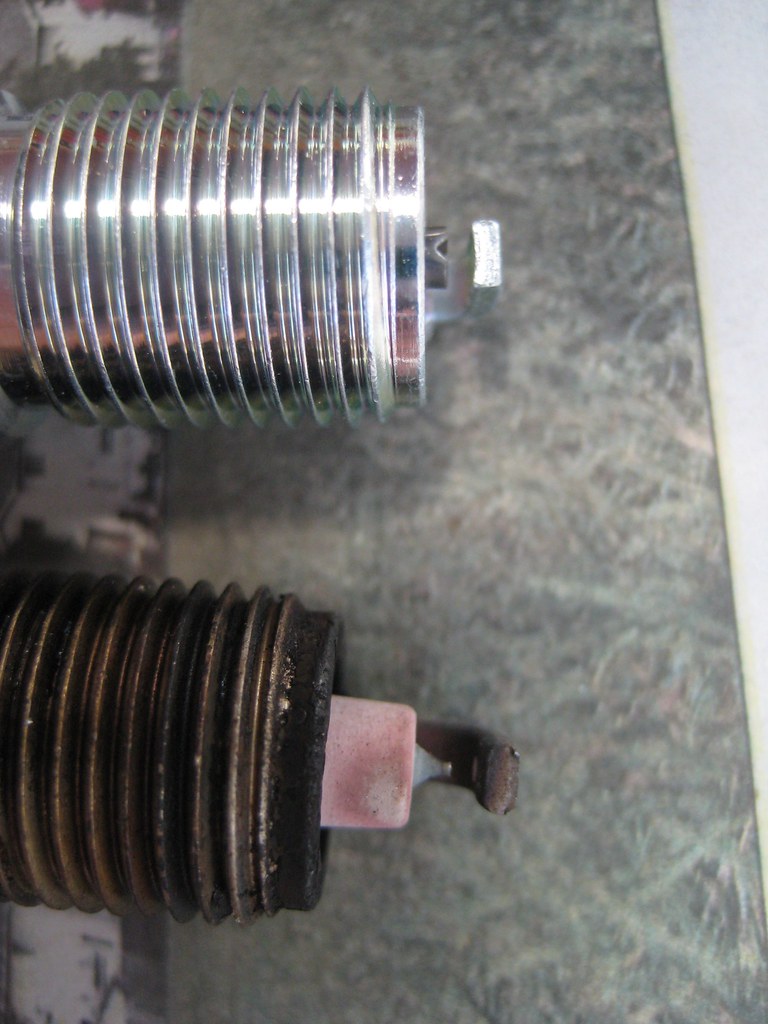
NGK BR7EF compared to stock AC-Delco 41-985 Iridium plugs. The NGKs are two steps colder and I gapped them to .035:
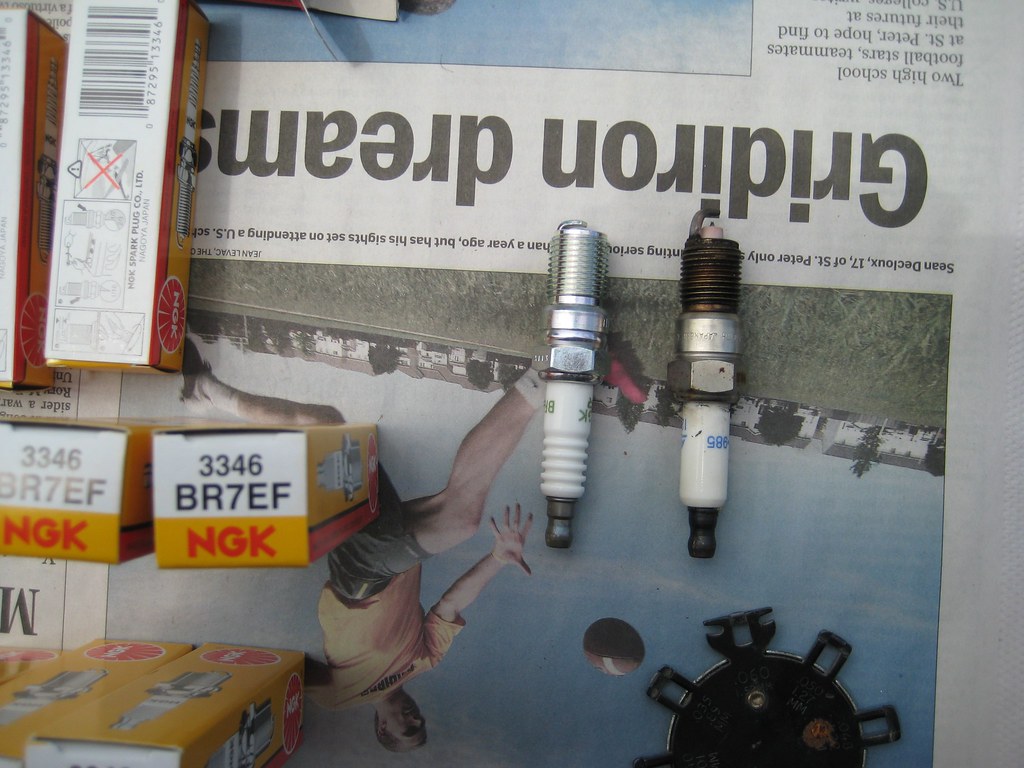
Much smaller insulator nose is the biggest difference between the two heat ranges:
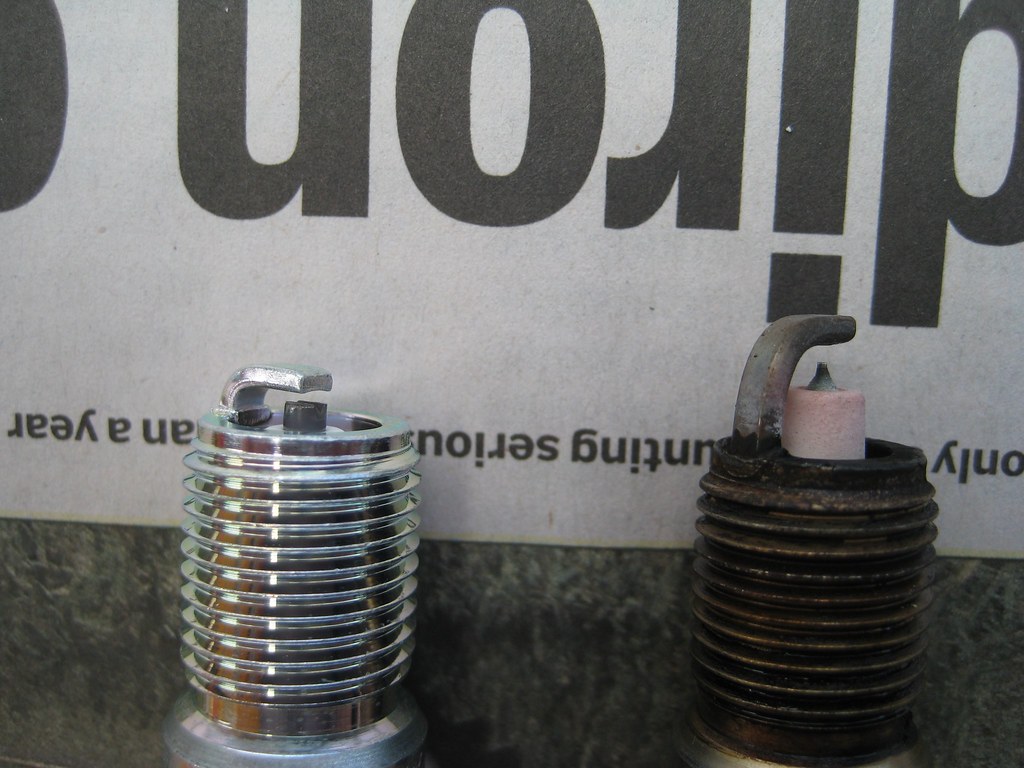
NGKs are a copper electrode plug compared to the iridium plated stockers. Better for heat dissipation, but not for longevity. Compared to the service interval of roughly 100,000 miles for the iridiums, I'll probably change the plugs every 10,000.
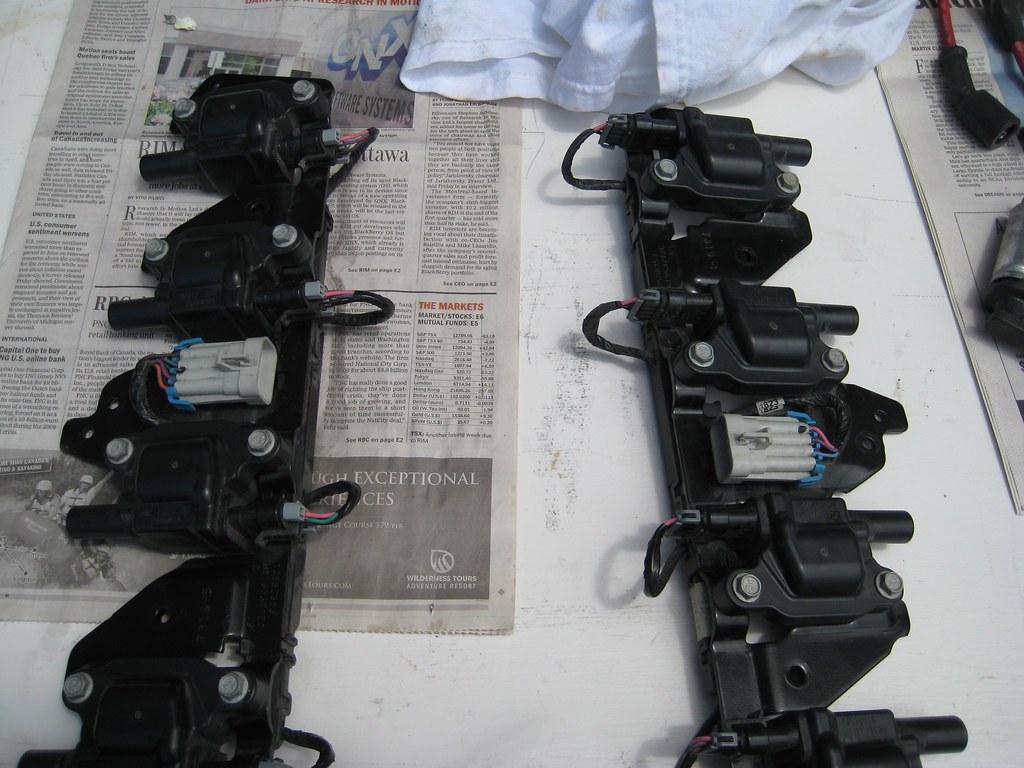
Gave the valve covers and coil brackets a quick wash. I was trying to come up with some kind of idea in my head that would look good as far as powdercoating either or both of these parts, but the valve covers get hidden by the coils anyways, so I just put them back on. Maybe some day I'll get a coil-relocator kit and do something trick with the covers.
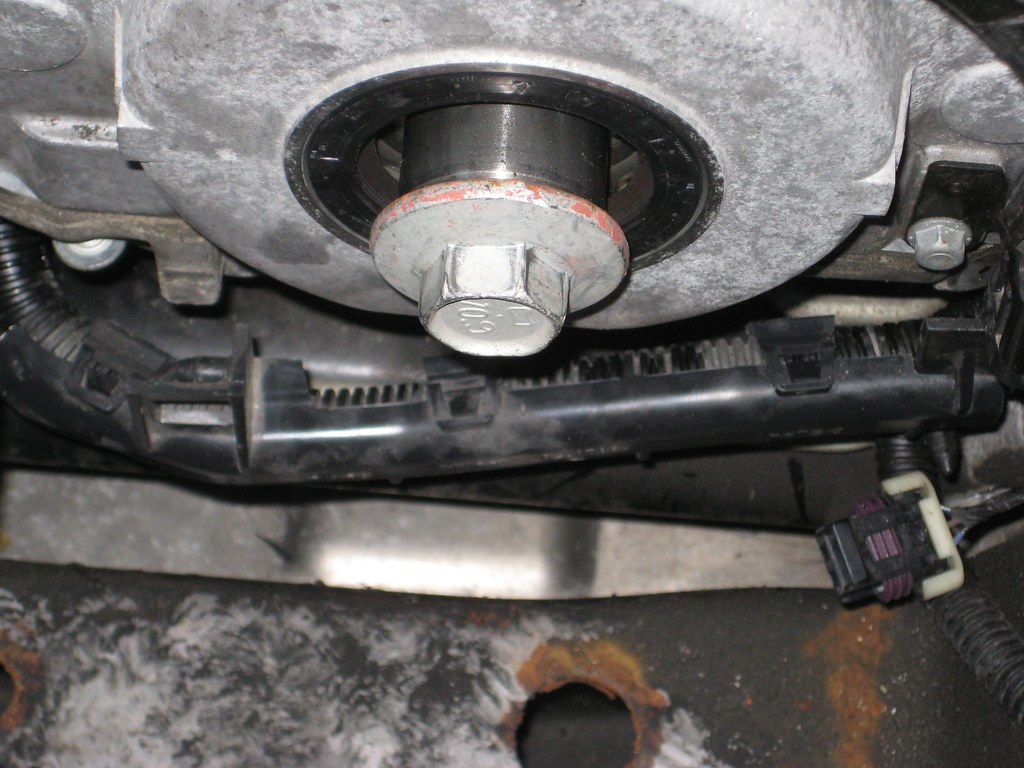
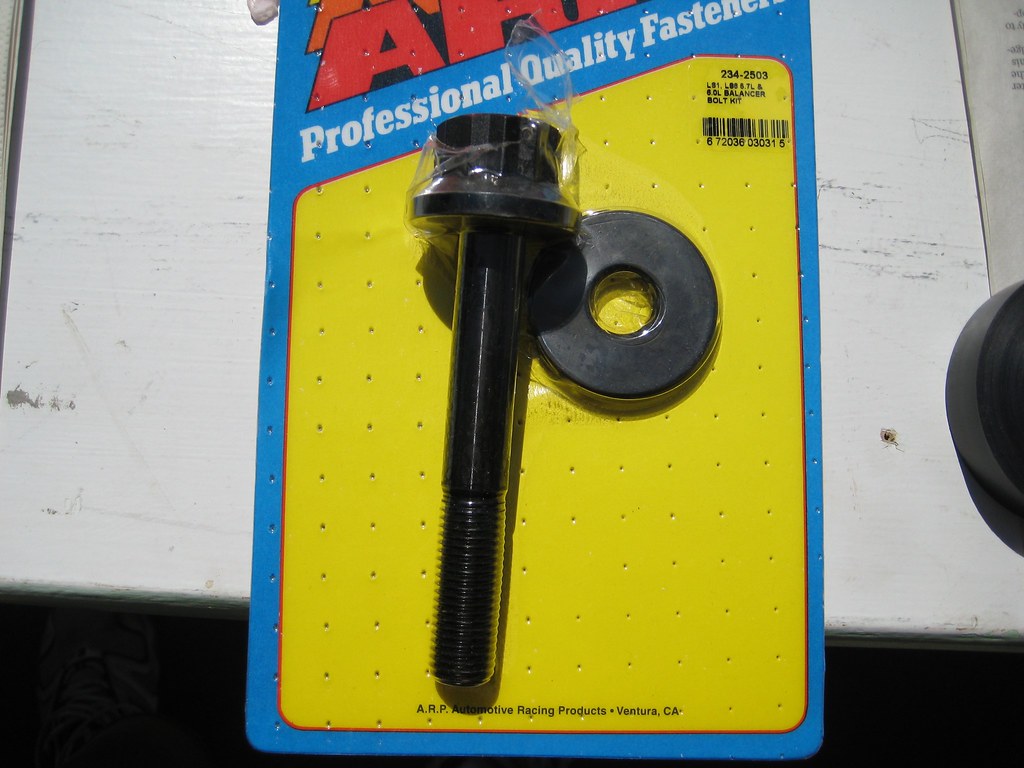
I got this tool to re-install the crank pulley from a member on ls1tech and it works really well:
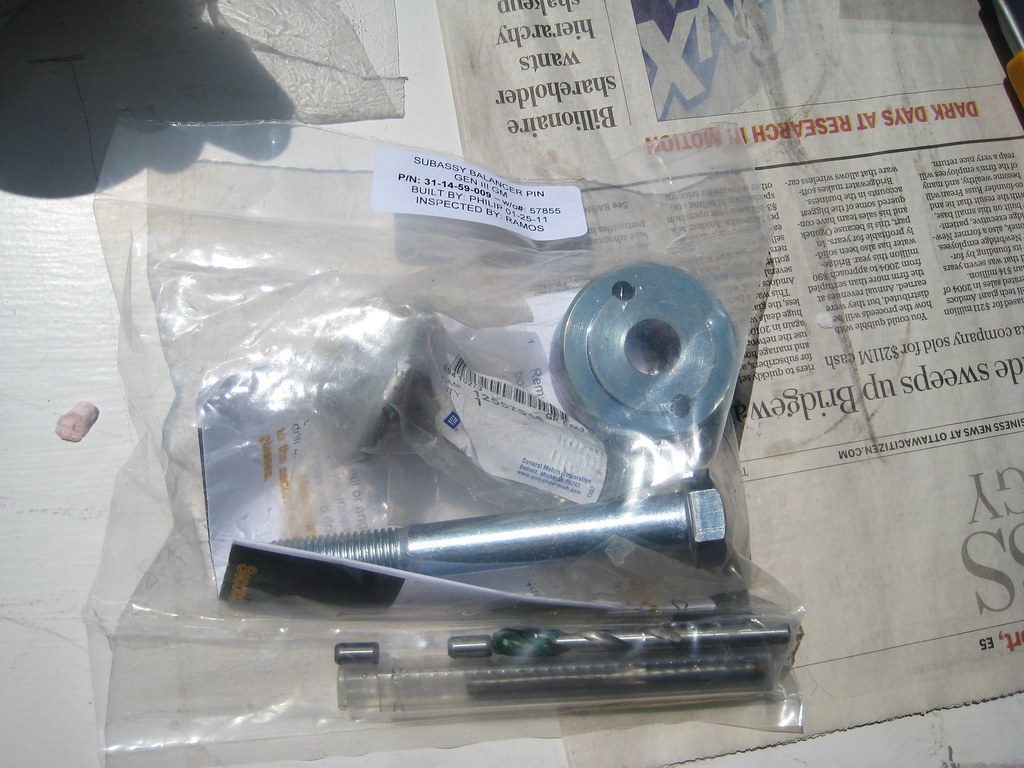
Next was to pin the crank using the kit I got from magnacharger:
No belt slip for me; pins in and ready for the eventual high-boost pulley
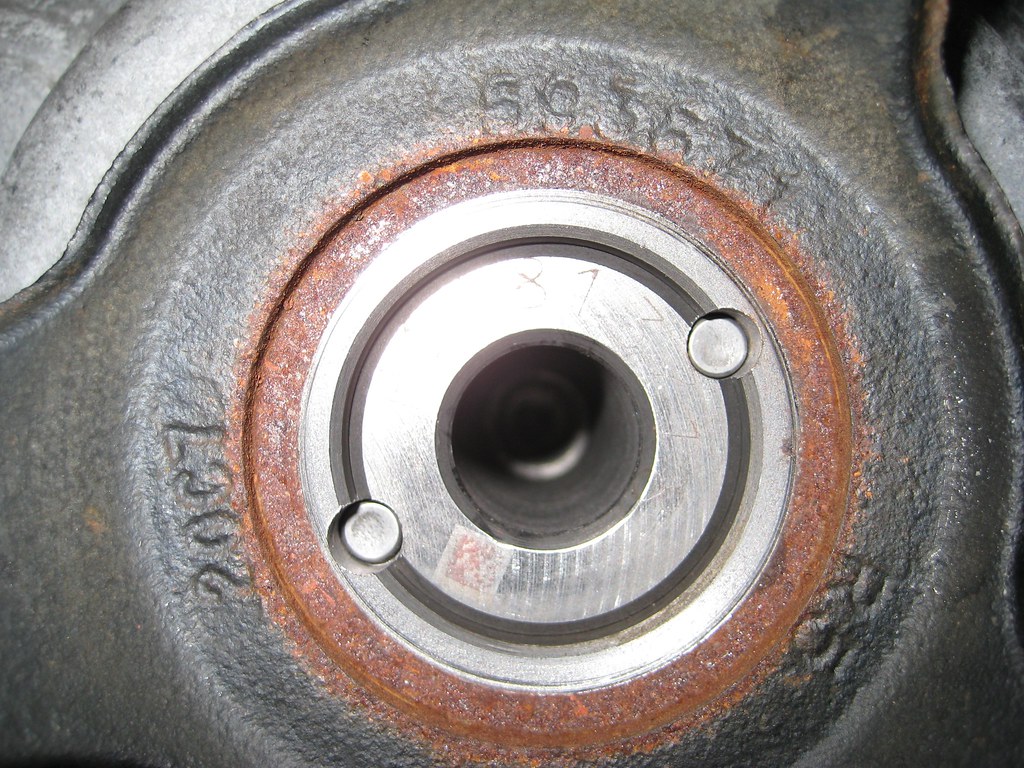
One of the best advantages of pinning the crank other than preventing any possibility of the pulley slipping is you don't need to go stupid with the torque specs these pulleys call for, so I torqued this guy down to 110 and called it a day:
End of day pic:
Tomorrow going to install the headers, grind away some of the alt bracket, re-install the a/c belt and if I go to the dealership to get my exhaust pipes, I also need to pick up a water pump gasket then I can re-install that and maybe the two heater core hoses. After that it's pretty much time to start on the maggie install, which by comparison to the past 4 days work seems pretty easy!
First job was getting old front seal out and new one pressed back in. Super easy, two hits with a hammer and large slotted screwdriver and it fell out. Applied a thin film of oil to the inner rim where the new seal sits and punched it in with the same screwdriver, going around it at each hour mark.
I didn't take a pic but at each point on the oil pan where the front of the block ends I dabbed a bit of RTV black gasket maker just to be on the safe side.
I'm replacing about 99% of the gaskets just to be on the safe side. I'm sure you can re-use them, but I'm not going to bother this time around. Here's the old gasket in the new one's bag, but pic taken just to show the p/n in case anyone's in need:
The timing cover has 10 bolts holding it on (8 at the front and 2 going up through the oil pan) and the two going through the pan are impossible to reinstall without a really low-profile flex ratcheting wrench, and even then I don't know if you could get them in with that. The reason for this is the negative battery terminal wire runs right under these bolts, and it's attached to the block with a plastic bracket. To get this bracket away, there's a 10mm bolt that goes in from the driver side. It's impossible to see from above, but you can feel it if you run your hand under the PS pump.
Here's a pic of the bracket unbolted and out of the way:
Next it was time to check pushrod length. I had 7.35 and 7.425 hardened PRs on hand, and was really hoping one of the two would fit!
7.35 gave me zero lash, so factoring in .075 lifter preload, I used the 7.425 PRs.
Laid out the rocker arms that I had the Comp trunion upgraded rollers pressed into and ARP bolts:
Put some Comp cam assembly lube on the top of the valves to reduce some friction when it's time to start the engine:
Rockers on:
NGK BR7EF compared to stock AC-Delco 41-985 Iridium plugs. The NGKs are two steps colder and I gapped them to .035:
Much smaller insulator nose is the biggest difference between the two heat ranges:
NGKs are a copper electrode plug compared to the iridium plated stockers. Better for heat dissipation, but not for longevity. Compared to the service interval of roughly 100,000 miles for the iridiums, I'll probably change the plugs every 10,000.
Gave the valve covers and coil brackets a quick wash. I was trying to come up with some kind of idea in my head that would look good as far as powdercoating either or both of these parts, but the valve covers get hidden by the coils anyways, so I just put them back on. Maybe some day I'll get a coil-relocator kit and do something trick with the covers.
I got this tool to re-install the crank pulley from a member on ls1tech and it works really well:
Next was to pin the crank using the kit I got from magnacharger:
No belt slip for me; pins in and ready for the eventual high-boost pulley
One of the best advantages of pinning the crank other than preventing any possibility of the pulley slipping is you don't need to go stupid with the torque specs these pulleys call for, so I torqued this guy down to 110 and called it a day:
End of day pic:
 06-21-2011, 07:51 PM
#137
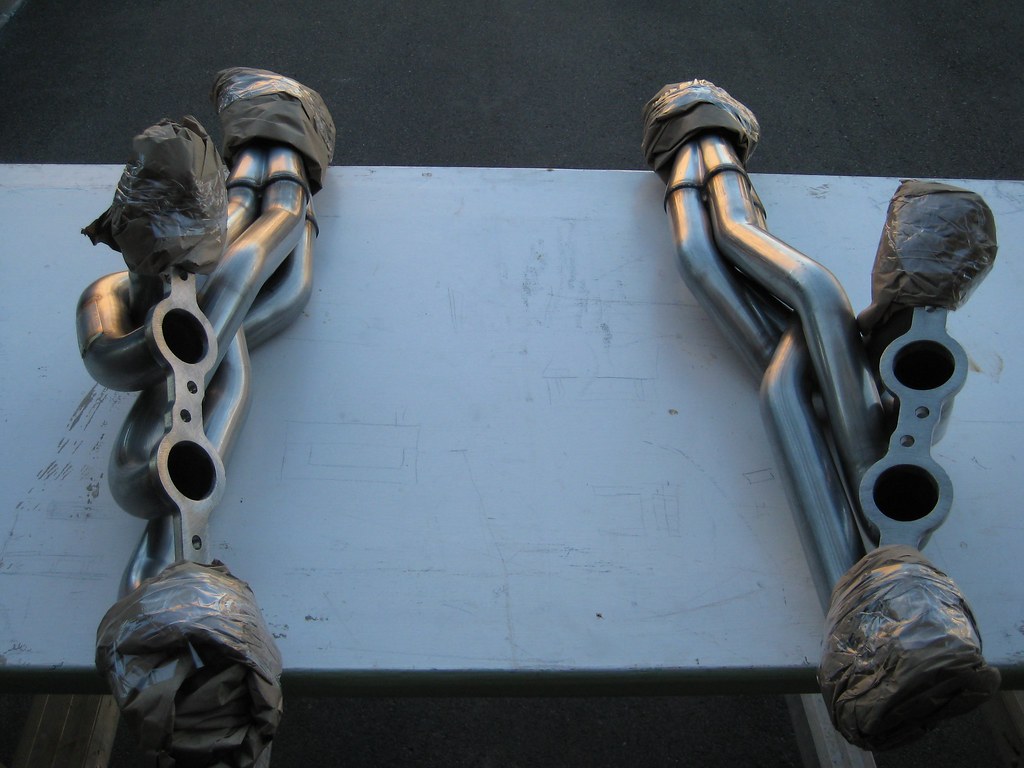
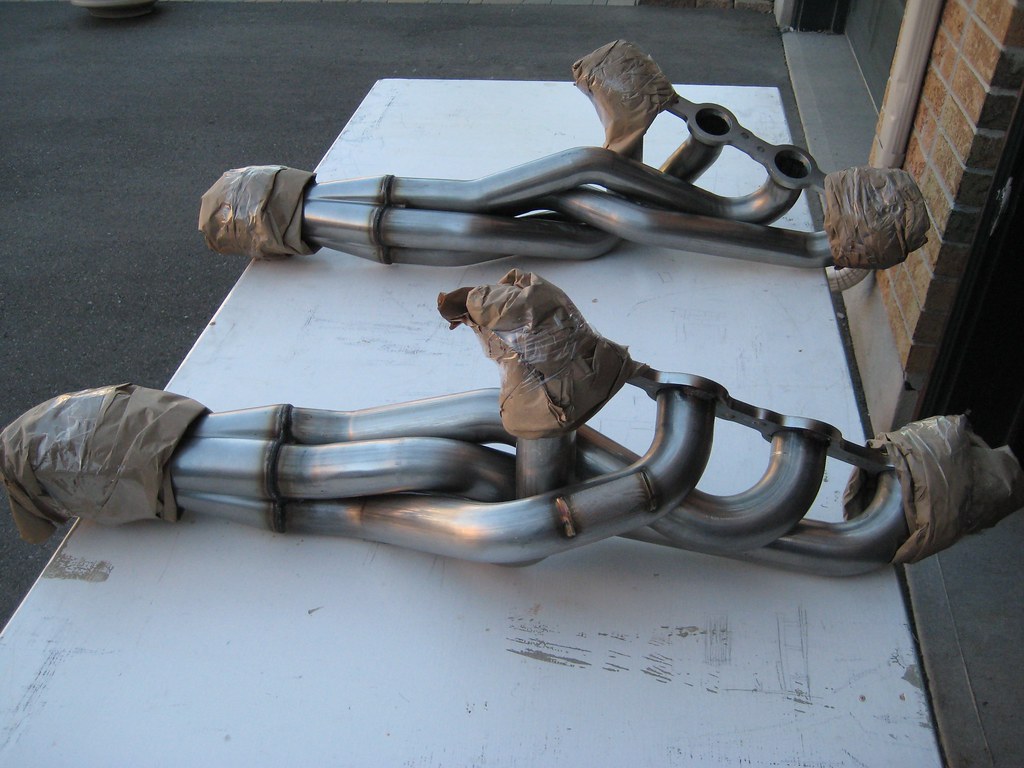
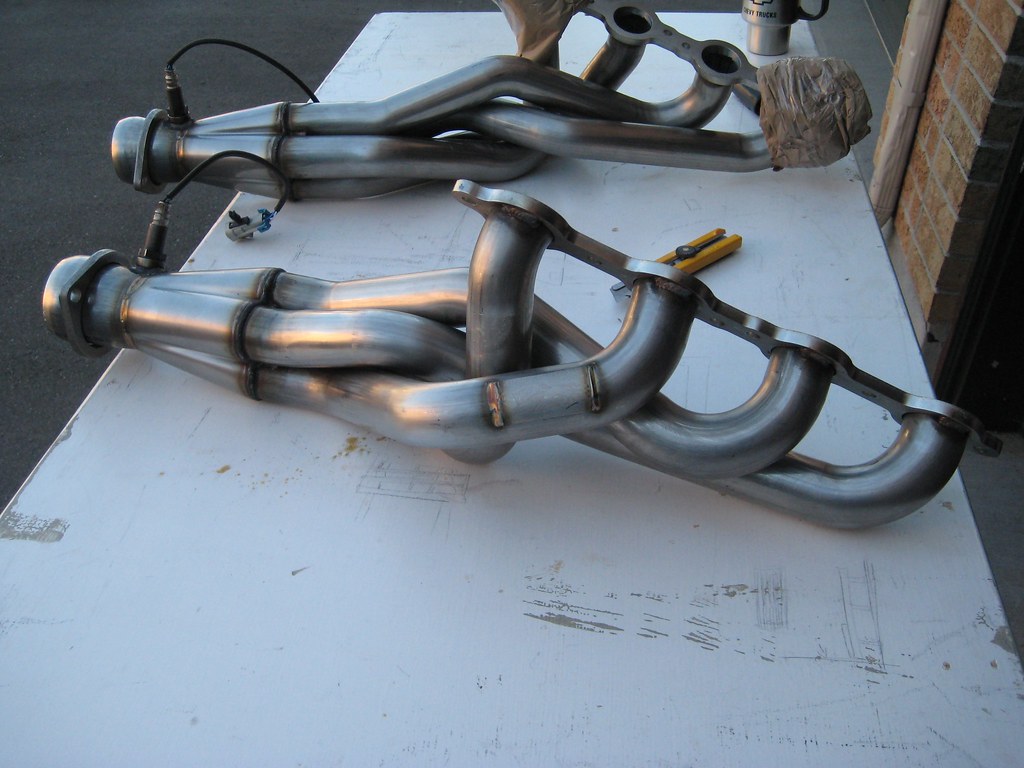
Day 6: Put the headers on, which wasn't as difficult as I thought it was gonna be. Passenger side slid right in from the top, but the driver's side had to go up from the bottom. Steering shaft was in the way. Really beautiful headers, after I got them out on the table I bet I stood around just going over every inch of them. Can't take good craftsmanship lightly, when you see it you really can appreciate it. I took lots of pics so you guys can enjoy too!
After I got those on I went over to the dealership to pick up another water pump gasket (because for whatever reason I only ordered one last year when I was putting parts together). Also picked up my exhaust pipes. Guy did a good job welding the v-bands, and if it rains later this week, which it's calling for, I'll bring the patch piece over to the powdercoater. I'm also now thinking of getting the muffler done too, even though it doesn't need it, it'll probably stick out being the only bare stainless piece of the exhaust (except for the band clamps).
So water pump bolted back on, hooked up the heater core hoses and routed some of the wiring harness/heater hoses back to where the attached to the coil bracket. Also reinstalled the oil pan dipstick.
Then while I was still in the engine bay I put the MTI plug wires on. Even though they're a bit too long, I still really like them. This is one of the cases where you read **** online, and then take it as dependable info; everything I've ever read about aftermarket plug wire sizing says the "truck" versions are longer than "car" ones, because the trucks use a different coil pack that's taller, therefore you need a longer plug wire. Well maybe this just applies to gen III truck engines compared to gen III LS motors, because I definitely didn't need the longer plug wires. One nice benefit is I have enough slack to move the boots away from the primaries now.
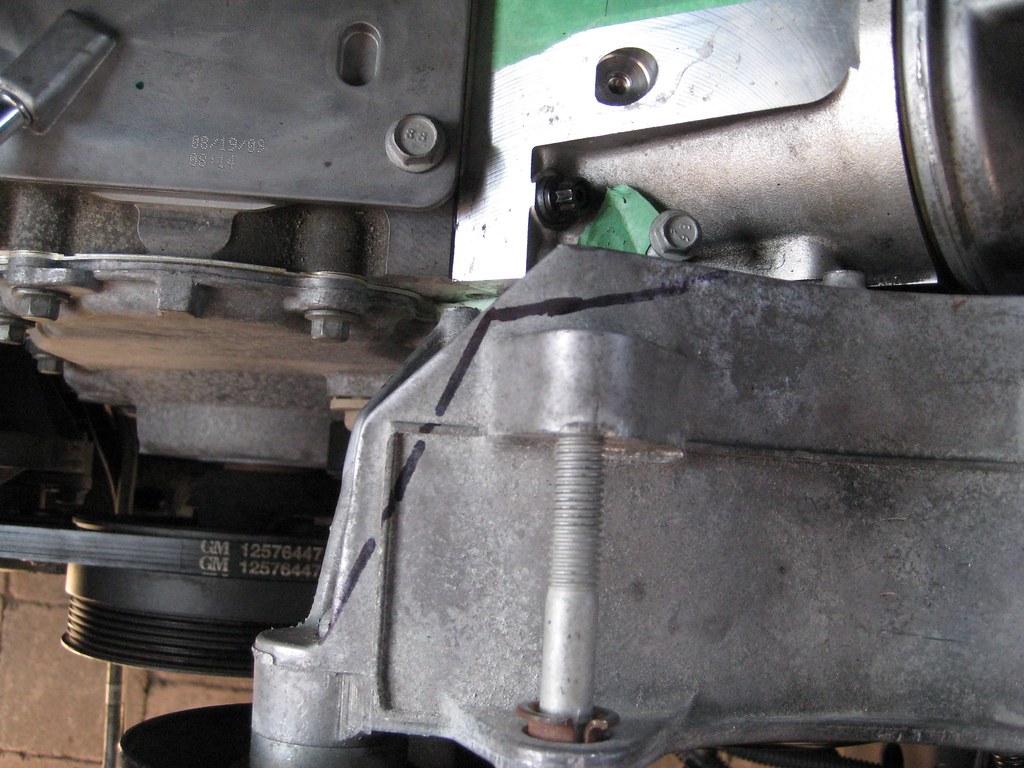
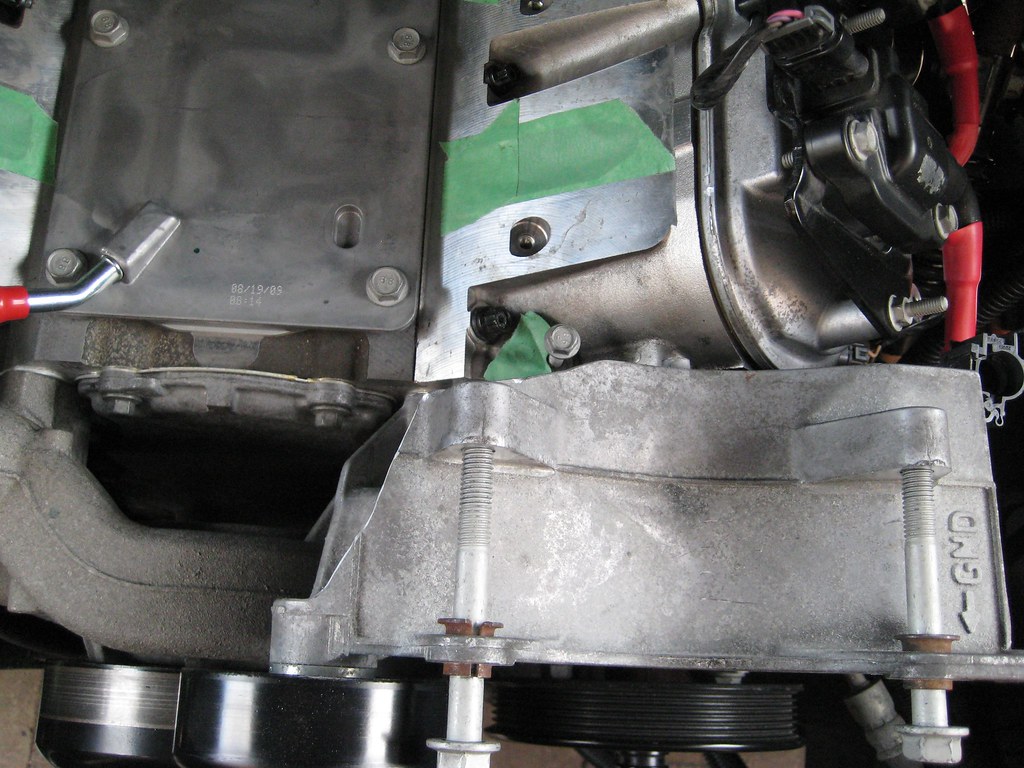
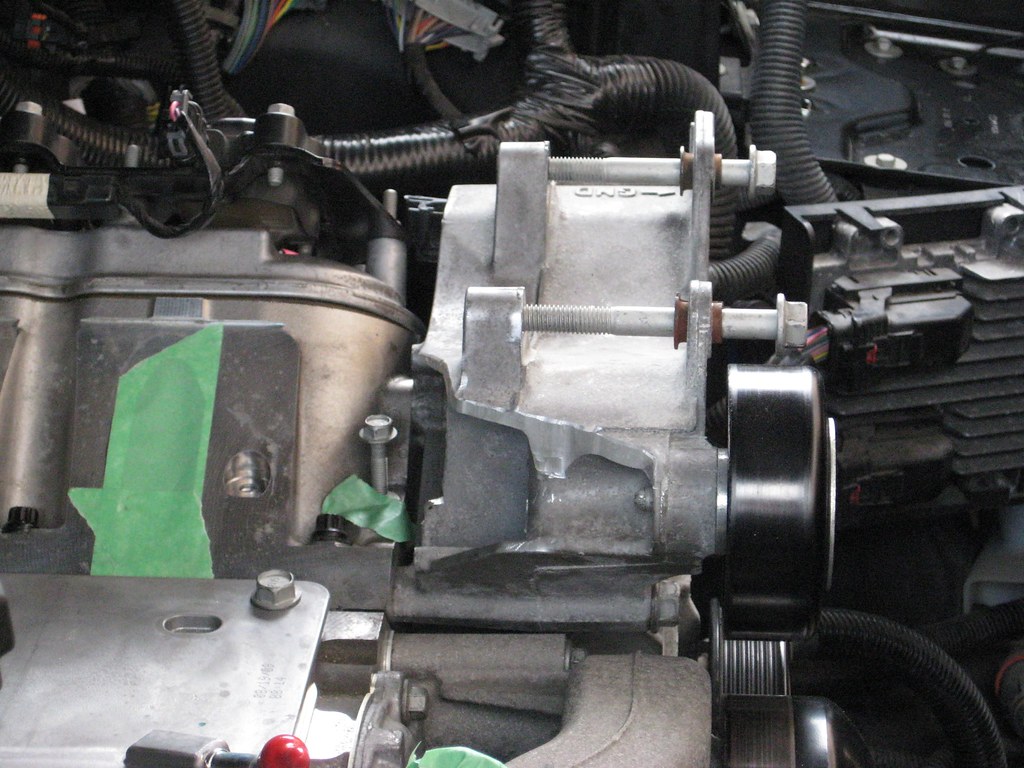
I read in the installation manual from magnacharger that you have to take off some material from the alternator bracket right behind the idler pulley, and I debated the necessity of this step, because I've spoken with Trey (Skipperdaddy) who has a Roush TVS1900 kit and he didn't need to modify anything, but I felt the time to do it was now, and I don't want to have to lift the maggie twice, so I Sharpie'd a couple lines and went to work with the die grinder.
Last job of the day was to re-connect the front O2 sensors.
I'm really looking forward to tomorrow because I'm finally going to put the maggie in place
Nice pipes:
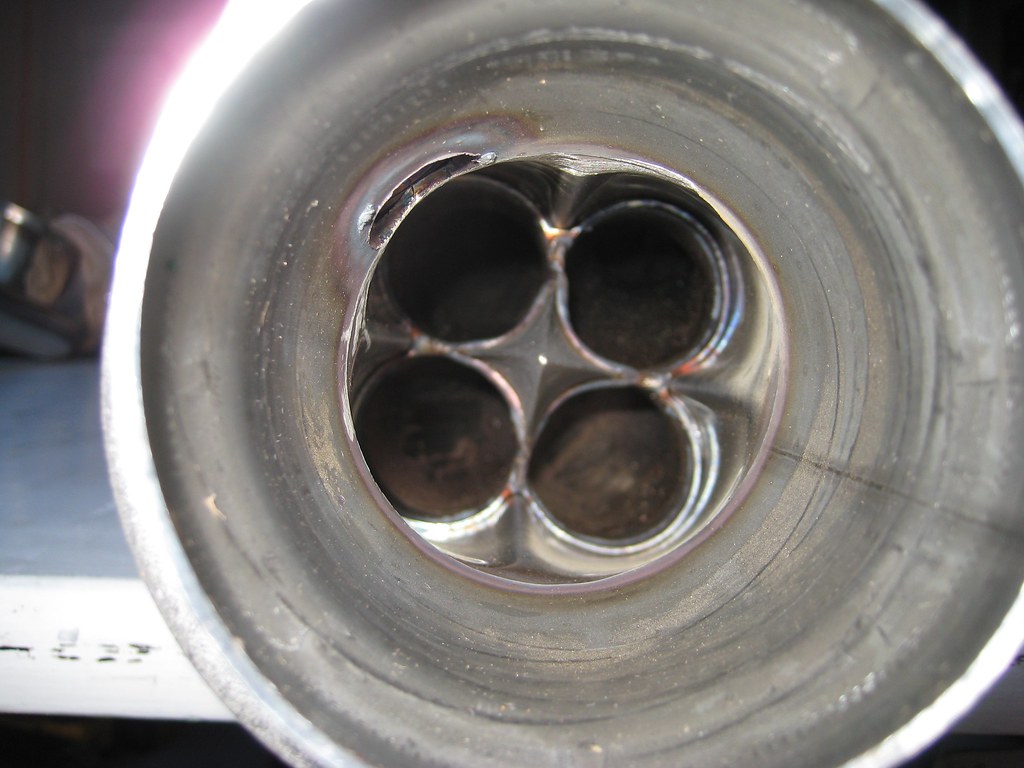
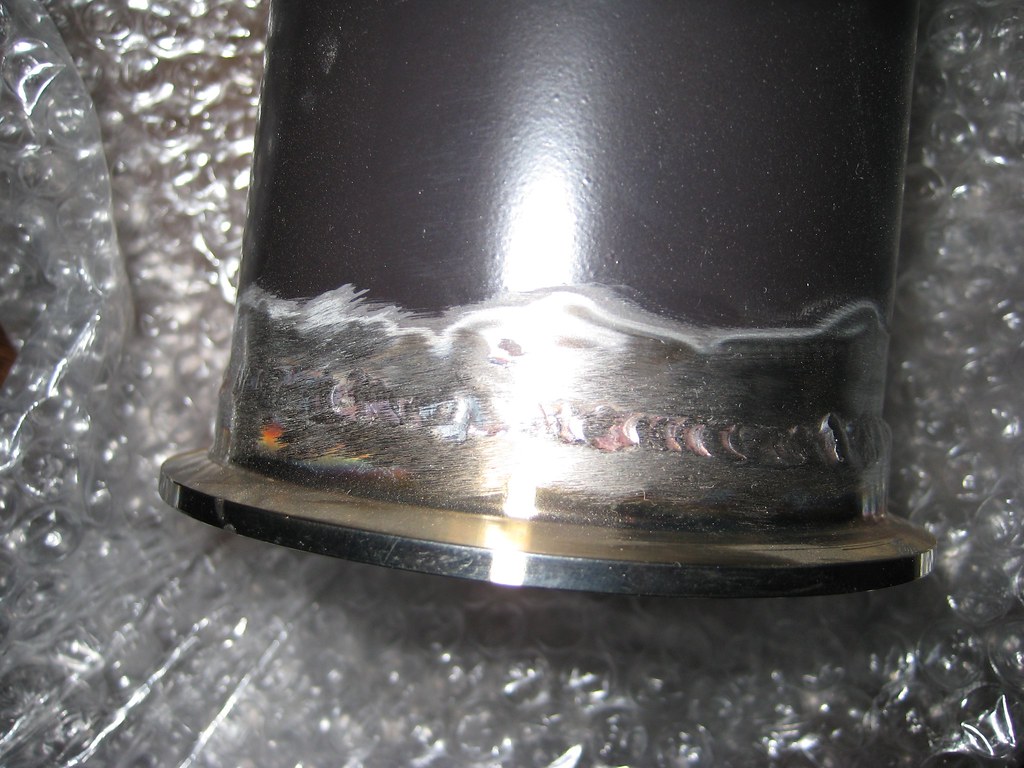
Merge spike:
O2s installed:
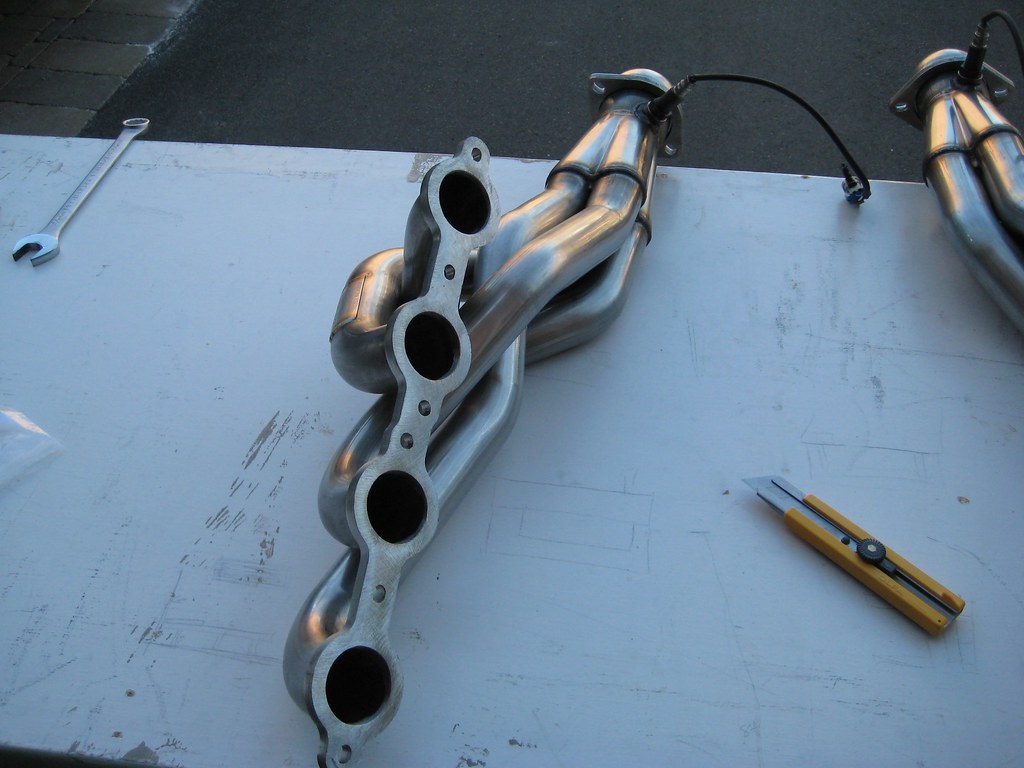

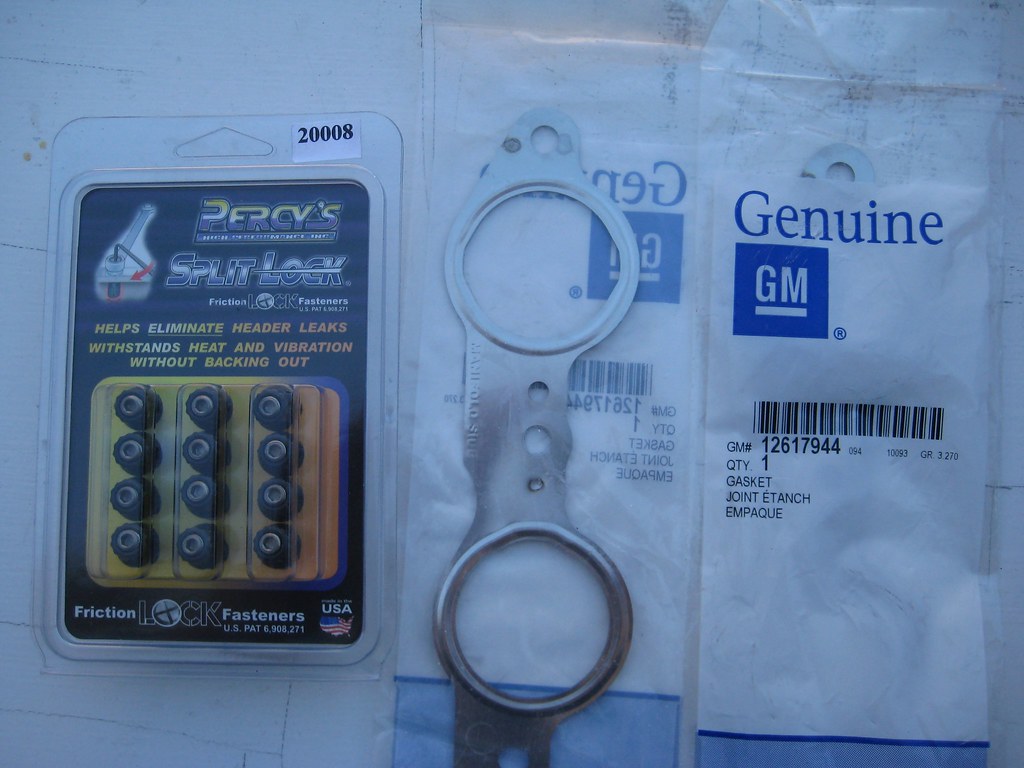
Percy's Split Lock header bolts and GM MLS gaskets. Won't have to worry about exhaust leaks now (or re-torquing the bolts):
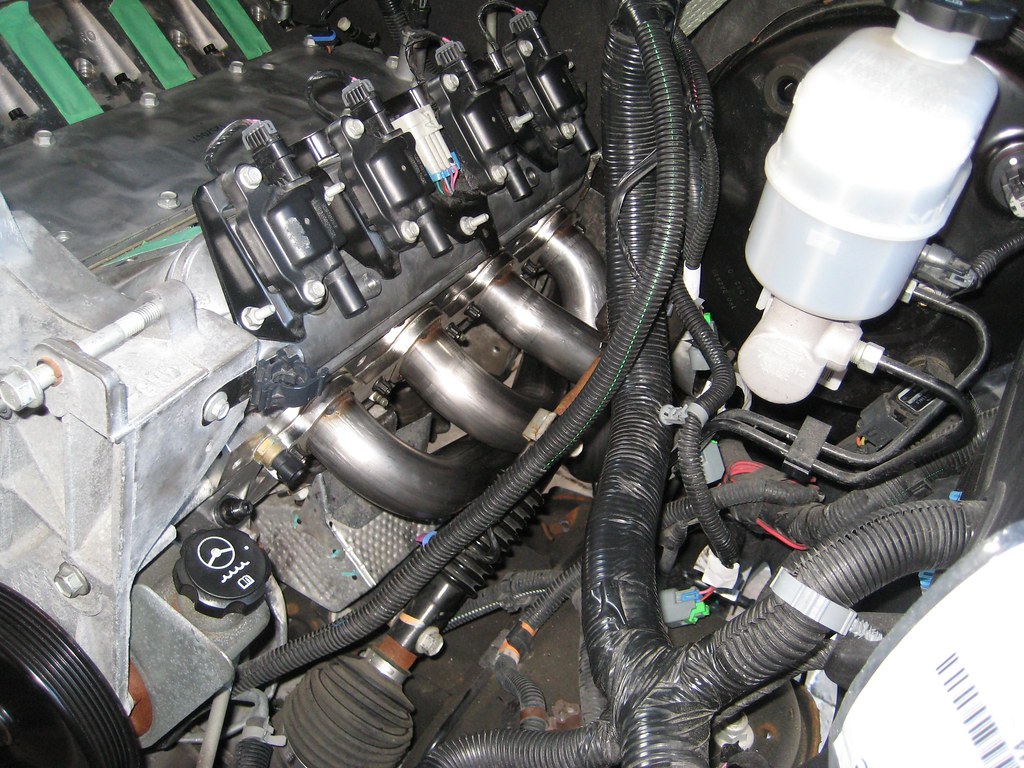
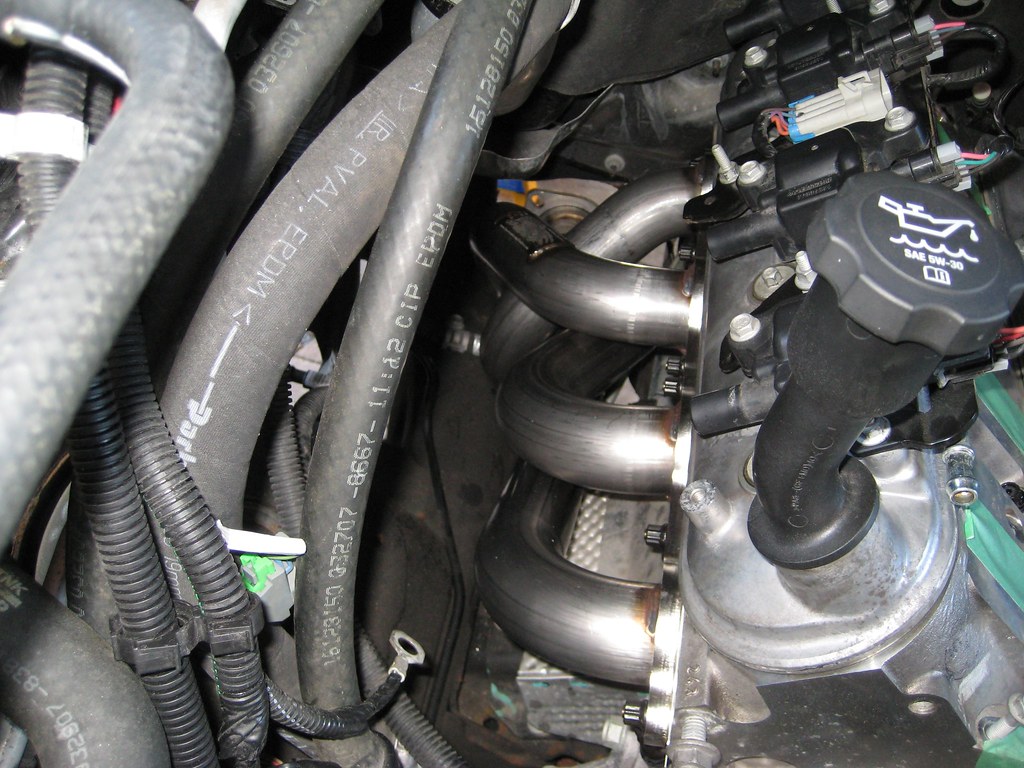
Look just as good in the engine bay:
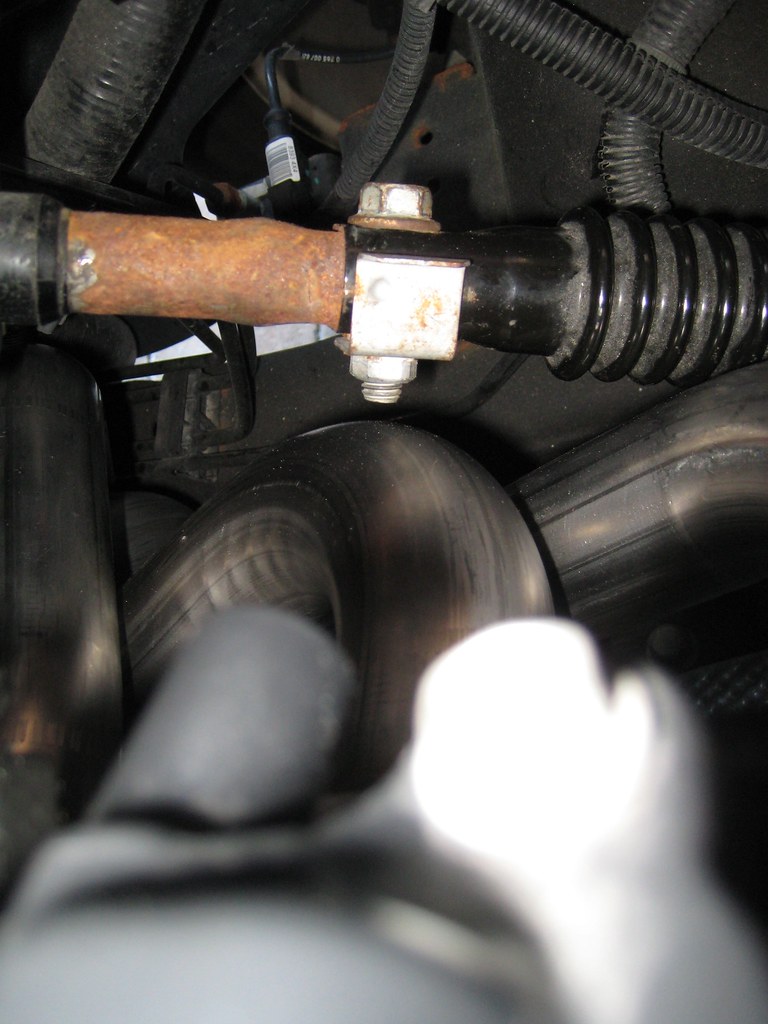
The bolts holding the intermediate steering shaft was another area for potential FUBAR'ing, so I was very happy to see this much clearance between the primary:
Pass side:
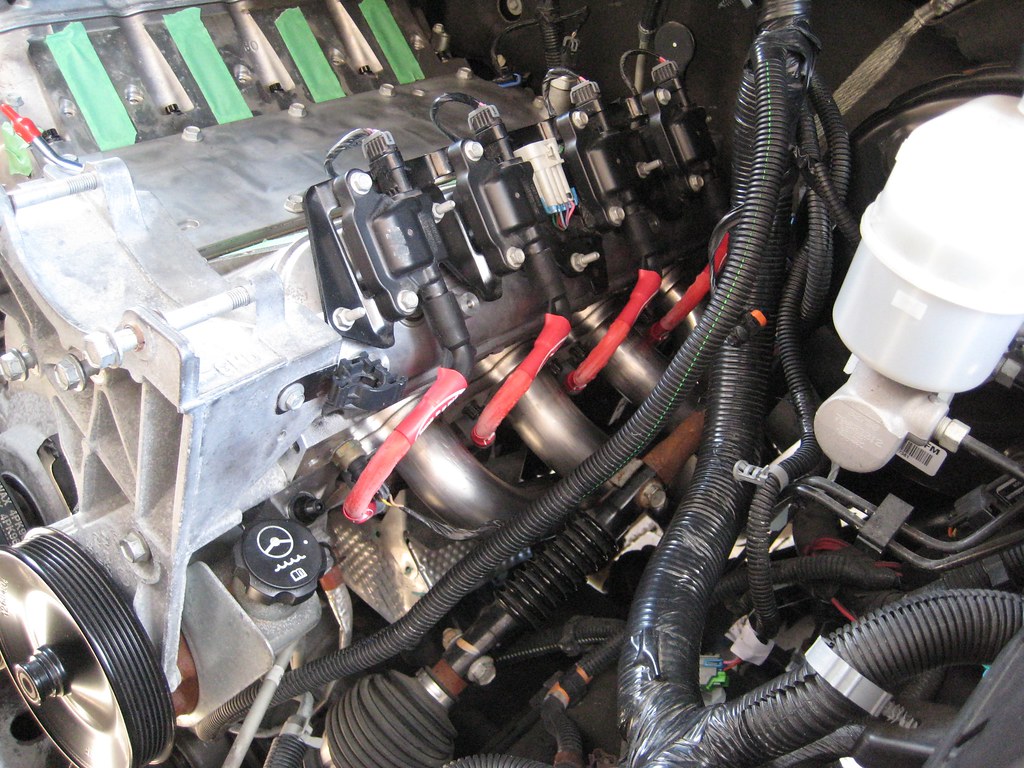
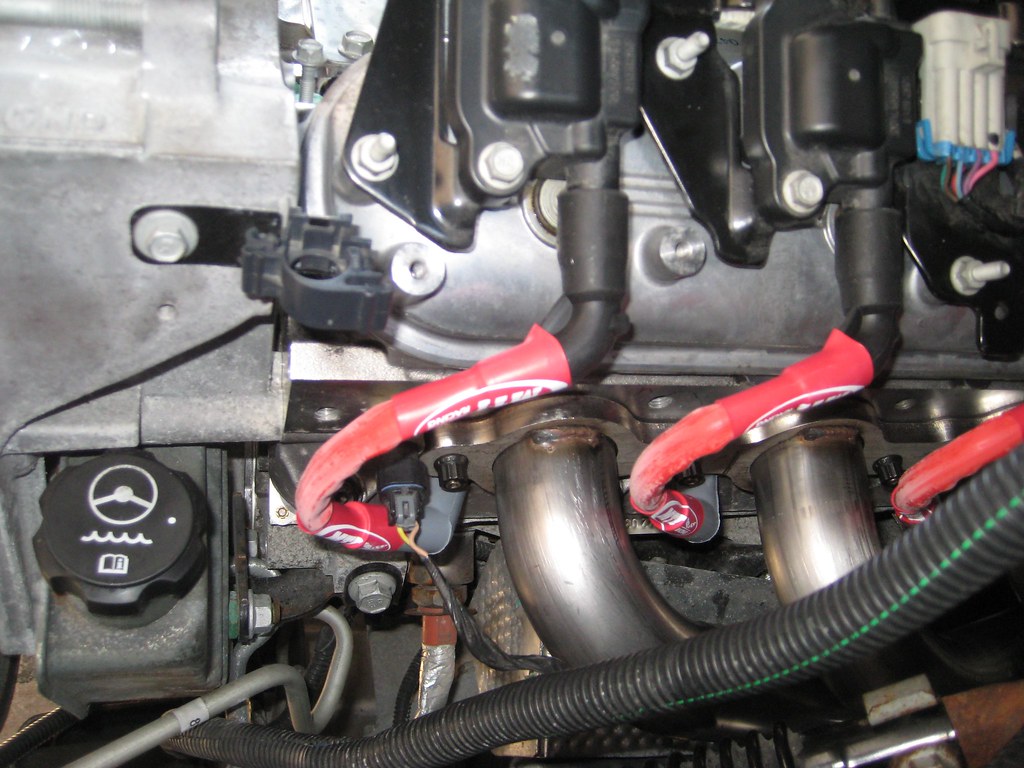
MTI Racing plug wires. Glad I went with red; they'll obviously make me faster now:
Water pump gasket for P/N:
Top of the bracket marked for cutting:
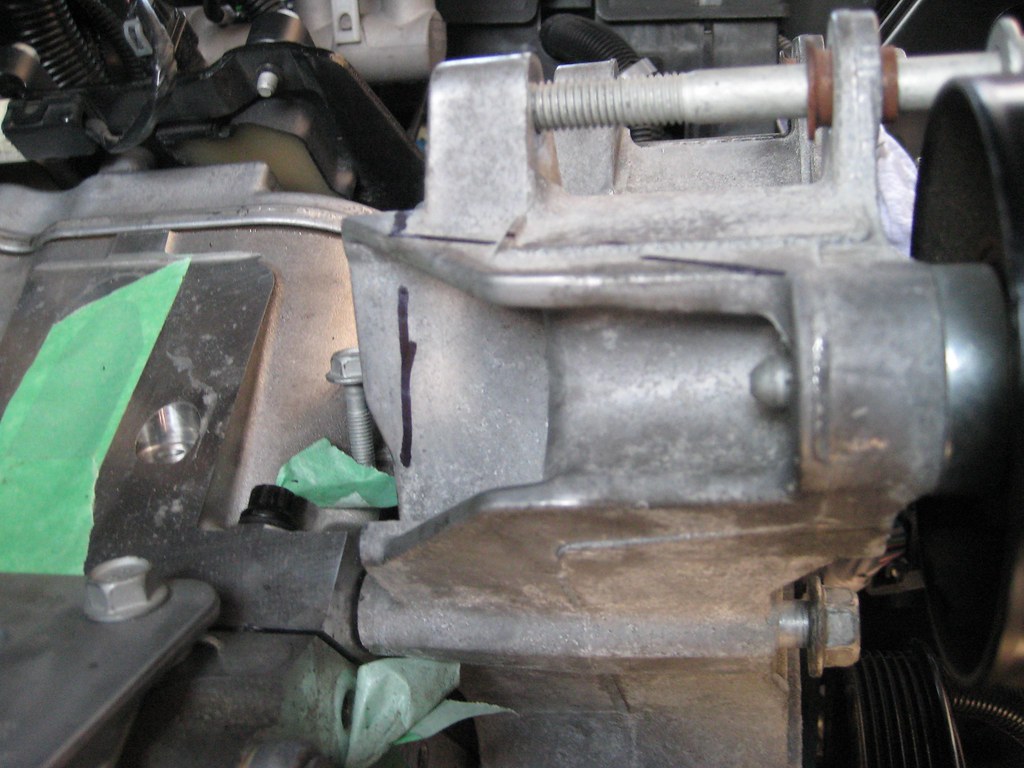
Back of the bracket gets 3/8" taken off too:
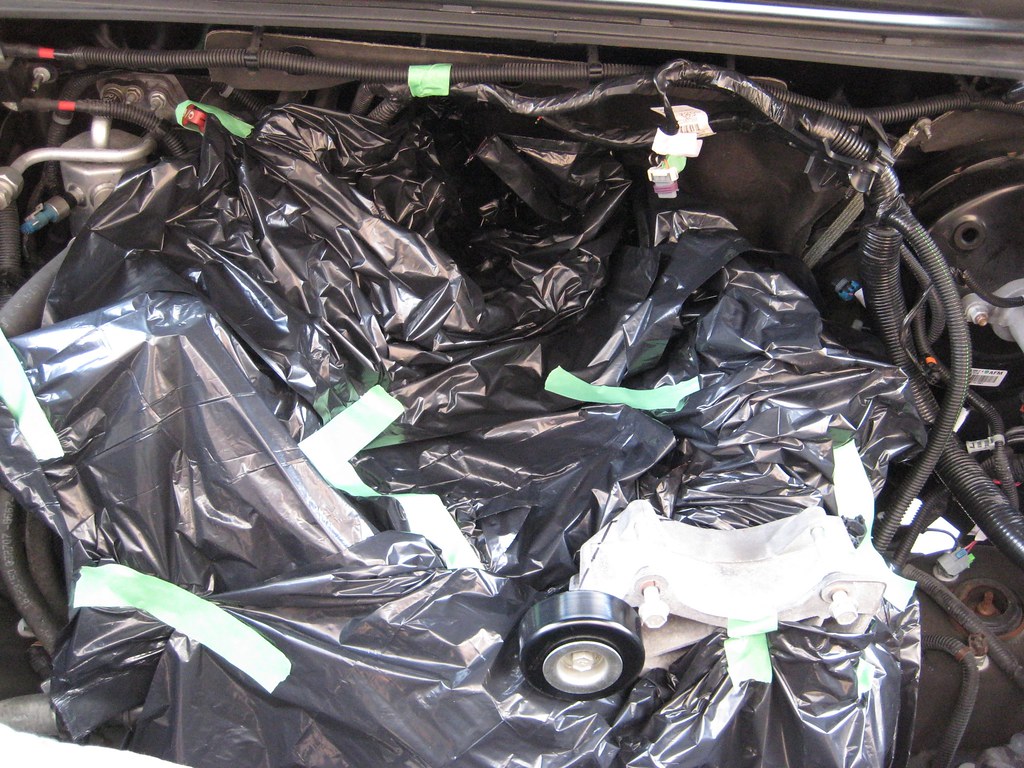
Gotta practice safe-grinding; did my best to wrap the engine in a big condom:
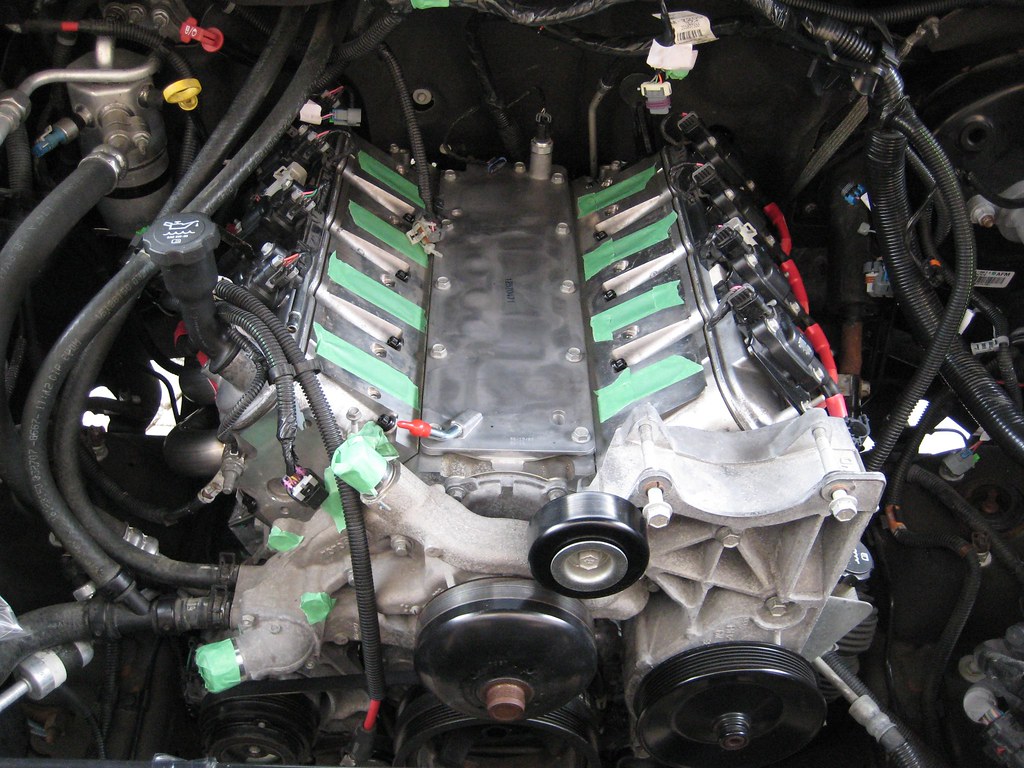
After shots of the modified bracket:
After I got those on I went over to the dealership to pick up another water pump gasket (because for whatever reason I only ordered one last year when I was putting parts together). Also picked up my exhaust pipes. Guy did a good job welding the v-bands, and if it rains later this week, which it's calling for, I'll bring the patch piece over to the powdercoater. I'm also now thinking of getting the muffler done too, even though it doesn't need it, it'll probably stick out being the only bare stainless piece of the exhaust (except for the band clamps).
So water pump bolted back on, hooked up the heater core hoses and routed some of the wiring harness/heater hoses back to where the attached to the coil bracket. Also reinstalled the oil pan dipstick.
Then while I was still in the engine bay I put the MTI plug wires on. Even though they're a bit too long, I still really like them. This is one of the cases where you read **** online, and then take it as dependable info; everything I've ever read about aftermarket plug wire sizing says the "truck" versions are longer than "car" ones, because the trucks use a different coil pack that's taller, therefore you need a longer plug wire. Well maybe this just applies to gen III truck engines compared to gen III LS motors, because I definitely didn't need the longer plug wires. One nice benefit is I have enough slack to move the boots away from the primaries now.
I read in the installation manual from magnacharger that you have to take off some material from the alternator bracket right behind the idler pulley, and I debated the necessity of this step, because I've spoken with Trey (Skipperdaddy) who has a Roush TVS1900 kit and he didn't need to modify anything, but I felt the time to do it was now, and I don't want to have to lift the maggie twice, so I Sharpie'd a couple lines and went to work with the die grinder.
Last job of the day was to re-connect the front O2 sensors.
I'm really looking forward to tomorrow because I'm finally going to put the maggie in place
Nice pipes:
Merge spike:
O2s installed:
Percy's Split Lock header bolts and GM MLS gaskets. Won't have to worry about exhaust leaks now (or re-torquing the bolts):
Look just as good in the engine bay:
The bolts holding the intermediate steering shaft was another area for potential FUBAR'ing, so I was very happy to see this much clearance between the primary:
Pass side:
MTI Racing plug wires. Glad I went with red; they'll obviously make me faster now:
Water pump gasket for P/N:
Top of the bracket marked for cutting:
Back of the bracket gets 3/8" taken off too:
Gotta practice safe-grinding; did my best to wrap the engine in a big condom:
After shots of the modified bracket:
06-21-2011, 07:52 PM
#138
Cont'd:
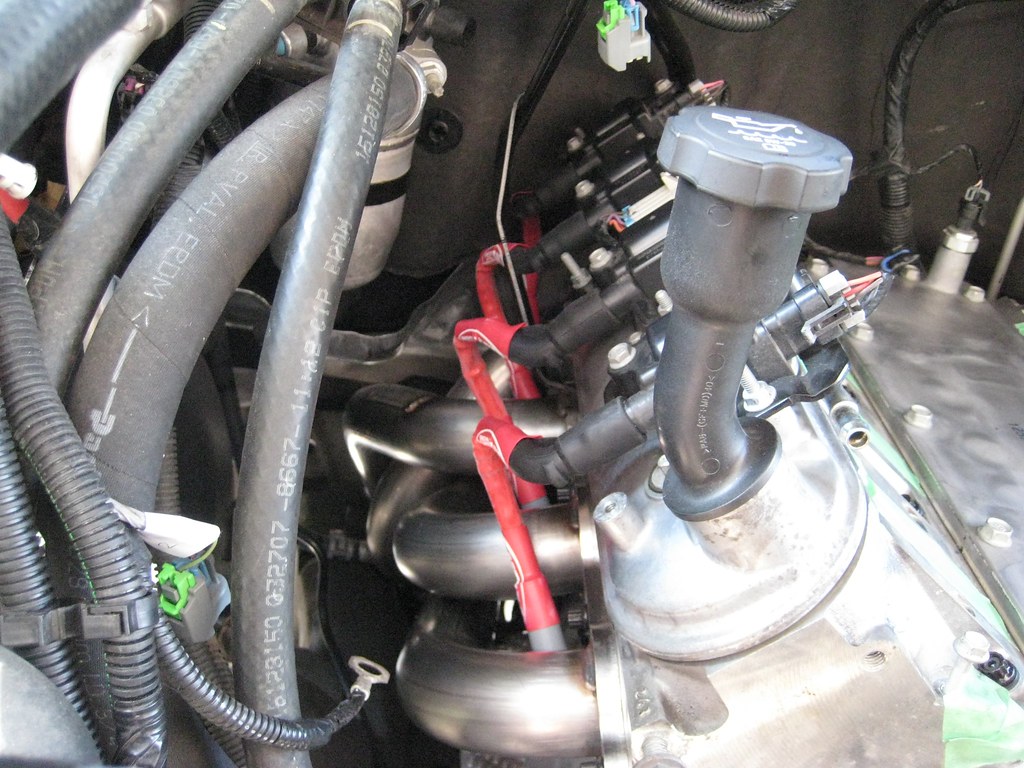
Last engine pic of the day:
Still bent out of shape about having to grind off the coating, but I guess I'll just paint this part with some kind of high temp flat black paint. Any suggestions, BBQ grille paint or are any of the automotive-specific high temp paints from duplicolor or rustoleum any good?
 06-21-2011, 08:29 PM
#140
I ordered the plug wires straight from MTI Racing. I spend a lot of time on Camaro5, so I jumped on these when they had a vendor sale. I was going to run thermal sleeves on the stock wires (or MSD) but these ones have extra silicone insulation, and look better to boot so I'm really happy with them.
Couple links if you're curious:
http://www.camaro5.com/forums/showthread.php?t=36707
You can get them in 8 diff colours which is pretty cool:
http://www.camaro5.com/forums/showthread.php?t=108487