Preston129/BlkSlvrdo129 Build thread - TVS1900, EPS cam and more


 06-17-2011, 09:25 AM
#122
Day 2 of the teardown and it just rained for about 10 mins so now everything is wet. All I managed to get done before the rain was disconnect the O2 sensors and cut the factory Y. Now I can pull the manifolds and get more room to the heads and starter. Starter looks like a bitch to get at. Bolts look easy to reach so it might not be as bad once the cat and manifolds are out of the way.
Here's a pic I took yesterday before quitting for the day:
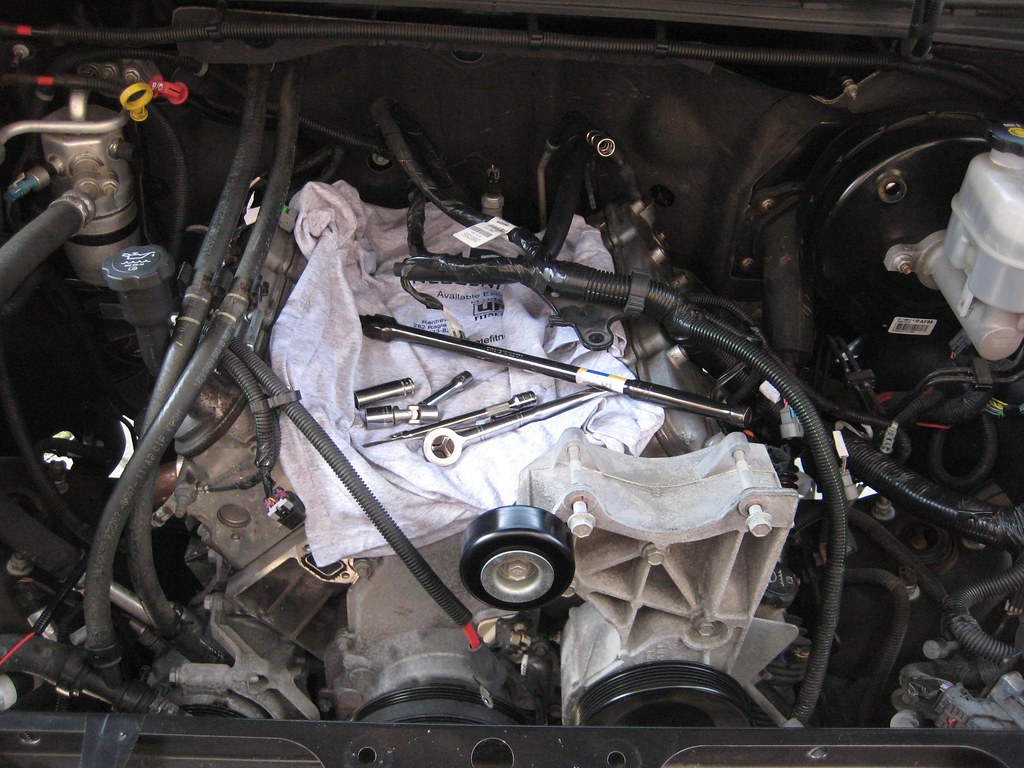
Can't see it in the pic, but as expected, once I took the intake manifold off the intake runners and ports were covered in oil. Everyone with an LS engine should have a catchcan, no question.
Got a question about the valley cover: Near the back driver side I think it's the oil pressure sensor, does that unscrew? Looks like it has a hex-type ring right below the electrical connector but the edges are sort of rounded.
Here's a pic I took yesterday before quitting for the day:
Can't see it in the pic, but as expected, once I took the intake manifold off the intake runners and ports were covered in oil. Everyone with an LS engine should have a catchcan, no question.
Got a question about the valley cover: Near the back driver side I think it's the oil pressure sensor, does that unscrew? Looks like it has a hex-type ring right below the electrical connector but the edges are sort of rounded.
06-17-2011, 07:10 PM
#123
Here's my progress at the end of day 2. Doesn't look much different, but I pulled all the old exhaust parts out (which gives a ton more room in the engine bay to get at the heads), removed the O2 sensors, got the starter moved, Kent Moore flywheel lock in place (stupid me, I bought a pair of M8 bolts according to a cam swap writeup someone on a tbss forum wrote and the bolts for the starter are M10  This is the kind of stupid nonsense you only encounter lying on your back halfway into a build. So I just reused the starter bolts and on the one end of the KM tool I used a sleeve and several washers to make up the difference on the bolt. Worked like a charm and after a few cranks with a breaker bar I got the crank bolt out and pulled the crank pulley with an OTC-6667, which is a great puller for the job, you don't need to use the stock crank bolt, the dowels in the kit are long enough to bottom out inside the crank.
Both heads are semi-disassembled and head bolts removed and broken free from the block, just left them on the block because I have no room to put them.
Tomorrow I'll assemble the heads and hopefully get them torqued back on the shortblock and get the cam swapped out. I'll be really pleased to get all that done tomorrow, but there's a fair amount of work cleaning out the bolt holes in the block and I'm going to wash the heads down too so I'll be lucky to get all that done probably.
Got a question for anyone that's installed LT headers: I know they're installed all the time with the heads on the block, but would it be smarter to get them in, and twist them out of the way before I put the heads back on, or prioritize the heads and worry about the headers after? I ripped out the shorty headers and Y pipe today because they were a bitch to work around trying to get the head bolts out so I'm inclined to take the same approach and make the head reassembly as easy (and effective) as possible then worry about the headers later. I'm sure both scenario involves a lot of pain in my **** though so I'm probably fucked just as much either way haha.
Here are some pics from today:
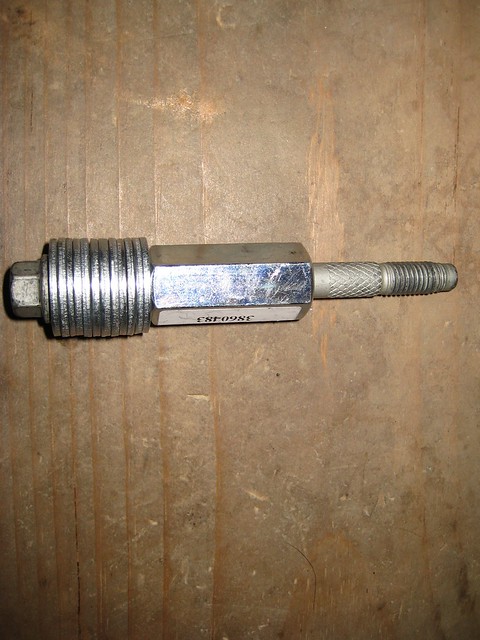
Kent Moore J-42386-A Flywheel holding tool and useless bolts:
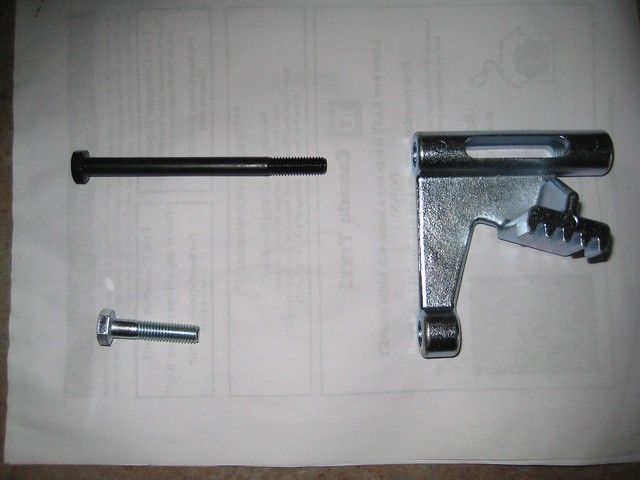
My solution for the short-sleeved part of the tool:
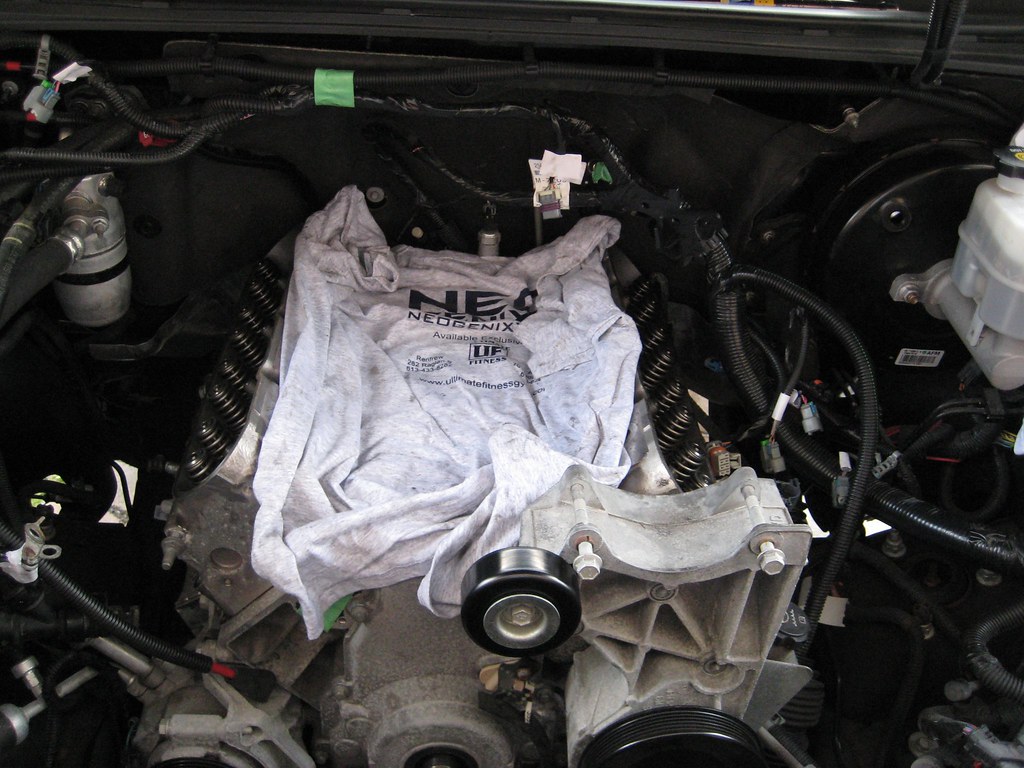
And a pic of my nearly torn down engine:
This is the kind of stupid nonsense you only encounter lying on your back halfway into a build. So I just reused the starter bolts and on the one end of the KM tool I used a sleeve and several washers to make up the difference on the bolt. Worked like a charm and after a few cranks with a breaker bar I got the crank bolt out and pulled the crank pulley with an OTC-6667, which is a great puller for the job, you don't need to use the stock crank bolt, the dowels in the kit are long enough to bottom out inside the crank.Both heads are semi-disassembled and head bolts removed and broken free from the block, just left them on the block because I have no room to put them.
Tomorrow I'll assemble the heads and hopefully get them torqued back on the shortblock and get the cam swapped out. I'll be really pleased to get all that done tomorrow, but there's a fair amount of work cleaning out the bolt holes in the block and I'm going to wash the heads down too so I'll be lucky to get all that done probably.
Got a question for anyone that's installed LT headers: I know they're installed all the time with the heads on the block, but would it be smarter to get them in, and twist them out of the way before I put the heads back on, or prioritize the heads and worry about the headers after? I ripped out the shorty headers and Y pipe today because they were a bitch to work around trying to get the head bolts out so I'm inclined to take the same approach and make the head reassembly as easy (and effective) as possible then worry about the headers later. I'm sure both scenario involves a lot of pain in my **** though so I'm probably fucked just as much either way haha.
Here are some pics from today:
Kent Moore J-42386-A Flywheel holding tool and useless bolts:
My solution for the short-sleeved part of the tool:
And a pic of my nearly torn down engine:


 06-18-2011, 05:37 PM
#127
Think I should be fine too, even if it's difficult getting them in after, making sure the heads get torqued properly takes priority.
I've got AR 1 7/8" headers going on. They're "big" and the truck's a 4x4 so it's just the driver's side I'm not looking forward too. Steering shaft and extra driveshaft means a lot of potential interference.
It won't be long now, I've finally reached and passed the halfway mark and beginning to put the engine back together, so I can actually start looking forward to getting it all together instead of thinking "I really hope none of these head bolts break off in the block!"
I'll get a Day 3 status update up maybe later tonight, just getting cleaned up and going out for dinner now. Got the heads cleaned and assembled and new cam in so I didn't hit my mark of getting the heads back on but still feel good about the amount of progress made today.
06-18-2011, 09:53 PM
#128
Day 3 and as expected, cleaning up the heads took up a large majority of my day. That and running to the store twice ate up a good part of the day. Graphite header gaskets are a real PITA to clean up.
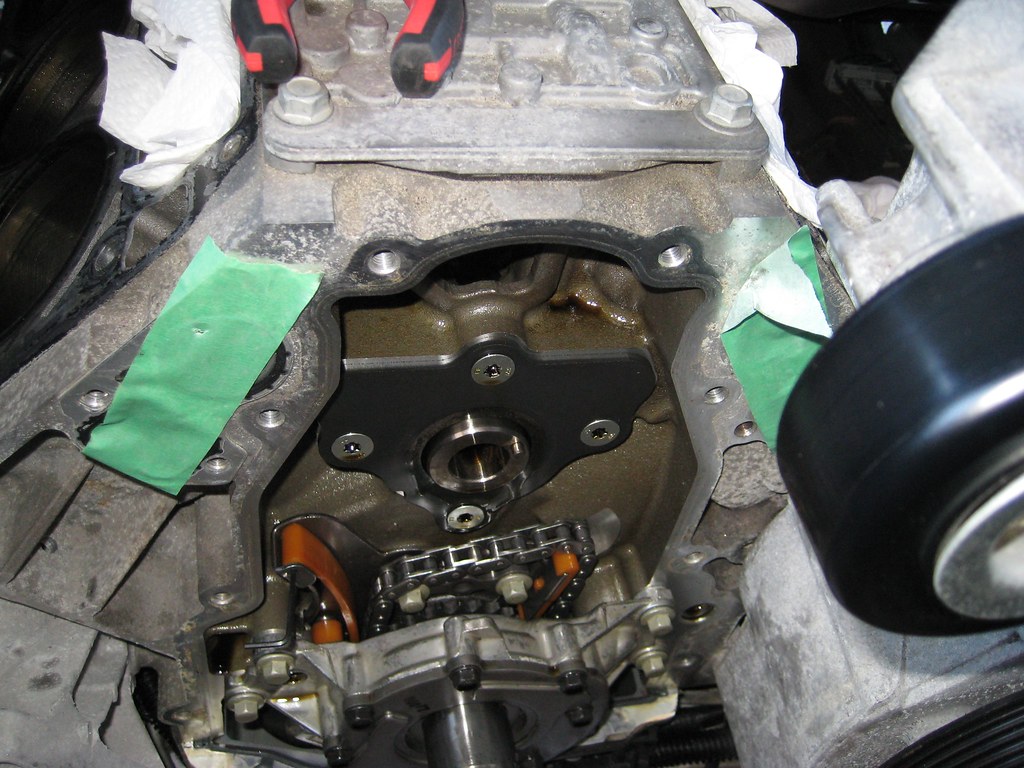
Basically got the heads cleaned and assembled and got the new cam put in. I broke the Crane valve compressor on the very last cylinder I was doing; that's some **** luck right there. Had to run to the store for the second time that day for some threaded rod to make another stud for the compressor. The first trip to the store was because I had every torx bit except the size I needed for the cam retainer plate. Then after I got the cam in, new sprocket on and all pleased with myself for lining up the cam and crank gear, I notice the retainer plate sitting on the workbench So off goes the gear and timing chain, get the retainer plate bolted up and then a couple tries later the timing chain is lined up properly again.
Also got the lifters and lifter trays out before the cam obviously, and got the valley cover off and removed the oil pressure sensor (I think that's what it is) from the back of the valley cover and moved it over to the new AFM-less one.
If anyone's interested, the AFM cylinders are 1,7, 4 and 6.
Plan for tomorrow is clean the two deck surfaces, bolt holes and cylinders. I also want to get the heads on, replace the front seal on the timing cover and bolt that back up. Also want to get the new valley cover on. If things are moving fast then maybe pin the crank but I think cleaning the block will take much of the day just like the heads did today.
On with the pics:
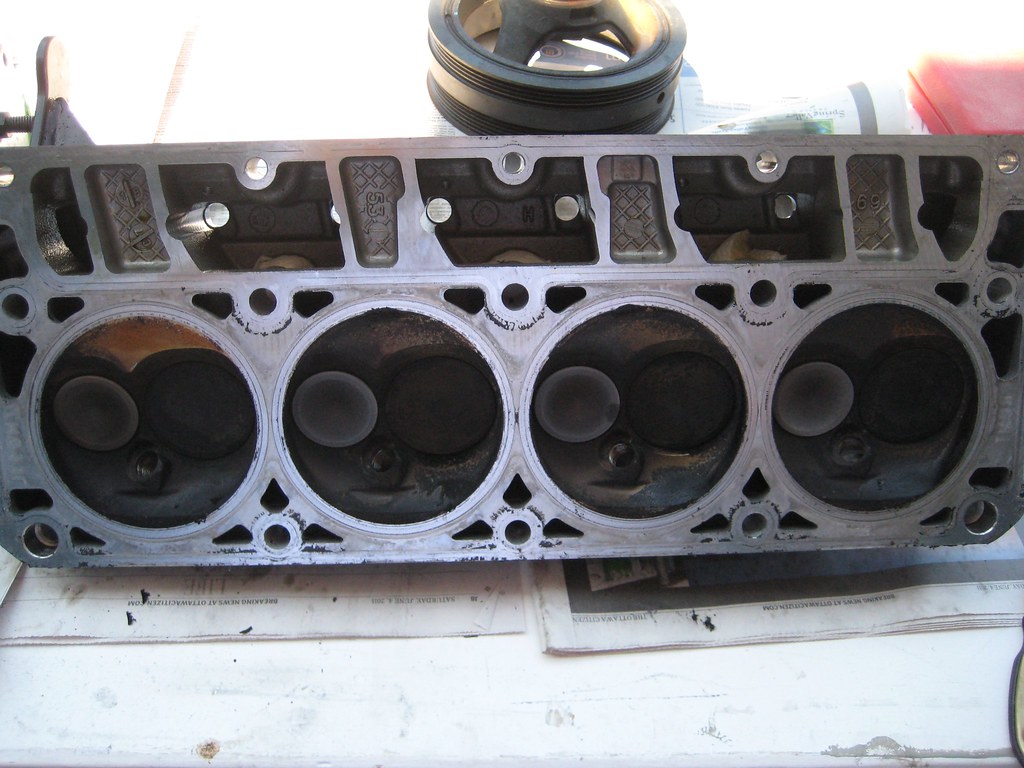
Heads off and ready for cleanup:
Stupid Gen IVs and your torx cam retainer plate bolts:
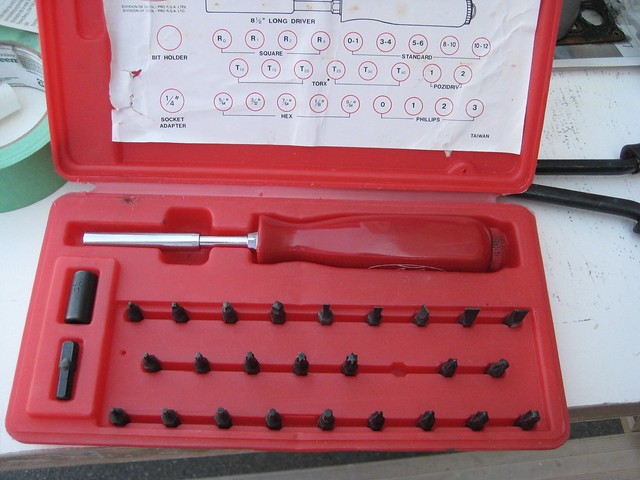
Even stupider bit set without the one Torx 40 I need to get the bolts out
Lot of crap left from the gaskets:
Making some progress. I used a razor blade scraper and 0000 steel wool and brake cleaner:
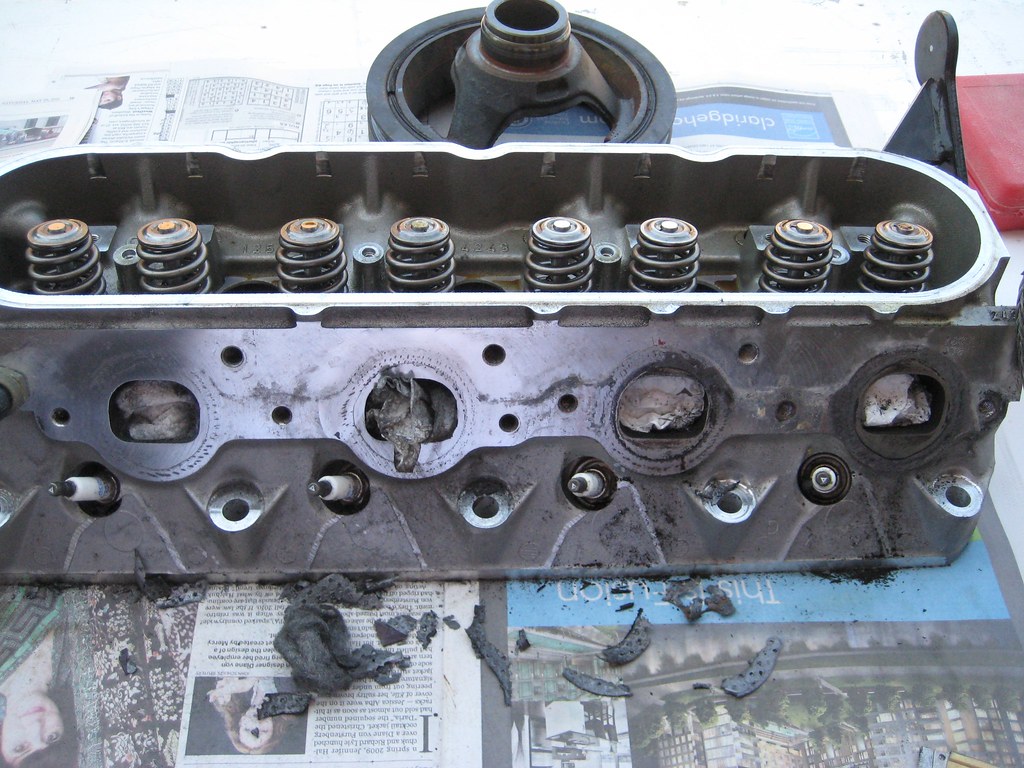
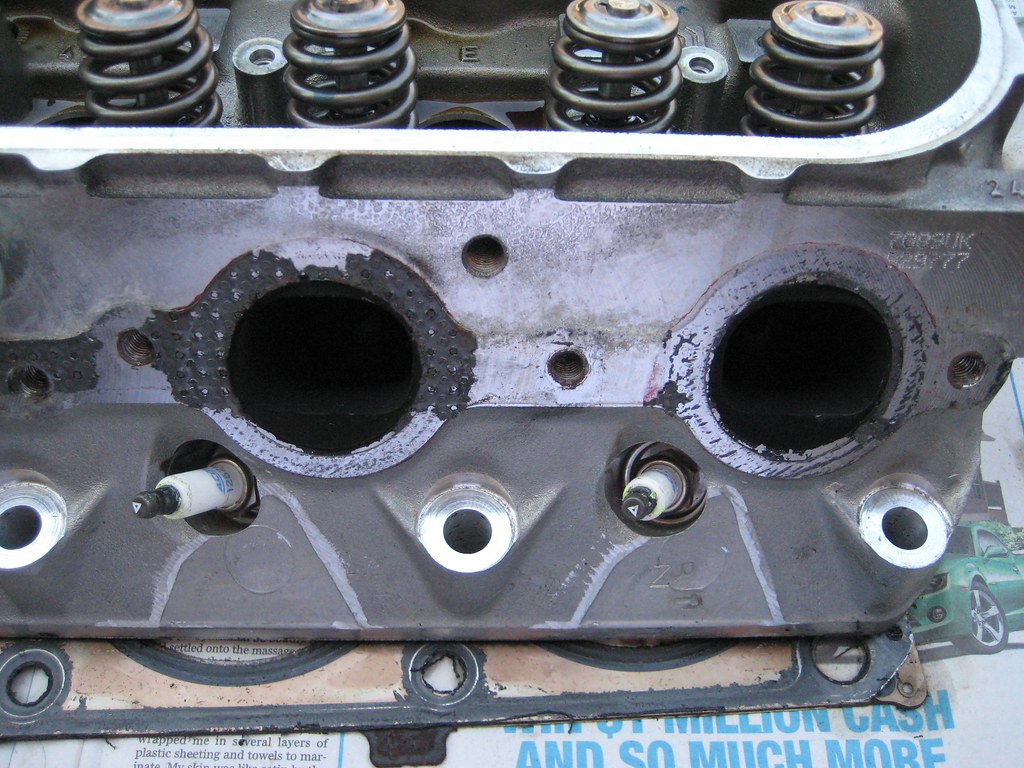
This is what a diet of aerated oil and rich fuel trims will give you:
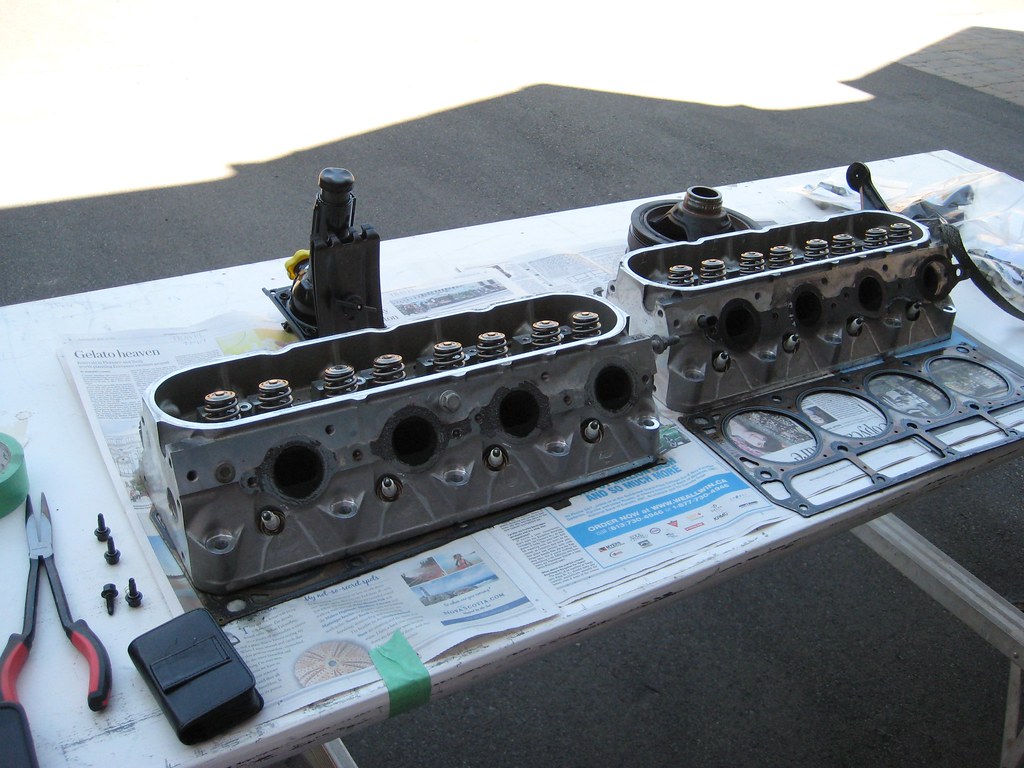
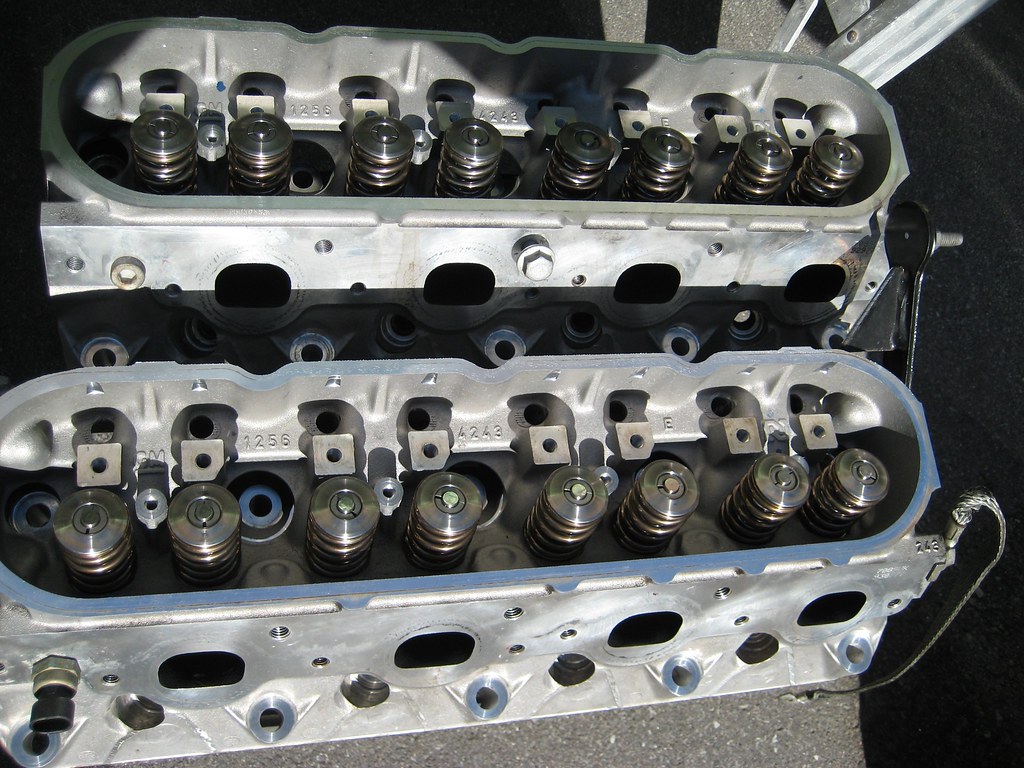
Assembled!
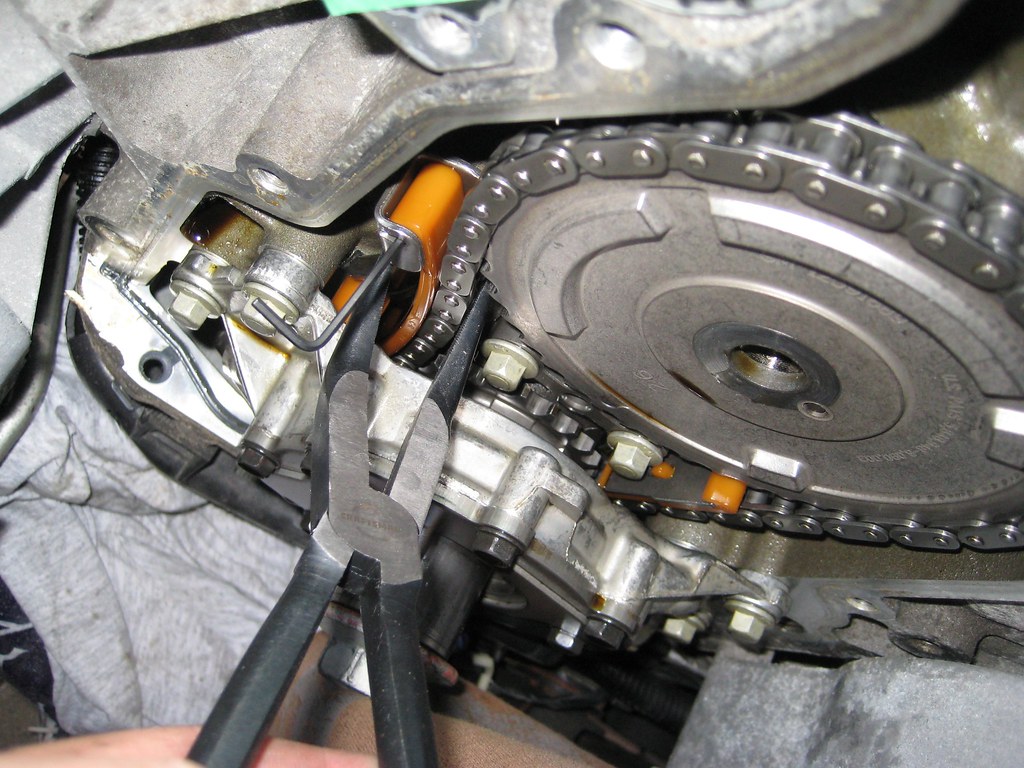
Here's a tip I'm sure a lot of you know but may help someone who's unfamiliar with cam swaps on Gen III/IVs: To get some slack in the timing chain squeeze the chain and tensioner together and slide in either a paper clip or small allen key where I did at the top, there's a hole in the tensioner and orange plastic and once the clip is in place, you'll have enough slack to get the chain off the cam gear.
Basically got the heads cleaned and assembled and got the new cam put in. I broke the Crane valve compressor on the very last cylinder I was doing; that's some **** luck right there. Had to run to the store for the second time that day for some threaded rod to make another stud for the compressor. The first trip to the store was because I had every torx bit except the size I needed for the cam retainer plate. Then after I got the cam in, new sprocket on and all pleased with myself for lining up the cam and crank gear, I notice the retainer plate sitting on the workbench
So off goes the gear and timing chain, get the retainer plate bolted up and then a couple tries later the timing chain is lined up properly again.Also got the lifters and lifter trays out before the cam obviously, and got the valley cover off and removed the oil pressure sensor (I think that's what it is) from the back of the valley cover and moved it over to the new AFM-less one.
If anyone's interested, the AFM cylinders are 1,7, 4 and 6.
Plan for tomorrow is clean the two deck surfaces, bolt holes and cylinders. I also want to get the heads on, replace the front seal on the timing cover and bolt that back up. Also want to get the new valley cover on. If things are moving fast then maybe pin the crank but I think cleaning the block will take much of the day just like the heads did today.
On with the pics:
Heads off and ready for cleanup:
Stupid Gen IVs and your torx cam retainer plate bolts:
Even stupider bit set without the one Torx 40 I need to get the bolts out
Lot of crap left from the gaskets:
Making some progress. I used a razor blade scraper and 0000 steel wool and brake cleaner:
This is what a diet of aerated oil and rich fuel trims will give you:
Assembled!
Here's a tip I'm sure a lot of you know but may help someone who's unfamiliar with cam swaps on Gen III/IVs: To get some slack in the timing chain squeeze the chain and tensioner together and slide in either a paper clip or small allen key where I did at the top, there's a hole in the tensioner and orange plastic and once the clip is in place, you'll have enough slack to get the chain off the cam gear.
06-19-2011, 04:03 PM
#129
Those headers will slip in easily for you, even on your 4x4. I did have to move my brake pipes on the left frame rail, and also had to move my transmission cooler lines. The headers were touching them just a lil bit.
If you're using studs instead of bolts at the heads, don't install the rearmost ones until the headers are in place. You probably already know this, bit they go in easiest from the bottom.
If you're using studs instead of bolts at the heads, don't install the rearmost ones until the headers are in place. You probably already know this, bit they go in easiest from the bottom.
06-19-2011, 08:13 PM
#130
Those headers will slip in easily for you, even on your 4x4. I did have to move my brake pipes on the left frame rail, and also had to move my transmission cooler lines. The headers were touching them just a lil bit.
If you're using studs instead of bolts at the heads, don't install the rearmost ones until the headers are in place. You probably already know this, bit they go in easiest from the bottom.
If you're using studs instead of bolts at the heads, don't install the rearmost ones until the headers are in place. You probably already know this, bit they go in easiest from the bottom.