

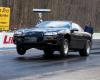
My 71' Turbo ChevII


 May 24, 2013 | 11:07 PM
#24
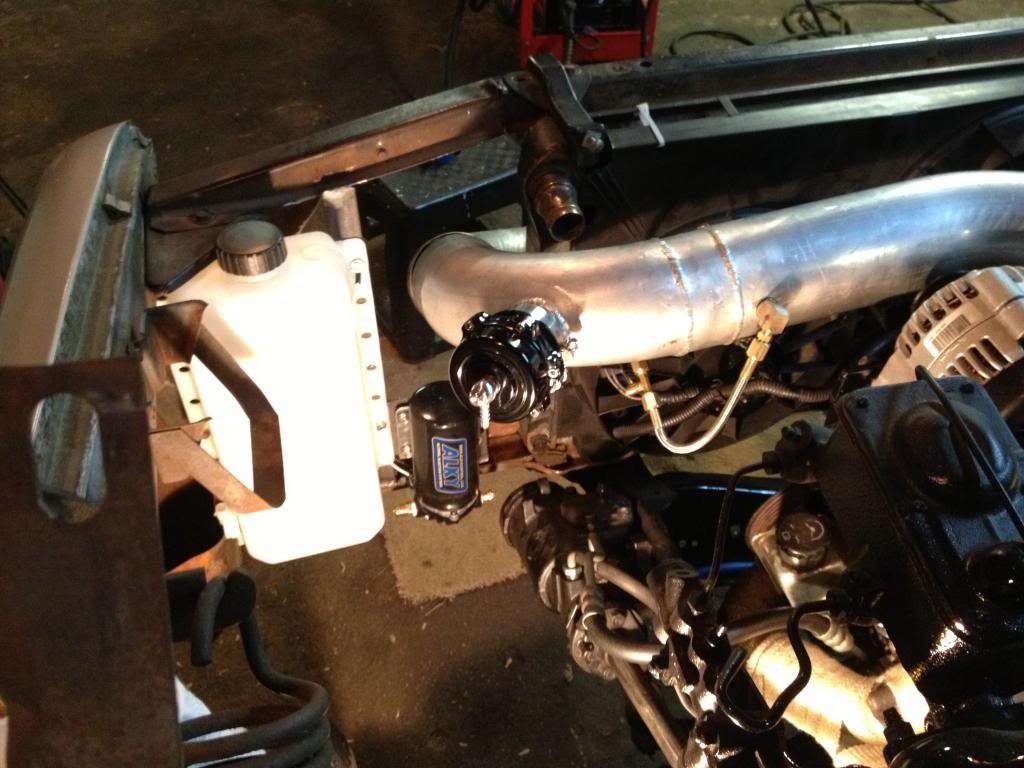
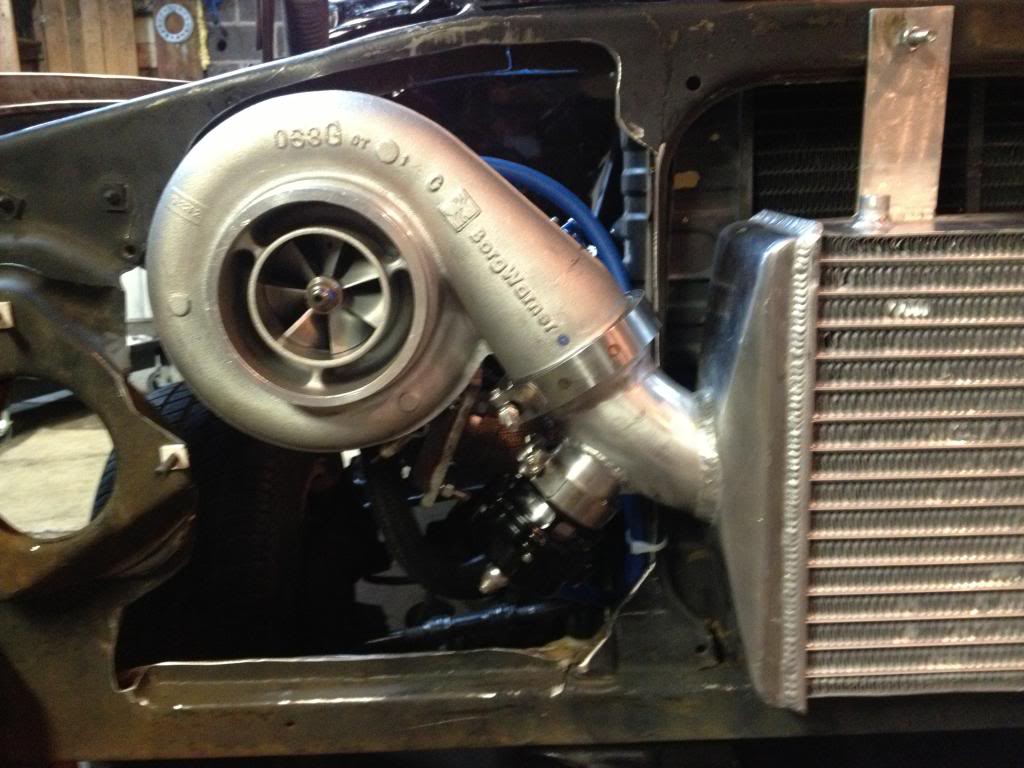
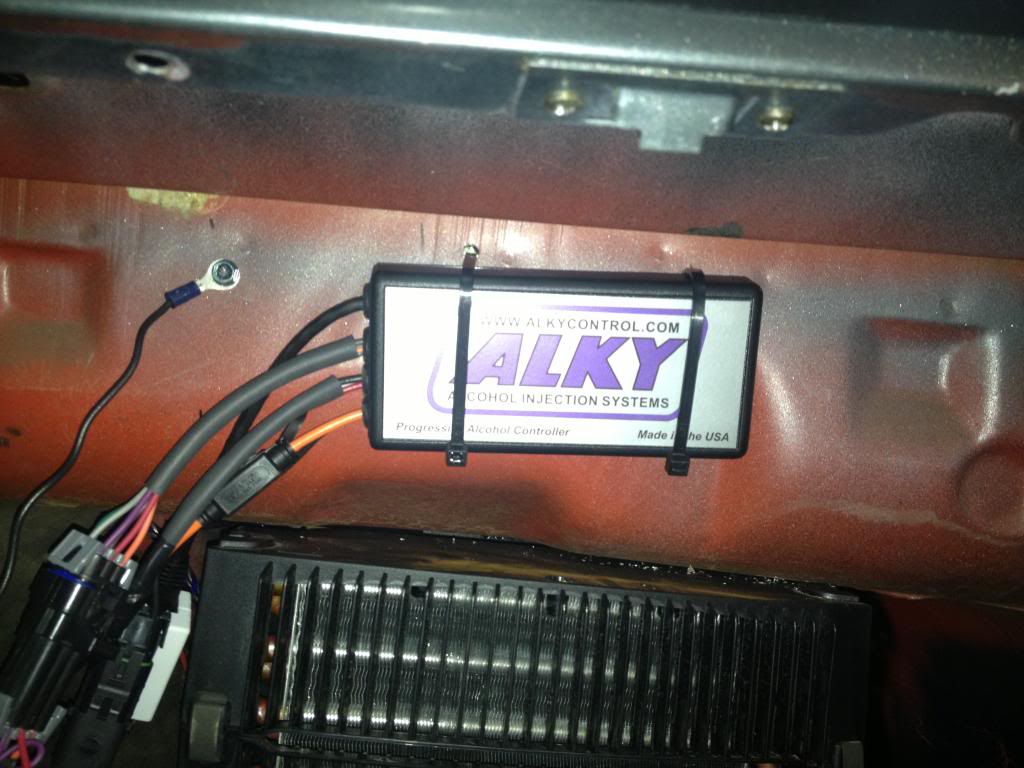
UPDATE: Alky tank, nozzles & pump installed, will finish up the wiring tomorrow. (2) BOV's mounted/installed
Thinking I might fire it up this weekend, Ill try to get a vid of that
Thinking I might fire it up this weekend, Ill try to get a vid of that
 May 25, 2013 | 10:33 PM
#26
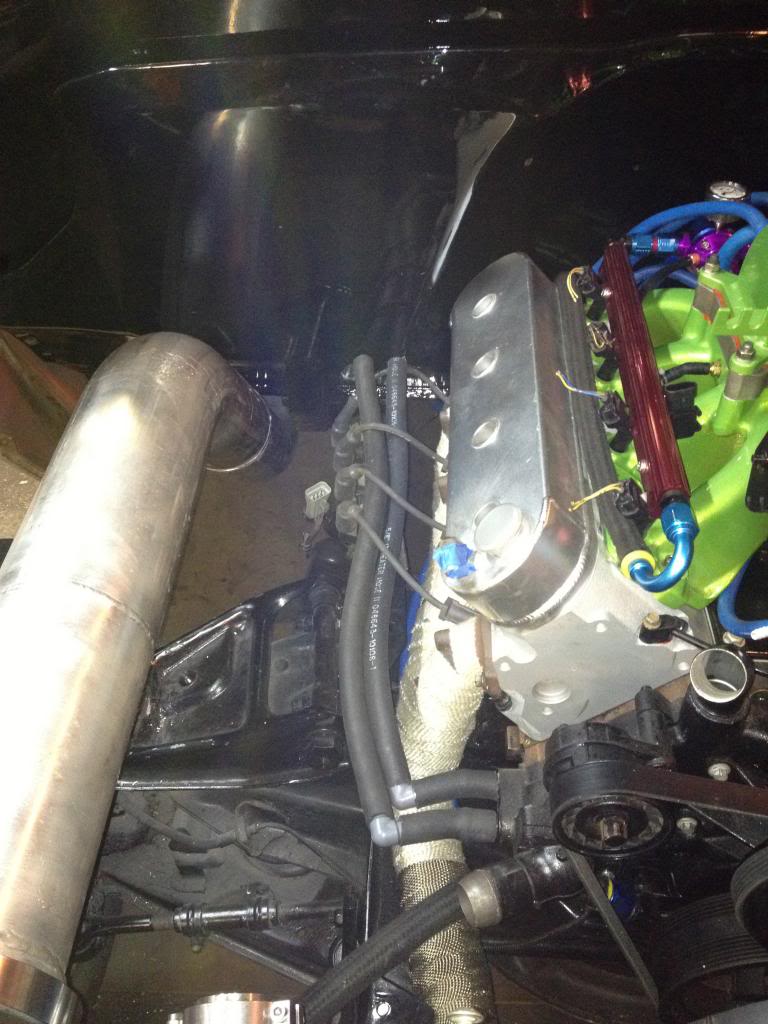
UPDATE: Got a few things done today. The big item of the days was dropping the tranny out and installing a new clutch fork, clutch release bearing and pivot stud. I Also got all the mechanical linkage connected and adjusted. Wow the good ol' mechanical clutch feels awesome from top to bottom.
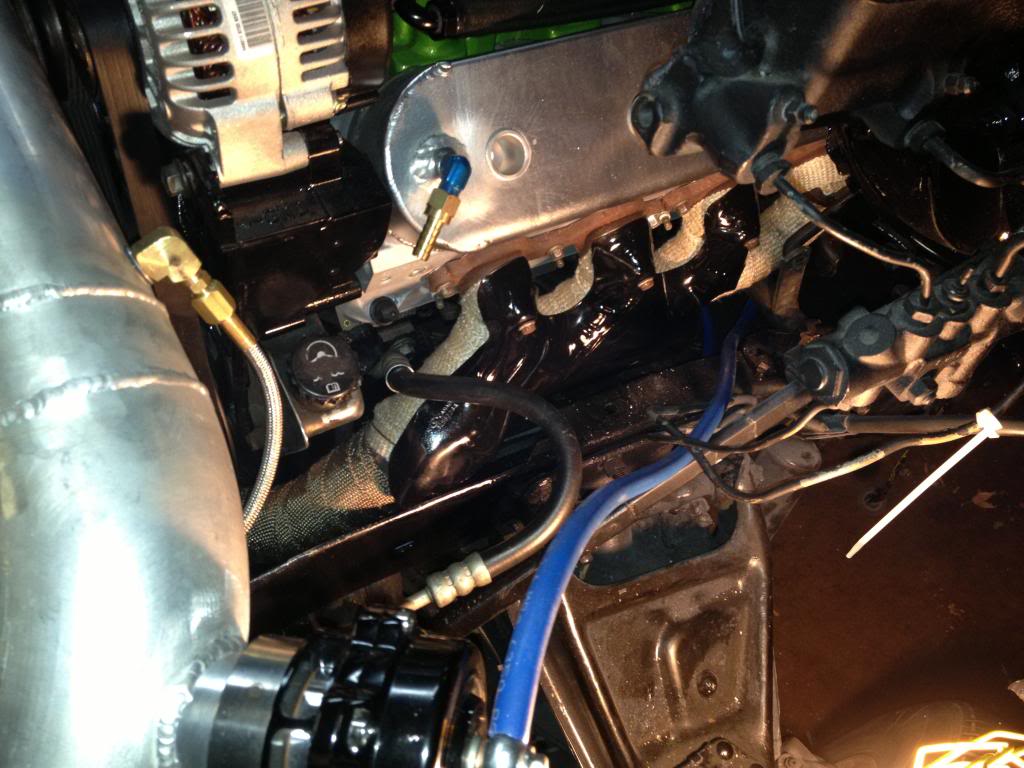
Ran the 5/8" heater hose to the heater.
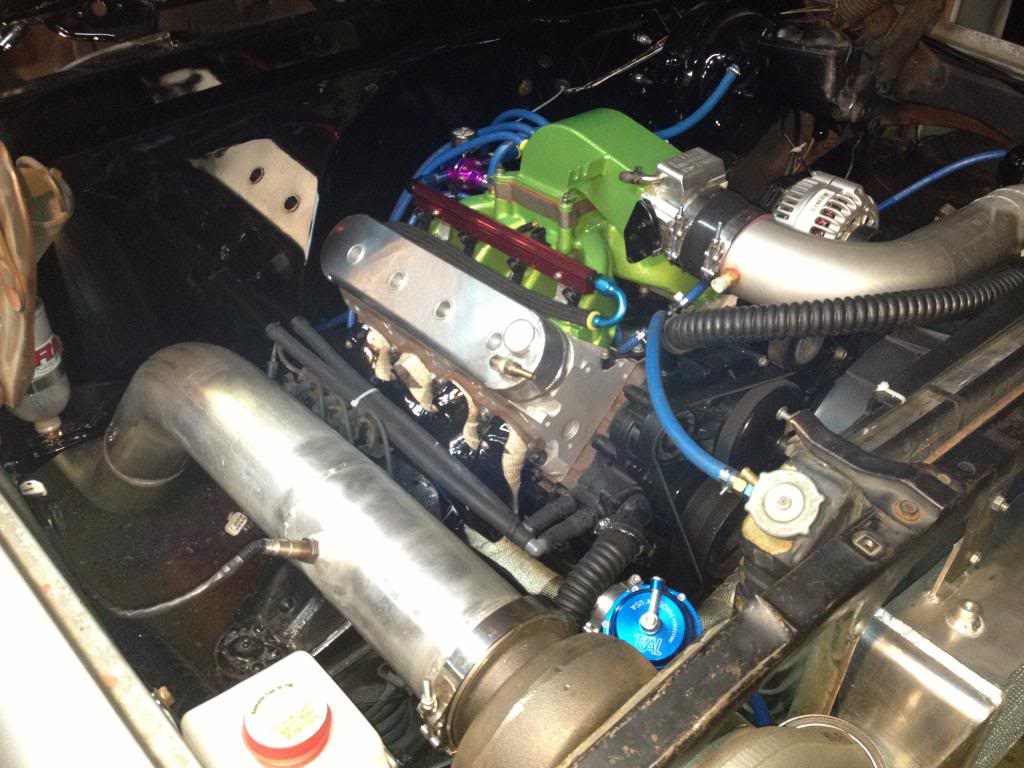
Mounted the map sensor to the side port of the the intake also tied the boost reference fuel regulator into the same vacuum port.
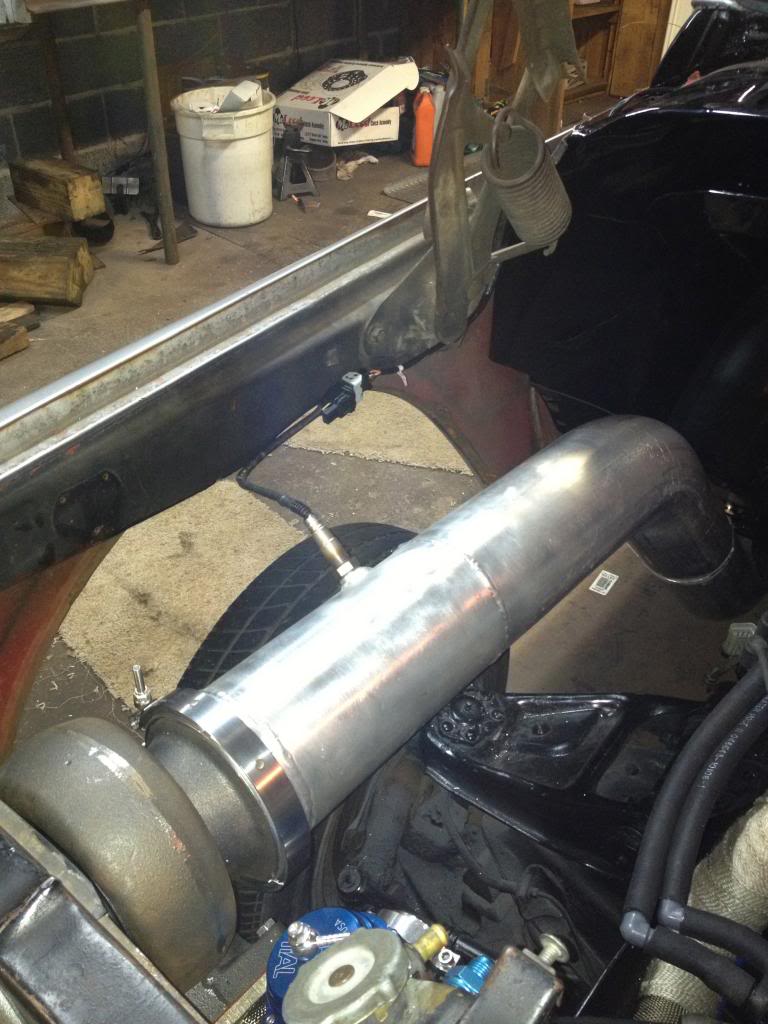
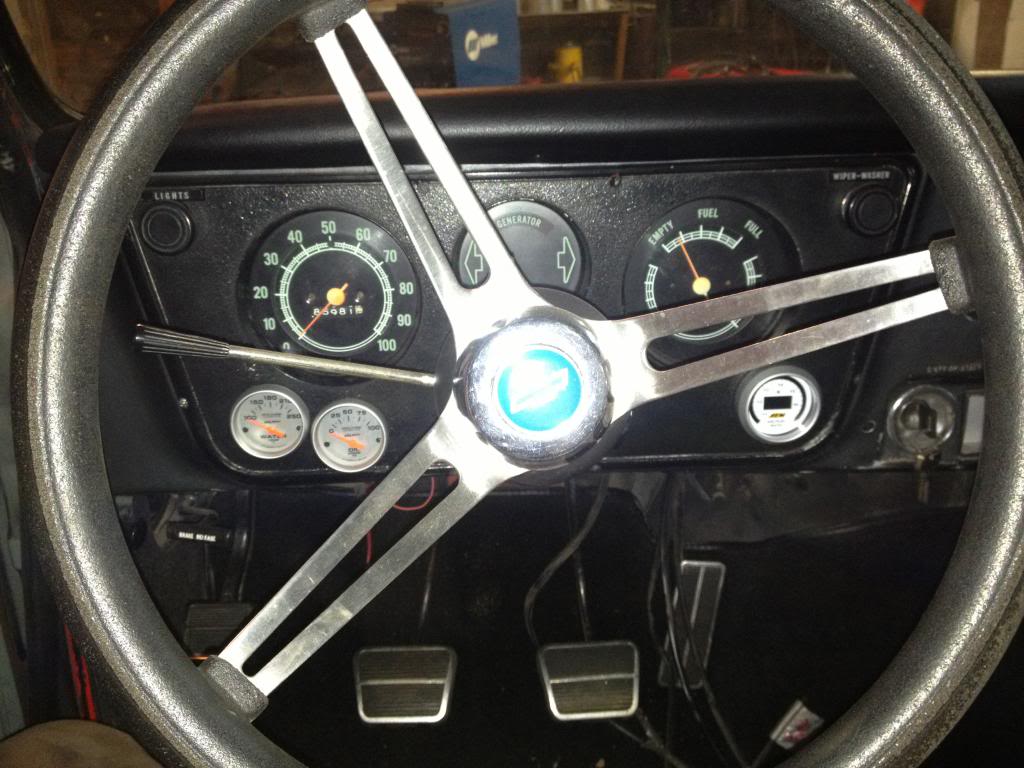
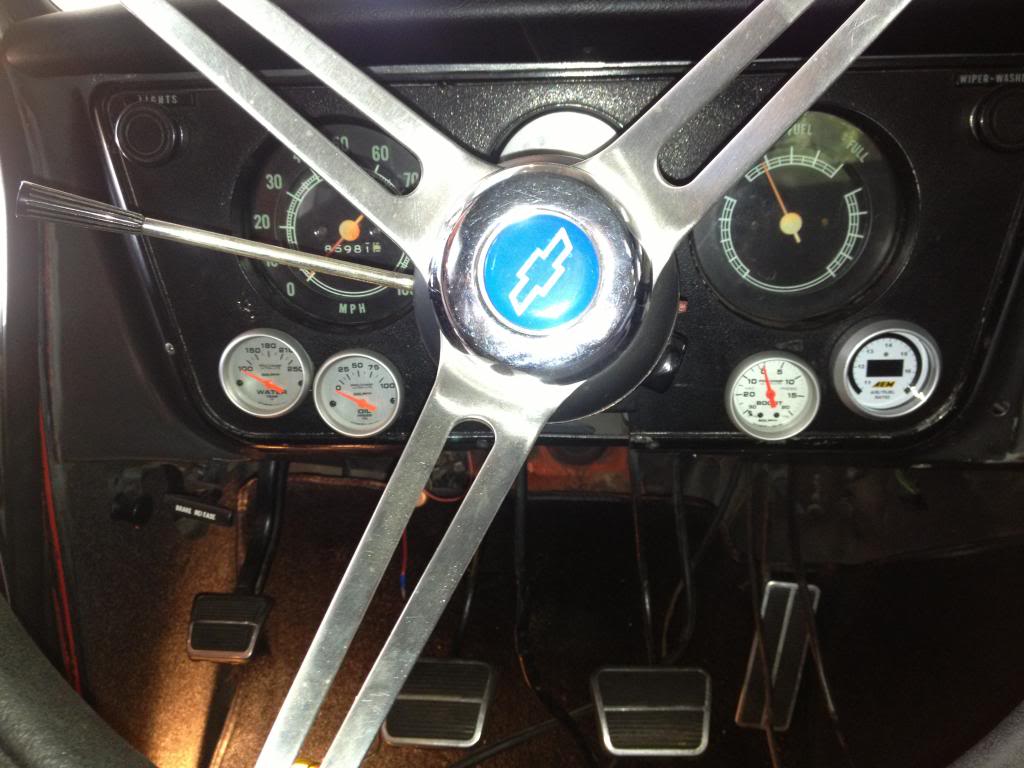
Mounted the wide band sensor in the downpipe and ran wires and mounted the gauge in the stock dash under the fuel level gauge. While I was in the wiring mode I started to pull some of the other wires through the firewall to there locations.
Does anyone know if it will work to splice into my stock oil press signal wire and feed it to my auto-meter gauge, I would do the same at my water temp sensor?
Also were to I tie my tack signal wire into?
I figure one more day mounting fuel tank and wiring everything up and she should fire, I hope?
Ran the 5/8" heater hose to the heater.
Mounted the map sensor to the side port of the the intake also tied the boost reference fuel regulator into the same vacuum port.
Mounted the wide band sensor in the downpipe and ran wires and mounted the gauge in the stock dash under the fuel level gauge. While I was in the wiring mode I started to pull some of the other wires through the firewall to there locations.
Does anyone know if it will work to splice into my stock oil press signal wire and feed it to my auto-meter gauge, I would do the same at my water temp sensor?
Also were to I tie my tack signal wire into?
I figure one more day mounting fuel tank and wiring everything up and she should fire, I hope?
May 26, 2013 | 12:00 AM
#27


You can't splice into the oil pressure and coolant temps because you have to use Autometers senders. They are calibrated to the gauges. If you use the stock senders, they won't read correctly.
Just replace the stock oil pressure sender with autometers as the computer doesn't need the oil pressure input for anything. You will need an adaptor fitting to do that. You will have to keep the stock coolant temp sensor in place though. A lot of talbes in the tune reference it. I put the Autometer coolant sender in the back of the passenger side head.
Just replace the stock oil pressure sender with autometers as the computer doesn't need the oil pressure input for anything. You will need an adaptor fitting to do that. You will have to keep the stock coolant temp sensor in place though. A lot of talbes in the tune reference it. I put the Autometer coolant sender in the back of the passenger side head.
May 26, 2013 | 07:45 AM
#28
You can't splice into the oil pressure and coolant temps because you have to use Autometers senders. They are calibrated to the gauges. If you use the stock senders, they won't read correctly.
Just replace the stock oil pressure sender with autometers as the computer doesn't need the oil pressure input for anything. You will need an adaptor fitting to do that. You will have to keep the stock coolant temp sensor in place though. A lot of talbes in the tune reference it. I put the Autometer coolant sender in the back of the passenger side head.
Just replace the stock oil pressure sender with autometers as the computer doesn't need the oil pressure input for anything. You will need an adaptor fitting to do that. You will have to keep the stock coolant temp sensor in place though. A lot of talbes in the tune reference it. I put the Autometer coolant sender in the back of the passenger side head.
 Jun 1, 2013 | 09:49 PM
#30
UPDATE:
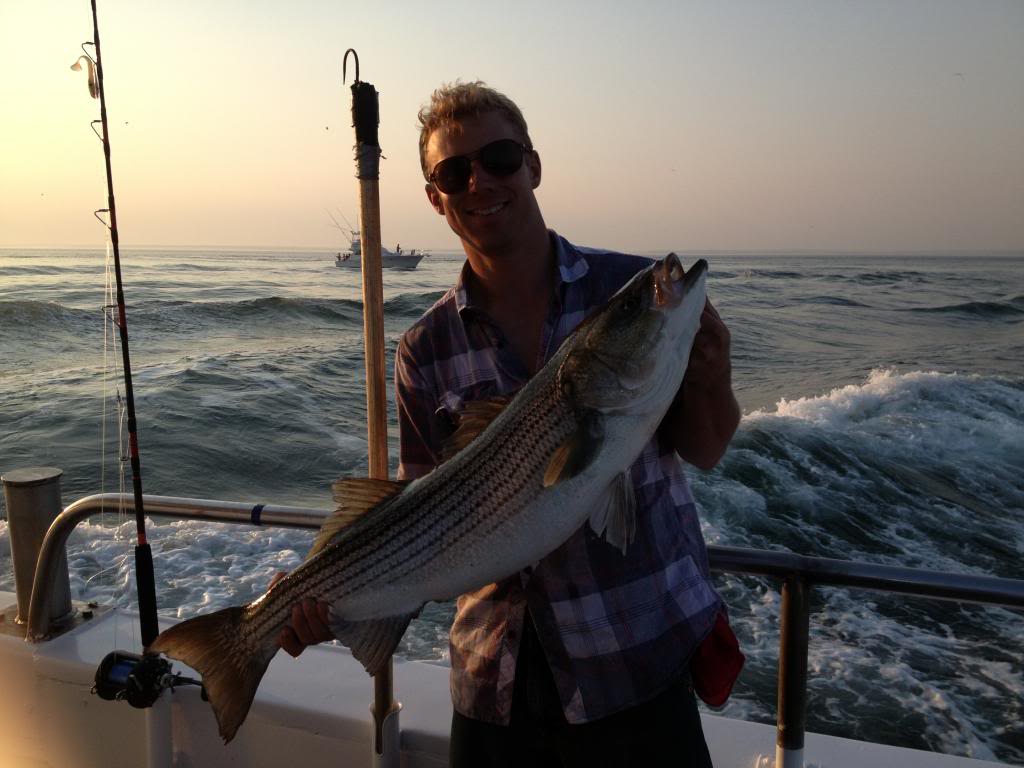
Ive been goofing off last few days doing some offshore fishing.
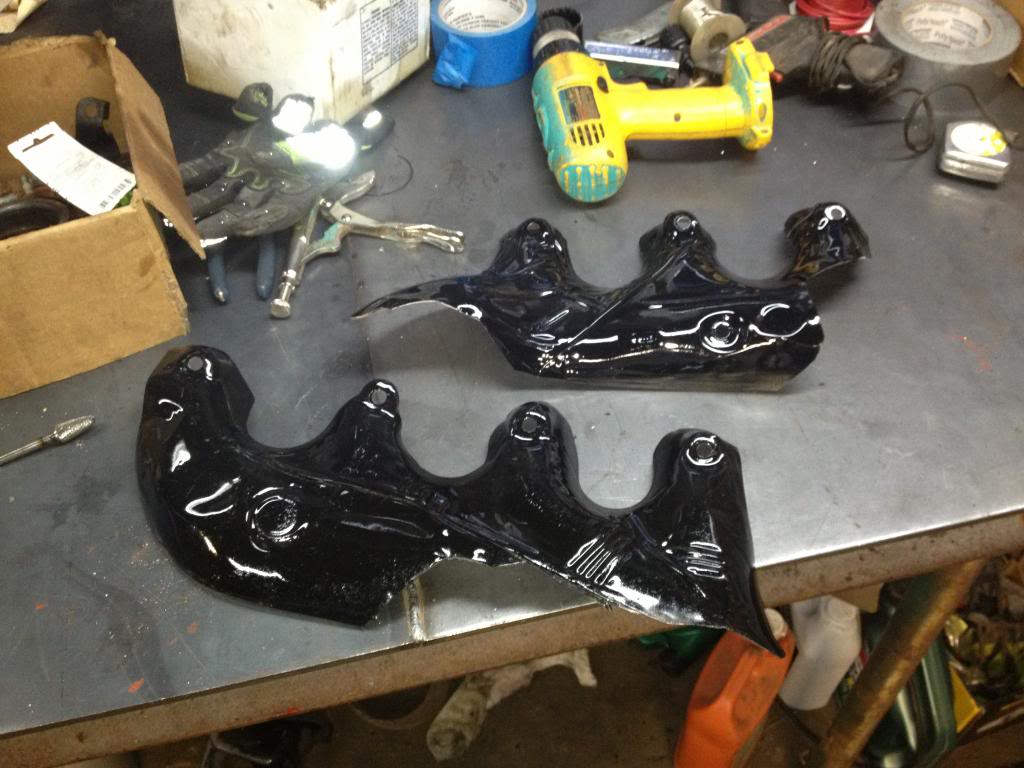
Going to finish her up this week. Gauges are all installed. Heat shields painted and installed. Injector wiring harness sodered to the ECU harness, ECU harness installed. Fuel tank almost installed under the bed.
Ive been goofing off last few days doing some offshore fishing.
Going to finish her up this week. Gauges are all installed. Heat shields painted and installed. Injector wiring harness sodered to the ECU harness, ECU harness installed. Fuel tank almost installed under the bed.
Last edited by Benlugchev; Jun 2, 2013 at 06:53 AM.