

Funkster's Build Thread
 Dec 30, 2012 | 11:44 AM
#12

Thread Starter
12 Second Club
iTrader: (97)
Joined: Jul 2006
Posts: 1,063
Likes: 1
From: Urbandale, Iowa
Friday night a couple friends and I had some beers and did a little bit of work on the truck. Pulled and replaced the intermediate shaft in an attempt to fix the clunking in the front. I am not sure if it worked or not as today will be the first time driving the truck since fixing it.
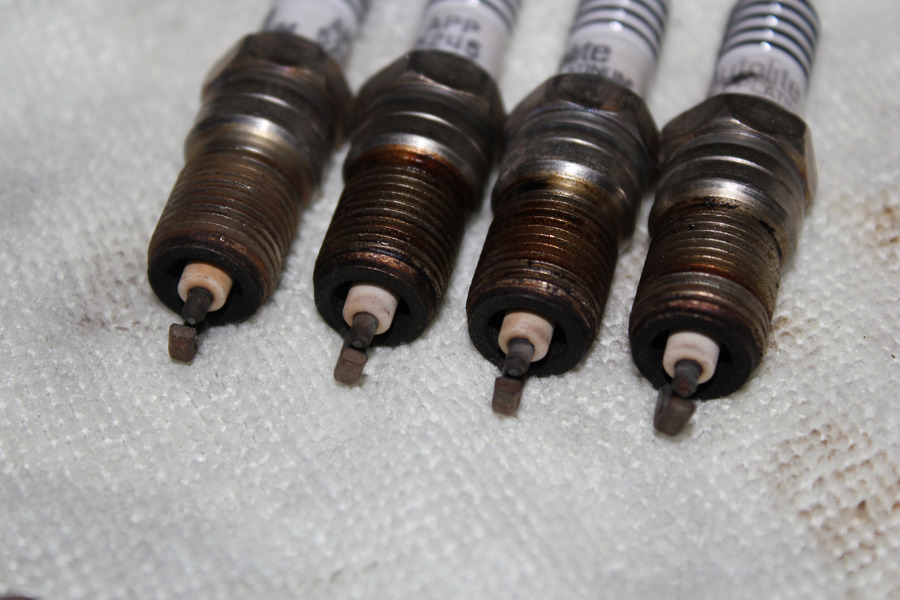
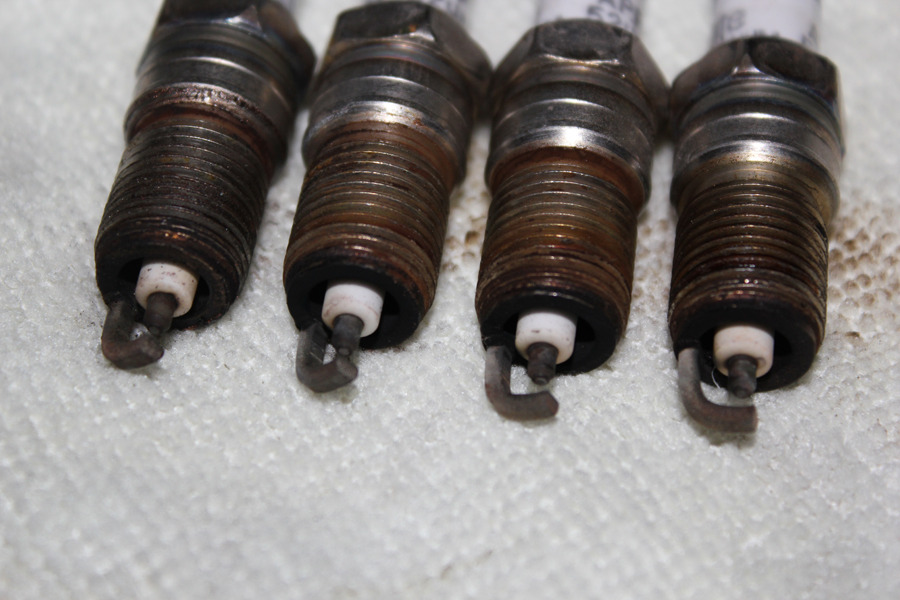
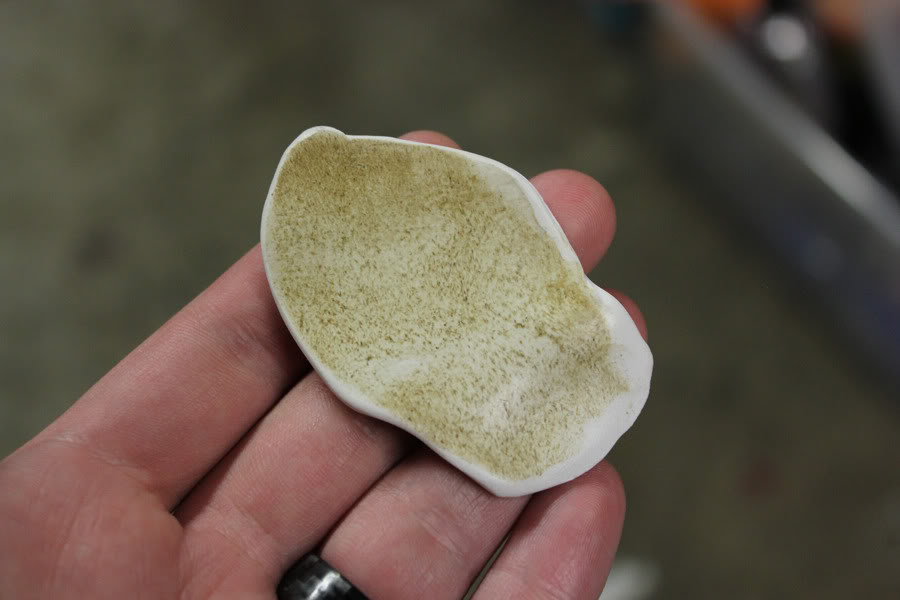
We also changed out the plugs. They really didn't look too bad for a 120k+ engine, and who knows how long they have been in there. Took a couple of pictures of them, just for ***** and gigs.
Plus 1,3,5,7 from left to right:
Plugs 2,4,6,8 from left to right:
Anyway, had picked up a set of NGK TR5s, gapped them to .040 and put them in. Brought the idle up a bit and and seems to have smoothed it up as well based on startup and a couple minutes of run time.
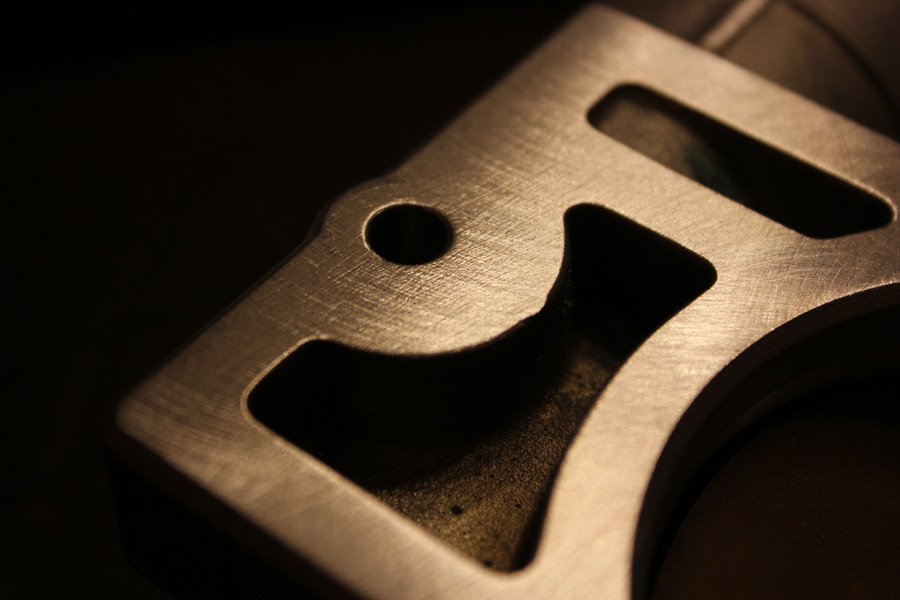
I got bored last night and pulled the throttle body to clean it up. It was a little on the dirty side.
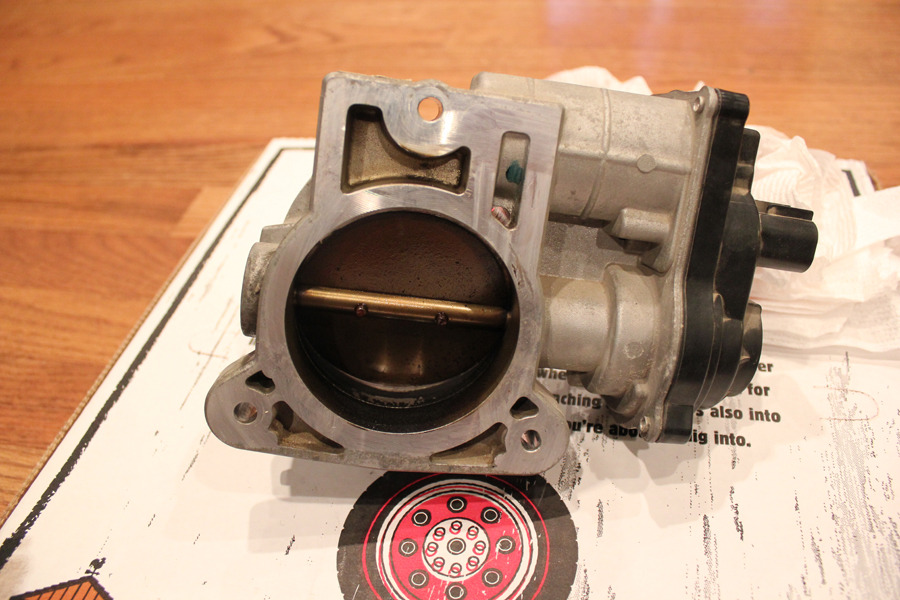
So I cleaned it all up with a mild degreaser. The backside surface that mates to the intake manifold had a good amount of oxidation. I went ahead and hit it with a Roloc disc just to clean it up and give it a smoother mating surface.
That was about it. I had some more stuff planned, but a long time friend of mine is a huge Redskins fan and I am a huge Cowboys fan. That means I have a game to get drunk and yell about tonight. So, I am heading back to my hometown for this afternoon.
As always thanks for reading, and I hope to have some more exciting stuff for you guys soon.
We also changed out the plugs. They really didn't look too bad for a 120k+ engine, and who knows how long they have been in there. Took a couple of pictures of them, just for ***** and gigs.
Plus 1,3,5,7 from left to right:
Plugs 2,4,6,8 from left to right:
Anyway, had picked up a set of NGK TR5s, gapped them to .040 and put them in. Brought the idle up a bit and and seems to have smoothed it up as well based on startup and a couple minutes of run time.
I got bored last night and pulled the throttle body to clean it up. It was a little on the dirty side.
So I cleaned it all up with a mild degreaser. The backside surface that mates to the intake manifold had a good amount of oxidation. I went ahead and hit it with a Roloc disc just to clean it up and give it a smoother mating surface.
That was about it. I had some more stuff planned, but a long time friend of mine is a huge Redskins fan and I am a huge Cowboys fan. That means I have a game to get drunk and yell about tonight. So, I am heading back to my hometown for this afternoon.
As always thanks for reading, and I hope to have some more exciting stuff for you guys soon.
Jan 3, 2013 | 09:27 PM
#13
Thread Starter
12 Second Club
iTrader: (97)
Joined: Jul 2006
Posts: 1,063
Likes: 1
From: Urbandale, Iowa
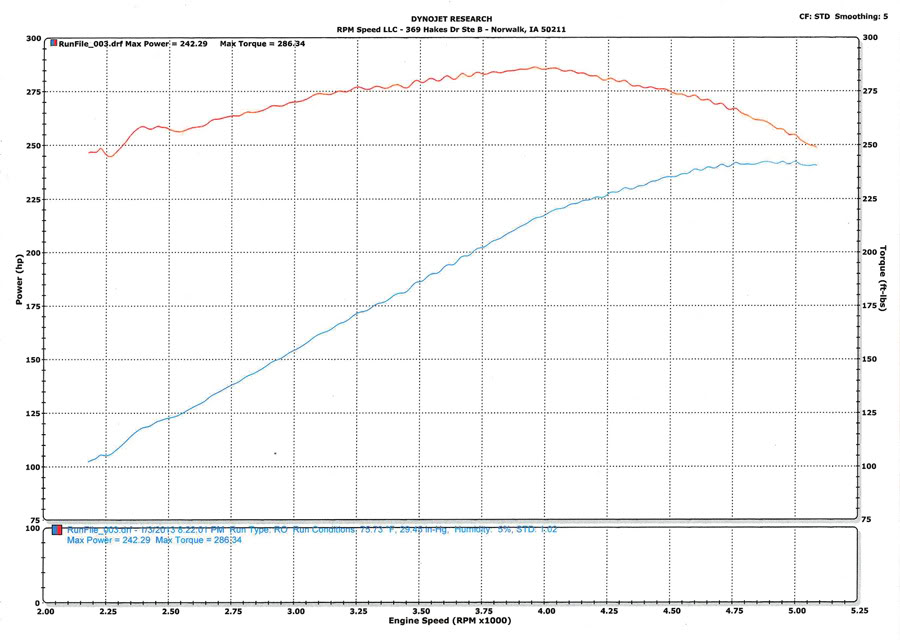
Got the truck on the rollers tonight. I am pretty pleased with the results. It made 242hp & 286lb-ft. Not bad for a bone stock 5.3 with 123k miles and 89 octane.
Stock 2003 Silverado 5.3L Dyno (1.3.13) - YouTube
I will try to get the graph up in a bit.
Stock 2003 Silverado 5.3L Dyno (1.3.13) - YouTube
I will try to get the graph up in a bit.
 Jan 7, 2013 | 06:03 PM
#15
Thread Starter
12 Second Club
iTrader: (97)
Joined: Jul 2006
Posts: 1,063
Likes: 1
From: Urbandale, Iowa
Finally got the decals pulled off the truck. I don't have any good photos of the truck once it was finished though as it was too dark.
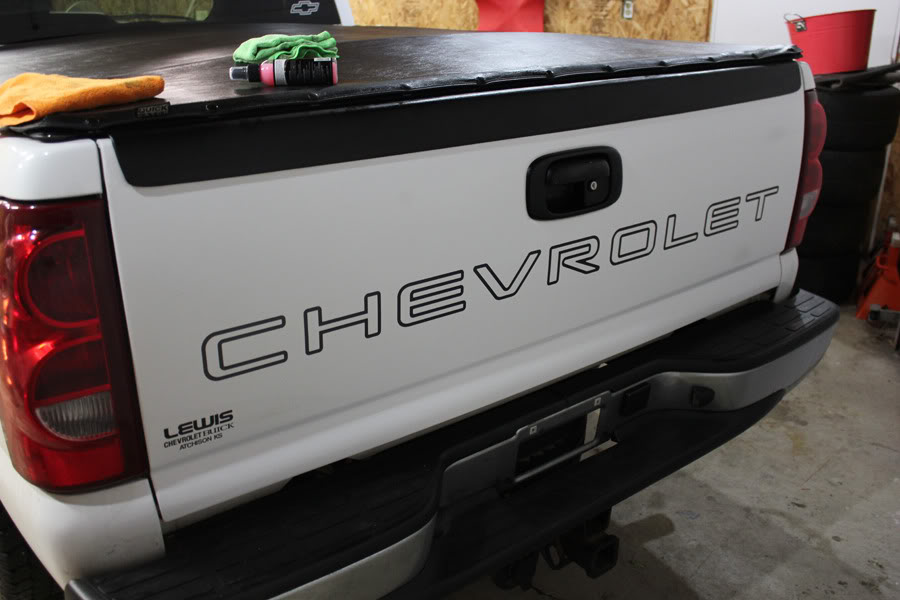
Here is the rear before any work:
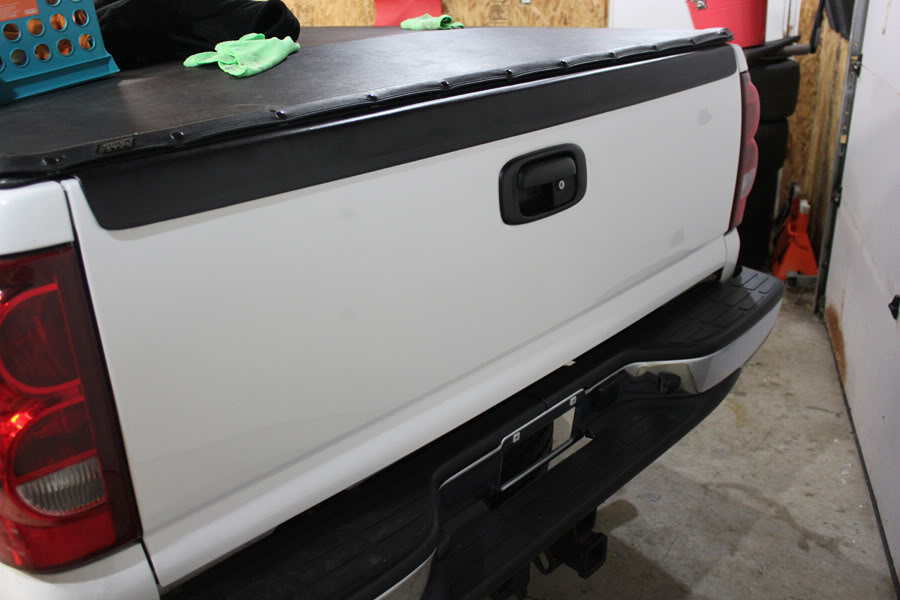
Here is how it looked after pulling the decals and a good clay bar and buff to remove all the residue and contaminants.
More to some as all the decals got pulled and the front chrome bumper was plasti-dipped as well. Dr. Colorchip system showed up today as well, so I will see how that works in a bit.
Here is the rear before any work:
Here is how it looked after pulling the decals and a good clay bar and buff to remove all the residue and contaminants.
More to some as all the decals got pulled and the front chrome bumper was plasti-dipped as well. Dr. Colorchip system showed up today as well, so I will see how that works in a bit.


 .
Jan 8, 2013 | 12:40 PM
.
Jan 8, 2013 | 12:40 PM
#19
Thread Starter
12 Second Club
iTrader: (97)
Joined: Jul 2006
Posts: 1,063
Likes: 1
From: Urbandale, Iowa
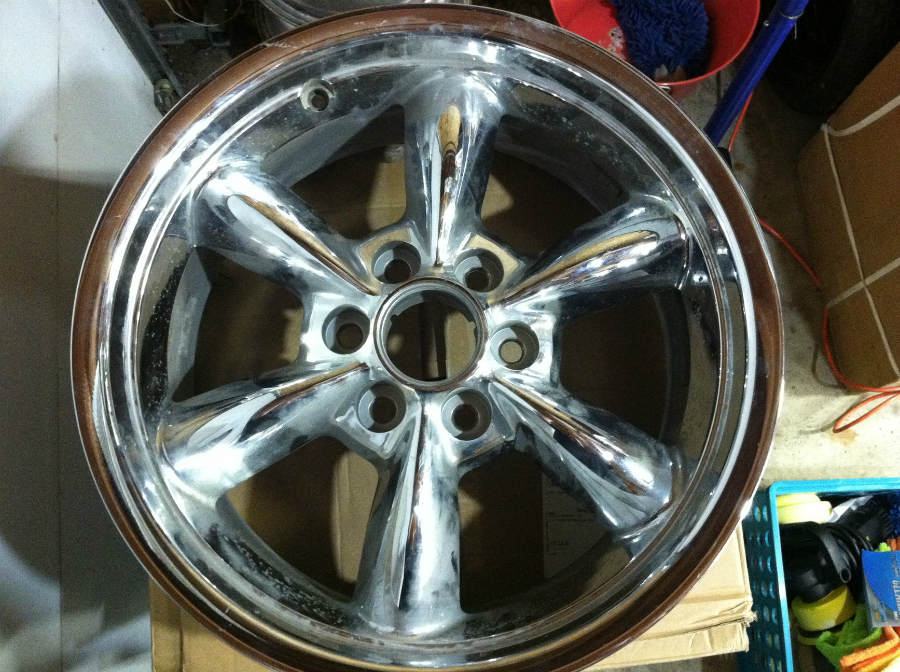
I also bought some wheels this weekend. They are not in the best shape, but for the price I couldn't beat them. They are the 20" CK948 wheels with no curb rash or bends, but the chrome is flaking. This wheel is by far the worst, but I am going to strip them and power coat them flat black. For $120 I can't complain.
Jan 11, 2013 | 06:56 AM
#20
Thread Starter
12 Second Club
iTrader: (97)
Joined: Jul 2006
Posts: 1,063
Likes: 1
From: Urbandale, Iowa
Got a little bit of work done with the Dr. Colorchip system. I am pretty pleased with the results. Not perfect, but the kit does what it needs to do.
I had mentioned I detailed a lot of the truck when I pulled the decals. Well the hood was one of the panels which hadn't received any love yet. After a wash, the hood looked like this.

You can see the overall dullness and the small contaminants on the paint in the photo. Needless to say I hit it with a claybar before any other work. This is just from about 1/4 of the hood.
There were a few main chips I wanted to address. A couple of big ones on the driver's side rear and a couple on the front.
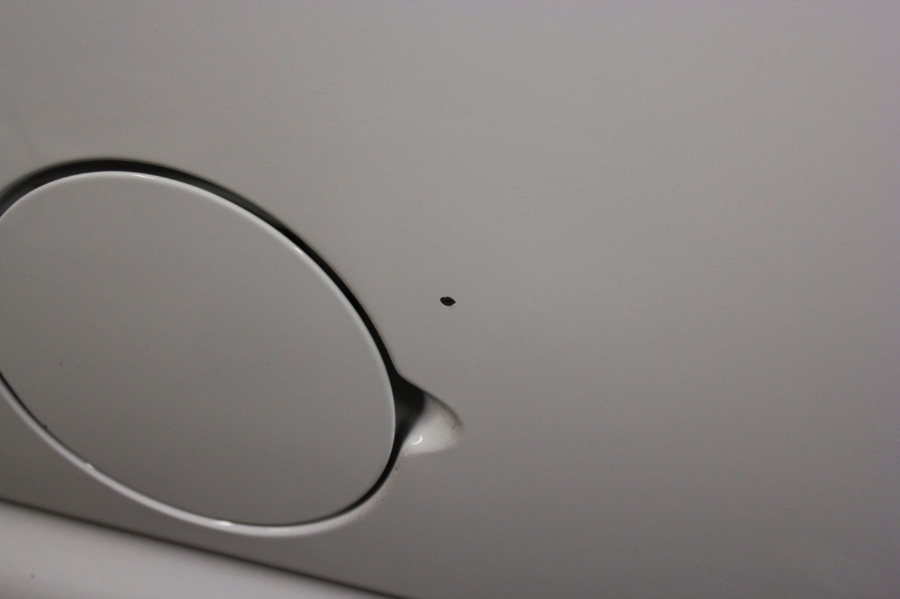
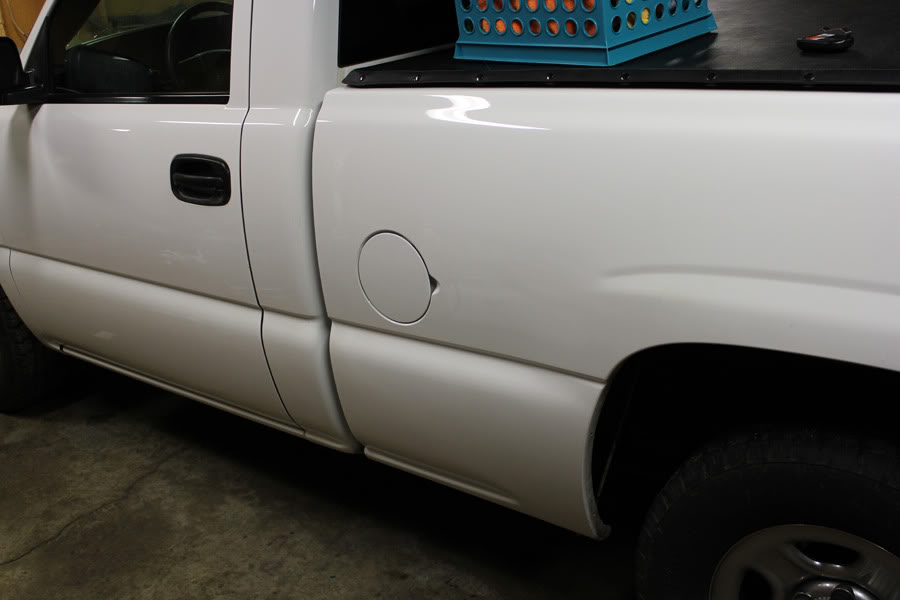
Chip by fuel door:
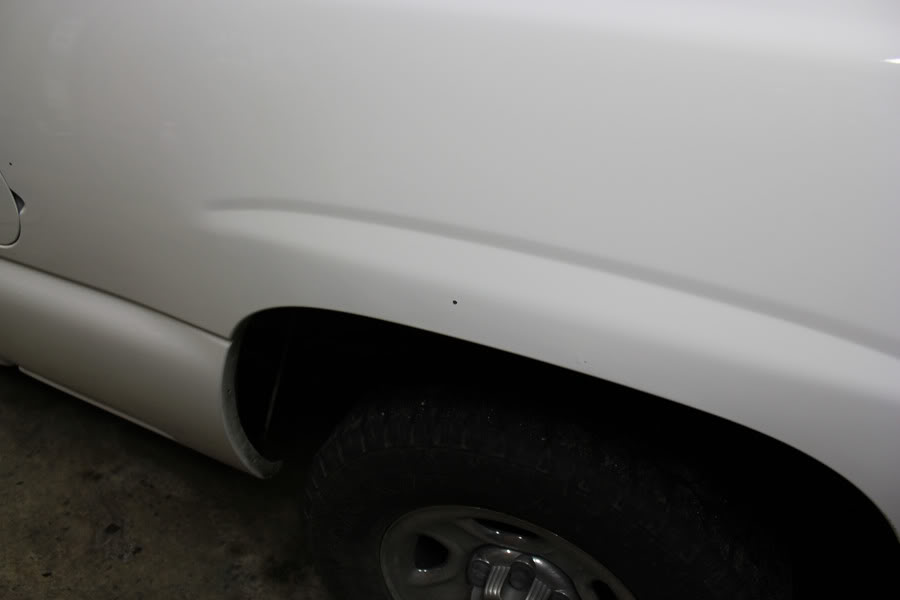
Chip on driver's box side:
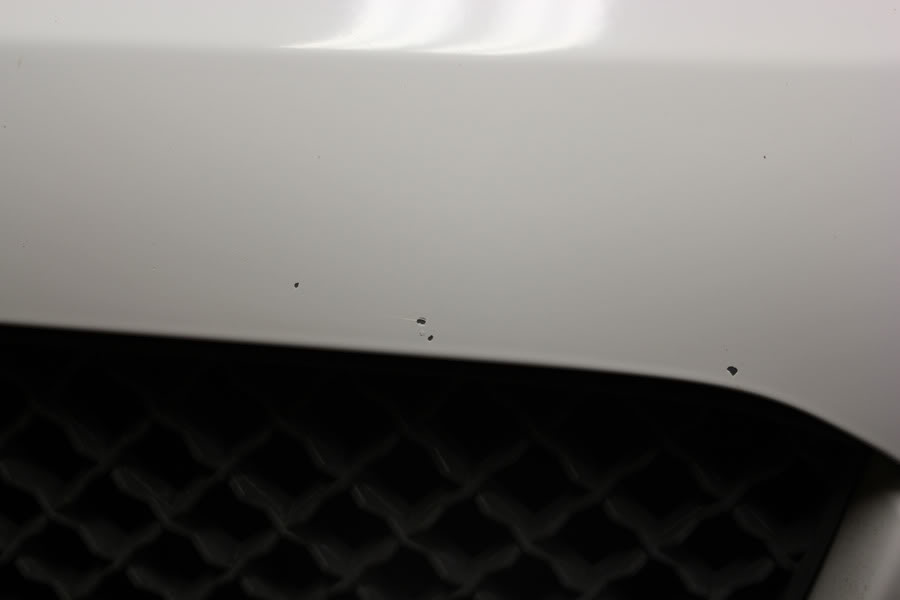
Chips on the front of the hood:
After a wipe down with Denatured Alcohol I started working. I don't have any progress pictures as it is kind of hard to take any since the paint dries so quickly. I will try to get some when I fix some more chips. Here is what I ended up with after a few times through the process:
Chips on hood after:

Chips by fuel door and on box side after:
Like I said, not perfect. However, looks a lot better than huge chips and will serve to protect from rust for the time being.
I am planning to pick up a set of tires for the stock 16's for the time being while I refinish the 20" wheels. I will be grabbing them used this weekend. I am also going to take a look at a set of 16x7 Tahoe wheels to use for a budget drag setup.
Sometime this weekend I am going to try and find time to buff out the hood and fenders, detail the interior a bit and maybe do some sound dampening. We will see what time allows for.
I had mentioned I detailed a lot of the truck when I pulled the decals. Well the hood was one of the panels which hadn't received any love yet. After a wash, the hood looked like this.
You can see the overall dullness and the small contaminants on the paint in the photo. Needless to say I hit it with a claybar before any other work. This is just from about 1/4 of the hood.
There were a few main chips I wanted to address. A couple of big ones on the driver's side rear and a couple on the front.
Chip by fuel door:
Chip on driver's box side:
Chips on the front of the hood:
After a wipe down with Denatured Alcohol I started working. I don't have any progress pictures as it is kind of hard to take any since the paint dries so quickly. I will try to get some when I fix some more chips. Here is what I ended up with after a few times through the process:
Chips on hood after:
Chips by fuel door and on box side after:
Like I said, not perfect. However, looks a lot better than huge chips and will serve to protect from rust for the time being.
I am planning to pick up a set of tires for the stock 16's for the time being while I refinish the 20" wheels. I will be grabbing them used this weekend. I am also going to take a look at a set of 16x7 Tahoe wheels to use for a budget drag setup.
Sometime this weekend I am going to try and find time to buff out the hood and fenders, detail the interior a bit and maybe do some sound dampening. We will see what time allows for.
Last edited by Funkster; Mar 4, 2013 at 06:41 AM.