

Canada Eh??
 Aug 5, 2019 | 10:55 PM
#81

Thread Starter
Staging Lane
Joined: Mar 2016
Posts: 71
Likes: 1
The only thing you really have to watch out for is how many inputs and outputs you want. Speedo is easy, I deleted ABS and the original truck didnt have cruise, so those sound like you problems

My inputs will likely be a button for the 2 step, maybe one for a scramble button down the road and the speedo. outputs will just be the boost control solenoid. Its cool because it wraps so many functions into one box that you really dont need a bunch of standalone components with inputs and outputs to talk to each other.
Aug 5, 2019 | 11:24 PM
#82
Thread Starter
Staging Lane
Joined: Mar 2016
Posts: 71
Likes: 1
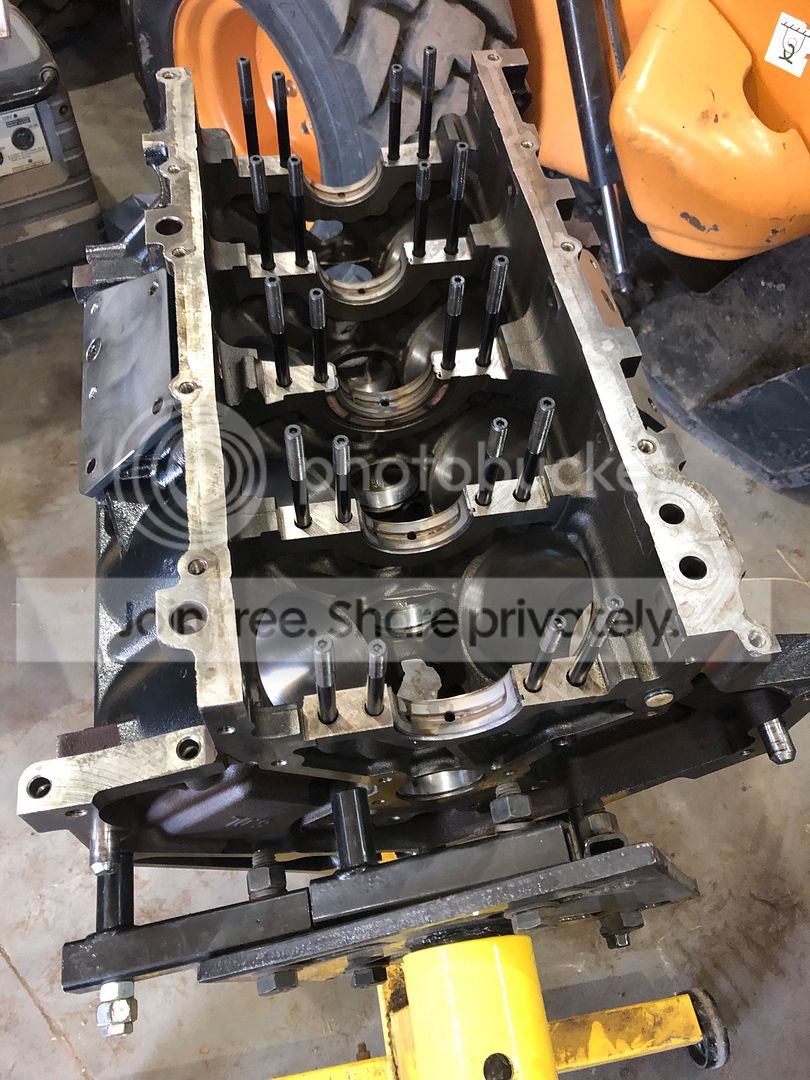
SOOO. Finally some cool stuff happening with this thing. Got all my parts back from the machine shop, I really wanted him to build the short block for me but he didnt have time so I bought the tools and went after it. Was worth it in my opinion, cool experience. My dad owed me some time so he helped spin the ring file. Only a couple hickups along the way but I'm confident its all together correctly.
List was:
Bored 0.030"
Align honed with new ARP studs
new hardened mains
hardened rod bearings, rest of the parts in the previous pictures.
new cam bearings
balanced, had to fork out $ for heavy metal to be put in the crank
clean and magnafluxed
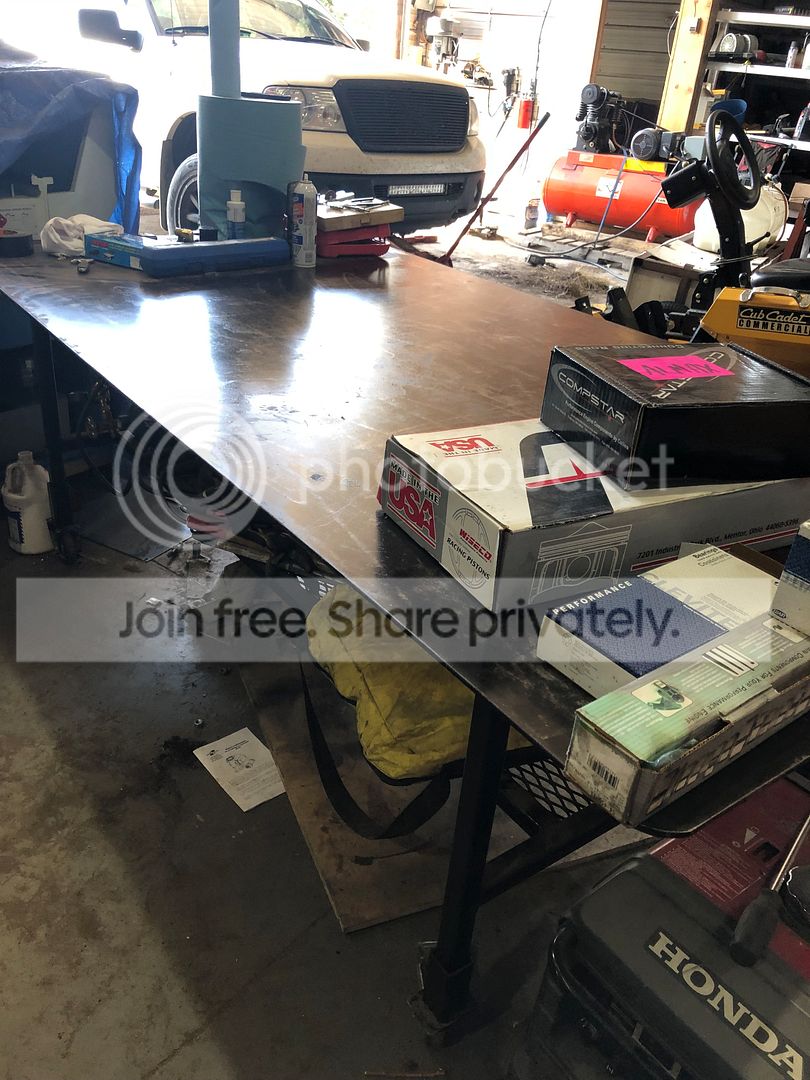
I had to document this bench being clean, if you've ever been in my dads shop youd know the small feat this is. Blew a cord in my daily driver f150 so it was in getting worked on at the same time in the background, dont by good year tires...
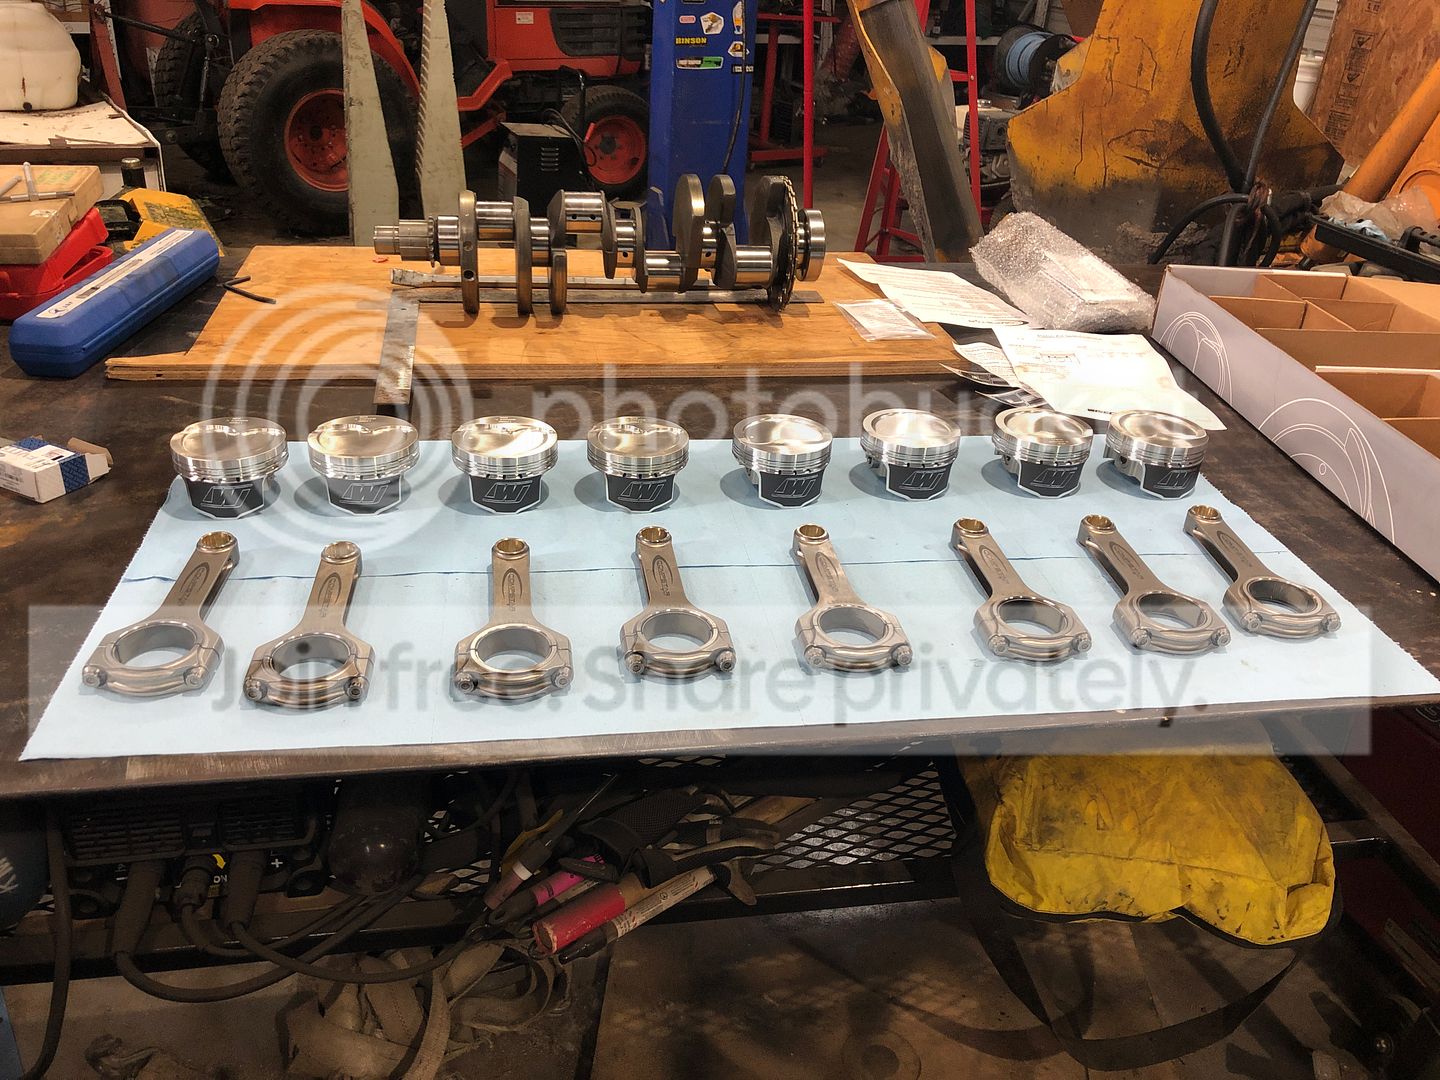
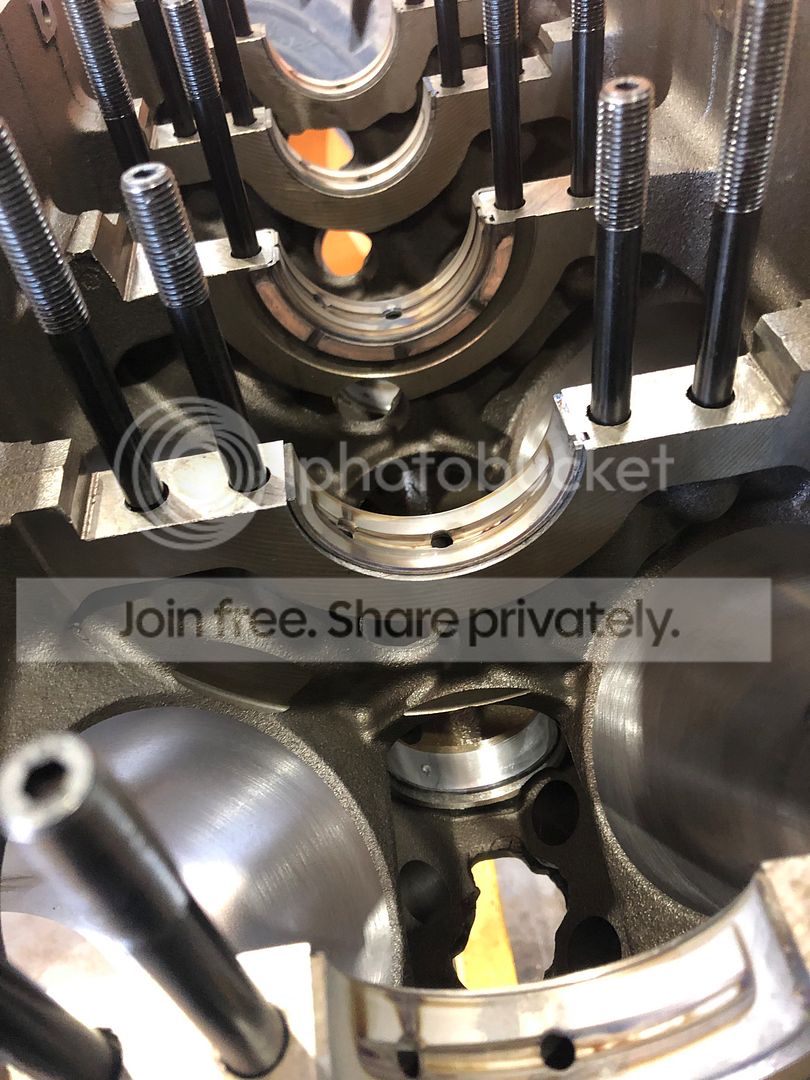
If you're clever you'll catch the first mess up in this picture:
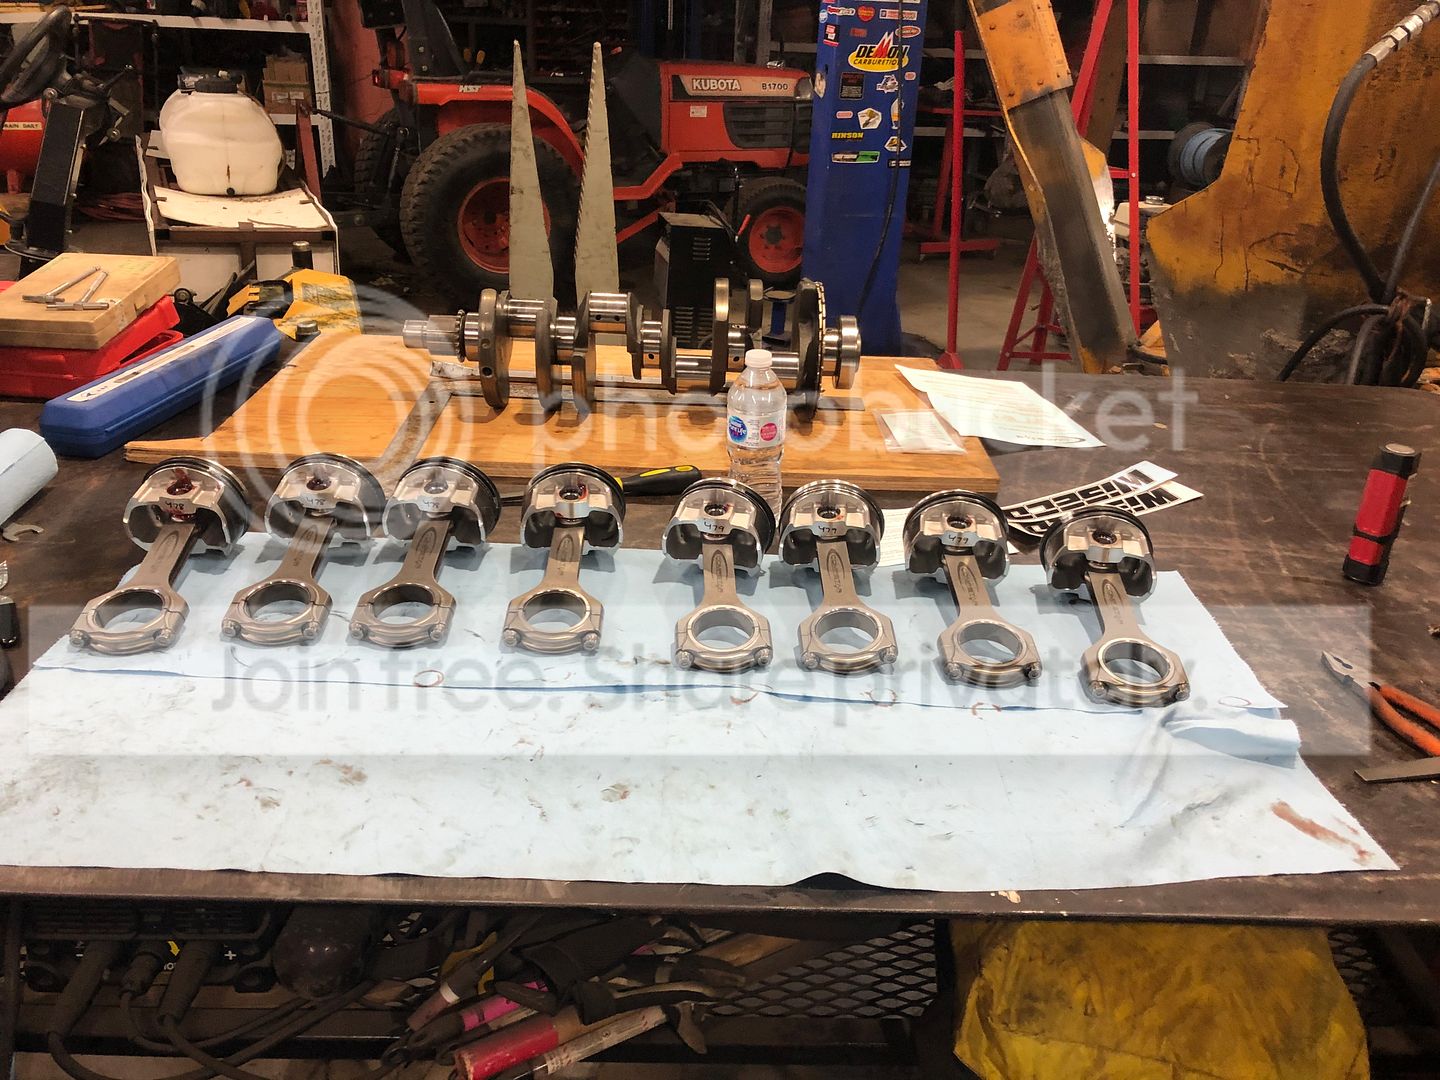
The next screw up is in this picture but you wont ever see it:
My dad seemed to think it was funny when i was measuring ring gap (the first time).
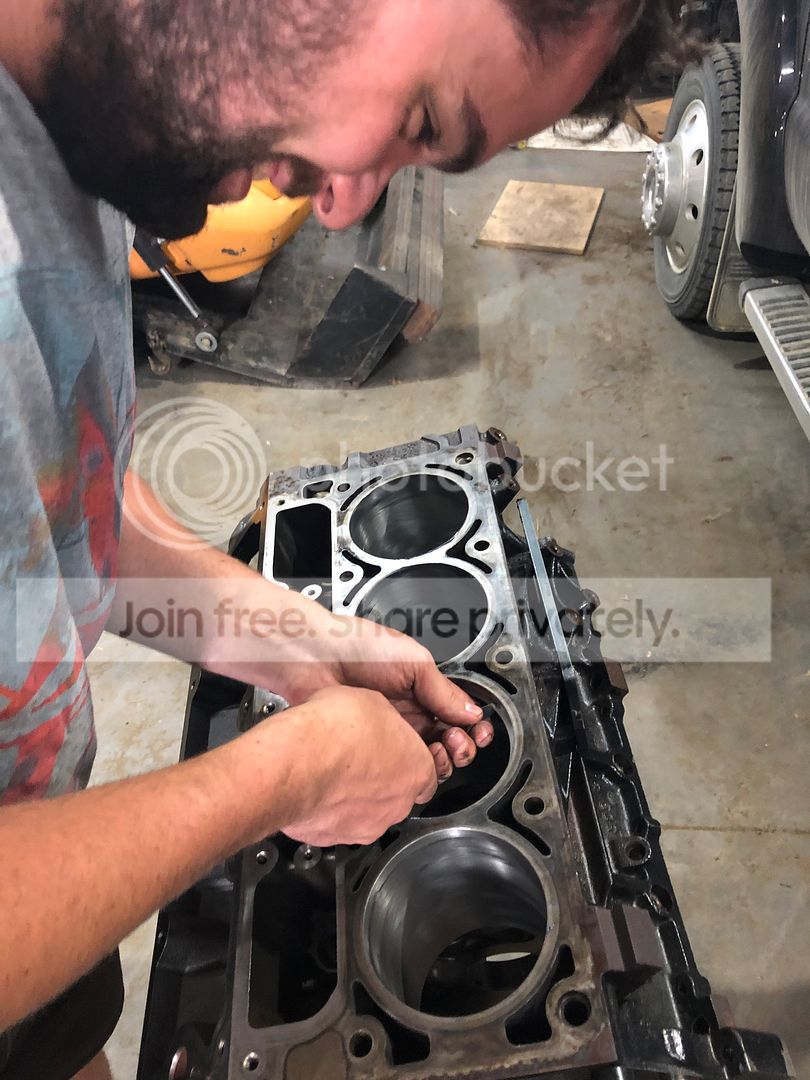
Some just beacuse pictures, I used an ID/OD mic to measure rod bearing clearance on a couple, right around 0.003".

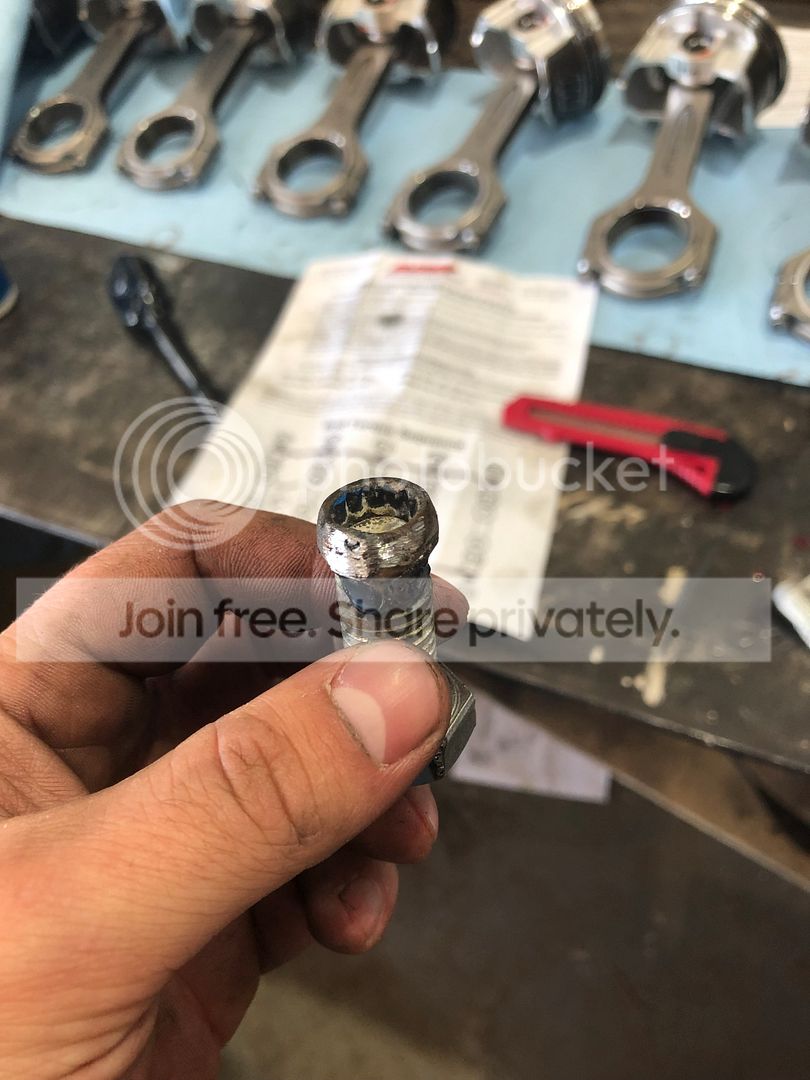
Didn't have a 12 point 10mm socket for the ARP side girdle bolts so my dad built one out of a wrench... Farmers I tell yea. It worked anyways.
I did buy a ring file, ring expander, and a ring compression band thingy off amazon. All worked ok. ID/OD Mic Borrowed from work.
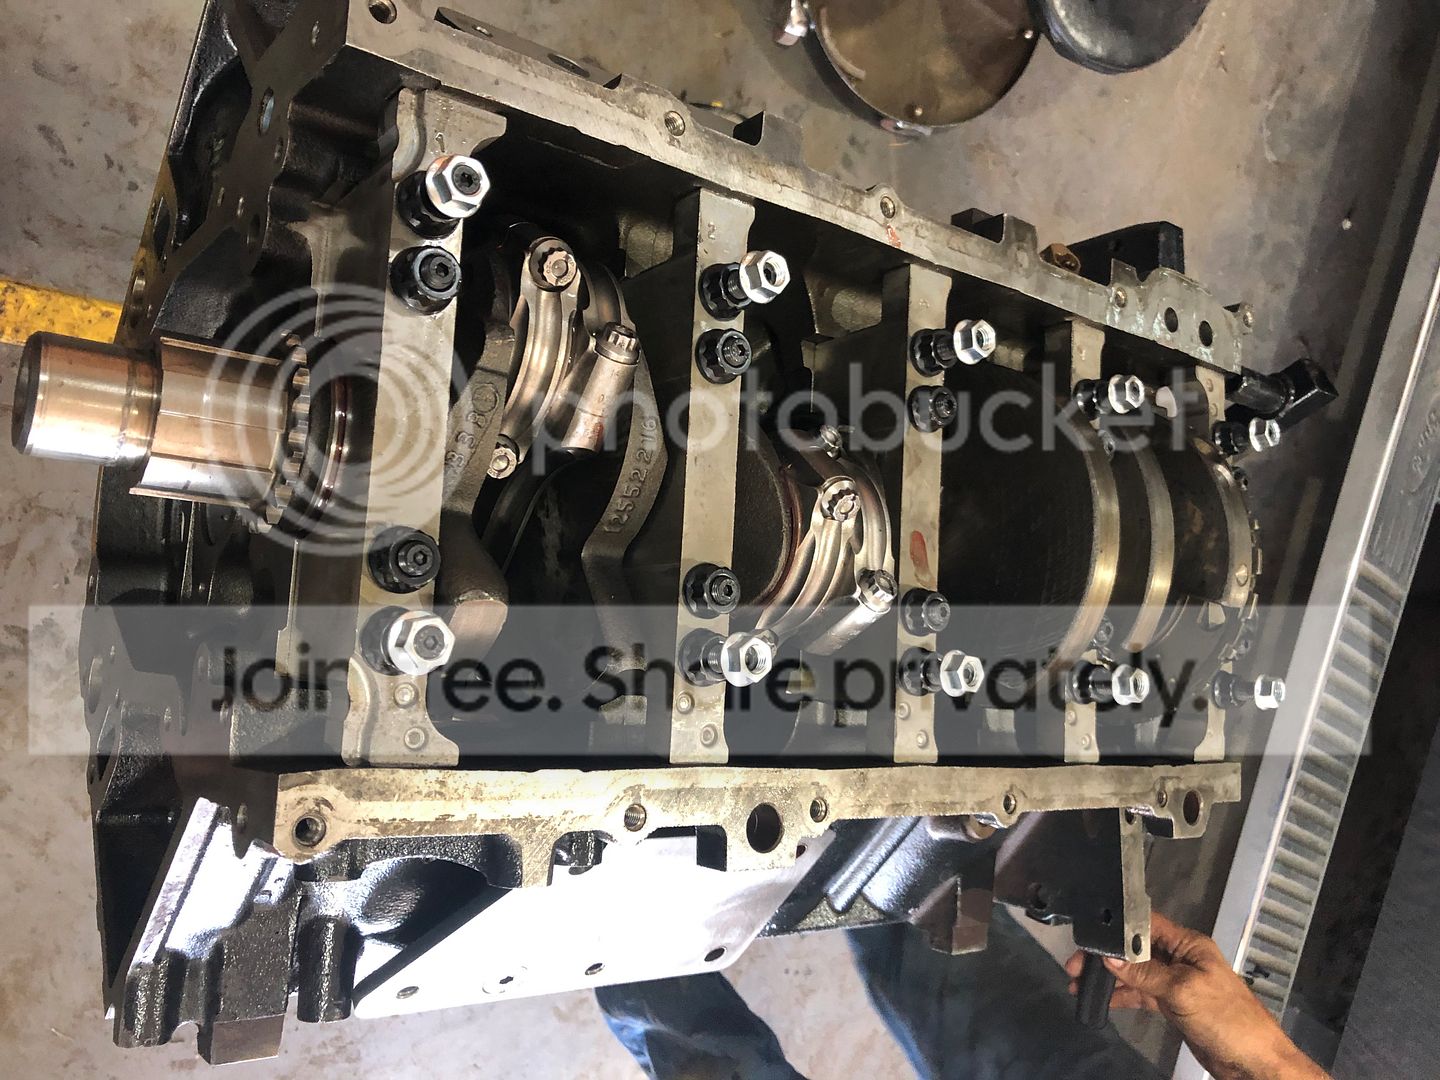
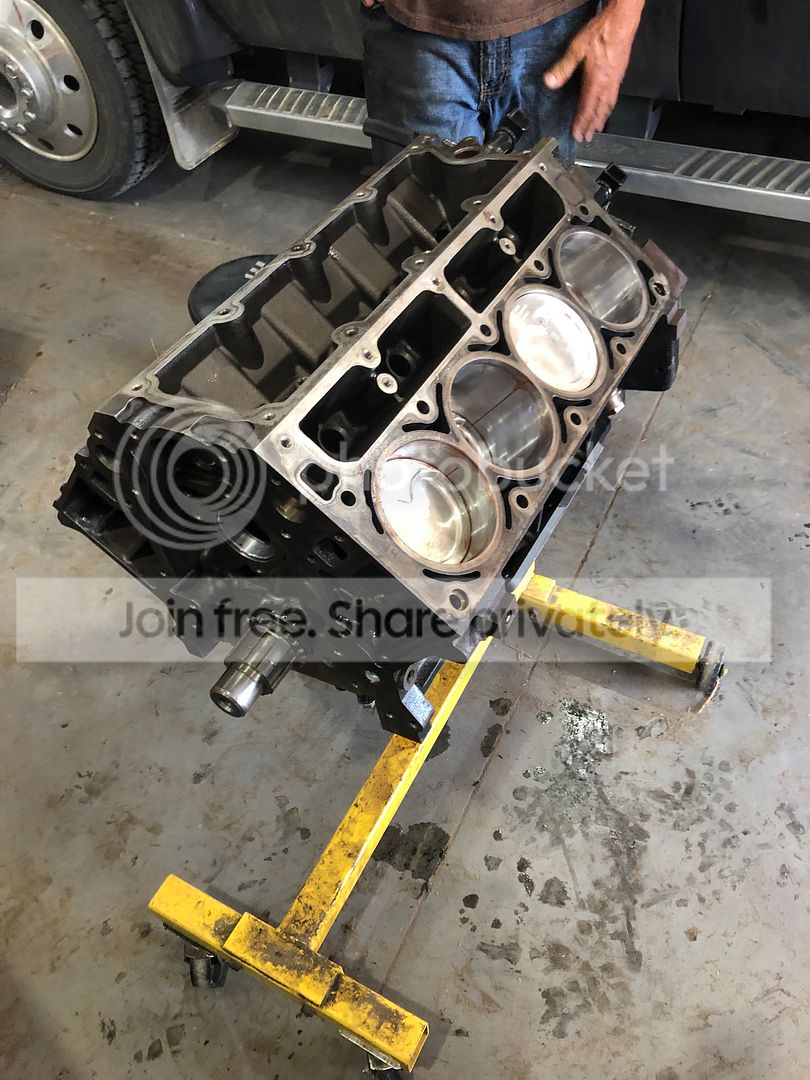
And here it is. Around 8 hours into the short block between the 2 of us stumbling through it.
Things to watch out for:
- Ring gap is in thou per inch bore on the wiesco chart, don't forget to multiply by the bore to get total gap or you'll gap rings twice like me... Top is around 0.022", bottom around 0.025". Didn't turn this into an exact science.
- Number the rods with something that wont rub off, balancers seem to be bush league at that considering how important it is.
- Piston/rod orientation, there are 2 different pistons in the box, they need to alternate on the rods when they are laying on the table or you'll end up swapping 4 of them like I did hahaha
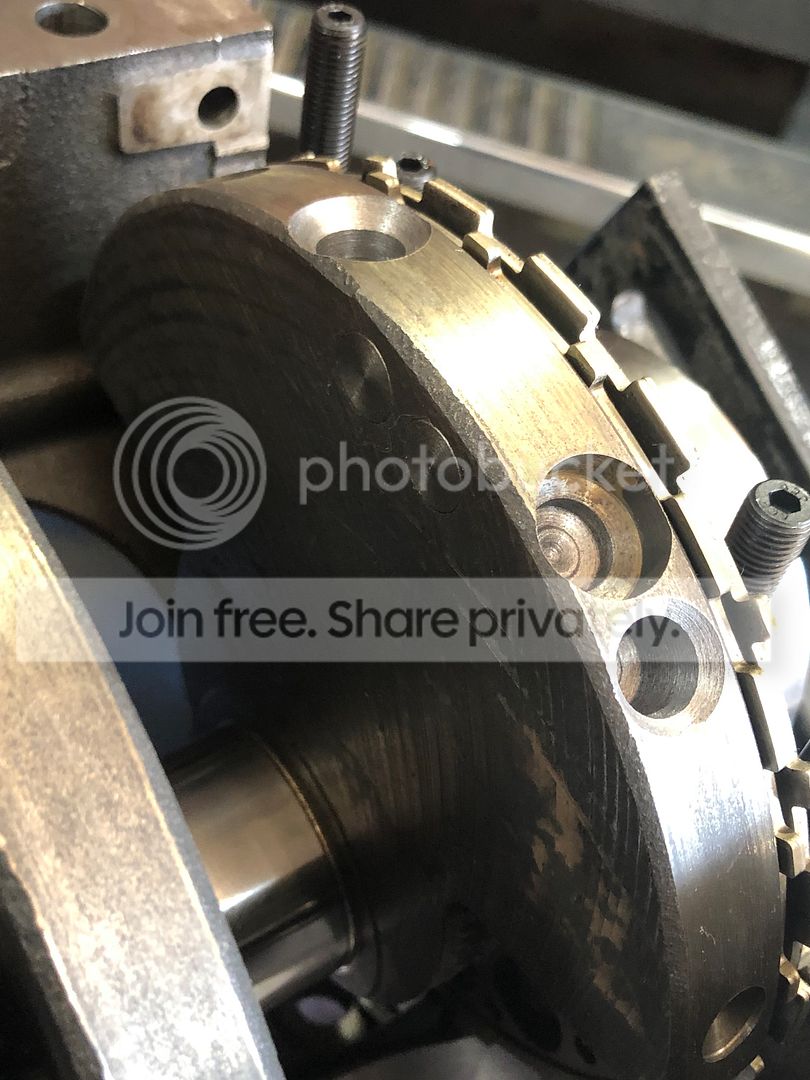
- Thrust bearing, one side has 3 oil grooves, one has 2. 3 to the flywheel.
- Have a friend ready to spin the ring gap tool.
- Get a good bearing lube, machine shop gave me a bottle of cleavlite bearing lube which is the red stuff in the pictures.
- Dots on the pistons towards the front.
- Don't be drinking beer... Cant stress that enough haha.
Really with the right tools anyone here can do it. I'm into the tools for $115 minus the OD/ID mics I borrowed from work. Get a good torque wrench and let it rip. Worst thing that happens is you destroy $5000 worth of parts.
Just have to bolt all the rest of the junk back on it and make some power. Should be easy right.
List was:
Bored 0.030"
Align honed with new ARP studs
new hardened mains
hardened rod bearings, rest of the parts in the previous pictures.
new cam bearings
balanced, had to fork out $ for heavy metal to be put in the crank
clean and magnafluxed
I had to document this bench being clean, if you've ever been in my dads shop youd know the small feat this is. Blew a cord in my daily driver f150 so it was in getting worked on at the same time in the background, dont by good year tires...

If you're clever you'll catch the first mess up in this picture:

The next screw up is in this picture but you wont ever see it:

My dad seemed to think it was funny when i was measuring ring gap (the first time).

Some just beacuse pictures, I used an ID/OD mic to measure rod bearing clearance on a couple, right around 0.003".


Didn't have a 12 point 10mm socket for the ARP side girdle bolts so my dad built one out of a wrench... Farmers I tell yea. It worked anyways.

I did buy a ring file, ring expander, and a ring compression band thingy off amazon. All worked ok. ID/OD Mic Borrowed from work.

And here it is. Around 8 hours into the short block between the 2 of us stumbling through it.

Things to watch out for:
- Ring gap is in thou per inch bore on the wiesco chart, don't forget to multiply by the bore to get total gap or you'll gap rings twice like me... Top is around 0.022", bottom around 0.025". Didn't turn this into an exact science.
- Number the rods with something that wont rub off, balancers seem to be bush league at that considering how important it is.
- Piston/rod orientation, there are 2 different pistons in the box, they need to alternate on the rods when they are laying on the table or you'll end up swapping 4 of them like I did hahaha
- Thrust bearing, one side has 3 oil grooves, one has 2. 3 to the flywheel.
- Have a friend ready to spin the ring gap tool.
- Get a good bearing lube, machine shop gave me a bottle of cleavlite bearing lube which is the red stuff in the pictures.
- Dots on the pistons towards the front.
- Don't be drinking beer... Cant stress that enough haha.
Really with the right tools anyone here can do it. I'm into the tools for $115 minus the OD/ID mics I borrowed from work. Get a good torque wrench and let it rip. Worst thing that happens is you destroy $5000 worth of parts.
Just have to bolt all the rest of the junk back on it and make some power. Should be easy right.


 Sep 15, 2019 | 10:34 PM
#85
Thread Starter
Staging Lane
Joined: Mar 2016
Posts: 71
Likes: 1
guess its been a minute but stuff has been happening.
Got it all back together. Did a bunch of small improvements to try and make the thing last. Actual hydraulic lines on the turbo feed and return, oil cooler on turbo feed. cleaned up some wiring.
Sucks being stupid when it came to starting it with the Terminator X but oh well. Just time. My dad was all but hurt about priming it with oil, so we feed half a gallon through the pressure sensor port using a drill pump. Actually worked really well.
At the end of the day its still a dirty old truck motor.

Anyways it runs, has compression, and next to no blow by.... Pretty happy with how it turned out. Cant believe it didn't squeak a bearing right at the start.
Next step is to take some springs out of the gates and start tuning! Hopefully within the next week or 2.