


98 Sonoma 5.3/ GT45
 Mar 19, 2014 | 12:57 PM
#1

 98 Sonoma 5.3/ GT45
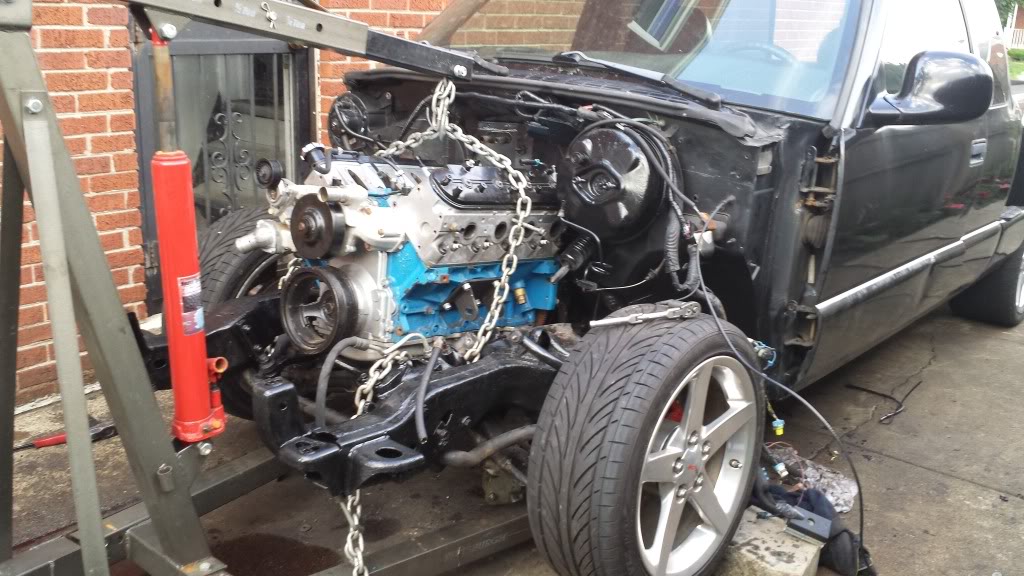
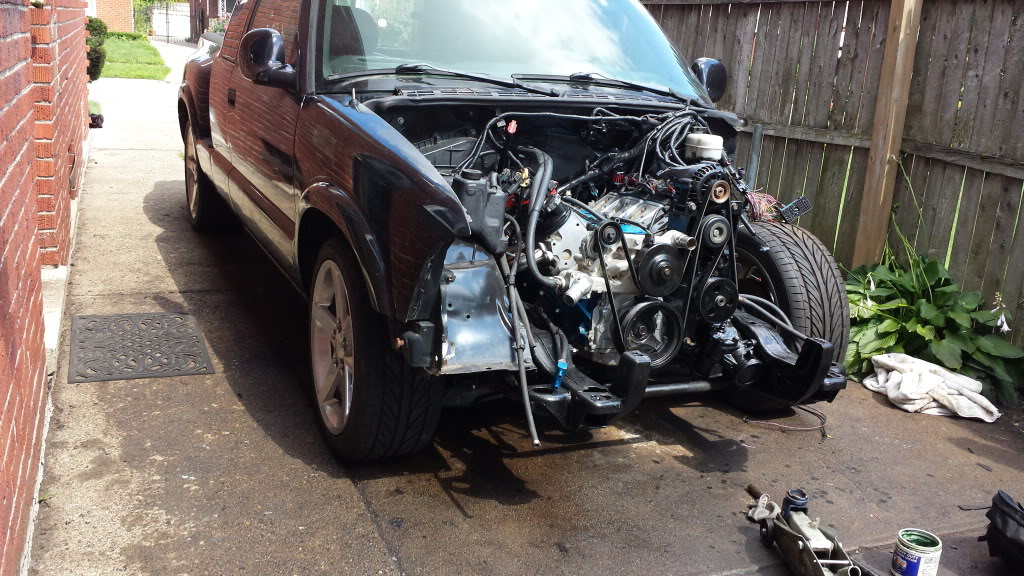
picked up this 98 sonoms after my frame fatigued on my 2000 s10 rght after i finished the swap!
( the turbo was never planned)
my setup consists of:
-2005 5.3L
-PAC 1218 Springs
-228R Comp cam
-1-5/8 Shorty headers
-LS1 intake
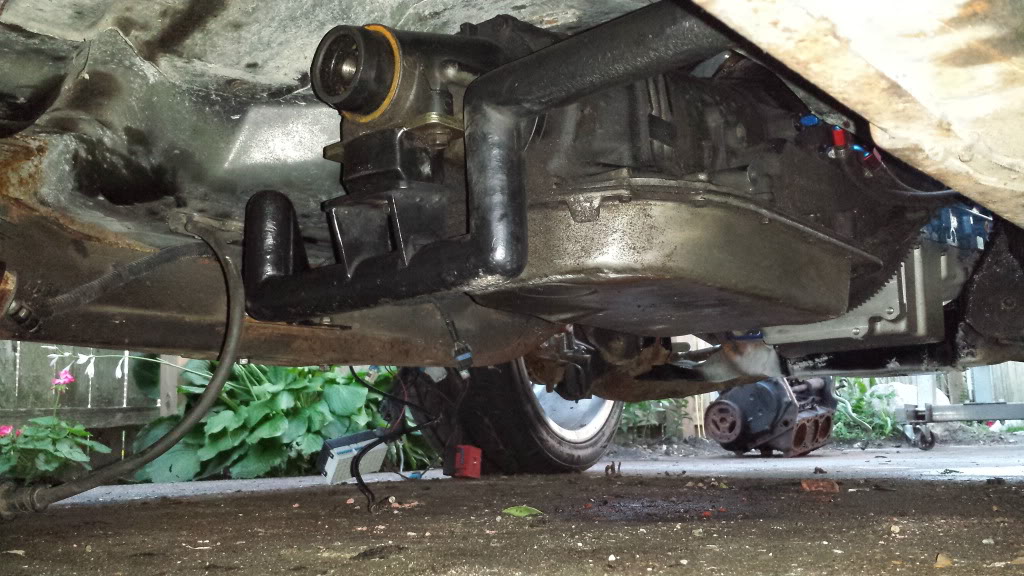
-1995 4L80e (pullout from a van i got for $90)
-Circle D 3200 278mm stall
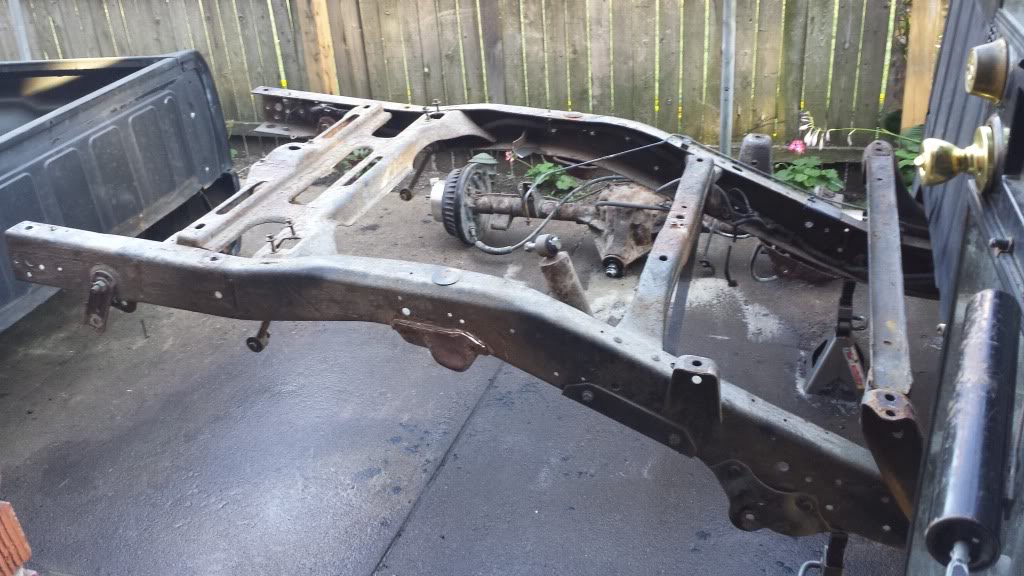
-Ford 8.8 3.73L from explorer ( i have yet to install)
im running OEM C6 wheels from a corvette
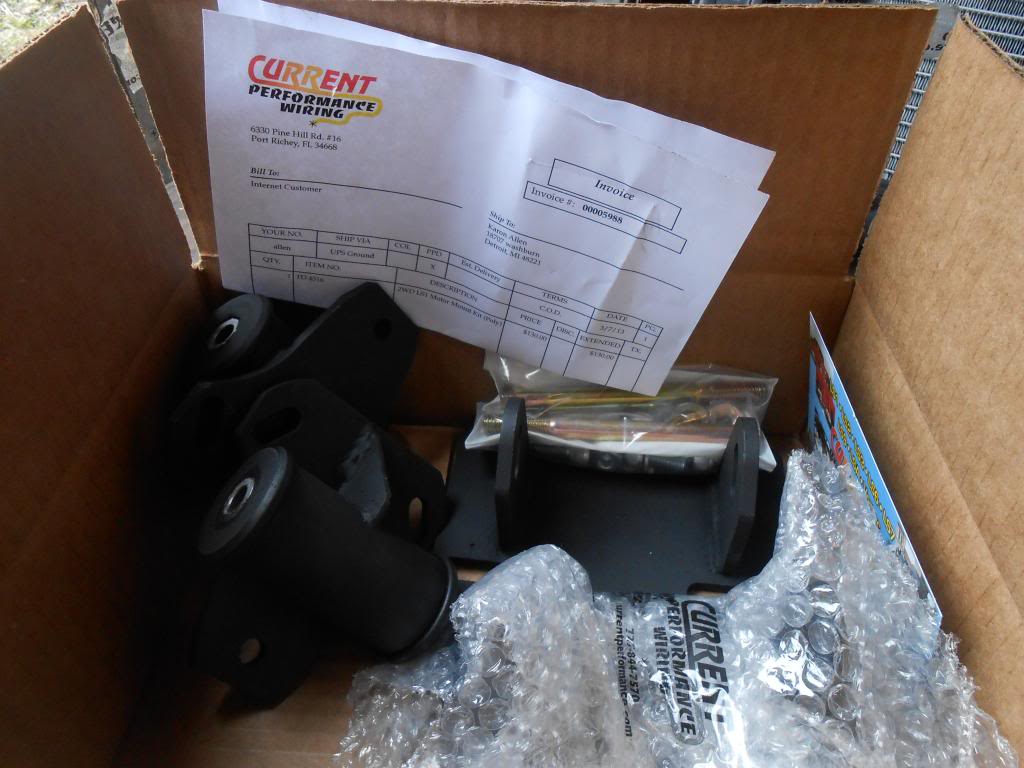
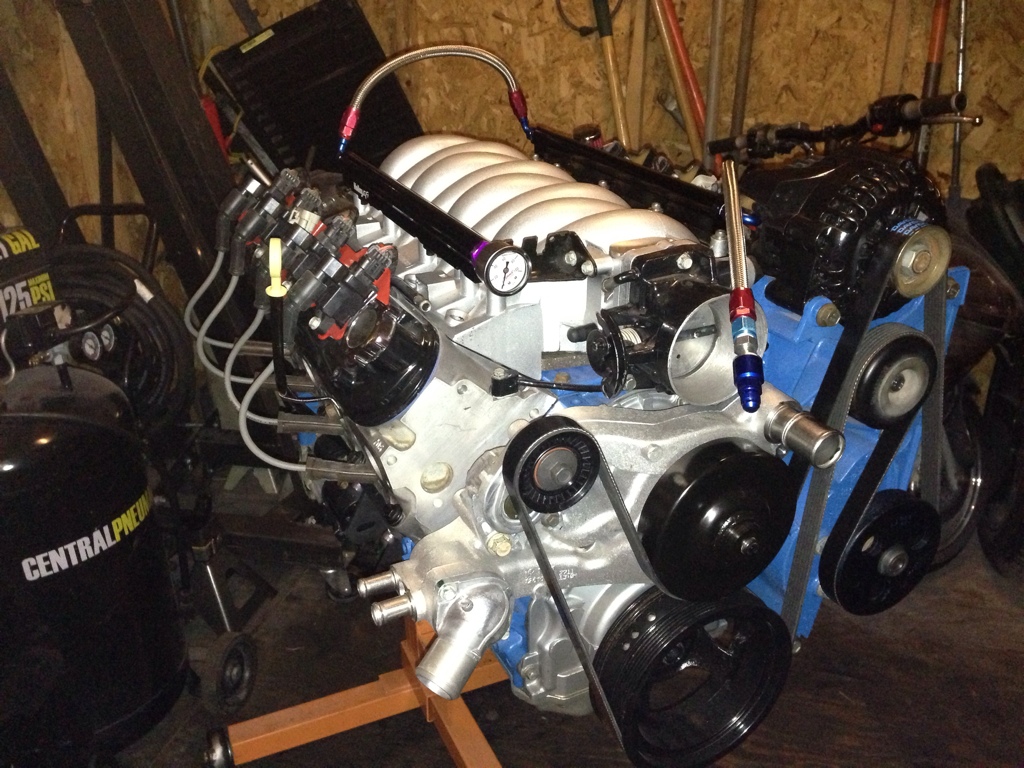
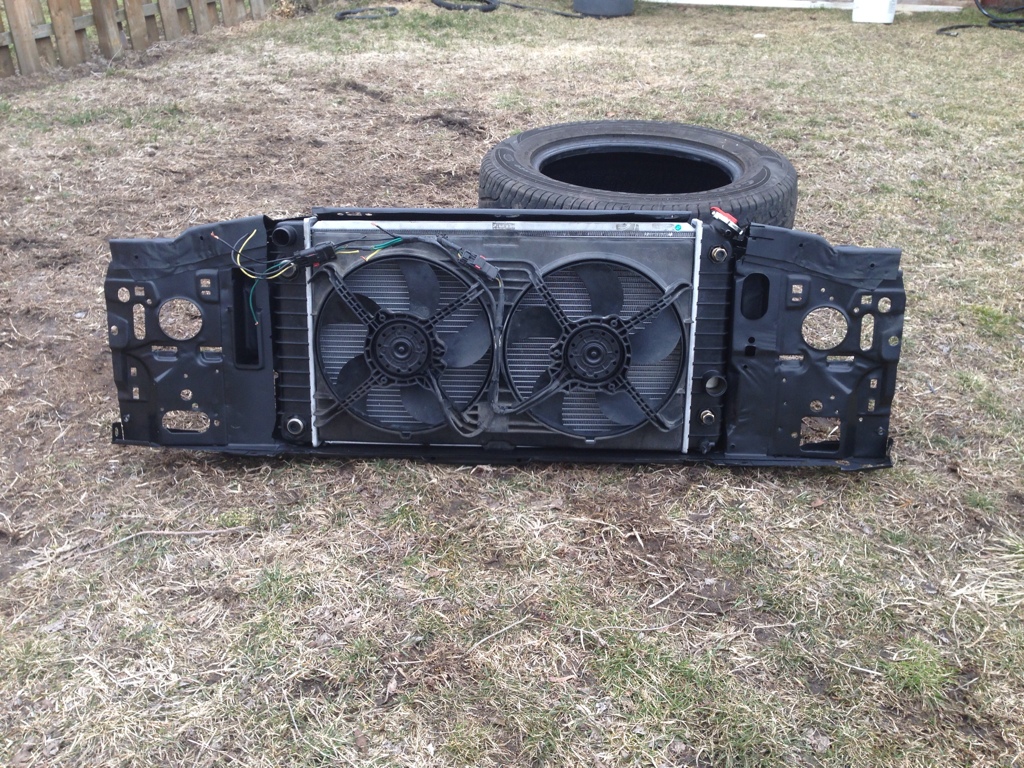
( old truck)
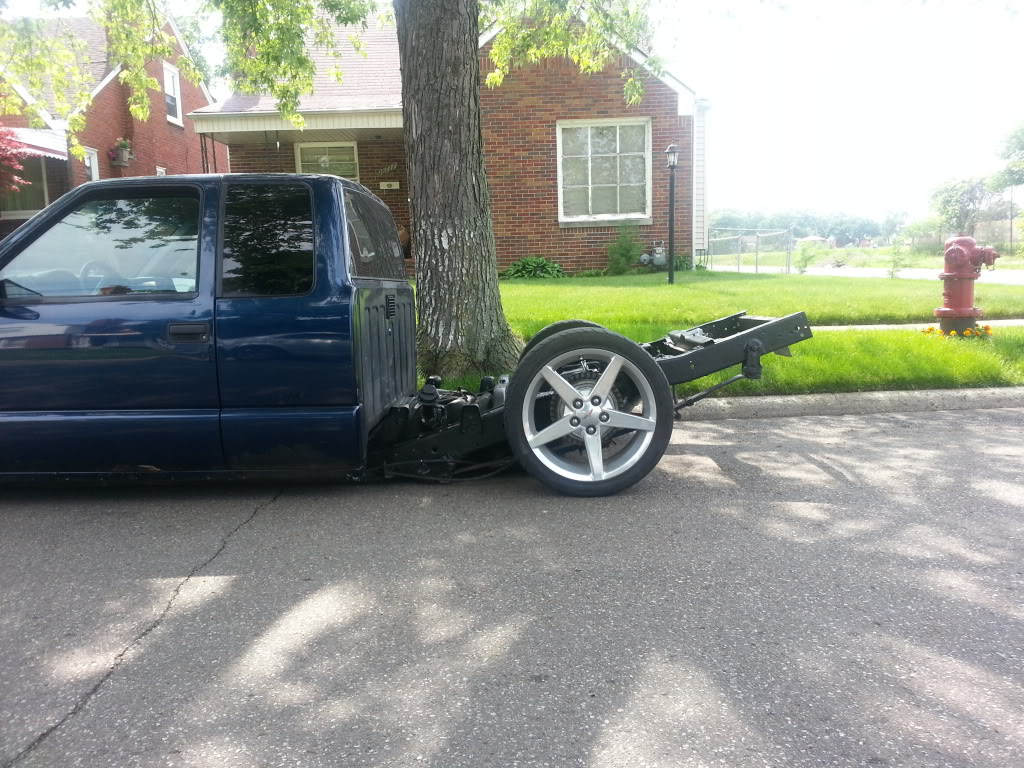
took everything out and bought this one, much better truck ( power features, heated leather seats ect)
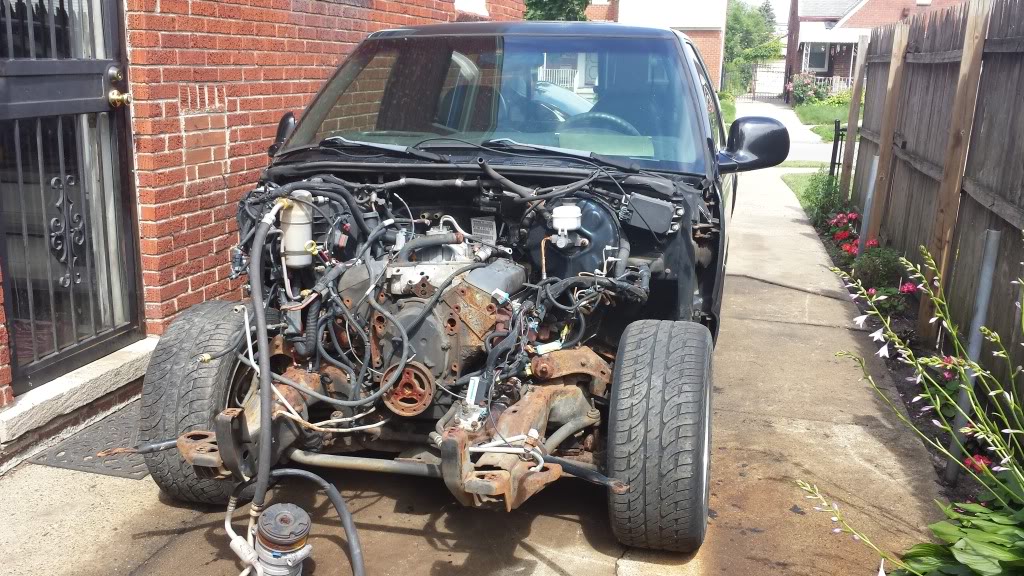
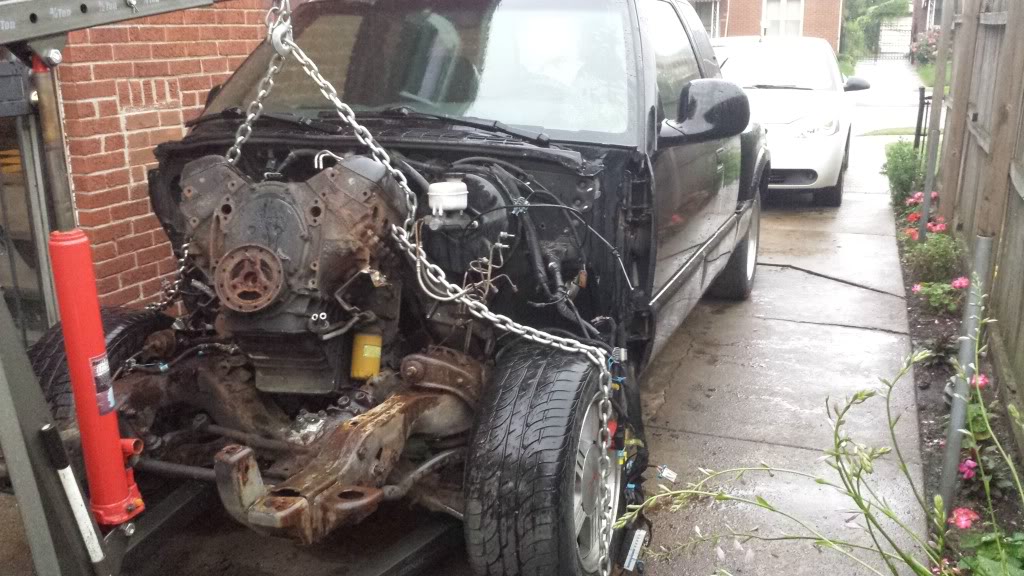
doing work! ( day 2)
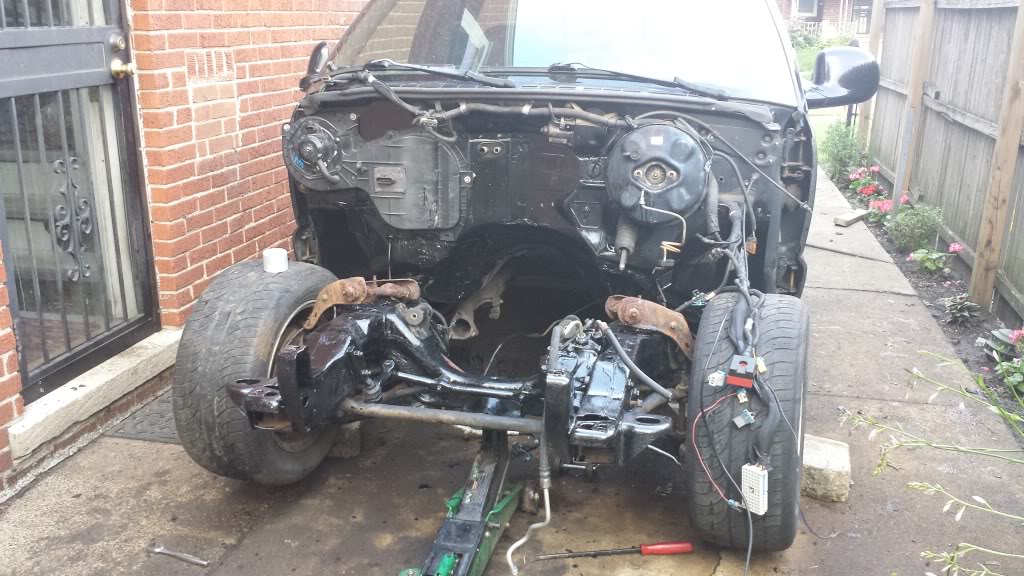
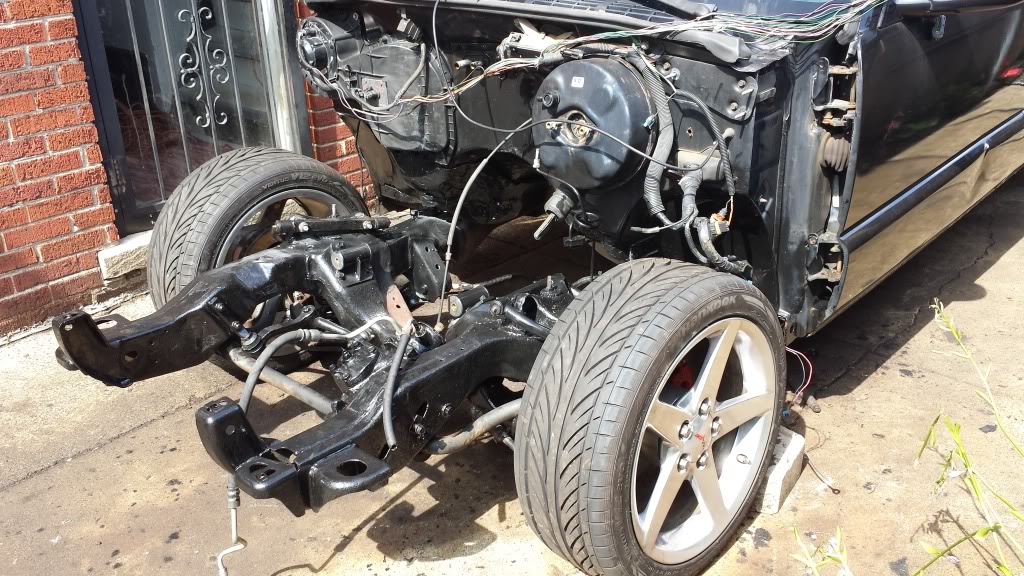
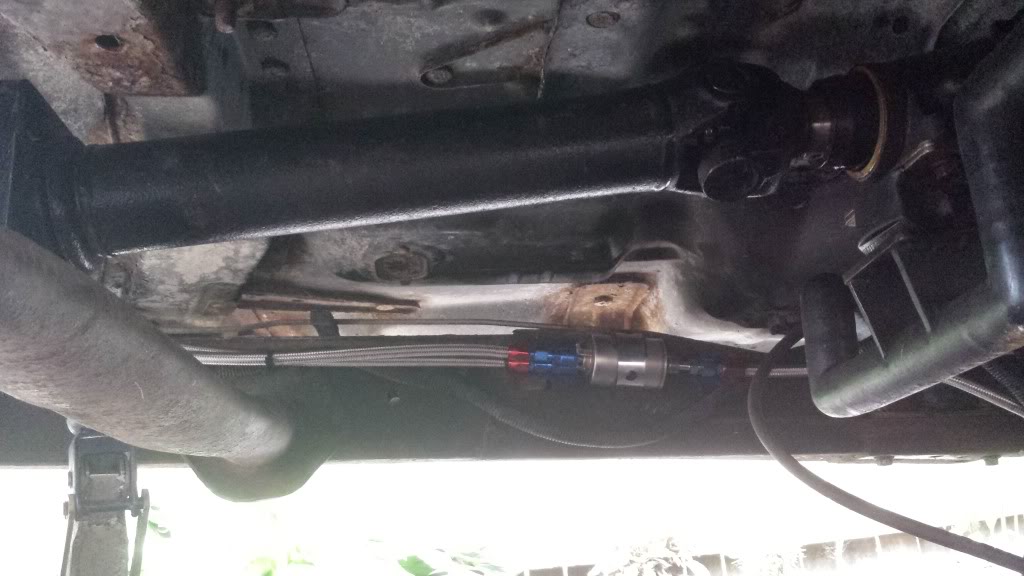
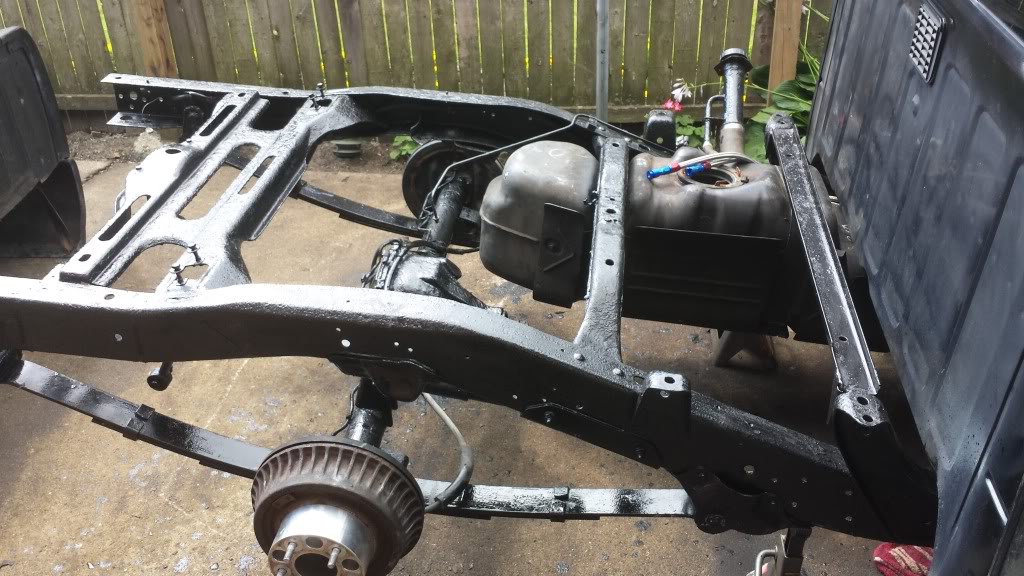
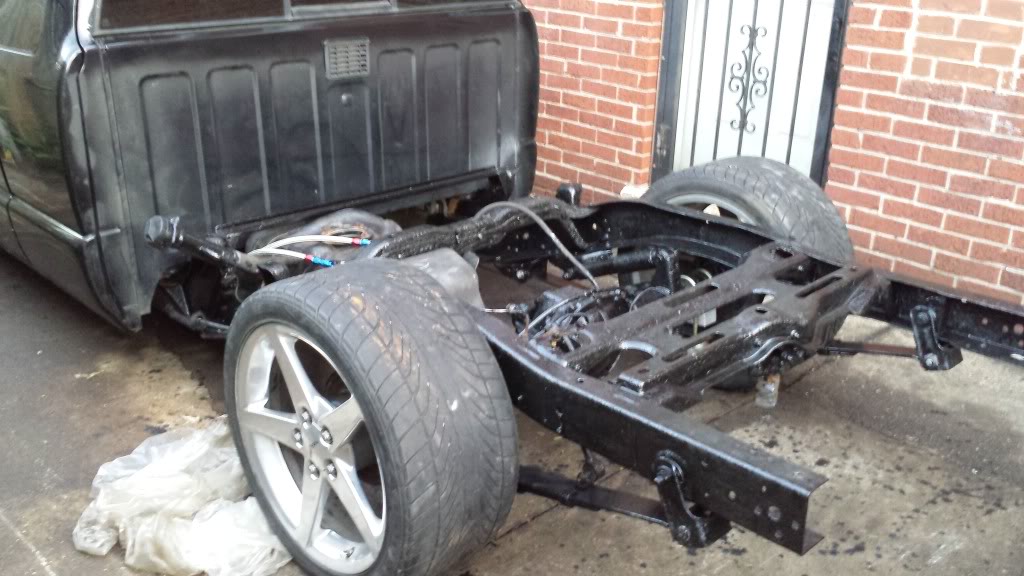
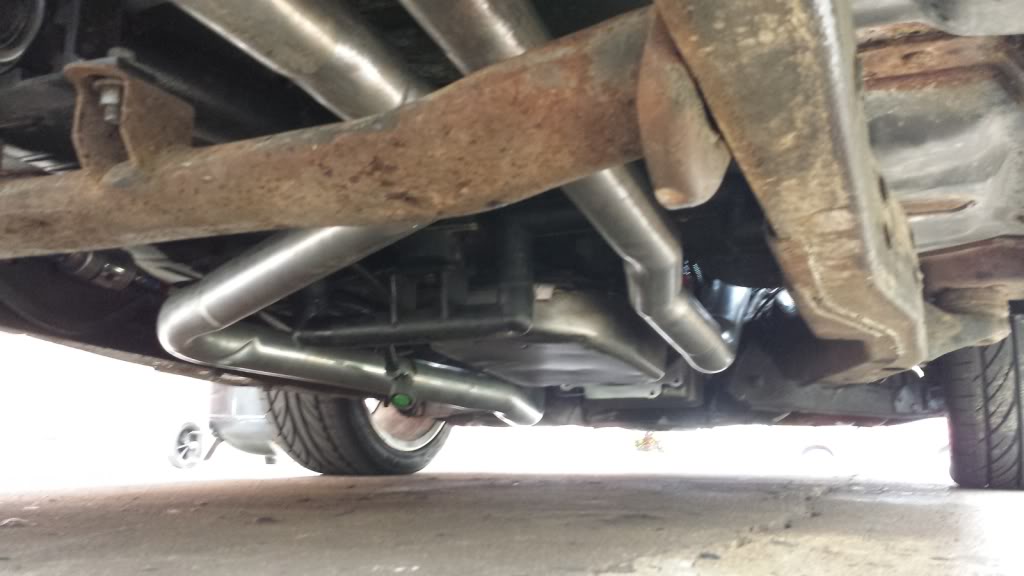
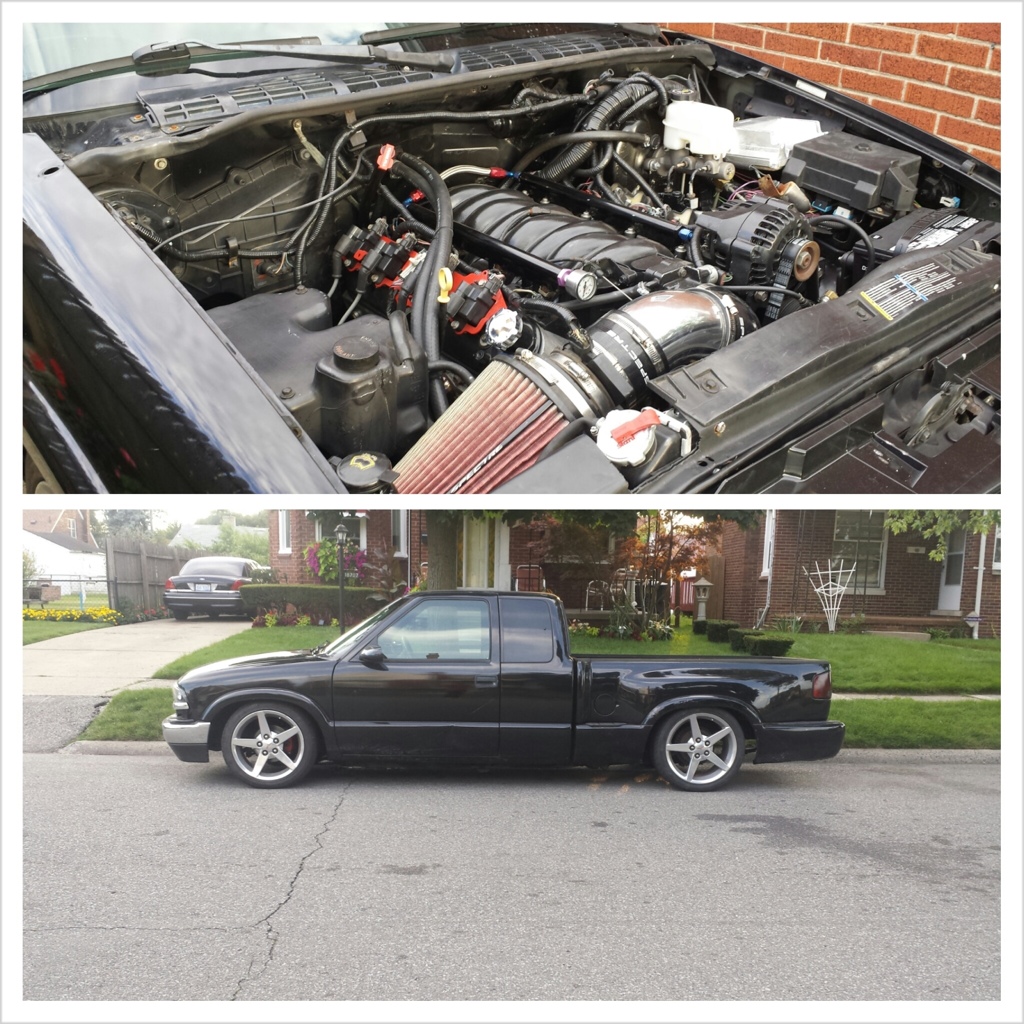
( the turbo was never planned)
my setup consists of:
-2005 5.3L
-PAC 1218 Springs
-228R Comp cam
-1-5/8 Shorty headers
-LS1 intake
-1995 4L80e (pullout from a van i got for $90)
-Circle D 3200 278mm stall
-Ford 8.8 3.73L from explorer ( i have yet to install)
im running OEM C6 wheels from a corvette


( old truck)

took everything out and bought this one, much better truck ( power features, heated leather seats ect)


doing work! ( day 2)


Last edited by Ron_Stoppable; Mar 19, 2014 at 01:10 PM.
 Mar 19, 2014 | 01:55 PM
#3
improperlly installed C-notches. too much of the frame was cutout, they were installed in the wrong position and the axle kept making contact with it because it wasnt centered then when i went to repair it i gues the heat from welding it and the hydraulic pressure from the jack holding it made the metal fatigue under pressure, it was a very dumb move on my part , an expensive lesson thats for sure!
Mar 20, 2014 | 12:40 AM
#4
Not quite done yet guys........
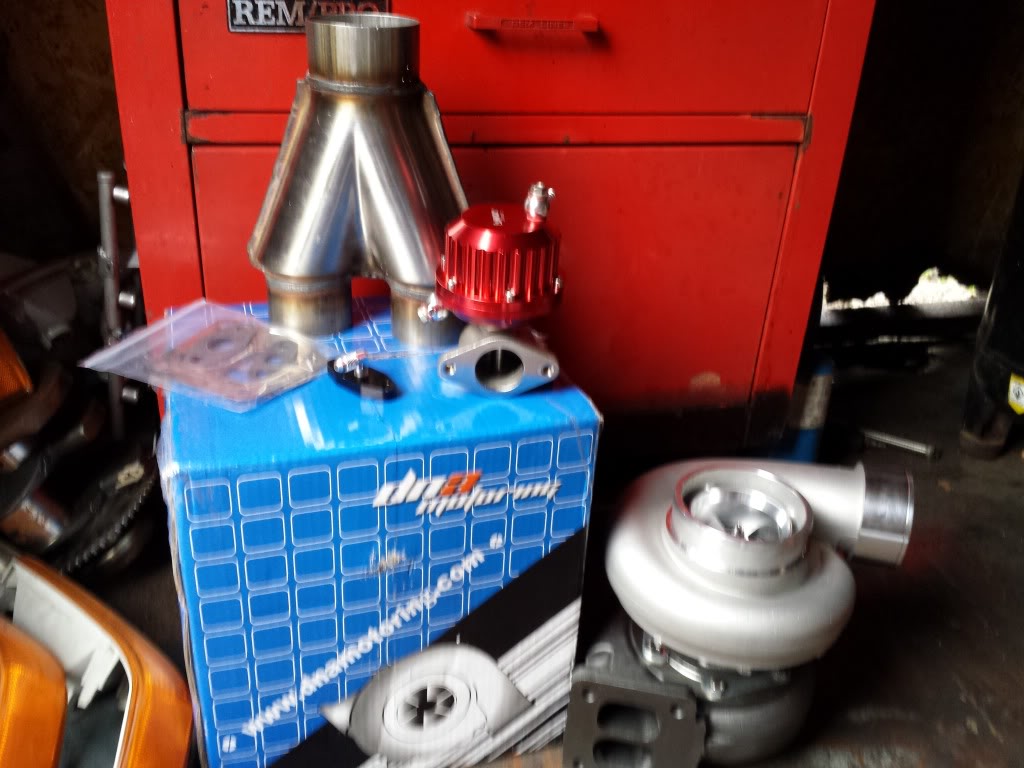
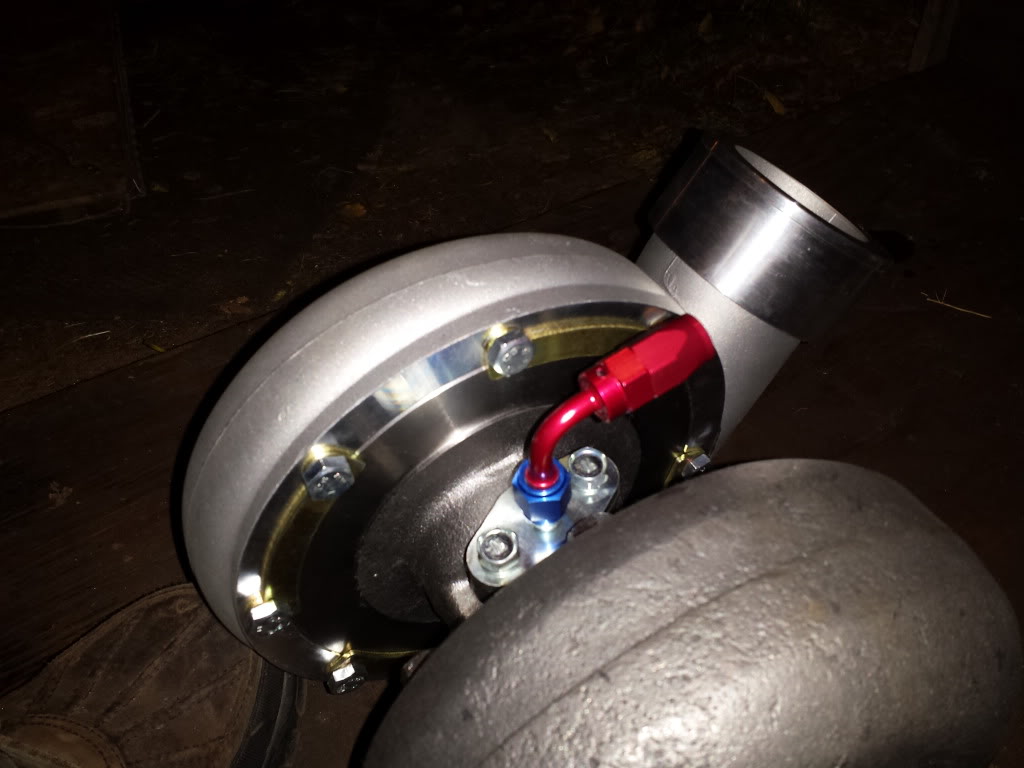
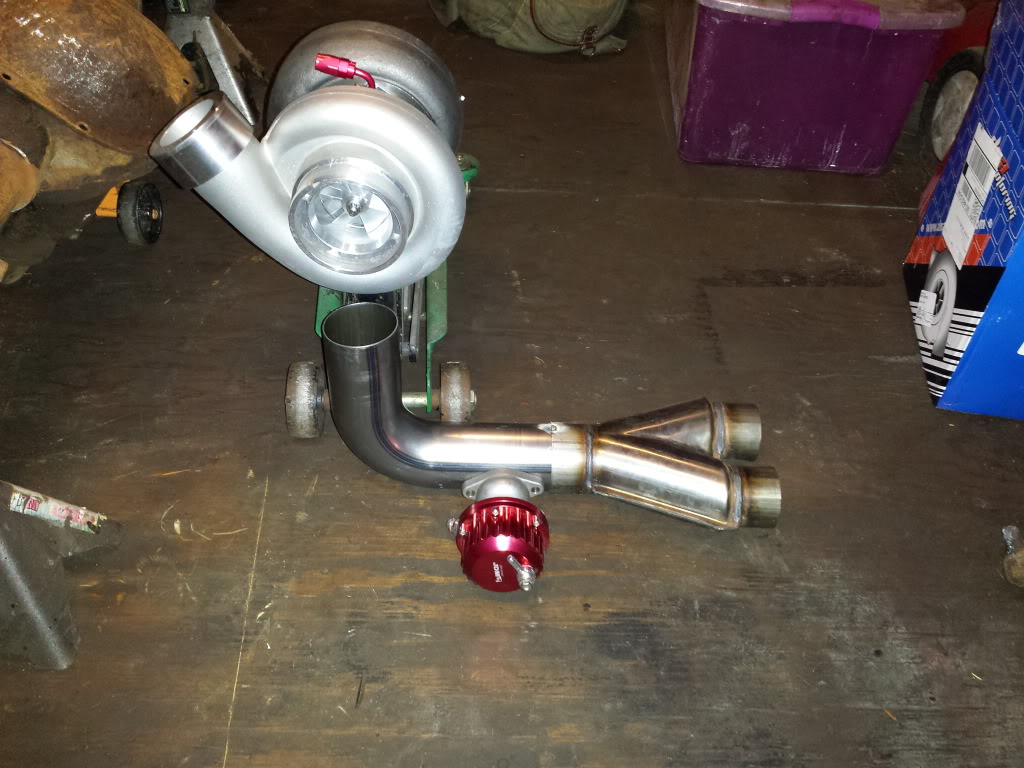
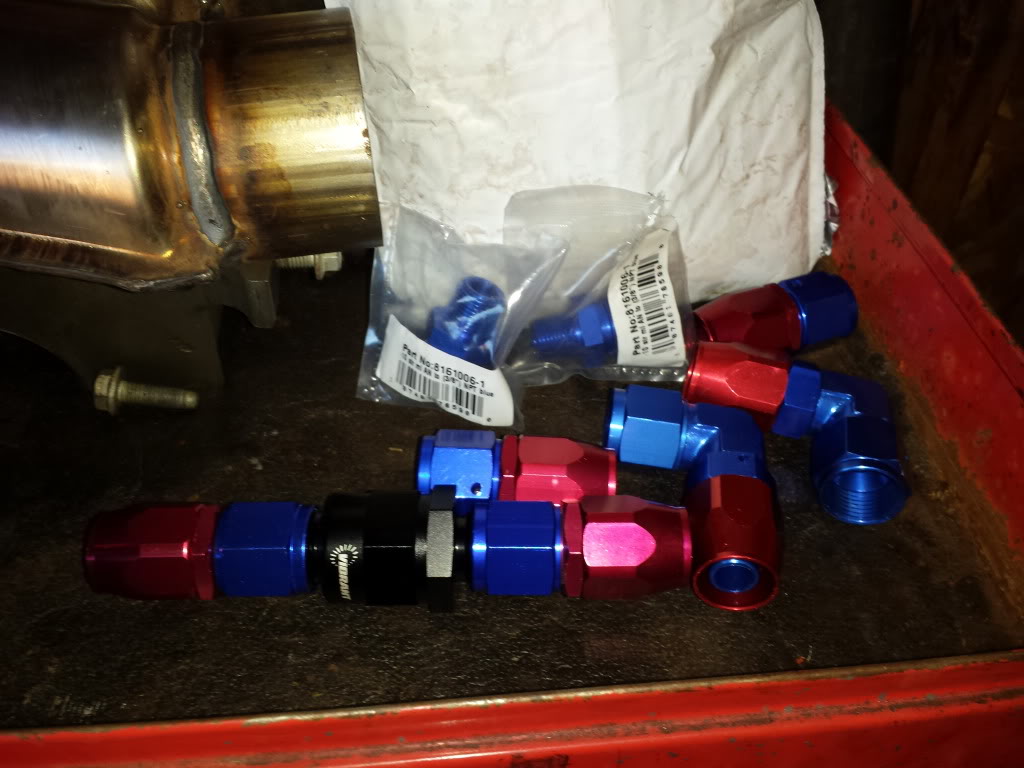
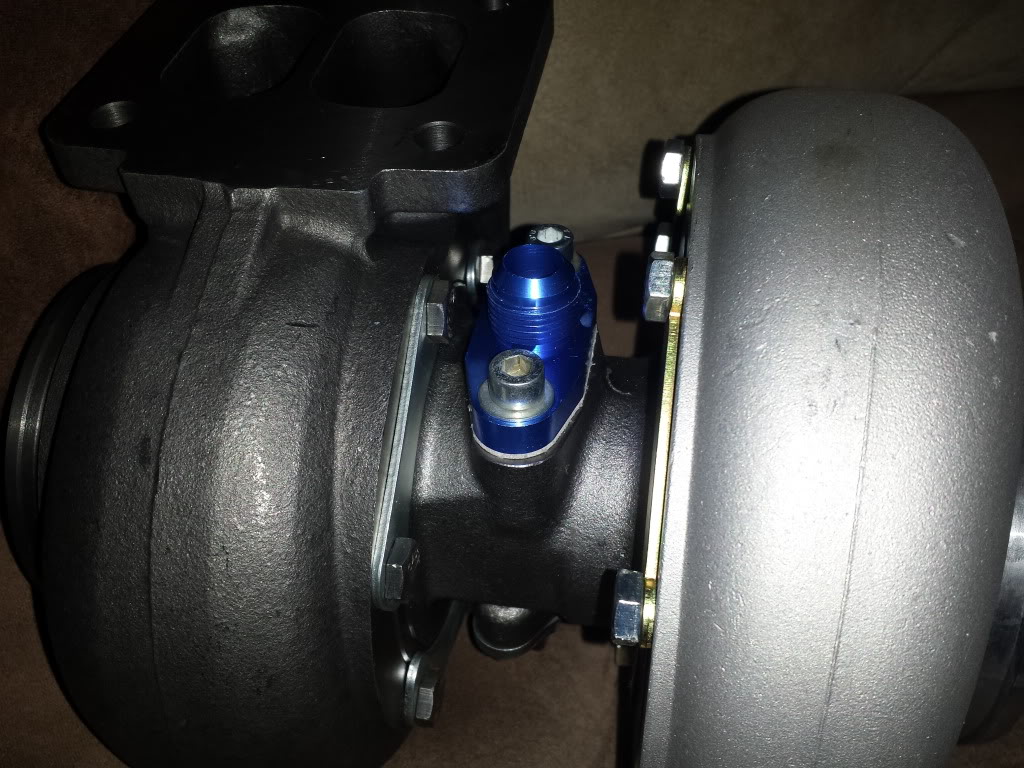
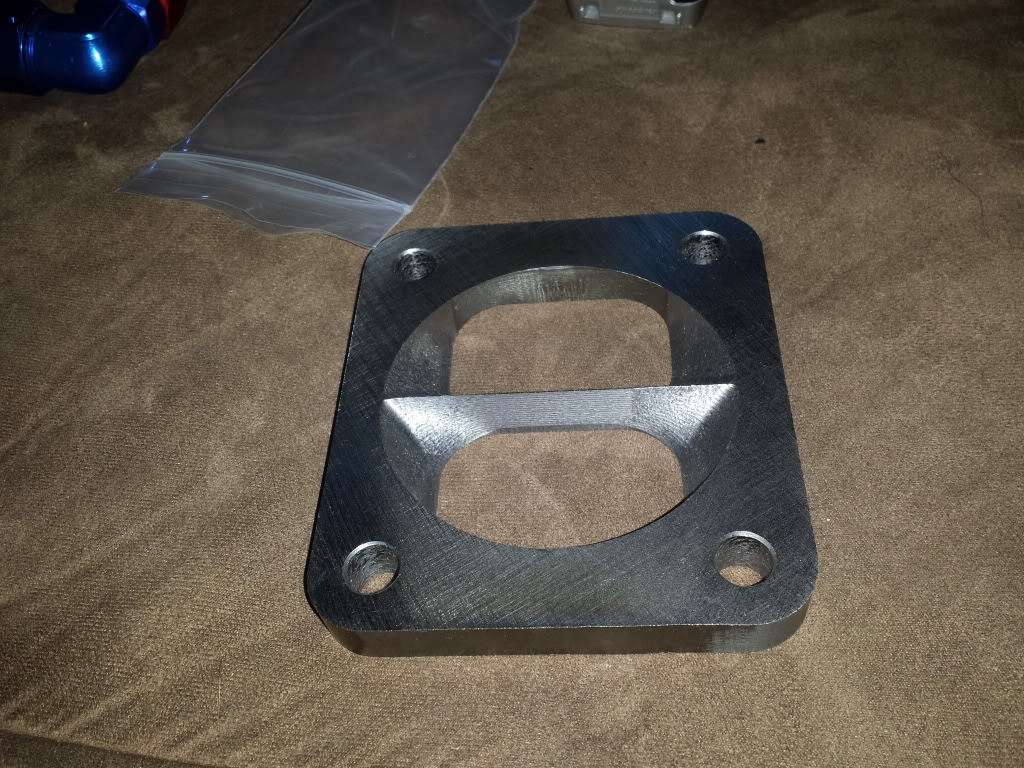
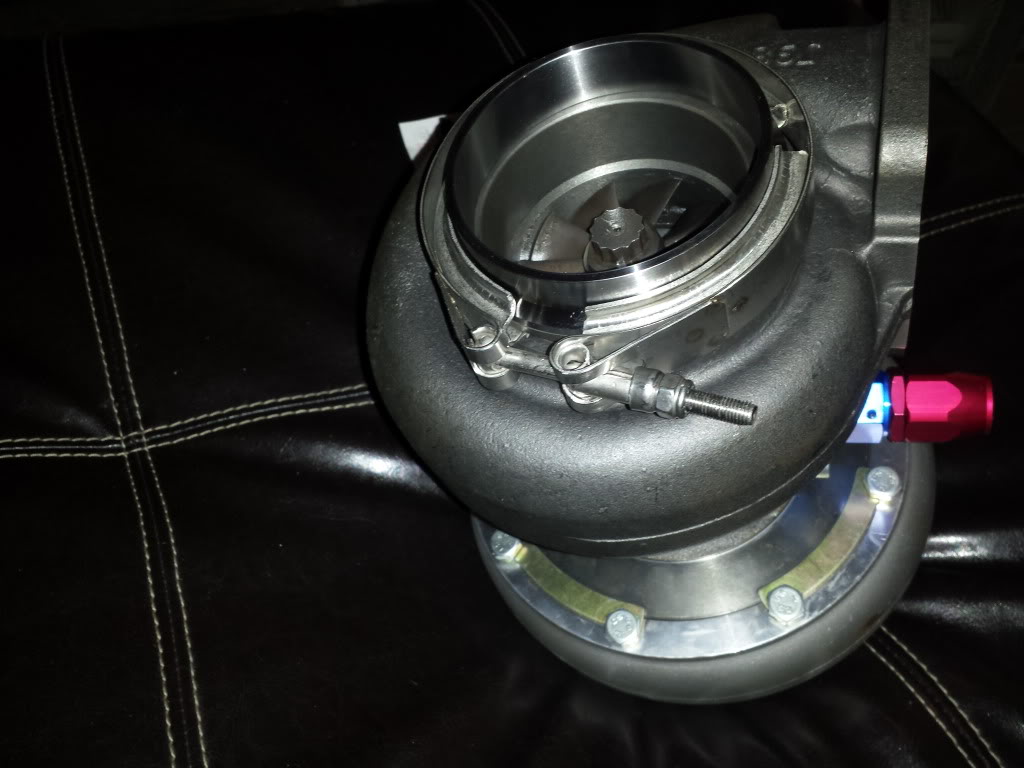
picked up a GT45, 38mm wastegate, and a oil block-off feed adapter for the turbo feed
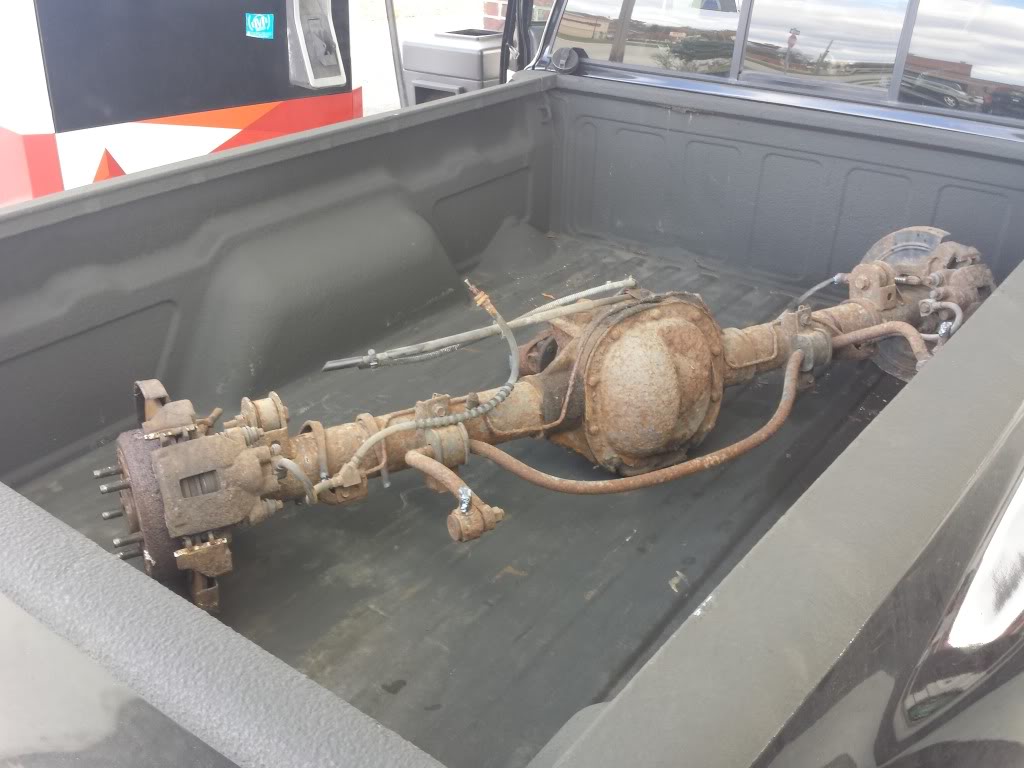
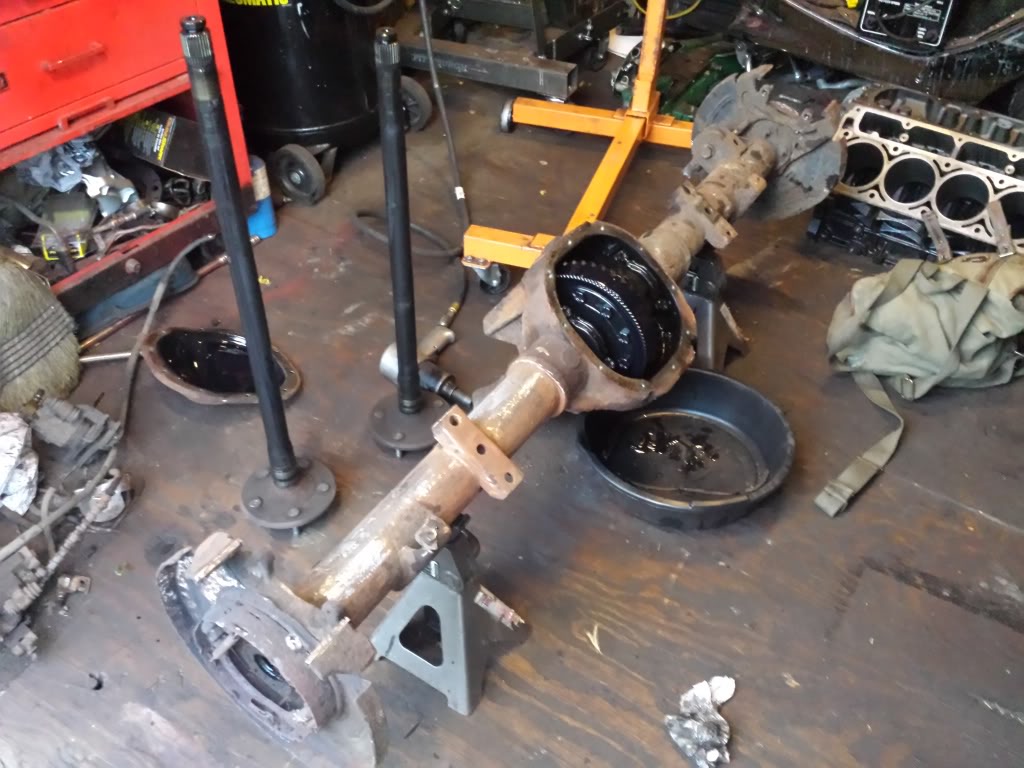
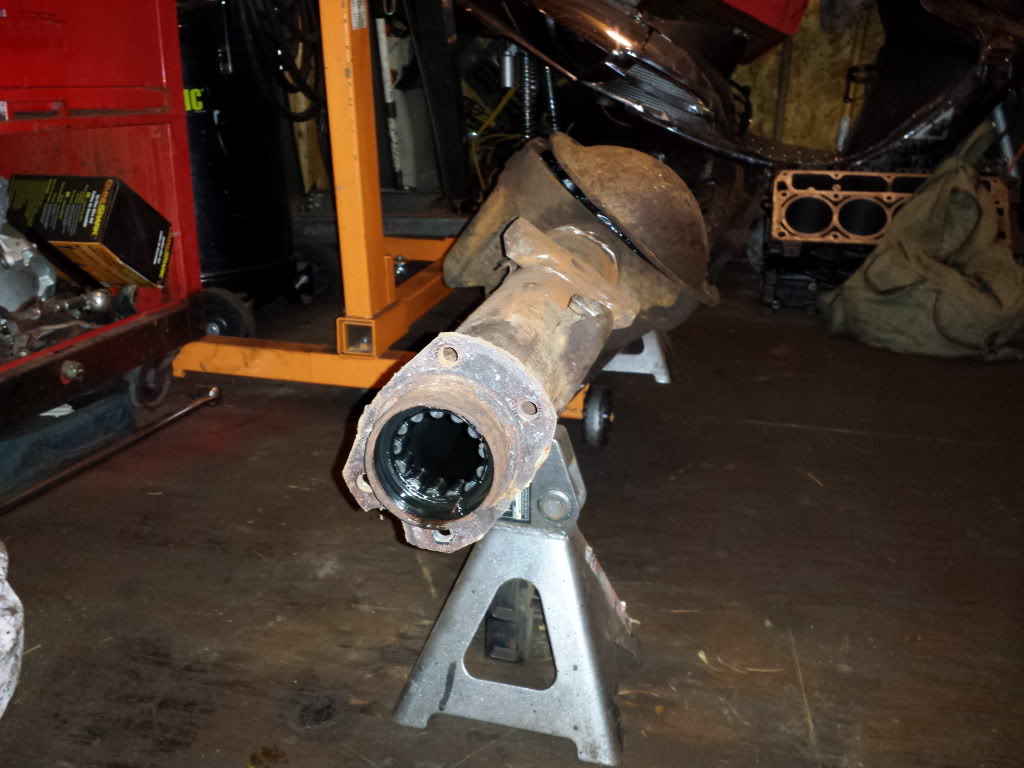
I also picked up an 8.8 out of an explorer for $150, its a 3.73 posi locker, im gonna have the axles redrilled along with the rotors by moser.
mockup, just playing around with ideas
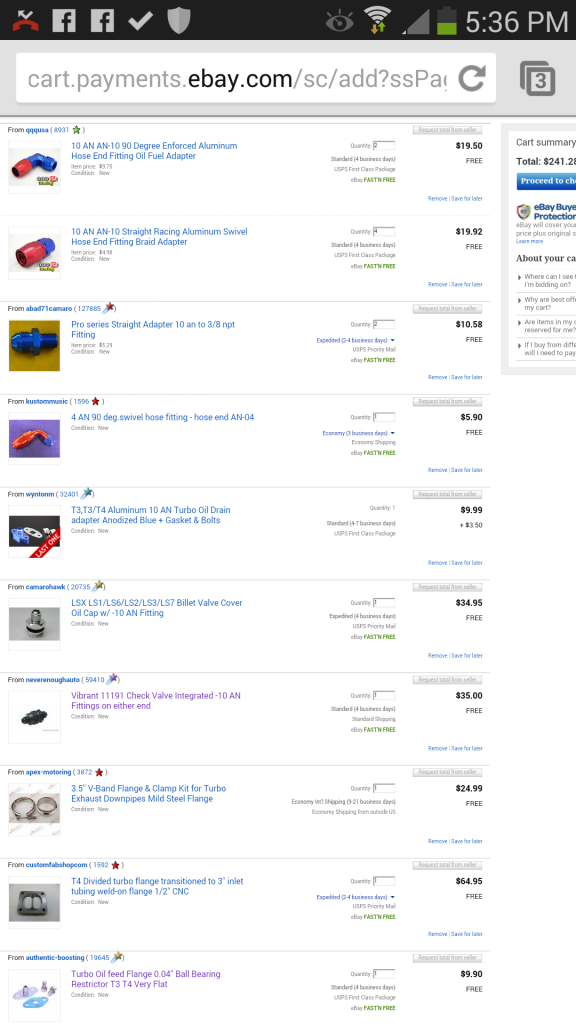
I used all -10an fittings for the return oil side of the turbo, the larger line diameter acts as a " mini sump" so oil does'nt pool up in the turbo.
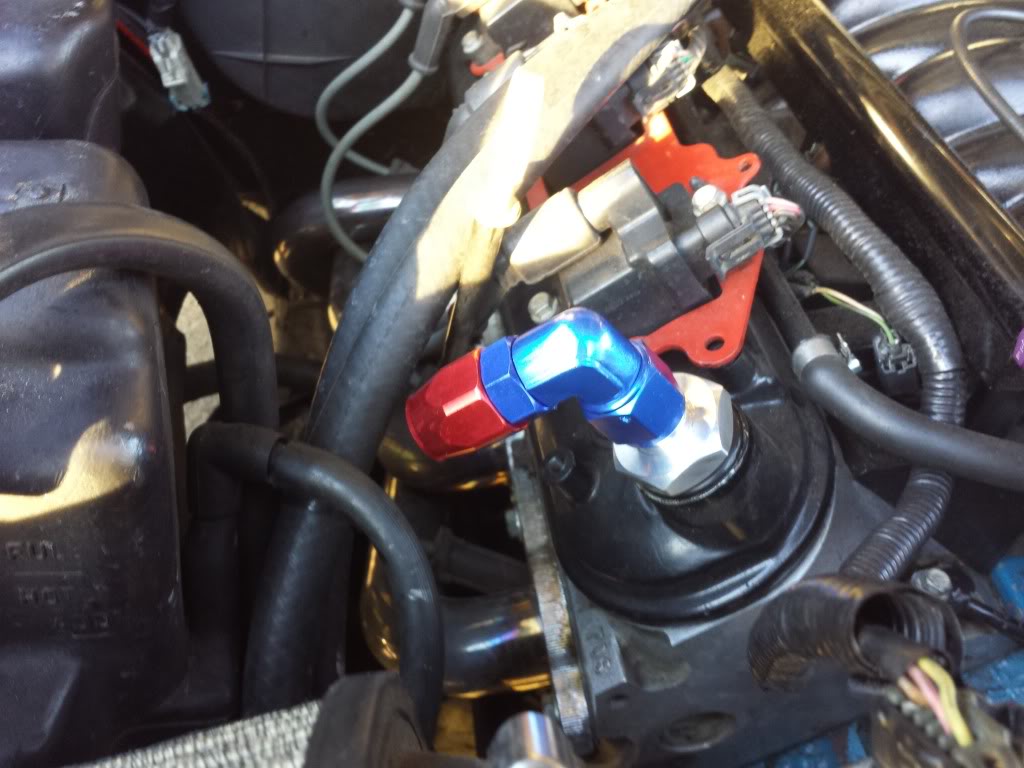
a bilet aluminum oil cap i bought that has an intergrated -10an bung welded on....
3.5" Exhaust V-band from ching chong china!
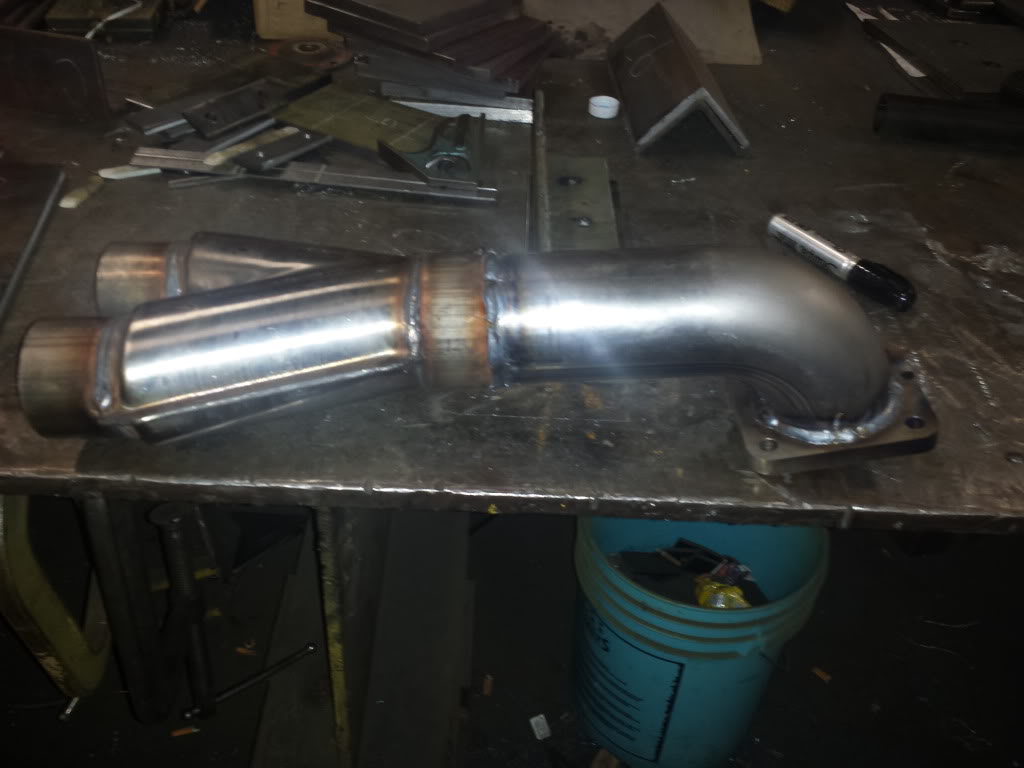
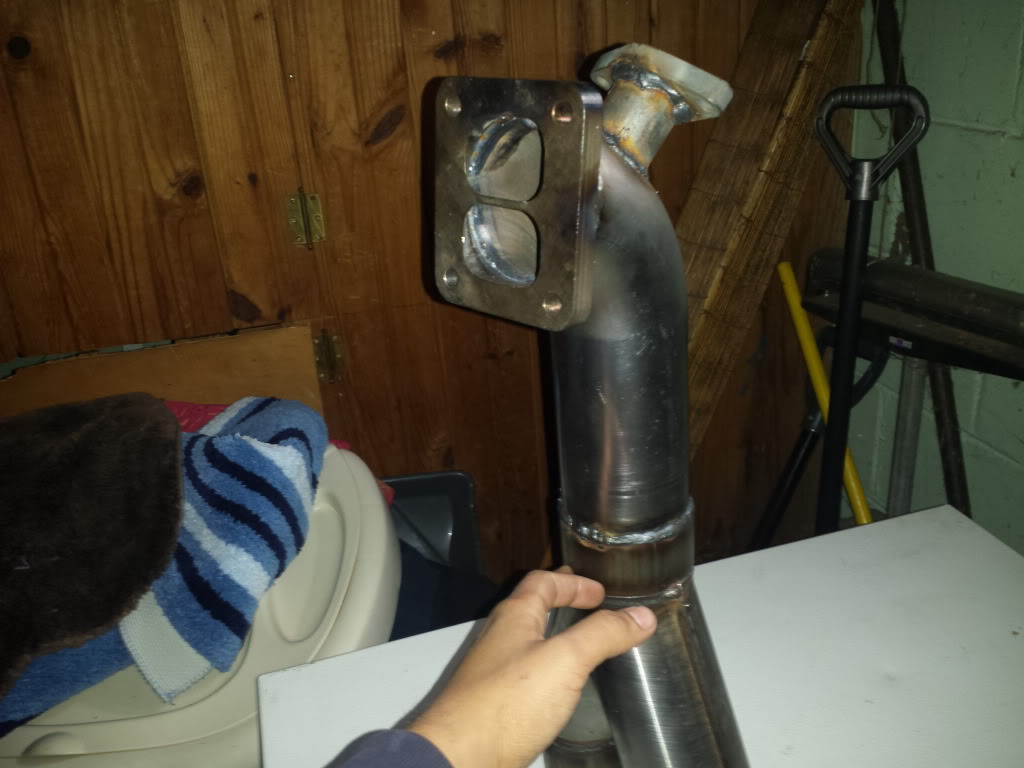
a customer at my job modified and welded up my hotside piping for me for $20!!
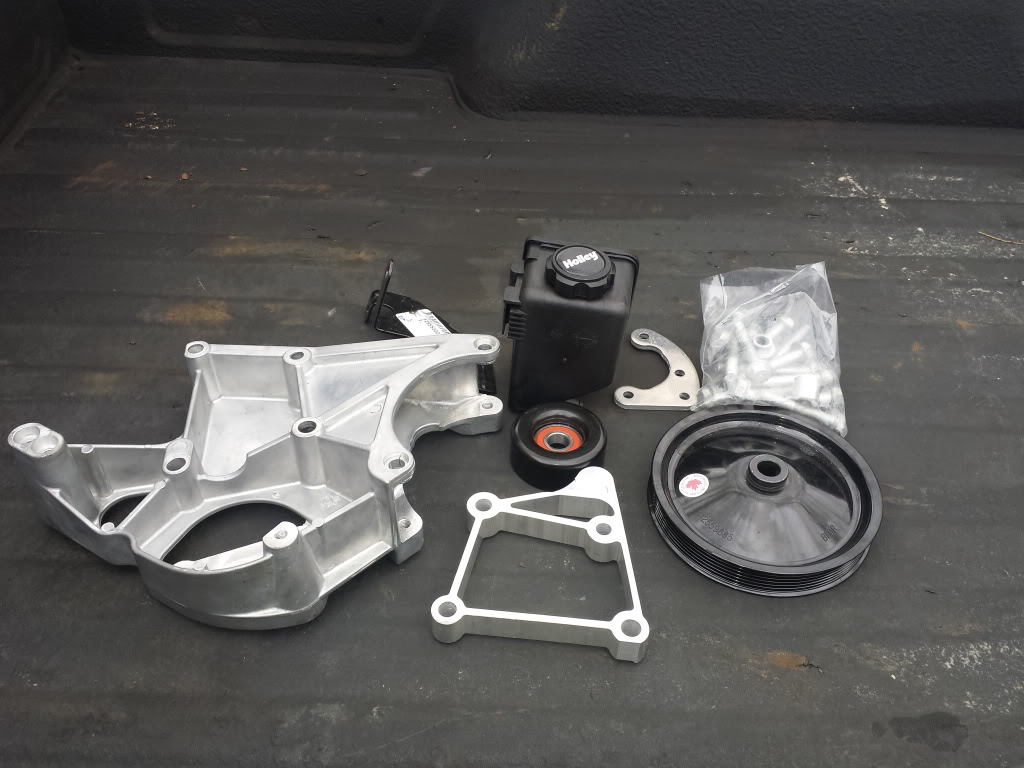
Also scored a holley accessory kit on the cheap and decided to go with the LS3 serpentine system for more clearance
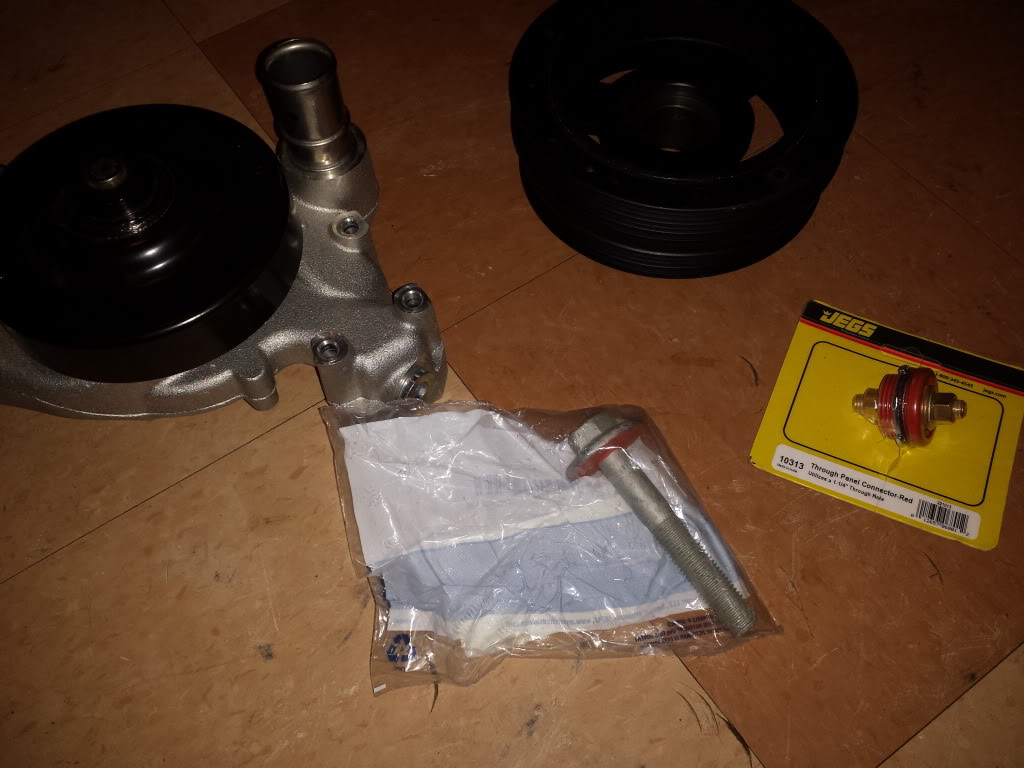
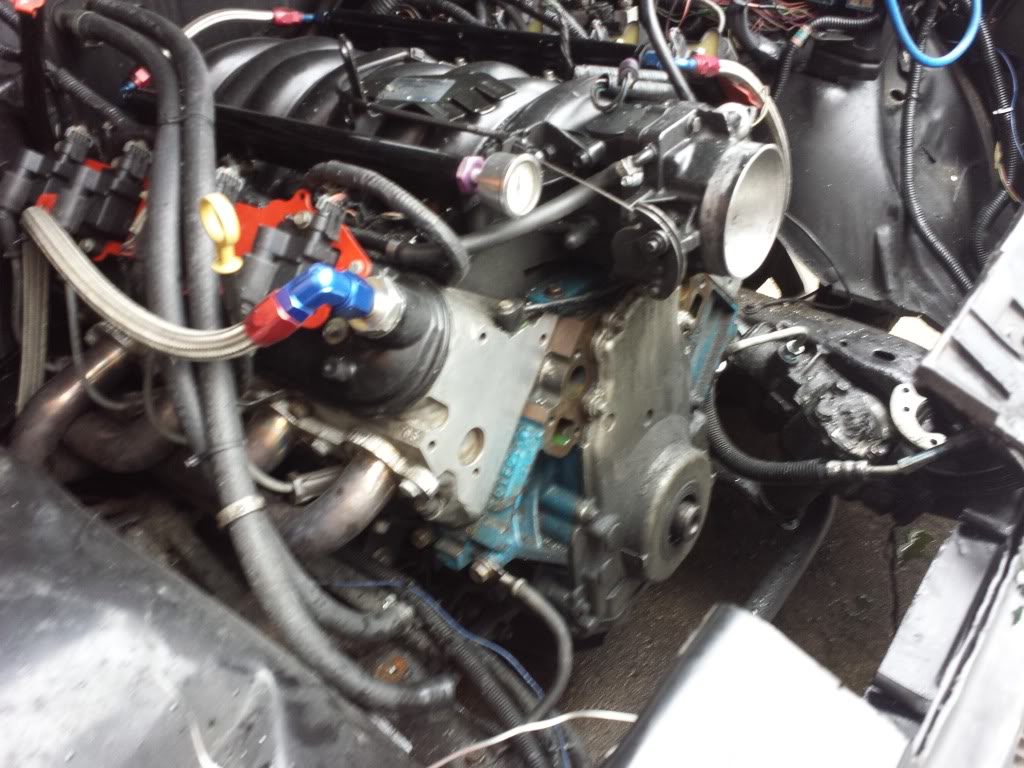
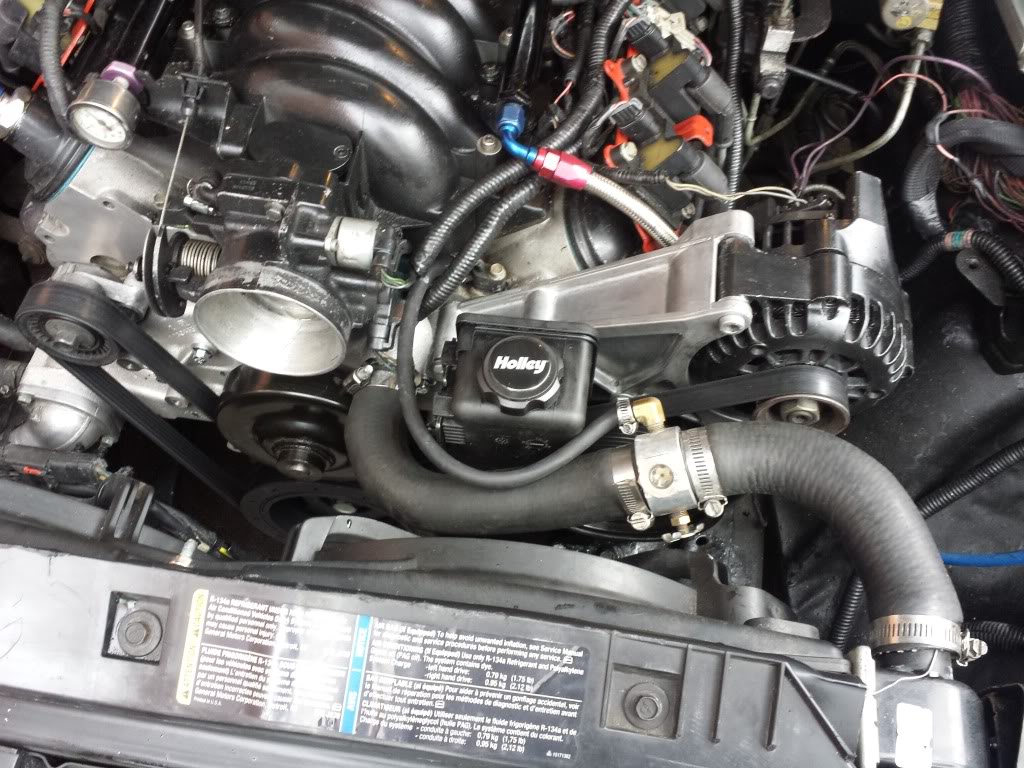
oil return and feed lines
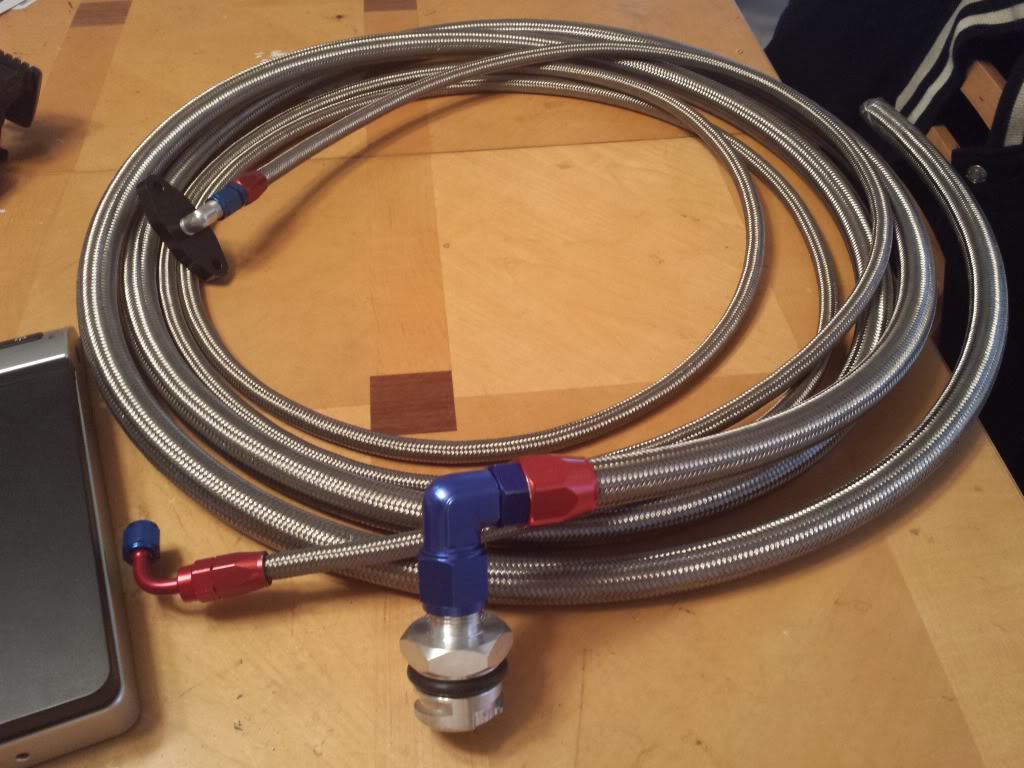
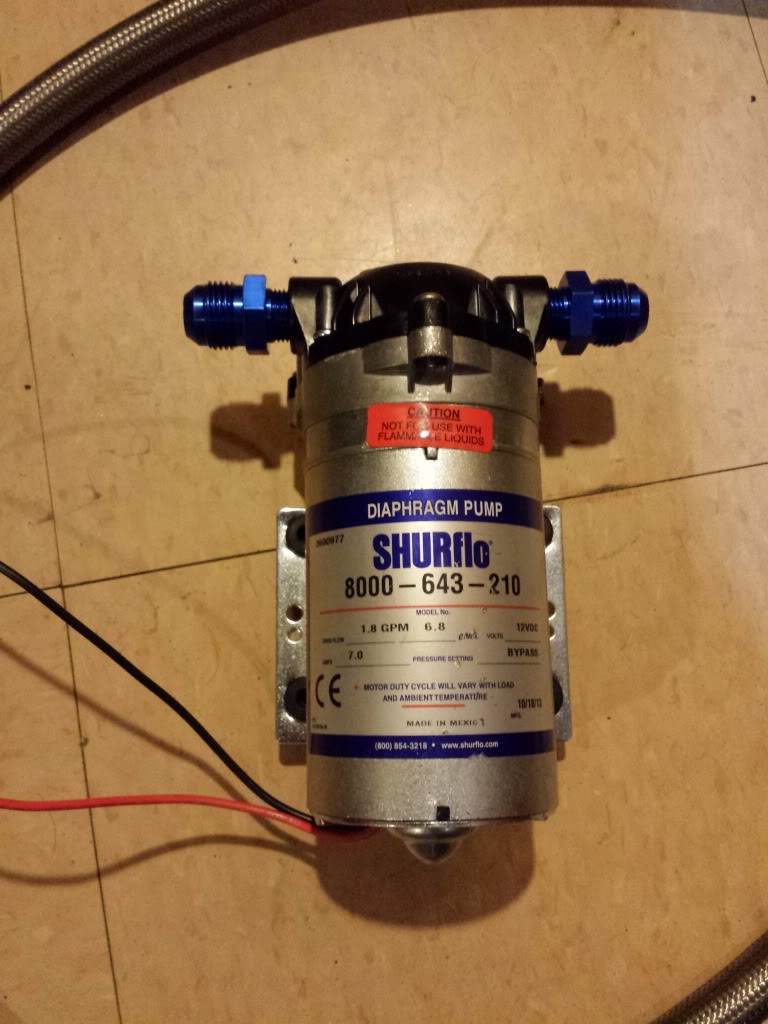
my oil return pump
picked up a GT45, 38mm wastegate, and a oil block-off feed adapter for the turbo feed


I also picked up an 8.8 out of an explorer for $150, its a 3.73 posi locker, im gonna have the axles redrilled along with the rotors by moser.


mockup, just playing around with ideas

I used all -10an fittings for the return oil side of the turbo, the larger line diameter acts as a " mini sump" so oil does'nt pool up in the turbo.


a bilet aluminum oil cap i bought that has an intergrated -10an bung welded on....

3.5" Exhaust V-band from ching chong china!

a customer at my job modified and welded up my hotside piping for me for $20!!


Also scored a holley accessory kit on the cheap and decided to go with the LS3 serpentine system for more clearance


oil return and feed lines

my oil return pump
 Mar 20, 2014 | 12:50 AM
#5
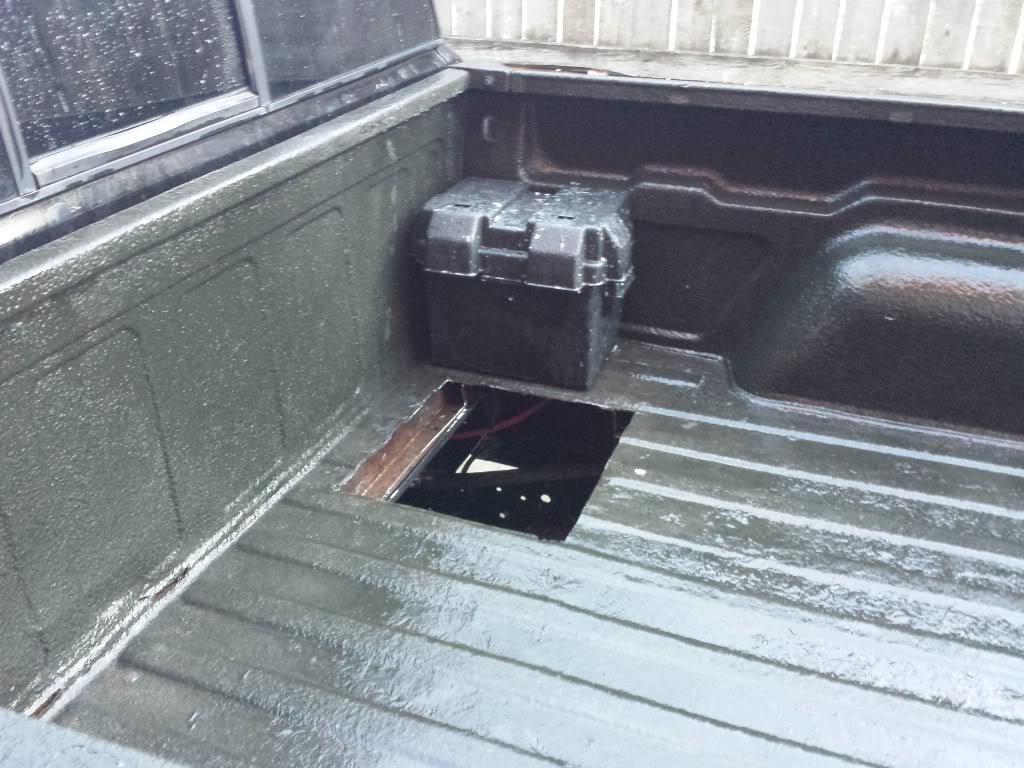
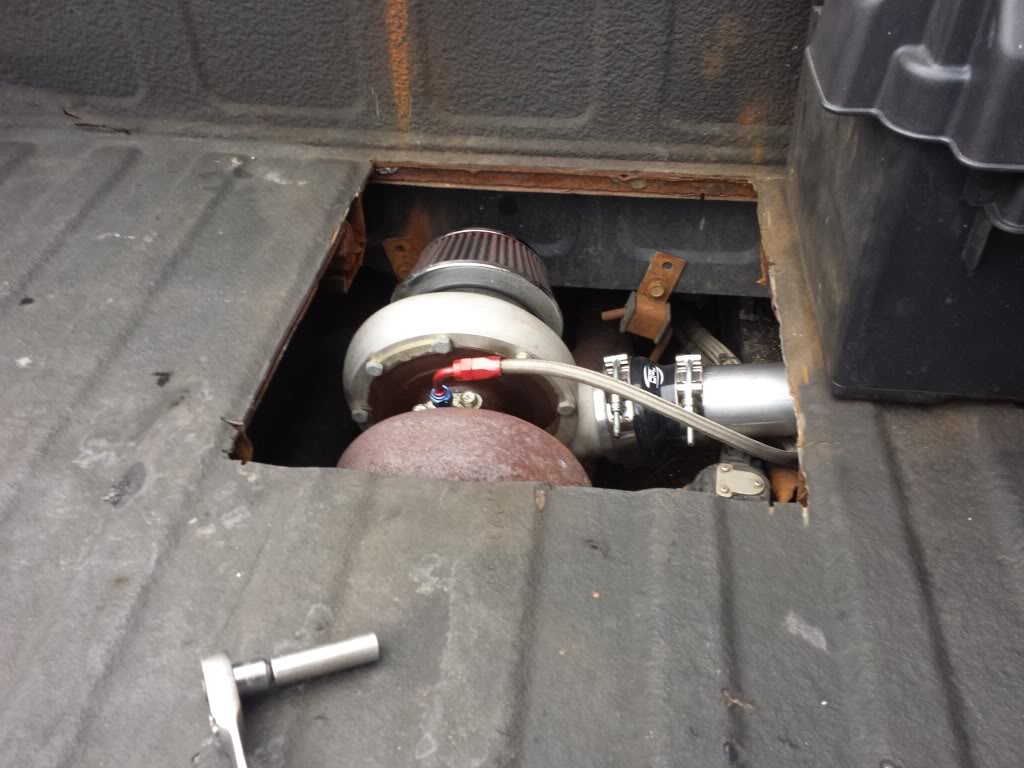
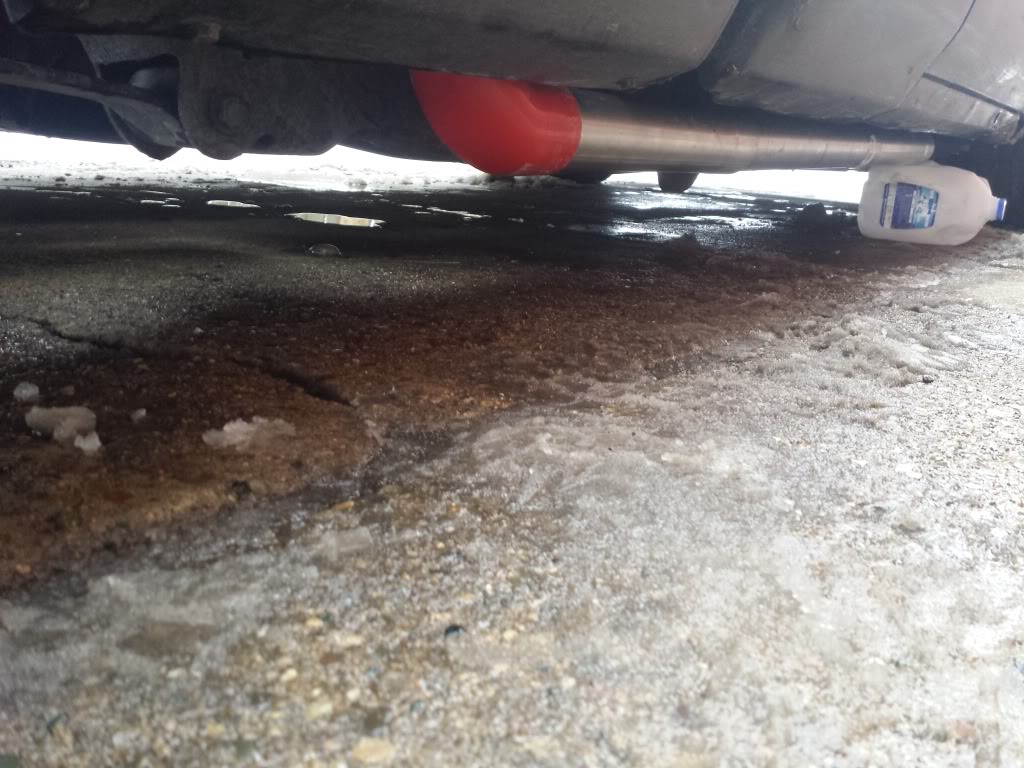
i cut a hole in the bed for the turbo for easy access, i also remote mounted my battery, i may move it farther in the rear in the future.
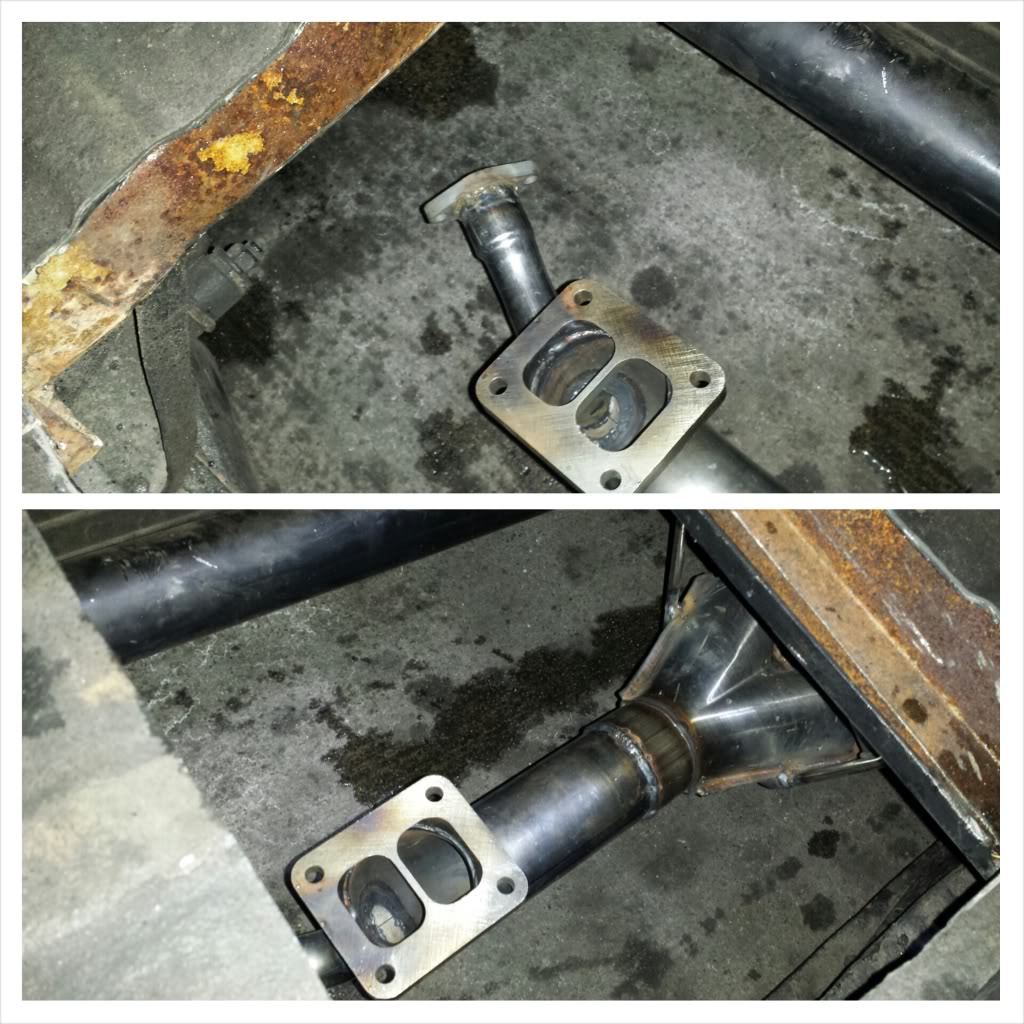
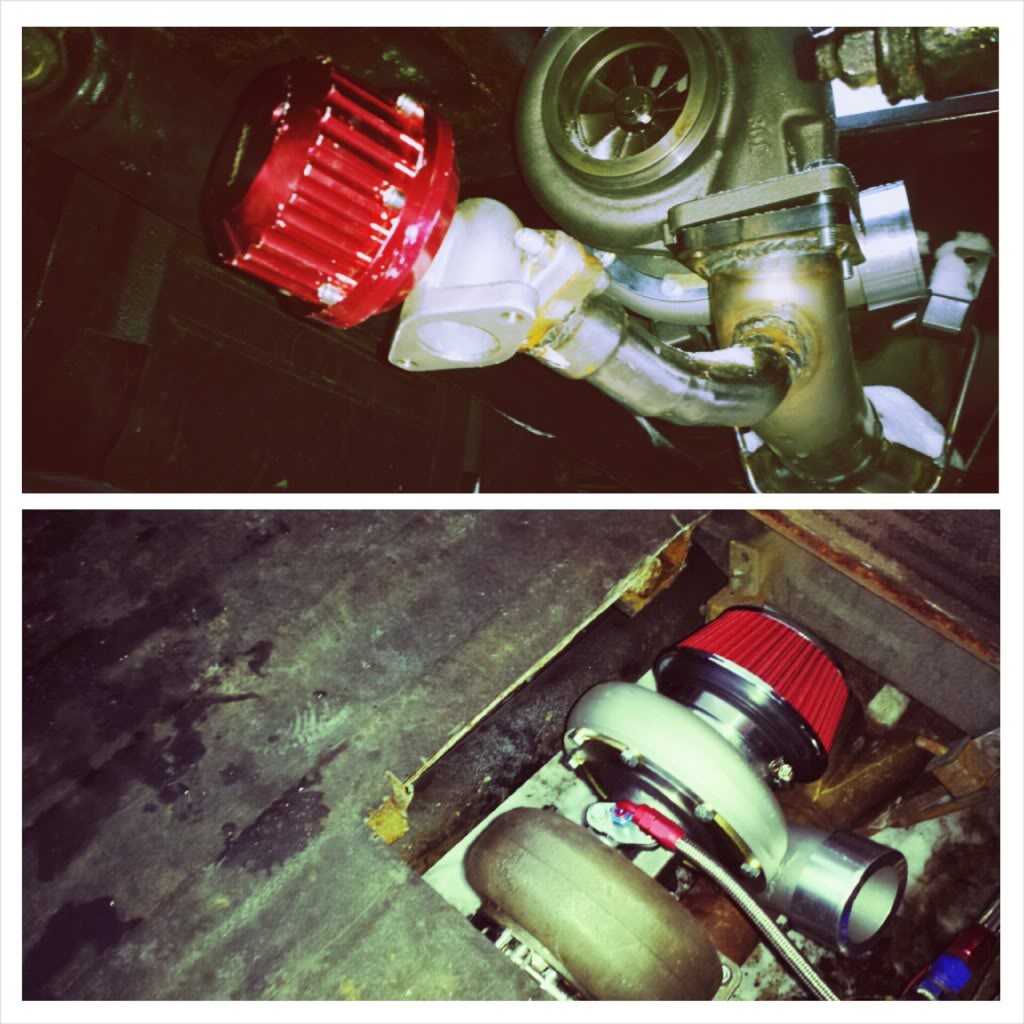
I had to modify the wastegate piping because of ground clearance.
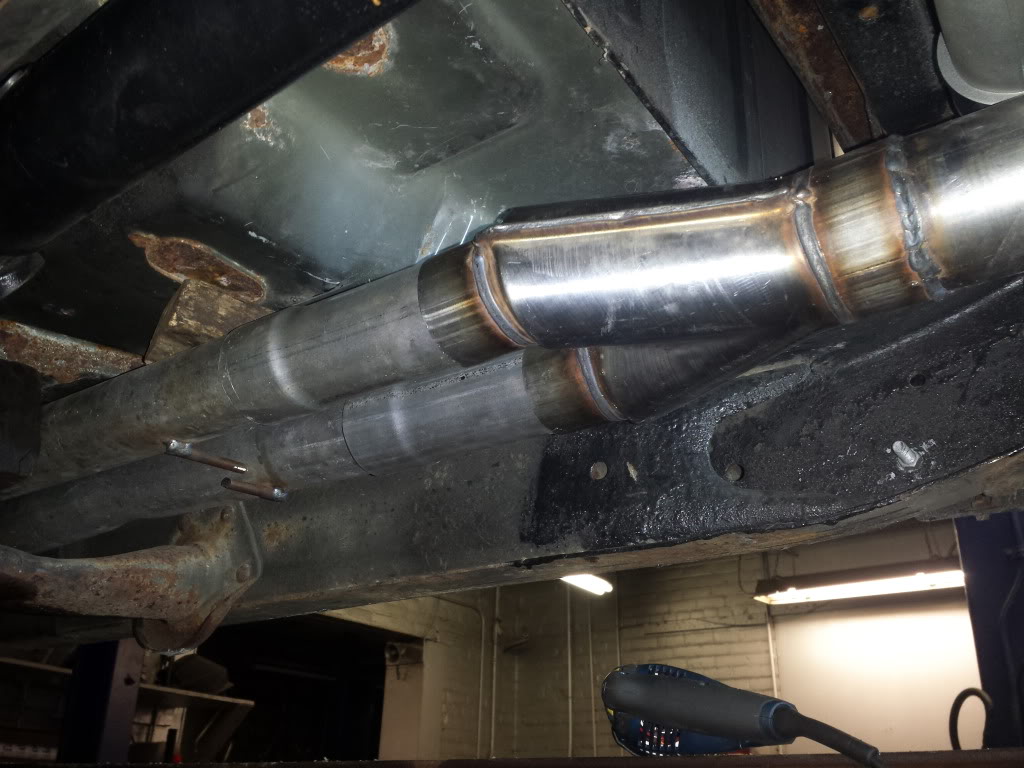
Mock up of everything at the exhaust shop, they had me sign a waiver just incase anything happened lol
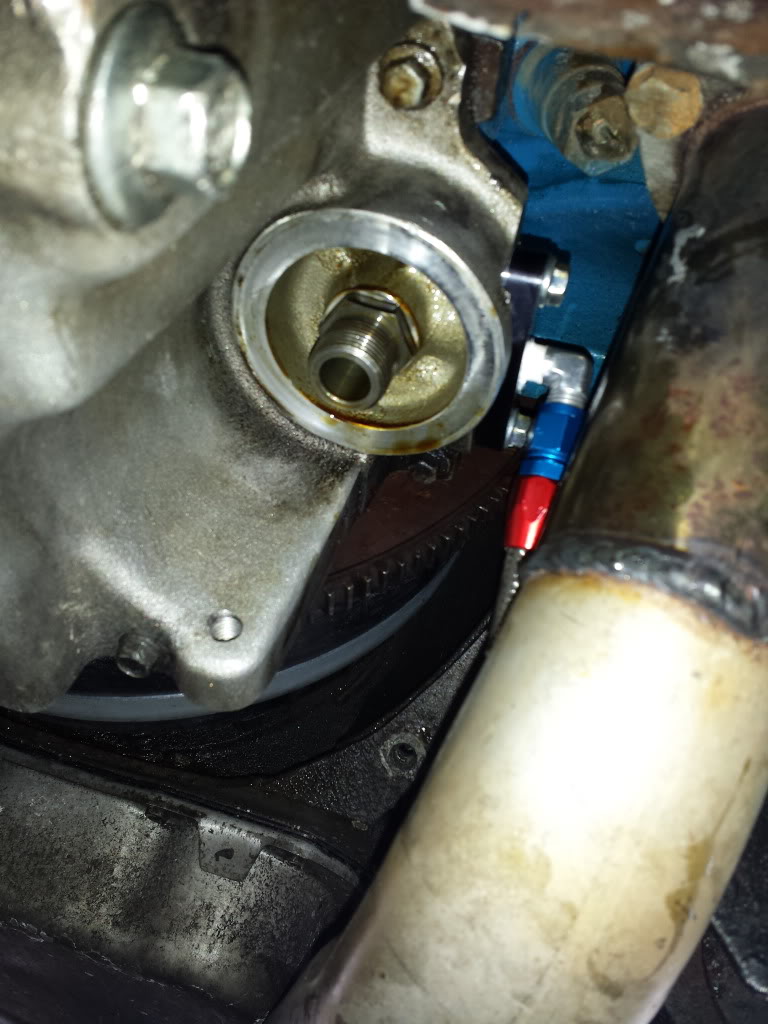
my oil plate turbo feed
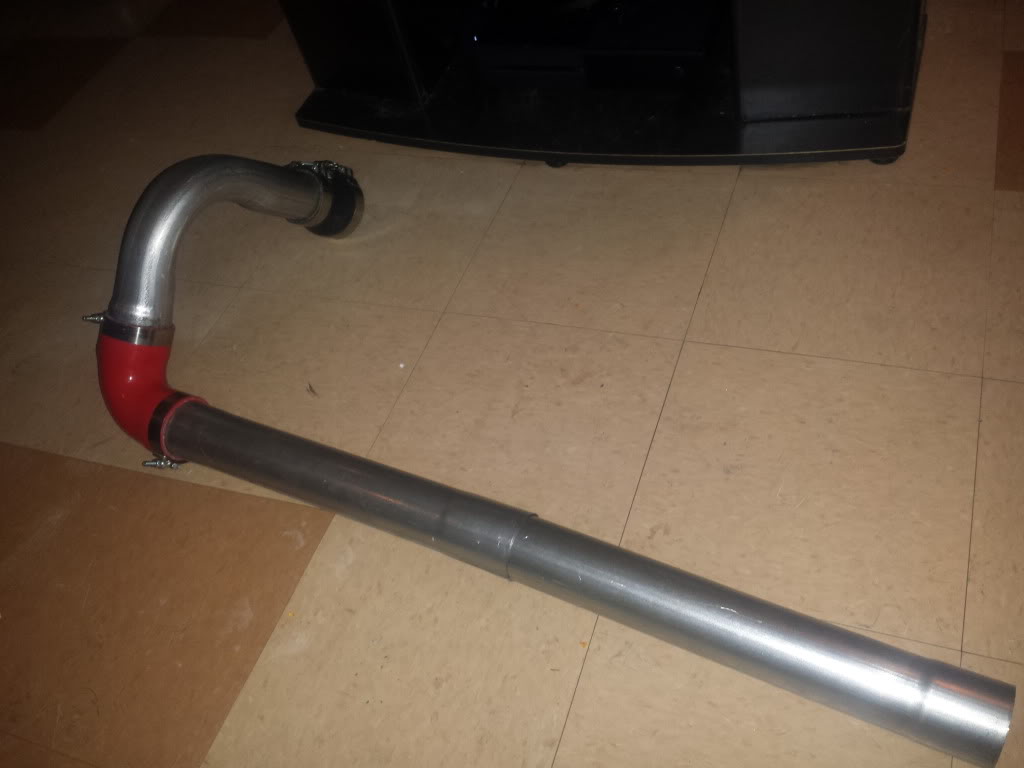
making my cold side
everything will be cleaned up and cut neatly in the spring, for some reason i had the urge to do all this **** in cold *** 5* weather, i couldnt bare being couped up in the house!
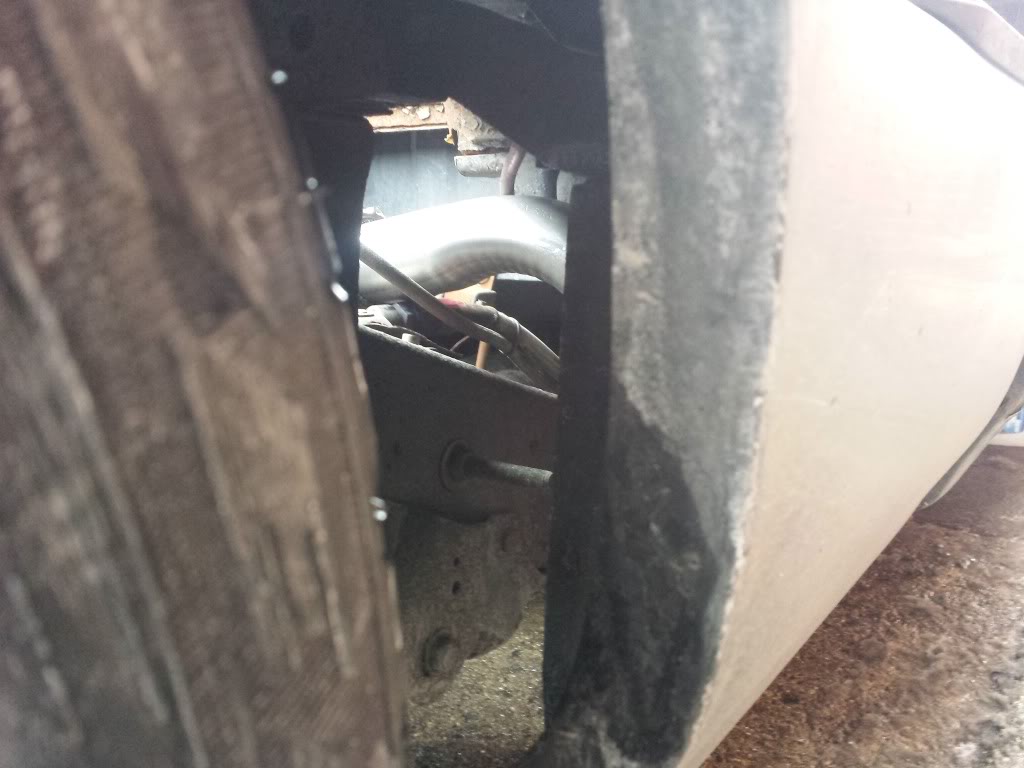
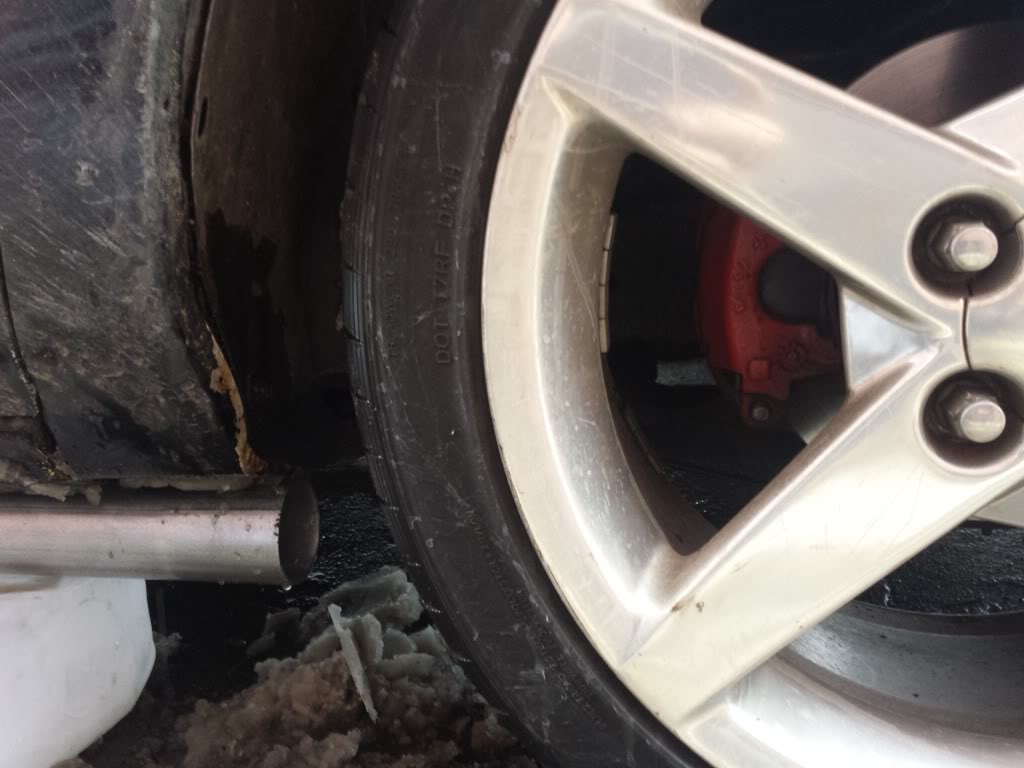
ill be cutting out a section of the firewall so i can shoot the pipe upward without tire clearance issues

I had to modify the wastegate piping because of ground clearance.

Mock up of everything at the exhaust shop, they had me sign a waiver just incase anything happened lol


my oil plate turbo feed


making my cold side

everything will be cleaned up and cut neatly in the spring, for some reason i had the urge to do all this **** in cold *** 5* weather, i couldnt bare being couped up in the house!


ill be cutting out a section of the firewall so i can shoot the pipe upward without tire clearance issues


Trending Topics
 Apr 13, 2014 | 11:14 PM
#9
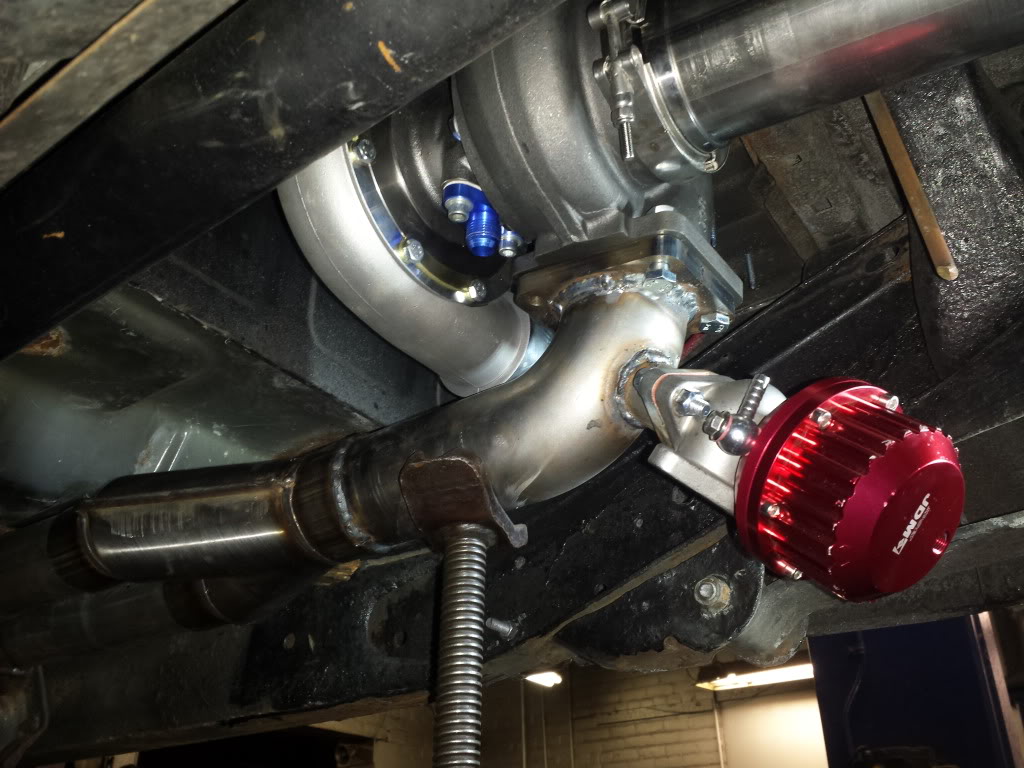
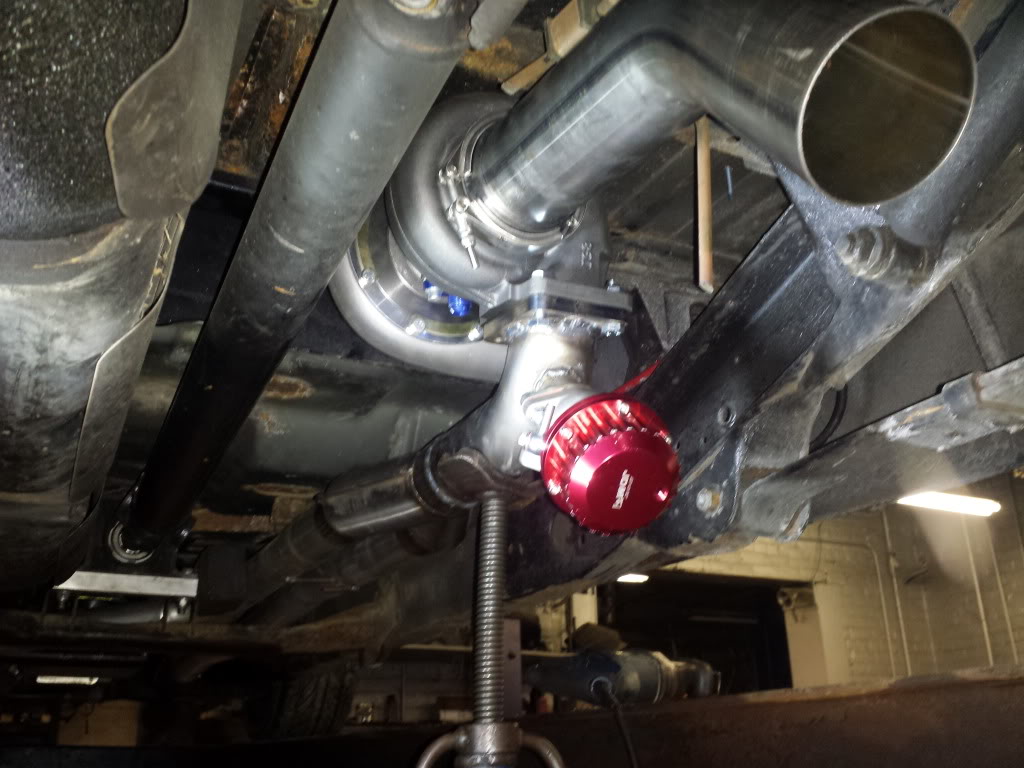
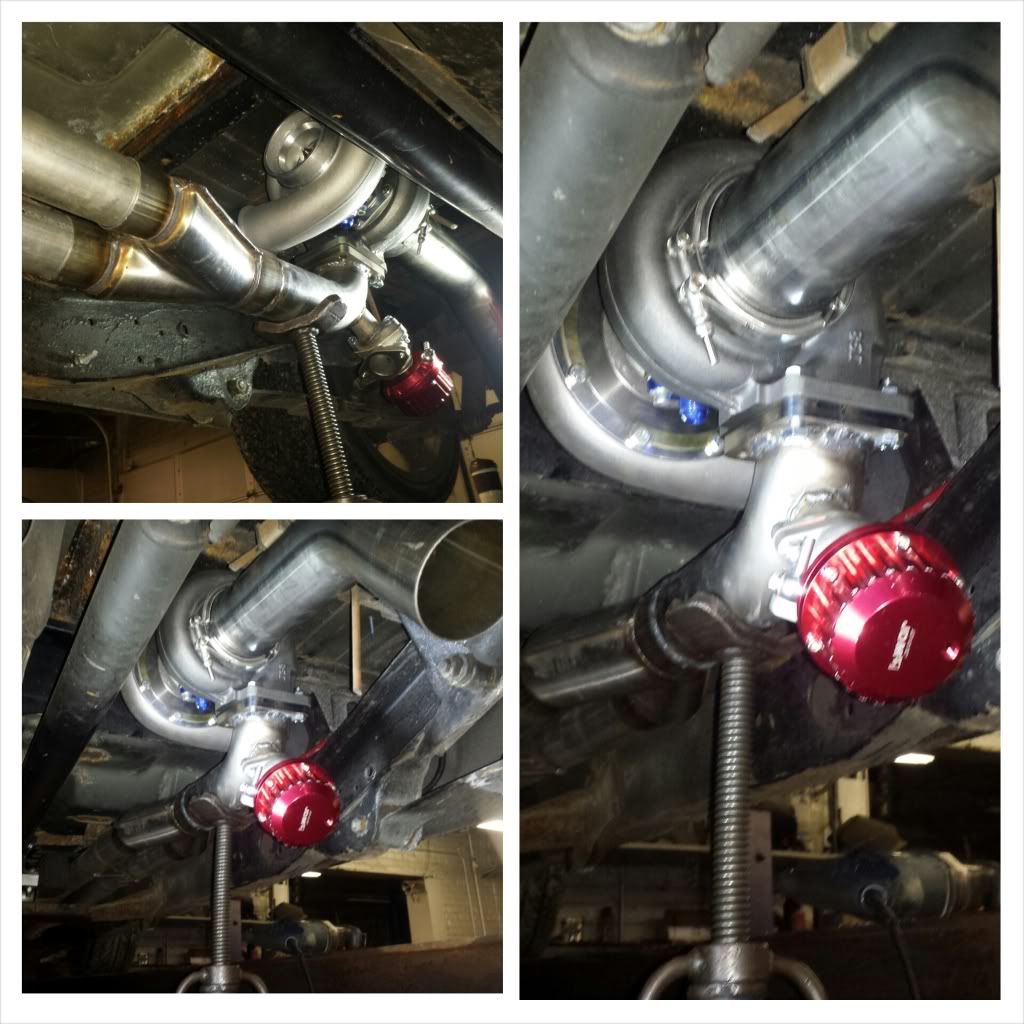
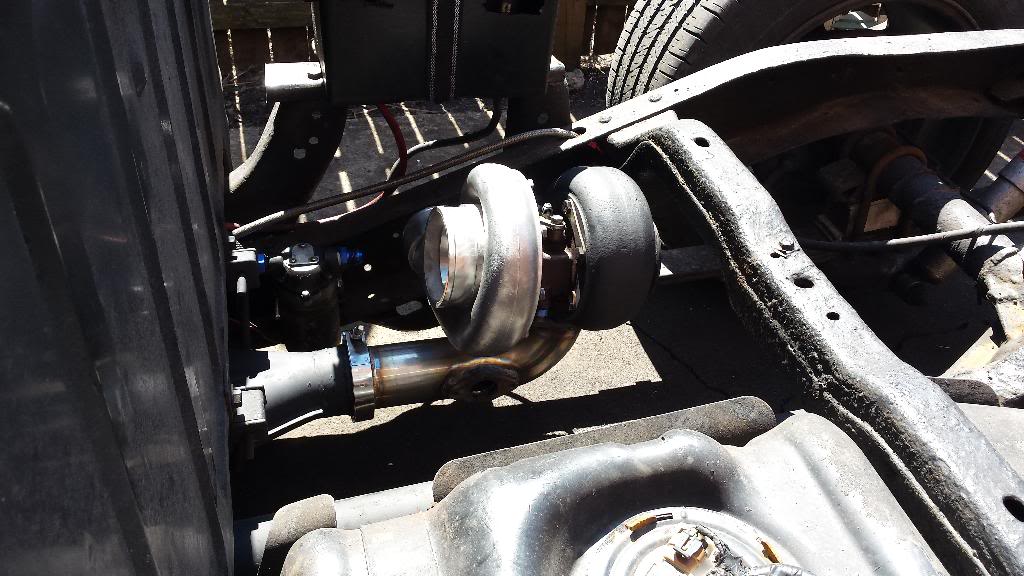
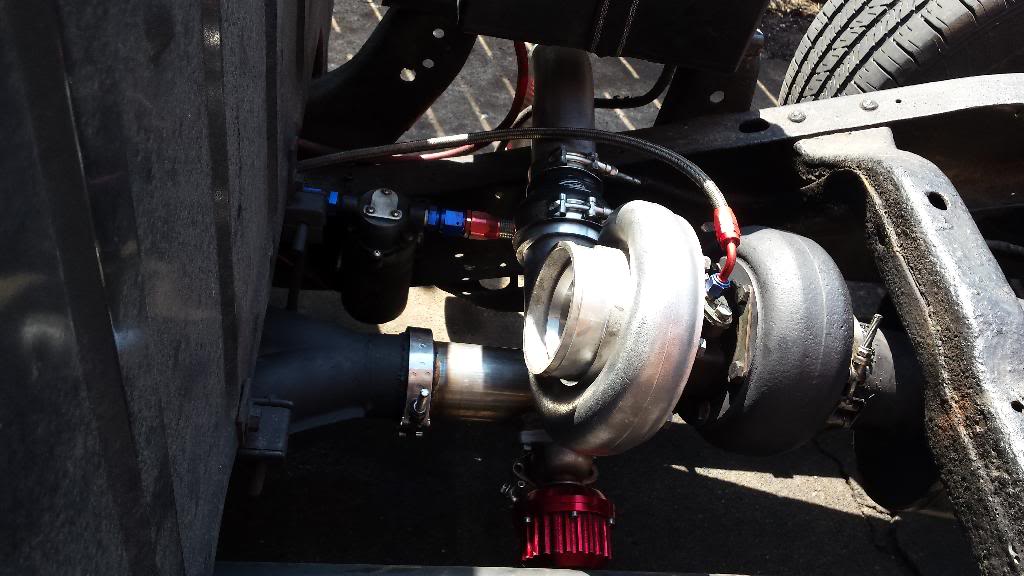
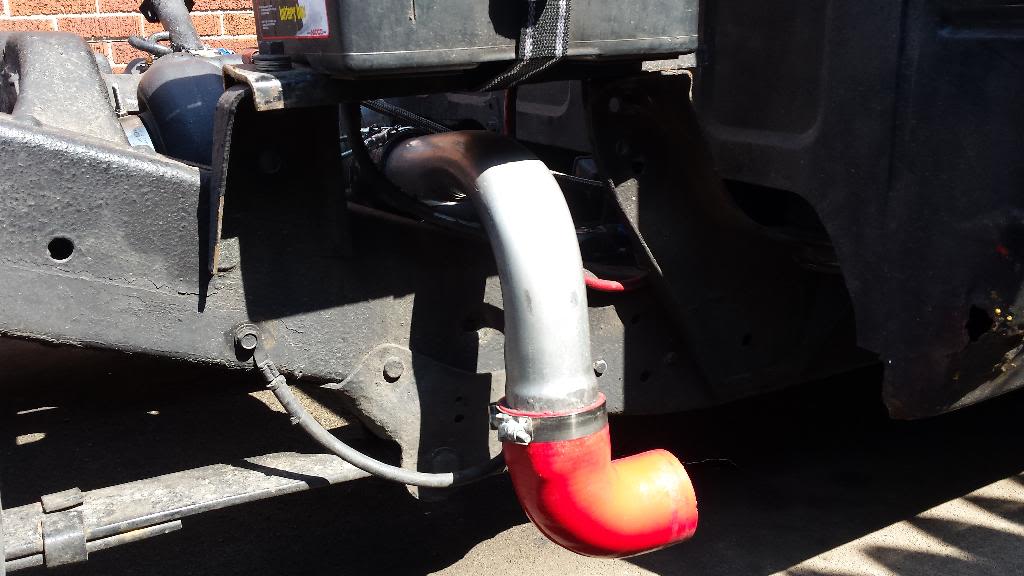
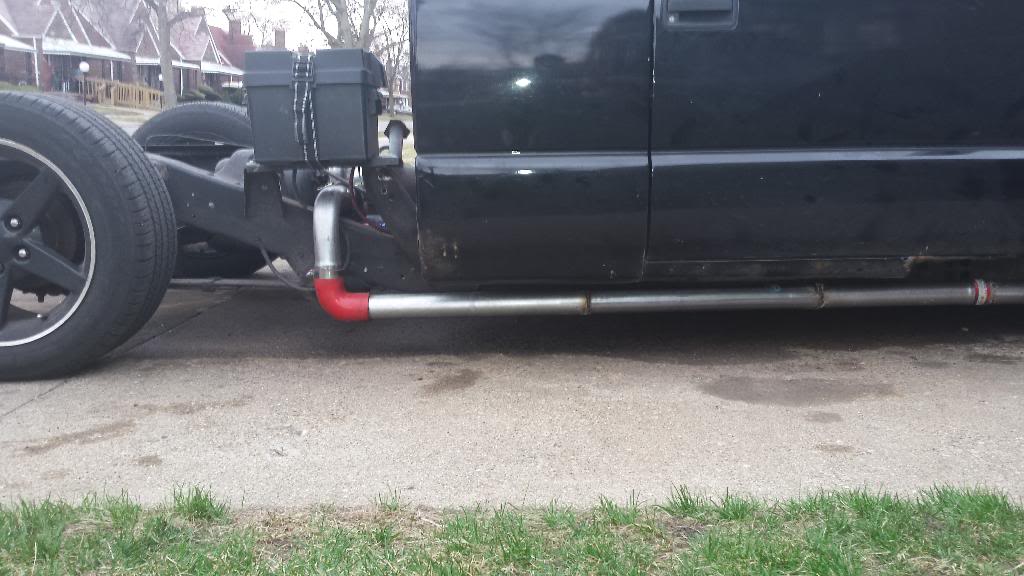
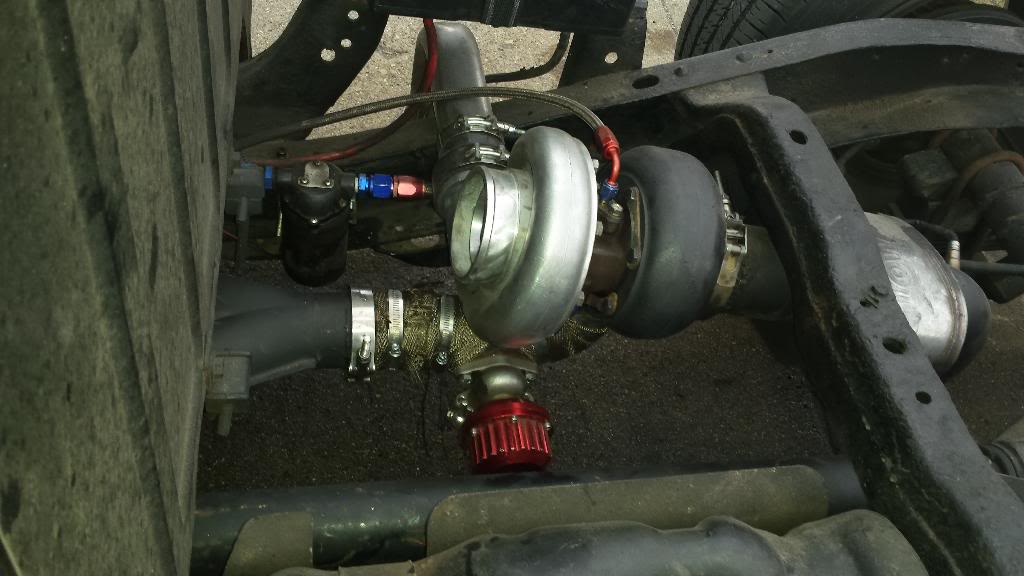
Sup guys. I changed a bunch of things after winter because road salt rusted it to HELL!! It was my fault though. Idk what I was thinking going with mild steel piping. I went with 304 SS piping and had everything tig welded which came out beautifully, I also relocated my wastegate so I don't have problems with ground clearance like my last setup.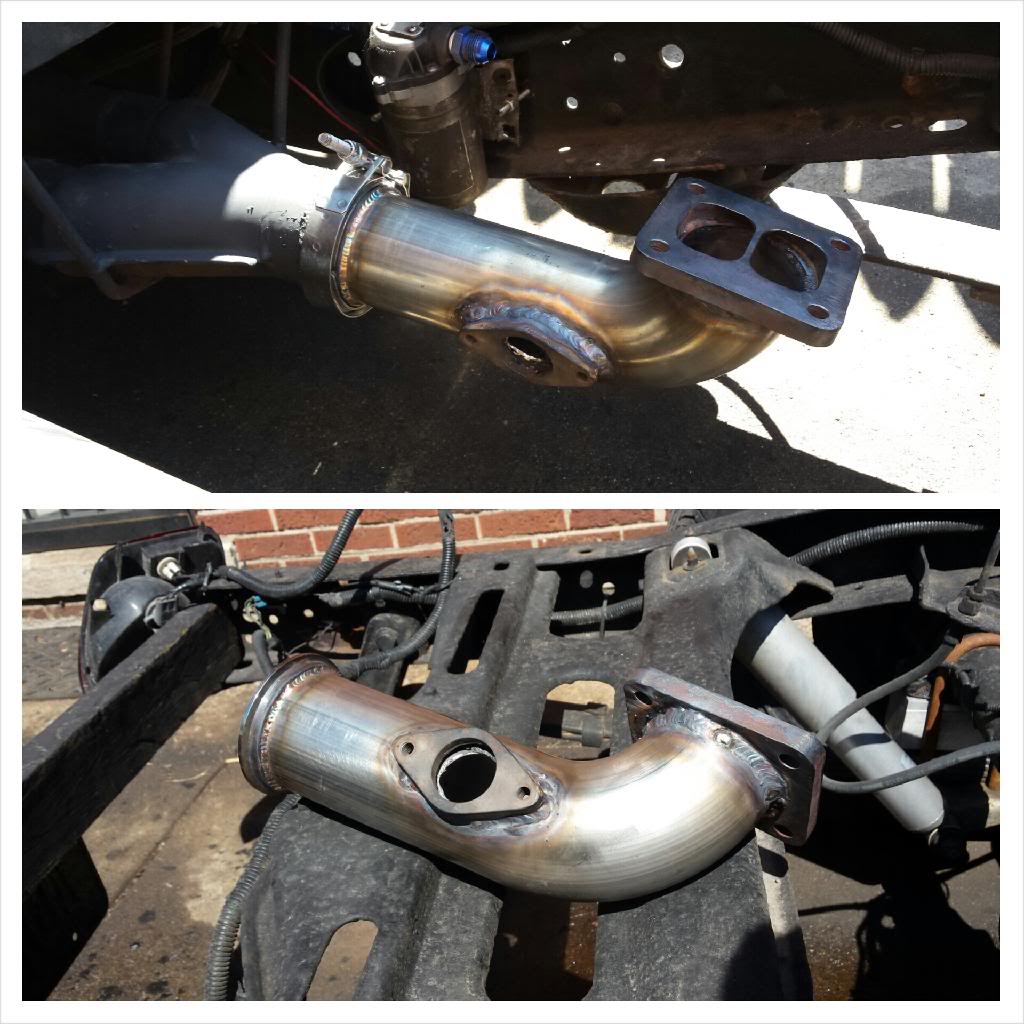


 Apr 14, 2014 | 05:47 PM
#10

Staging Lane
Joined: Sep 2012
Posts: 56
Likes: 0
Looks good. Bet it goes like hell.
Now, this next bit is going to seem kinda internet-douchbag-y but I promise I don't mean it like that. It's your truck and you can do what you want, but this is my $.02
I like the setup, but I would relocate the wastegate just under the turbine inlet so it's a straight shot with the incoming exhaust. Almost exactly like how you had it initially, but just a hair further down from the turbine inlet and also clock it 90* towards either side so the dump for the gate is facing either the frame or the drive shaft. This will solve your ground clearance issue and provide better wastegate response.
I also really think you'll need a bigger filter on that turbo. Again, I'm just an idiot with a keyboard, but it just looks like you aren't going to get the volume of air you will need through that little guy. I may be way off base on this though.
Last thing is I would turn the turbo 90* clockwise and run the cold side inside the comfy confines of the frame. It provides an infinite number of places to anchor the charge pipe and looks better. You can keep heat away by wrapping the exhaust and charge piping. Again, I may be way off base on this because I don't know how much room you're working with in reality. All I have are a few pics to go off of.
In any case, I really like what you're doing and look forward to some progress.
Now, this next bit is going to seem kinda internet-douchbag-y but I promise I don't mean it like that. It's your truck and you can do what you want, but this is my $.02
I like the setup, but I would relocate the wastegate just under the turbine inlet so it's a straight shot with the incoming exhaust. Almost exactly like how you had it initially, but just a hair further down from the turbine inlet and also clock it 90* towards either side so the dump for the gate is facing either the frame or the drive shaft. This will solve your ground clearance issue and provide better wastegate response.
I also really think you'll need a bigger filter on that turbo. Again, I'm just an idiot with a keyboard, but it just looks like you aren't going to get the volume of air you will need through that little guy. I may be way off base on this though.
Last thing is I would turn the turbo 90* clockwise and run the cold side inside the comfy confines of the frame. It provides an infinite number of places to anchor the charge pipe and looks better. You can keep heat away by wrapping the exhaust and charge piping. Again, I may be way off base on this because I don't know how much room you're working with in reality. All I have are a few pics to go off of.
In any case, I really like what you're doing and look forward to some progress.