

2001 Frame up build
 Oct 21, 2007 | 11:51 PM
#21
Thread Starter
TECH Fanatic
iTrader: (12)
Joined: Mar 2005
Posts: 1,513
Likes: 6
From: Massachussetts
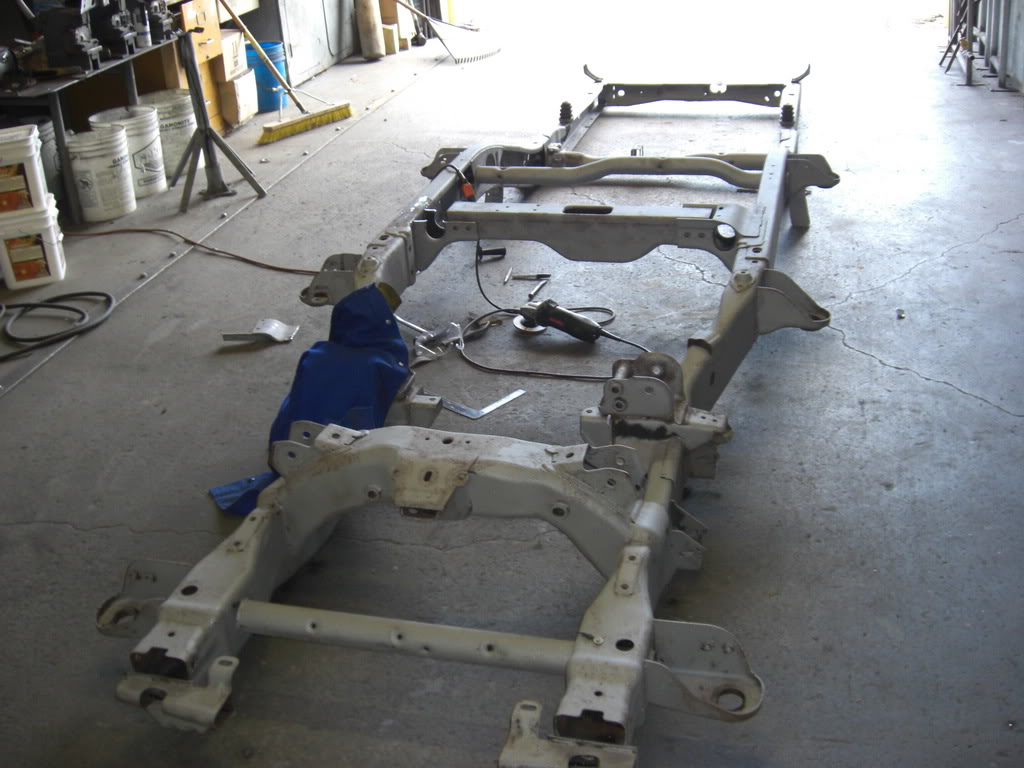
Well back to work this weekend, since its really my only free time.
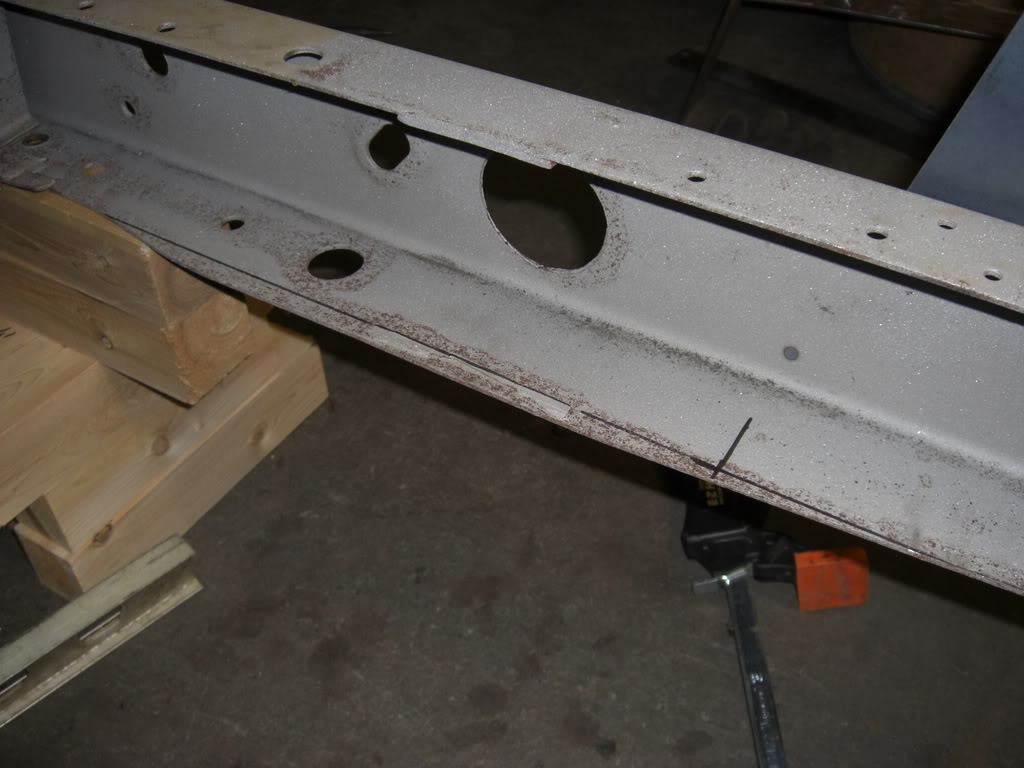
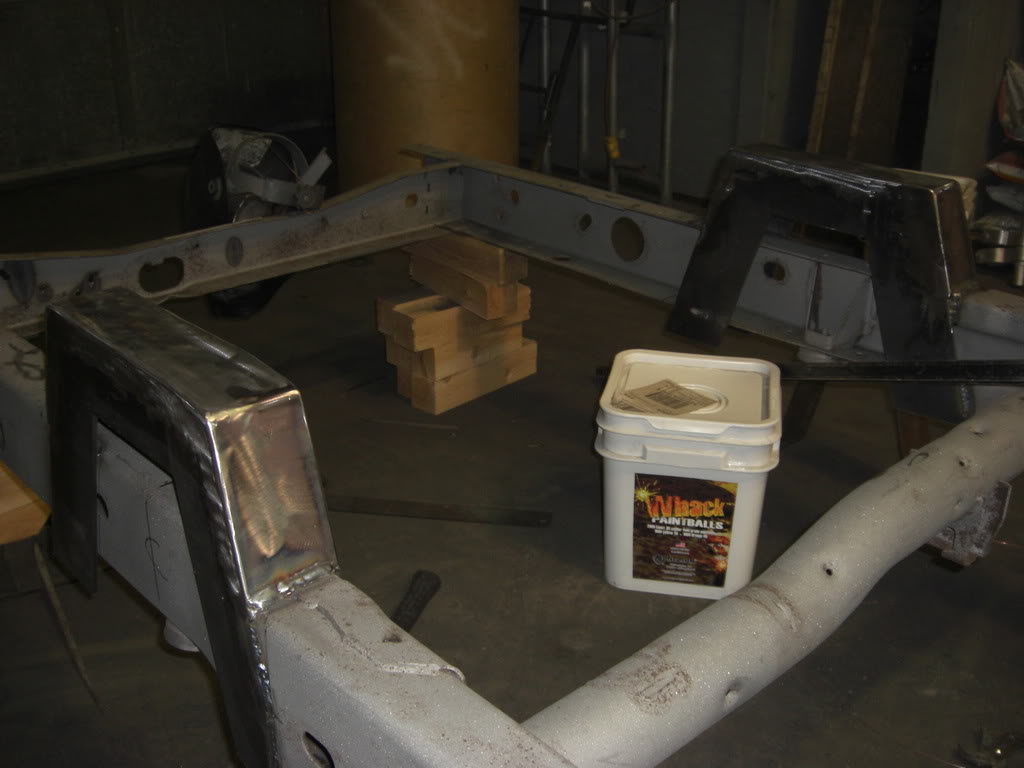
Got the frame back from the sandblaster. Upside down to do some work, makes it easier this way.
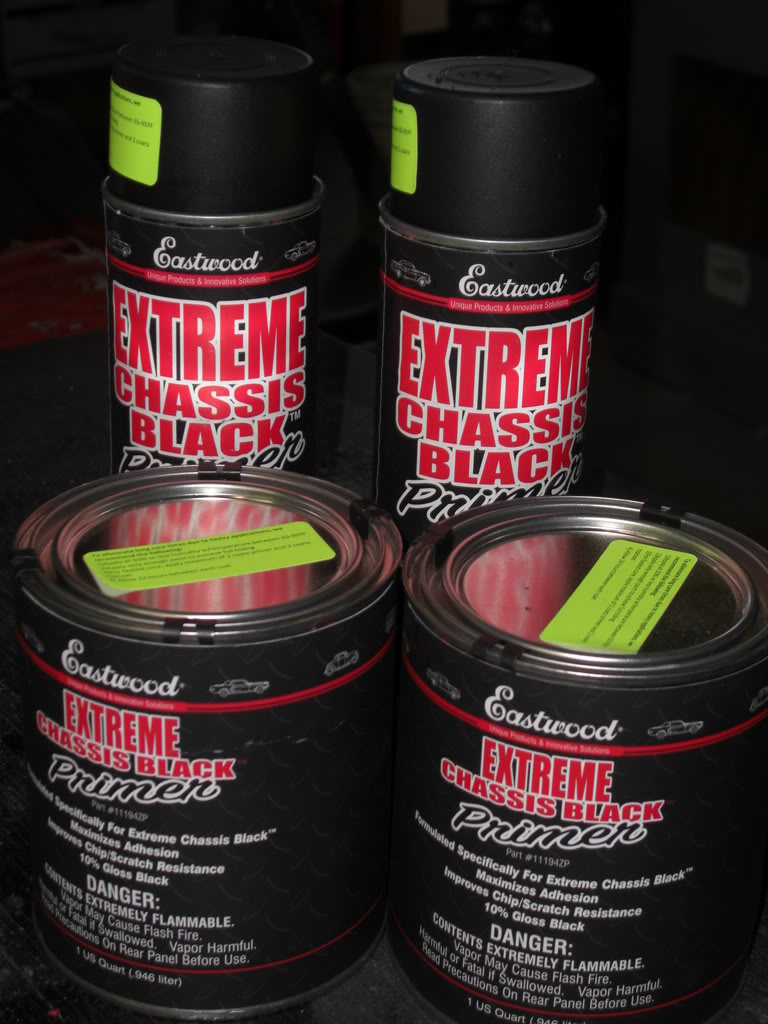
Here is the primer for the eastwood chassis black, im painting the frame with.
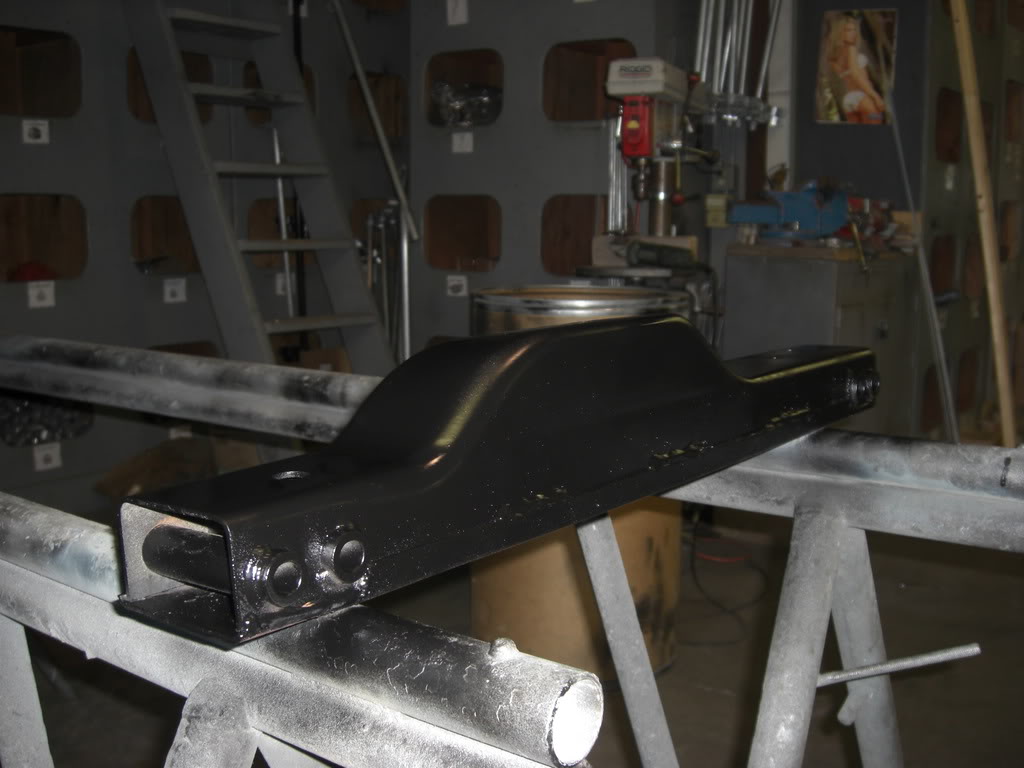
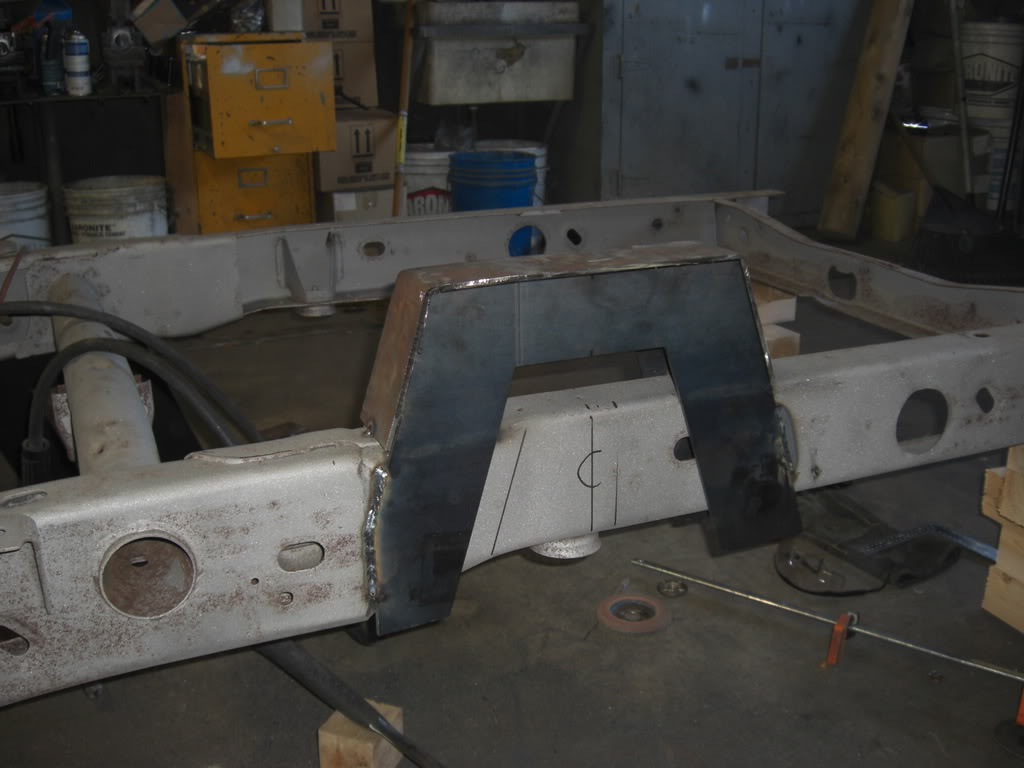
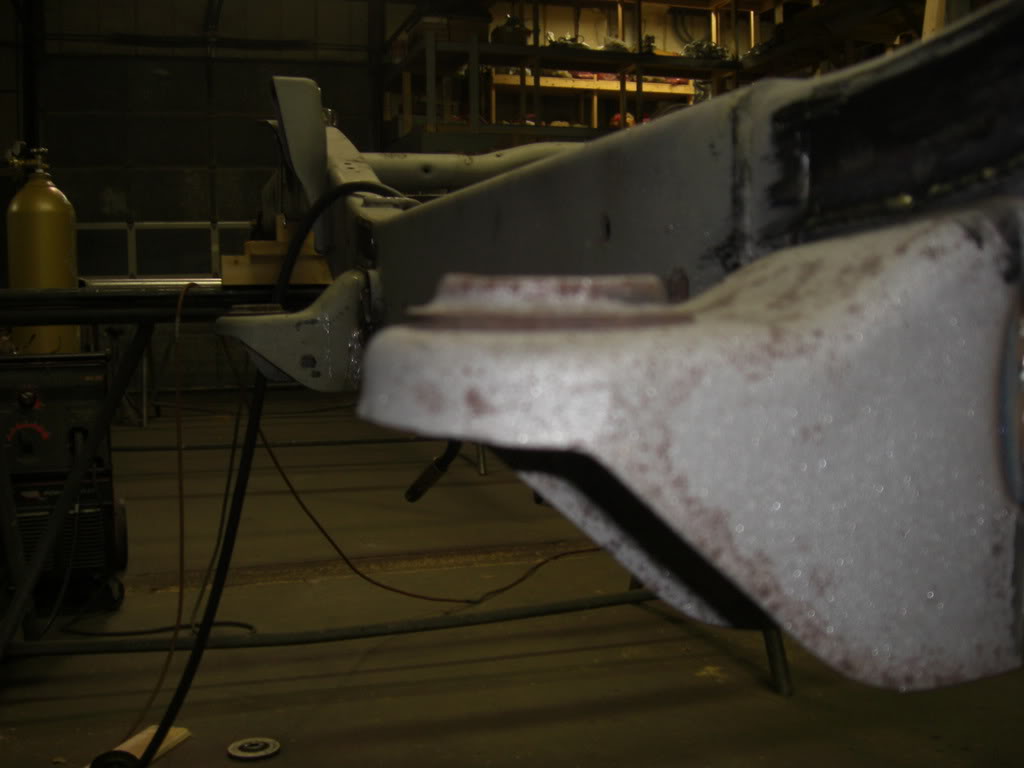
Hangs WAY too low to lay out...
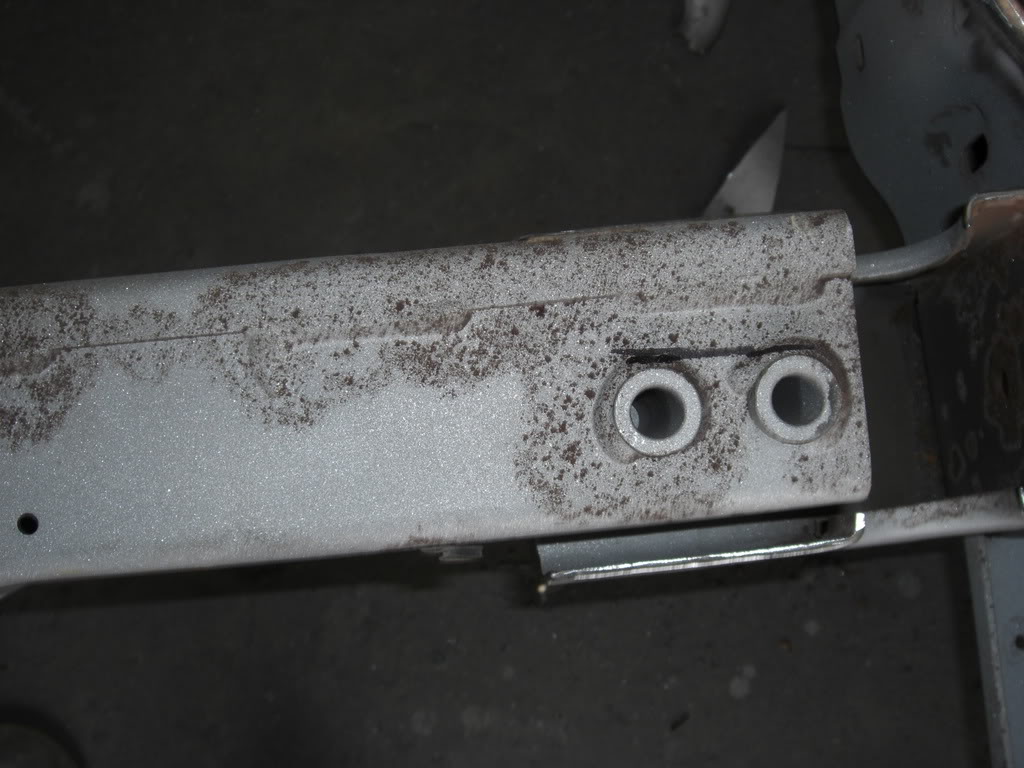
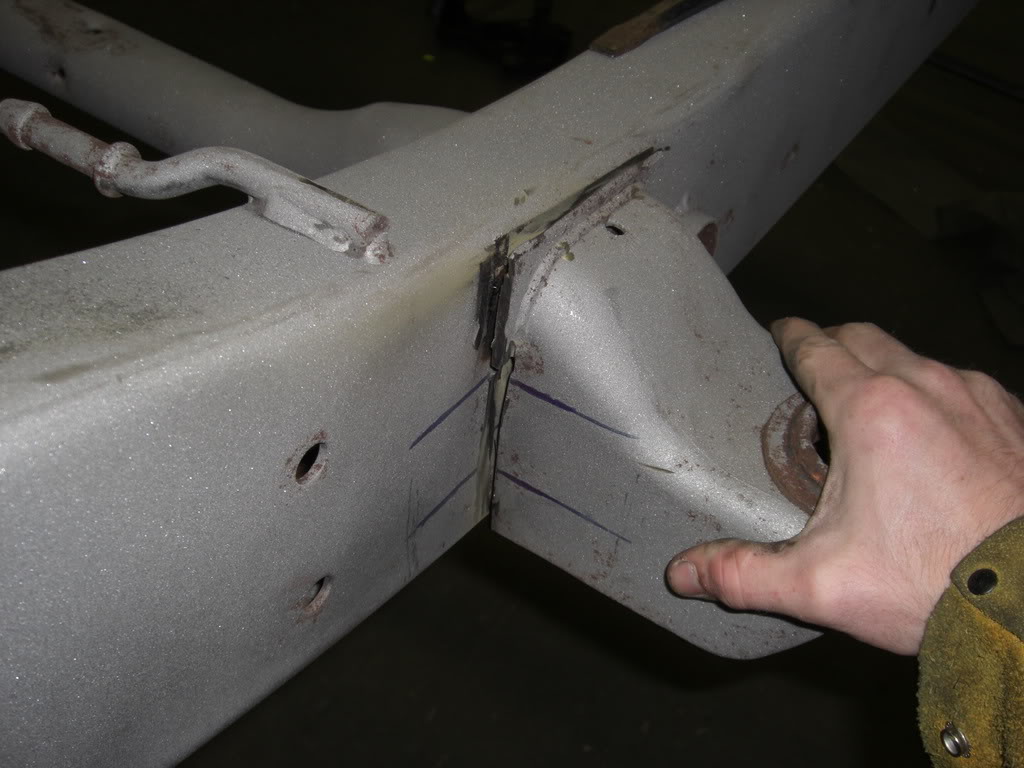
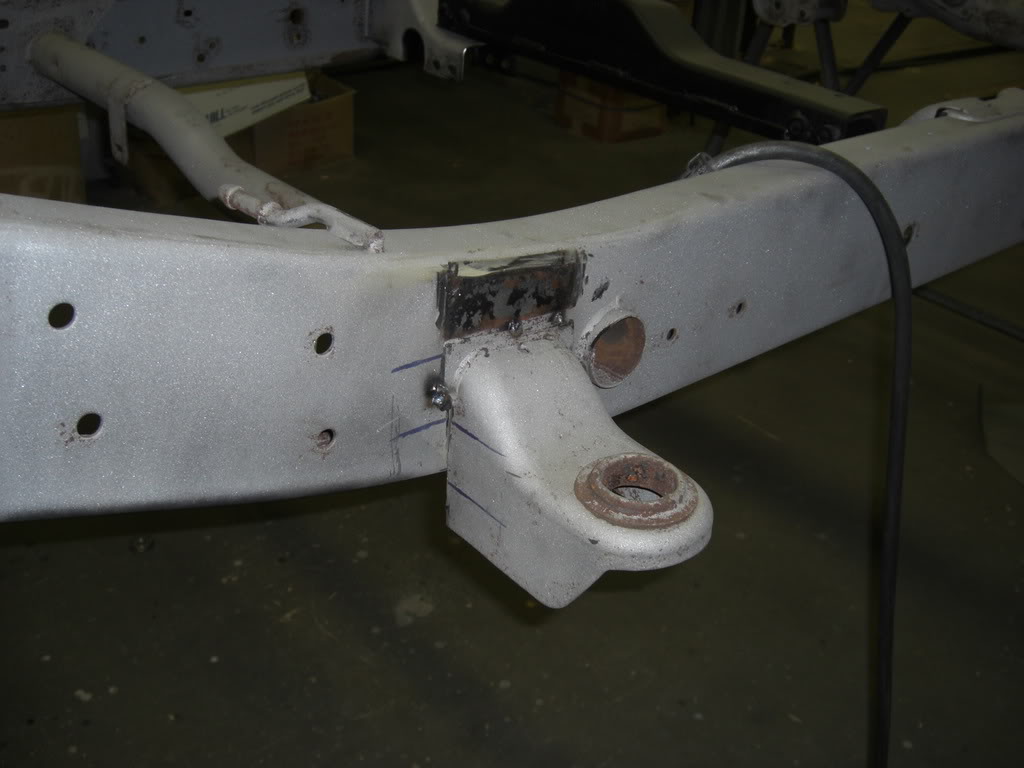
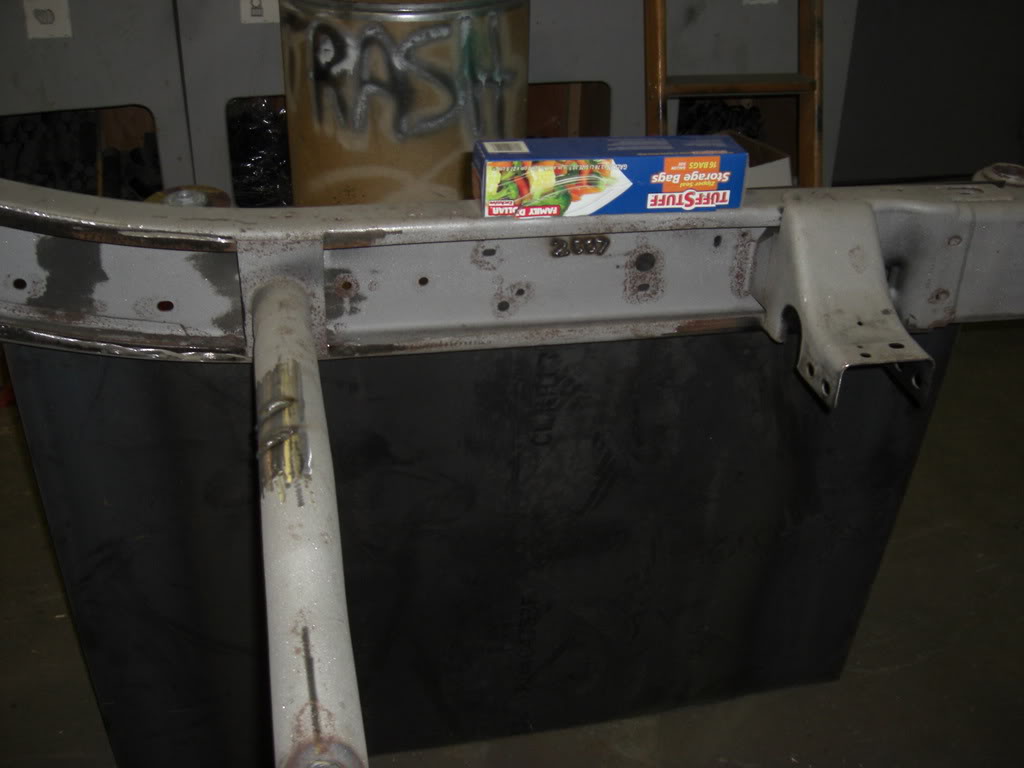
Mount is cut
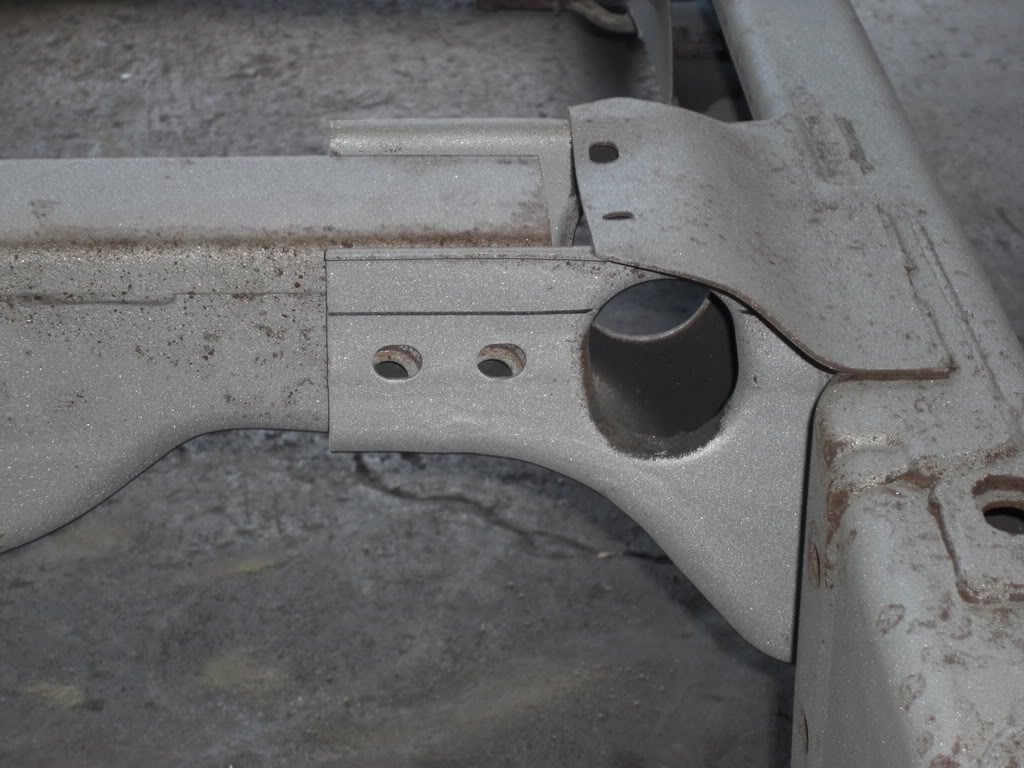
Notice the stitch welds... cut each off
Separated
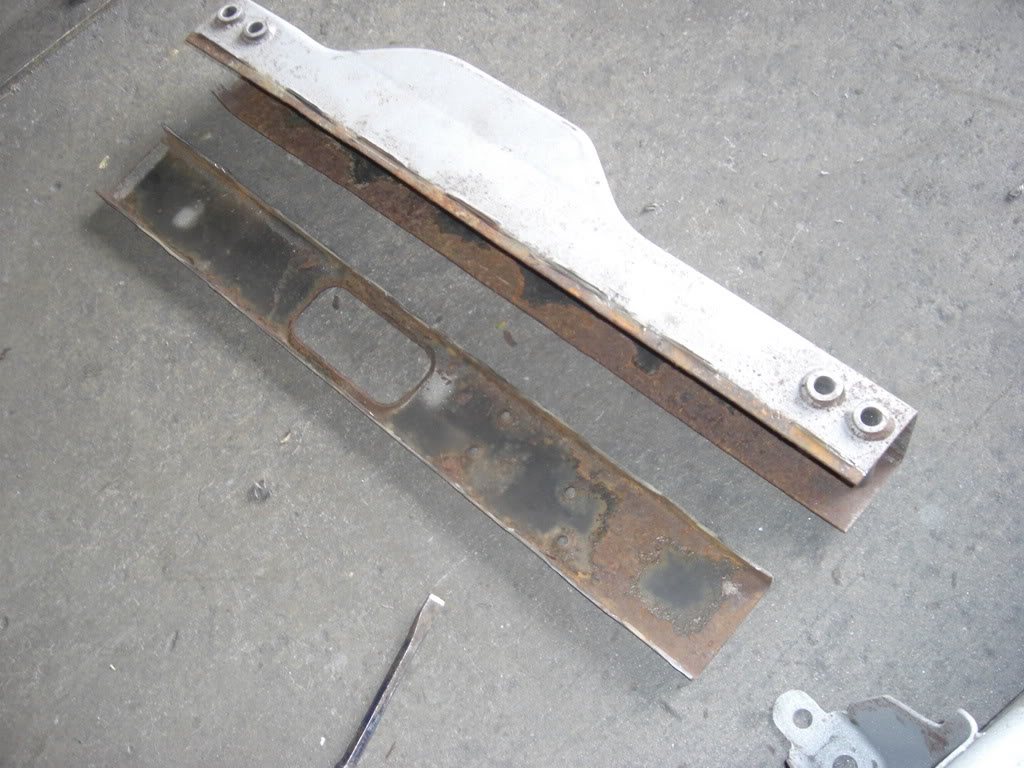
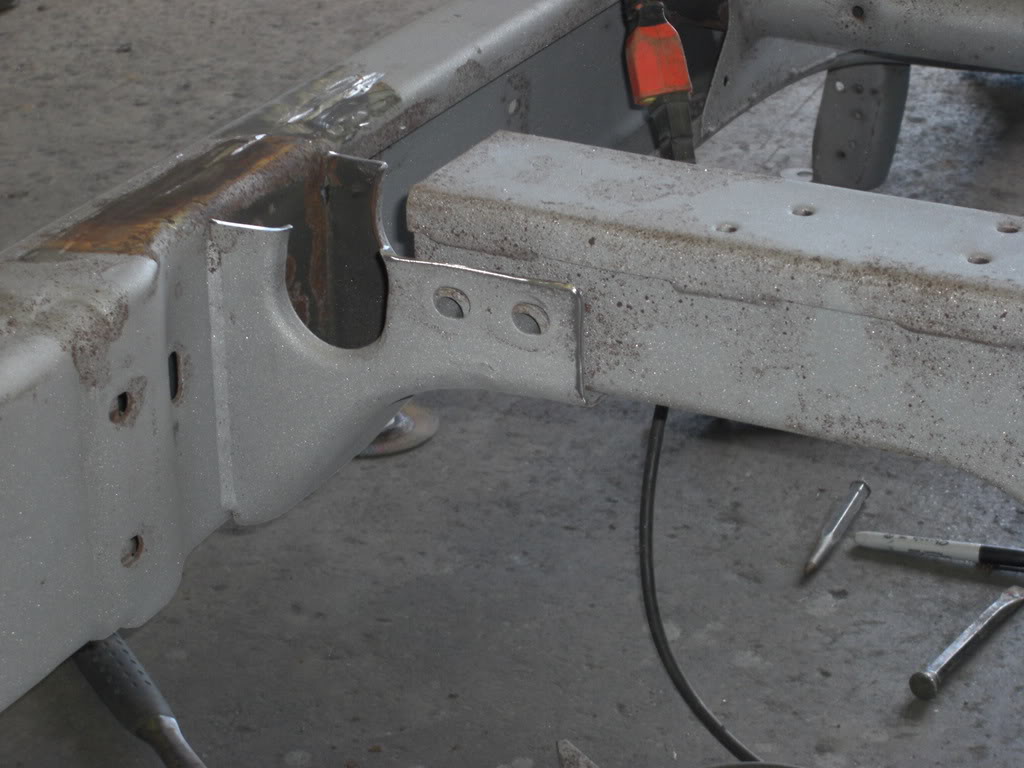
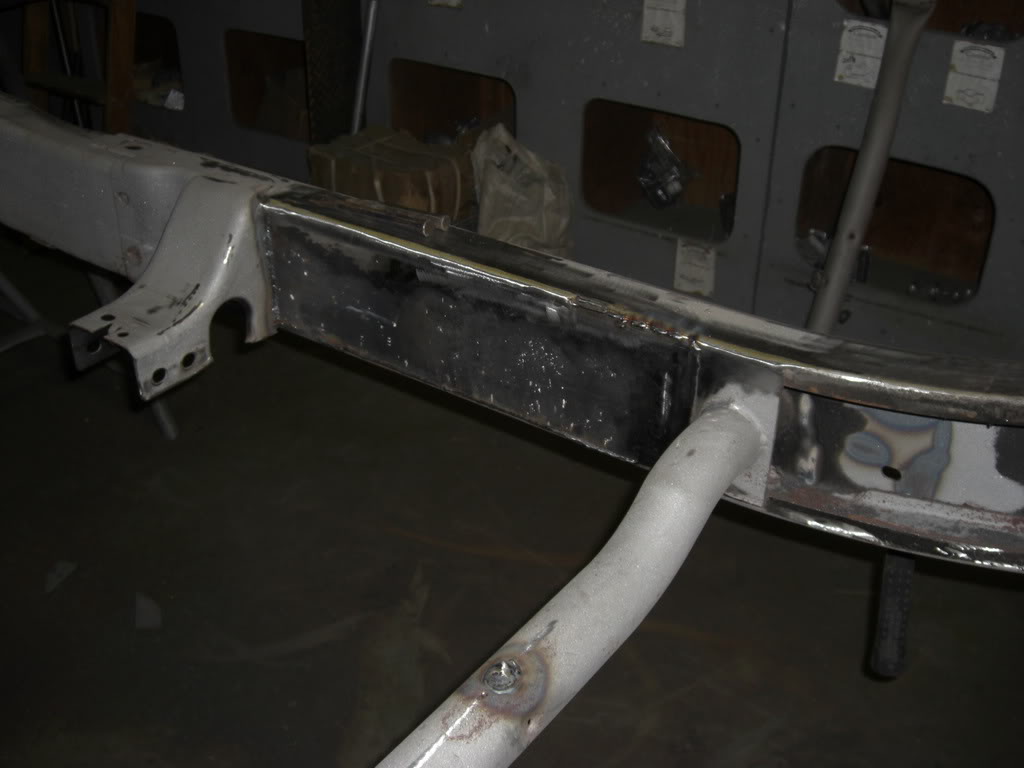
Cut it down so it was 2 1/8" wide on the ends... works out perfect.
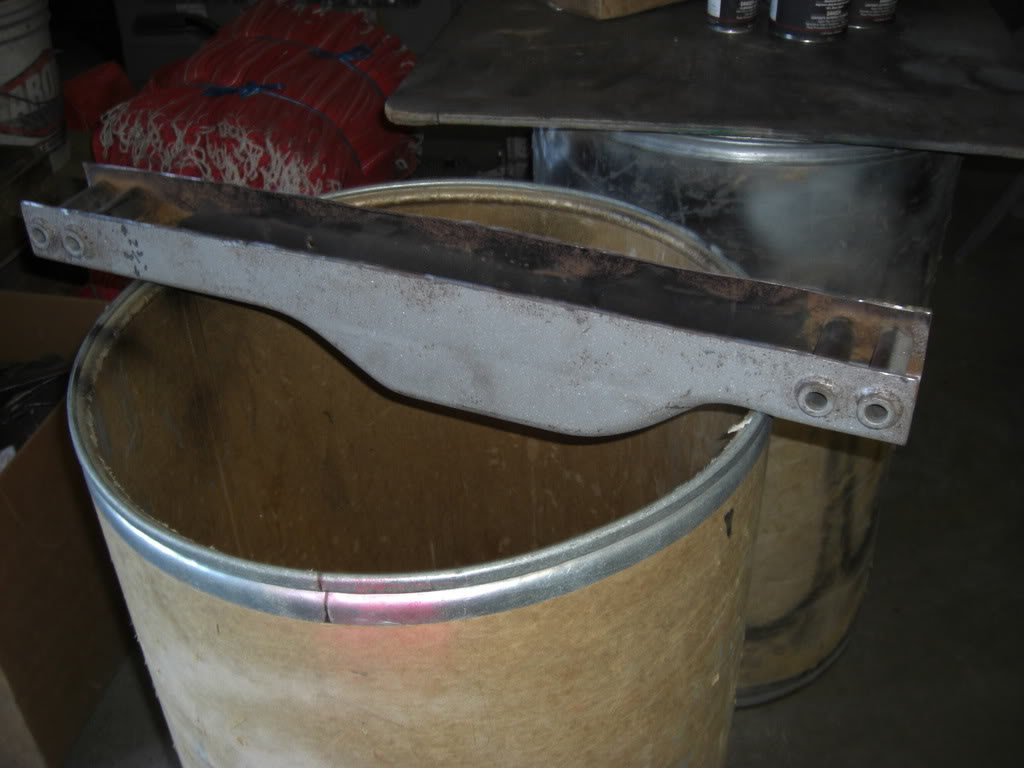
Welded back up
and primed ready to be smoothed and painted
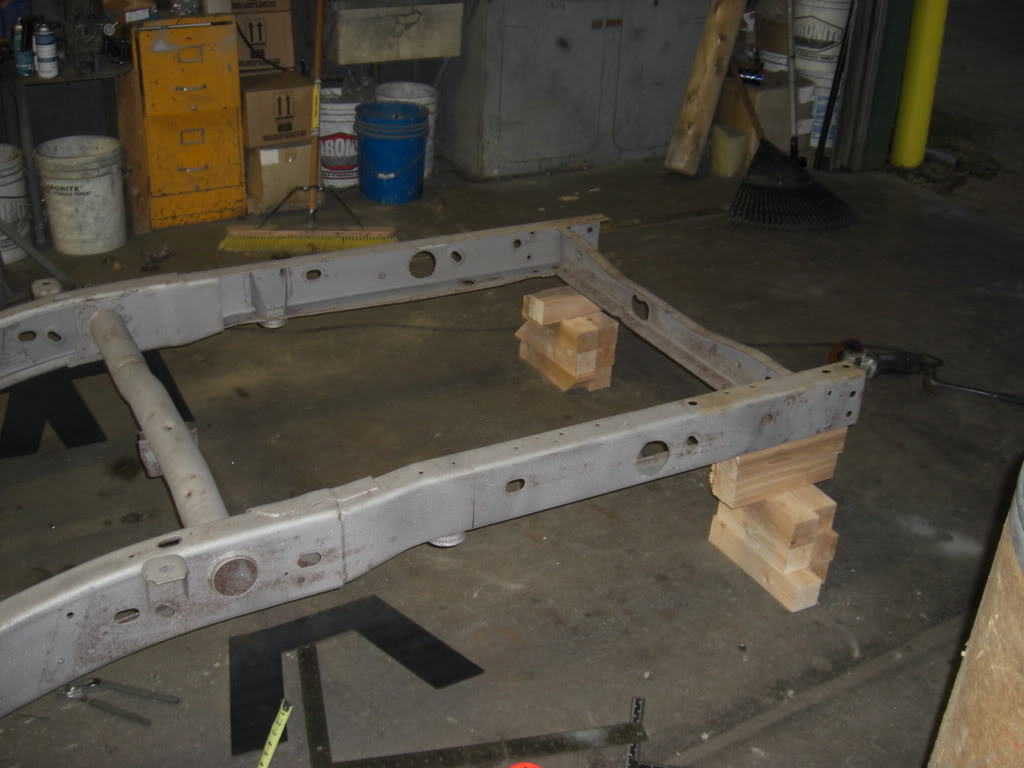
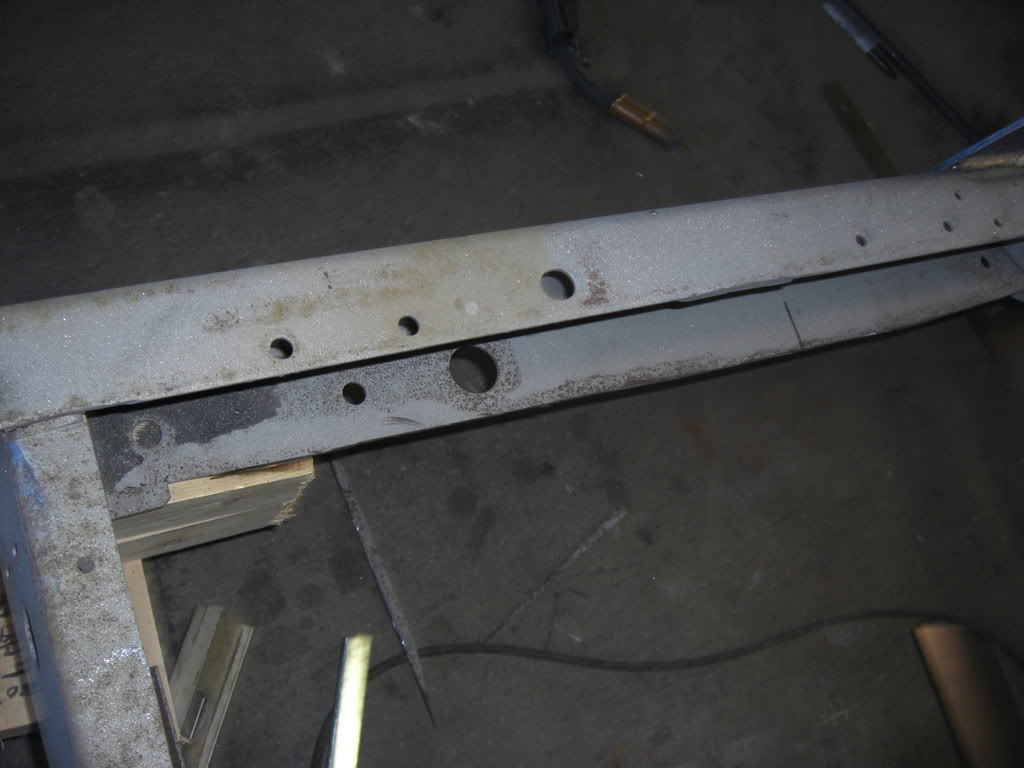
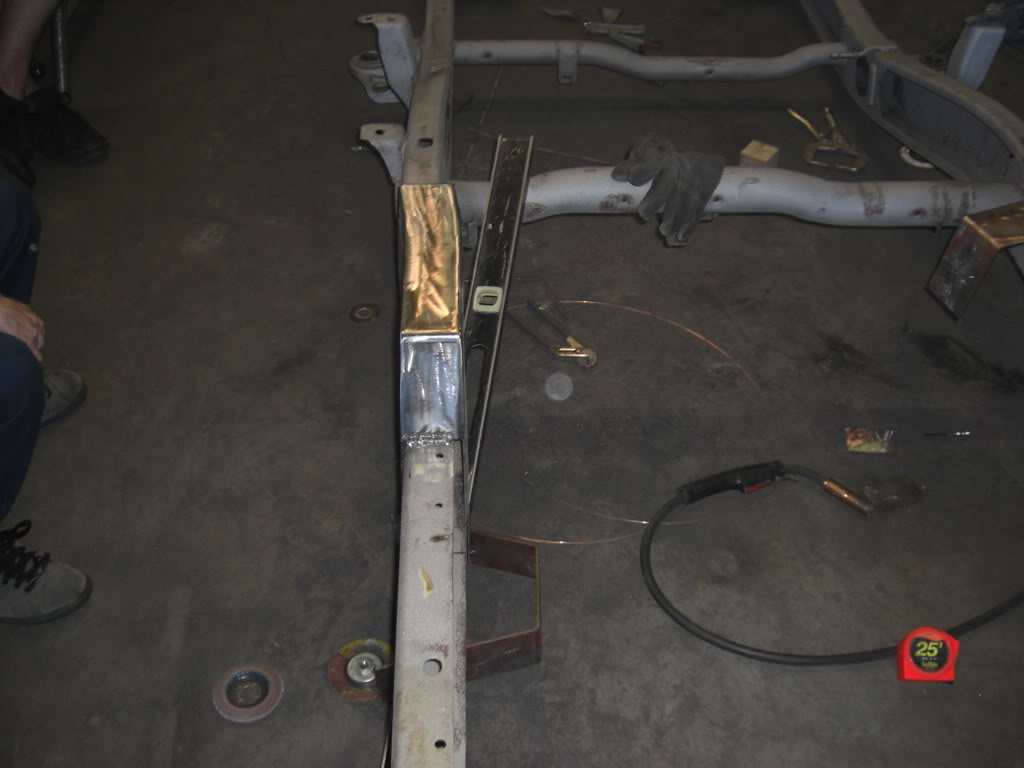
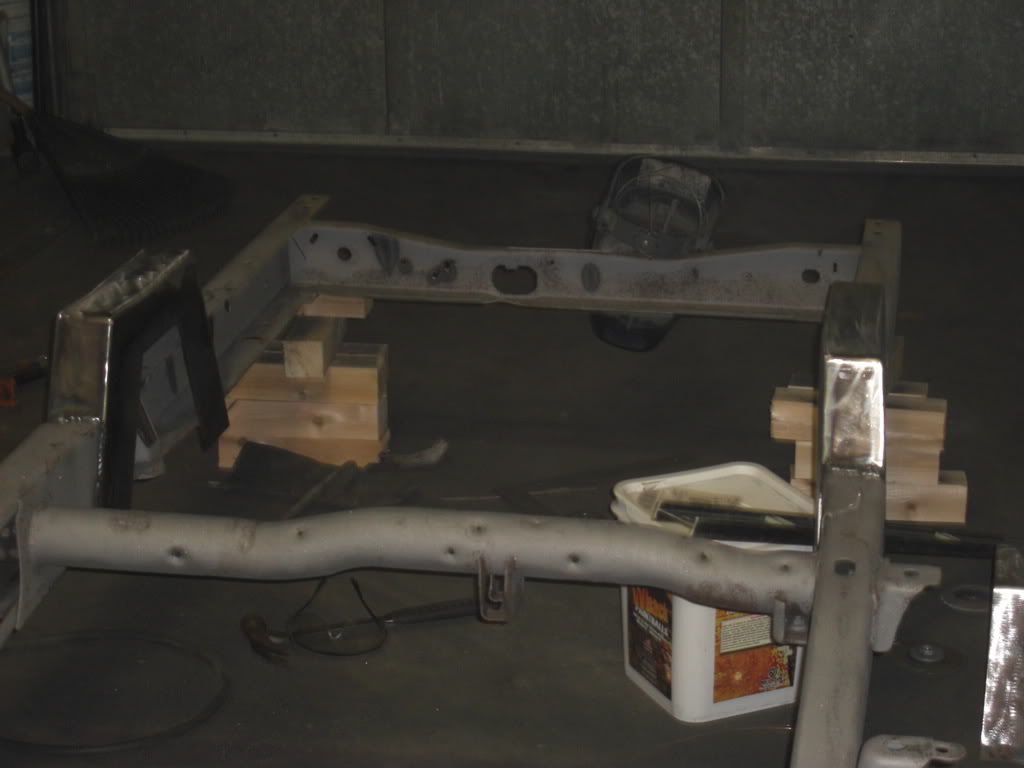
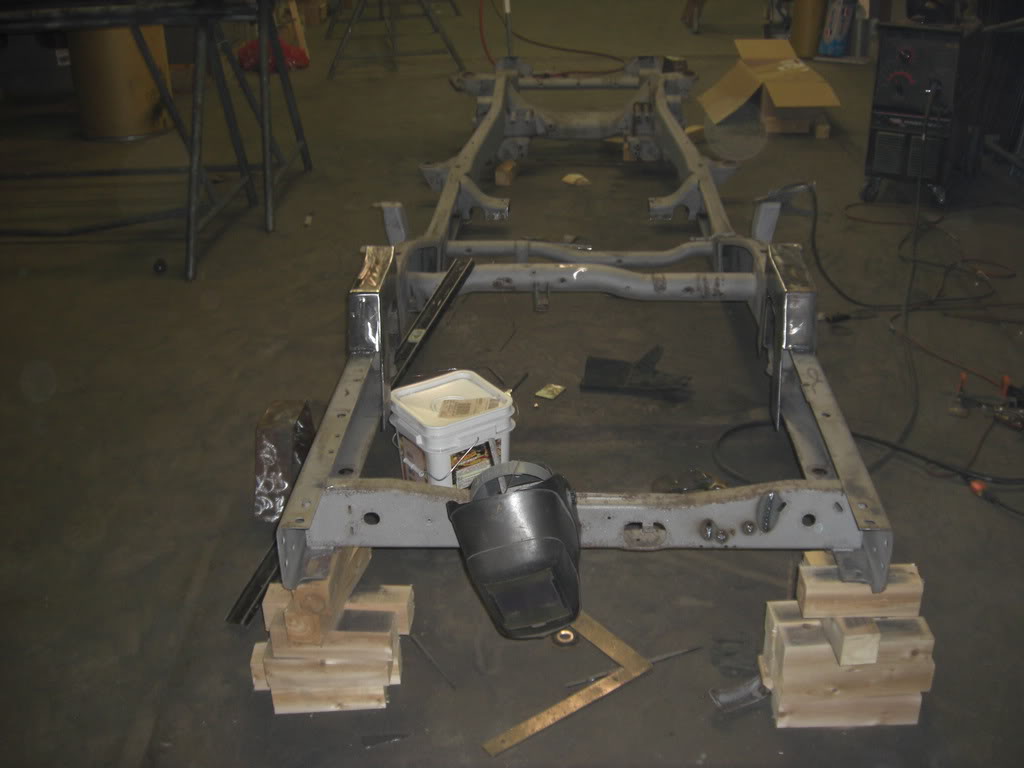
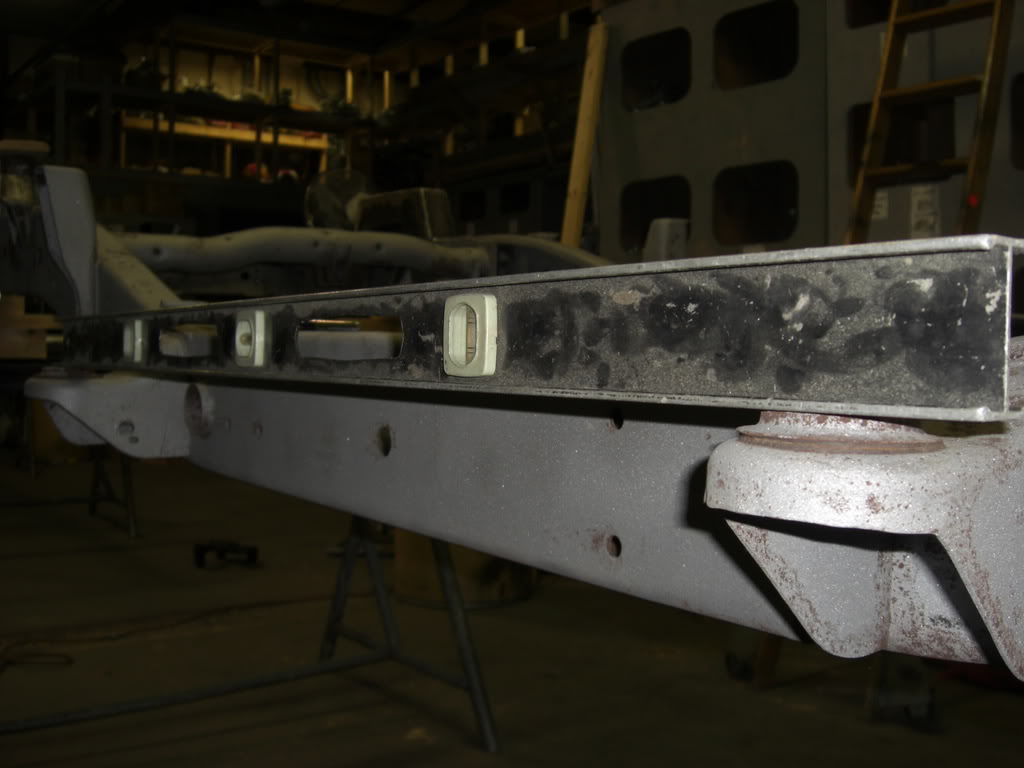
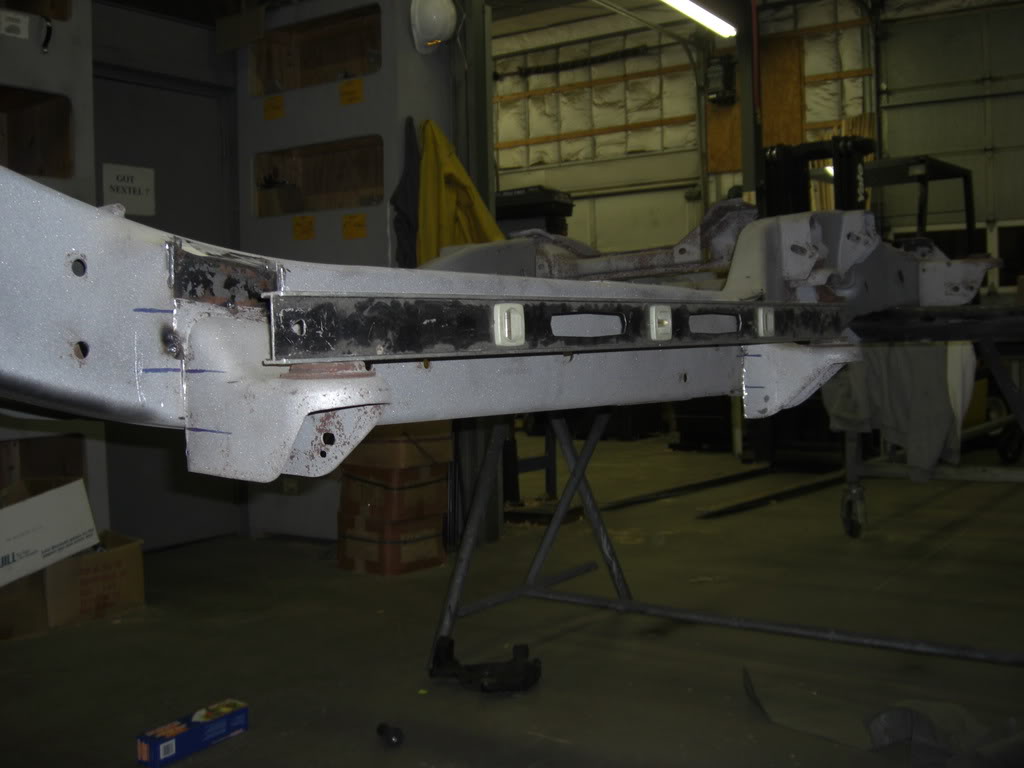
Next was to level off the frame... after it was flipped back over of course.
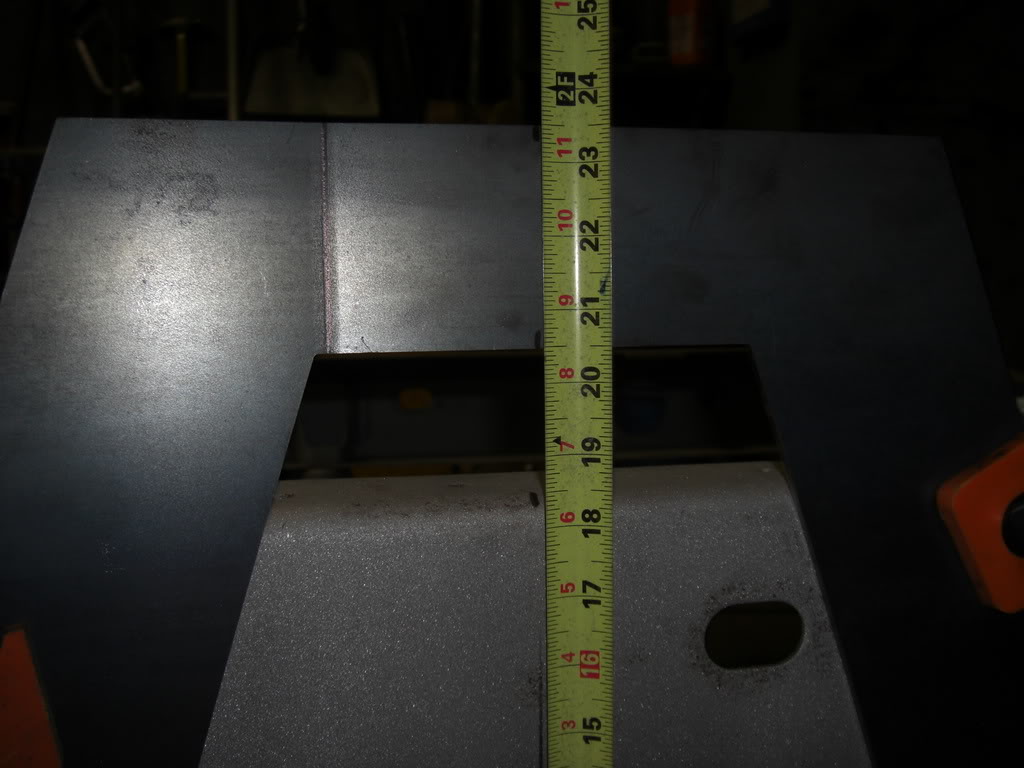
2.5" from the floor, 30" tire, 3.5" axle (14bolt) room for 1" bump stop sounds good to me
Why would they make the frame NOT straight?
much better
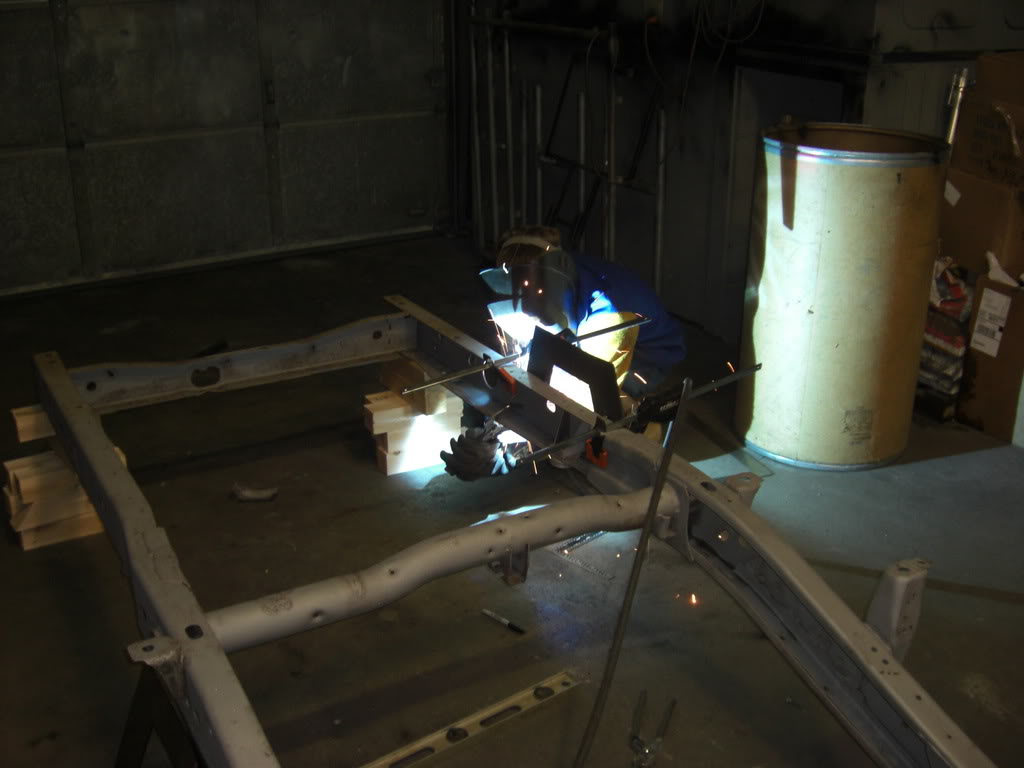
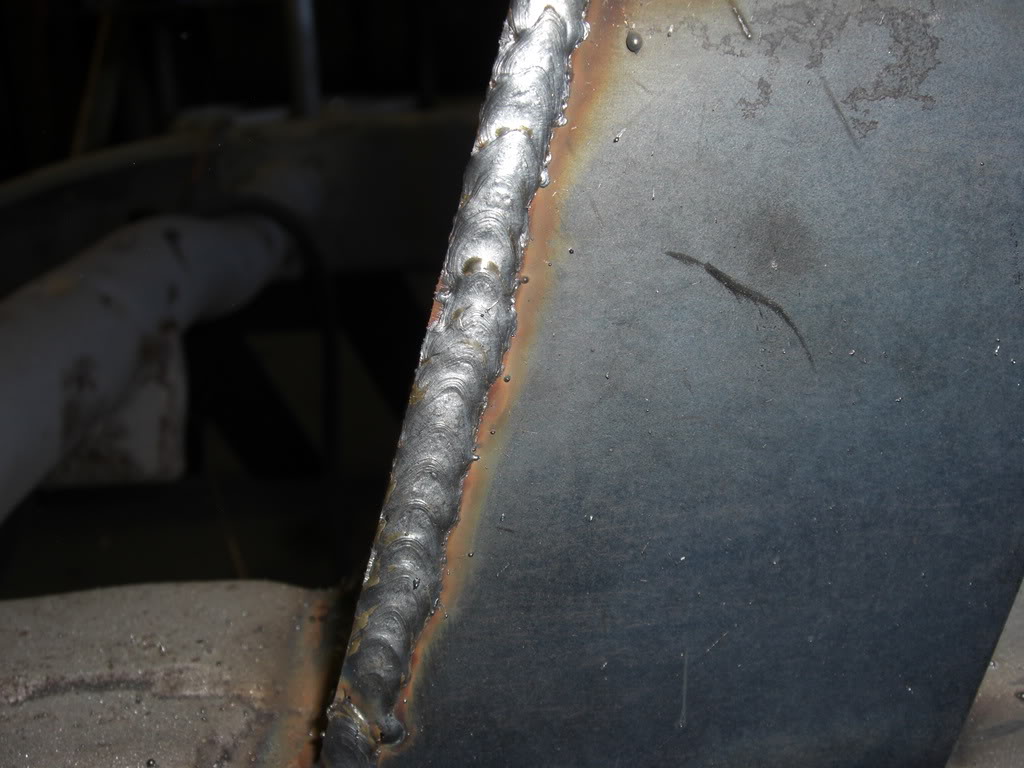
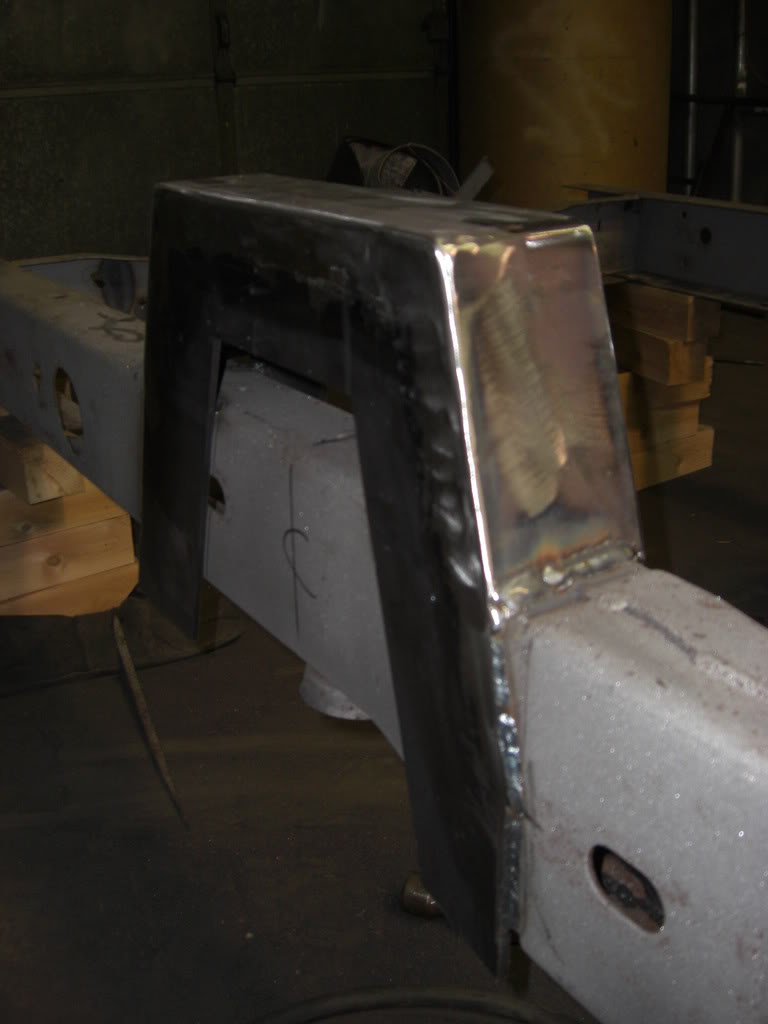
Overlap?
No!
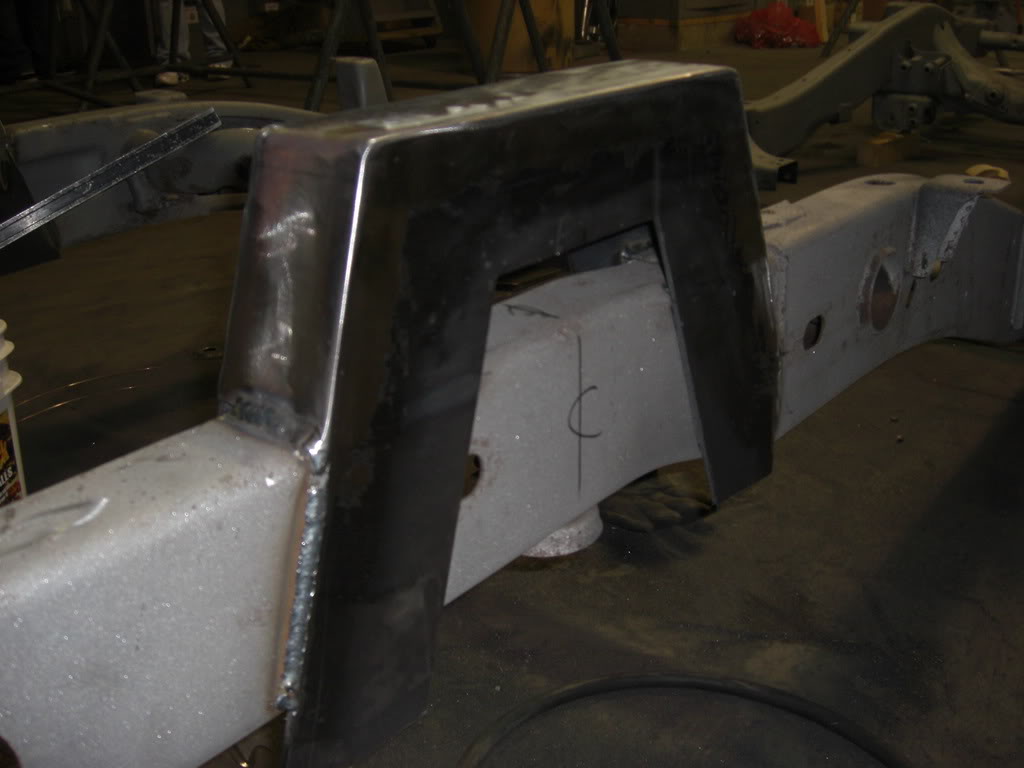
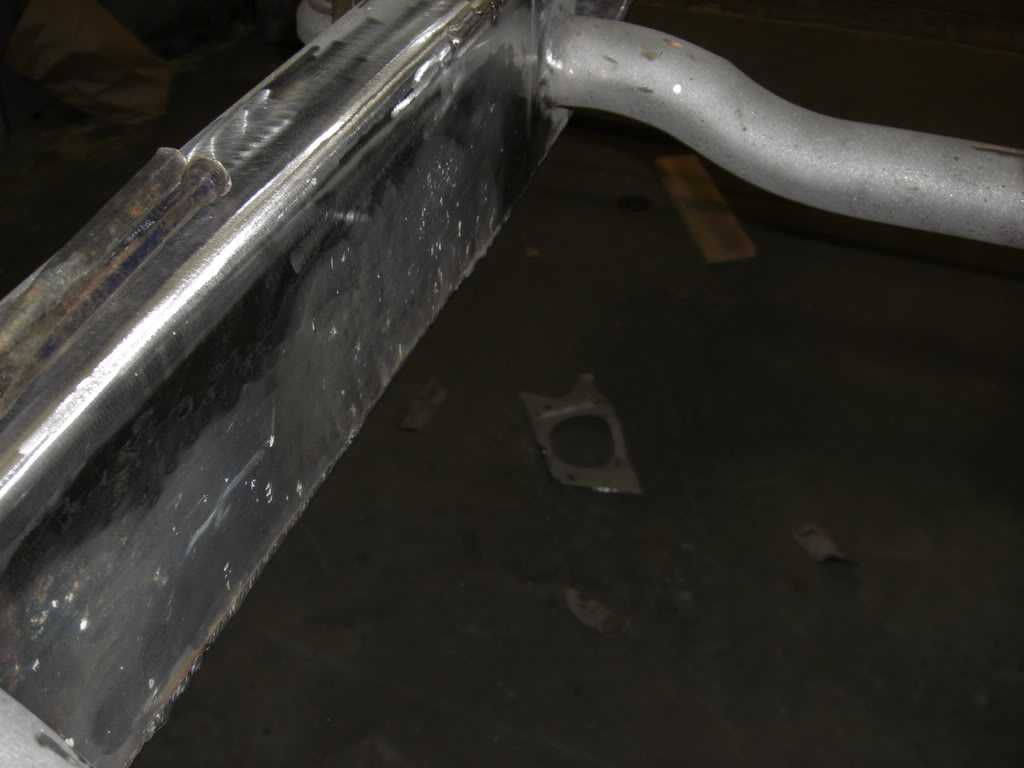
Both sides welded on top cut to be flush on both sides unlike how alot will overhand the edges, I hate that.
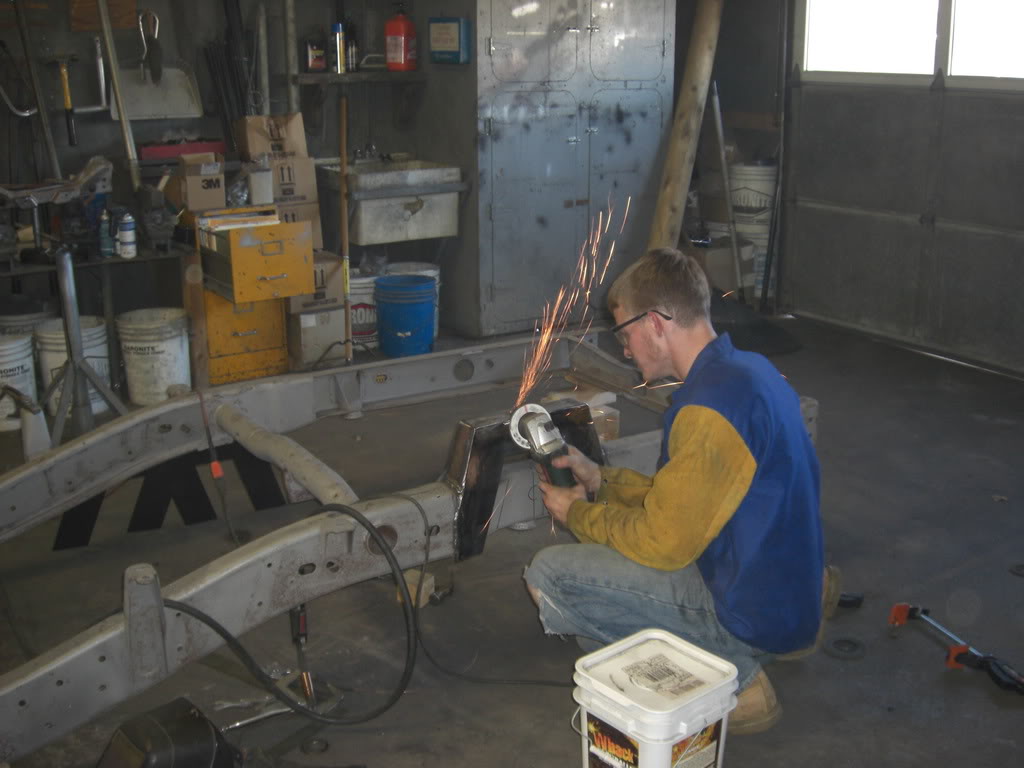
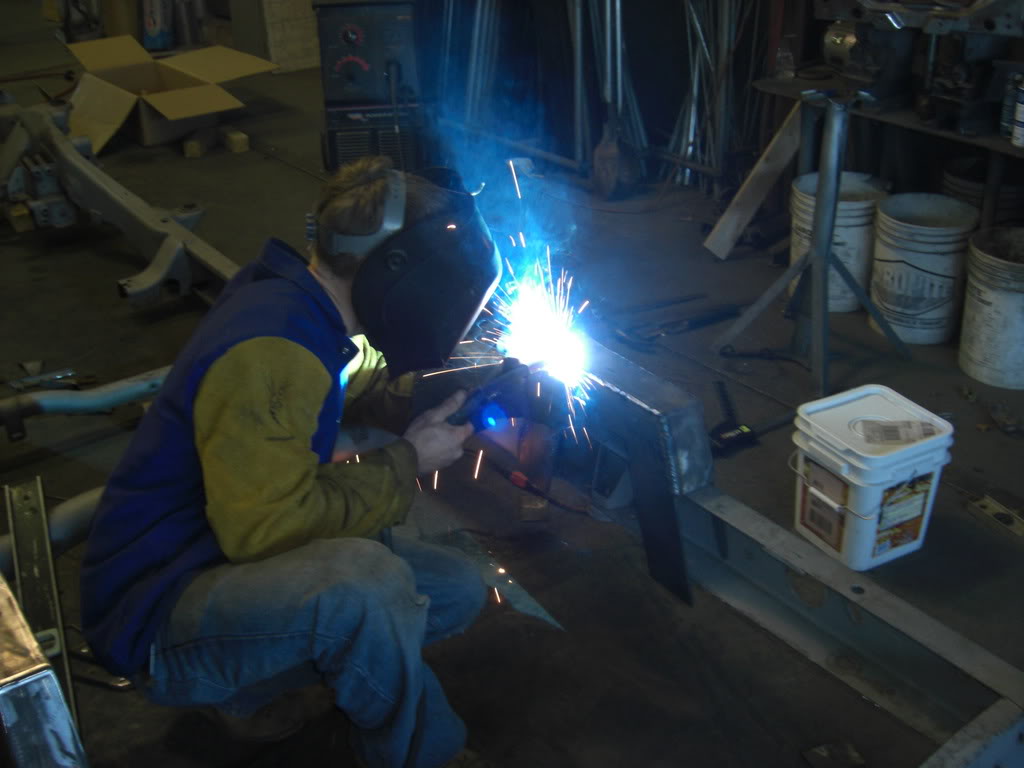
Im not a welder by trade... actually a carpenter

Grinding it down smooth
Got the frame back from the sandblaster. Upside down to do some work, makes it easier this way.
Here is the primer for the eastwood chassis black, im painting the frame with.
Hangs WAY too low to lay out...
Mount is cut
Notice the stitch welds... cut each off
Separated
Cut it down so it was 2 1/8" wide on the ends... works out perfect.
Welded back up
and primed ready to be smoothed and painted
Next was to level off the frame... after it was flipped back over of course.
2.5" from the floor, 30" tire, 3.5" axle (14bolt) room for 1" bump stop sounds good to me
Why would they make the frame NOT straight?
much better
Overlap?
No!
Both sides welded on top cut to be flush on both sides unlike how alot will overhand the edges, I hate that.
Im not a welder by trade... actually a carpenter
Grinding it down smooth
Oct 21, 2007 | 11:52 PM
#22
Thread Starter
TECH Fanatic
iTrader: (12)
Joined: Mar 2005
Posts: 1,513
Likes: 6
From: Massachussetts
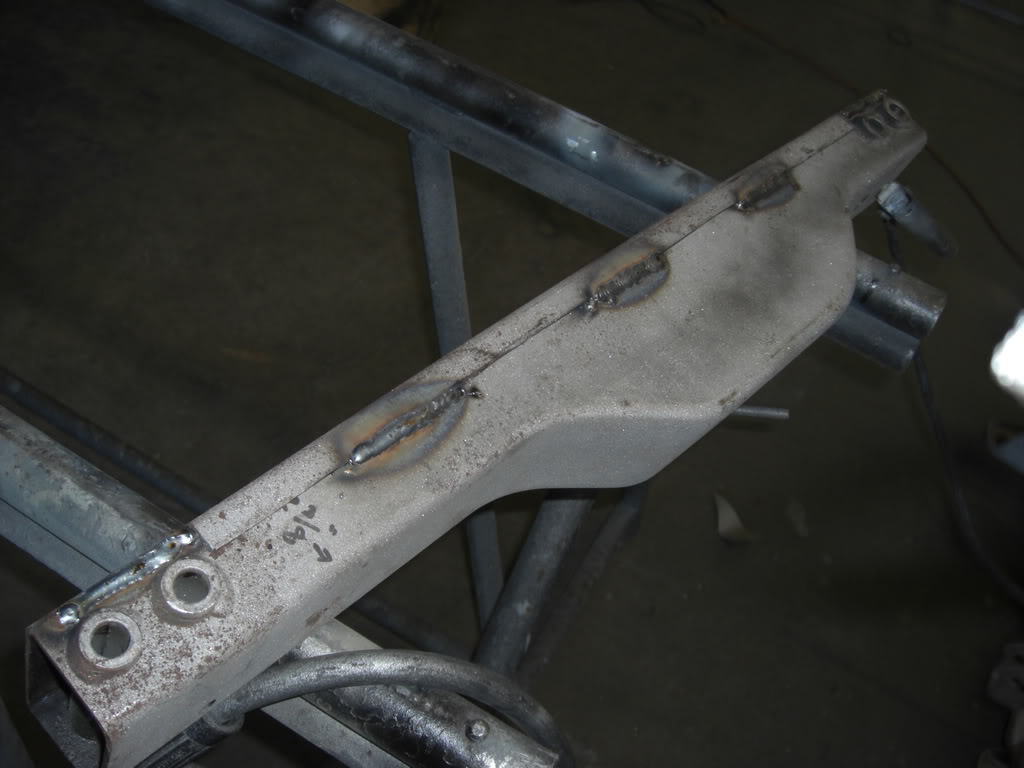
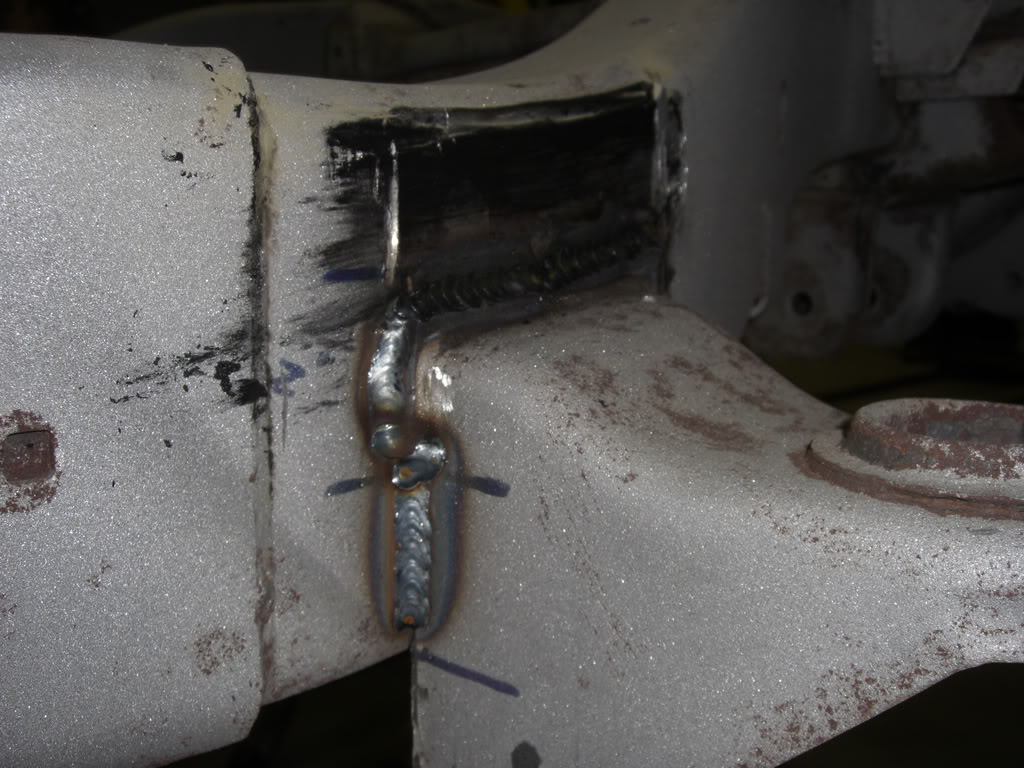
I welded it, grinded it, welded it again grinded it, then stressed the joints and made sure no imperfections and fixed any I found.
Next side
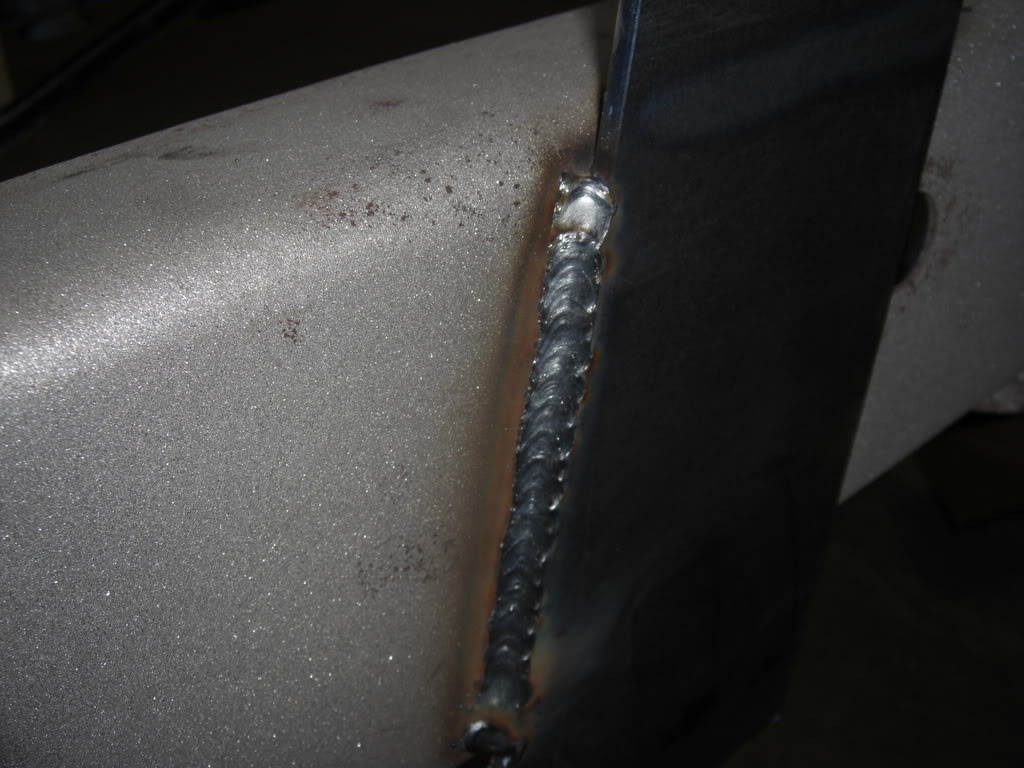
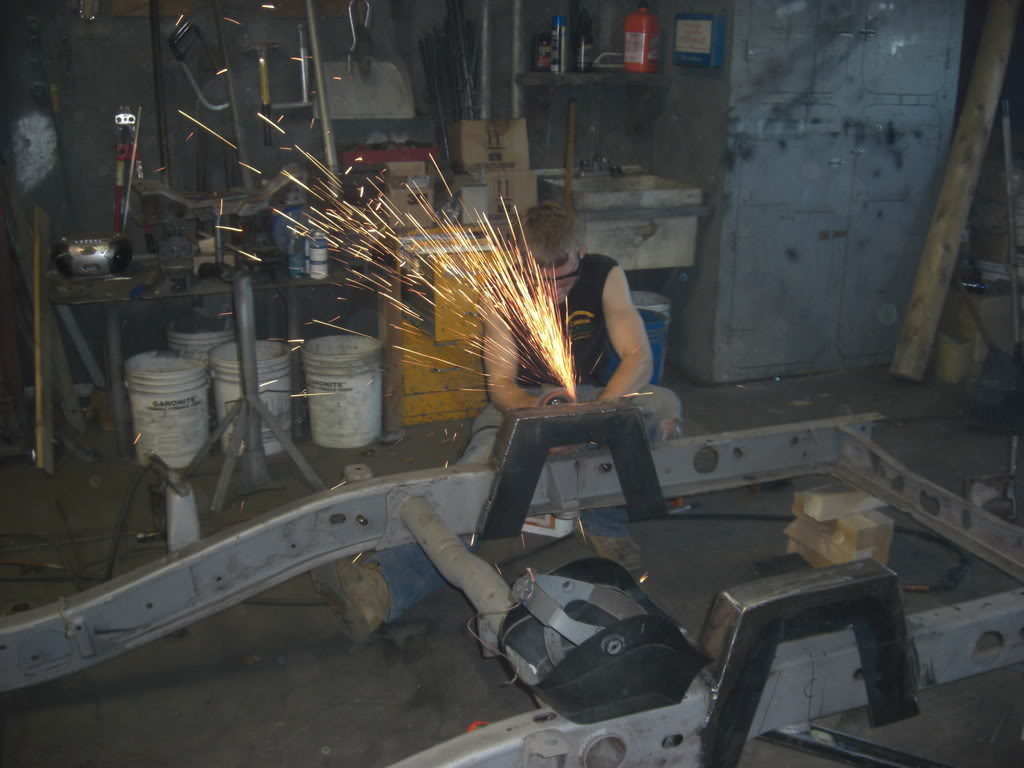
Nice penetration eh?
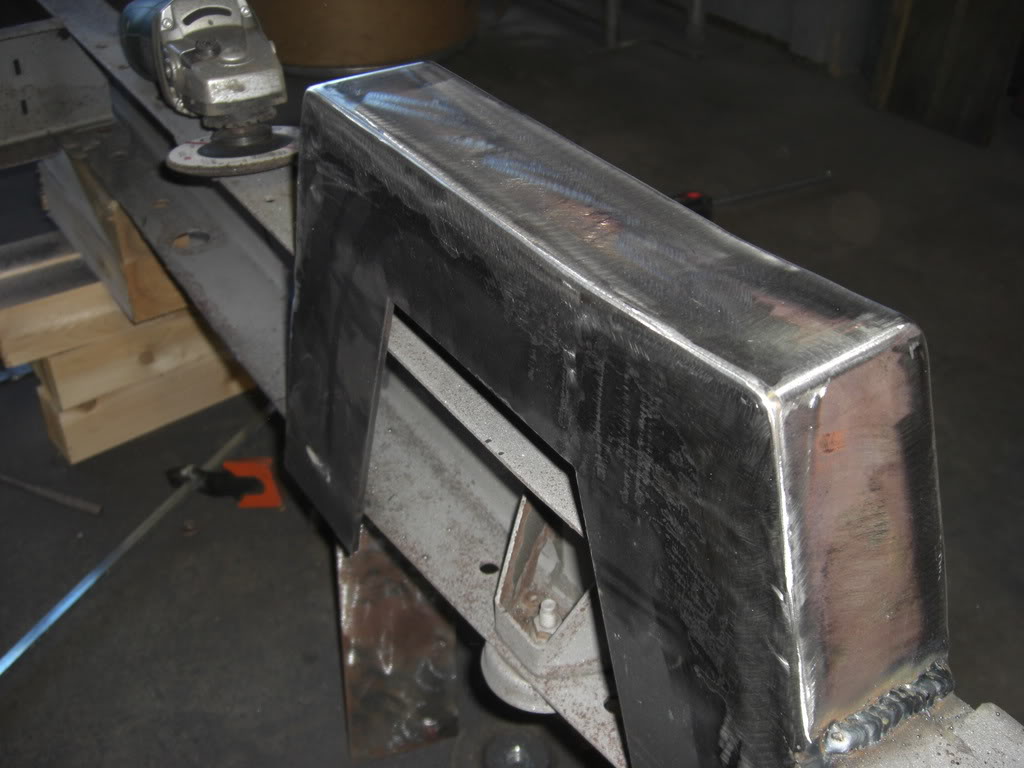
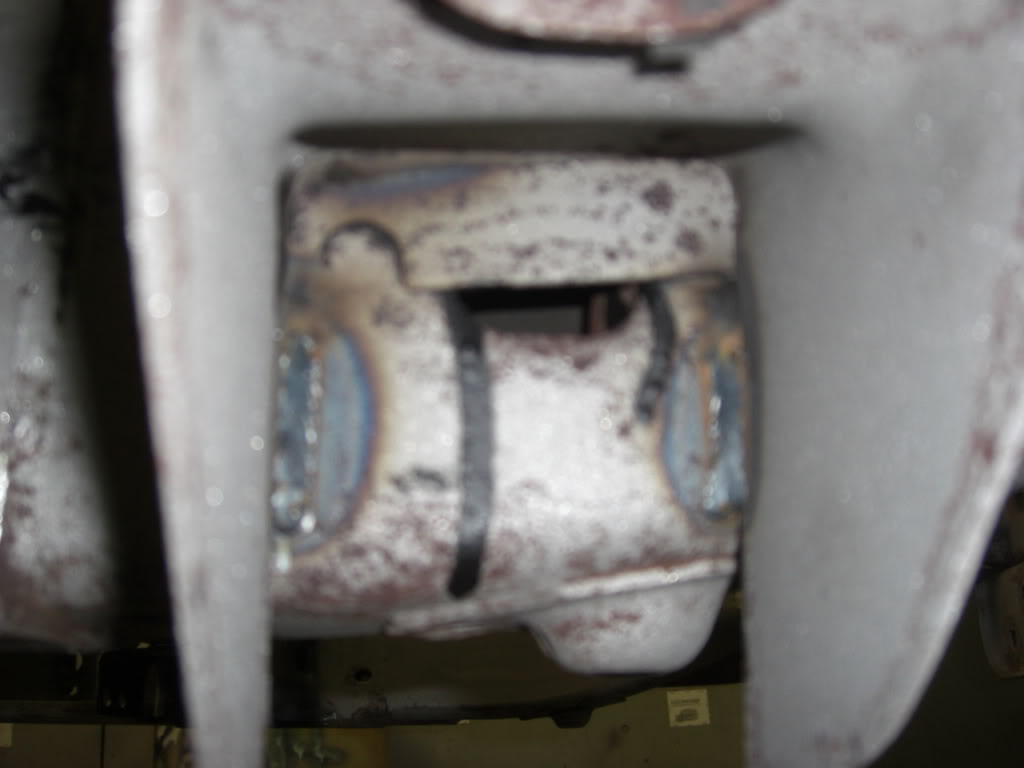
Finished up for the day

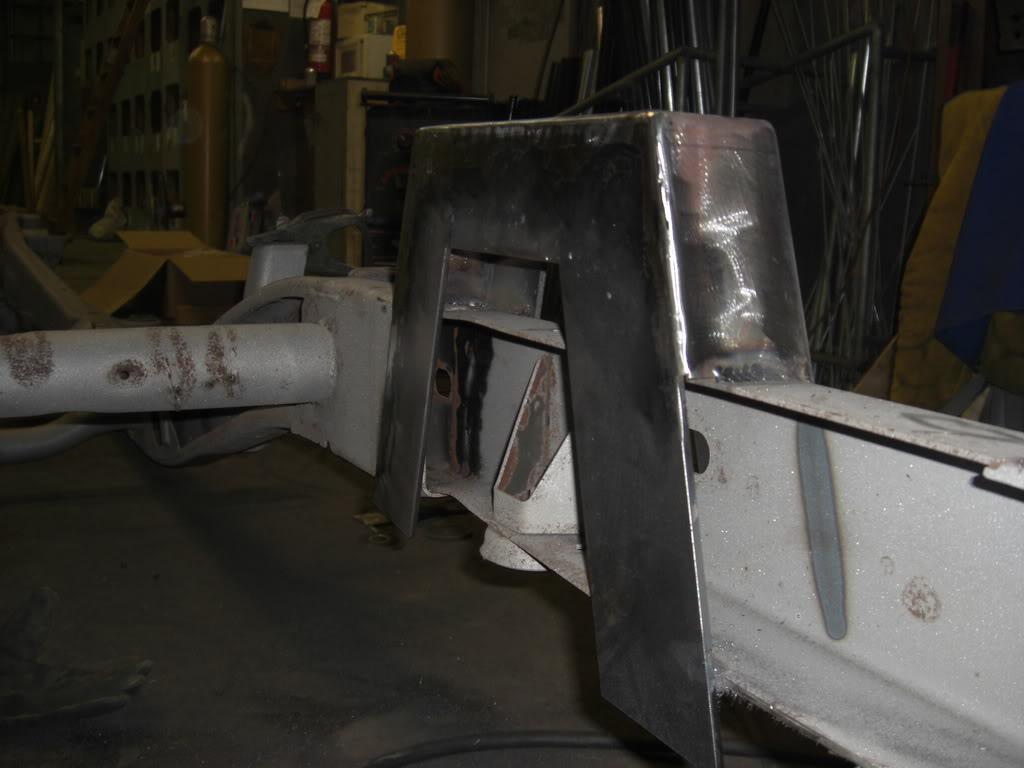
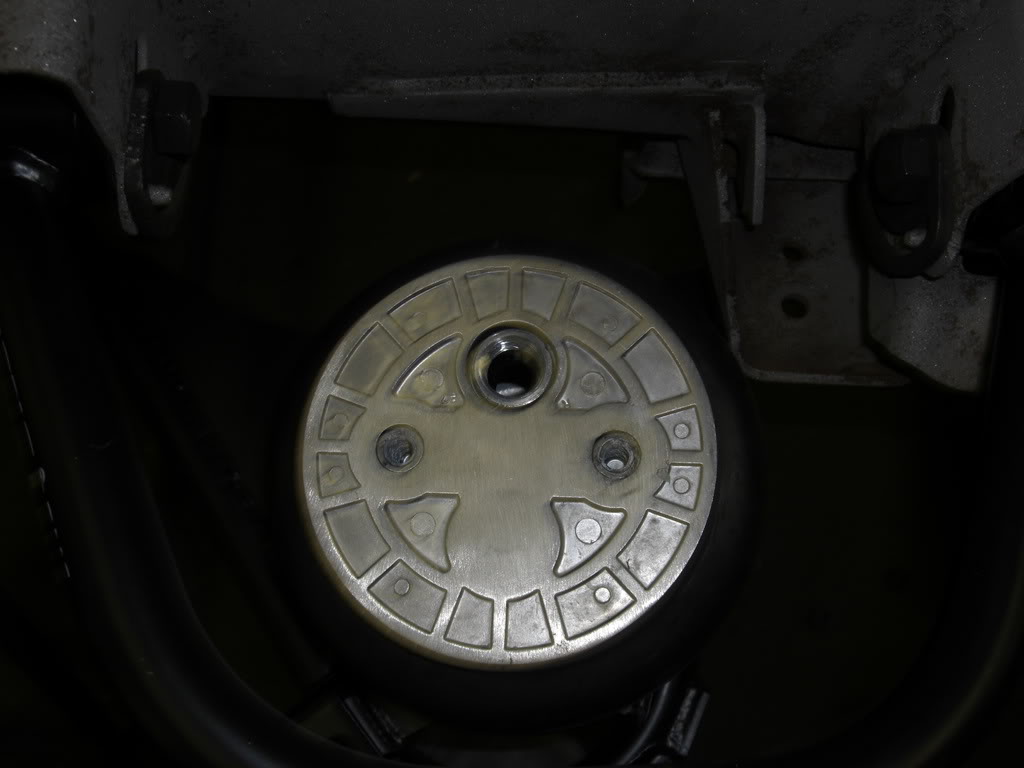
I haven't installed the bottom one I need to weld a nut on it to be able to screw in a bump stop but I wanted to make sure its the right size so I can vary different bump stops.
I should have my arms soon. I also had to send SD my brackets back since the 14bolt (after thought) is bigger than the 10bolt axle tubes. Once I get those back Ill start hanging my rear end, then narrowing. Along with dropping done my body mounts.
Next side
Nice penetration eh?
Finished up for the day
I haven't installed the bottom one I need to weld a nut on it to be able to screw in a bump stop but I wanted to make sure its the right size so I can vary different bump stops.
I should have my arms soon. I also had to send SD my brackets back since the 14bolt (after thought) is bigger than the 10bolt axle tubes. Once I get those back Ill start hanging my rear end, then narrowing. Along with dropping done my body mounts.
 Oct 22, 2007 | 09:34 AM
#25

Looking good, nice welds. Just a suggestions on steel that thick (looks like 1/8) to angle the edges that touch each other to allow for better pentration...Making a \/ instead of a ||... Other wise when you grind it smooth your basically grinding off all the connecting material.
 Oct 24, 2007 | 07:27 AM
#27
Thread Starter
TECH Fanatic
iTrader: (12)
Joined: Mar 2005
Posts: 1,513
Likes: 6
From: Massachussetts
Looking good, nice welds. Just a suggestions on steel that thick (looks like 1/8) to angle the edges that touch each other to allow for better pentration...Making a \/ instead of a ||... Other wise when you grind it smooth your basically grinding off all the connecting material.
Oct 24, 2007 | 11:42 AM
#28

Nice work! You're a braver man than I am. I would **** myself stripping my truck all the way to the frame. I don't think I'd ever get it all back together the right way, lol.
Oct 29, 2007 | 10:22 PM
#29
Thread Starter
TECH Fanatic
iTrader: (12)
Joined: Mar 2005
Posts: 1,513
Likes: 6
From: Massachussetts
I got my arms....
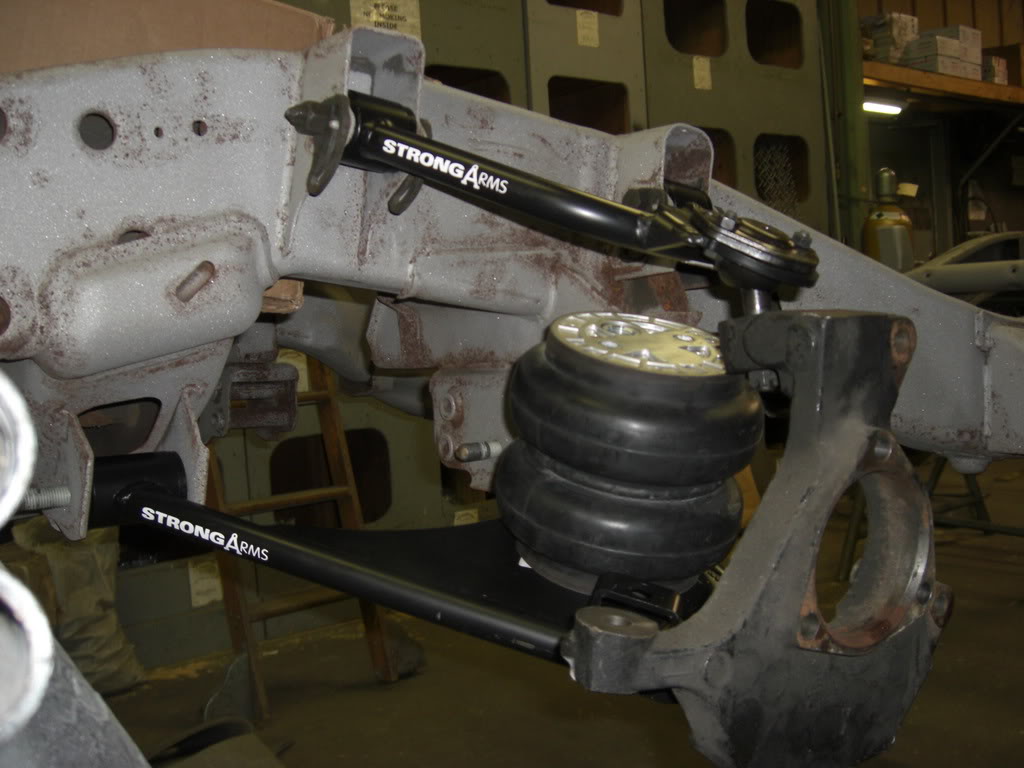
Going to have to trim that bumpstop off
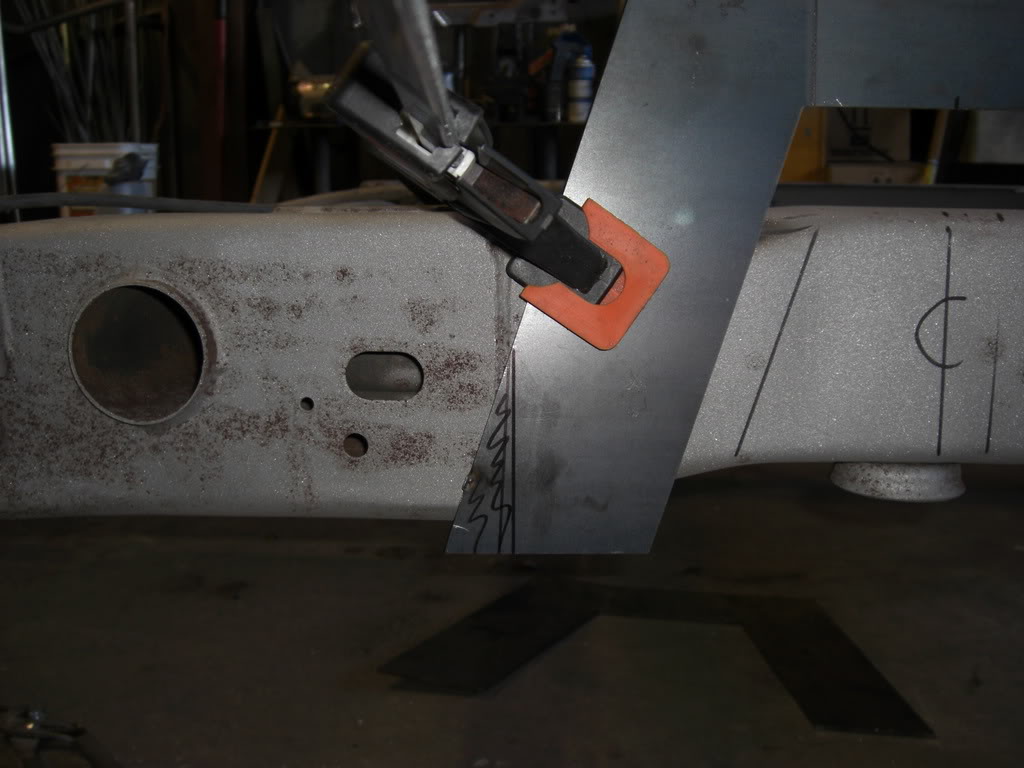
Leveled the bodymounts ready to cut
Marked 2"
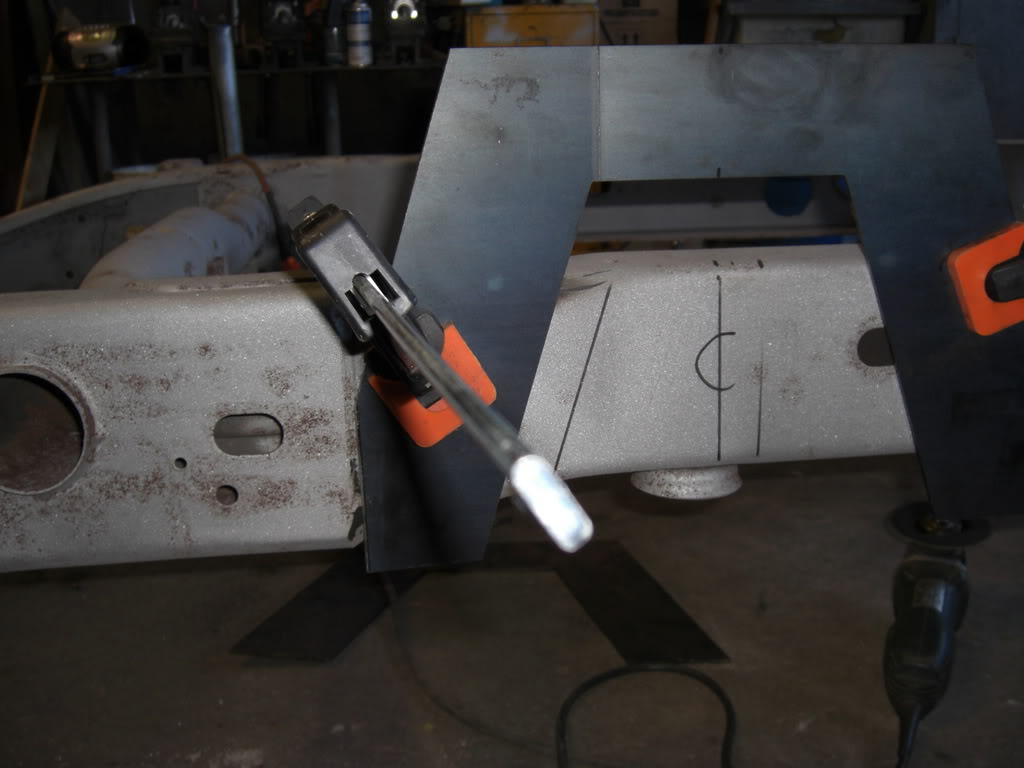
Dropped and tacked
Leveled them
Welded up
Figured Id weld inside for a little extra strength, not that it needs it.
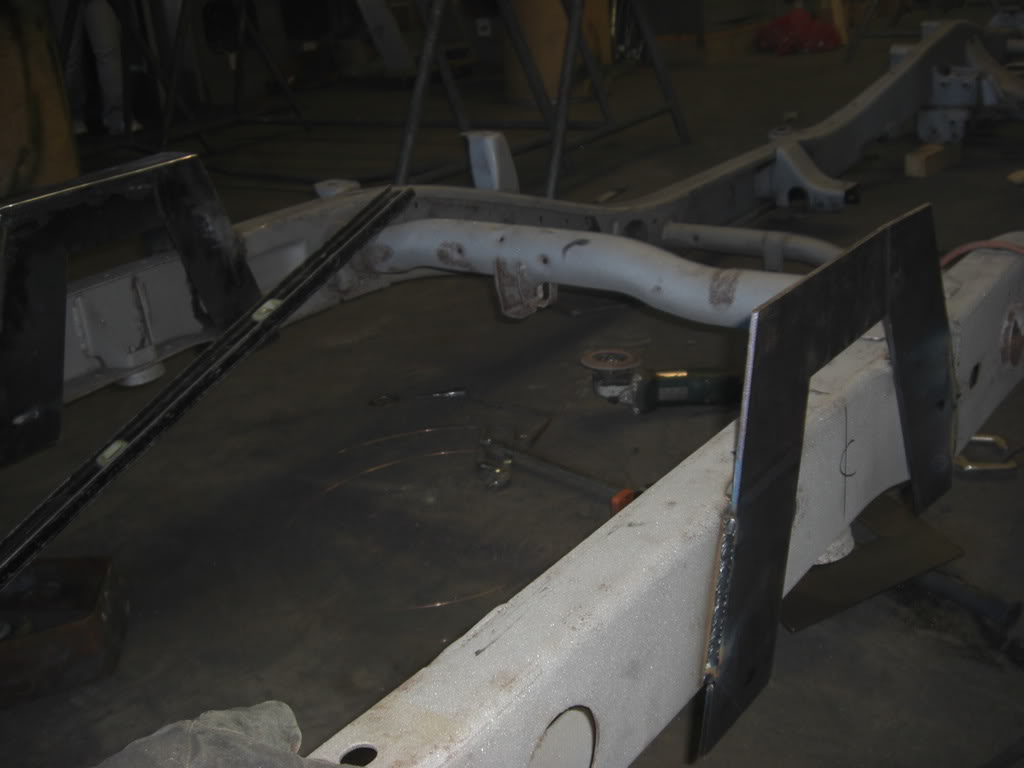
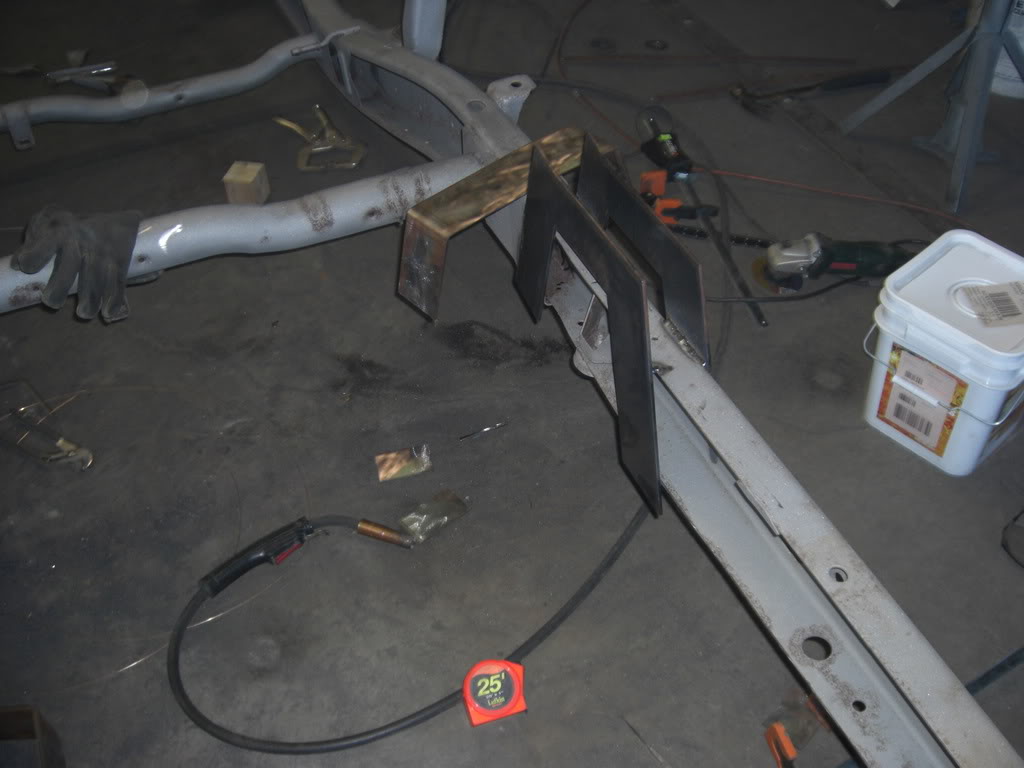
Scored a piece of 1/8" plate for boxing frame for free

Before
After
didnt get that much done this weekend, next weekend Ill get alot done tho. I need to figure out how I want to setup my torsion style up front.
Going to have to trim that bumpstop off
Leveled the bodymounts ready to cut
Marked 2"
Dropped and tacked
Leveled them
Welded up
Figured Id weld inside for a little extra strength, not that it needs it.
Scored a piece of 1/8" plate for boxing frame for free
Before
After
didnt get that much done this weekend, next weekend Ill get alot done tho. I need to figure out how I want to setup my torsion style up front.