TBSS Intake on 99-02
 Mar 22, 2010 | 07:56 PM
#1

I started the TBSS intake swap into my 99 this weekend. I thought i would put up some pictures of what it takes to do the swap.
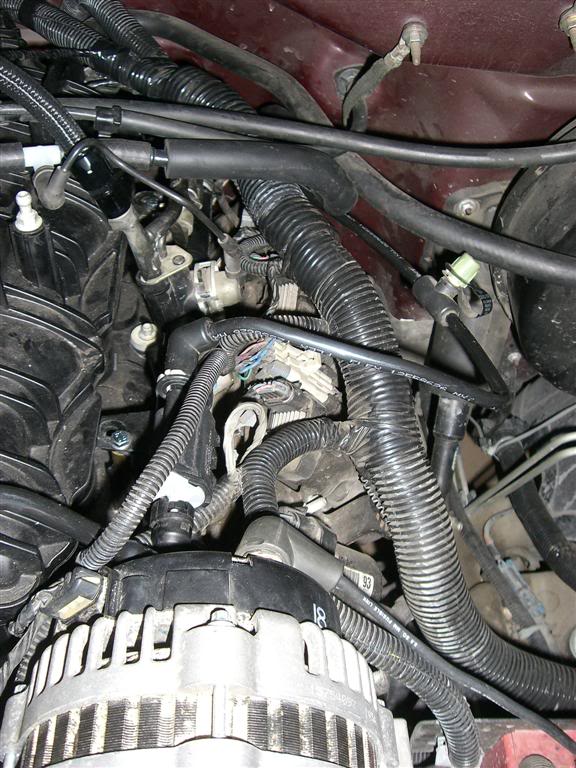
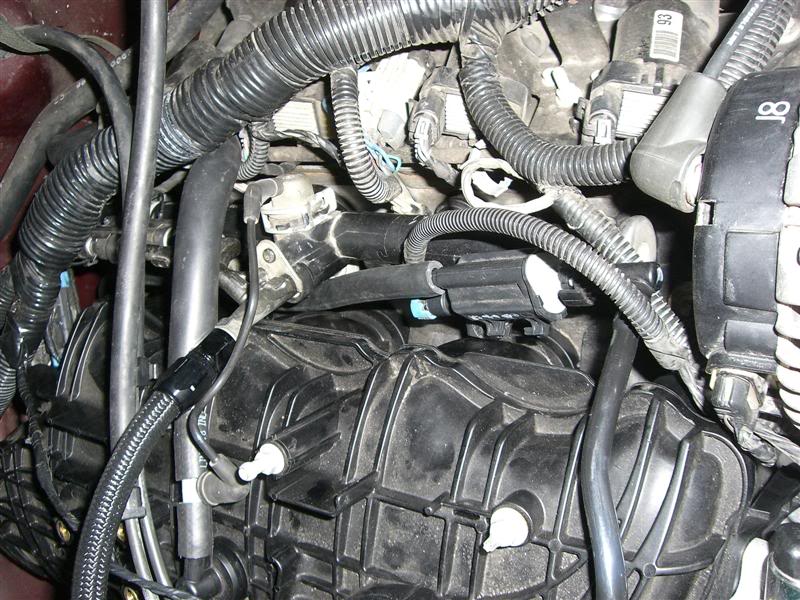
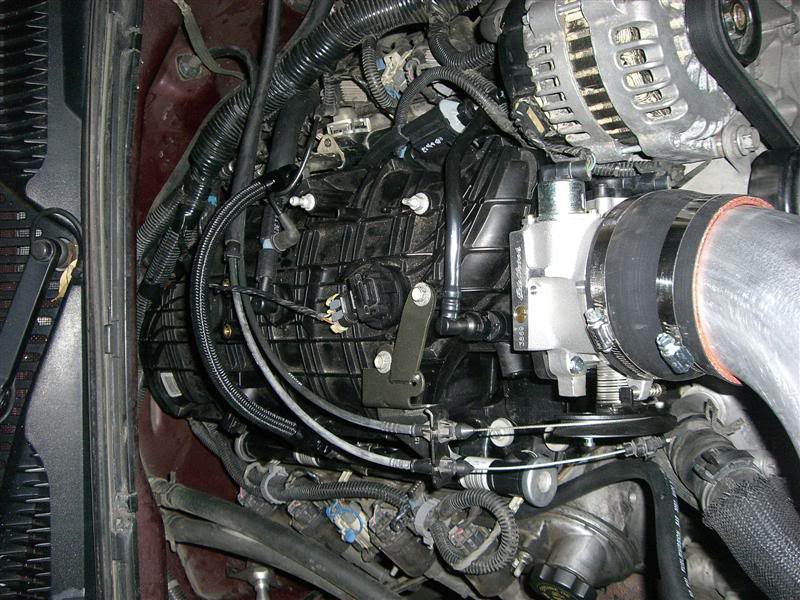
The only real differences between the TBSS intake and the stock one is that there are less vacuum ports, the cable bracket does not fit and the old fuel rail crossover does not fit.
First i put the fuel rails onto the intake and measured the space between so i could make a spacer. I measured it to be about .800" and made four spacers that were .5" OD, .25" ID and .800" long. That allowed for the fuel rails to be pulled down tight onto the intake.
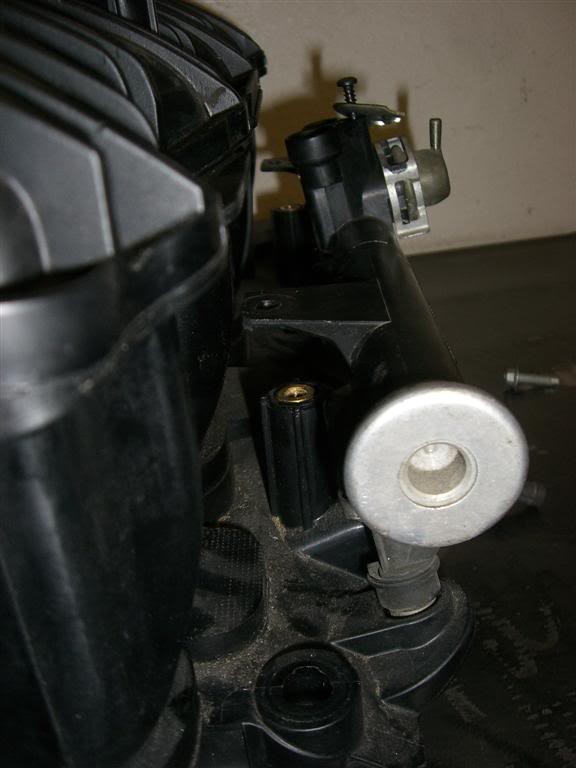
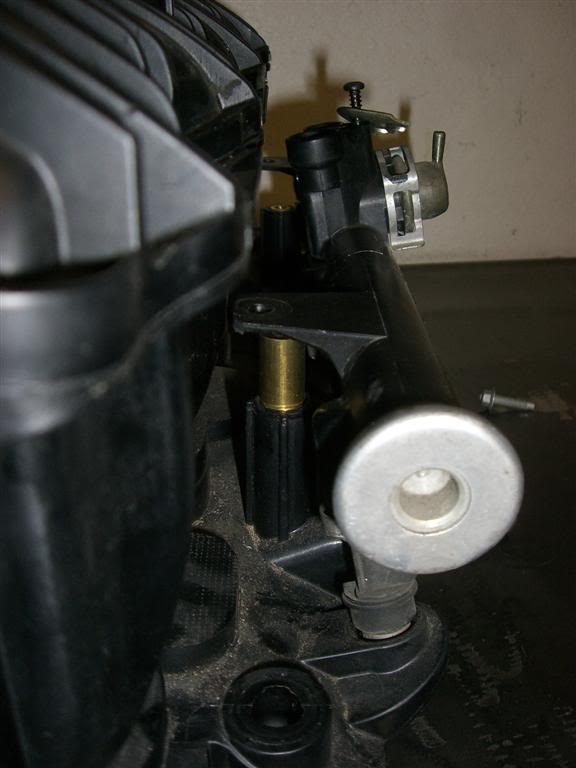
Once i got the spacers made i had to re-drill the plastic tabs on the fuel rails to line up with the TBSS threaded holes. Also i needed longer bolts because of the spacers so I bought 4 6 x 1.0 x 40mm bolts and some washers
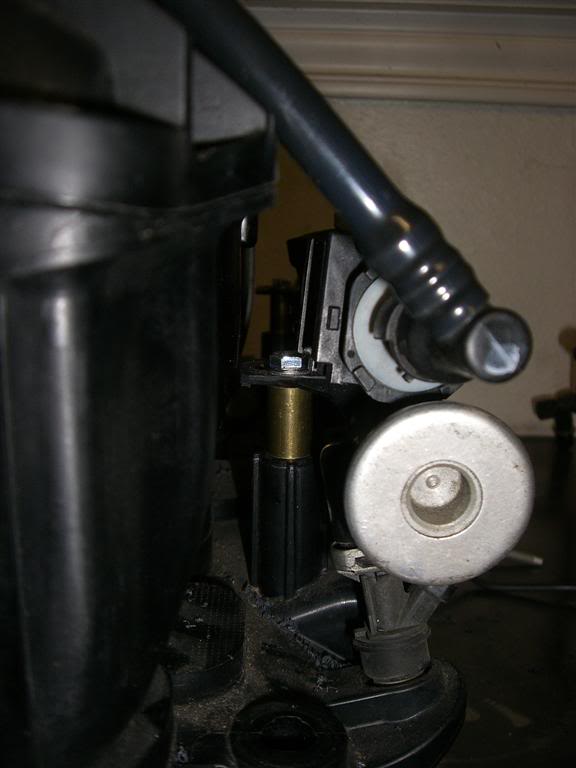
So now that the fuel rails are bolted on i started to make the new crossover. I bought two weld on AN6 fittings and two AN6 straight fittings and some soft line for the new crossover. All i did was cut the top of the old crossover off and the weld on the AN fittings. In order to keep the test port in the crossover i had to cut in an extra splice. Just make sure to remove the schrader valve before welding.
Once they were welded on I cut the tubing and made the crossover.
Some things to note about the crossover the passenger side isn't held in as tight and when i installed it there was a slight leak so i added an additional O-ring and it made it much tighter and stopped the leak.
I now went ahead and installed it on the truck. Since there is only one Vac port on the top i used a 3/8" hose barb T to hook up the pressure regulator. And when i make a new intake tube i will have to put a Vac fitting in the tube for the tube coming from the passenger side head.
I also redid the cable bracket. i had to cut off the ear on the side and drill a hole there then add a strap to secure it to the front hole. I didn't go into a step by step as i was pressed for time and it won't be exactly the same for everyone.
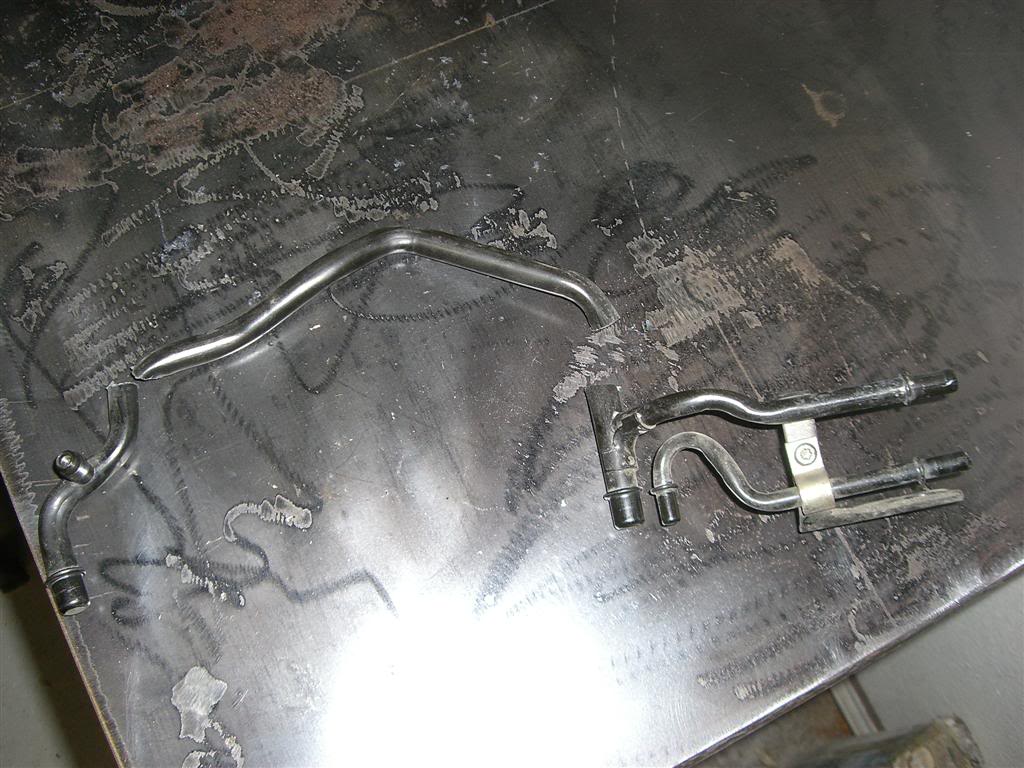
Also the Evap. You could shorten the original line and connect it to the new evap solenoid. It can also be connect as is it just needs to be bent a little. Or tune it out altogether.
And one last thing if you are using a new throttle body like i am using the Edelbrock 3869 if you need new bolts they are 6 x 1.0 x 20mm. I bought some that were longer and had to cut them down. I only did this because i didn't have any of the stock studs. And to put on the bolts you have to take off the IAC valve first.
Hope that helps someone.
And i haven't been able to start the truck yet because my 34" radiator turned out to be cracked so it will be a few more weeks till that happens.
The only real differences between the TBSS intake and the stock one is that there are less vacuum ports, the cable bracket does not fit and the old fuel rail crossover does not fit.
First i put the fuel rails onto the intake and measured the space between so i could make a spacer. I measured it to be about .800" and made four spacers that were .5" OD, .25" ID and .800" long. That allowed for the fuel rails to be pulled down tight onto the intake.
Once i got the spacers made i had to re-drill the plastic tabs on the fuel rails to line up with the TBSS threaded holes. Also i needed longer bolts because of the spacers so I bought 4 6 x 1.0 x 40mm bolts and some washers
So now that the fuel rails are bolted on i started to make the new crossover. I bought two weld on AN6 fittings and two AN6 straight fittings and some soft line for the new crossover. All i did was cut the top of the old crossover off and the weld on the AN fittings. In order to keep the test port in the crossover i had to cut in an extra splice. Just make sure to remove the schrader valve before welding.
Once they were welded on I cut the tubing and made the crossover.
Some things to note about the crossover the passenger side isn't held in as tight and when i installed it there was a slight leak so i added an additional O-ring and it made it much tighter and stopped the leak.
I now went ahead and installed it on the truck. Since there is only one Vac port on the top i used a 3/8" hose barb T to hook up the pressure regulator. And when i make a new intake tube i will have to put a Vac fitting in the tube for the tube coming from the passenger side head.
I also redid the cable bracket. i had to cut off the ear on the side and drill a hole there then add a strap to secure it to the front hole. I didn't go into a step by step as i was pressed for time and it won't be exactly the same for everyone.
Also the Evap. You could shorten the original line and connect it to the new evap solenoid. It can also be connect as is it just needs to be bent a little. Or tune it out altogether.
And one last thing if you are using a new throttle body like i am using the Edelbrock 3869 if you need new bolts they are 6 x 1.0 x 20mm. I bought some that were longer and had to cut them down. I only did this because i didn't have any of the stock studs. And to put on the bolts you have to take off the IAC valve first.
Hope that helps someone.
And i haven't been able to start the truck yet because my 34" radiator turned out to be cracked so it will be a few more weeks till that happens.


 Mar 25, 2010 | 11:08 PM
#4
Let me add one note to your writeup. Instead of bending the plastic evap hose as you did, what I did for mine is if you reach back there far enough, you'll feel a quick release button where the plastic hose meets the metal hose under the firewall. I removed my plastic evap hose all together as to not damage it. Then ran some 3/8" fuel line from the metal hose that comes from the tank into the side mounted evap solenoid. A lot cleaner and doesn't ruin the original hose. 
Mar 25, 2010 | 11:19 PM
#5
Let me add one note to your writeup. Instead of bending the plastic evap hose as you did, what I did for mine is if you reach back there far enough, you'll feel a quick release button where the plastic hose meets the metal hose under the firewall. I removed my plastic evap hose all together as to not damage it. Then ran some 3/8" fuel line from the metal hose that comes from the tank into the side mounted evap solenoid. A lot cleaner and doesn't ruin the original hose.
How did you attach it to the solenoid? did you just push the line over and use a clamp of sorts?


Trending Topics
Apr 2, 2010 | 11:43 PM
#8
I thought i would update. I got everything installed and started it up. Everything with the intake is working right and the tune from wheatley is idleing pretty good.
Only problem is the the PCM is not controlling the Fans so i haven't driven it yet. I did ground out the harness and the fans work so i know it is wired correctly. Anyway I have a PM out to wheatley so i'm hoping it gets resolved.
So on to the pictures.
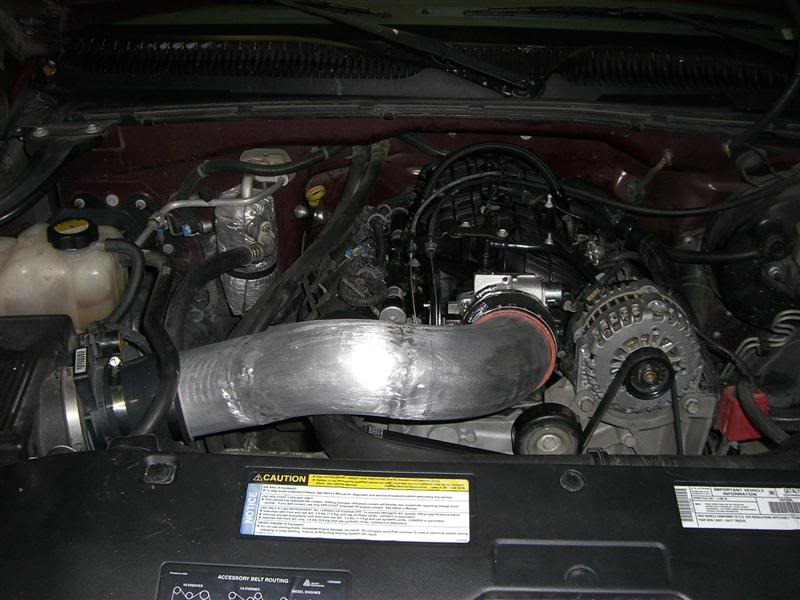
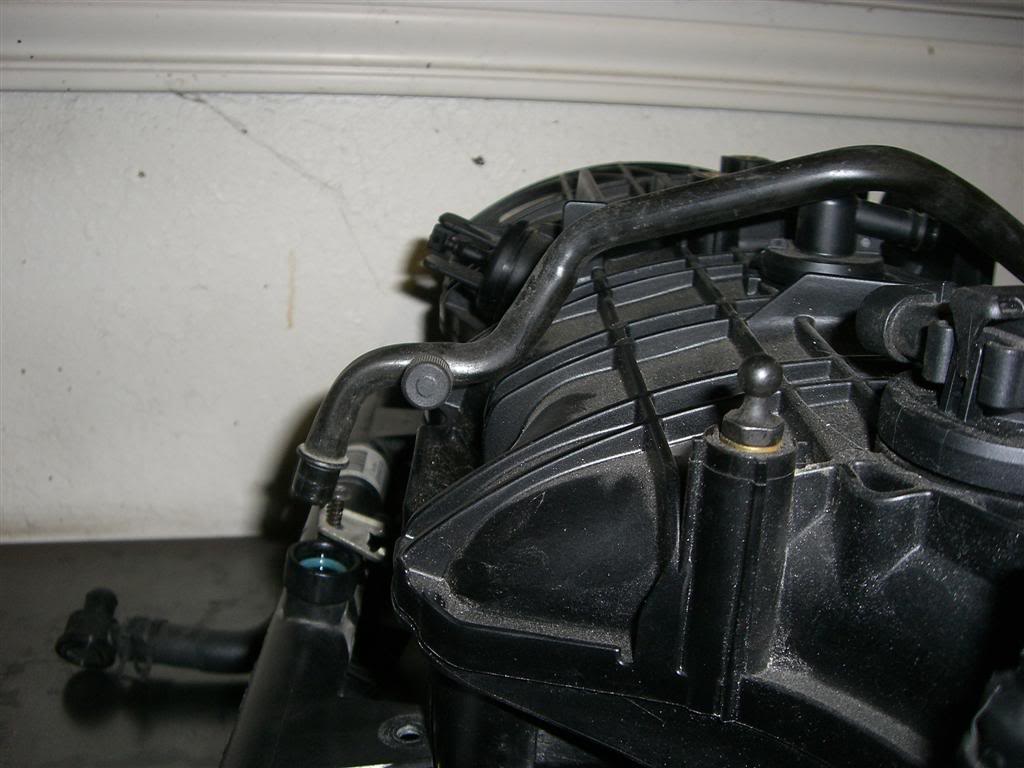
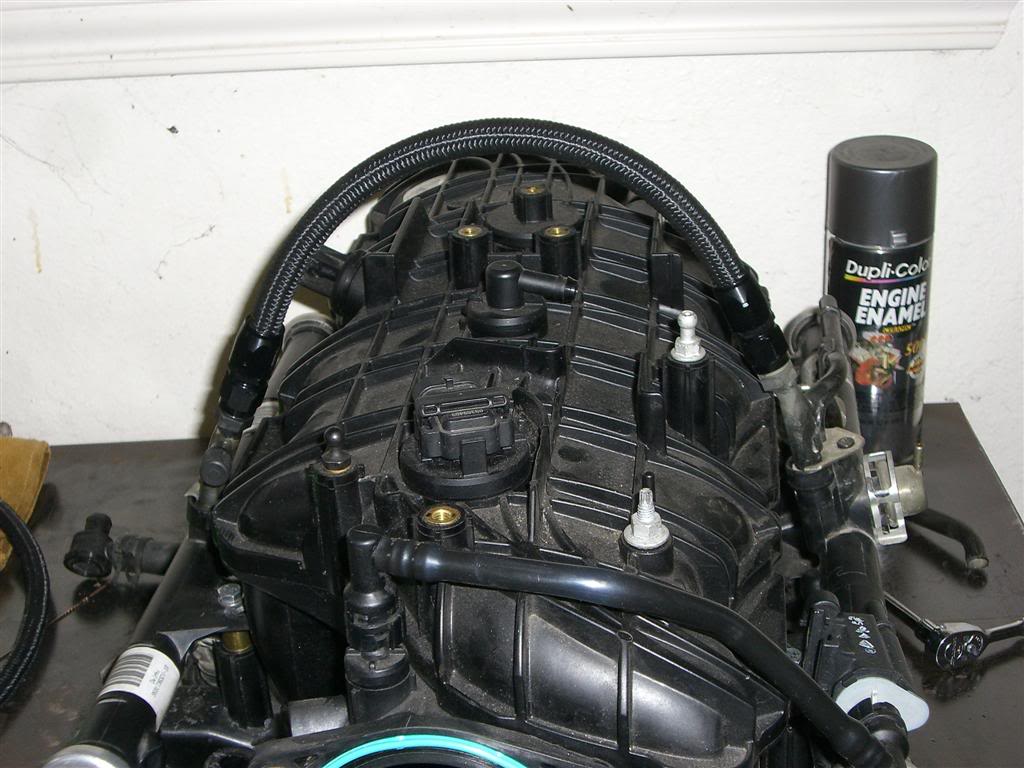
The Intake tube is four inch mandrel bent 90 degree elbows that i cut up and welded until it fit with the factory box. The Coupler on the throttle body is a 4.5-4 in and the a 4-3.5 inch at the MAF. Also on the back of the tube is a bung for the vacumn line that goes the the passenger side head.
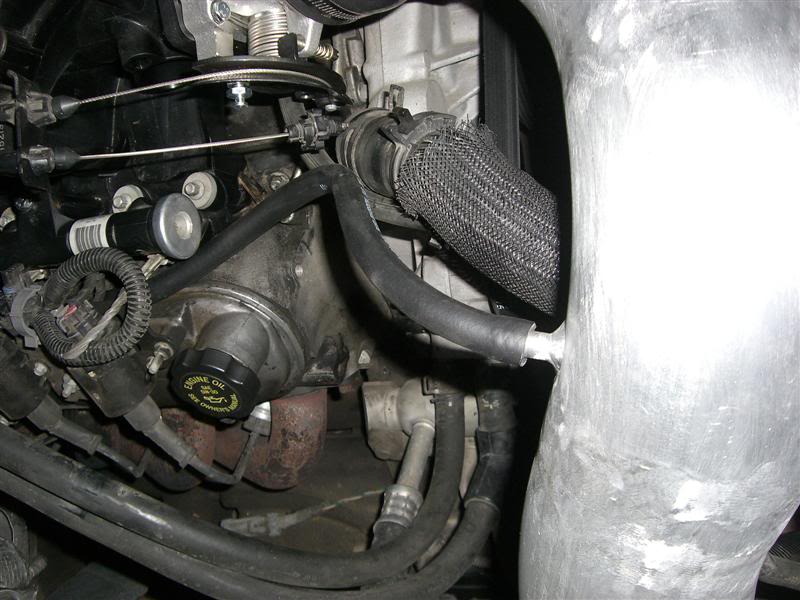
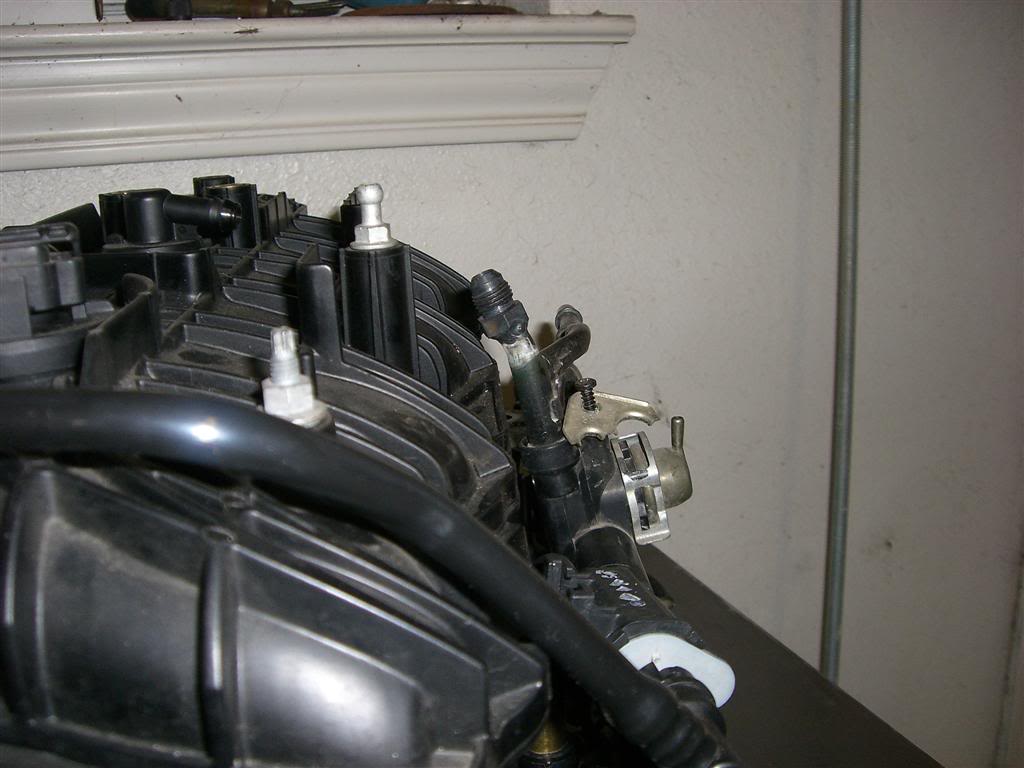
Here it shows the bung I made to connect the vacumn line. There is not enough vac. ports on the intake and I looked at some TBSS pictures and they have this line going to the intake as well. When I put in a catch can i will get rid of this port on the intake.
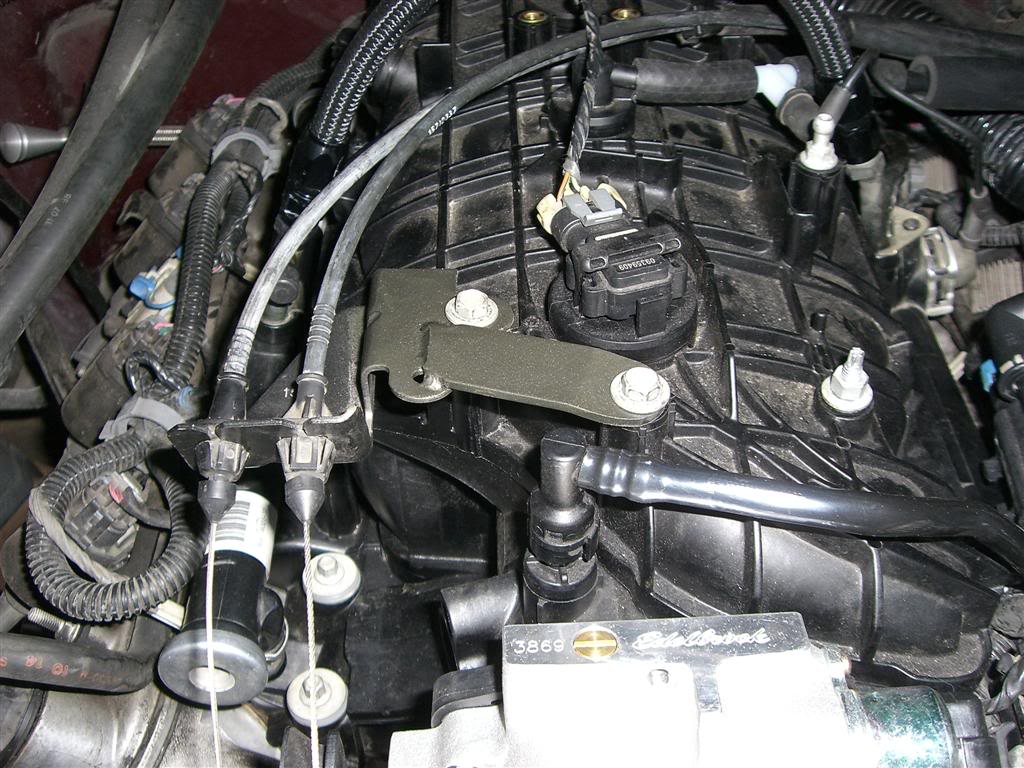
Thanks to Hirdlej I unhooked the Evap line behind the intake and put some 3/8" fuel line up to the solenoid.
I still haven't hooked up the cruise control because the hole for the bracket is too far back it might work if i just recrimp the cable shorter but i'll report back on that later.
Start up video
Here is a video I made it doesn't really show anything special. It seems to Idle lower or something because it sounds cammed when this is a stock cam. Maybe the tune needs some work i don't know.
Also this is about the third time I started it. initially it ran pretty rough and would die so i had to keep the rpm's up until it learned the new idle settings.
So It's all done except for the fans i'll get some driving videos tomorrow when i get some toggles on the fans so they will run. If you want to know anything special or any pics just ask.
Thanks for reading this super long Post BTW. And i should have turned the pictures
Only problem is the the PCM is not controlling the Fans so i haven't driven it yet. I did ground out the harness and the fans work so i know it is wired correctly. Anyway I have a PM out to wheatley so i'm hoping it gets resolved.
So on to the pictures.
The Intake tube is four inch mandrel bent 90 degree elbows that i cut up and welded until it fit with the factory box. The Coupler on the throttle body is a 4.5-4 in and the a 4-3.5 inch at the MAF. Also on the back of the tube is a bung for the vacumn line that goes the the passenger side head.
Here it shows the bung I made to connect the vacumn line. There is not enough vac. ports on the intake and I looked at some TBSS pictures and they have this line going to the intake as well. When I put in a catch can i will get rid of this port on the intake.
Thanks to Hirdlej I unhooked the Evap line behind the intake and put some 3/8" fuel line up to the solenoid.
I still haven't hooked up the cruise control because the hole for the bracket is too far back it might work if i just recrimp the cable shorter but i'll report back on that later.
Start up video
Here is a video I made it doesn't really show anything special. It seems to Idle lower or something because it sounds cammed when this is a stock cam. Maybe the tune needs some work i don't know.
Also this is about the third time I started it. initially it ran pretty rough and would die so i had to keep the rpm's up until it learned the new idle settings.
So It's all done except for the fans i'll get some driving videos tomorrow when i get some toggles on the fans so they will run. If you want to know anything special or any pics just ask.
Thanks for reading this super long Post BTW. And i should have turned the pictures