forged 383 build, afr heads... suburban... lots of pics
 Sep 15, 2012 | 10:24 AM
#22
Thread Starter
TECH Fanatic

Joined: Jun 2011
Posts: 1,292
Likes: 5
From: Houston
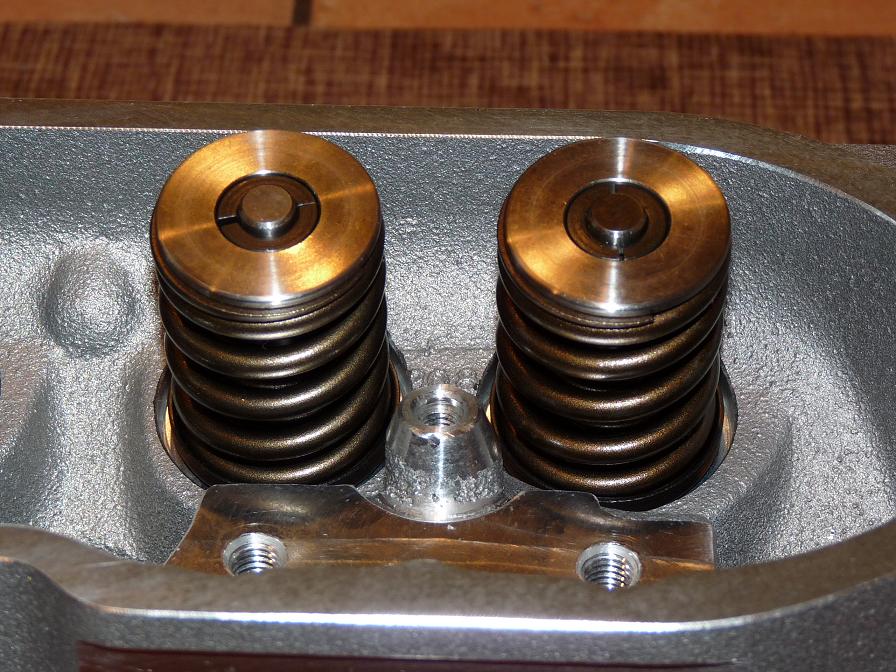
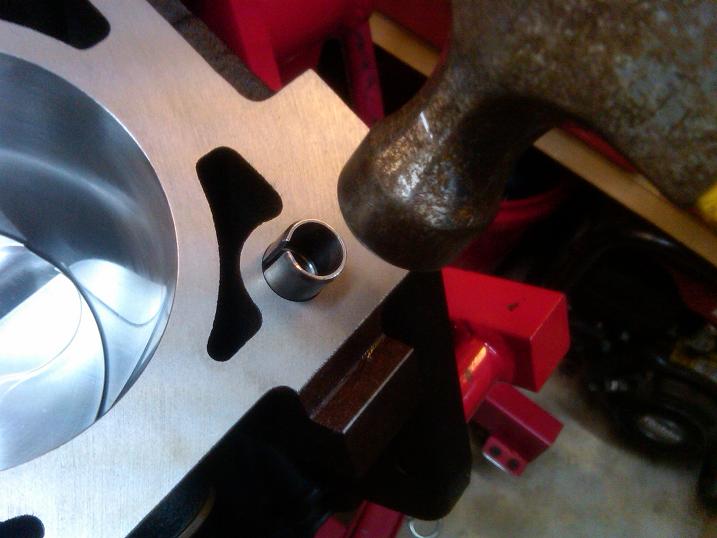
Removing springs for checking PtV. I needed a little help with the valve spring tool for the last click...

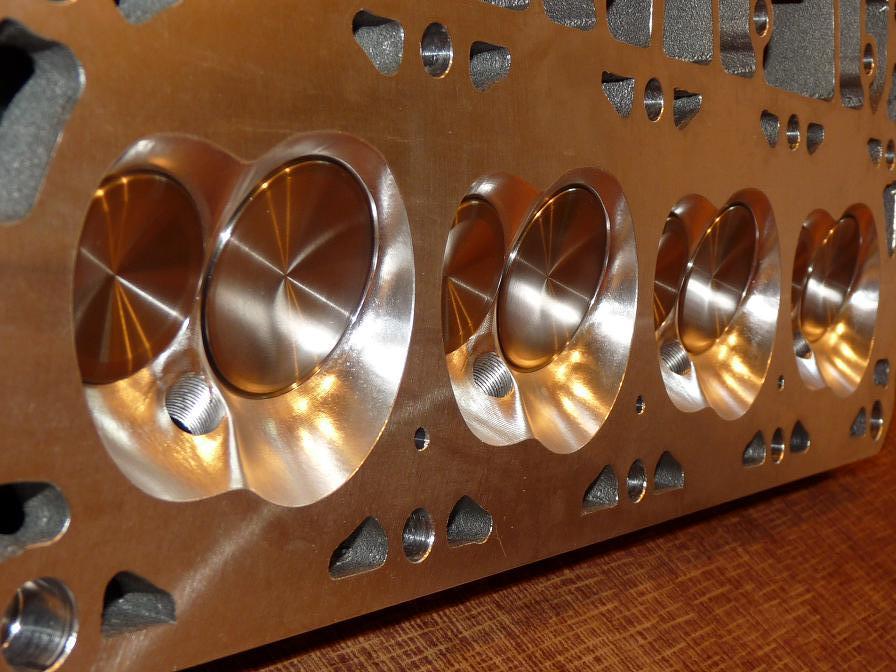
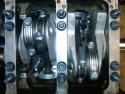
New head dowels installed with light tapping.
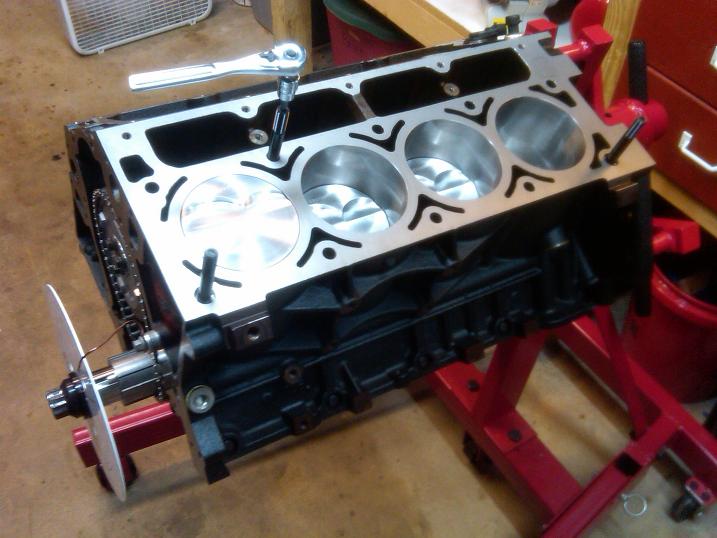
3 studs installed for PtV checking.
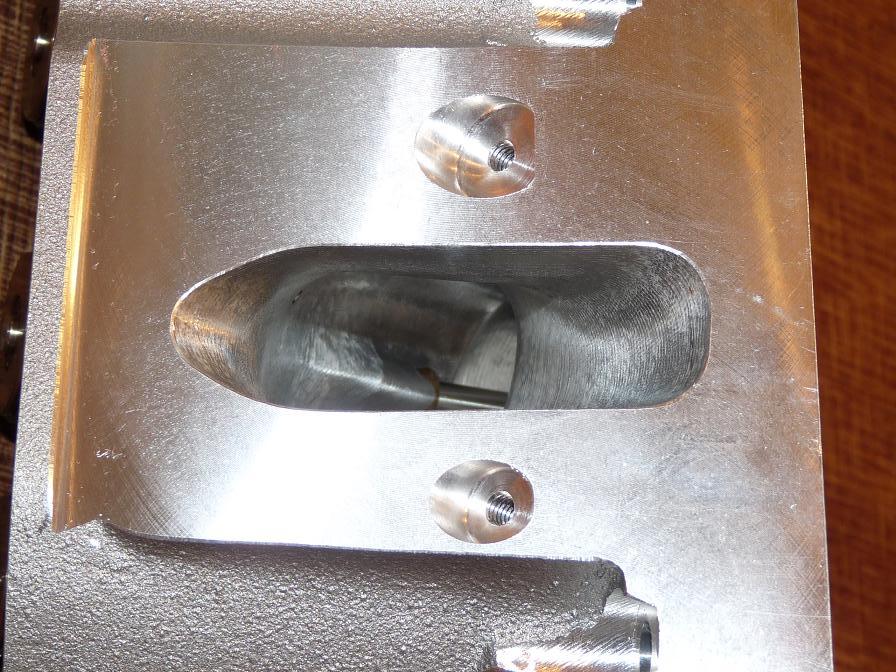
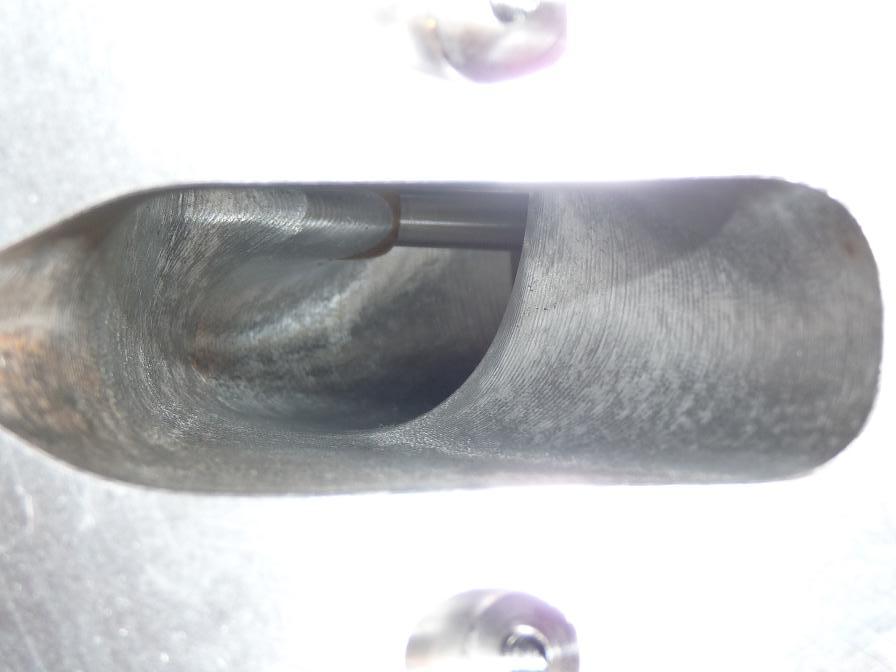
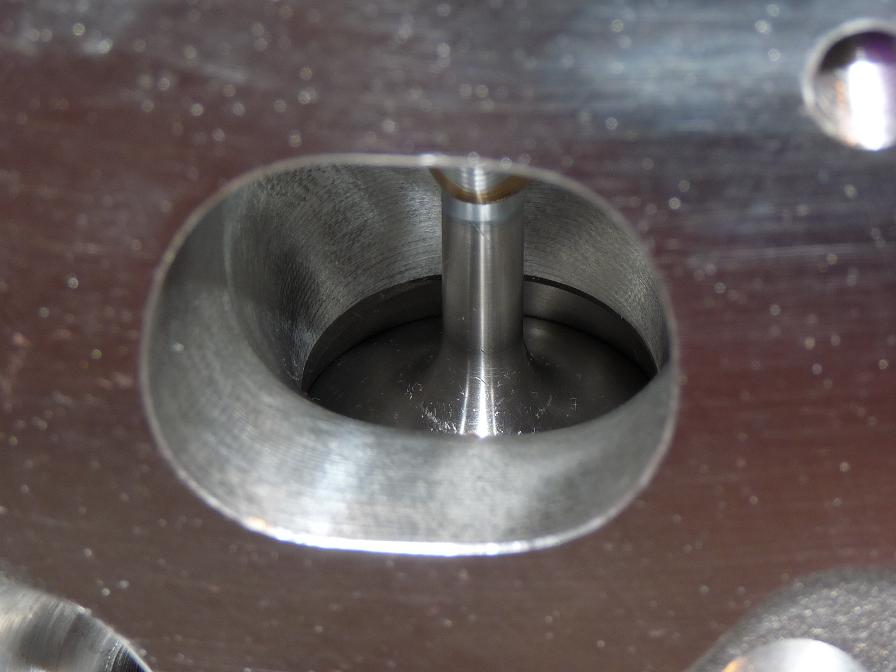
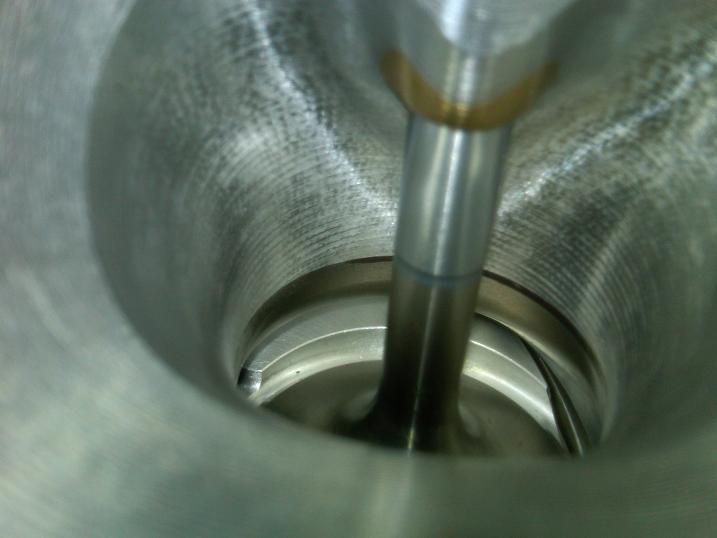
View of exhaust valve interfacing with piston relief.
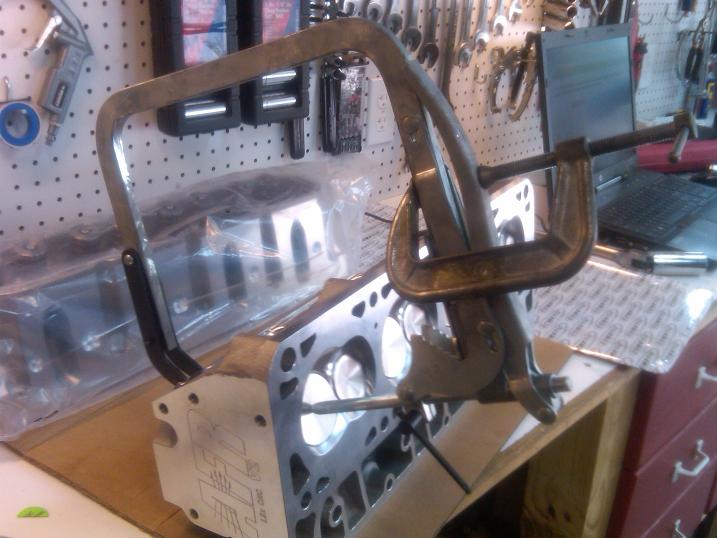
Measuring PtV. Although this magnetic bridge stand will obviously not hold to the heads, I used firm pressure from my hand to hold it down while I cycled the rocker arm with my other hand. I was able to get repeatable measurements.
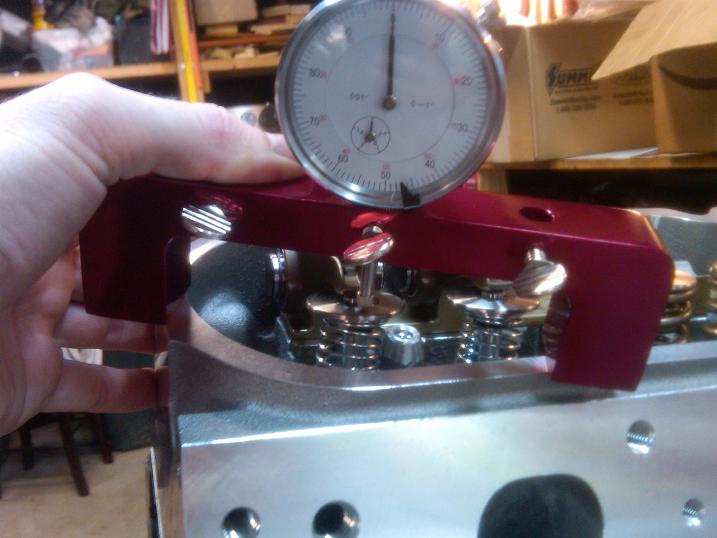
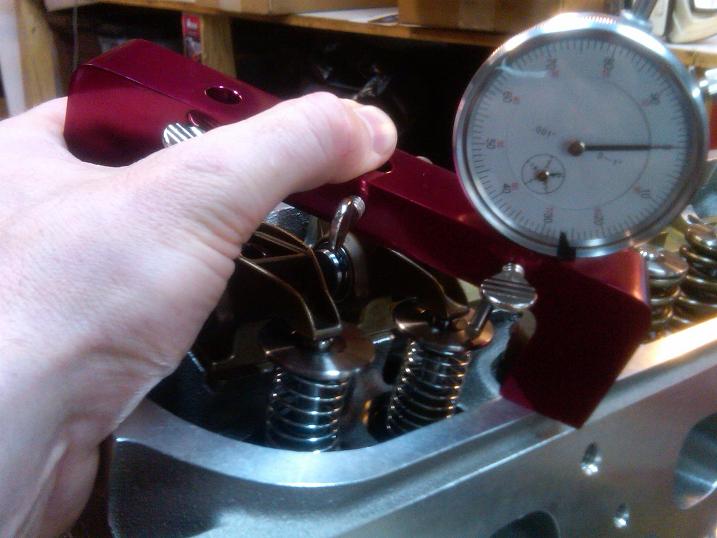
Minimum PtV Intake = 0.272" @ 6.5 deg ATDC
Minimum PtV Exhaust = 0.258" @ 7.5 deg BTDC
The above numbers matched my calculated predictions based on measurements of the components prior to install. This chart shows piston valve relief surface position & valve tip position vs TDC.

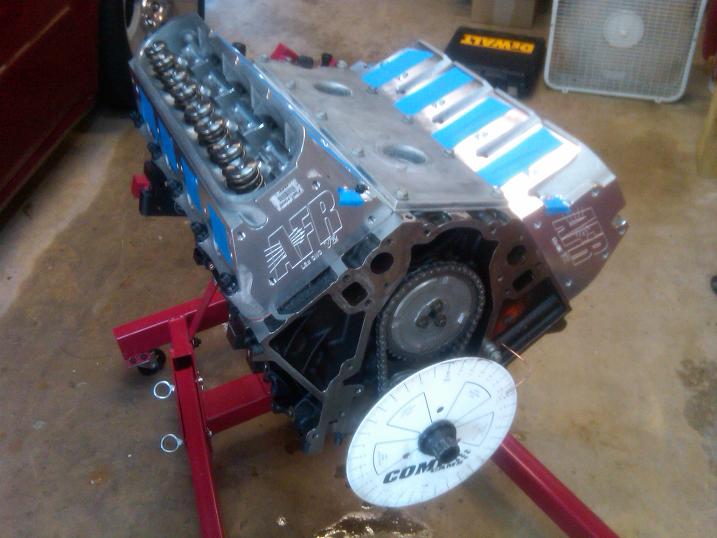
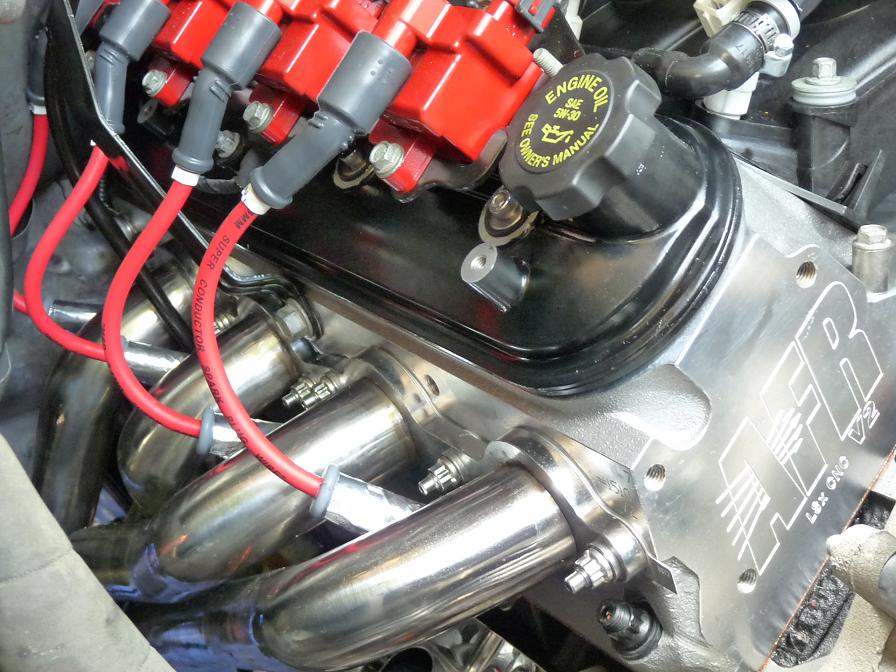
Starting to look like an engine again!
New head dowels installed with light tapping.
3 studs installed for PtV checking.
View of exhaust valve interfacing with piston relief.
Measuring PtV. Although this magnetic bridge stand will obviously not hold to the heads, I used firm pressure from my hand to hold it down while I cycled the rocker arm with my other hand. I was able to get repeatable measurements.
Minimum PtV Intake = 0.272" @ 6.5 deg ATDC
Minimum PtV Exhaust = 0.258" @ 7.5 deg BTDC
The above numbers matched my calculated predictions based on measurements of the components prior to install. This chart shows piston valve relief surface position & valve tip position vs TDC.
Starting to look like an engine again!
Sep 15, 2012 | 10:27 AM
#23
Thread Starter
TECH Fanatic
Joined: Jun 2011
Posts: 1,292
Likes: 5
From: Houston
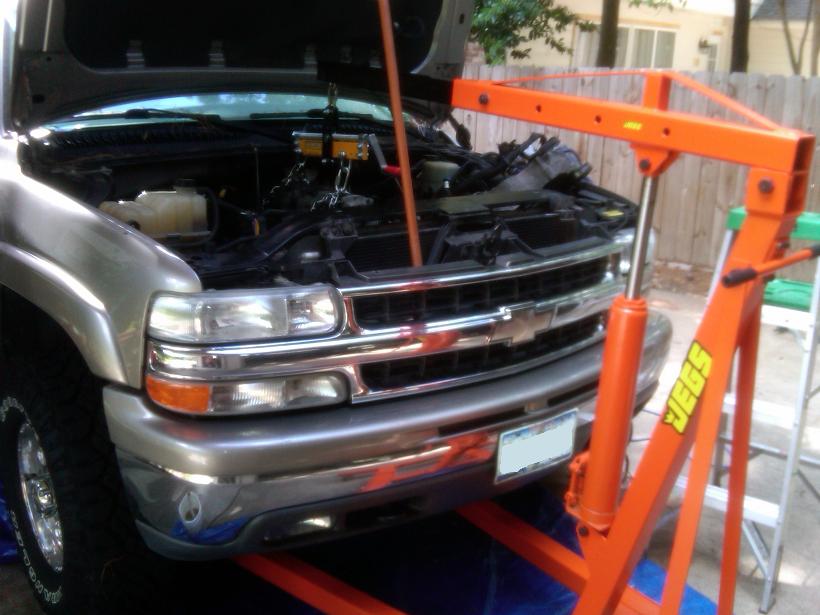
Pictures of the swap!
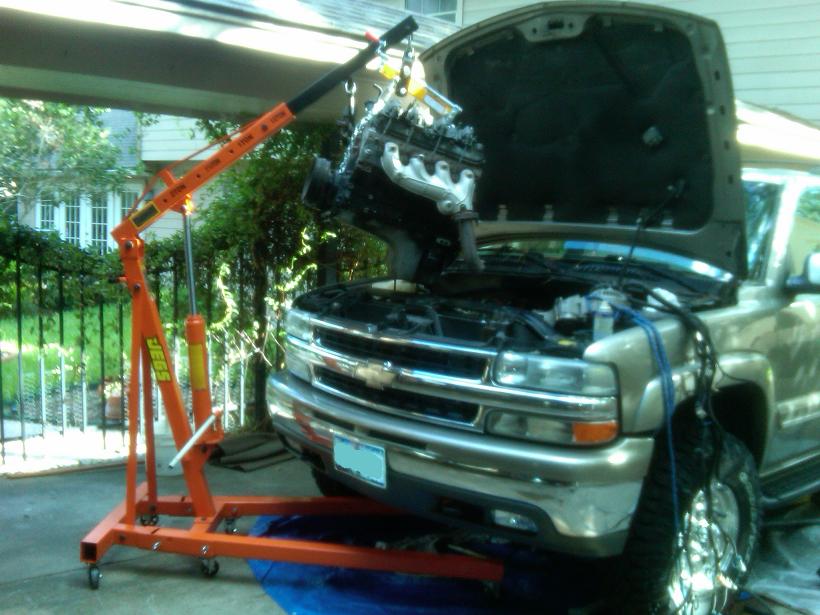
LQ4 coming out:
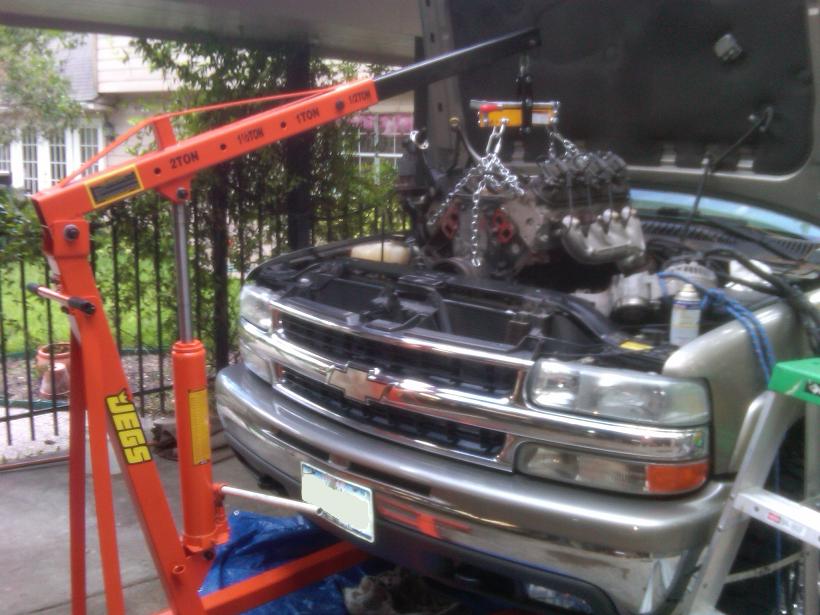
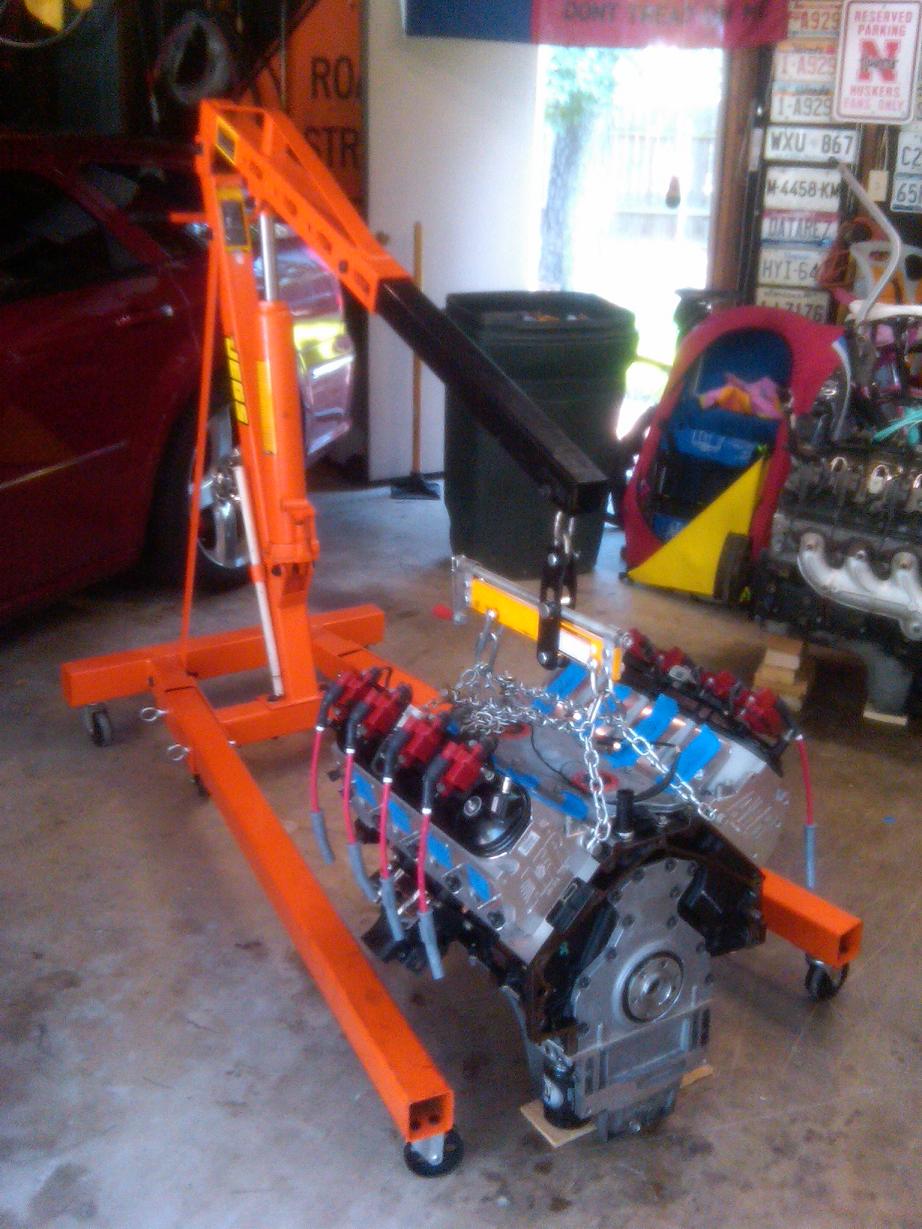
Setting up 4-point chain rigging on new engine.
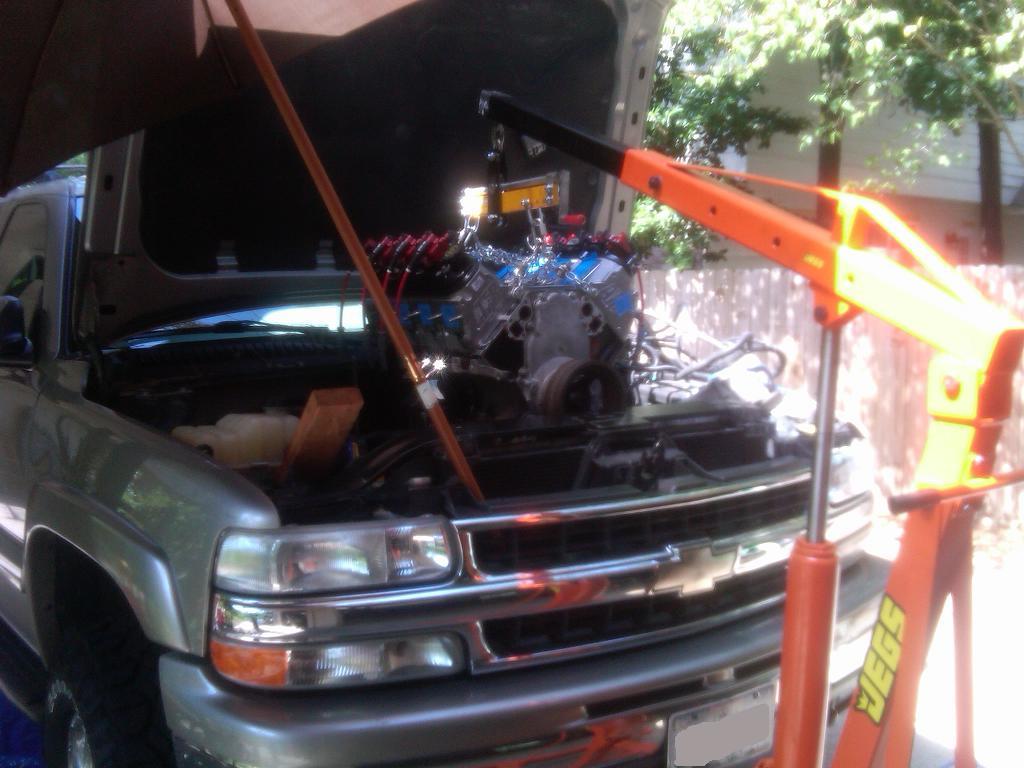
Installing new engine.
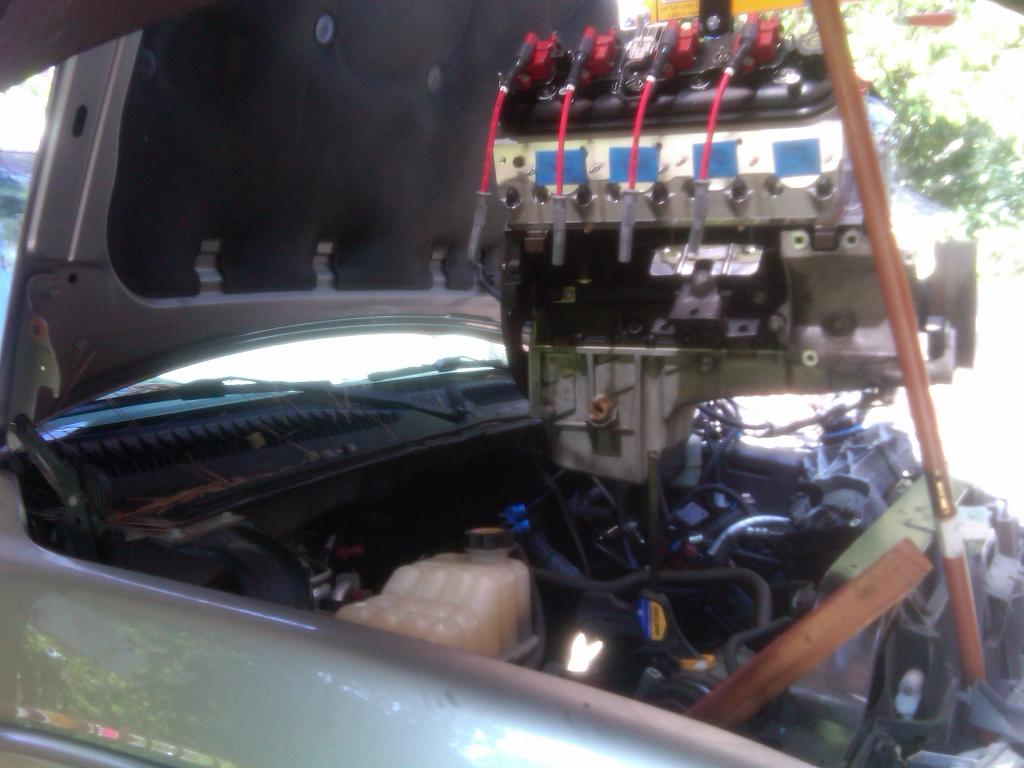
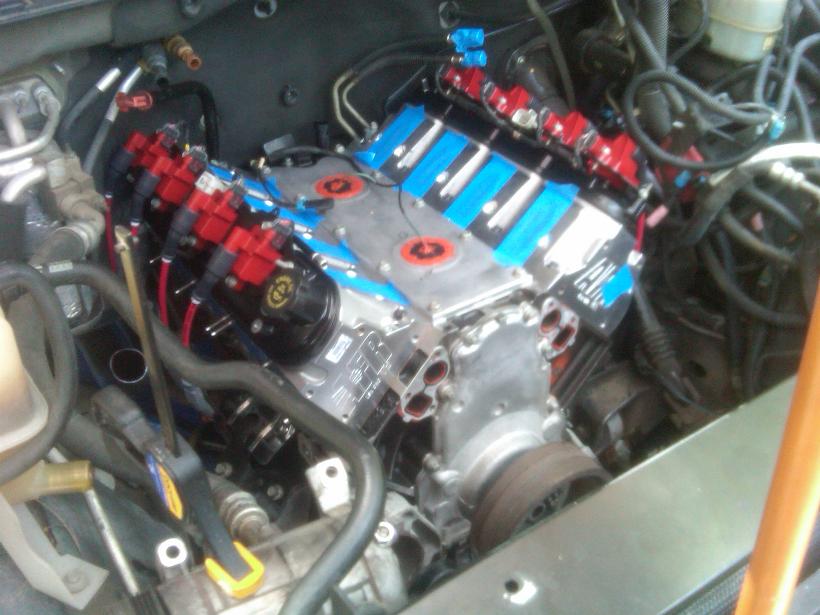
^ that's RTV on the knock sensor outer grommets, to help them seal out fluids (moisture, oil leaks, etc.)
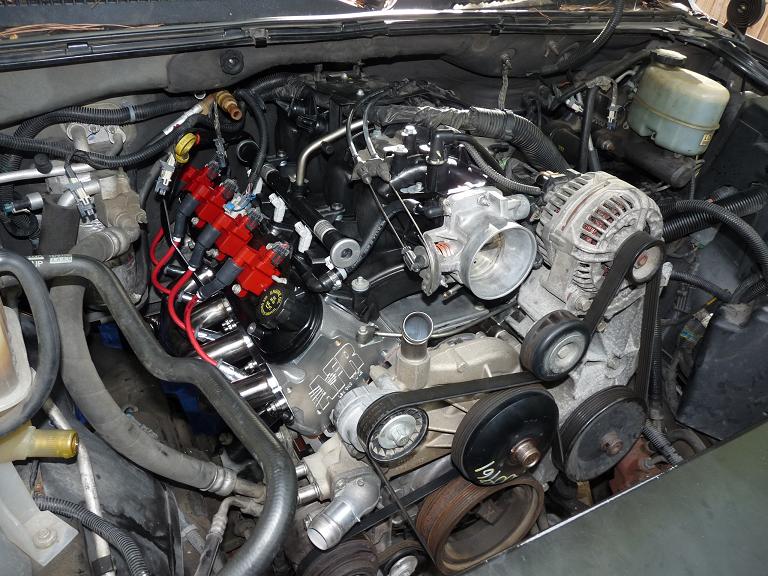
^ Still have the factory intake for a few months. Going to upgrade to a Tony M fast lsxrt ASAP.
LQ4 coming out:
Setting up 4-point chain rigging on new engine.
Installing new engine.
^ that's RTV on the knock sensor outer grommets, to help them seal out fluids (moisture, oil leaks, etc.)
^ Still have the factory intake for a few months. Going to upgrade to a Tony M fast lsxrt ASAP.

 Sep 15, 2012 | 11:30 PM
#26
Great looking engine you have there. I sure like those heads. I may have missed it but what is the compression ratio? That engine looks to be begging for boost.
Edit: I saw that it's going to be over 11:1. Obviously you are looking to stick with a N/A setup. It will make nice torque none the less. I'd love to see some dyno numbers once it's done.
Edit: I saw that it's going to be over 11:1. Obviously you are looking to stick with a N/A setup. It will make nice torque none the less. I'd love to see some dyno numbers once it's done.
Last edited by swift700; Sep 15, 2012 at 11:37 PM.
 Sep 21, 2012 | 04:45 AM
#29

Teching In
Joined: Jul 2012
Posts: 39
Likes: 0