When you click on links to various merchants on this site and make a purchase, this can result in this site earning a commission. Affiliate programs and affiliations include, but are not limited to, the eBay Partner Network.
Well got the turbo on and got everything together, dumped oil and put new oil/filter on, hand primed turbo with a hand pump, started it up and let it idle for about 5 minutes.
had to shut the truck off as I had a little oil leak from the turbo feed fitting, no biggie. But while I was fixing that for whatever reason I spun the compressor wheel by hand and noticed I had quite a bit more play then before I fired it up.
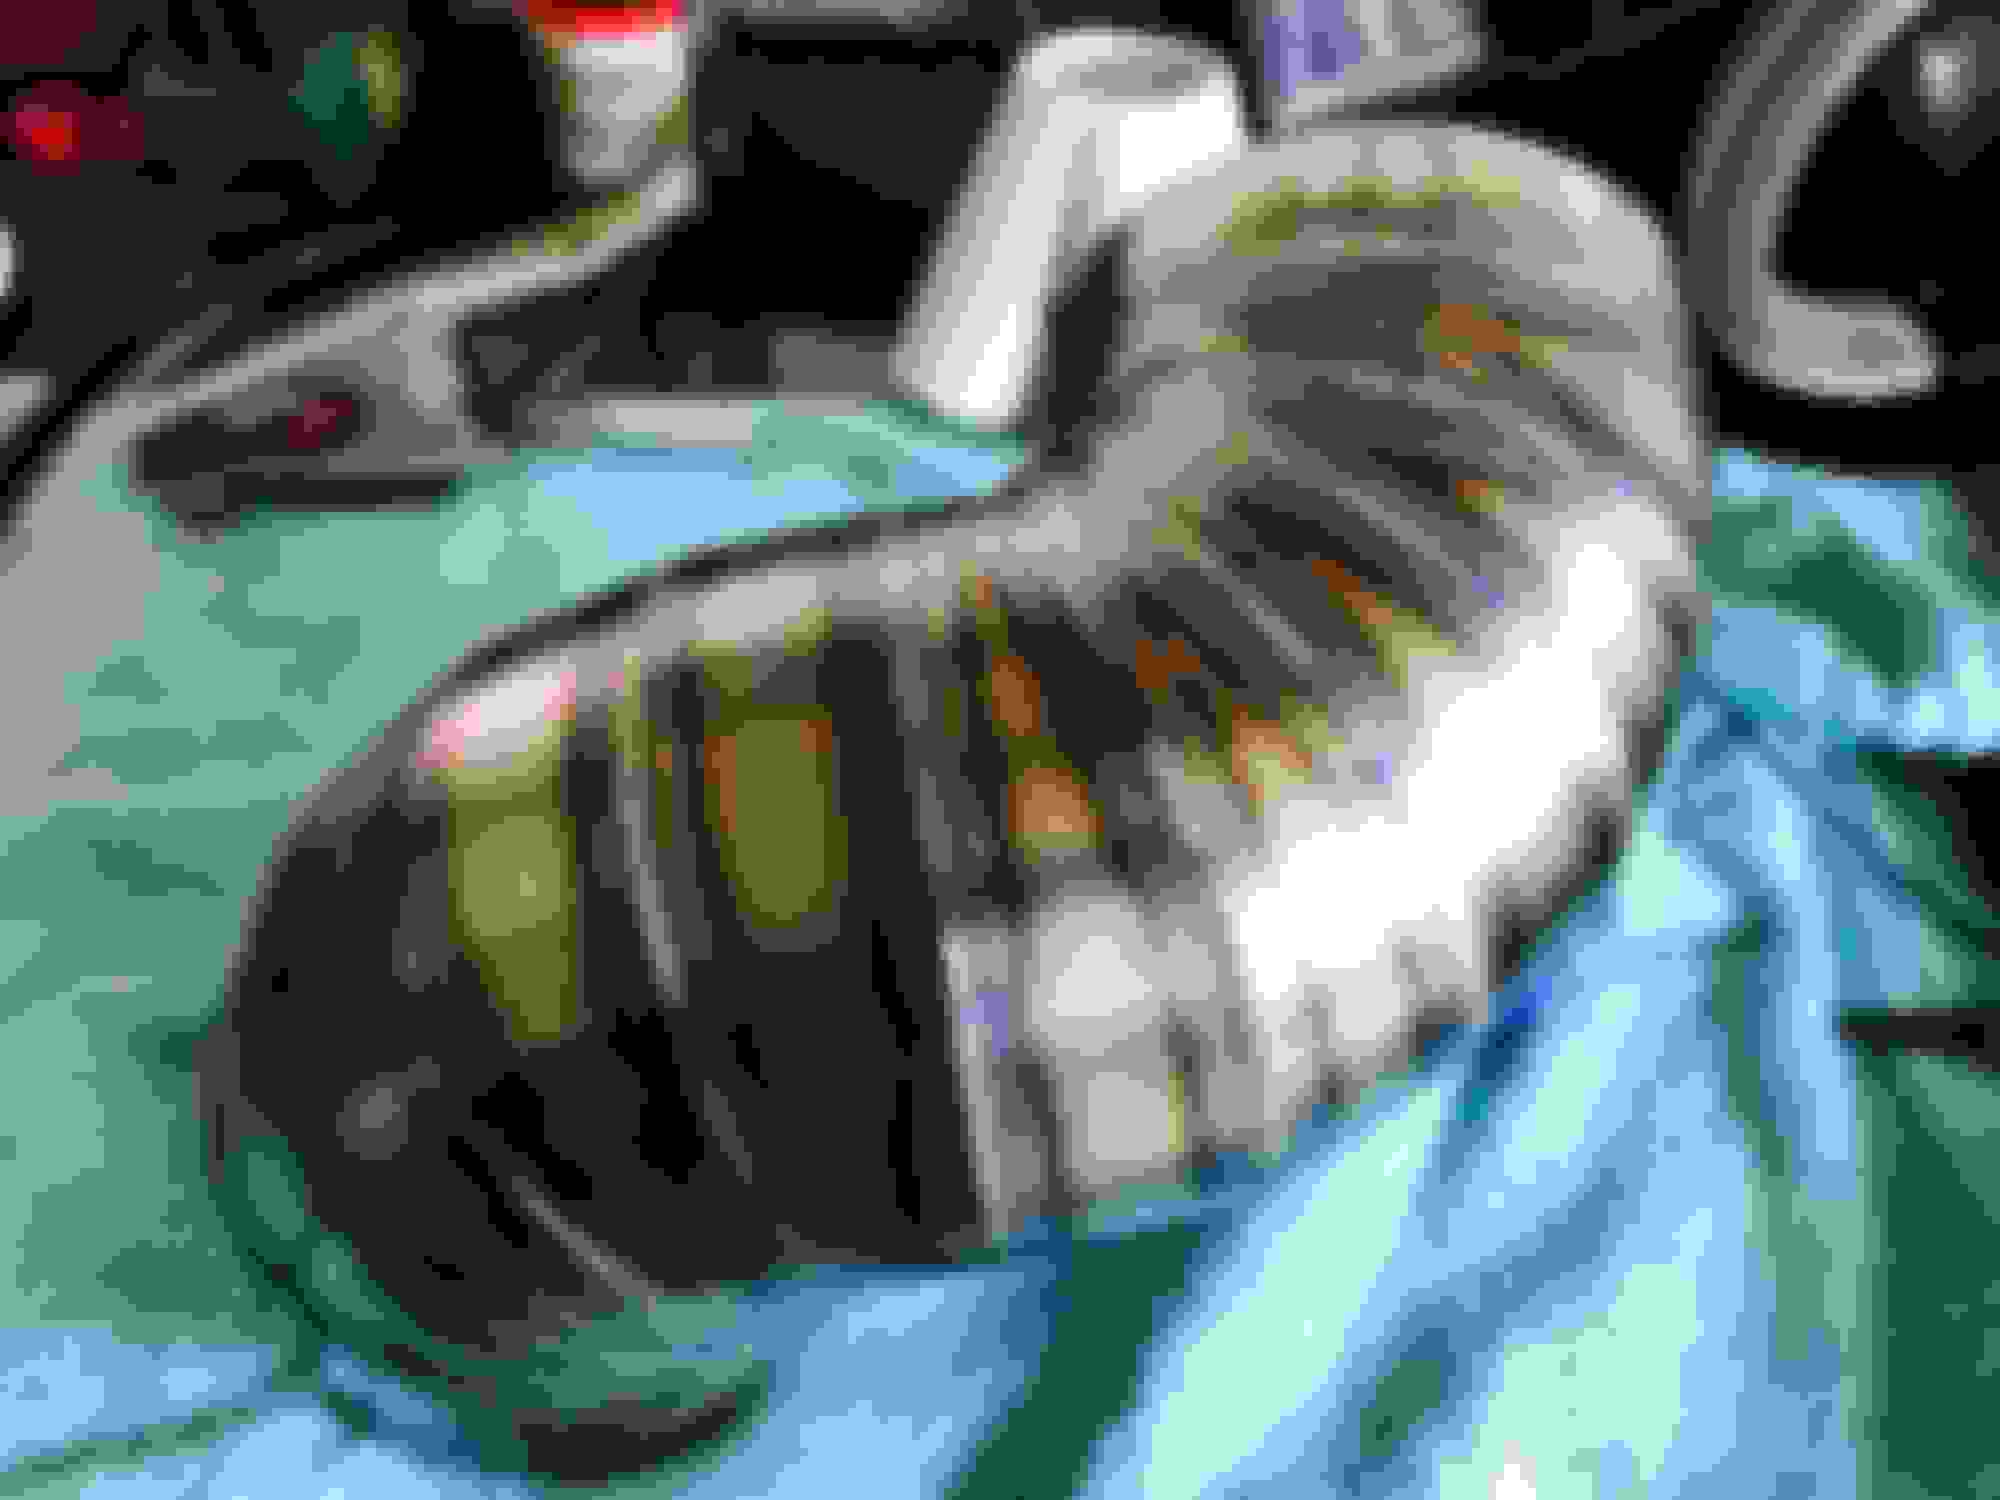
After a minute of playing with it I can get the compressor wheel to touch the housing.... got on the phone with APEX and ended up sending it back to him to have him check it out.....
so new turbo, 5 minutes of idle time and it's back apart and being rebuilt. He called me a few days later and evidently one of the journal bearings were a bit out of spec, so he rebuilt the cartridge and touched up the volute and is sending it back . He was super easy to deal with and fixed it all for free, sucks I had to pull it off and be out this time but I guess that's how it goes
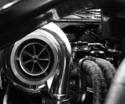
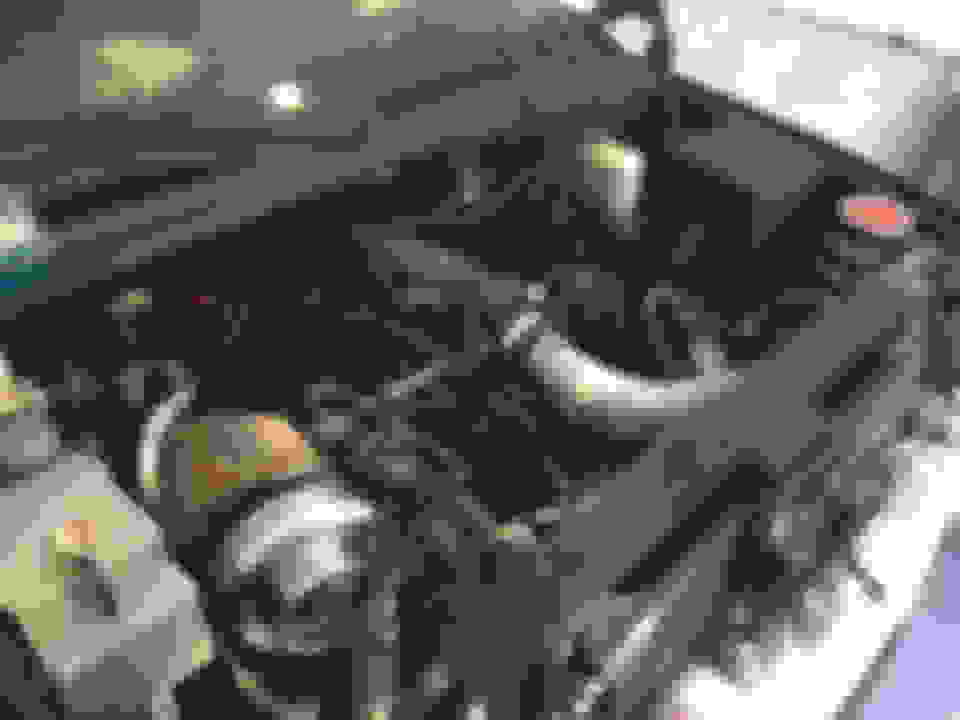
either way here are some pictures before I pulled it back apart
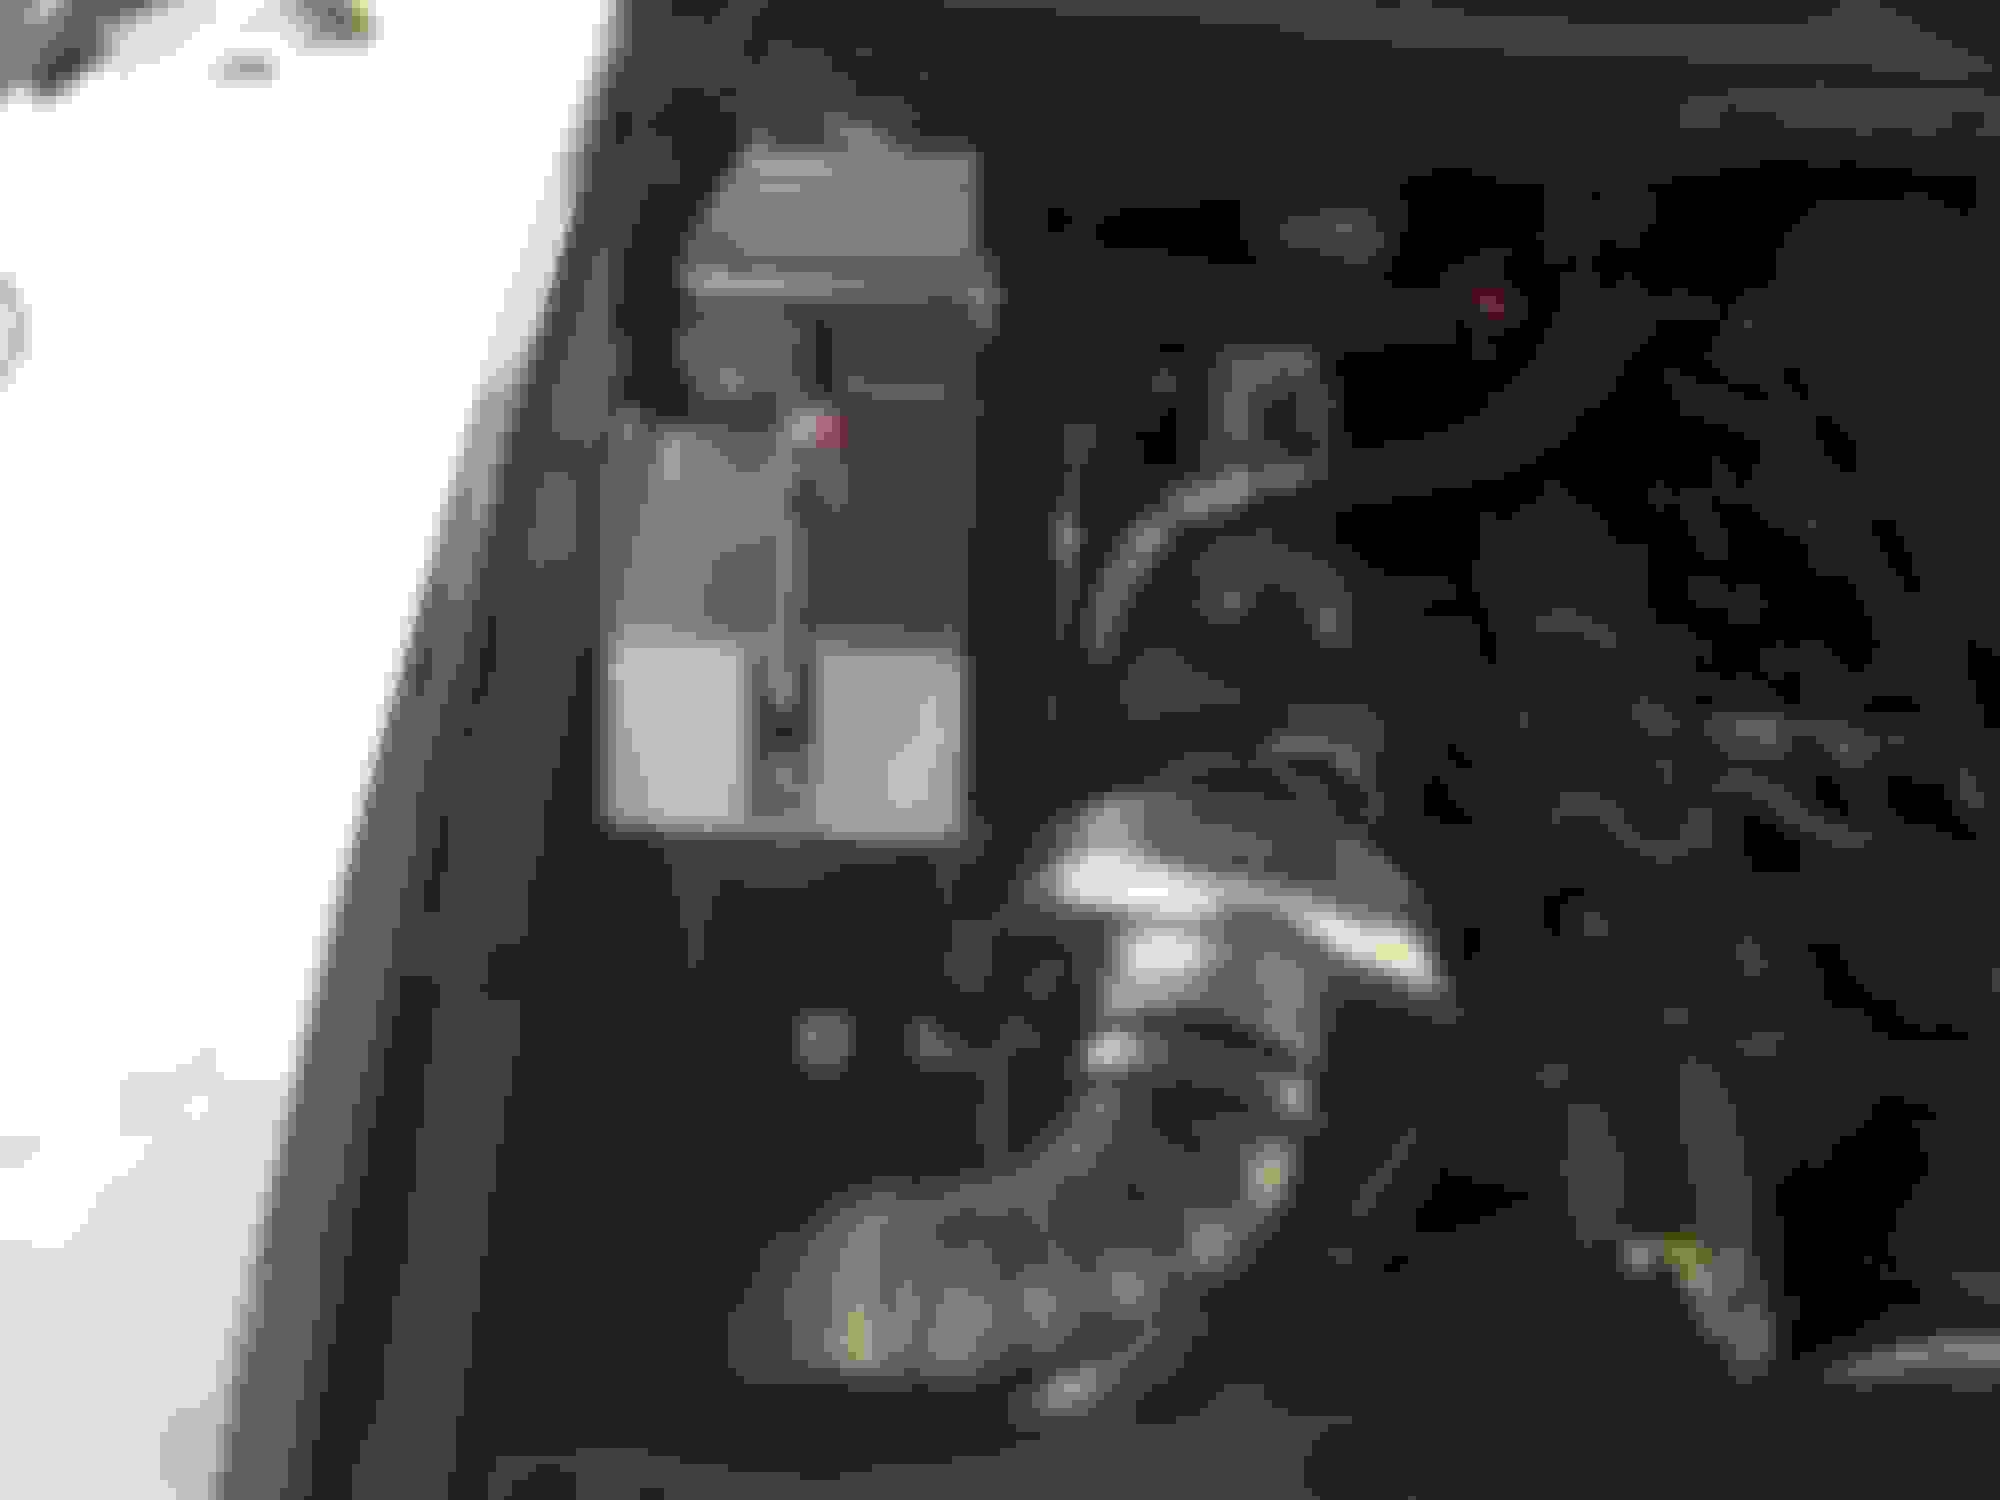
Turbos back on and and everything looks good, had a oil leak at the feed fitting again so I grabbed a new fitting. Still gotta see if it works. Before the turbo went south I started mockup on a stainless 5" intake tube to get the filter where I wanted. Got it all finished up and welded. I will try and grab a few pictures with it installed.
So when you went to weld it all, how much purge flow were you running on it to not have coverage issues on the back? I did some pie cuts on mine and coverage wasnt that great with what I thought was pretty high purge flow.
What did you use to seal the ends? I used aluminum foil, but my problem was probably poor fit up of the individual slices due to using a chop saw instead of a band saw
I also use aluminum foil and high heat tape if needed on the ends, I initially purge at ~20cfh till I am sure it's fully purged then drop down to 5cfh till I finish the weld. Tight fit is key, my saw isn't perfect so I cleaned them all up by hand, I try to have absolutely no gap between pieces and it makes it worlds better.
Here are some pics with it mounted, I am happy with how it came out
While I was at it I re-did my coolant tank/catch can combo. I built the original one around 2 years ago and my skills have improved a lot since then so it always bugged me that the welds weren't the best I could do.
Still the the same basic design, just changed the front up a little to make it a bit cleaner.


 Jun 27, 2017 | 11:16 AM