

72 Ford onto 2002 F150 chassis
 Mar 22, 2012 | 11:15 AM
#71

Thread Starter
Staging Lane
Joined: Nov 2011
Posts: 55
Likes: 0
From: Washington
Well after a needed break away from the project, got back to it yesterday. I cleaned up the shop put everything back in order & then continued the spot welding on the tail gate. About 300 spot welds later I called it a night. So about another 900 spot welds to go and the tailgate mods will be done. Hope to be posting pic�s of it finished soon.
 Mar 22, 2012 | 05:12 PM
#73
Thread Starter
Staging Lane
Joined: Nov 2011
Posts: 55
Likes: 0
From: Washington
How much grief are you getting from the wife for all the time spent?

sometimes looks like this...

other times like this...

Most of the time it's this...

Then when I do get to go work on it I end up doing a lot of this after.....

 May 6, 2012 | 04:15 AM
#74
Thread Starter
Staging Lane
Joined: Nov 2011
Posts: 55
Likes: 0
From: Washington
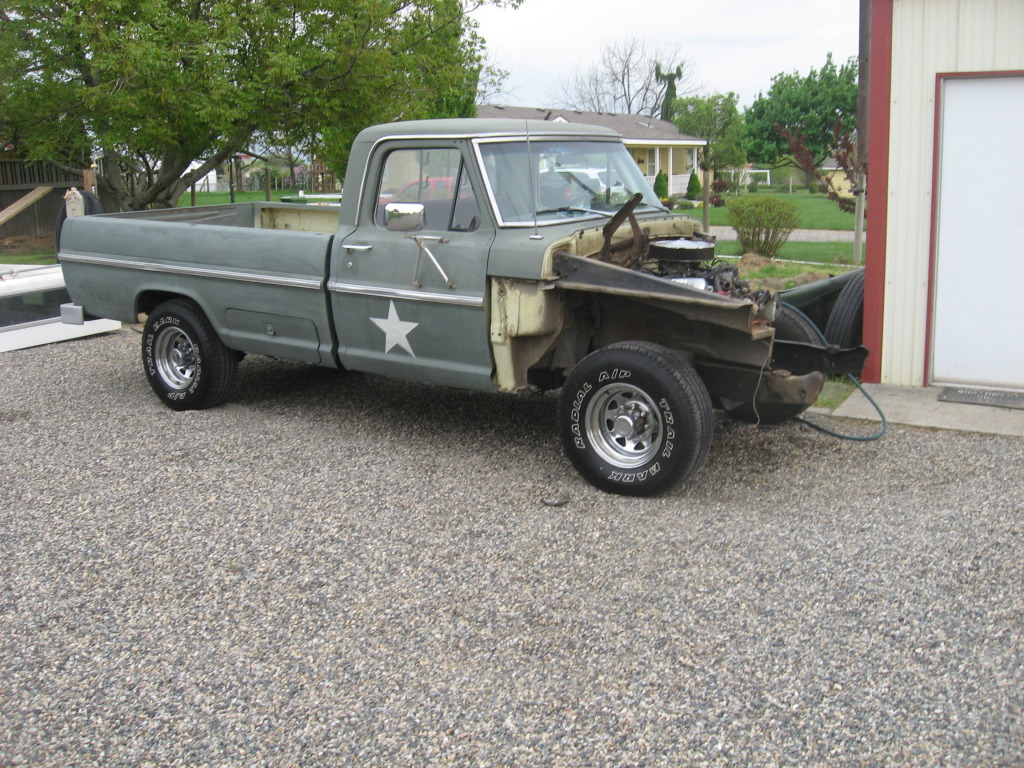
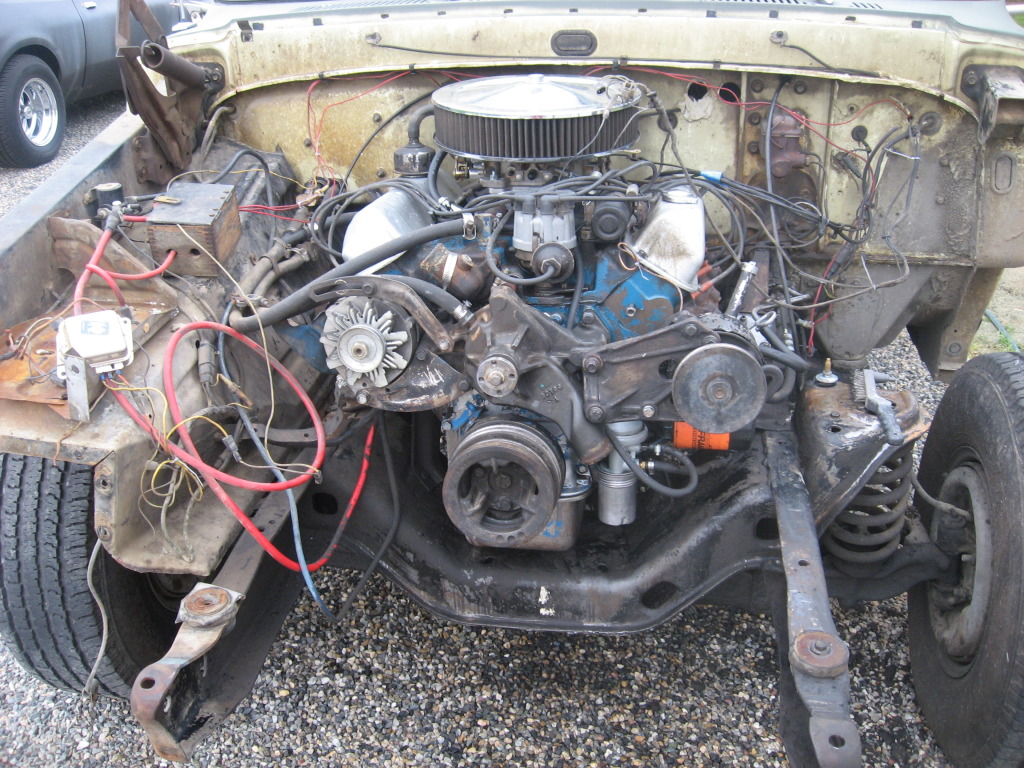
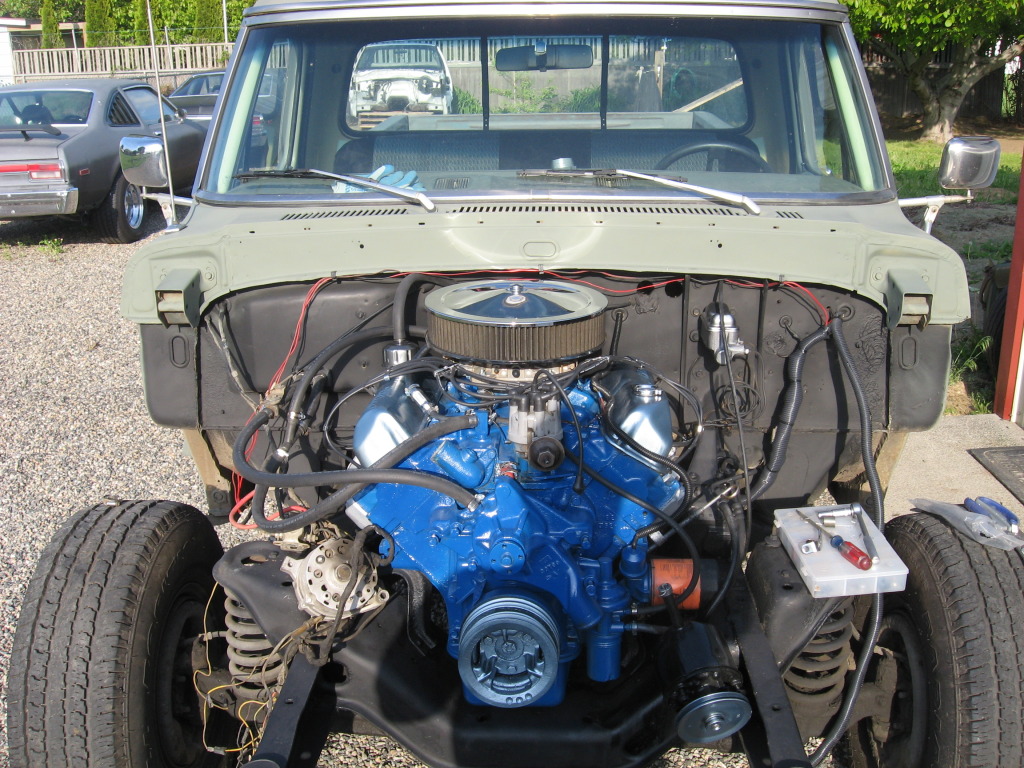
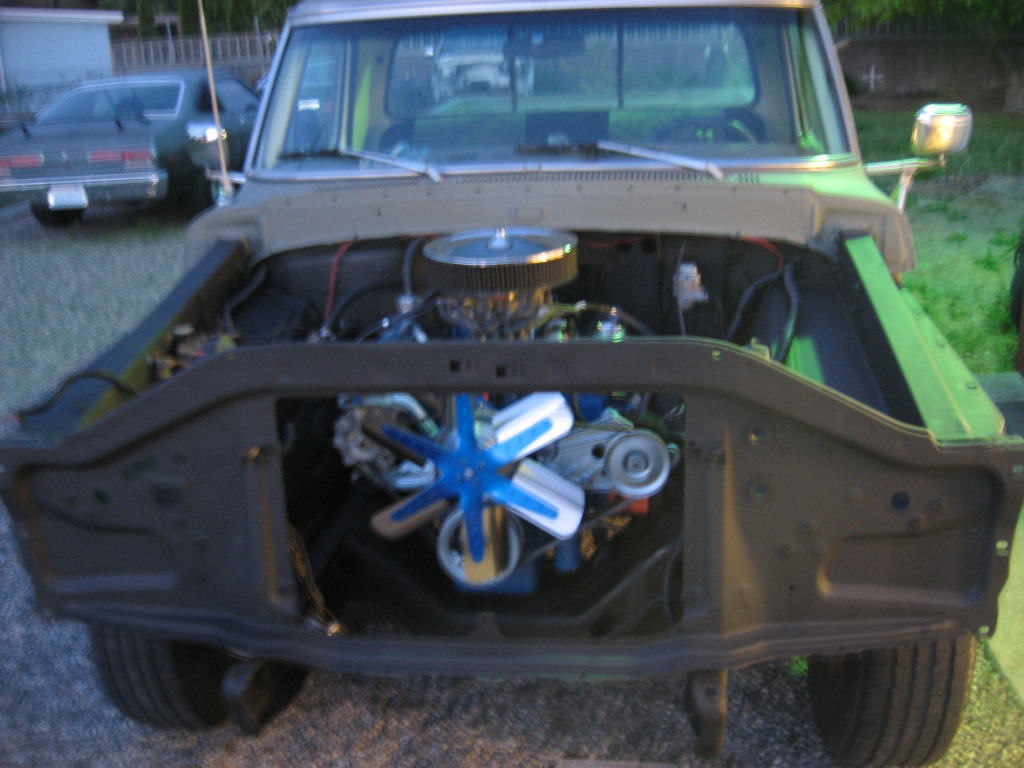
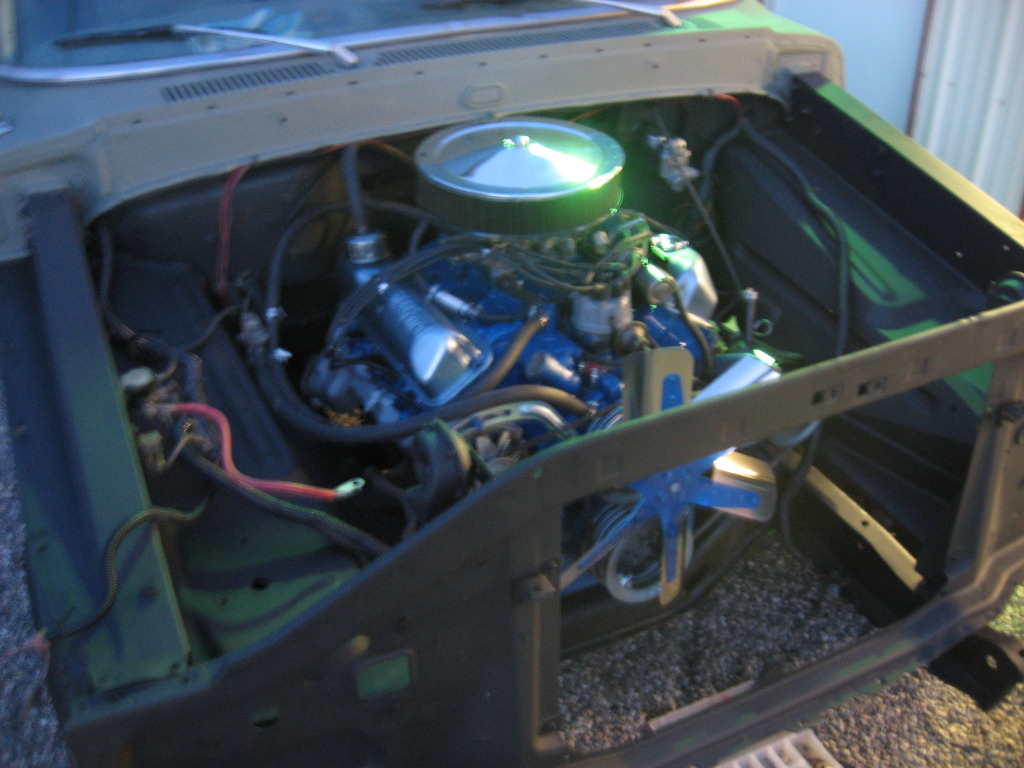
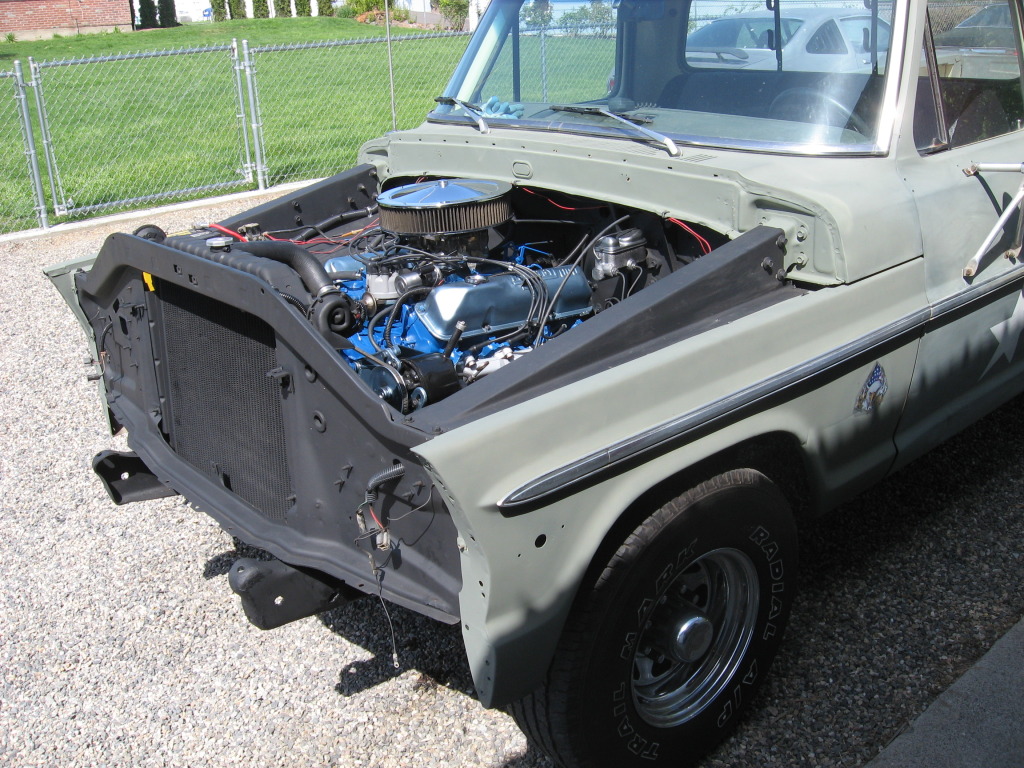
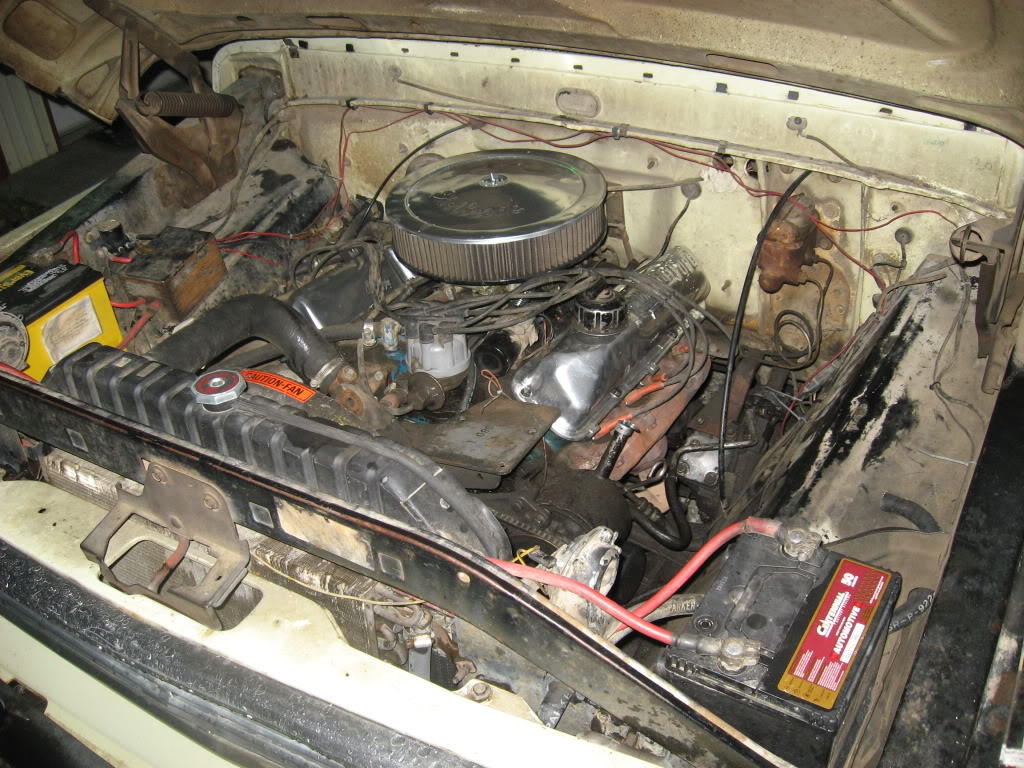
Well it's been a while and not much to report on the project. My wife had a landscape project and we got to work on getting the garden going to. So not much time or energy left over for the trucks. Yesterday & today were the first days that I was able to do anything on them in a long time. The work truck has been leaking power steering fluid and the brakes had a really bad fade when stopping so I got to work on it to clean up the engine bay and fix the problems.
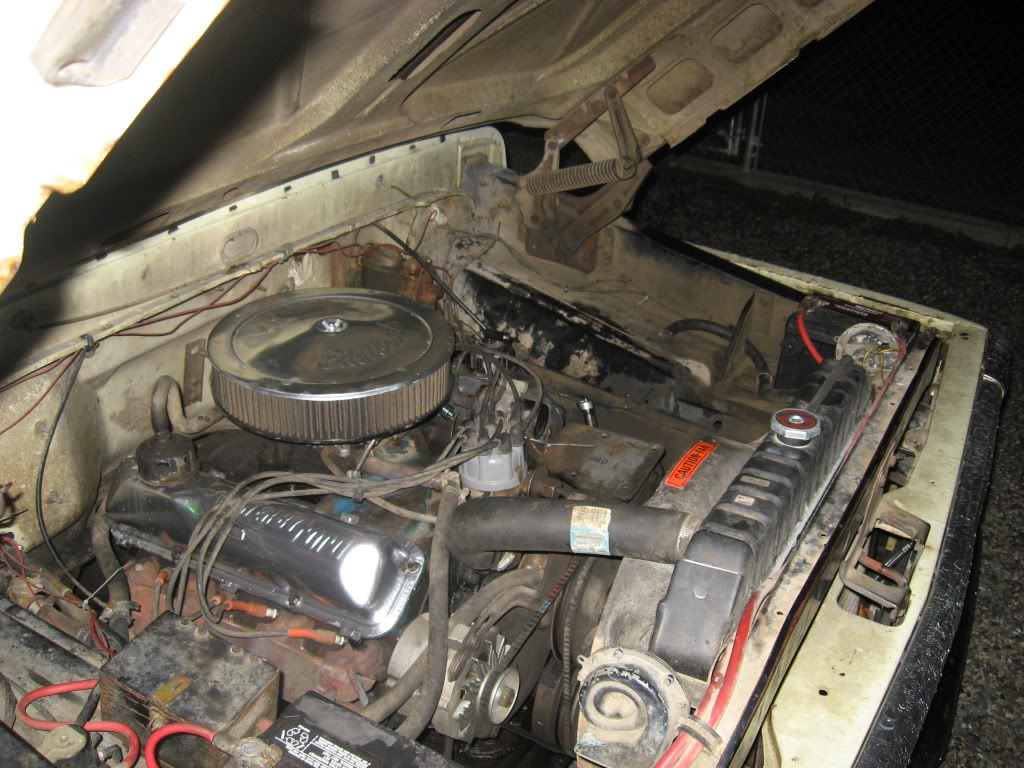
Engine bay when I got the truck:


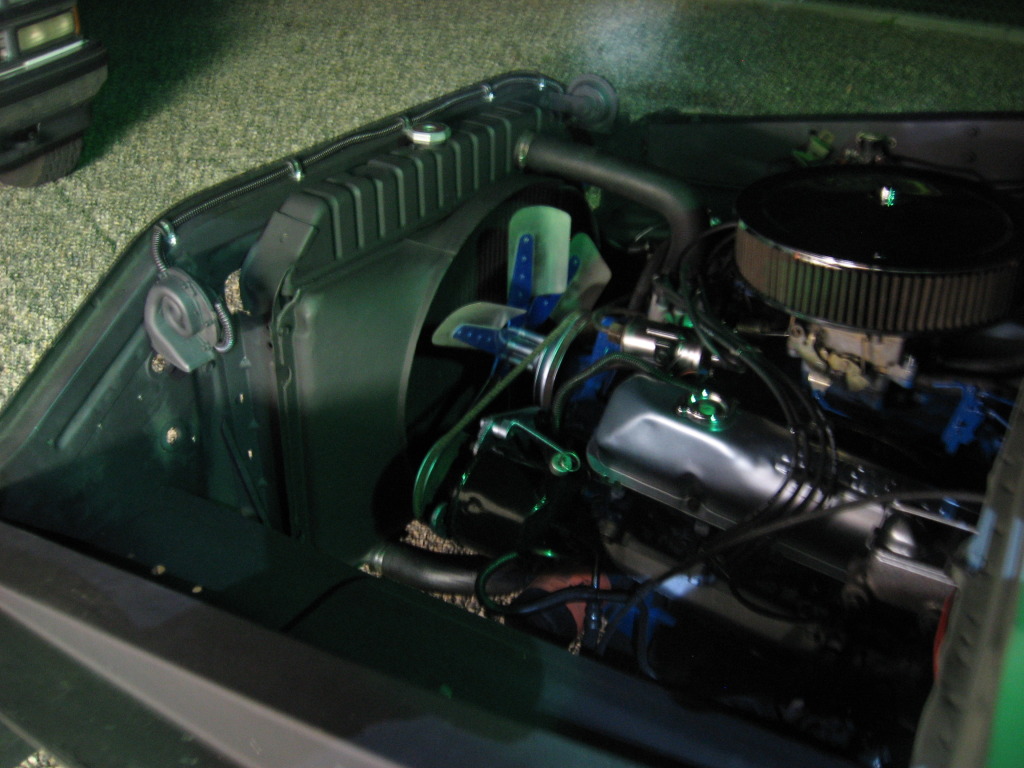
Started the tear down, degreased, scrubbed and cleaned everything:
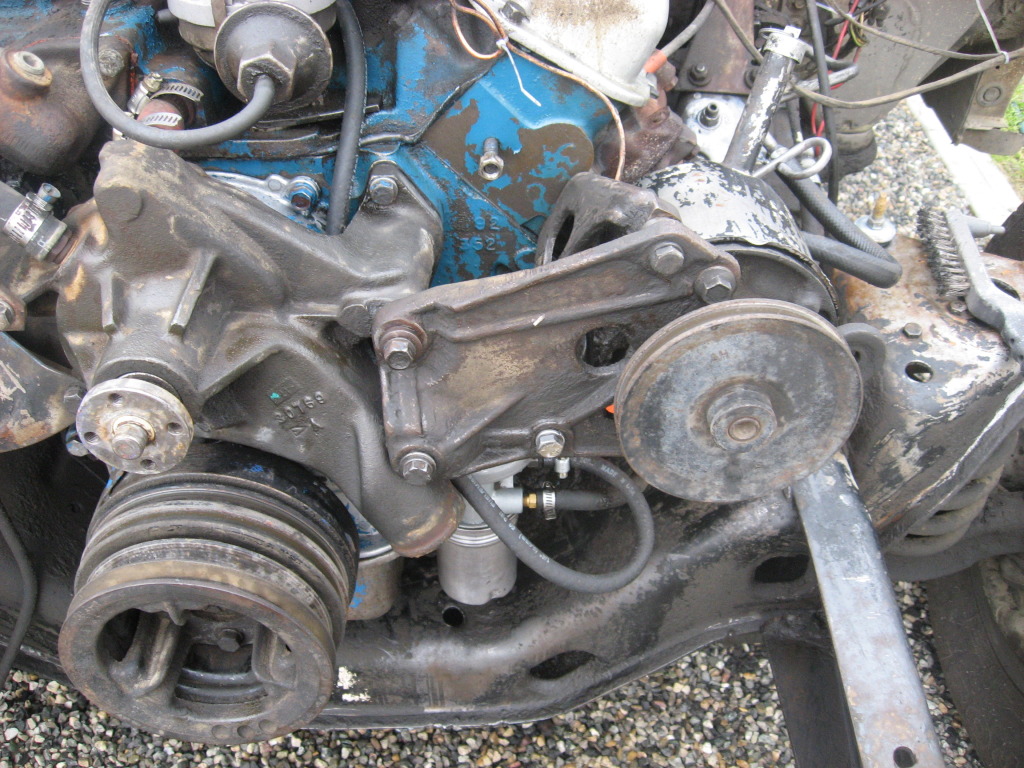

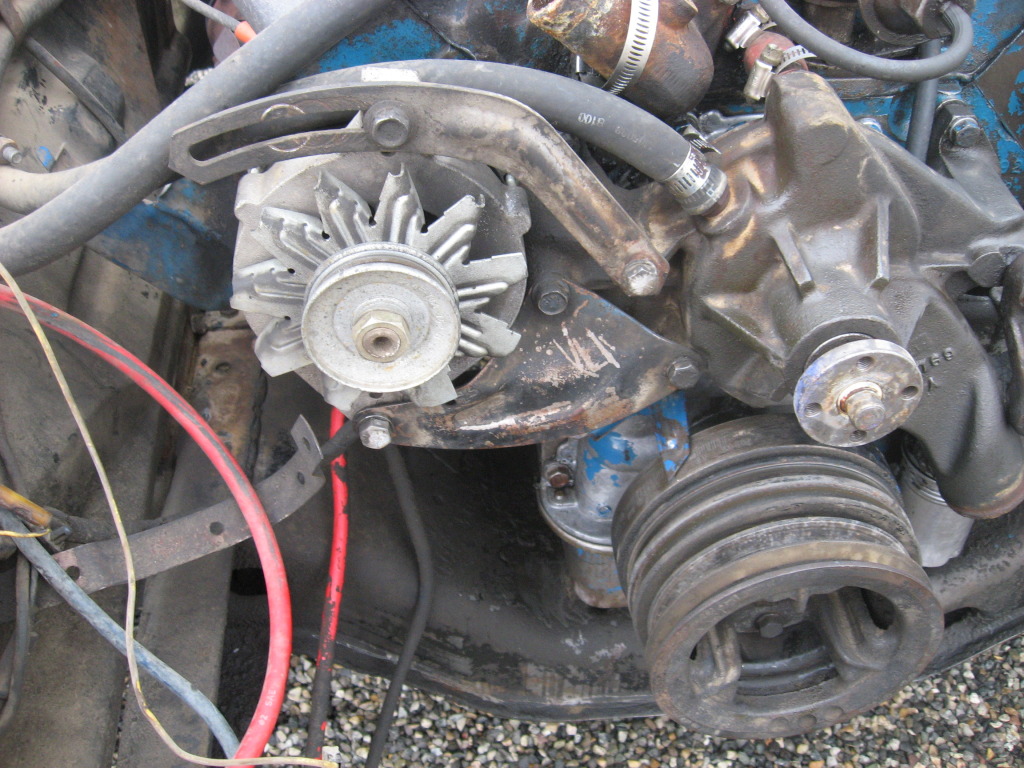
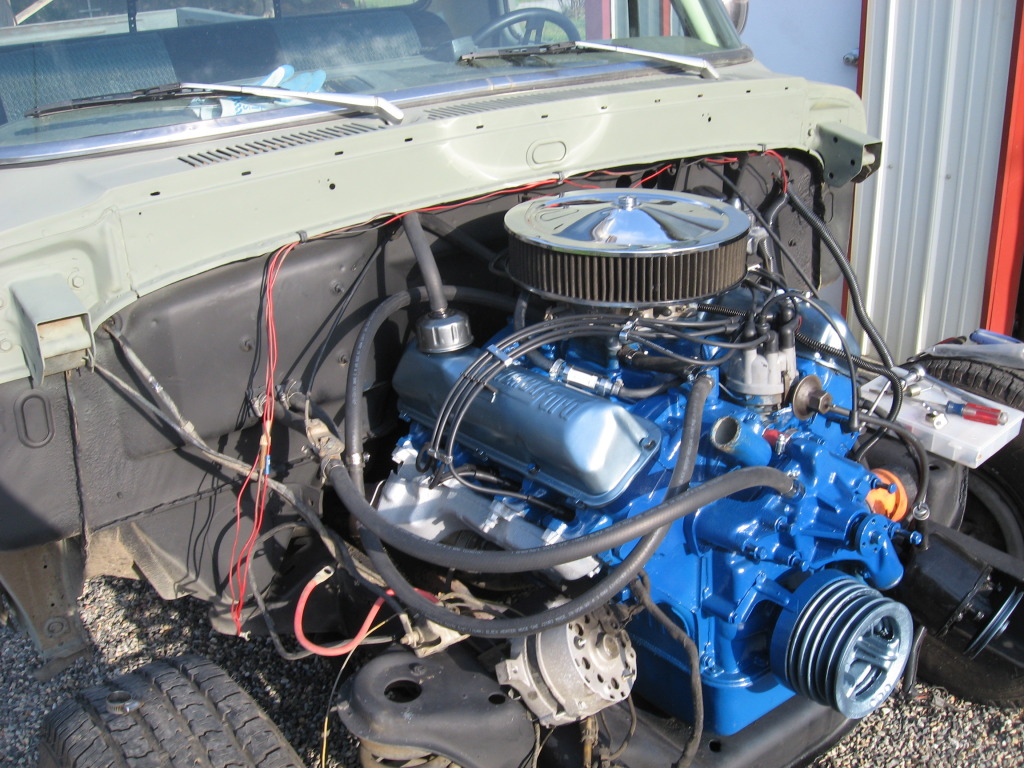
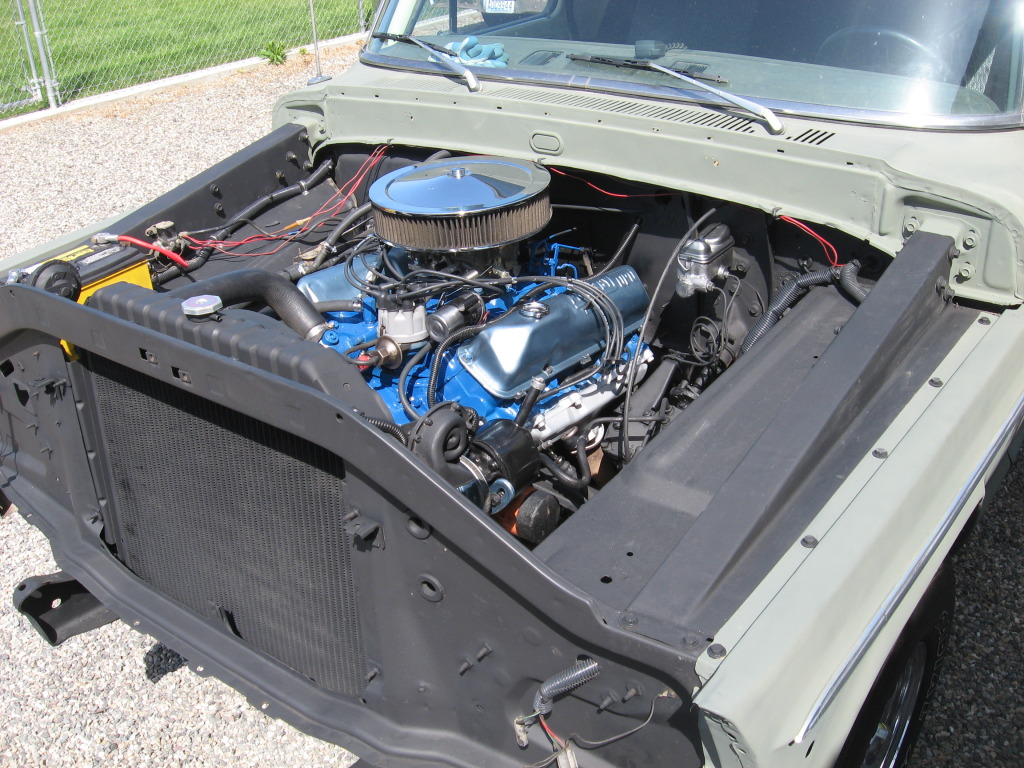
Then found the problem with the power steering and fixed it and the brake fade was being caused by someone putting in the wrong rubber diaphragm in the cap so it wasn't sealing between the two reservoirs, as soon as I put the correct one in, it held with no fade at all. I then got to work priming and painting the engine and everything.
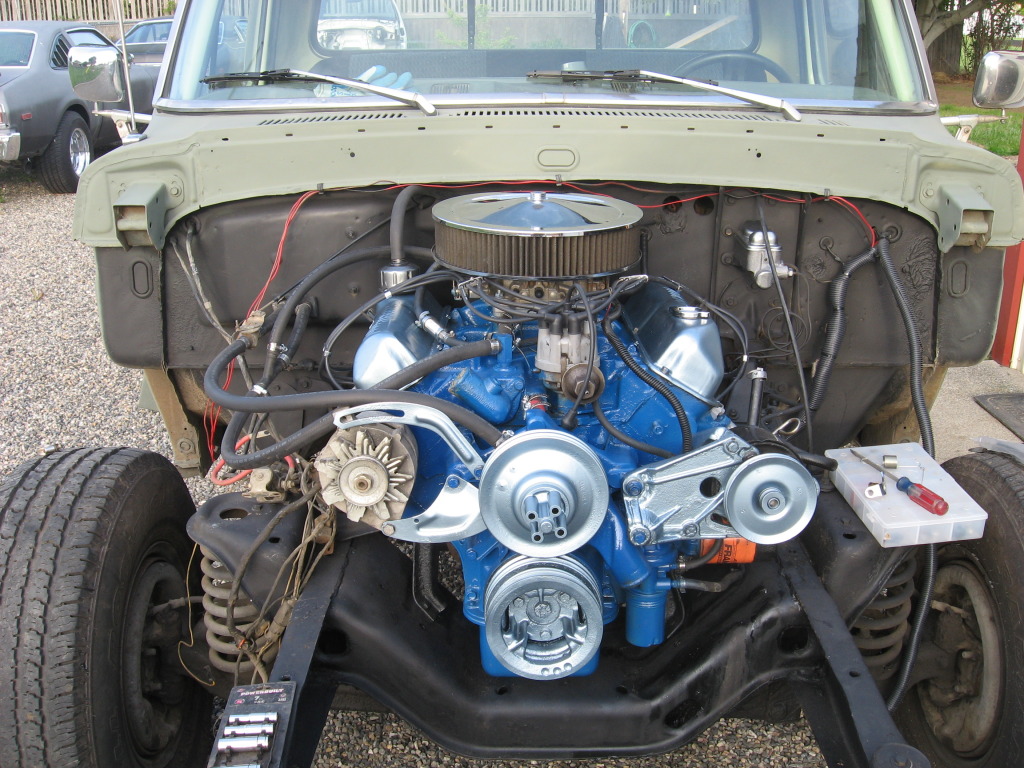
Started getting it put back together:

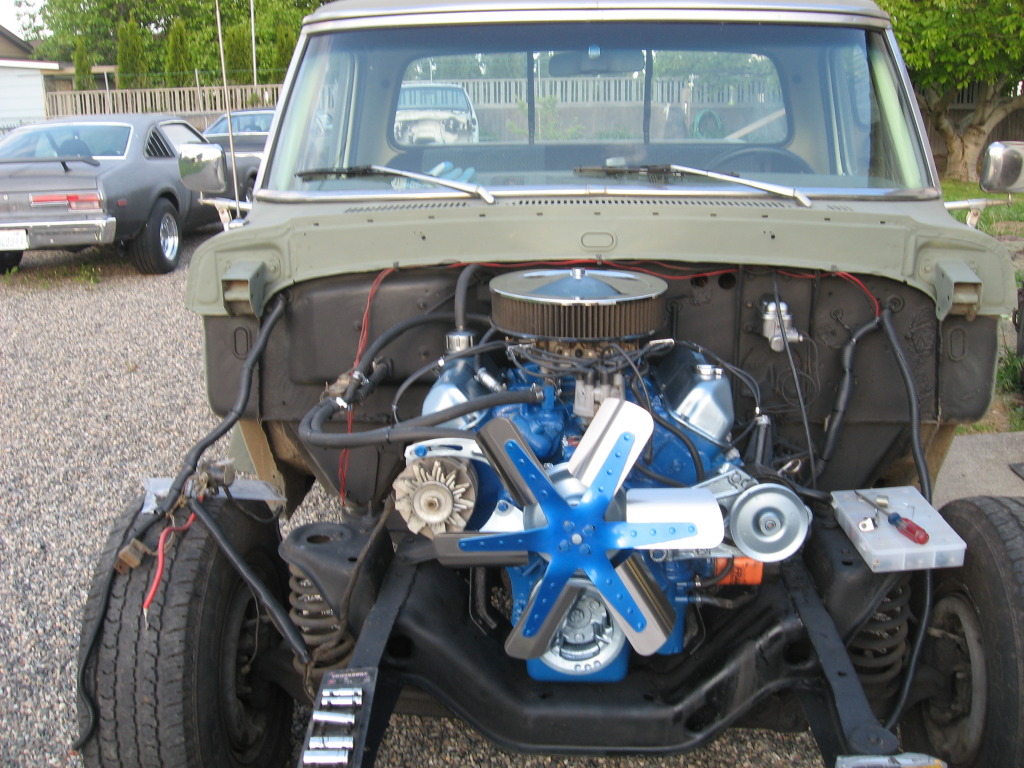
I had to call it a night so I will finish it up tomorrow, but starting to look a lot better.
Engine bay when I got the truck:
Started the tear down, degreased, scrubbed and cleaned everything:
Then found the problem with the power steering and fixed it and the brake fade was being caused by someone putting in the wrong rubber diaphragm in the cap so it wasn't sealing between the two reservoirs, as soon as I put the correct one in, it held with no fade at all. I then got to work priming and painting the engine and everything.
Started getting it put back together:
I had to call it a night so I will finish it up tomorrow, but starting to look a lot better.
 May 7, 2012 | 12:49 AM
#76
Thread Starter
Staging Lane
Joined: Nov 2011
Posts: 55
Likes: 0
From: Washington
That looks 100x better. Thats cleaner than the engine bay on my 2011 LOL
Thanks, and yeah it don't take long and they can get real dirty, but who cares it's just to much fun to drive them...lol
Ok so didn't get it all the way done... the only thing left is the hood and my friend is going to come over tomorrow and help with that. But anyways here are some more progress pic's...


I picked up some universal light flexible strips for another project but never used them so I put them on around the head lights, kinda has that European head light look�
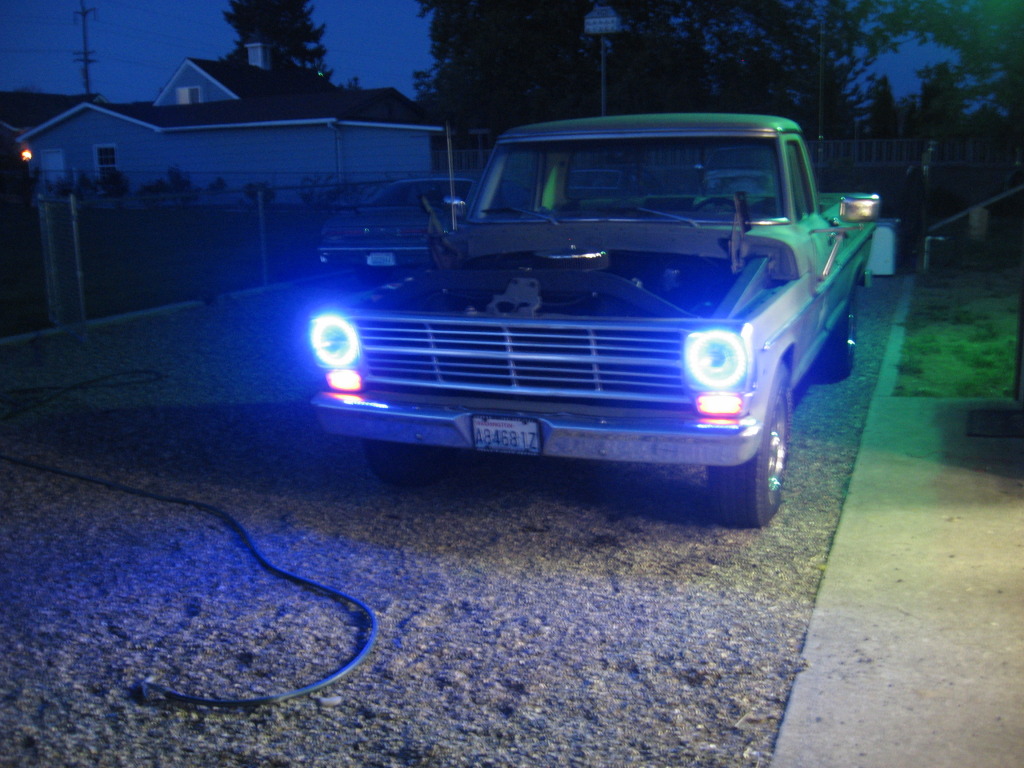
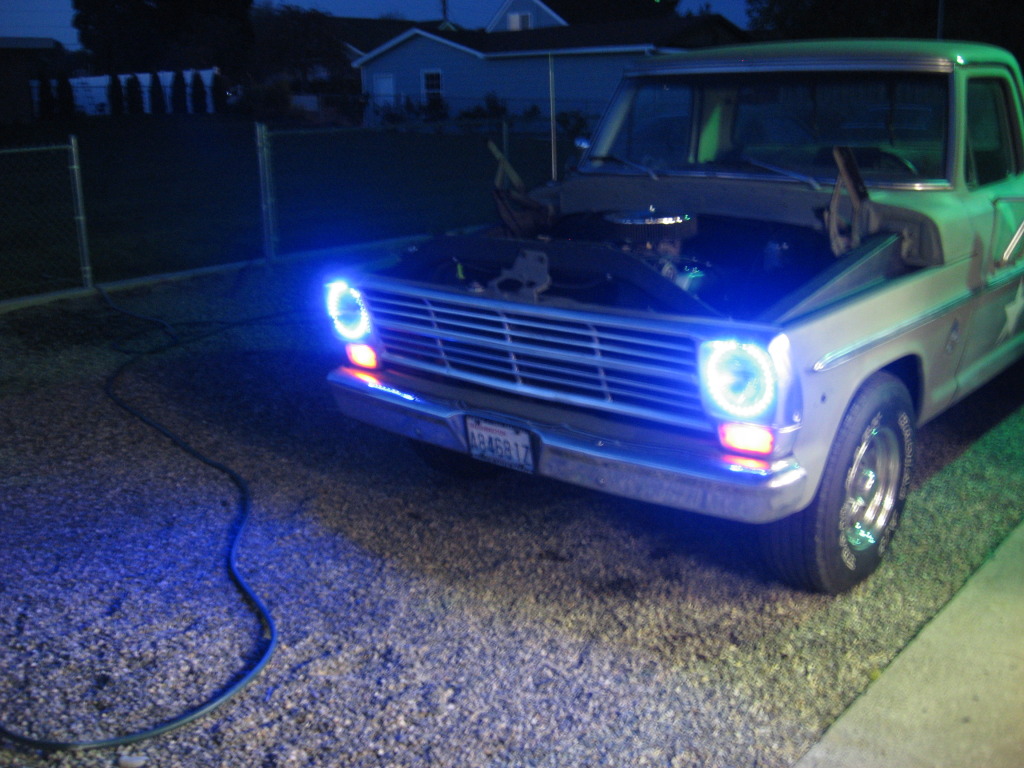
Then a few pics with the camera flash turned on to cut down on the glare. They are bright!
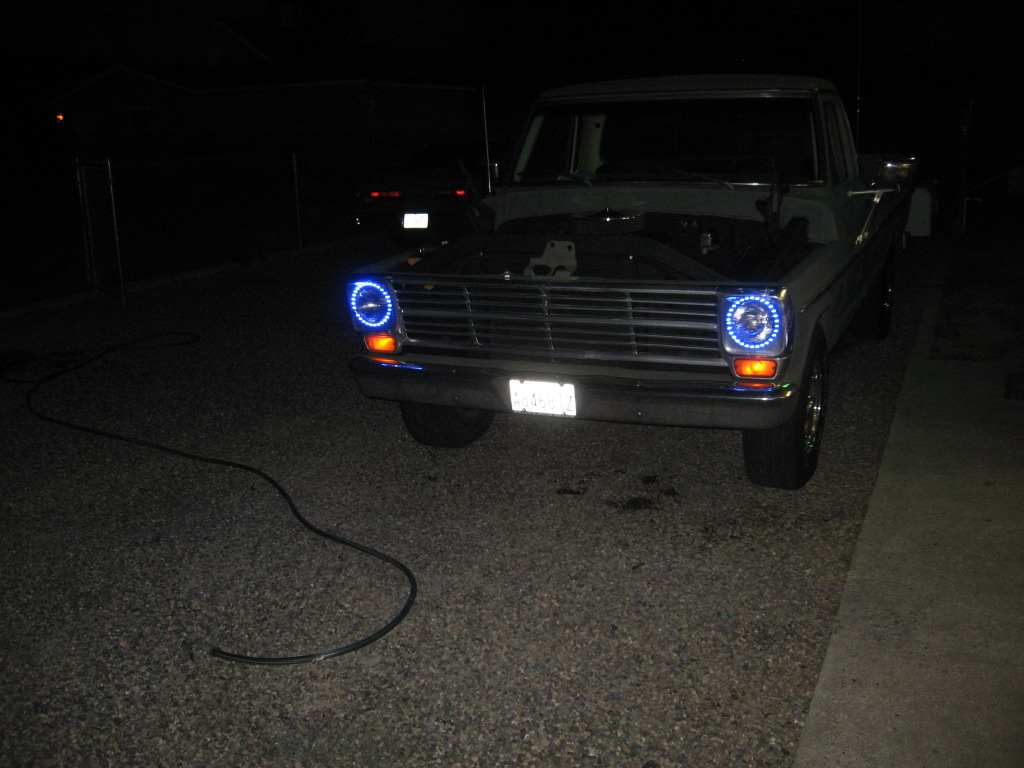
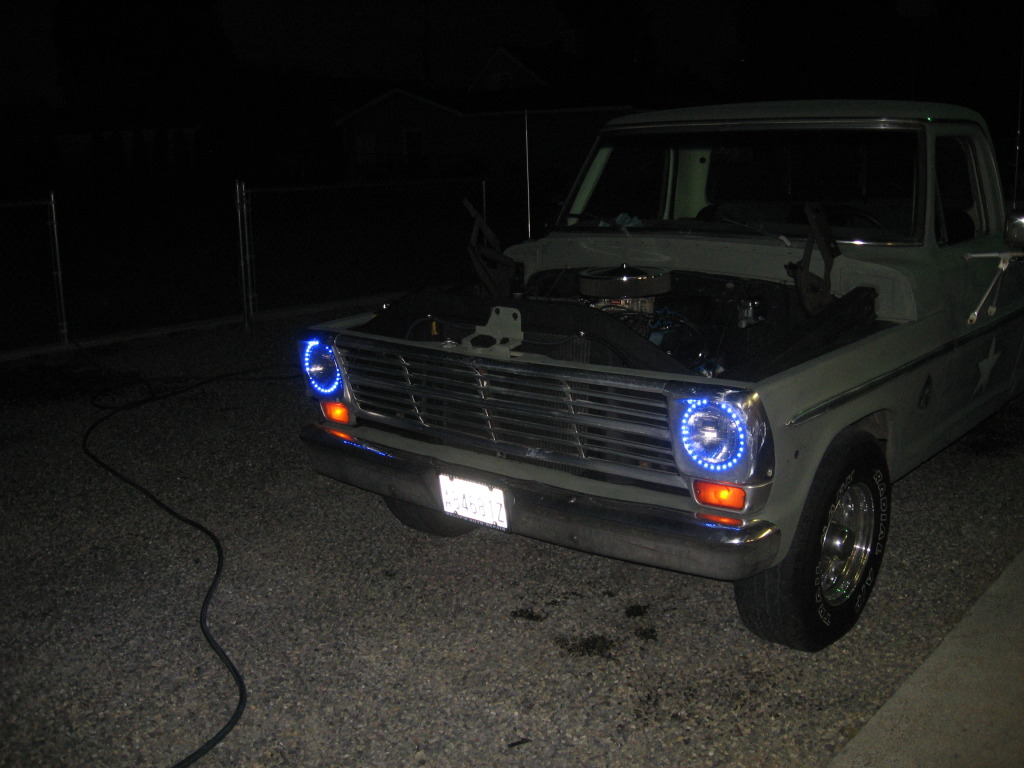
Still not sure if they are going to stay, I'll have to see how everyone reacts to them then make up my mind. Most likely it won't be legal, but whatever.

 May 7, 2012 | 01:29 AM
#78


It's your truck, build it how you want. If you like the lights, what does it matter what anyone else thinks.
I am not really feeling it though.
I have to admit, I dig the fake military paint job.
I am not really feeling it though.
I have to admit, I dig the fake military paint job.
May 7, 2012 | 01:38 AM
#79
Thread Starter
Staging Lane
Joined: Nov 2011
Posts: 55
Likes: 0
From: Washington
It's your truck, build it how you want. If you like the lights, what does it matter what anyone else thinks.
Thanks for your reply, I do appreciate it.
 May 10, 2012 | 01:17 AM
#80
Thread Starter
Staging Lane
Joined: Nov 2011
Posts: 55
Likes: 0
From: Washington
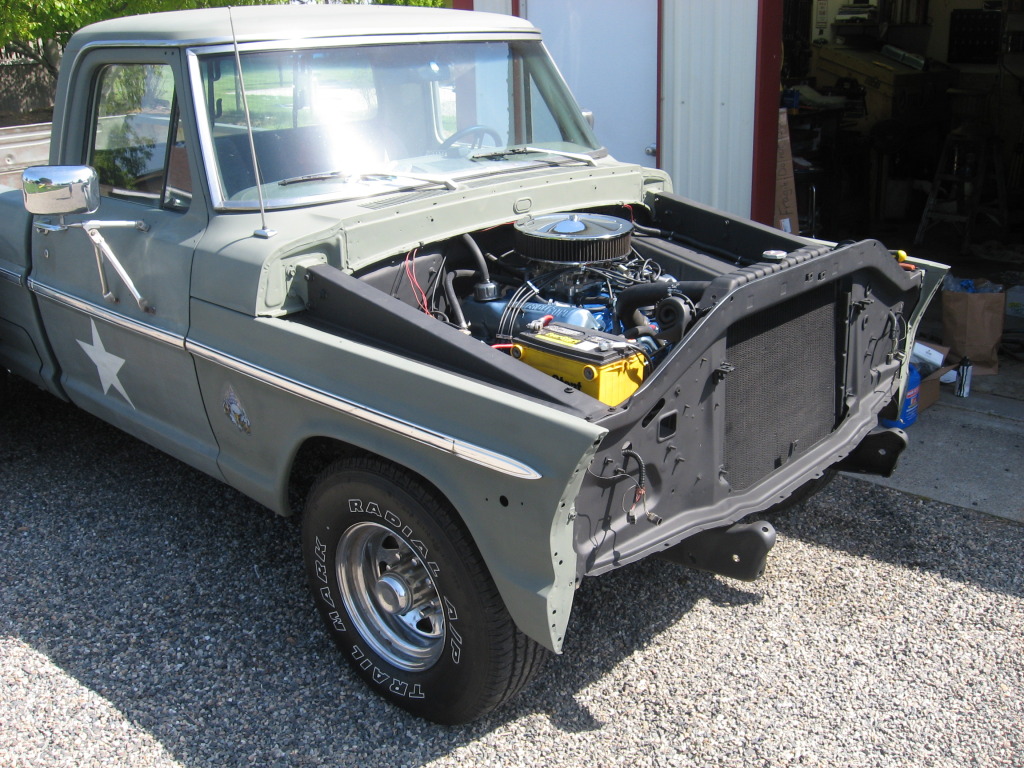
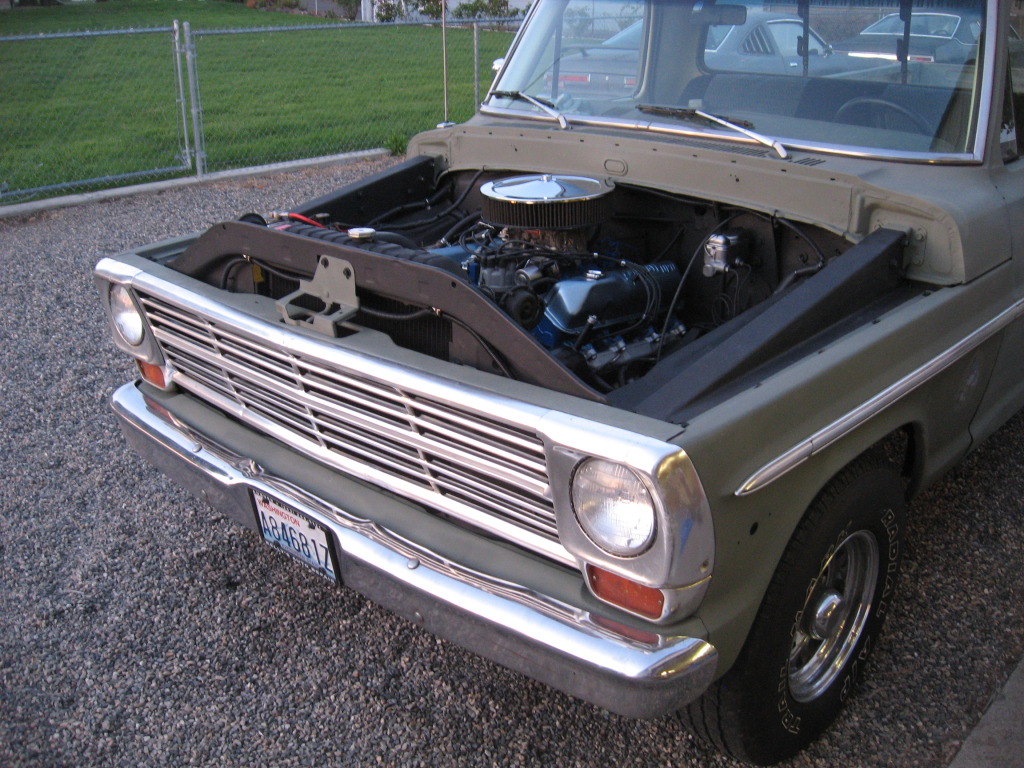
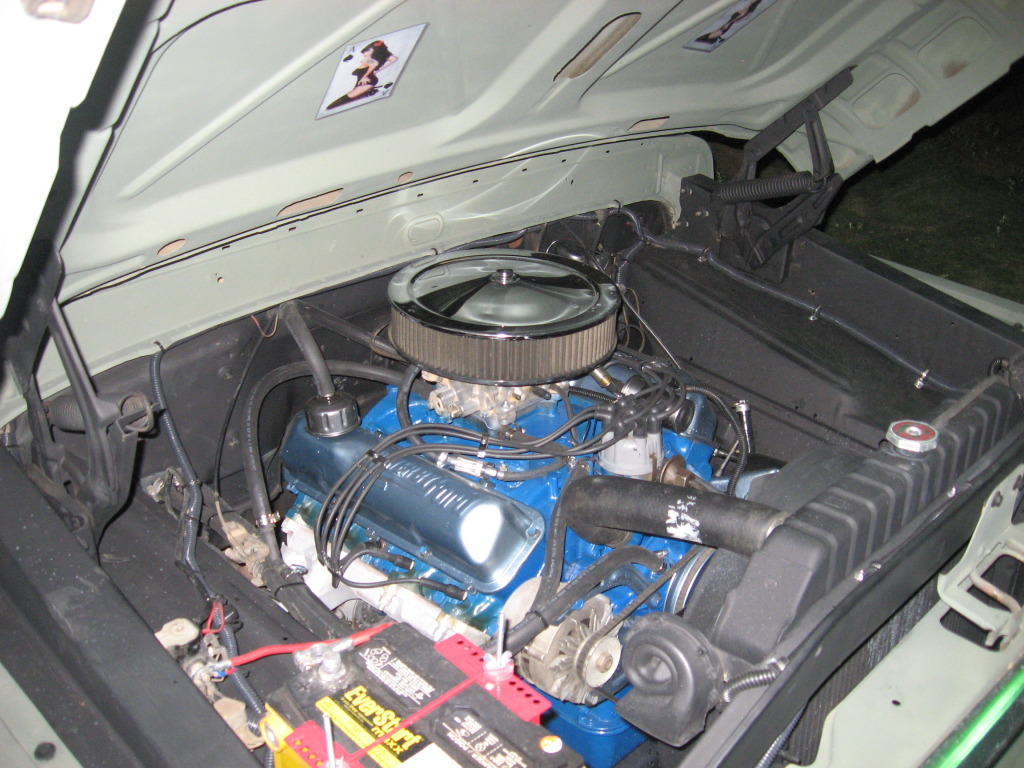
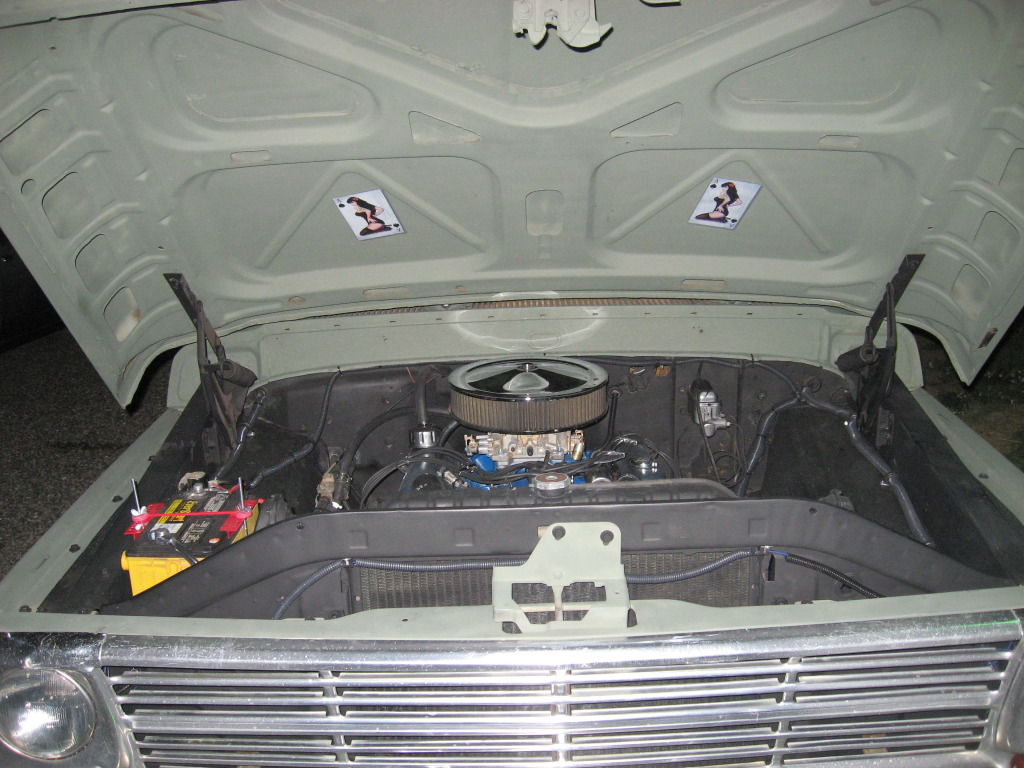
So finished up the truck on Monday but been busy ever since, so here are the finished pic's of the engine bay clean up...
before:
after:
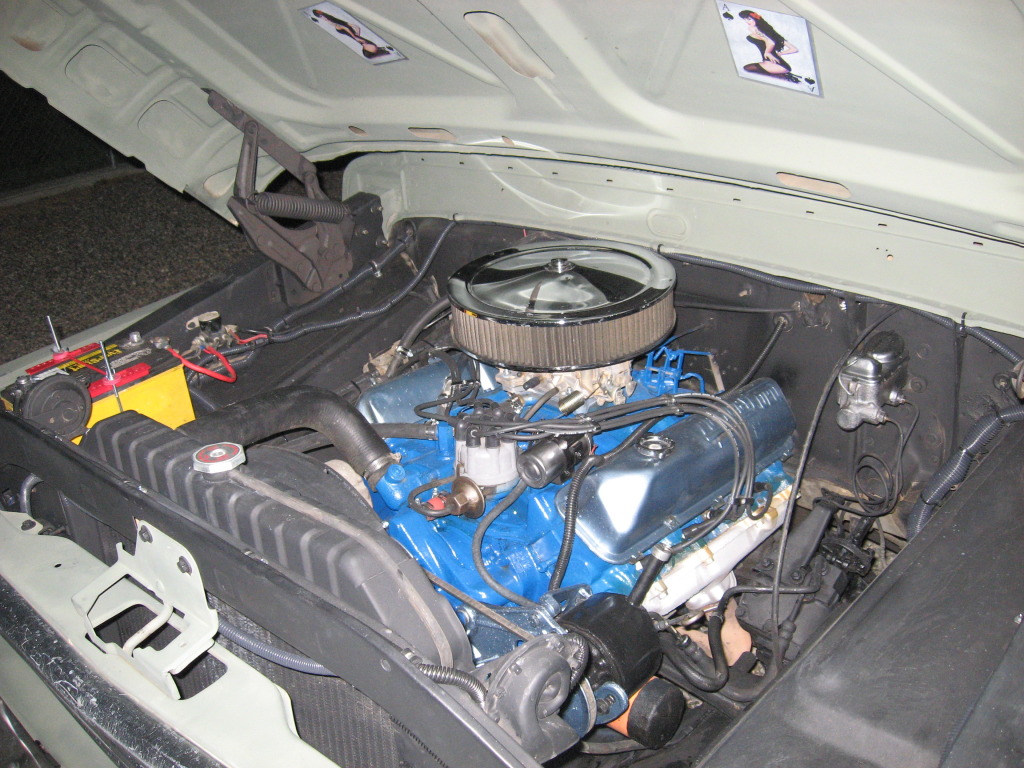
before:
after:

Just going to have fun and drive it for now..... time to get back onto the chassis swap project.
before:
after:
before:
after:
Just going to have fun and drive it for now..... time to get back onto the chassis swap project.