2001 Frame up build


 12-28-2007, 05:38 PM
#145

Ouch... I cut my index finger open across the nuckle at work almost 3 mo ago ( 9/10/07) and it is still healing... Still Trying to get all the movement back. It toke almost 2 months to be able to bend it 90 degres on with its own power... Talk about bad accedints.  I Even got before surgury and after surgury pictures... I just went back for my check up and I told them there was some discomfort around this little bump near the scare... Guess what, there is still some foreign material in there and if the discomfort does not go away on its own they will have to go in and remove whats left....
Take your time and follow your doctors advice. Oh btw my employer did not have workers comp and my personal insurance was screwed up at the time ... I got it fixed but I have not been able to see a physical therapist on my own yet.
I Even got before surgury and after surgury pictures... I just went back for my check up and I told them there was some discomfort around this little bump near the scare... Guess what, there is still some foreign material in there and if the discomfort does not go away on its own they will have to go in and remove whats left.... Take your time and follow your doctors advice. Oh btw my employer did not have workers comp and my personal insurance was screwed up at the time ... I got it fixed but I have not been able to see a physical therapist on my own yet.
 12-28-2007, 07:37 PM
#147
I did it on a Water Jet machine... at the time it felt like a Jacuzi jet afterward was another story. The pain was intensified by all the Garnet that was injected into my finger... I can only imagine What his finger felt like.
I smashed a finger once with of all things a hammer. got caught under the handle when it sliped off the peice I was working on. It created a blood pocket under the nail and the pain was So intense it made me sick , untill they burned 2 holes to relive the presure. The blood squirted out almost to the ceiling in the doctors office. and almost got him in the face...
I smashed a finger once with of all things a hammer. got caught under the handle when it sliped off the peice I was working on. It created a blood pocket under the nail and the pain was So intense it made me sick
, untill they burned 2 holes to relive the presure. The blood squirted out almost to the ceiling in the doctors office. and almost got him in the face...
01-01-2008, 05:53 PM
#148
About damn time I get back to work!
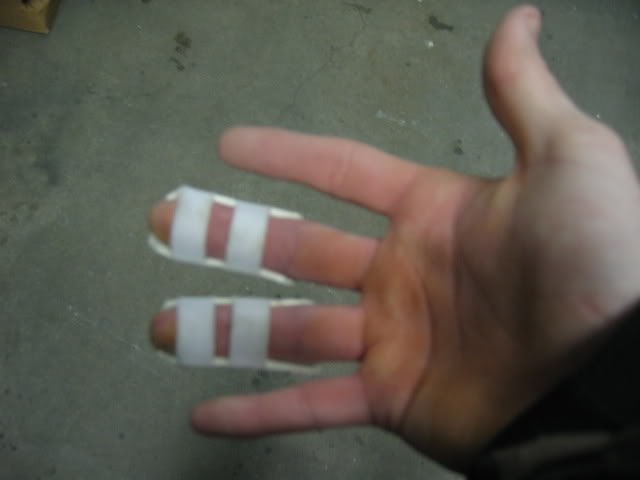
First off my fingers, I finally got the doc. to give me a smaller set of splints, so I can fit them into a glove, little tight and uncomfortable but hey I need to get this thing done... I put a rubber glove on first to keep them protected by the way.
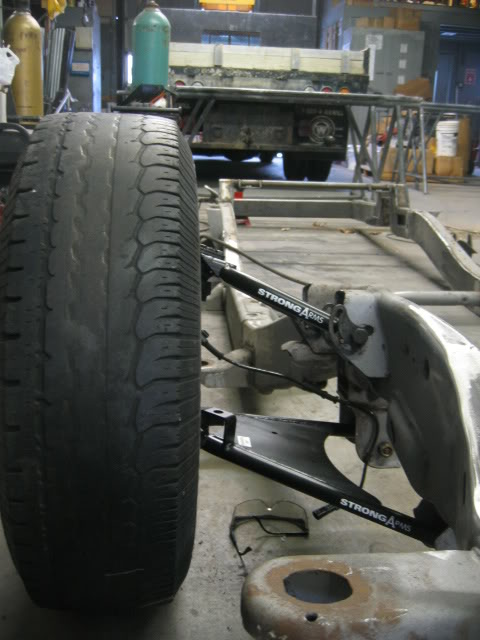
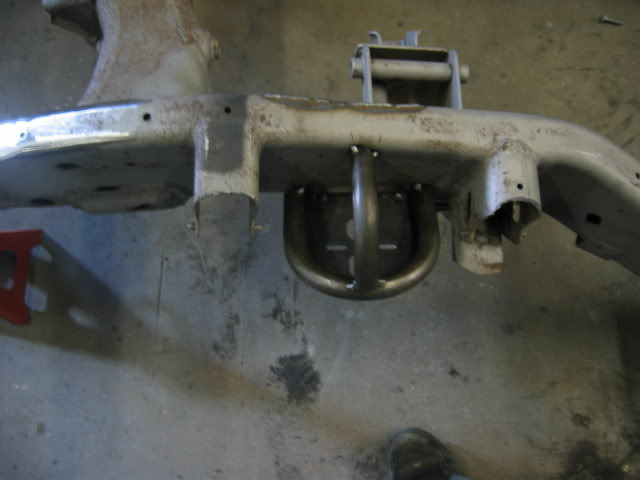
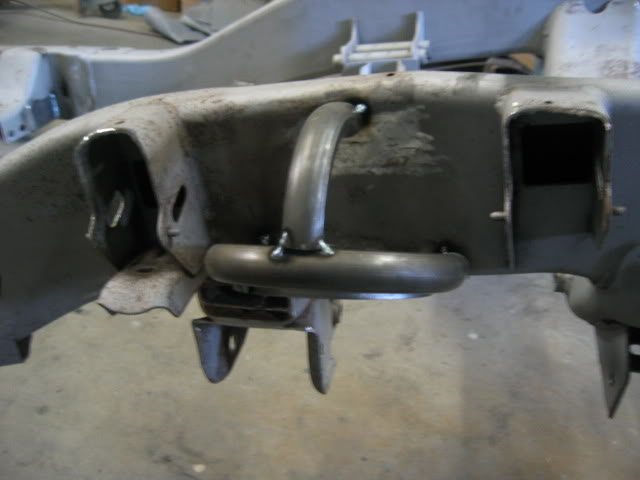
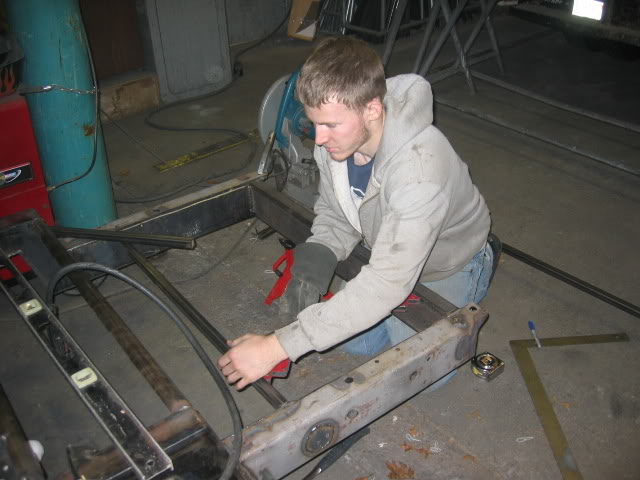
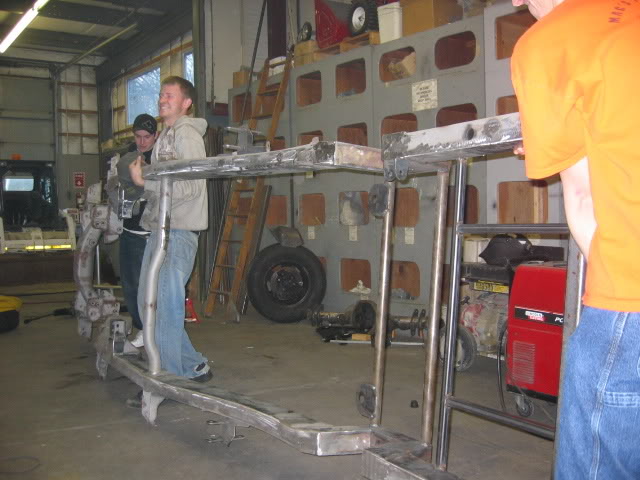
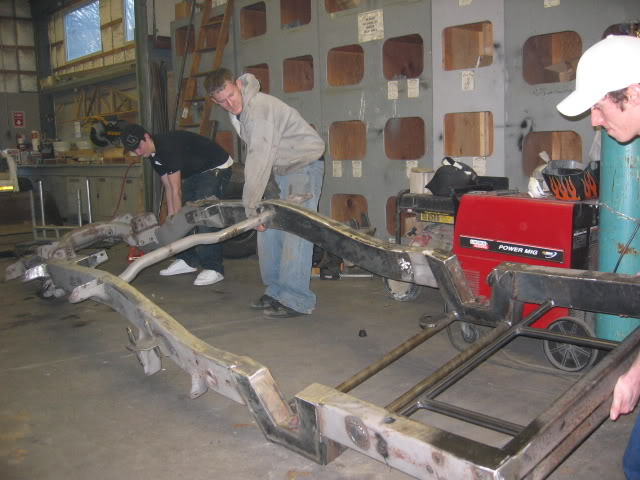
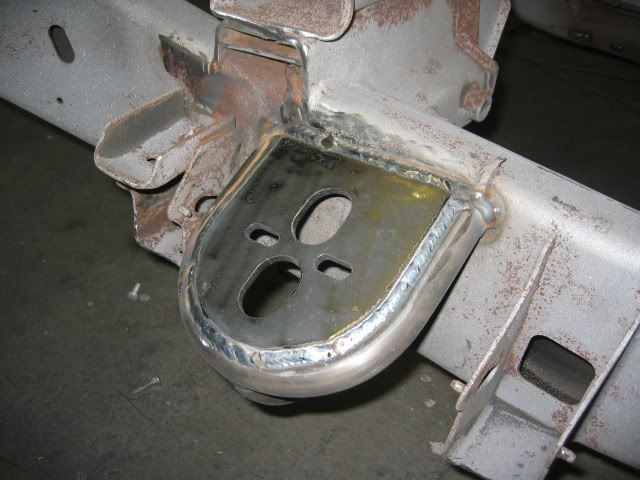
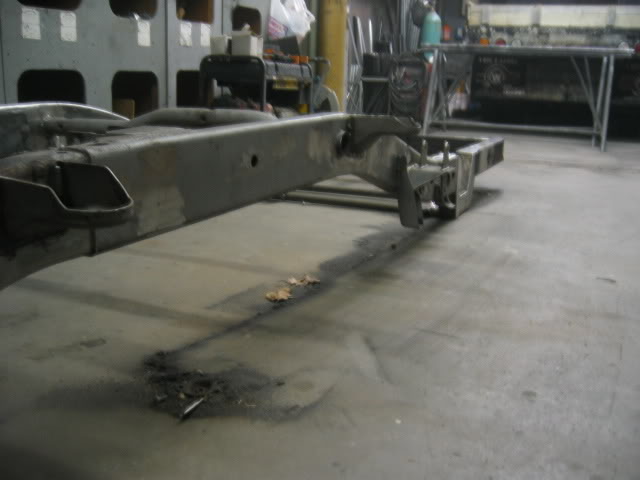
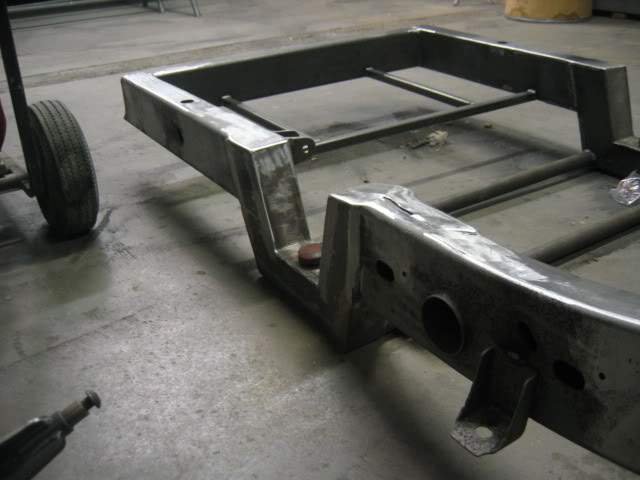
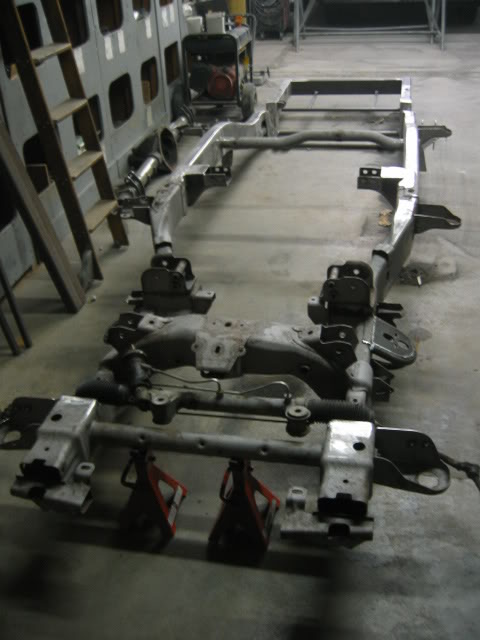
So I finally got the rest of the part I need to finish the frame work... started with the front end this weekend
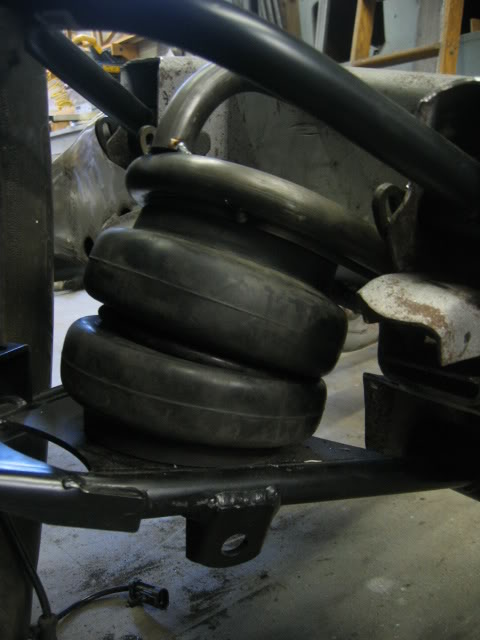
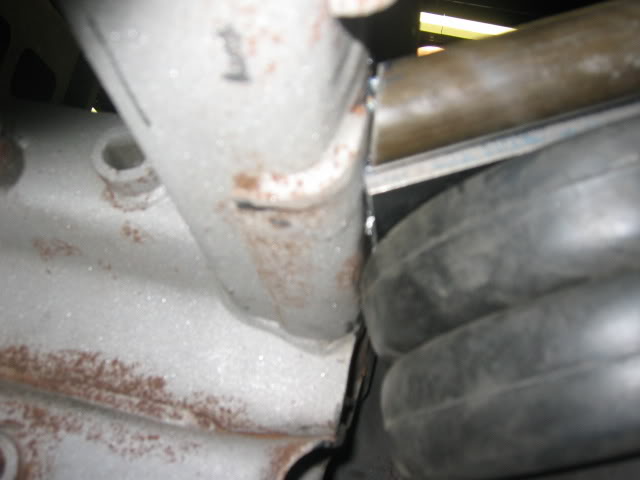
Bolted everything up to set up the torsion brackets
Cut the plates down to size

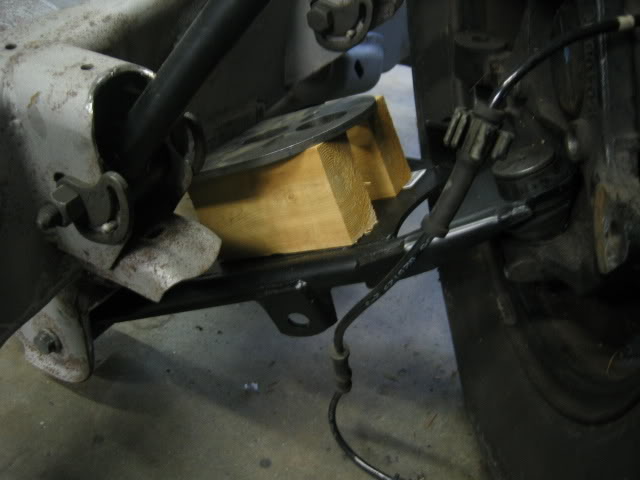
Cut some blocks of wood to the minimum bag height... 2.9" I just made it 3"
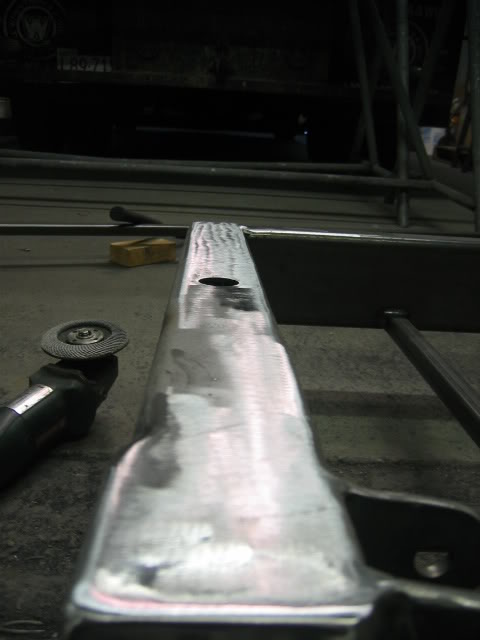
Cut the 1/4" think 1" DOM Tubing
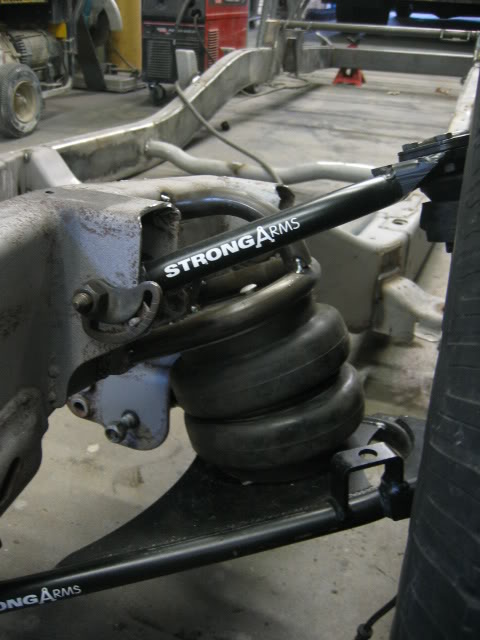
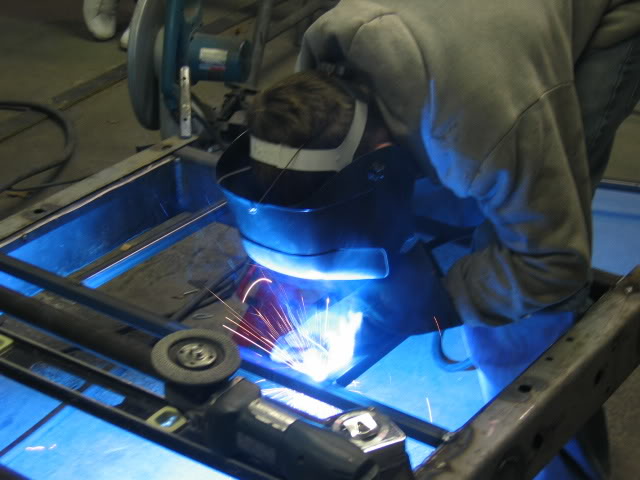
Tac'd everything in place
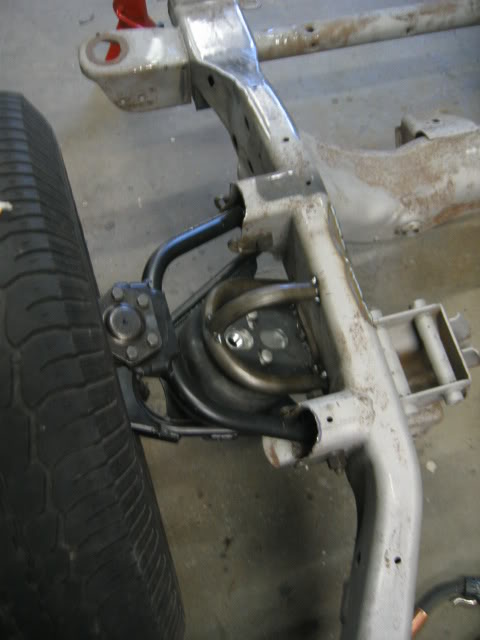
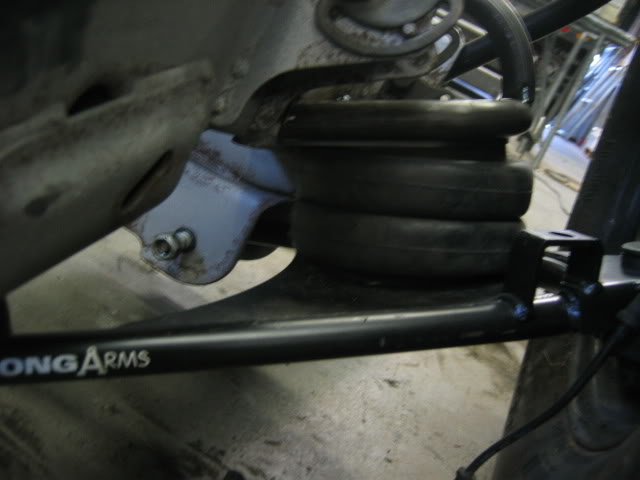
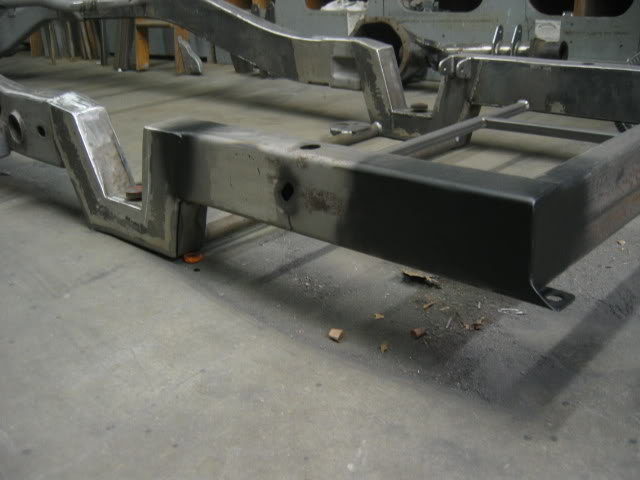
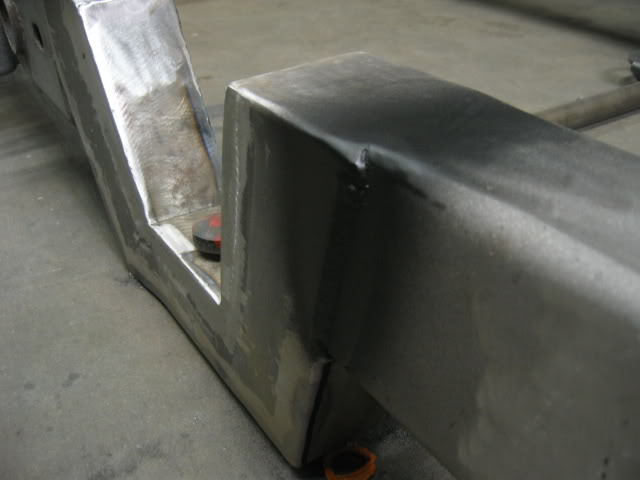
Only place it really scares me... but it never touches the frame unless its all the way laid out and its not really a scrub it just a tap kind of touch, but since that is just extra metal from the bump stop or whatever I can grind out enough clearance.
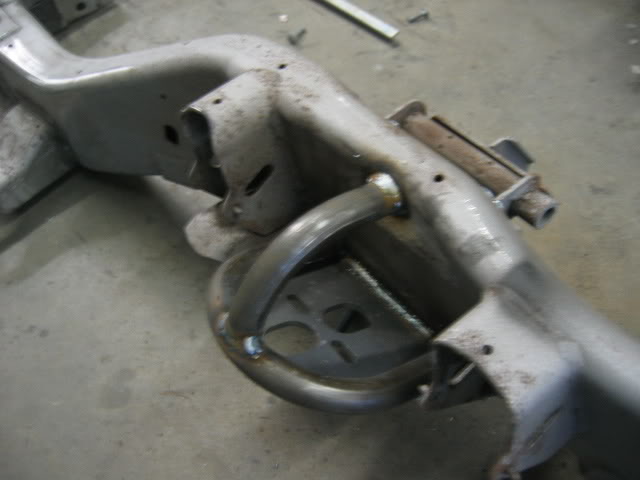
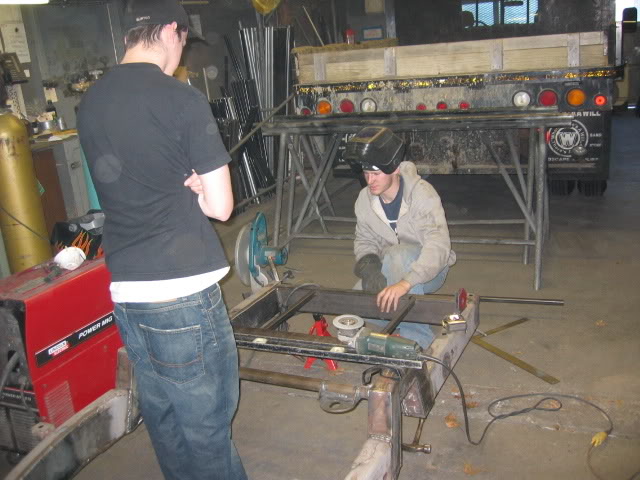
More pictures front end is off to continue final welding
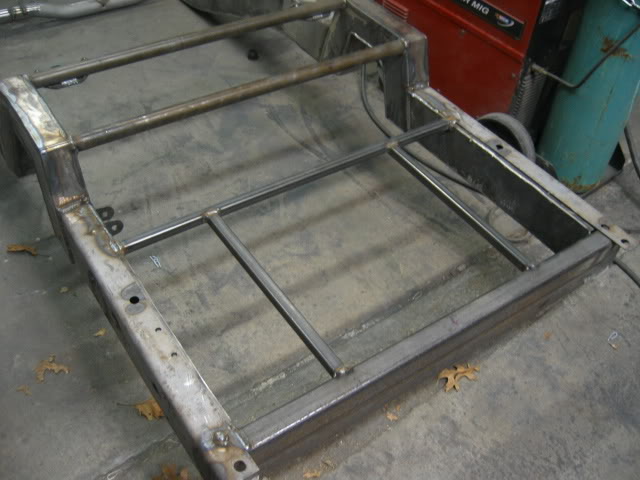
While I had the frame right side up, I needed to frame out my fuel cell. 18x18x15 fuel cell 21 gallons
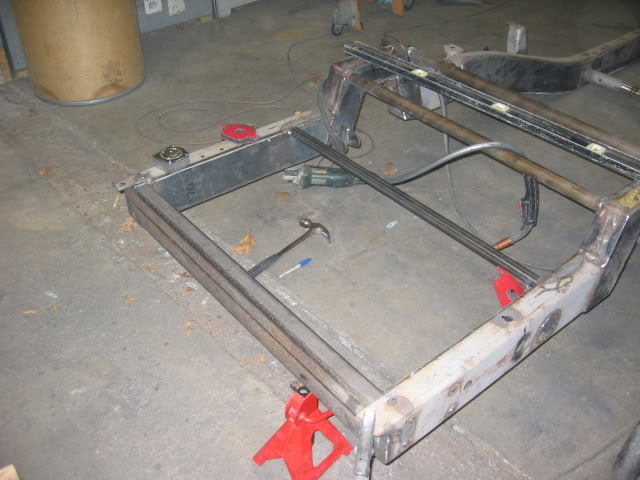
Nice! Just need to get the cash so I can have the guy ship me it, I made the opening 1" bigger. Plus I still have enough room to fit my exhaust beside the cell.
Time to flip it again, SO fun :hahano:
First off my fingers, I finally got the doc. to give me a smaller set of splints, so I can fit them into a glove, little tight and uncomfortable but hey I need to get this thing done... I put a rubber glove on first to keep them protected by the way.
So I finally got the rest of the part I need to finish the frame work... started with the front end this weekend
Bolted everything up to set up the torsion brackets
Cut the plates down to size
Cut some blocks of wood to the minimum bag height... 2.9" I just made it 3"
Cut the 1/4" think 1" DOM Tubing
Tac'd everything in place
Only place it really scares me... but it never touches the frame unless its all the way laid out and its not really a scrub it just a tap kind of touch, but since that is just extra metal from the bump stop or whatever I can grind out enough clearance.
More pictures front end is off to continue final welding
While I had the frame right side up, I needed to frame out my fuel cell. 18x18x15 fuel cell 21 gallons
Nice! Just need to get the cash so I can have the guy ship me it, I made the opening 1" bigger. Plus I still have enough room to fit my exhaust beside the cell.
Time to flip it again, SO fun :hahano:
01-01-2008, 05:53 PM
#149
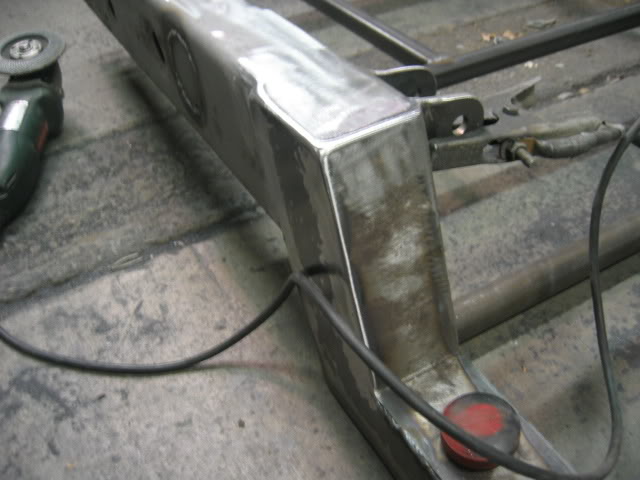
Needed to box it the bottom of the front dropped frame, I planned on doing the same as the top, but I want to retain the factory sway bar setup... yes I know I still could've managed but this is how I decided to do it
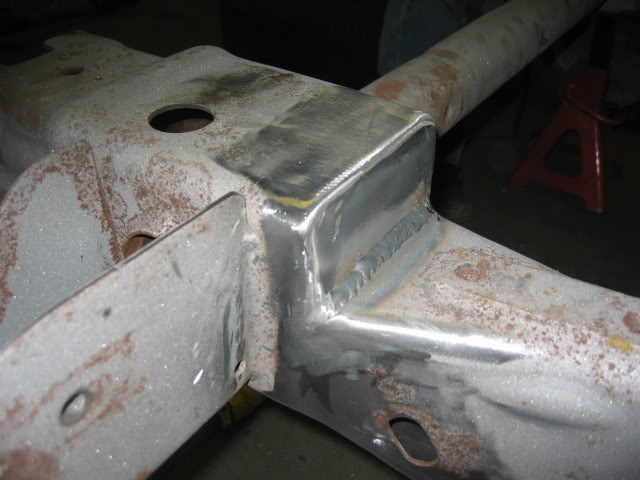

Welded the plates to the tubing
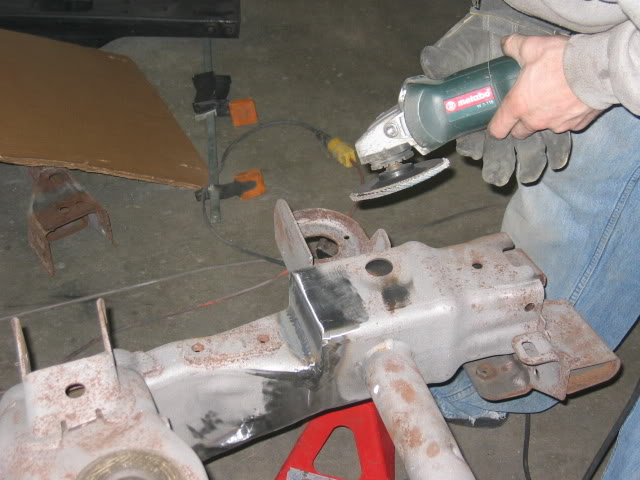
Working on getting the frame smooth for the rest of the day
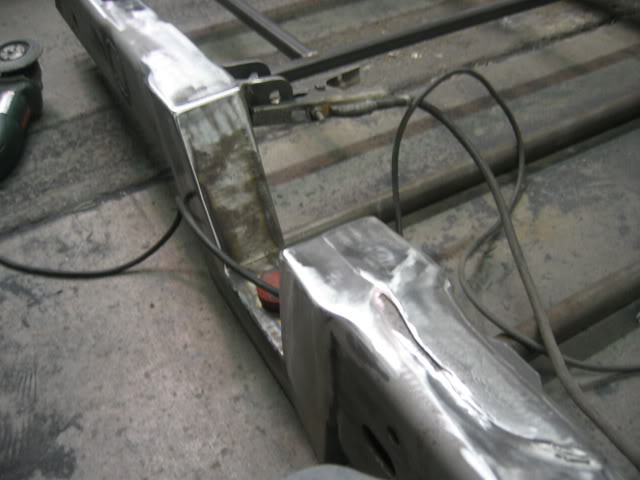
Filled in all the small holes, no need for them any I do need I kept or I'll drill and tap when the time comes

Slapped some primer to see how it will lay out on the metal
Frame shop.... time to go home
Welded the plates to the tubing
Working on getting the frame smooth for the rest of the day
Filled in all the small holes, no need for them any I do need I kept or I'll drill and tap when the time comes
Slapped some primer to see how it will lay out on the metal
Frame shop.... time to go home
01-01-2008, 06:14 PM
#150
TECH Fanatic
iTrader: (11)

Join Date: Aug 2005
Location: florida
Posts: 1,416
Likes: 0
Received 0 Likes
on
0 Posts
Doing a great job I hope your keeping a log of how many hours your project is going to eat. That ride's going to be awesome. Another thing is you already almost lost your hand and you dont need to lose an eye get some safety glasses didnt see them in the pictures.