

2000 Sierra RCSB, New Project


 Jan 1, 2013 | 09:34 PM
#62
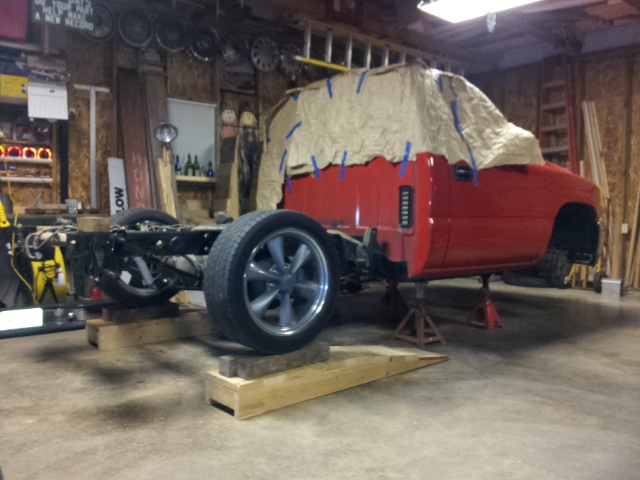
Hoping to have it done in a couple weekends. I live in some apartments in the next town over from where I keep the truck, so I can only work on it on the weekends. I was hoping to have more done, but I just got the chain hoist last night to pick up the bed.
 Jan 1, 2013 | 09:48 PM
#64
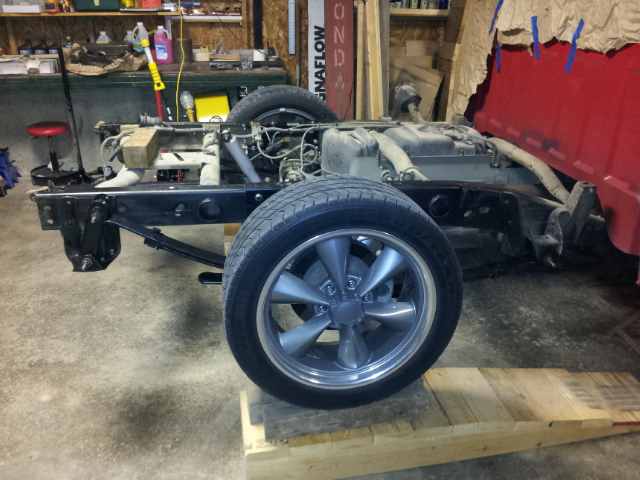
Yeah I needed to clean everything up anyways. As you can see the dealer I bought it from "detailed" it with spray paint. So I need to try and clean off alot of the dirt and paint some stuff, or under coat it. Not 100% sure yet.
Jan 6, 2013 | 10:41 PM
#65
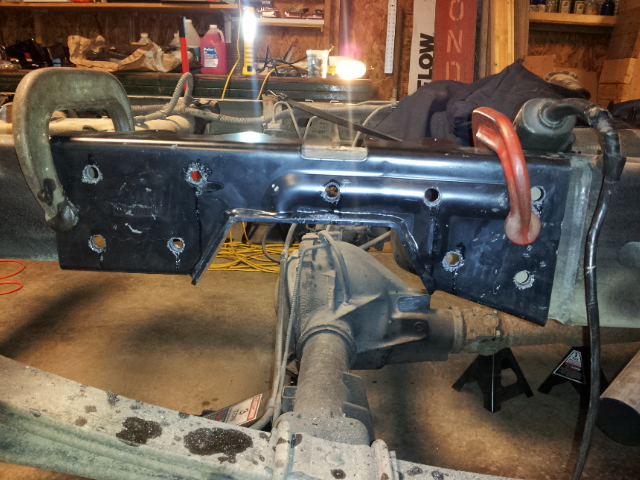
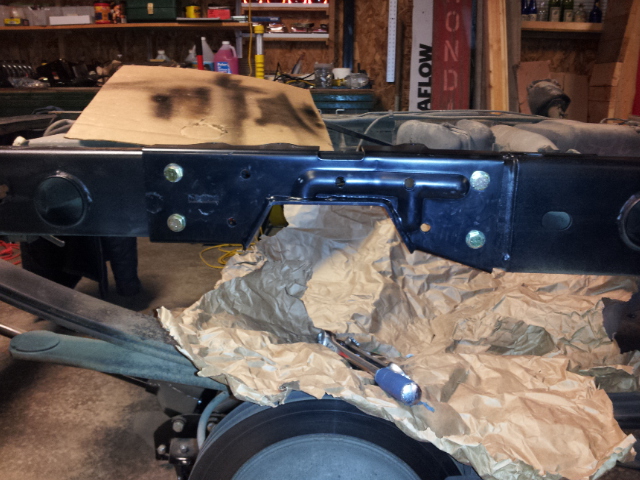
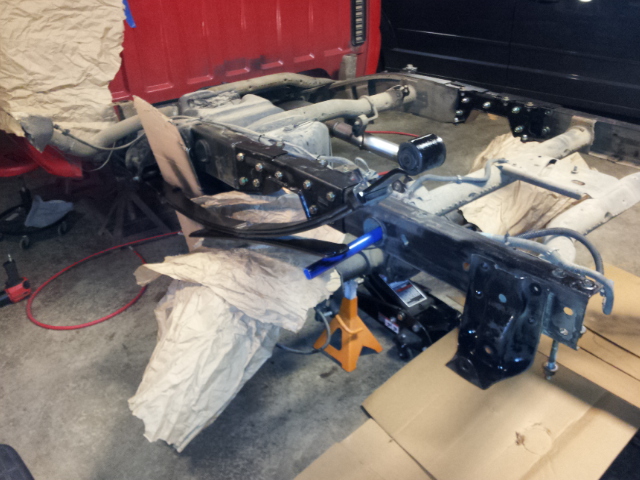
Got the notches marked out
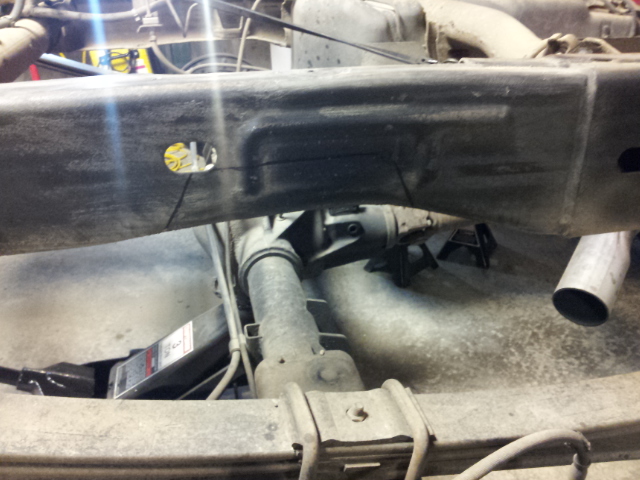

Then ran into a fitment issue, i'm hoping the notch just goes up over this weld in the frame.
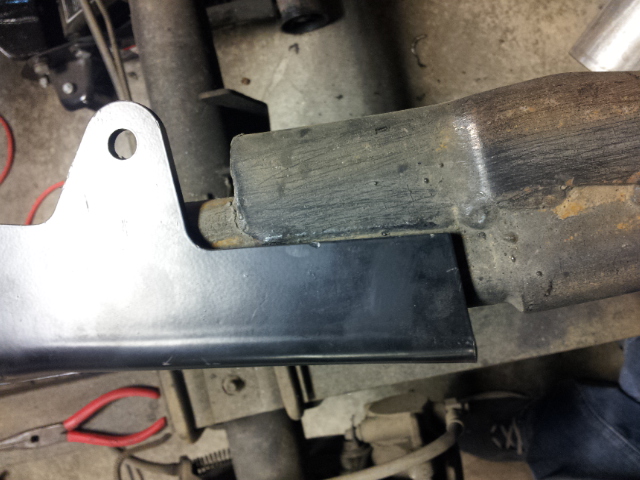

So I just pryed it up over the weld and continued
Then I started drilling
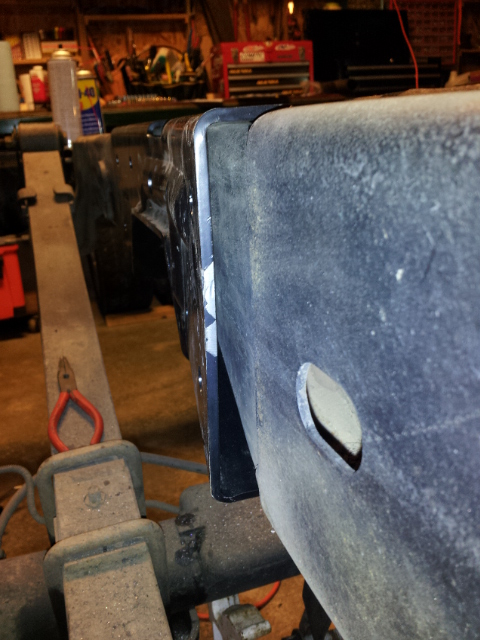
Cleaned up the edges and painted it a little
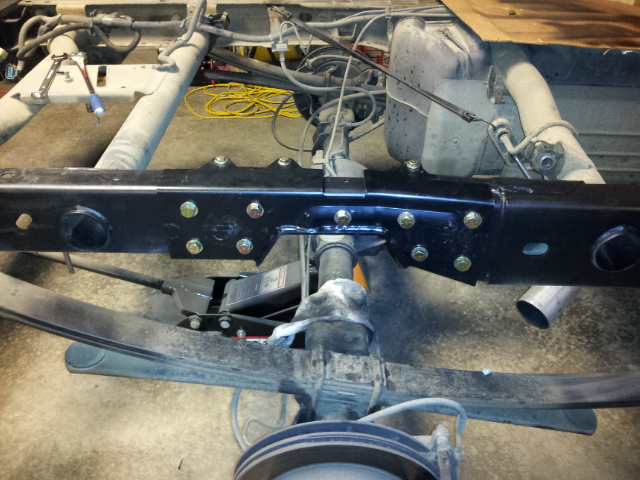
Notch back in for the final time
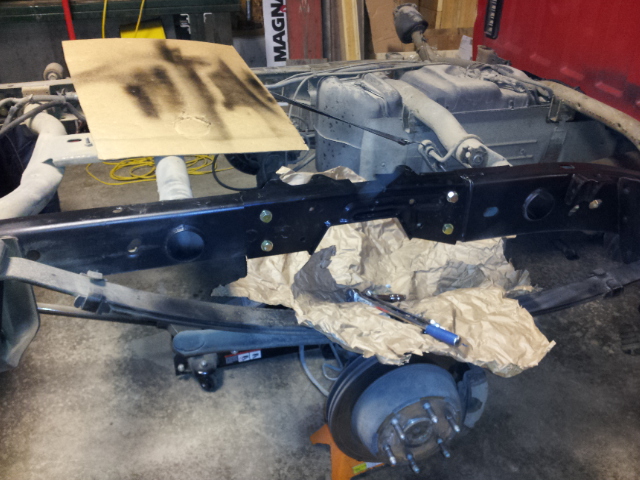
1 side all bolted in

Then ran into a fitment issue, i'm hoping the notch just goes up over this weld in the frame.
So I just pryed it up over the weld and continued
Then I started drilling
Cleaned up the edges and painted it a little
Notch back in for the final time
1 side all bolted in
Jan 6, 2013 | 11:08 PM
#66
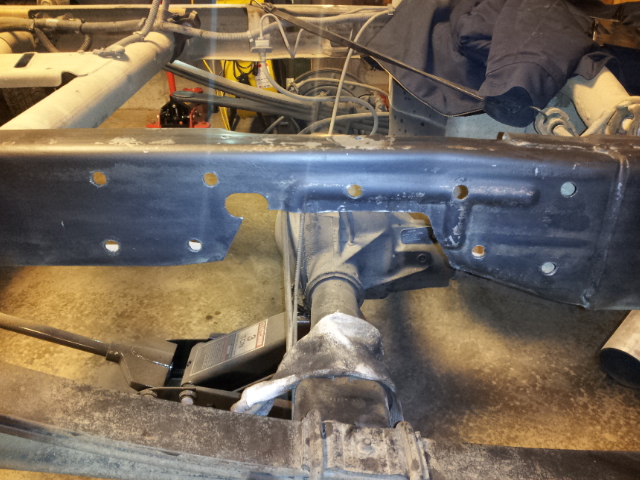
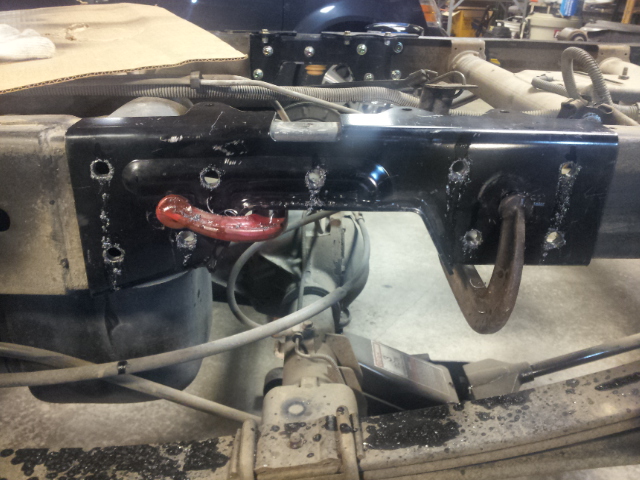
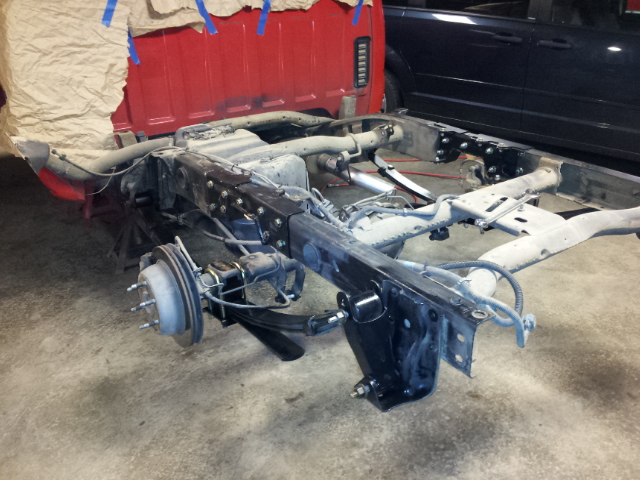
Driver side cut out
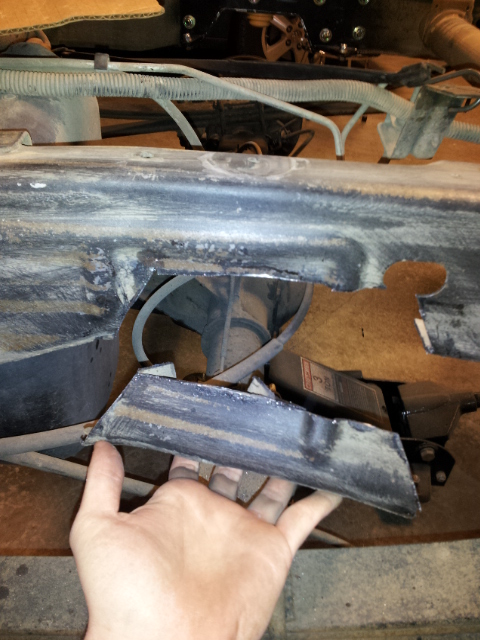
Backside of the cutout, it goes right through the factory bump stop brackets

And more drilling
It makes a mess
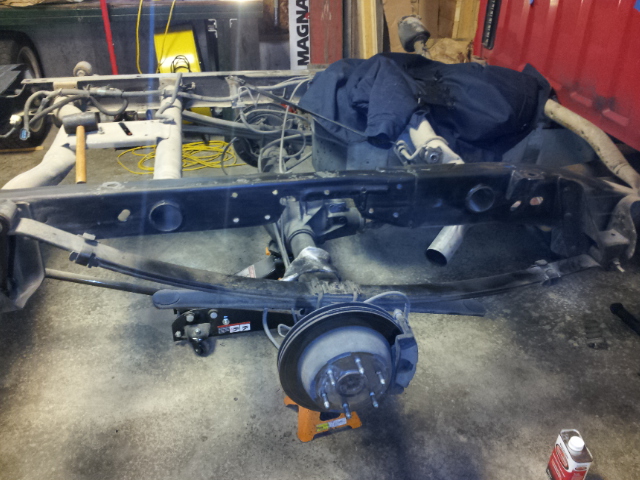
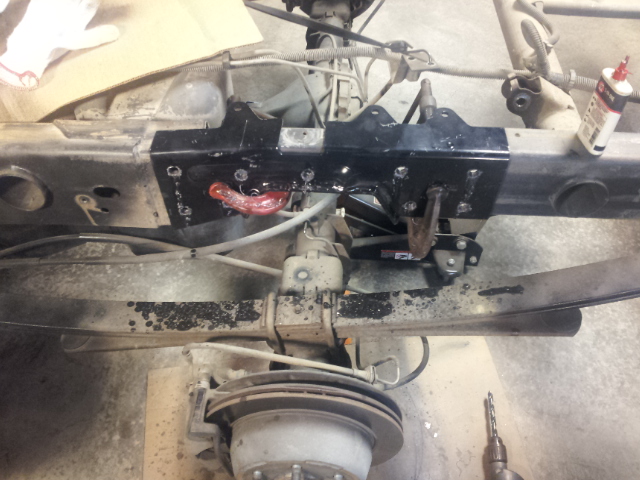
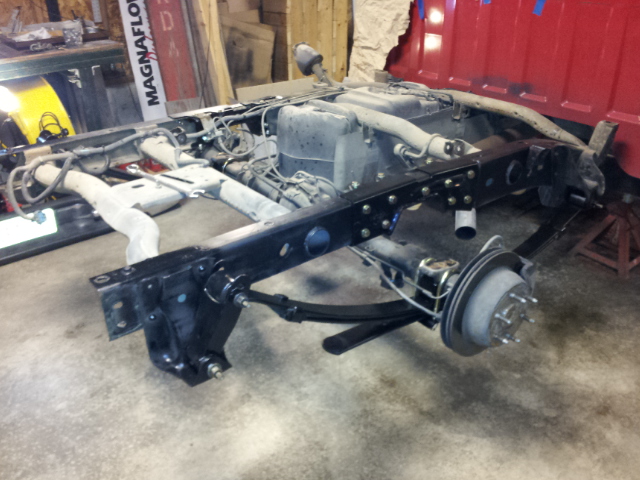
Bolted in, and took out the leaf springs
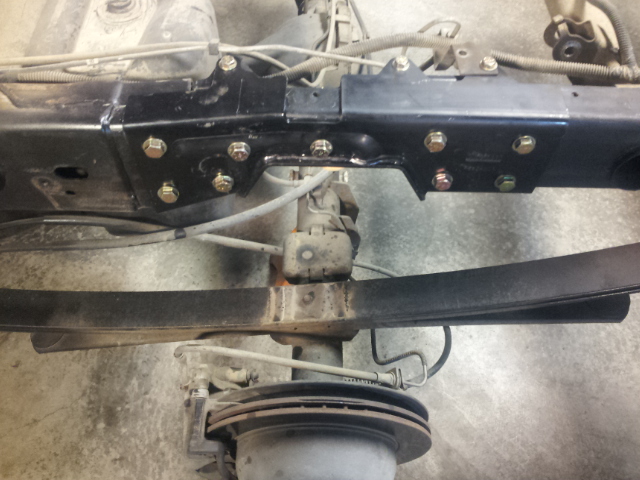
View of the inside brace to the driver side notch, and where I think the directed say to place the bracket that was removed

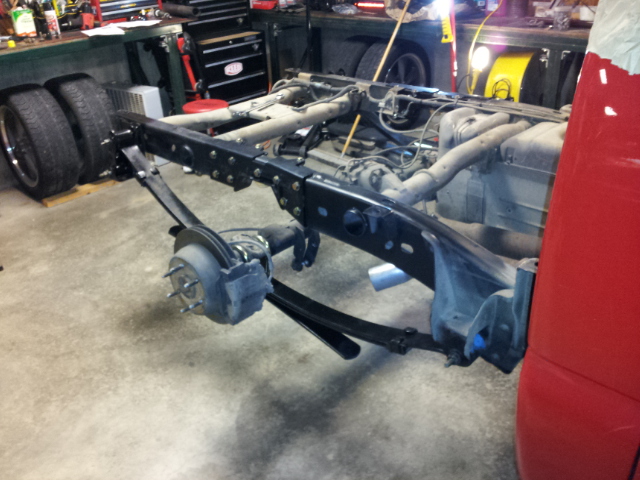
Pass side spring pulled and I painted by shackle bracket on the frame, the leaf spring, and the drop shackle since it was rusting pretty good
The driver side was not as easy however, damn hanger bolt would not come out due to the gas tank, and I wasn't about to pull the tank
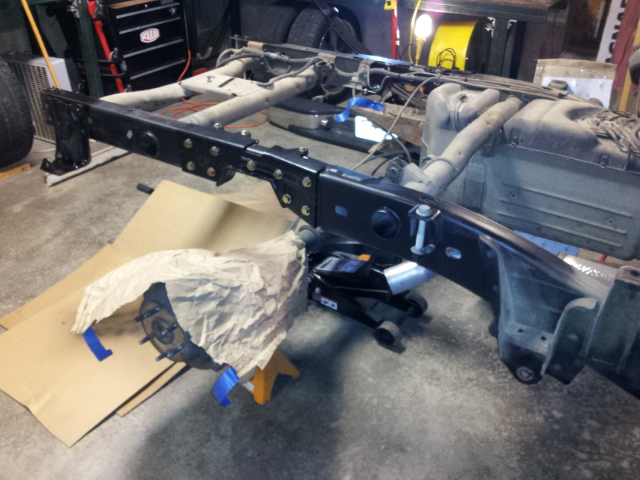
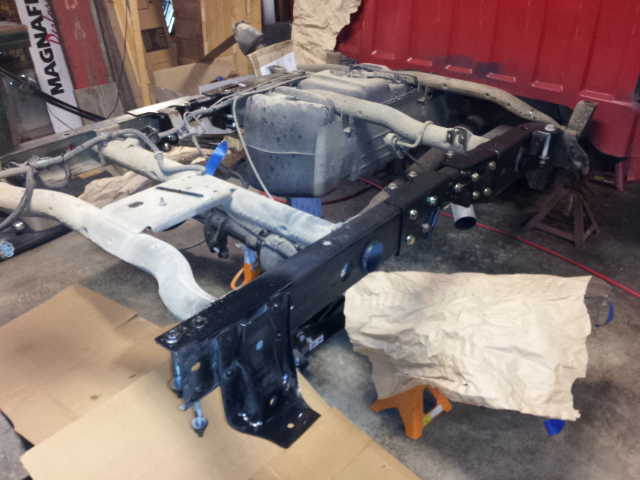
Pass side almost done, just lacking the shocks
Didn't paint the whole frame rail on the driver side, going to wait until I can pull it outside and wash off all the cross members and paint it all
Back under its own weight for the most part

Backside of the cutout, it goes right through the factory bump stop brackets
And more drilling
It makes a mess
Bolted in, and took out the leaf springs
View of the inside brace to the driver side notch, and where I think the directed say to place the bracket that was removed
Pass side spring pulled and I painted by shackle bracket on the frame, the leaf spring, and the drop shackle since it was rusting pretty good
The driver side was not as easy however, damn hanger bolt would not come out due to the gas tank, and I wasn't about to pull the tank
Pass side almost done, just lacking the shocks
Didn't paint the whole frame rail on the driver side, going to wait until I can pull it outside and wash off all the cross members and paint it all
Back under its own weight for the most part
 Jan 7, 2013 | 09:14 AM
#68
Its just a normal flip kit, this truck already had 2" drop shackles on it when I bought it. I moved them to the 1" drop hole so it'll be a total of 7" in the rear instead of 6". If it ends up being to much I'll have to hunt down some factory shackles.

