2000 Chevy Silverado project "Charlie Murphy"
 04-10-2012, 03:26 AM
#21

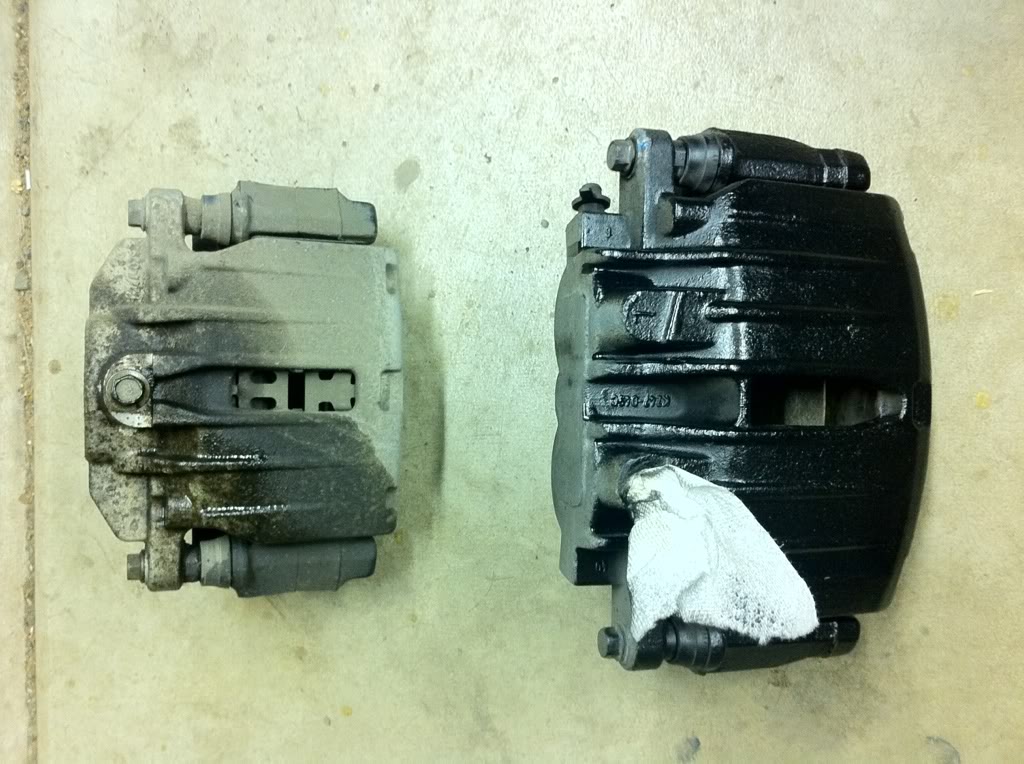
I worked on the truck a little bit today. I installed the KYB Monomax shocks, rear SS braided lines and the SUV calipers and rotors.
Check out the difference between the 2 calipers!
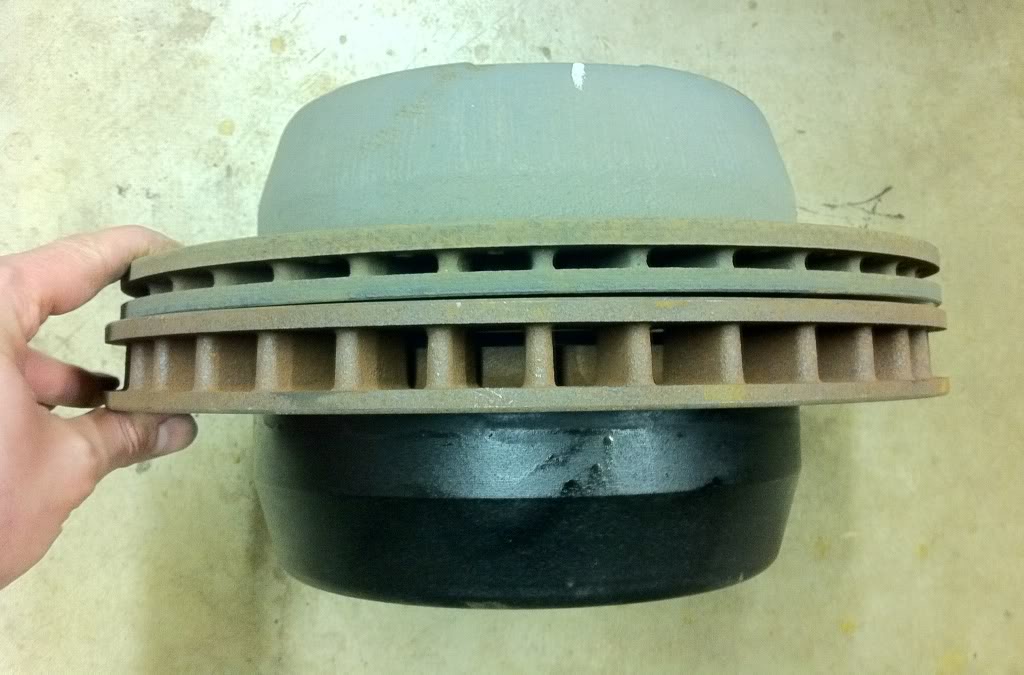
My factory rotor on top. Rotors for a Z71 Suburban on the bottom.
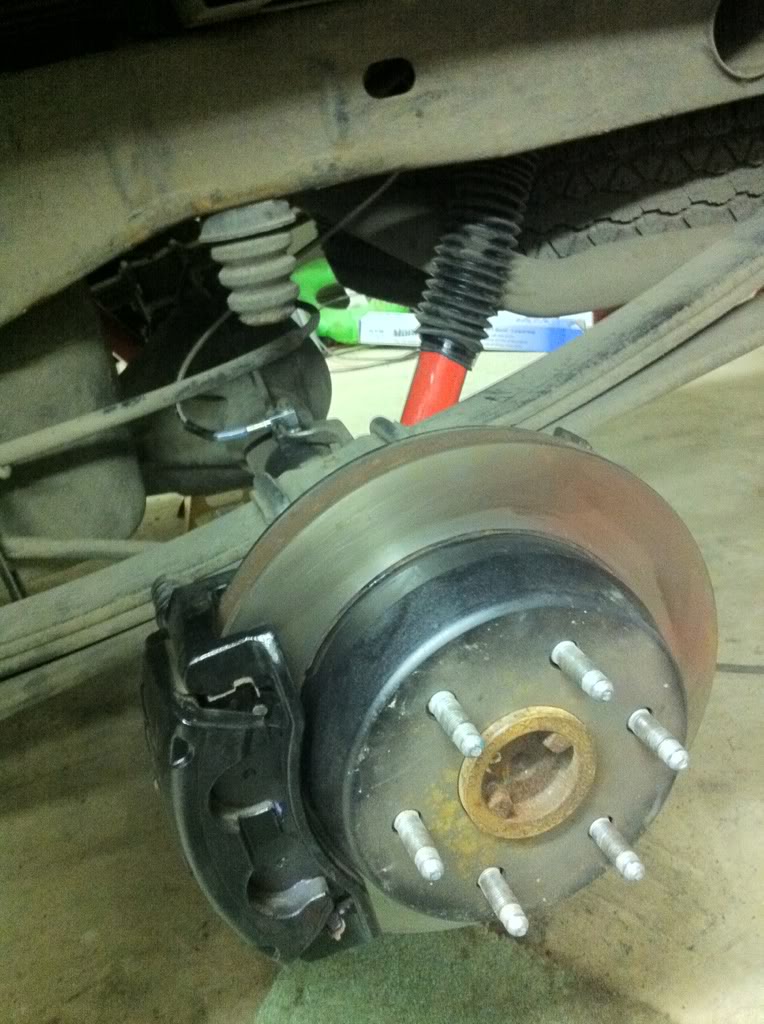
Here we go. All put together.
Check out the difference between the 2 calipers!
My factory rotor on top. Rotors for a Z71 Suburban on the bottom.
Here we go. All put together.

 04-10-2012, 11:56 PM
#23
Today I started debadging. It took quite a while but I finally got all the moulding off.
Does anyone have any tips on how to get rid of the lined where the moulding and 4x4 sticker once was?
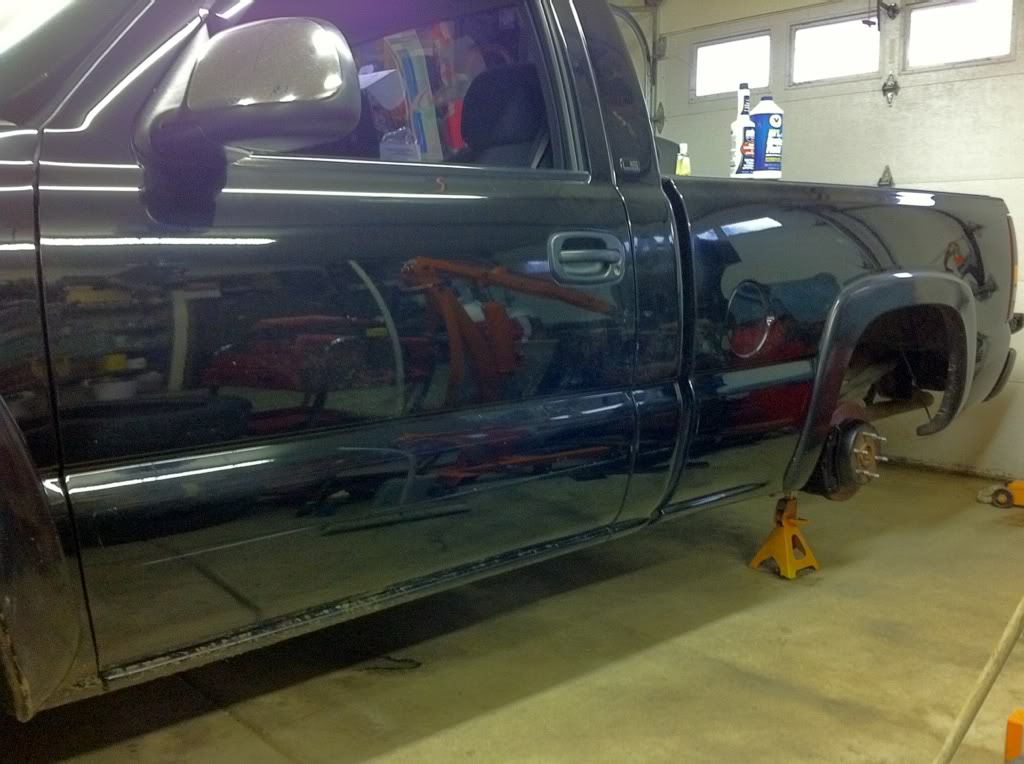
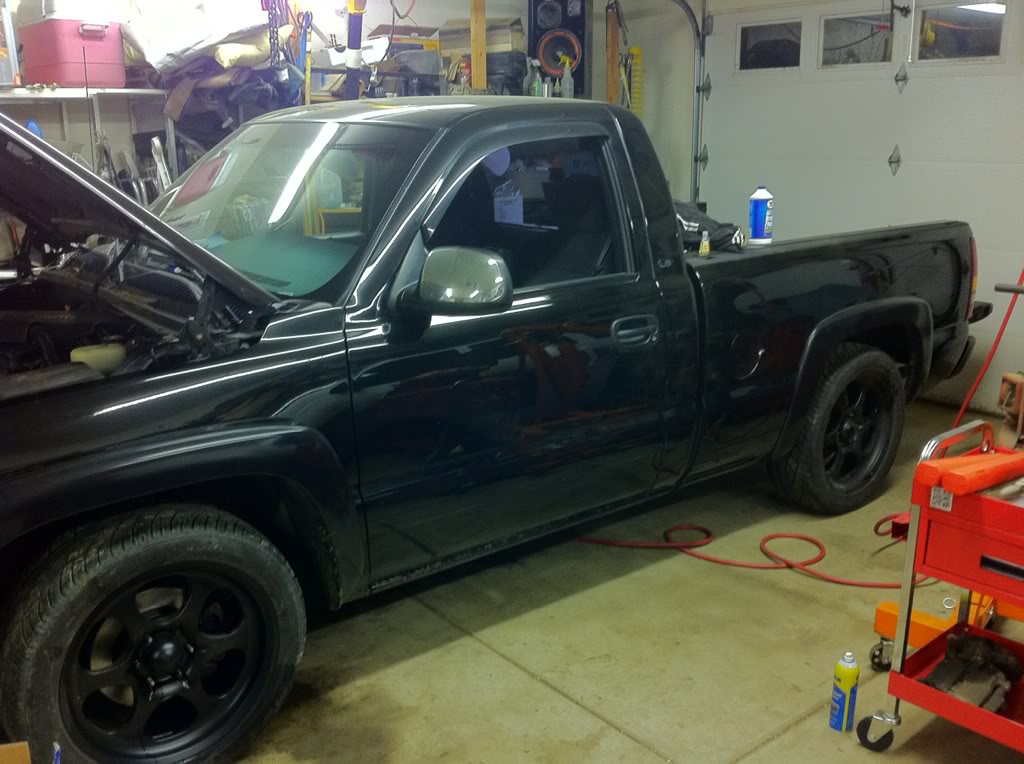
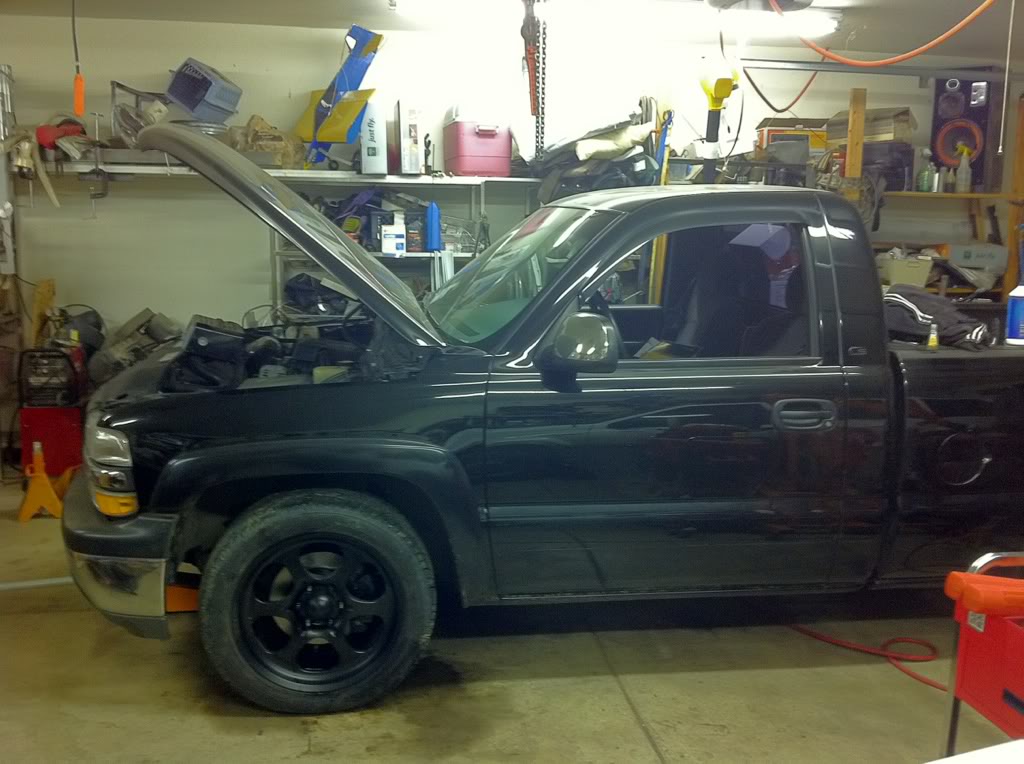
Here it is with the suspension completely done. I adjusted the torsion bars a few turns at a time. The front sits approximately 1/2 an inch lower than the rear.
Here are the measurements.
RR *33 1/4
RF *32 3/4
LR *33 5/8
LF *33 1/8
And while not perfect, the front tires magically straightened up. Previously, they were pointing out on the top.
Another thing, prior to me adjusting the torsion keys, I noticed the bolts were sticking out a different lengths. Is this normal? They were both adjusted 5 1/2 turns.
I didn't check to see if I'm riding on the front bumpstops.
Does anyone have any tips on how to get rid of the lined where the moulding and 4x4 sticker once was?
Here it is with the suspension completely done. I adjusted the torsion bars a few turns at a time. The front sits approximately 1/2 an inch lower than the rear.
Here are the measurements.
RR *33 1/4
RF *32 3/4
LR *33 5/8
LF *33 1/8
And while not perfect, the front tires magically straightened up. Previously, they were pointing out on the top.
Another thing, prior to me adjusting the torsion keys, I noticed the bolts were sticking out a different lengths. Is this normal? They were both adjusted 5 1/2 turns.
I didn't check to see if I'm riding on the front bumpstops.
Last edited by iregret; 04-11-2012 at 09:12 AM.
 04-11-2012, 12:53 PM
#25
Thanks man!
I still have to install the hydroboost and rear sway bar. I'm not sure if I'm going to be able to install the rear sway bar. The exhaust may be in the way. If not, I'll have to wait until next year to install it. That's when I should be getting around to installing the turbo. I'll have a single 3" exhaust then.
That reminds me, I need to look for a cool black exhaust tip. I've got pleanty of time until that's need though. lol
04-19-2012, 12:21 AM
#26
A little update. I ordered some Wizard brand products to work on the paint. They're not here yet.
I did snap a few pics of the installation of rear shackles.
Here is the difference between the shackles themselves.

Spring with factory shackle removed.
Next up, I moved on to the installation of the hydroboost. I didn't take a ton of pictures. Atomic did an excellent write up on that swap already.
https://www.performancetrucks.net/fo...w-pics-441147/
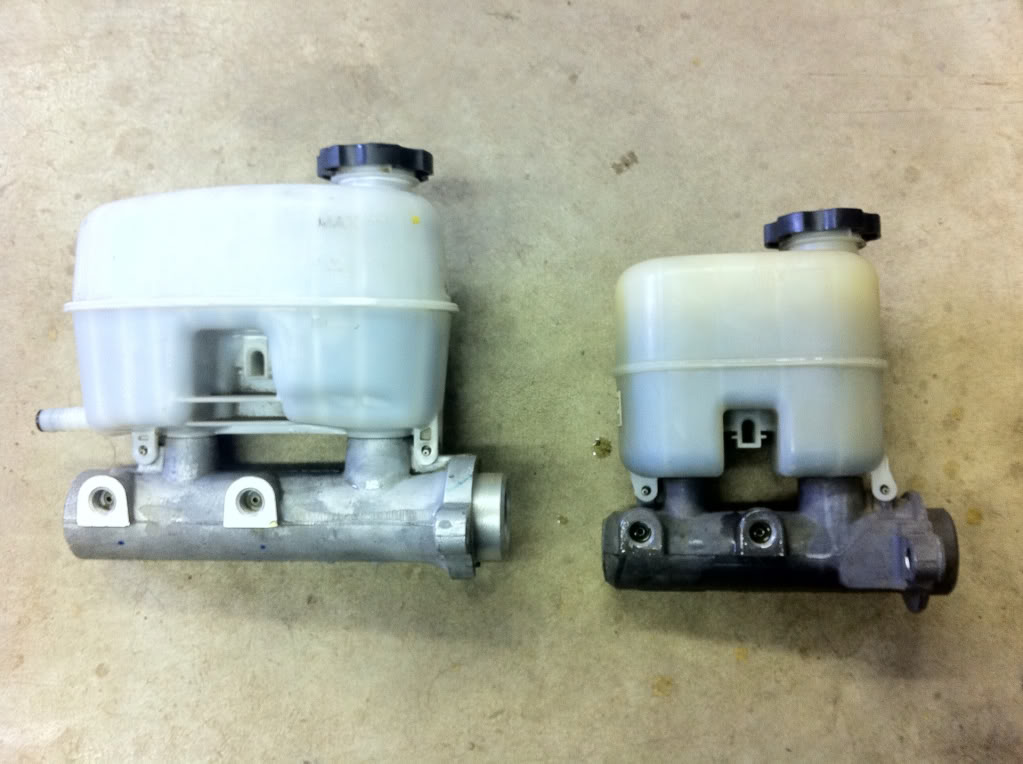
My brake booster looked different than the one in Atomic's swap thread. I don't know if it's a earlier version or what, but I decided to use the larger one.
One thing though, the brake lines are closer on my factory brake booster, so it's a bit of a challenge to get them to reach.
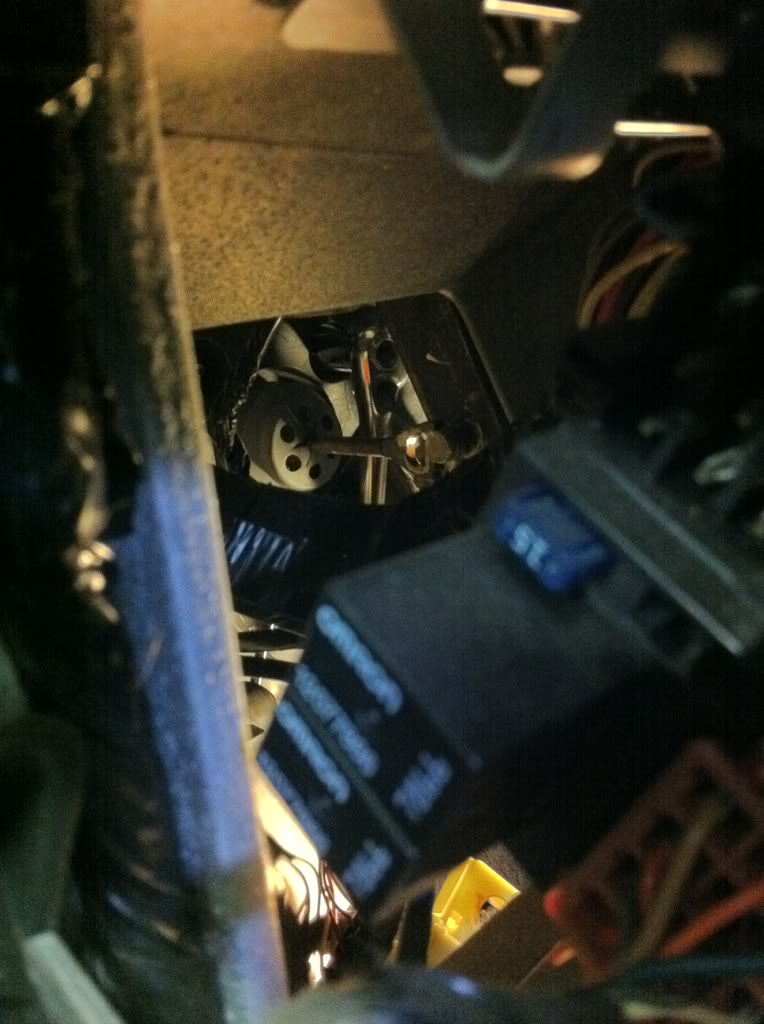
I noticed while swapping the brake pedals, that you could see what you're doing easier if you remove the fuse panel door.
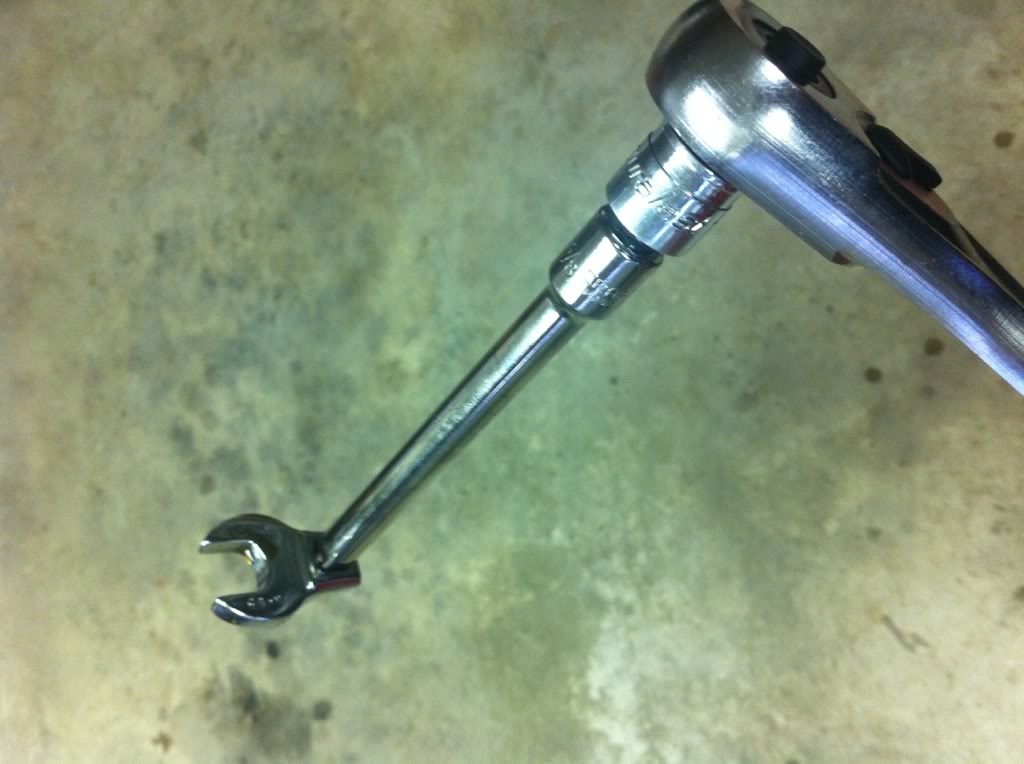
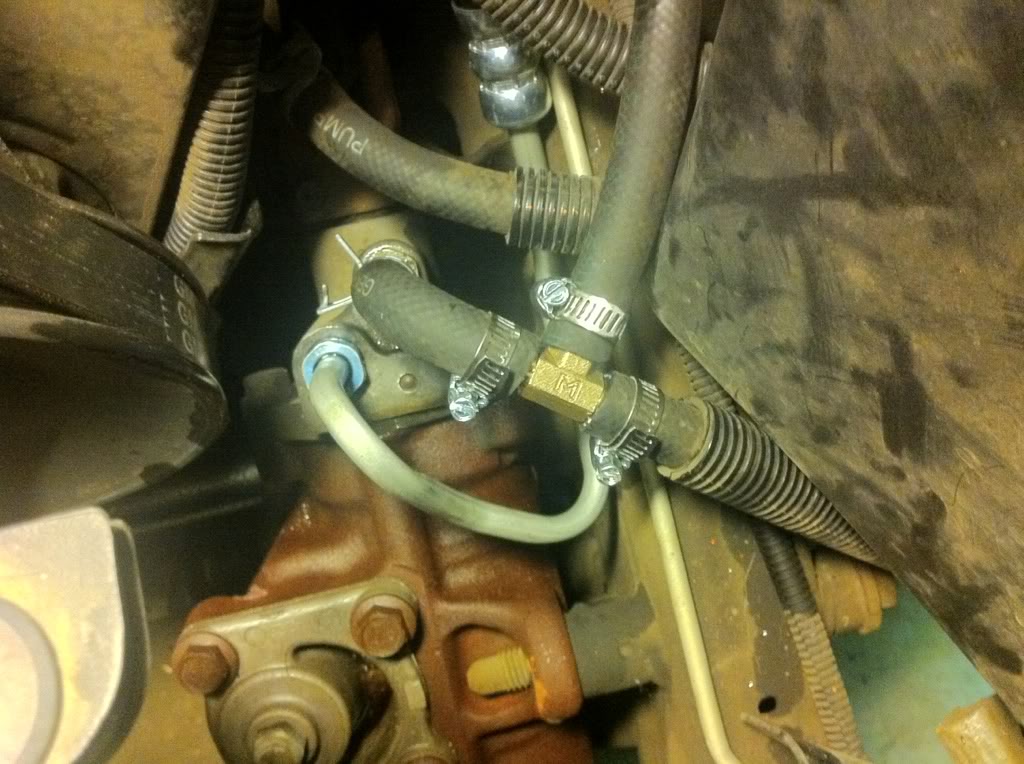
In Atomic's write up, he has you remove the power steering pump. I figured if you're going to the trouble of pulling the power steering pump, why wouldn't you just go ahead and install the proper pump? I wanted to see if I could get the hose off of the pump with it removing it. I did. I removed the skid plate/air dam plate thing and then used this to loosen the hose. Once it's loose, you can unscrew it by hand. Power steering fluid will go everywhere.
I modified the firewall rather than press the bolt out. I ended up having to widened the holes up a tiny bit so it would sit flush against the firewall.
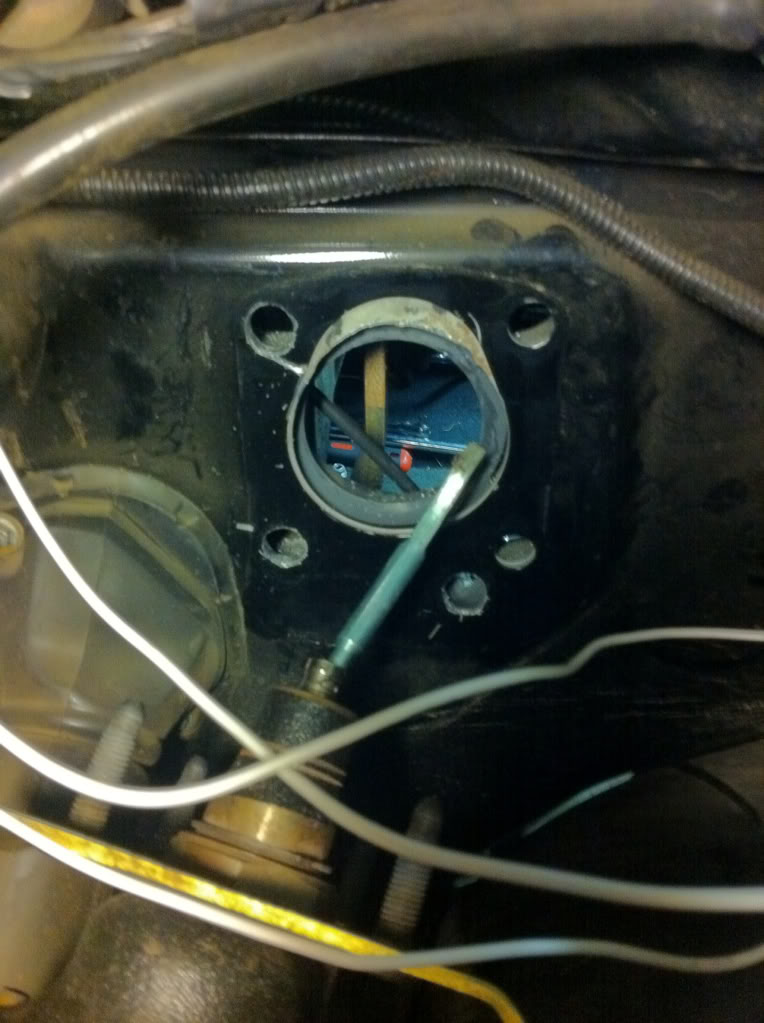
Here's where I tied back into return line from the power steering pump. I would have rather used the correct power steering pump, but this will function the same.
All said and done. Pretty much looks factory. Well, except for the fact thy everything's clean. LOL!!
I did snap a few pics of the installation of rear shackles.
Here is the difference between the shackles themselves.
Spring with factory shackle removed.
Next up, I moved on to the installation of the hydroboost. I didn't take a ton of pictures. Atomic did an excellent write up on that swap already.
https://www.performancetrucks.net/fo...w-pics-441147/
My brake booster looked different than the one in Atomic's swap thread. I don't know if it's a earlier version or what, but I decided to use the larger one.
One thing though, the brake lines are closer on my factory brake booster, so it's a bit of a challenge to get them to reach.
I noticed while swapping the brake pedals, that you could see what you're doing easier if you remove the fuse panel door.
In Atomic's write up, he has you remove the power steering pump. I figured if you're going to the trouble of pulling the power steering pump, why wouldn't you just go ahead and install the proper pump? I wanted to see if I could get the hose off of the pump with it removing it. I did. I removed the skid plate/air dam plate thing and then used this to loosen the hose. Once it's loose, you can unscrew it by hand. Power steering fluid will go everywhere.
I modified the firewall rather than press the bolt out. I ended up having to widened the holes up a tiny bit so it would sit flush against the firewall.
Here's where I tied back into return line from the power steering pump. I would have rather used the correct power steering pump, but this will function the same.
All said and done. Pretty much looks factory. Well, except for the fact thy everything's clean. LOL!!
04-19-2012, 12:39 AM
#27
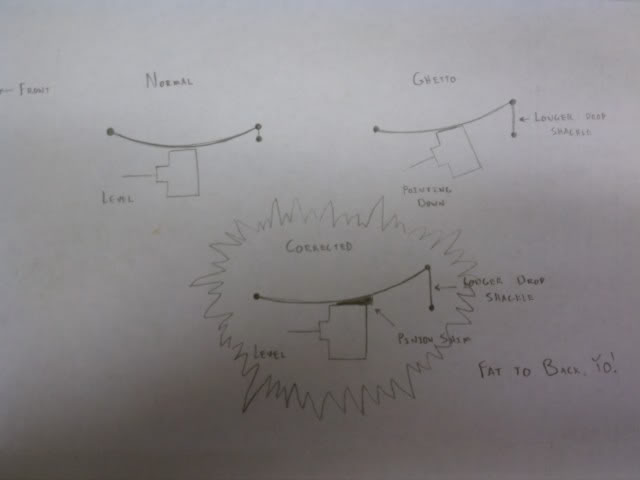
My step dad did the math for me using autocad. He measured the length of both shackles, and the length of the leaf springs. We came up with a 2.75% change. So I ordered 3� shims.
Here's what came in my kit.*
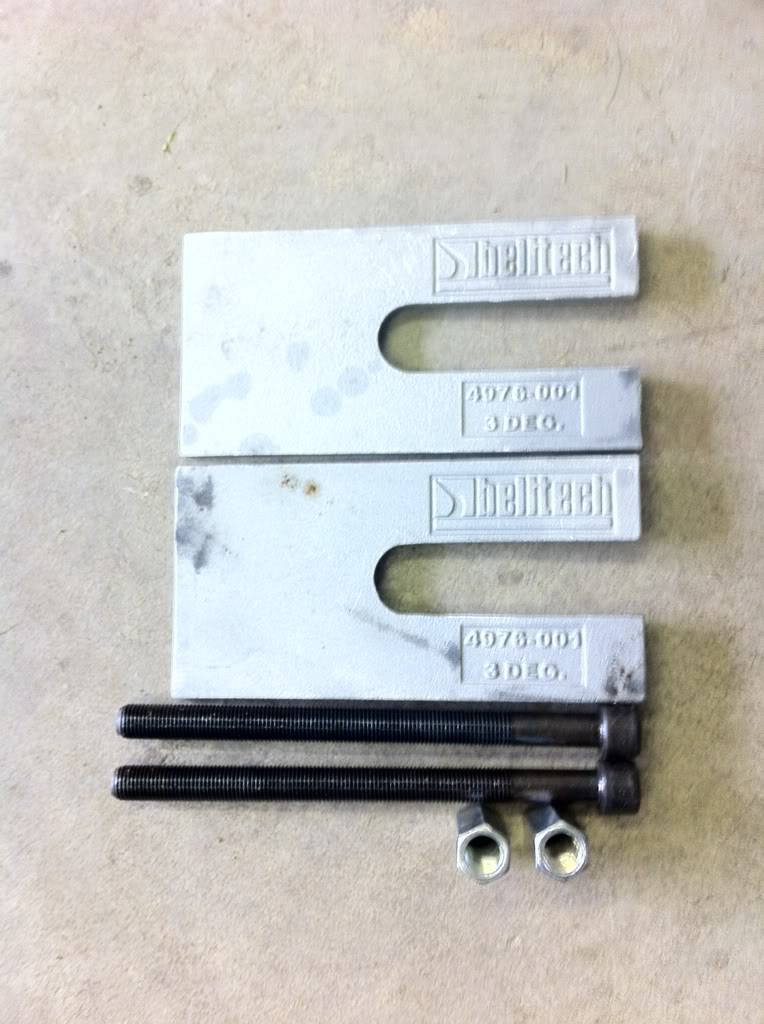
I'm not sure exactly why it came with new bolts. I don't end up using them. I guess it's because it's a universal kit.*
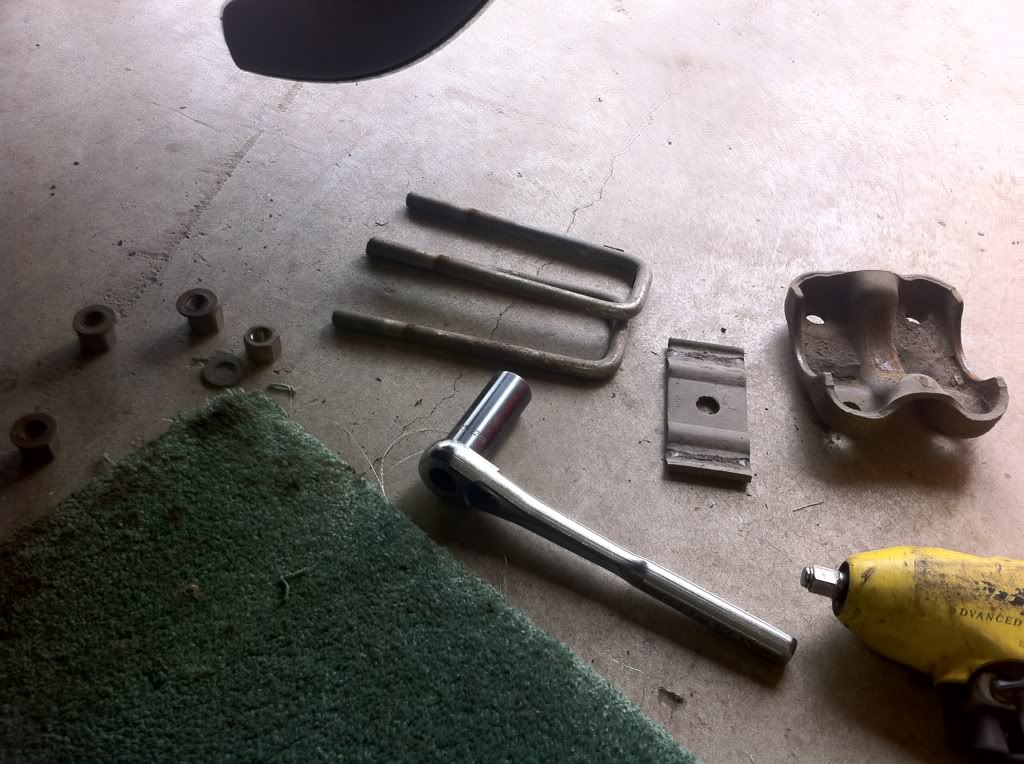
Next I removed all of the hardware.
After doing so though, I don't think you have to. On the other side, I just loosened all the bolts all the way down until they are about to come off. Then I jacked the rear of the truck up by the bumper. Just enough so I could slide a large screwdriver in between the leaf pack and axle flange. I pried the two apart enough to get the shim in. Then I pulled in the axle until I heard the click of the bolt pack's bolt lining up with the axle flange hole.
After that, I just tightened up the U-bolts.
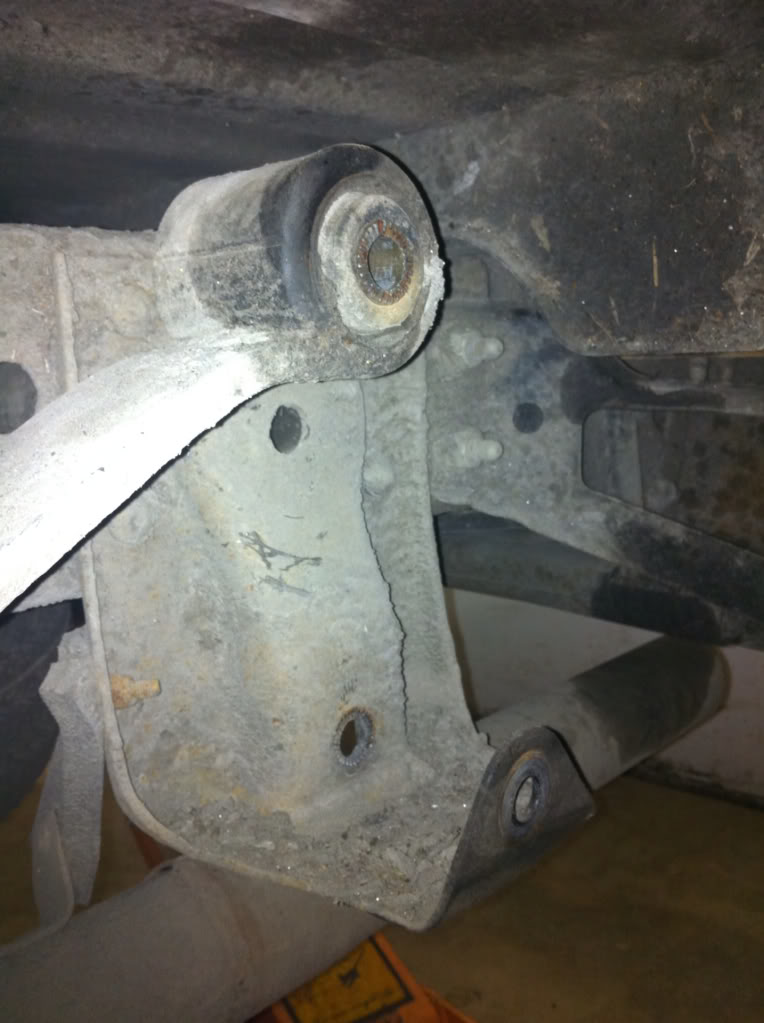
All done. Axle pinion angle corrected!!

Now I need to bleed the brakes, and see if it's going to be possible to install the rear swaybar. Also, I think I'll install my leather seats too. *That may mean giving up my subwoofer though. Boooo!
Here's what came in my kit.*
I'm not sure exactly why it came with new bolts. I don't end up using them. I guess it's because it's a universal kit.*
Next I removed all of the hardware.
After doing so though, I don't think you have to. On the other side, I just loosened all the bolts all the way down until they are about to come off. Then I jacked the rear of the truck up by the bumper. Just enough so I could slide a large screwdriver in between the leaf pack and axle flange. I pried the two apart enough to get the shim in. Then I pulled in the axle until I heard the click of the bolt pack's bolt lining up with the axle flange hole.
After that, I just tightened up the U-bolts.
All done. Axle pinion angle corrected!!
Now I need to bleed the brakes, and see if it's going to be possible to install the rear swaybar. Also, I think I'll install my leather seats too. *That may mean giving up my subwoofer though. Boooo!
 04-19-2012, 12:49 AM
#29
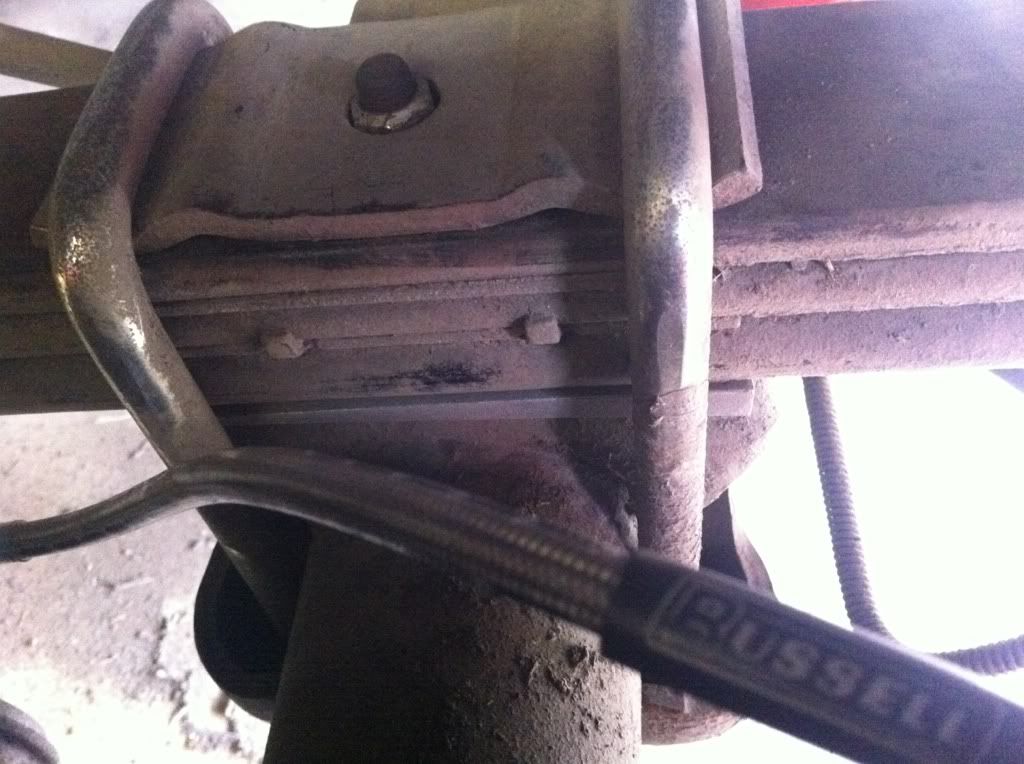
I might be looking at this pic wrong. But if the left side of the pic is towards the front of the truck, then I think you installed your new shims backwards and made your pinion angle worse. Post up a pic of your pinion angle with the truck sitting on the ground if you can.