2000 Chevy Silverado project "Charlie Murphy"
 10-27-2013, 11:42 AM
#221
Staging Lane

Join Date: Nov 2012
Location: Mass
Posts: 93
Likes: 0
Received 0 Likes
on
0 Posts
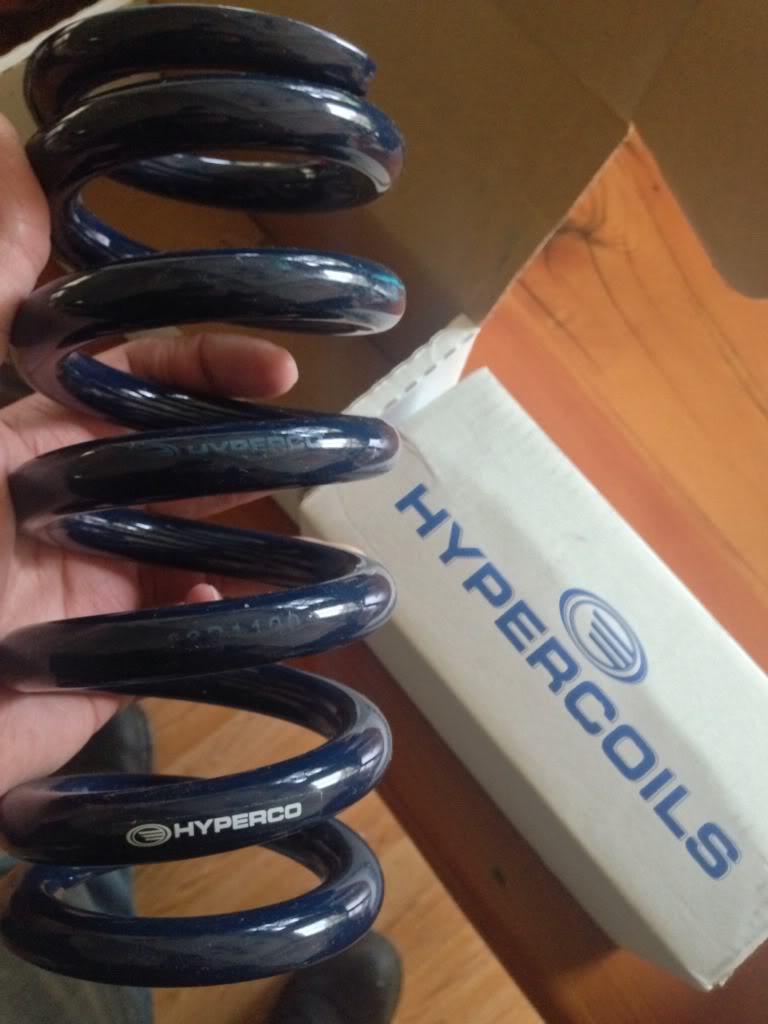
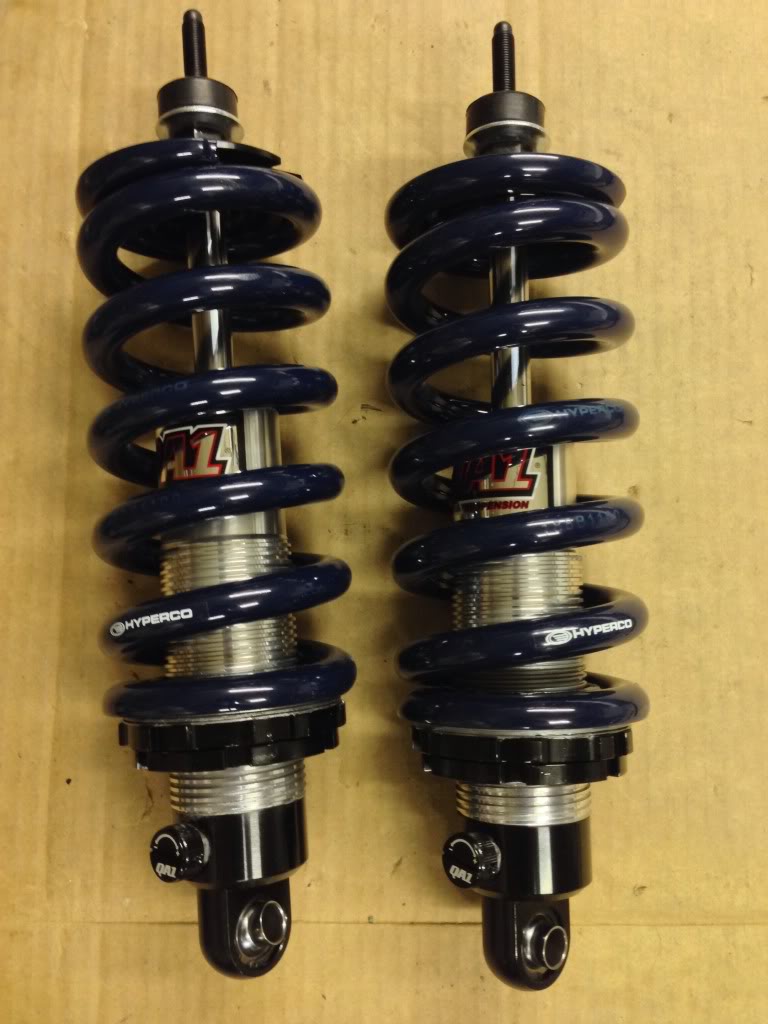
what spring rate did you go with? i grossly underestimated mine and ended up having to buy a second set of coils. i went with a reccemendation of 700# and ended up needing 1200#ers. also i dont see your eye to stud adapters. looks good though.


 11-01-2013, 05:19 PM
#226
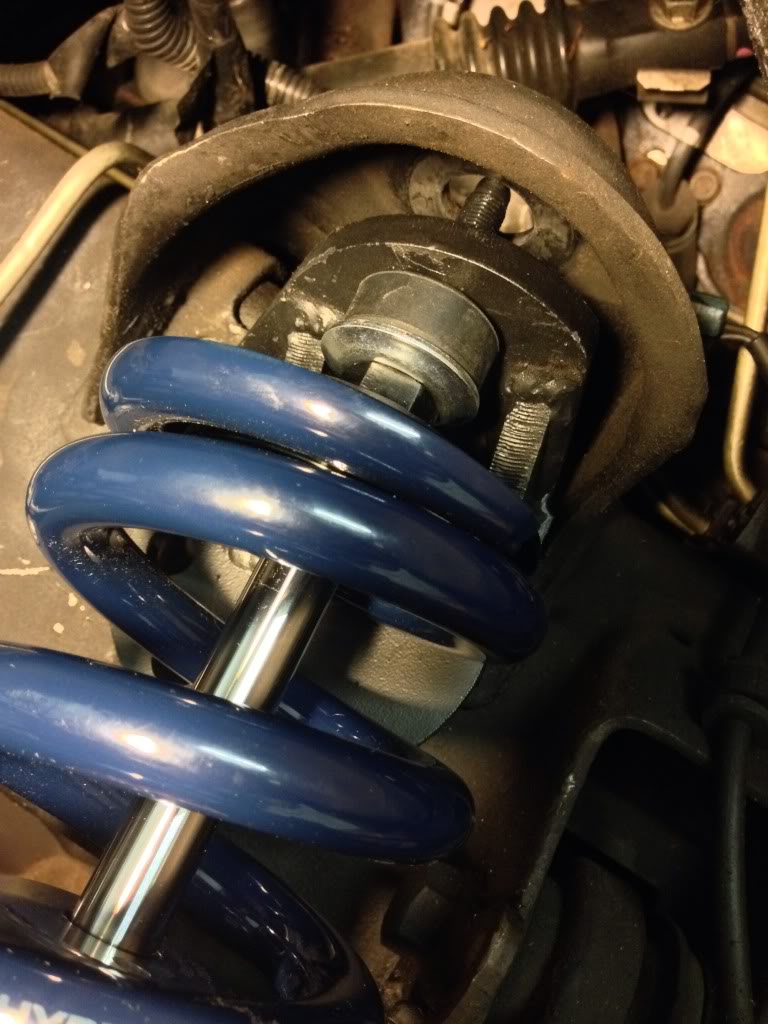
First thing I did was take off the upper eyelets.
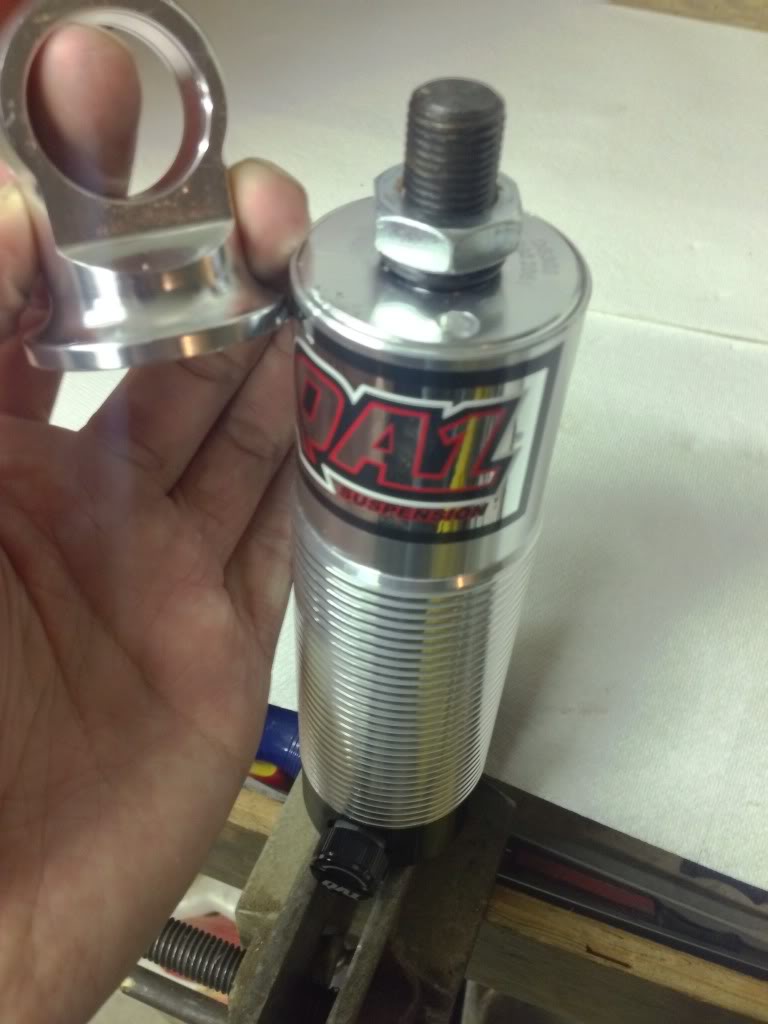
This is the order in which everything gets installed.
I bought the upgraded bearing kit. I think it's worth the money. It also comes with 2 spanner wrenches.
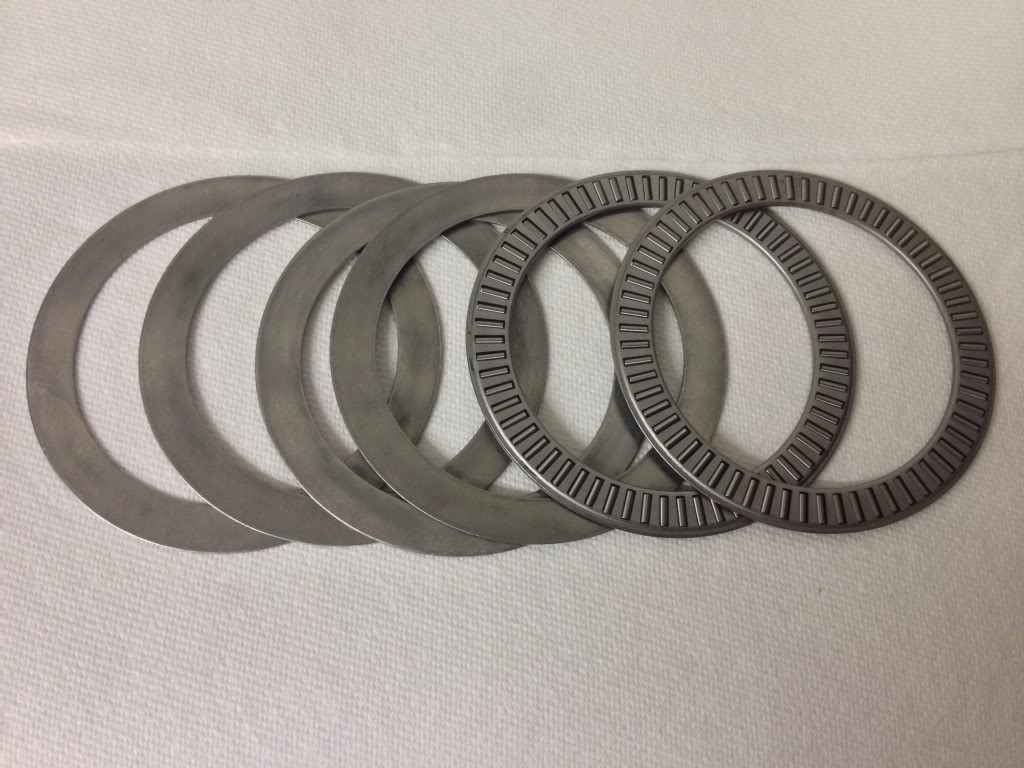
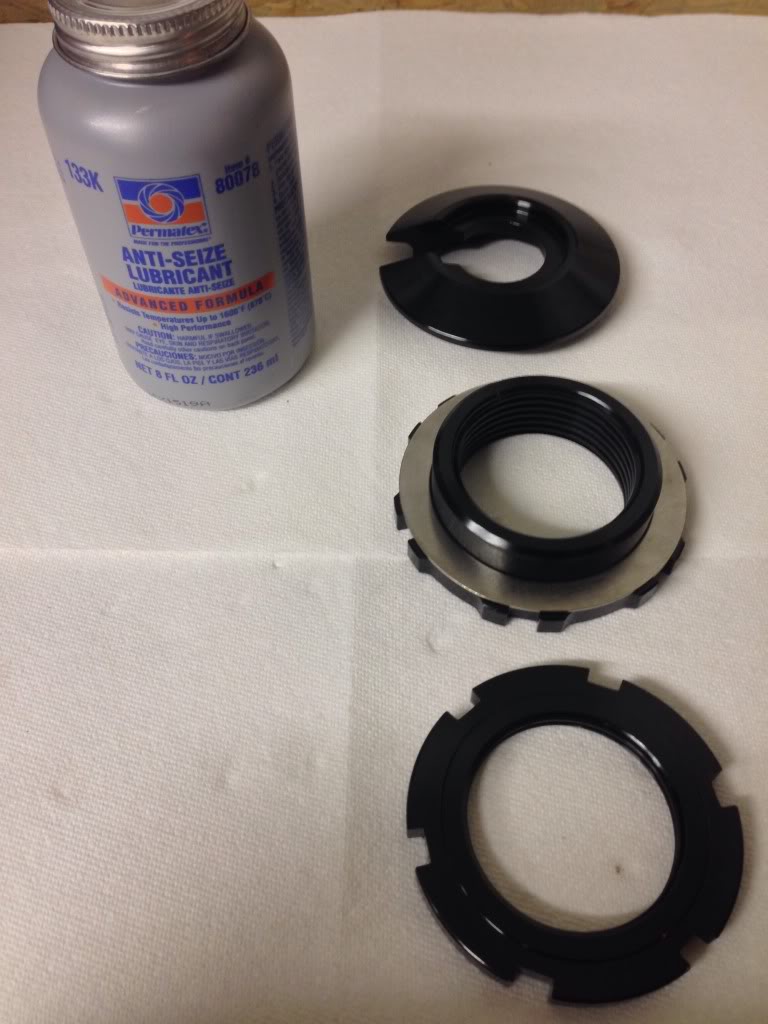
I covered the bearings in a nice coat of never seize.
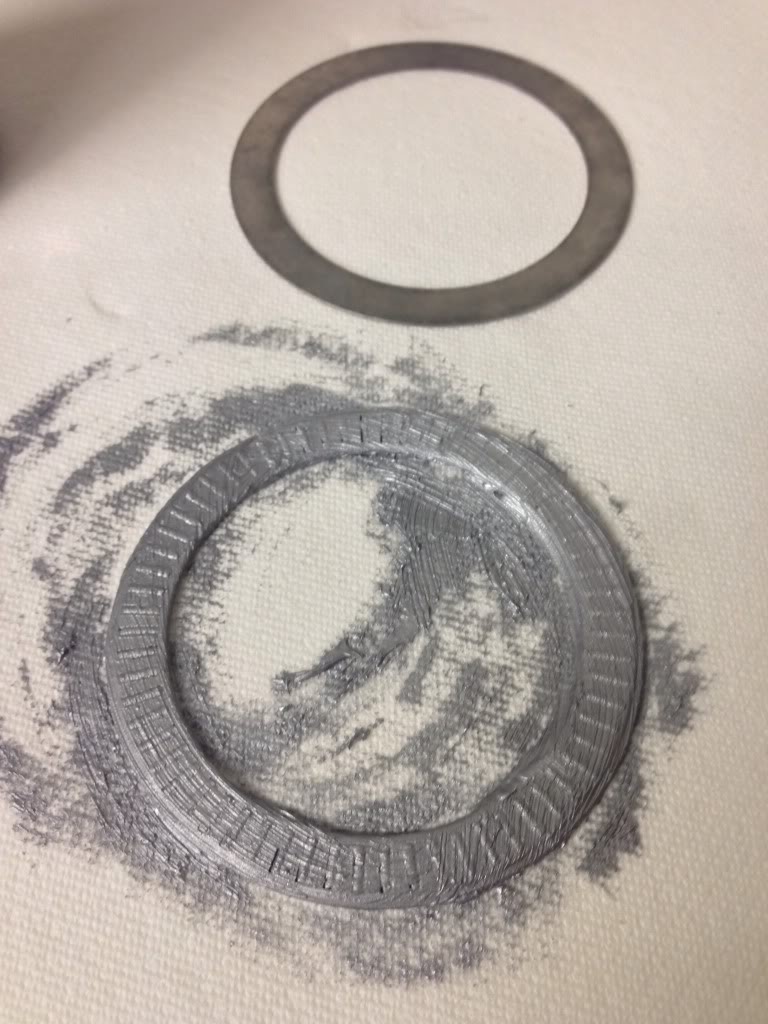
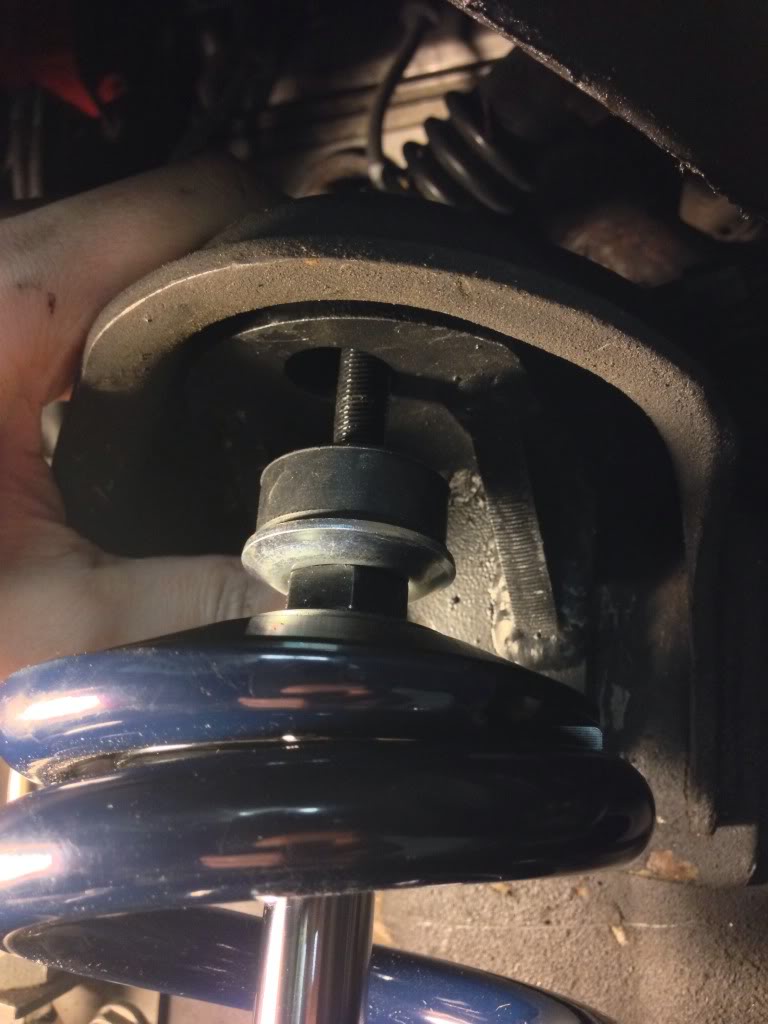
I put never seize on the bottom third of the coilover or so. Screwed on the two bottom pieces, then a washer, followed by the bearing and another washer.

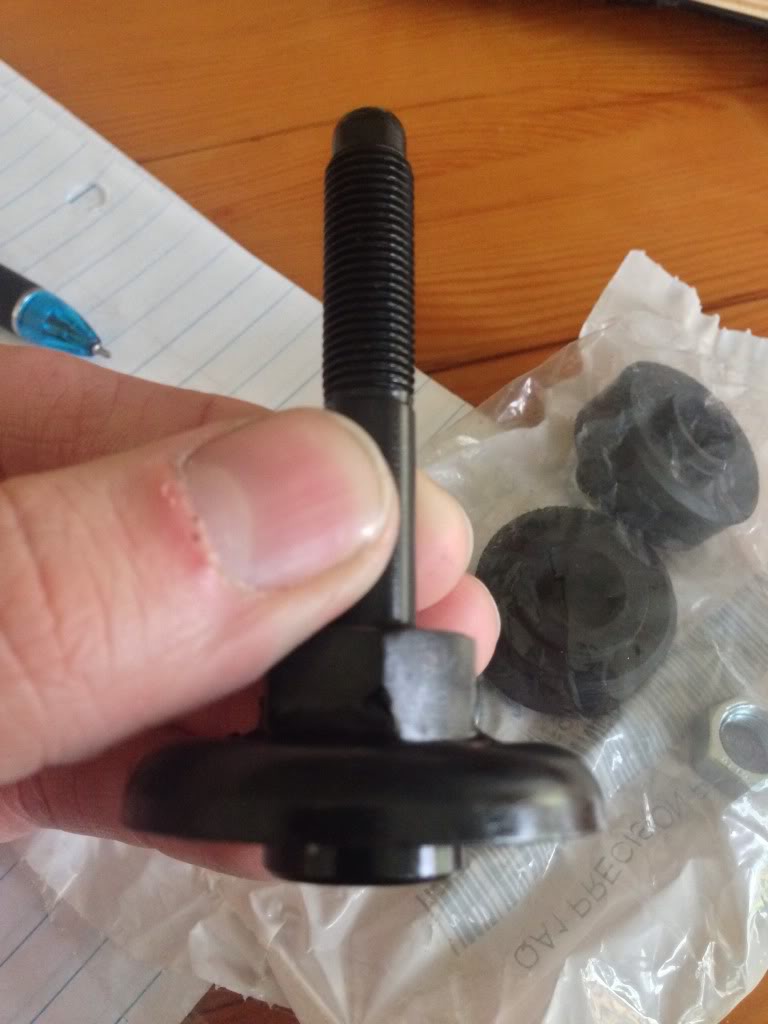
Installed the lower bushings. Make sure you buy the metal versions.
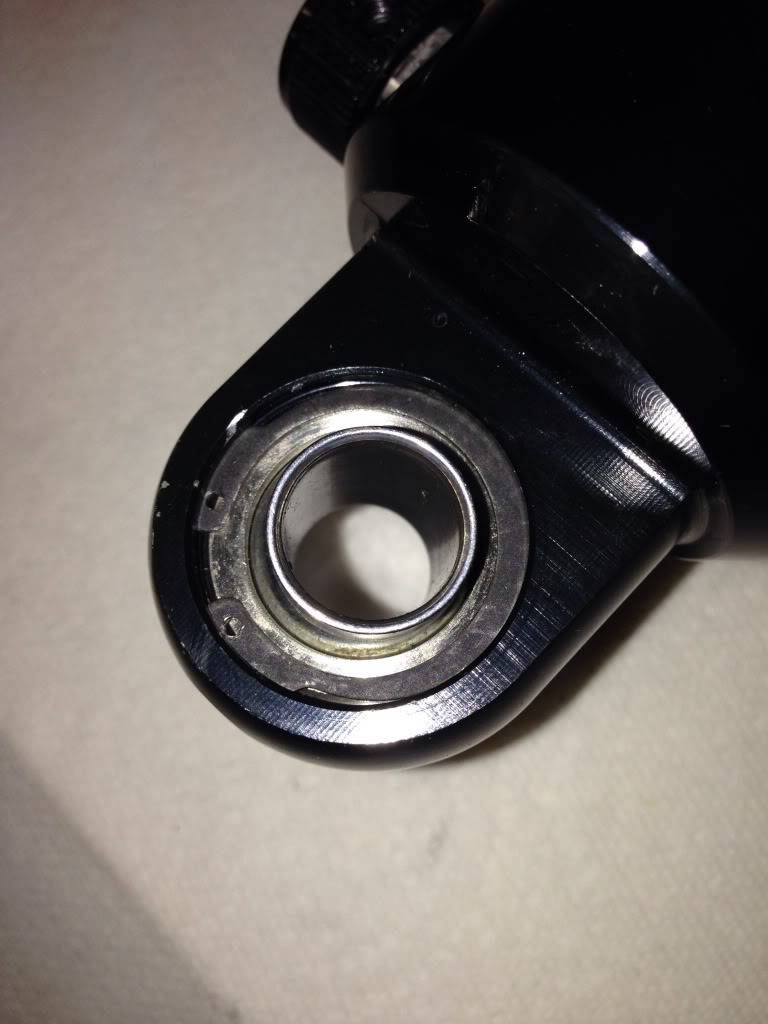
Install the upper part and repeat for the other spring.
This is the order in which everything gets installed.
I bought the upgraded bearing kit. I think it's worth the money. It also comes with 2 spanner wrenches.
I covered the bearings in a nice coat of never seize.
I put never seize on the bottom third of the coilover or so. Screwed on the two bottom pieces, then a washer, followed by the bearing and another washer.
Installed the lower bushings. Make sure you buy the metal versions.
Install the upper part and repeat for the other spring.
11-01-2013, 05:22 PM
#227
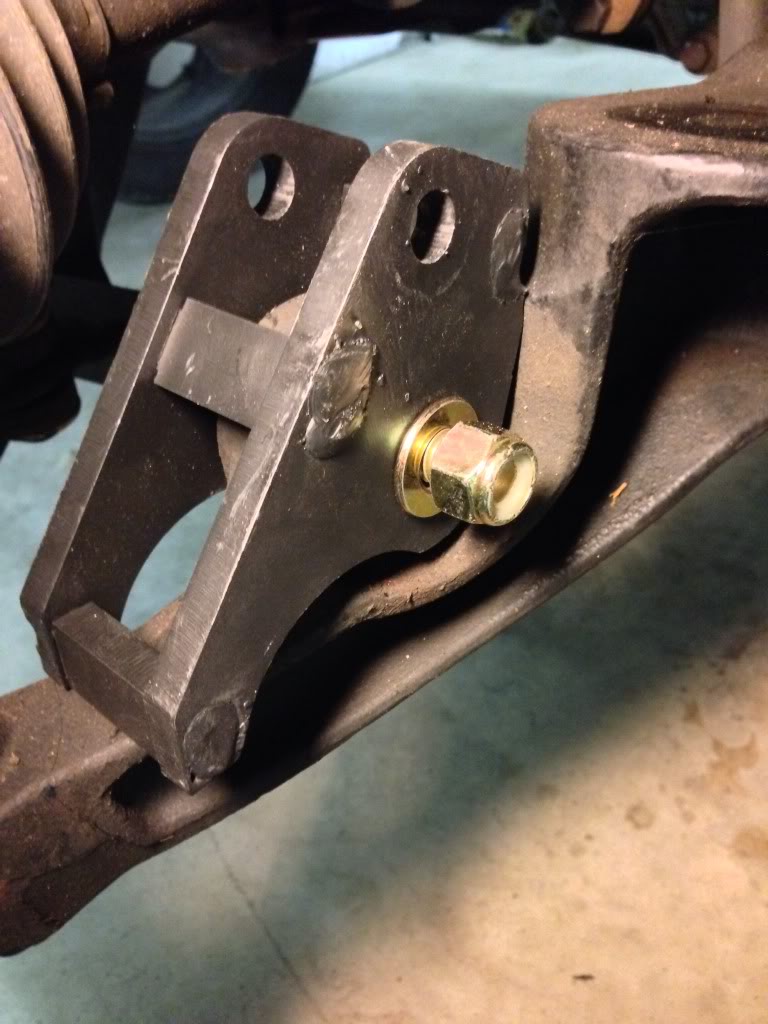
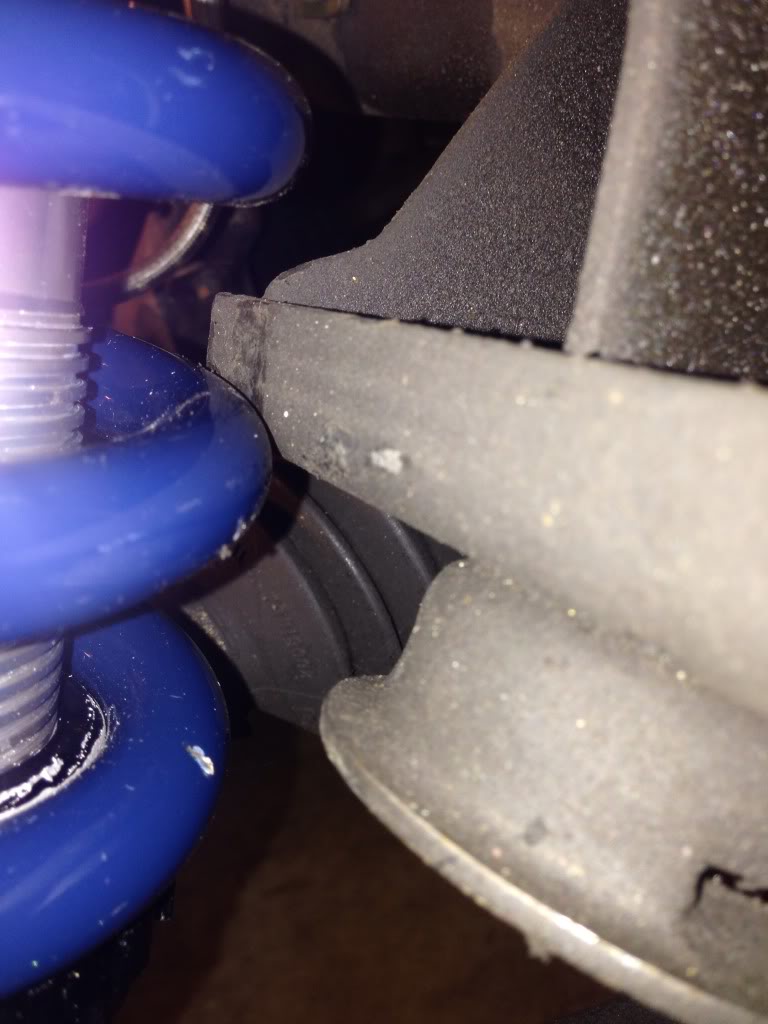
Here's the lower adapter bracket.
Mocking it up you can see that my setup is about an inch too short. I'm not sure if this is a problem or not. I'd hate for the weight if the entire suspension be on those Coilovers if I jacked the truck up to take the wheels off or something. Maybe I should buy some limit straps?
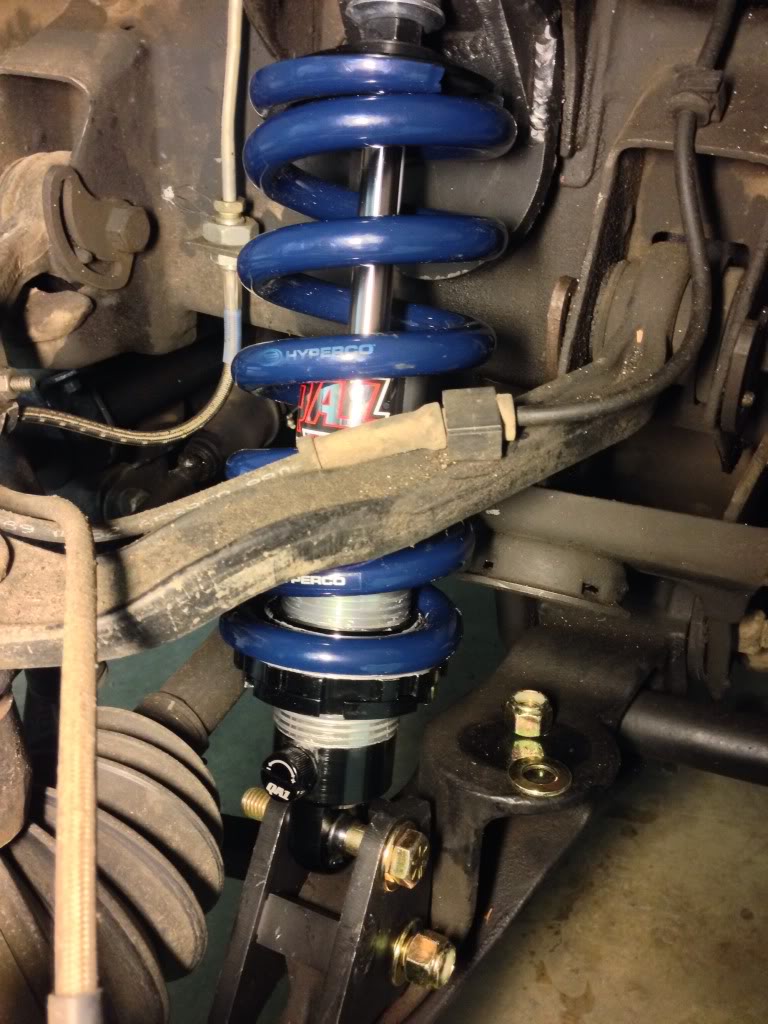
Mocking it up you can see that my setup is about an inch too short. I'm not sure if this is a problem or not. I'd hate for the weight if the entire suspension be on those Coilovers if I jacked the truck up to take the wheels off or something. Maybe I should buy some limit straps?
 11-03-2013, 02:59 AM
#229
Thanks man!
A small update.
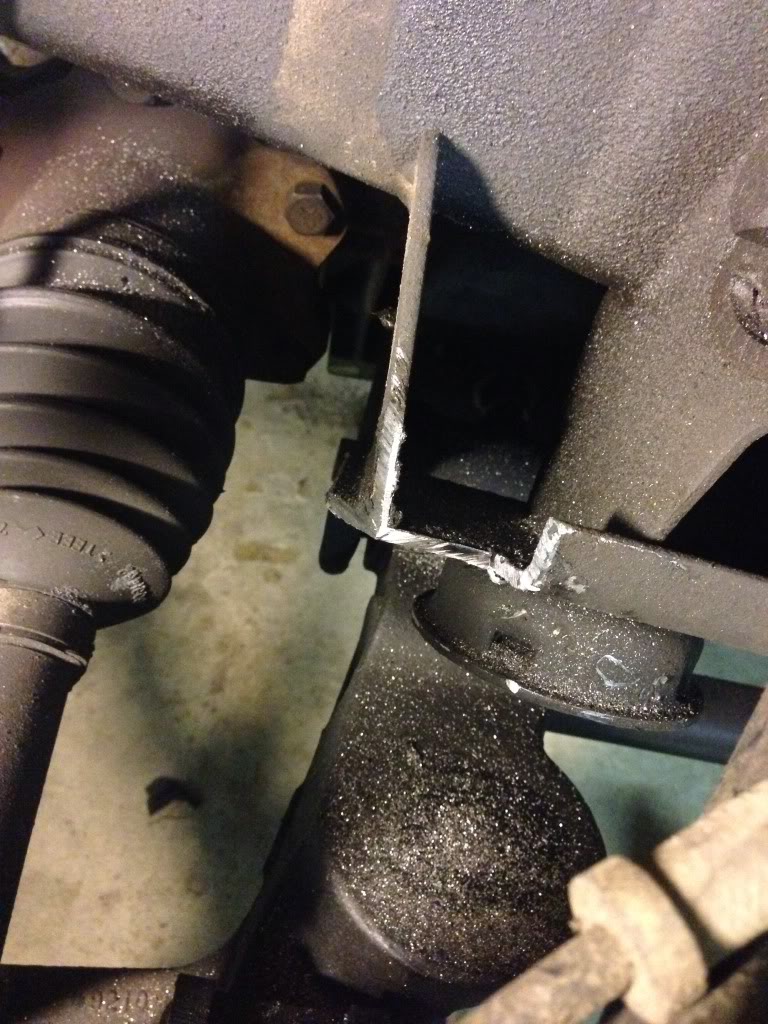
I have some clearancing to do.
I cut the best I could with what I had. An angle grinder and saws-all.
I clamped the upper bracket into place and drilled holes.
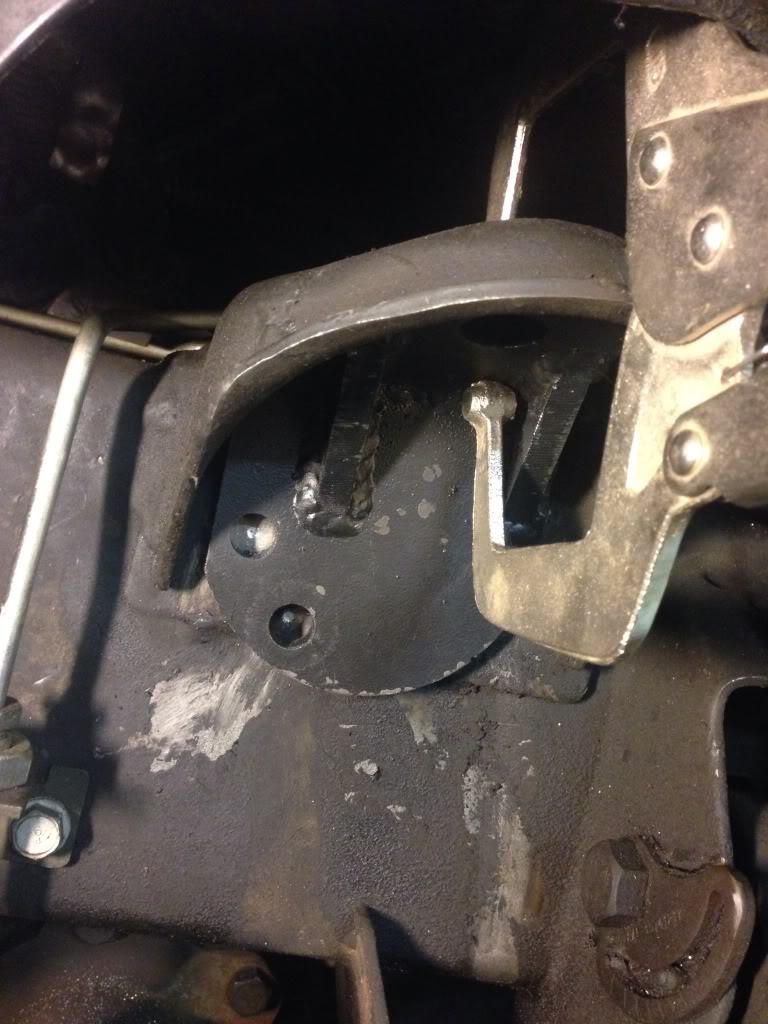
I need to remove the CV to get to the back if the bolts. It was late and I called it quits.
A small update.
I have some clearancing to do.
I cut the best I could with what I had. An angle grinder and saws-all.
I clamped the upper bracket into place and drilled holes.
I need to remove the CV to get to the back if the bolts. It was late and I called it quits.
11-03-2013, 10:55 AM
#230

Yep, you need to sawzall that corner off, pretty easy job. I also ended up sawzalling the bumpstop cup off and using an aftermarket one on the bottom.
The driver side bolts suck...make sure you put the top one in first because you wont be able to get to the top one if you do the bottom one first. I didnt take the cv off when I did mine, but maybe that would have made it easier.
The driver side bolts suck...make sure you put the top one in first because you wont be able to get to the top one if you do the bottom one first. I didnt take the cv off when I did mine, but maybe that would have made it easier.