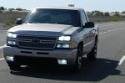
2000 Chevy Silverado project "Charlie Murphy"
 Jul 6, 2013 | 09:50 PM
#211

So after work today I messed with my truck a bit. The first thing I did was unplug the wire that I tapped for the electric fans.
The A/C kicked right in.
Then I tore the harness apart to investigate.
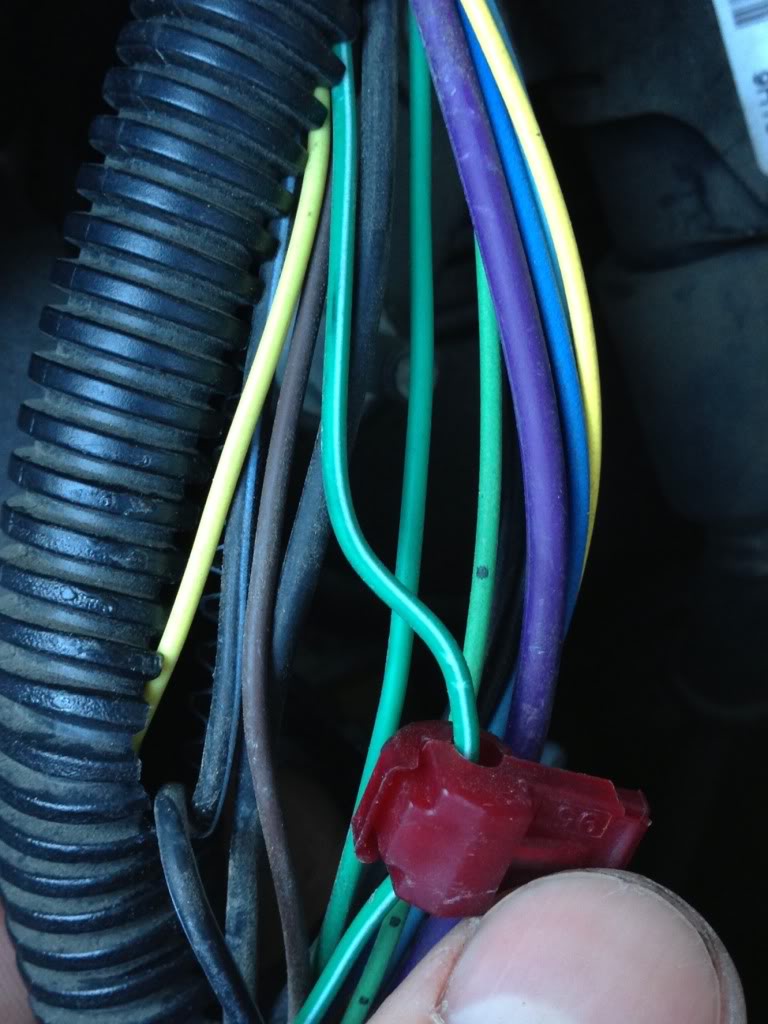
It turns out, there are 3 green wires in that harness. A dark green, a dark green with white stripe and a light green. I had accidentally tapped the wire with the white stripe.
As soon as I tapped the correct wire, I heard the fans kick on in high mode for the first time.
Now, that being said, my truck hasn't gotten anywhere near overheating since the fan swap. I wonder how important the high mode is in my climate? I can't believe how loud those fans are!
Also, I wonder how valuable the high mode would actually be at any speed?
The A/C kicked right in.
Then I tore the harness apart to investigate.
It turns out, there are 3 green wires in that harness. A dark green, a dark green with white stripe and a light green. I had accidentally tapped the wire with the white stripe.
As soon as I tapped the correct wire, I heard the fans kick on in high mode for the first time.
Now, that being said, my truck hasn't gotten anywhere near overheating since the fan swap. I wonder how important the high mode is in my climate? I can't believe how loud those fans are!
Also, I wonder how valuable the high mode would actually be at any speed?
Sep 16, 2013 | 07:10 PM
#212
Ever since I upgraded to hydroboost I've had this power steering whine. As if my power steering is suddenly struggling. I didn't change much.
I started researching and found that there have been others with power steering issues as well. Apparently Chevy's power steering pump is sensitive to what fluid you put in it. The fluid I had used was made by Lucas and said what it was compatible with all power steering systems. For some reason, my Chevy didn't like it.
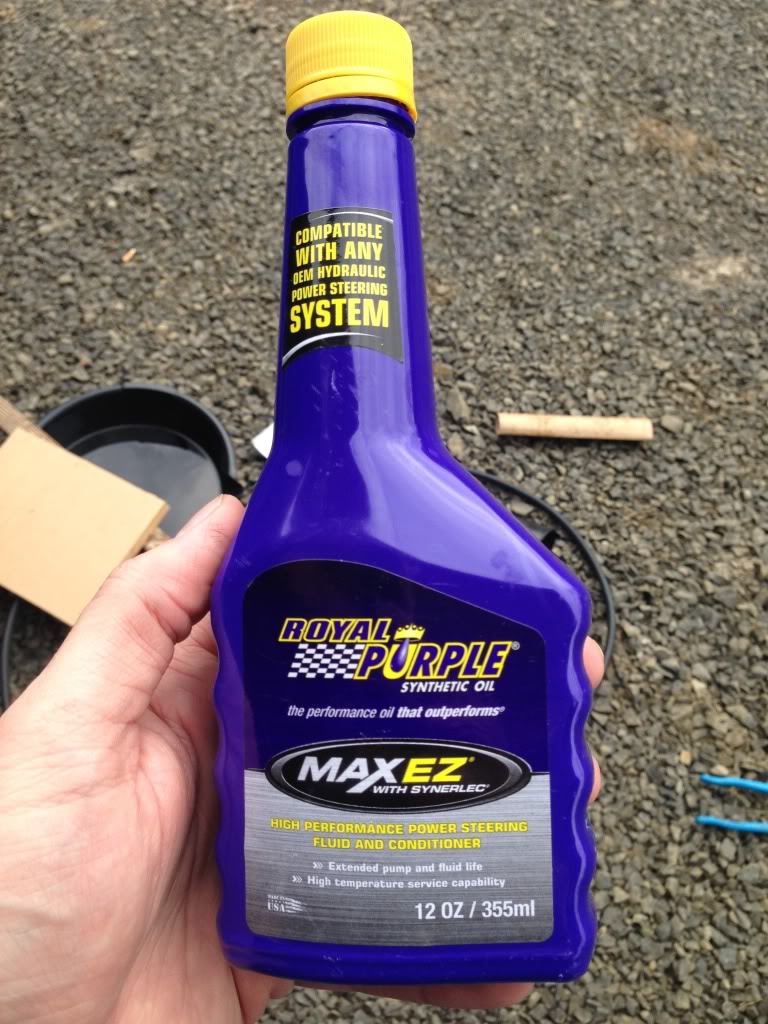
So, I decided to bleed my system and replace it with Royal Purple synthetic power steering fluid.
I went to a few different parts houses and found out that not everyone carries Royal Purple power steering fluid.
The first thing I did was buy 6 feet of 5/16 fuel line. I disconnected the low-pressure return to the hydroboost and plugged in the fuel line instead.
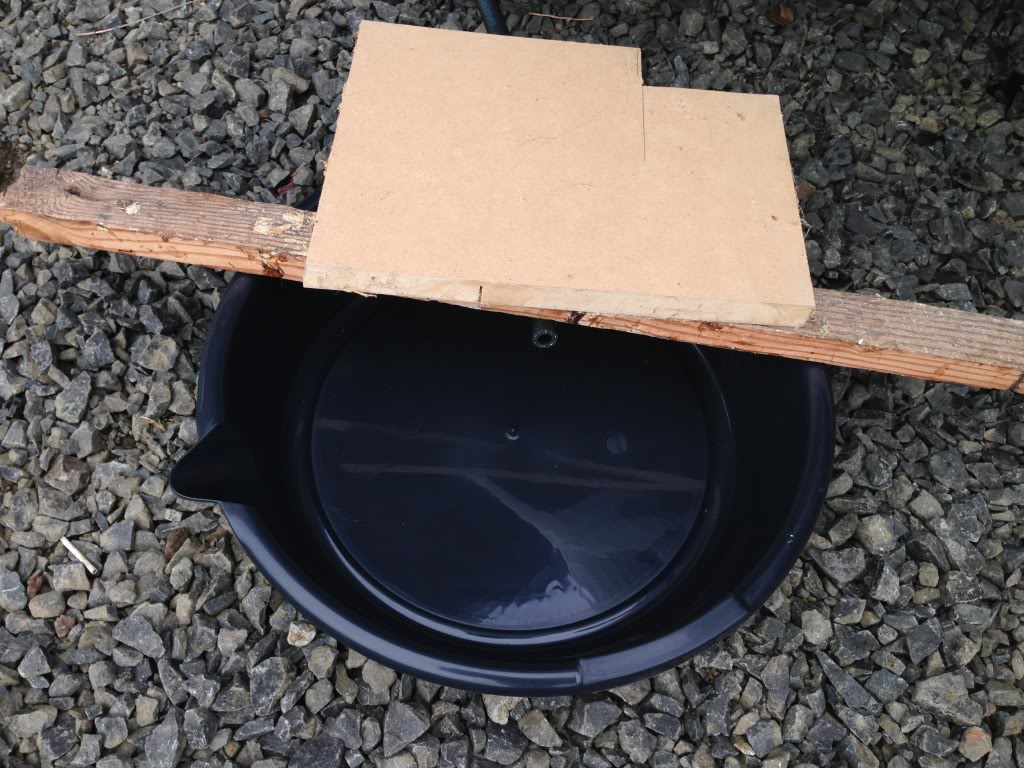
I ran the fuel line down to a pan and used some boards to hold the fuel line in place. I placed the pan in a spot where I could see it from the driver's seat.
I could only find three bottles of the Royal Purple power steering fluid. So I bought a quart of generic house brand power steering fluid.
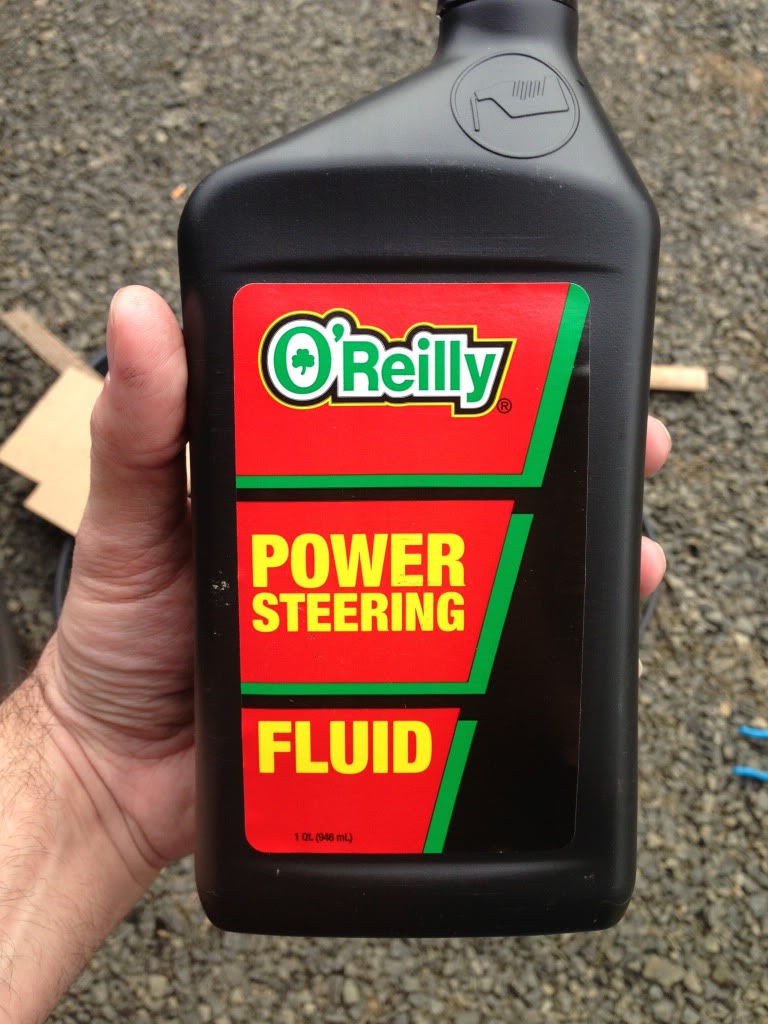
Here's the Royal purple stuff.
The first thing I did was make a huge mess. I didn't think to plug the return line. I didn't figure there would be anything returning back from the power steering box into the hydroboost. So after I made a mess I plugged the return line with a bolt.
I started the truck up and slowly pressed the brake pedal to the floor. Fluid started to leak out of my fuel line into the pan. With the pedal press to the floor I move the steering wheel from lock to lock. Then I slowly let my foot off the pedal and turned the truck off.
I went upfront and filled up the power steering reservoir. I did this until I ran out of generic brand power steering fluid. At that point, the power steering fluid started to run clear.
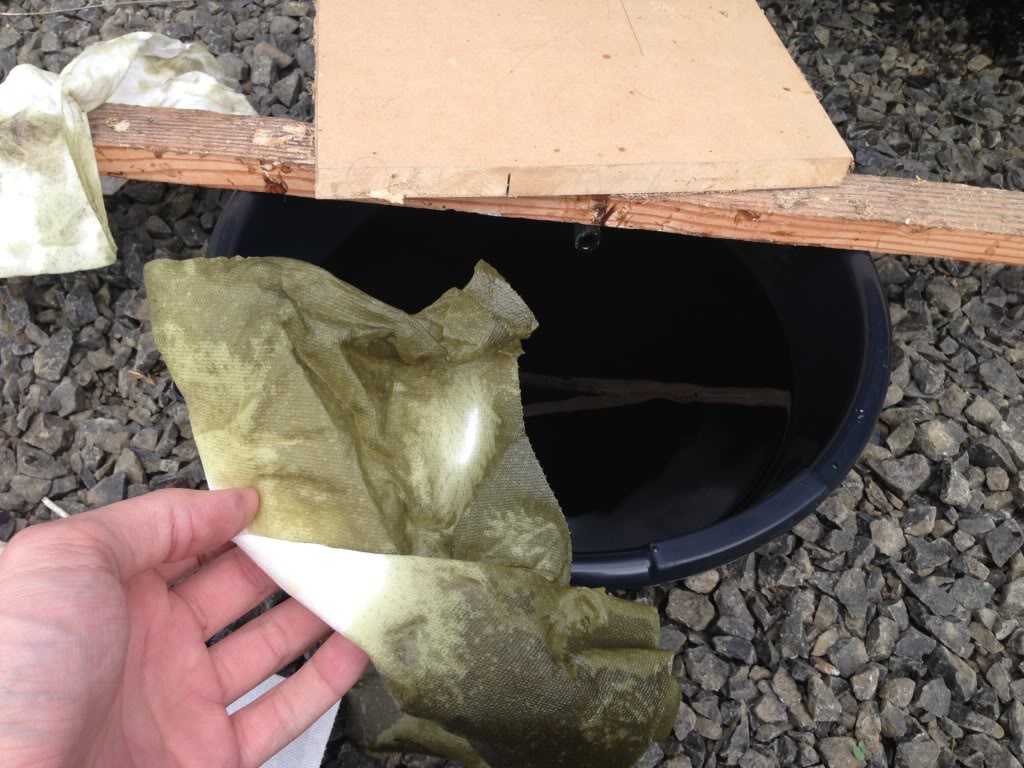
Next, I repeated the process with the three bottles of the royal purple power steering fluid. Eventually, the Royal Purple fluid will come out. It's easy to tell because it's purple. LOL
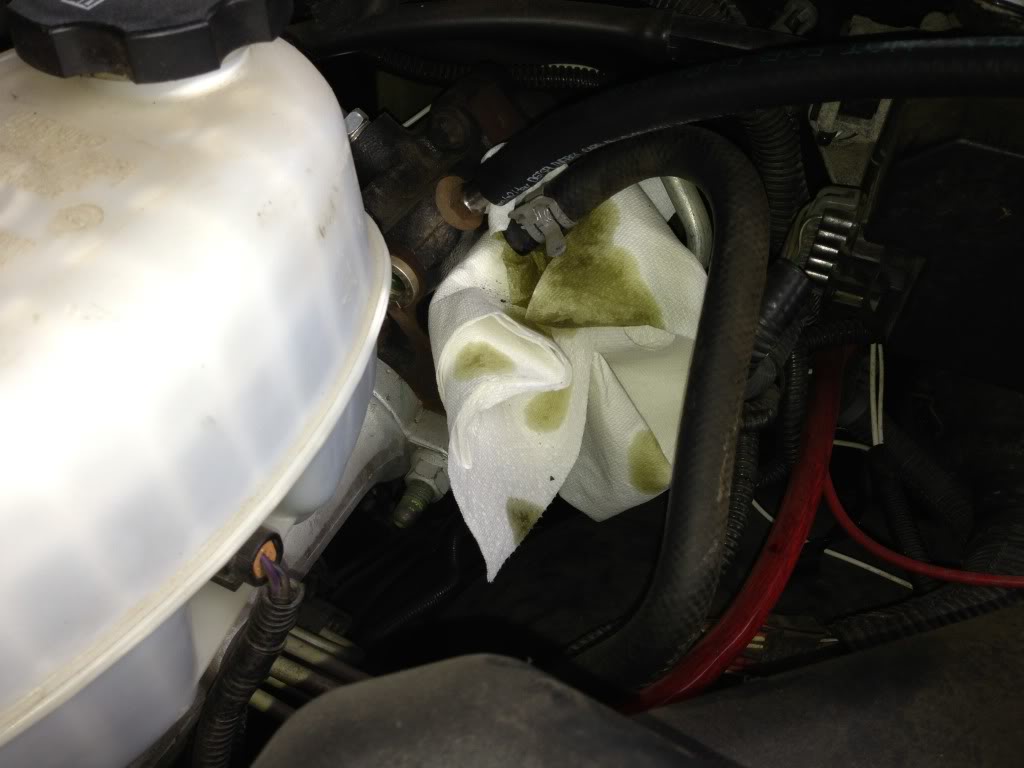
Here's what color my power steering fluid was.
The power steering is much better now. Unfortunately, there's still a slight whine there. I don't know if my power steering pump is starting to fail or if it's more stressed because I've converted to all-wheel-drive or what.
I started researching and found that there have been others with power steering issues as well. Apparently Chevy's power steering pump is sensitive to what fluid you put in it. The fluid I had used was made by Lucas and said what it was compatible with all power steering systems. For some reason, my Chevy didn't like it.
So, I decided to bleed my system and replace it with Royal Purple synthetic power steering fluid.
I went to a few different parts houses and found out that not everyone carries Royal Purple power steering fluid.
The first thing I did was buy 6 feet of 5/16 fuel line. I disconnected the low-pressure return to the hydroboost and plugged in the fuel line instead.
I ran the fuel line down to a pan and used some boards to hold the fuel line in place. I placed the pan in a spot where I could see it from the driver's seat.
I could only find three bottles of the Royal Purple power steering fluid. So I bought a quart of generic house brand power steering fluid.
Here's the Royal purple stuff.
The first thing I did was make a huge mess. I didn't think to plug the return line. I didn't figure there would be anything returning back from the power steering box into the hydroboost. So after I made a mess I plugged the return line with a bolt.
I started the truck up and slowly pressed the brake pedal to the floor. Fluid started to leak out of my fuel line into the pan. With the pedal press to the floor I move the steering wheel from lock to lock. Then I slowly let my foot off the pedal and turned the truck off.
I went upfront and filled up the power steering reservoir. I did this until I ran out of generic brand power steering fluid. At that point, the power steering fluid started to run clear.
Next, I repeated the process with the three bottles of the royal purple power steering fluid. Eventually, the Royal Purple fluid will come out. It's easy to tell because it's purple. LOL
Here's what color my power steering fluid was.
The power steering is much better now. Unfortunately, there's still a slight whine there. I don't know if my power steering pump is starting to fail or if it's more stressed because I've converted to all-wheel-drive or what.
Oct 5, 2013 | 09:46 AM
#213
Been busy the last couple of weeks and I haven't been documenting.
First up, removed that factory rear bumper.
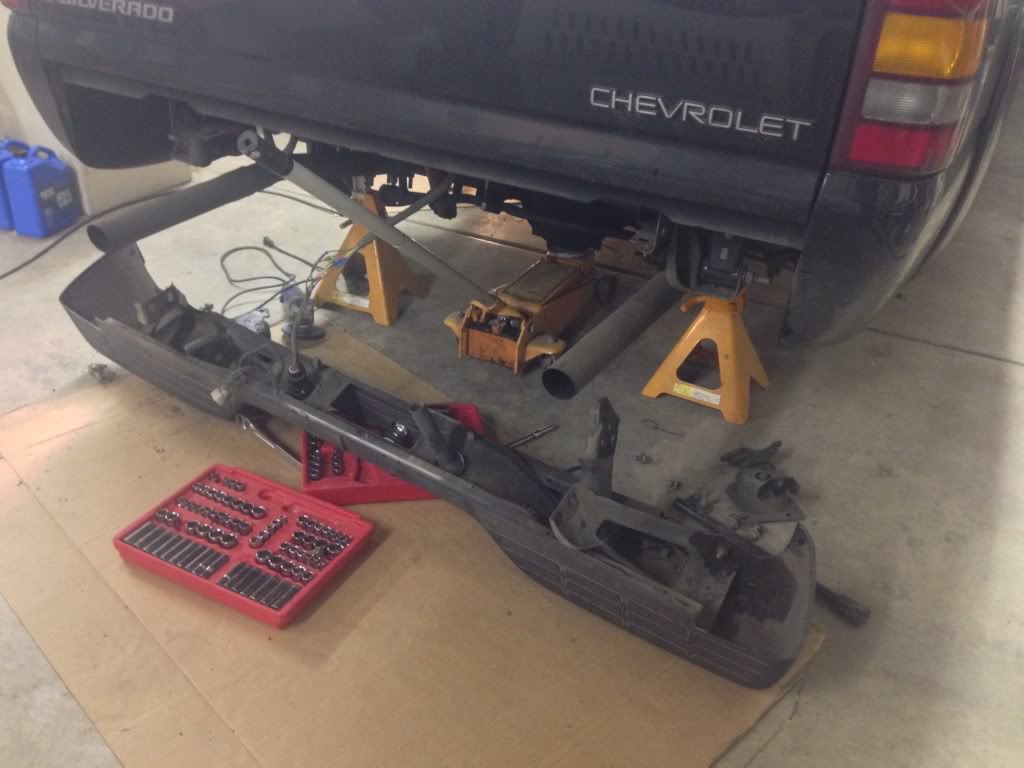
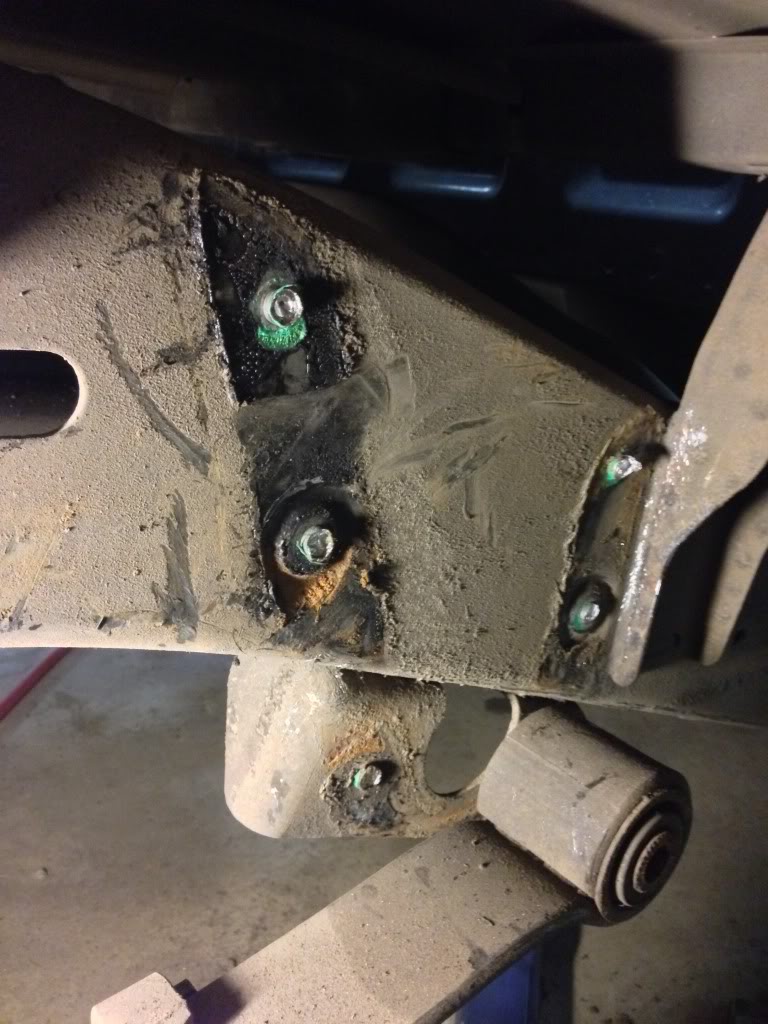
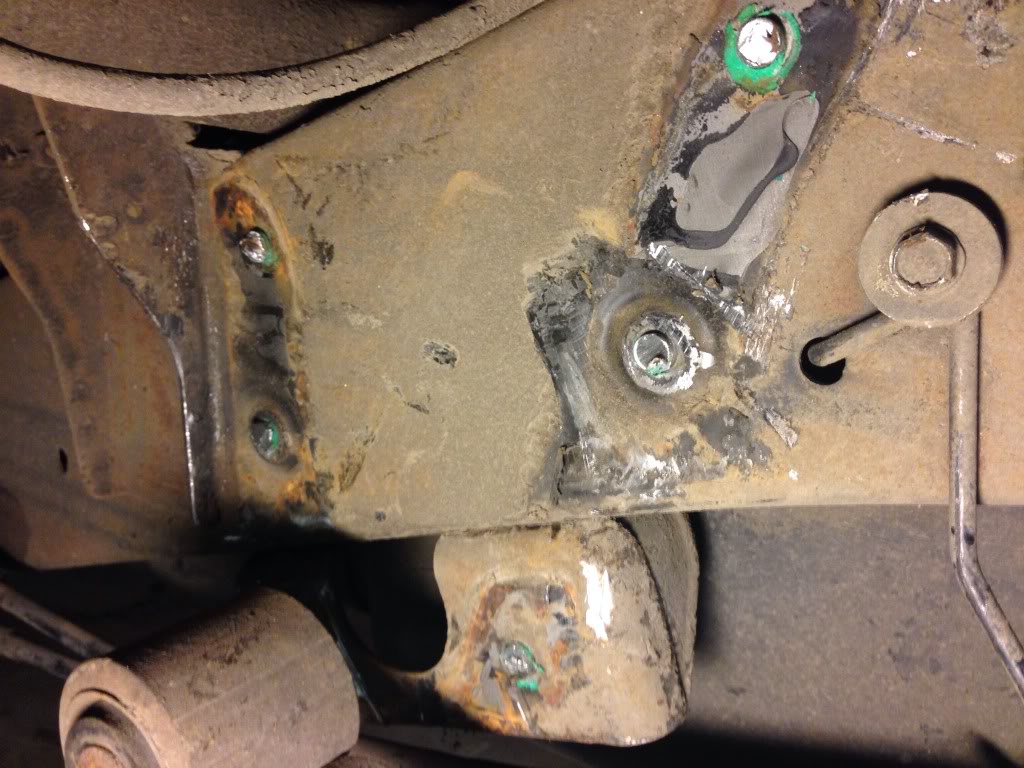
Spring hanger installation. I have to remove those 6 evil rivets.
Agh, so painful!
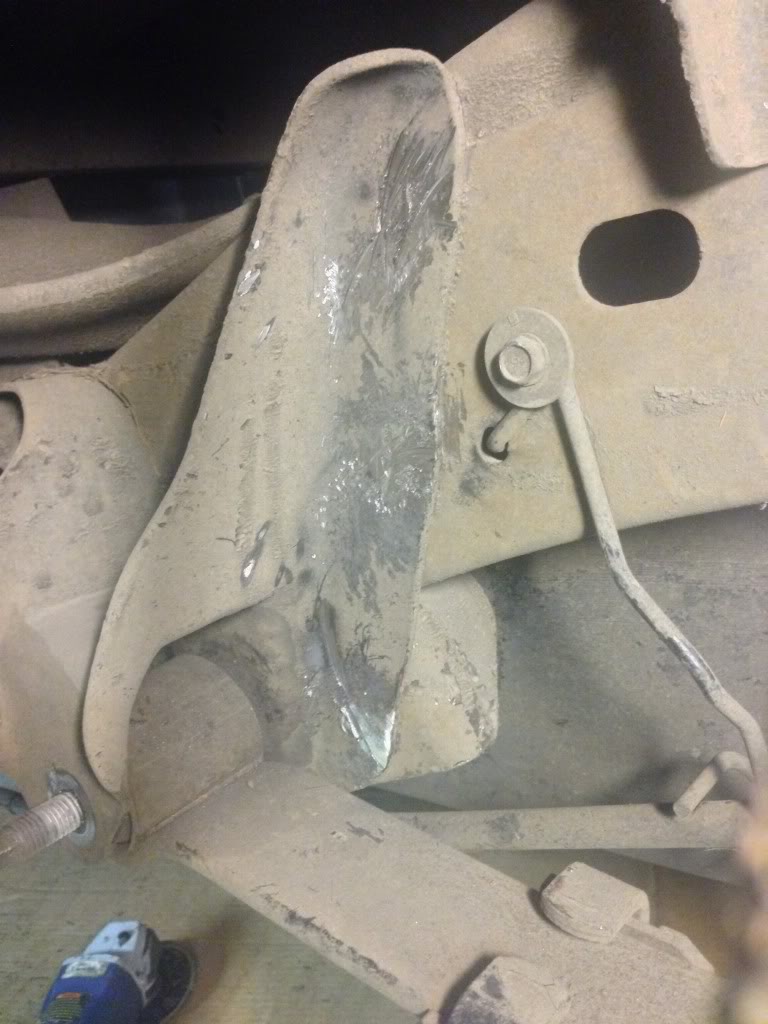
These rivets suck!
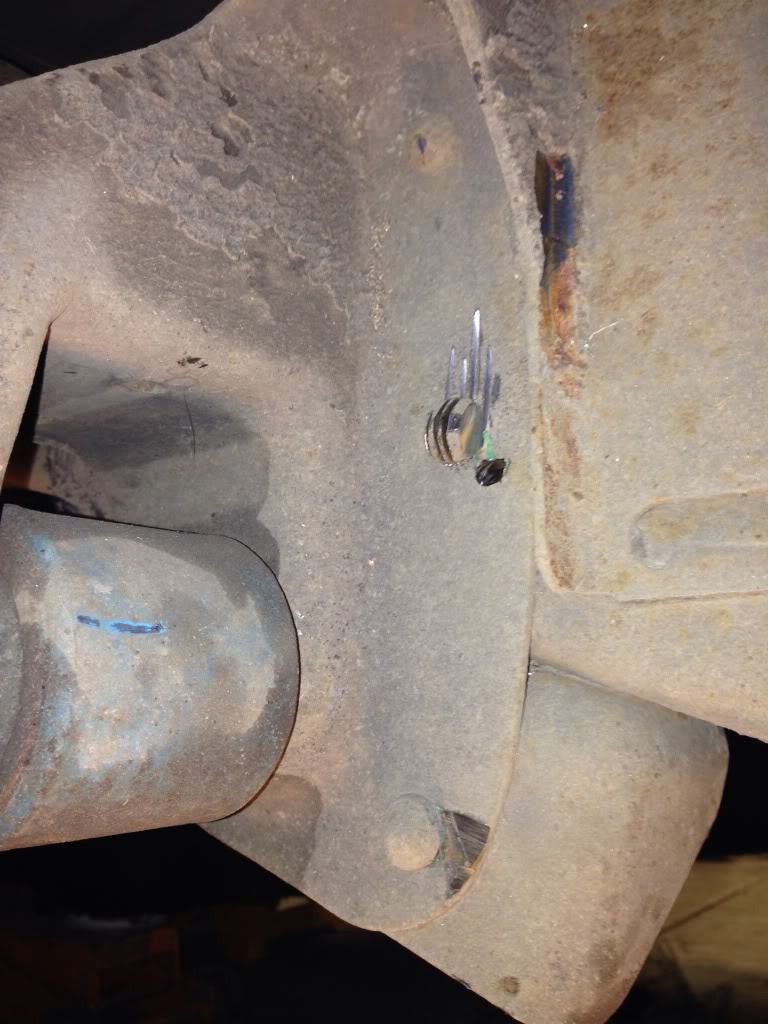
Passenger's side finally off.
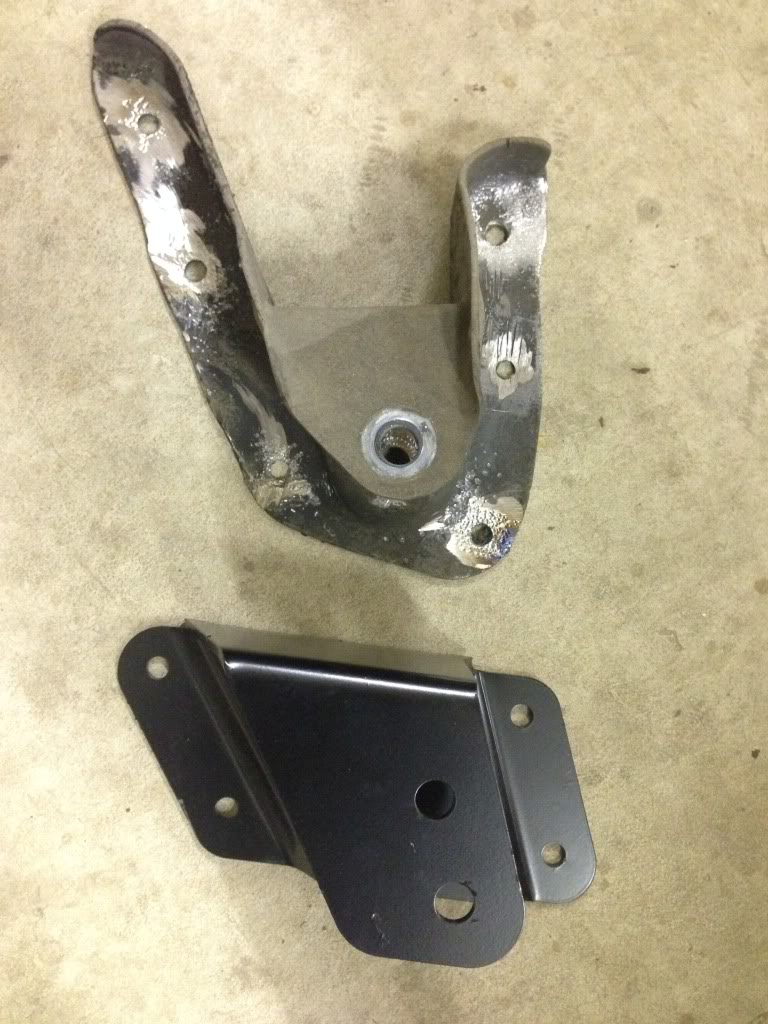
Old hanger.
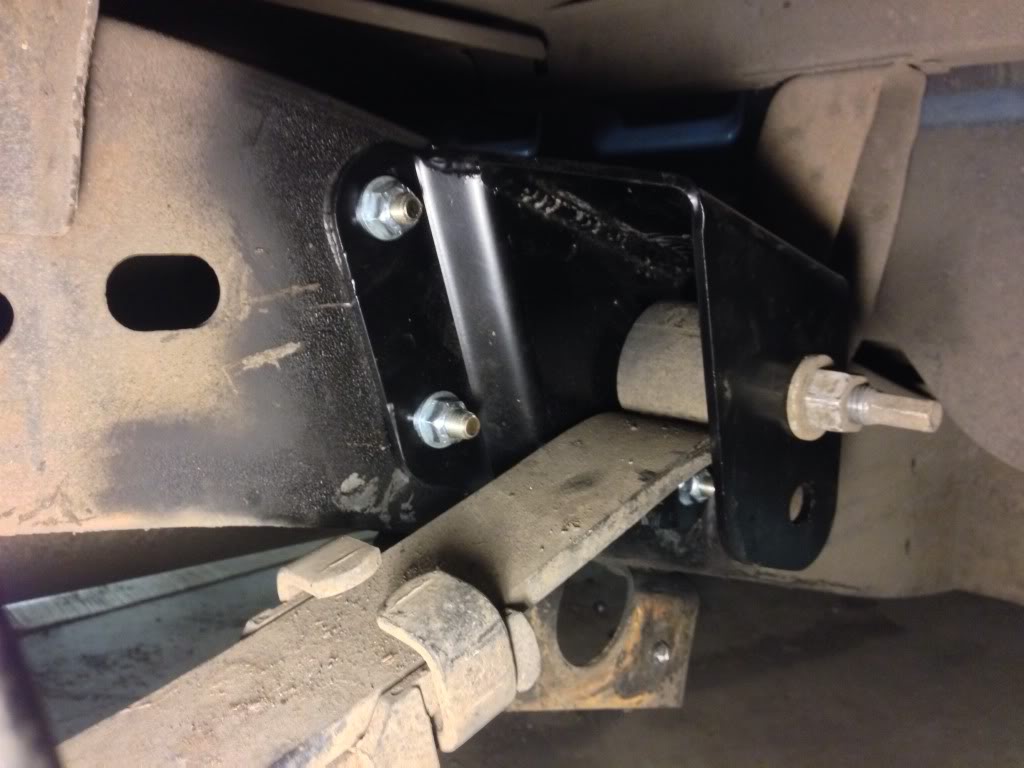
New hanger.
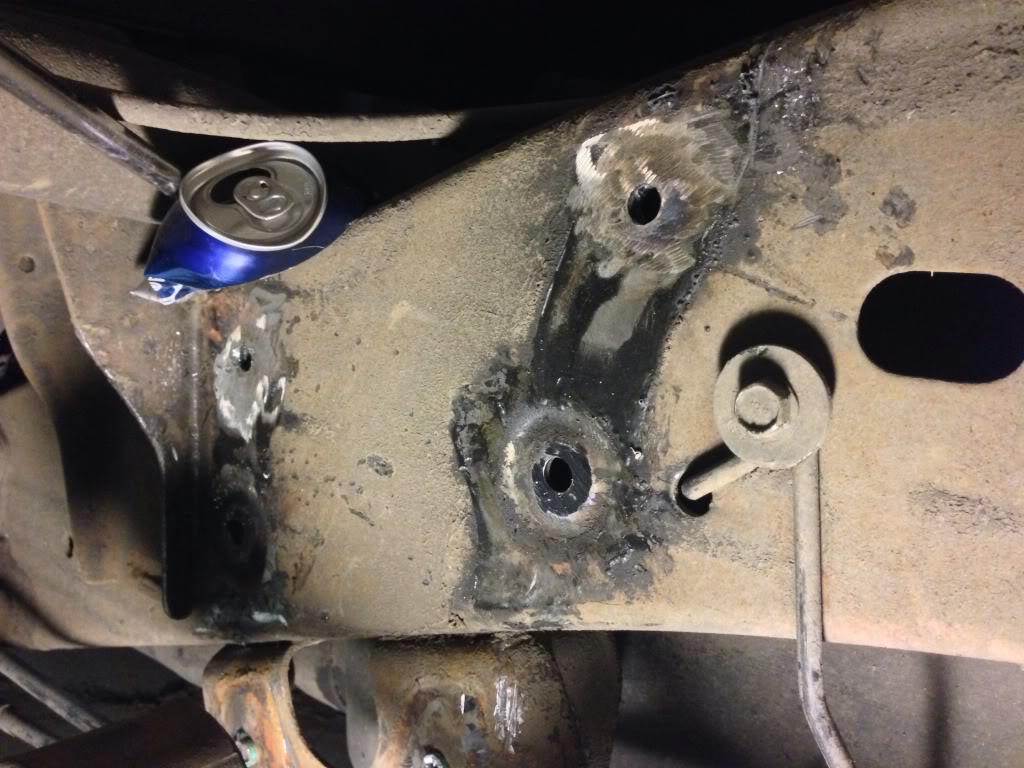
Driver's side bracket off. Now comes the tough part of grinding/pounding/drilling/chiseling the rest of the rivets out.
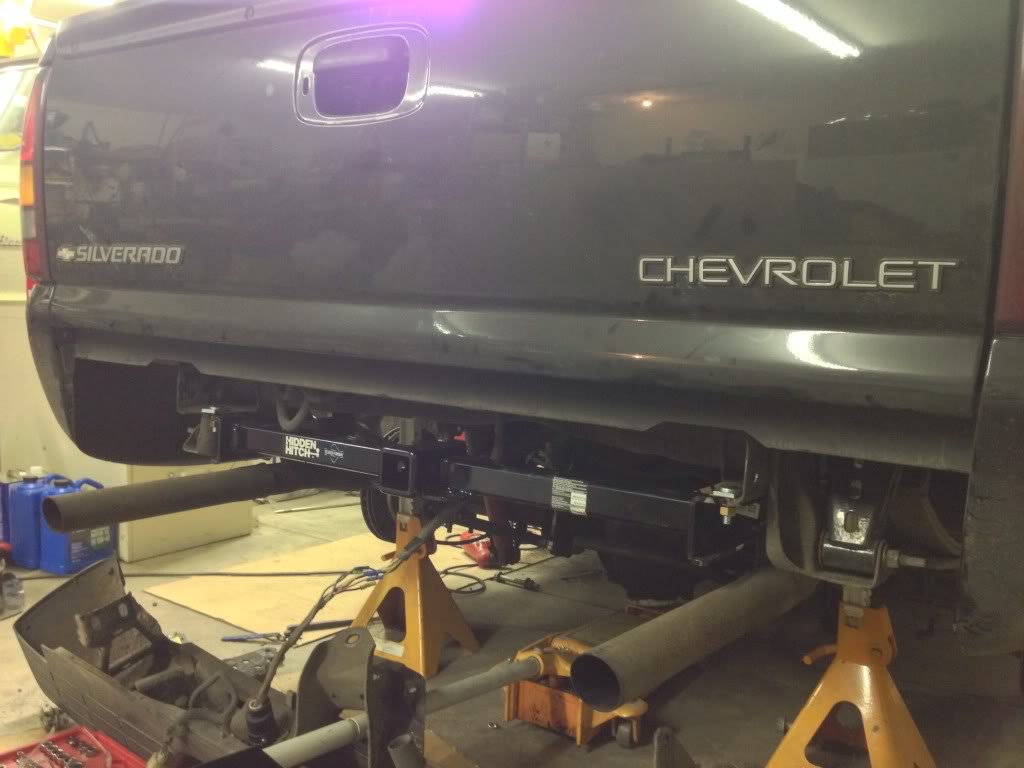
Mocking up my hitch.
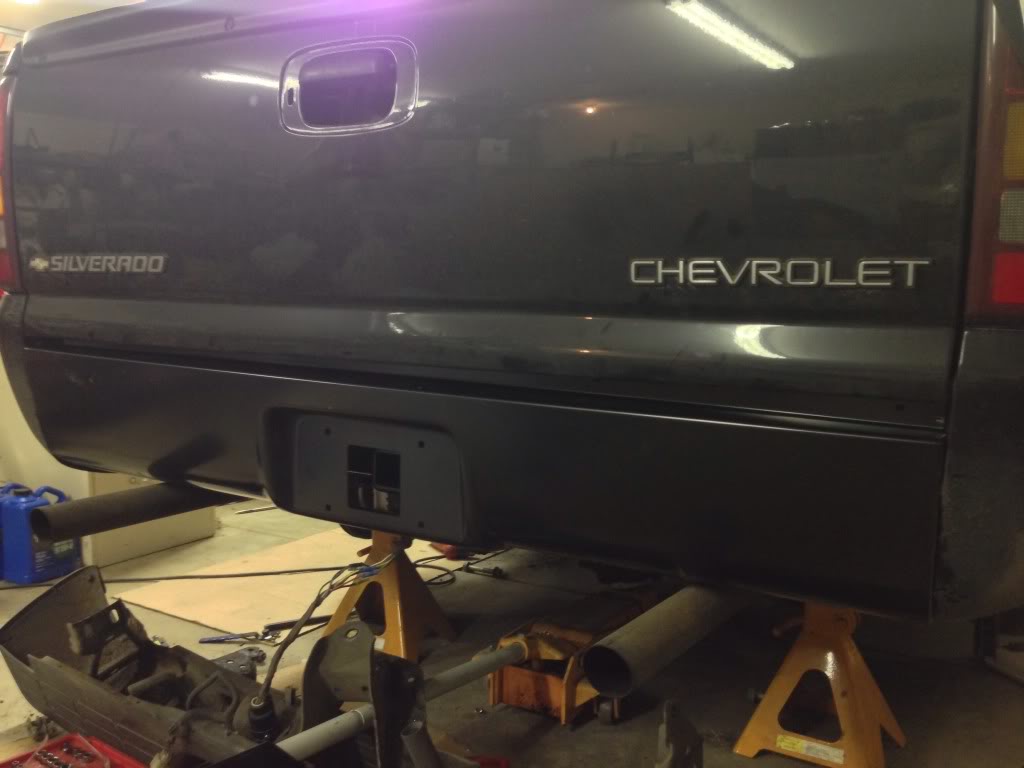
Mocking up my roll pan.
Finally got all the rivets out. Had to use heat to do so. Heat required a beer an heat shield.
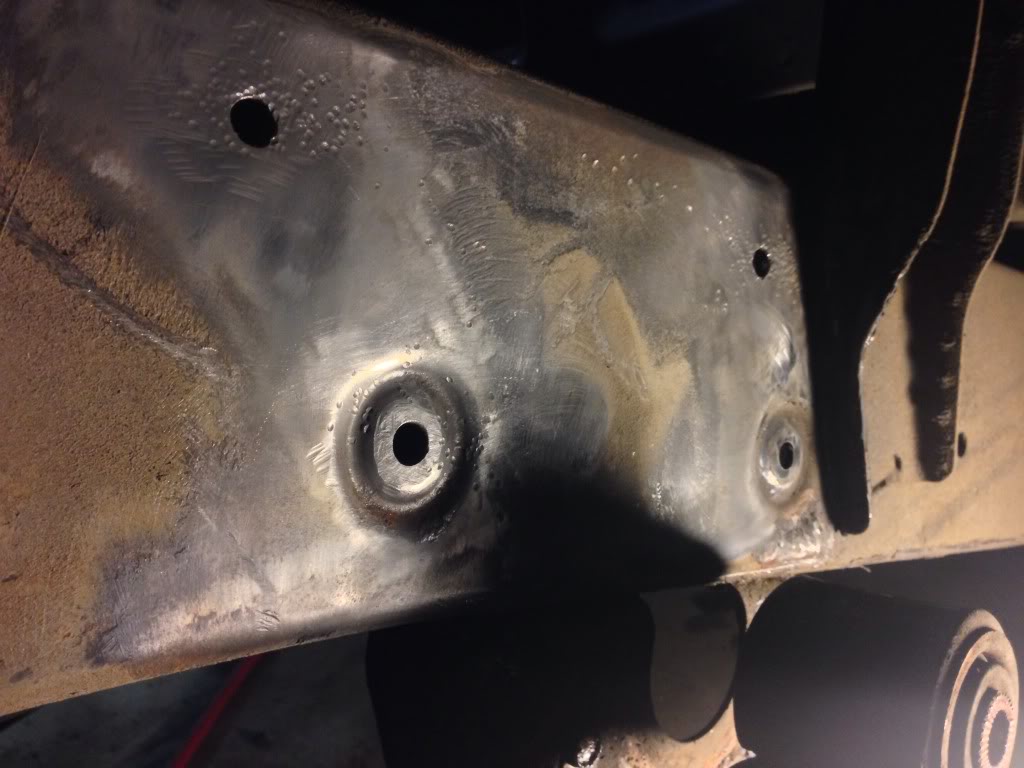
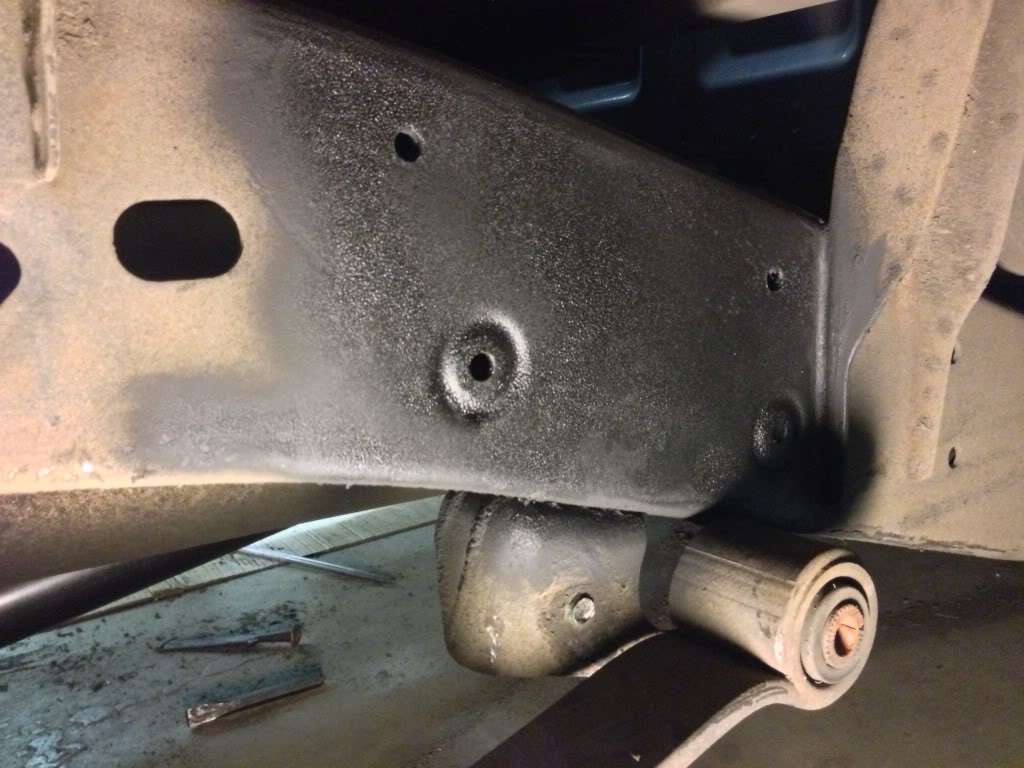
Cleaned up and painted the frame.
Finally. Passenger's side done.
First up, removed that factory rear bumper.
Spring hanger installation. I have to remove those 6 evil rivets.
Agh, so painful!
These rivets suck!
Passenger's side finally off.
Old hanger.
New hanger.
Driver's side bracket off. Now comes the tough part of grinding/pounding/drilling/chiseling the rest of the rivets out.
Mocking up my hitch.
Mocking up my roll pan.
Finally got all the rivets out. Had to use heat to do so. Heat required a beer an heat shield.
Cleaned up and painted the frame.
Finally. Passenger's side done.
Oct 5, 2013 | 04:25 PM
#214
I moved on to my trailer wiring.
Here's what I bought.
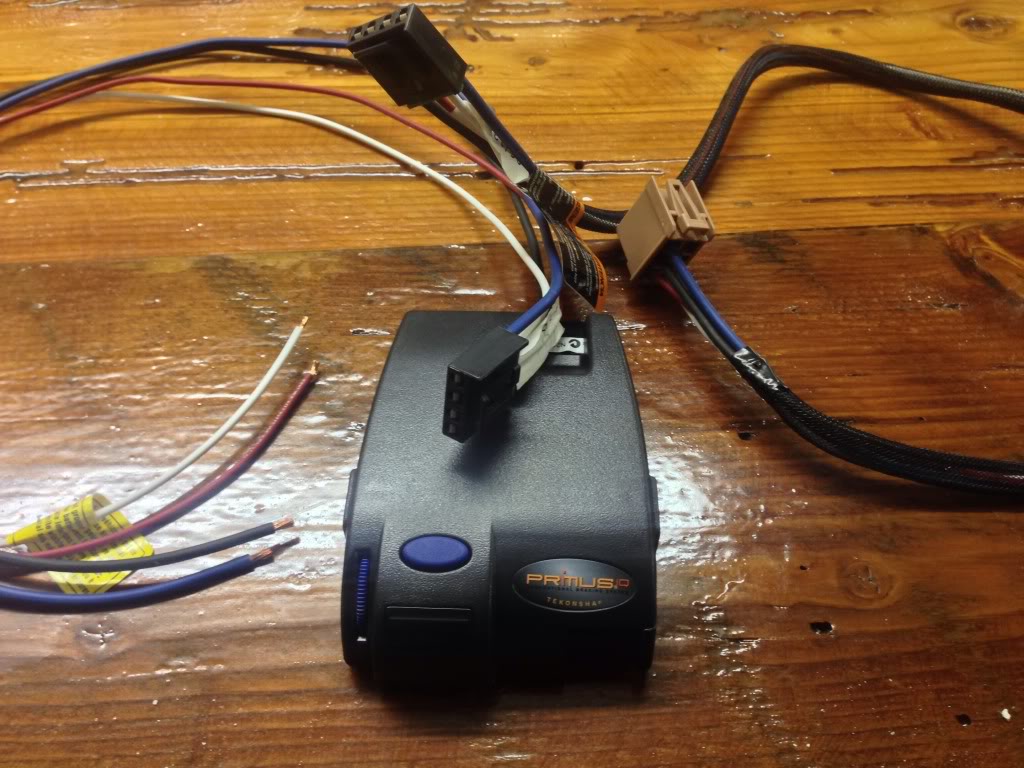
It's a Tekonsha Primus IQ trailer brake controller. I also bought the installation kit for 99-02 Silverado.
The problem I faced was where I wanted to mount it. I don't want it in the typical spot under the steering wheel. My knees would hit it. I've swapped in leather seats and center console. So I'm going to end up mounting the controller under the door where CDs would be stored.
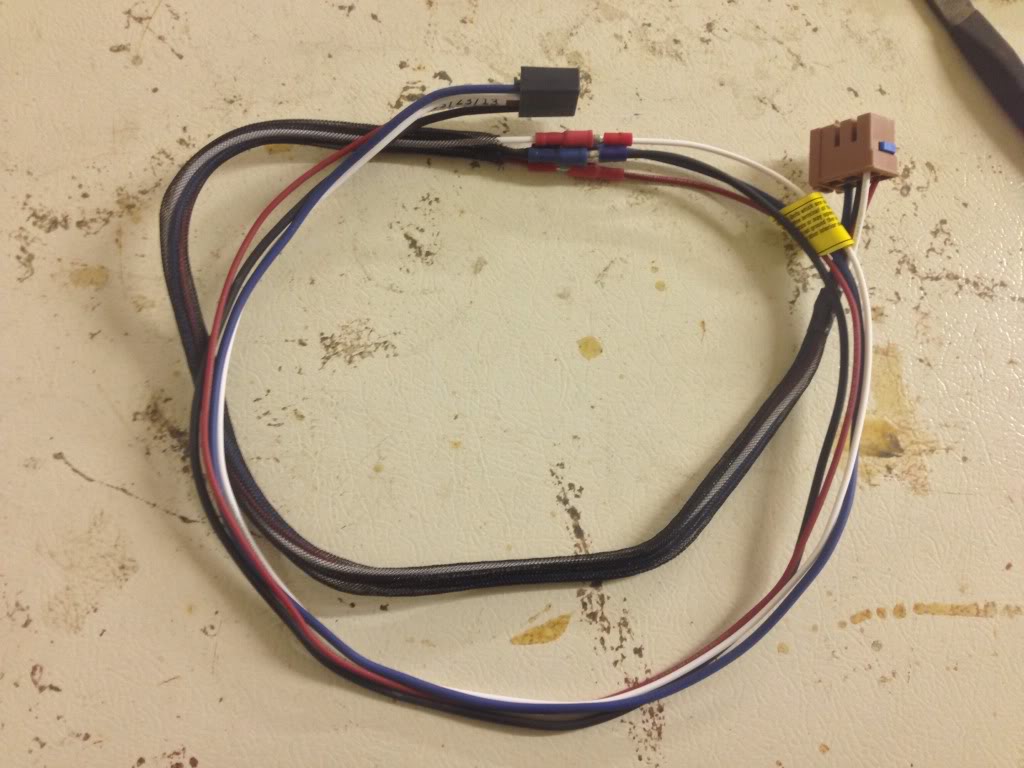
Mounting it in the center of the truck meant I needed longer wires. So I took the installation kit and the generic wiring that comes with the controller and extended the wires to reach.
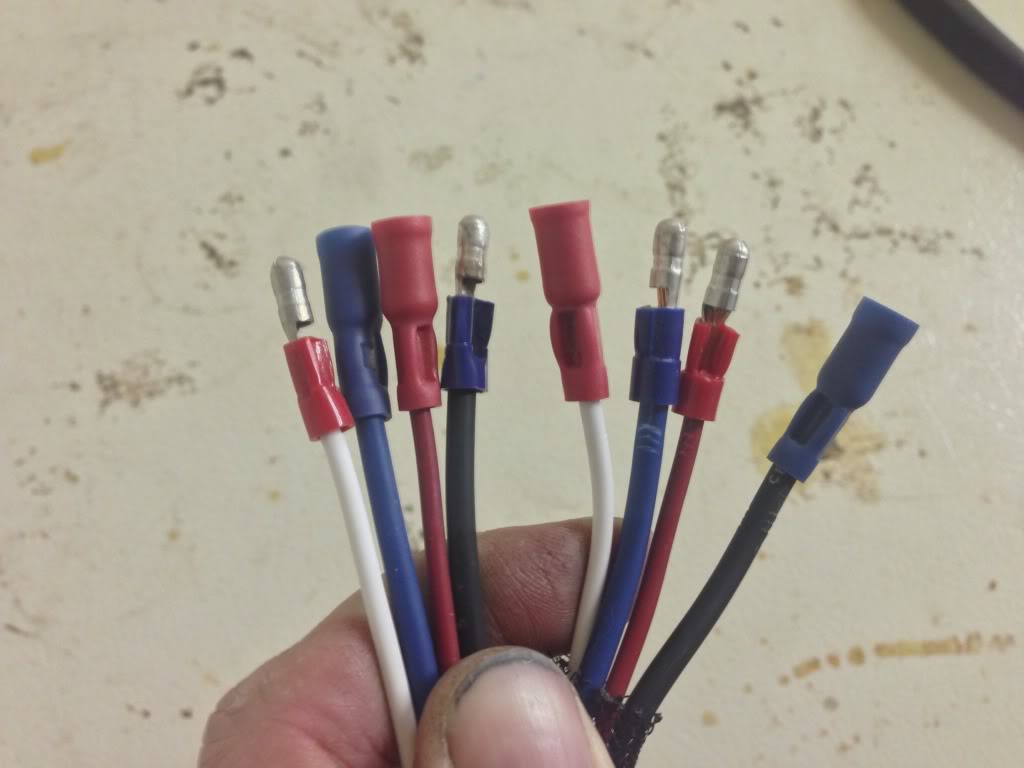
So I cut the end off of the installation kit.
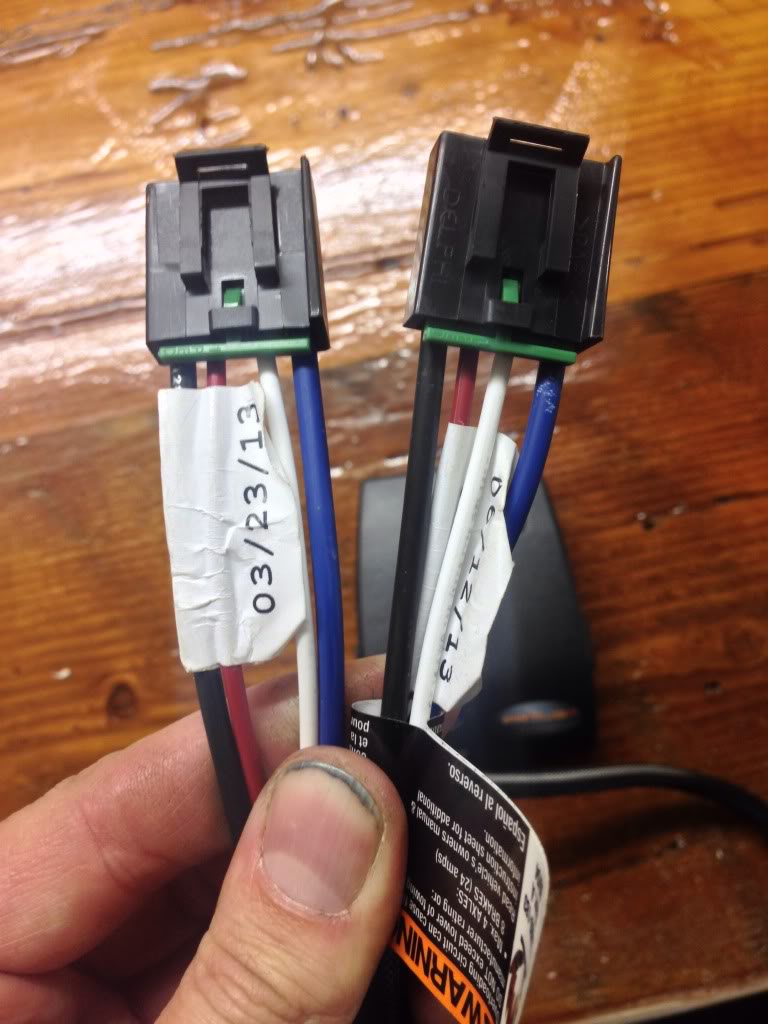
And added connectors instead.
I plugged it into this box located by the brake pedal. It's the second one in on the top.
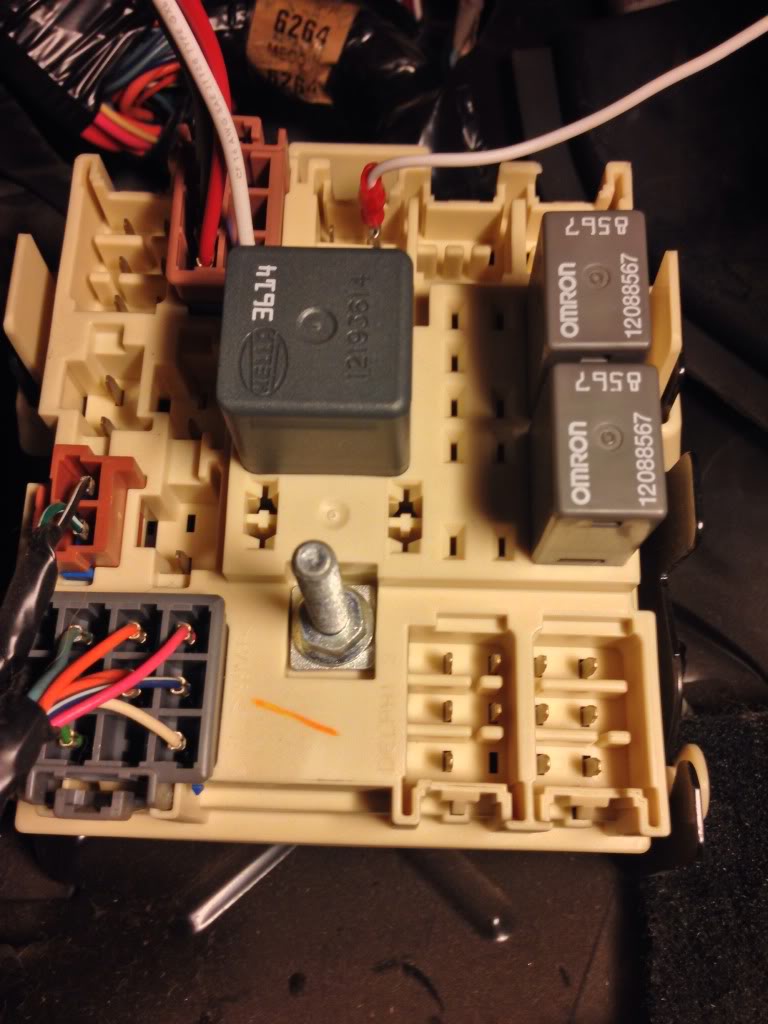
The controller would not turn on. What I found out was that I am still missing wiring. Chevy gives you the wiring for a 4 prong flat trailer connector but not enough to control trailer brakes.
It's outlined in this video.
Installation of a Trailer Brake Controller on a 2000 Chevrolet Silverado - etrailer.com - YouTube
So that meant that I had to order some wiring. I suppose you could just use 2 runs of 10ga wire, but I want the wire jacketed.
Here's what I bought.
It's a Tekonsha Primus IQ trailer brake controller. I also bought the installation kit for 99-02 Silverado.
The problem I faced was where I wanted to mount it. I don't want it in the typical spot under the steering wheel. My knees would hit it. I've swapped in leather seats and center console. So I'm going to end up mounting the controller under the door where CDs would be stored.
Mounting it in the center of the truck meant I needed longer wires. So I took the installation kit and the generic wiring that comes with the controller and extended the wires to reach.
So I cut the end off of the installation kit.
And added connectors instead.
I plugged it into this box located by the brake pedal. It's the second one in on the top.
The controller would not turn on. What I found out was that I am still missing wiring. Chevy gives you the wiring for a 4 prong flat trailer connector but not enough to control trailer brakes.
It's outlined in this video.
Installation of a Trailer Brake Controller on a 2000 Chevrolet Silverado - etrailer.com - YouTube
So that meant that I had to order some wiring. I suppose you could just use 2 runs of 10ga wire, but I want the wire jacketed.
 Oct 10, 2013 | 06:26 PM
#217
I've been messing around with different keys in an attempt to get the correct ride height I want.
I bought some keys off of here about a year ago. After I installed the shackles and hangars, I figured I needed to put in the keys to get the height correct.
At first glance, the black keys looked the same as the factory keys. I'm still not sure if they're all that different.
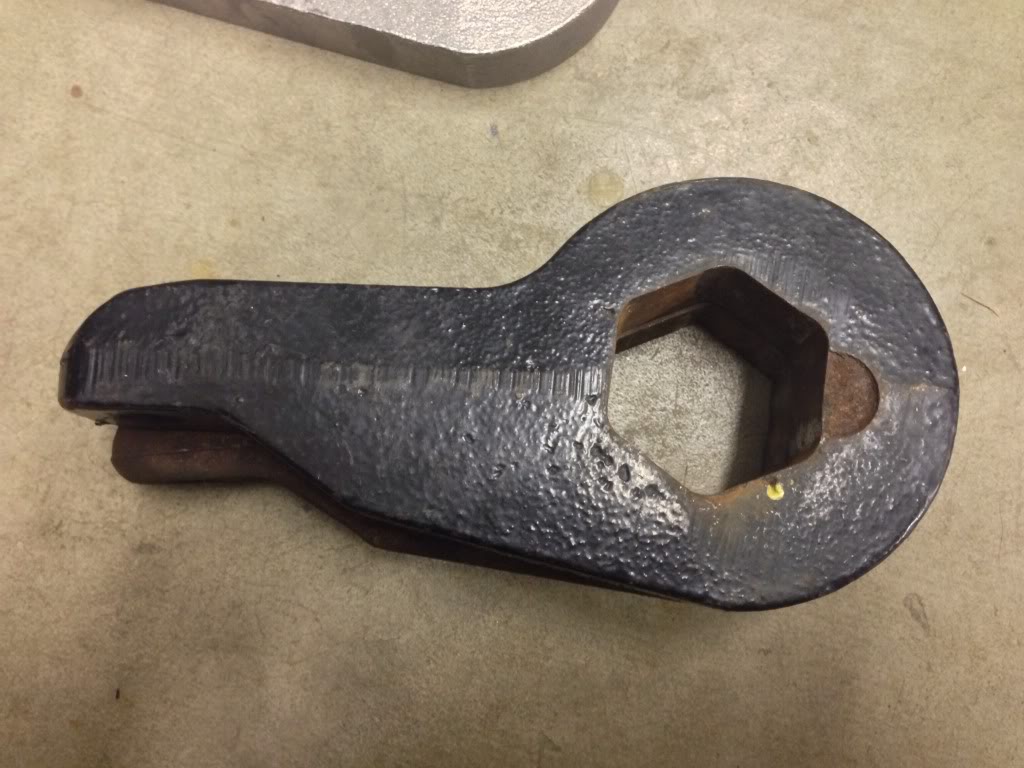
So I ordered a set of lowering keys off of eBay.
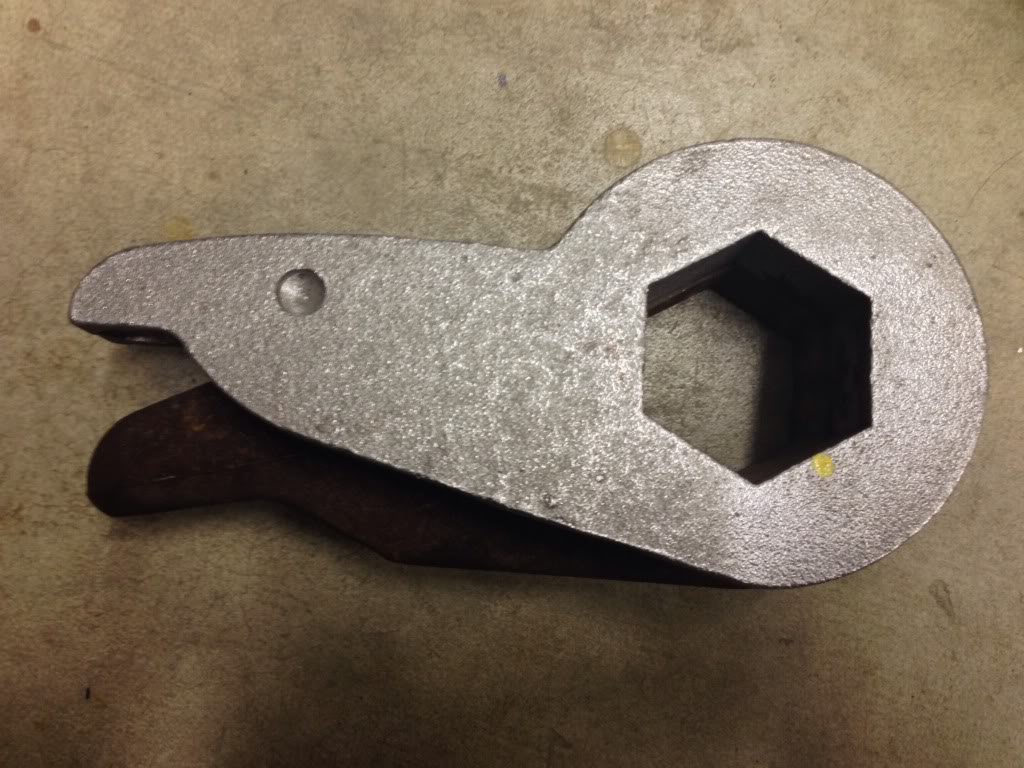
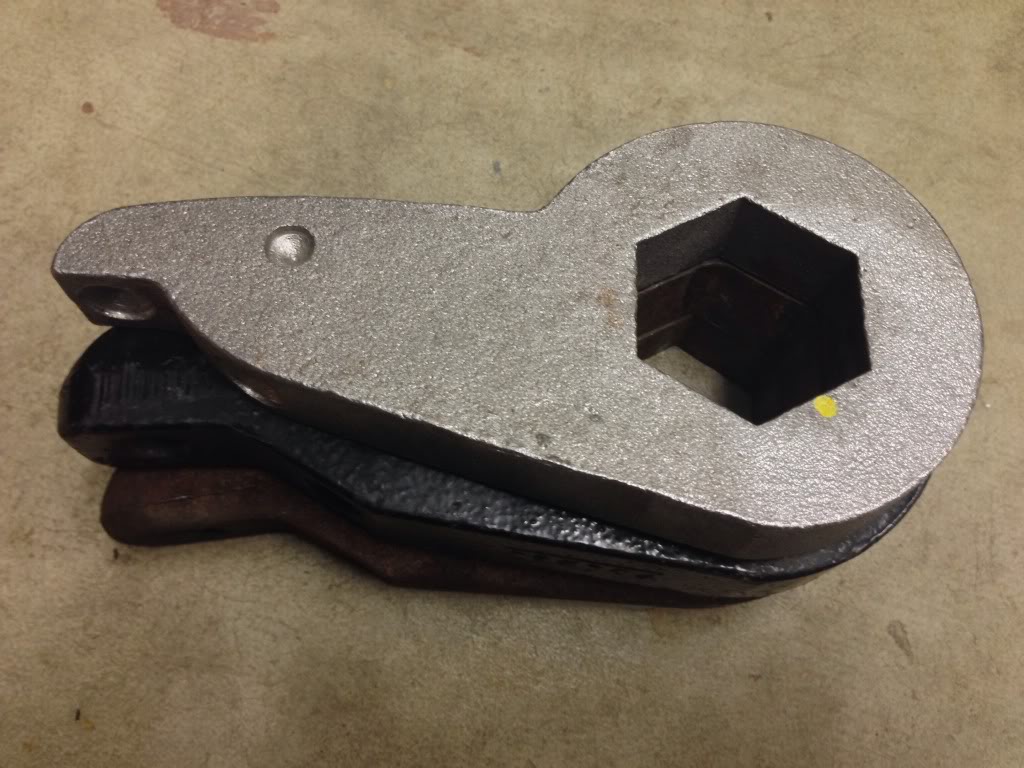
I tried to align them all.
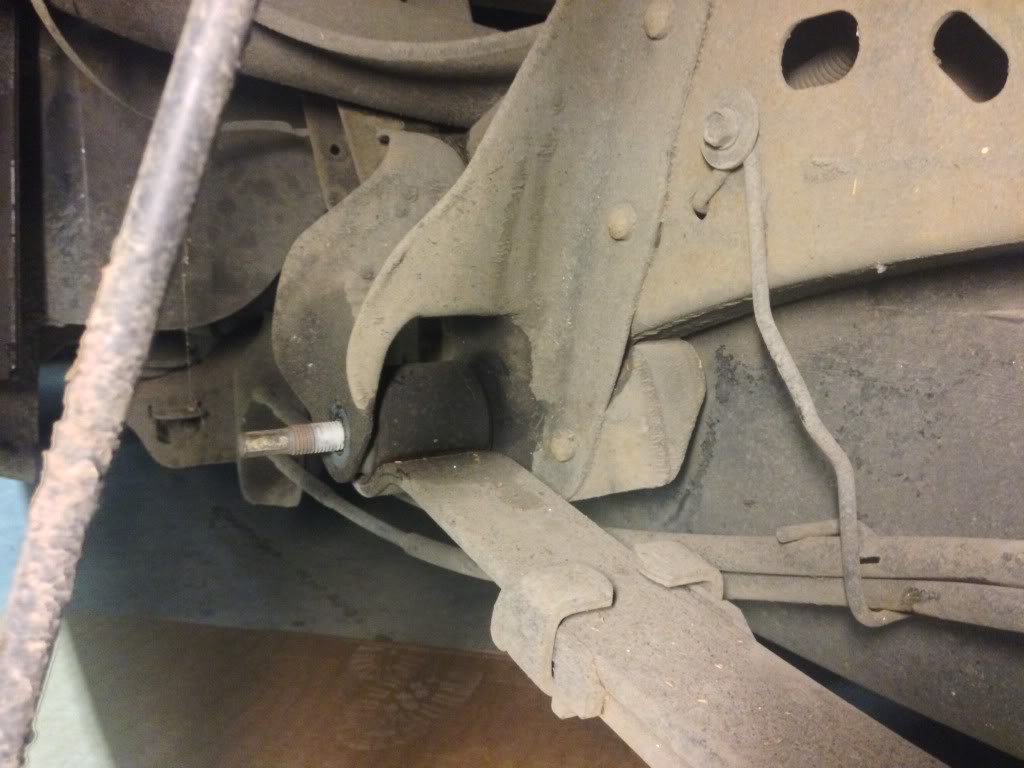
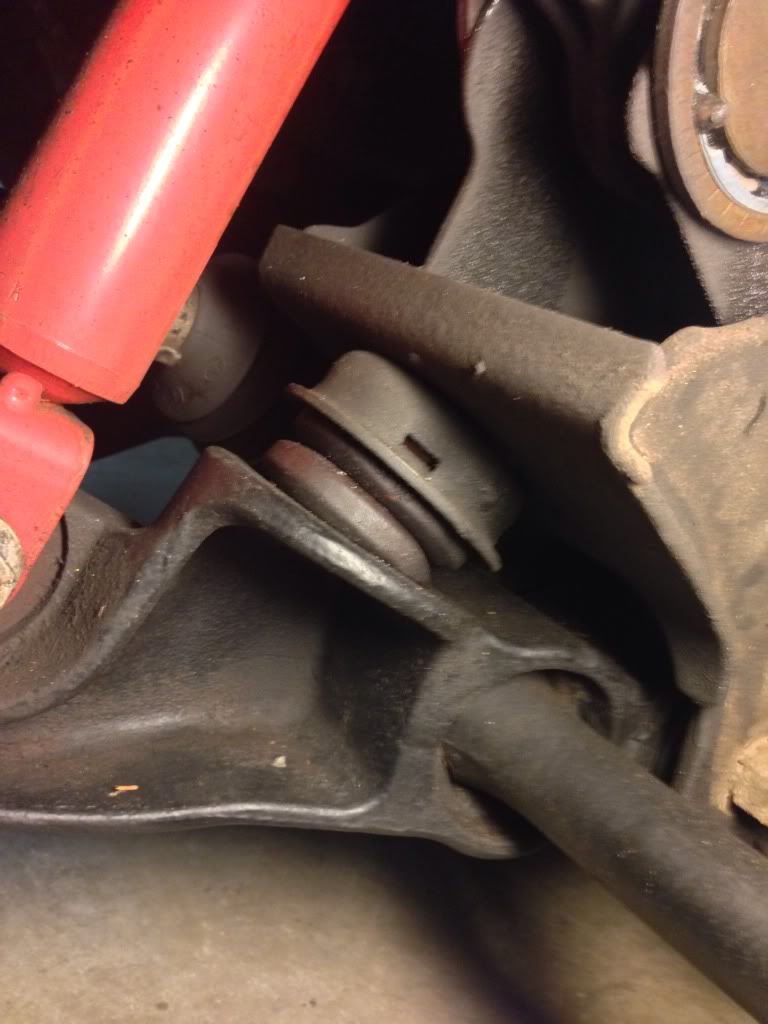
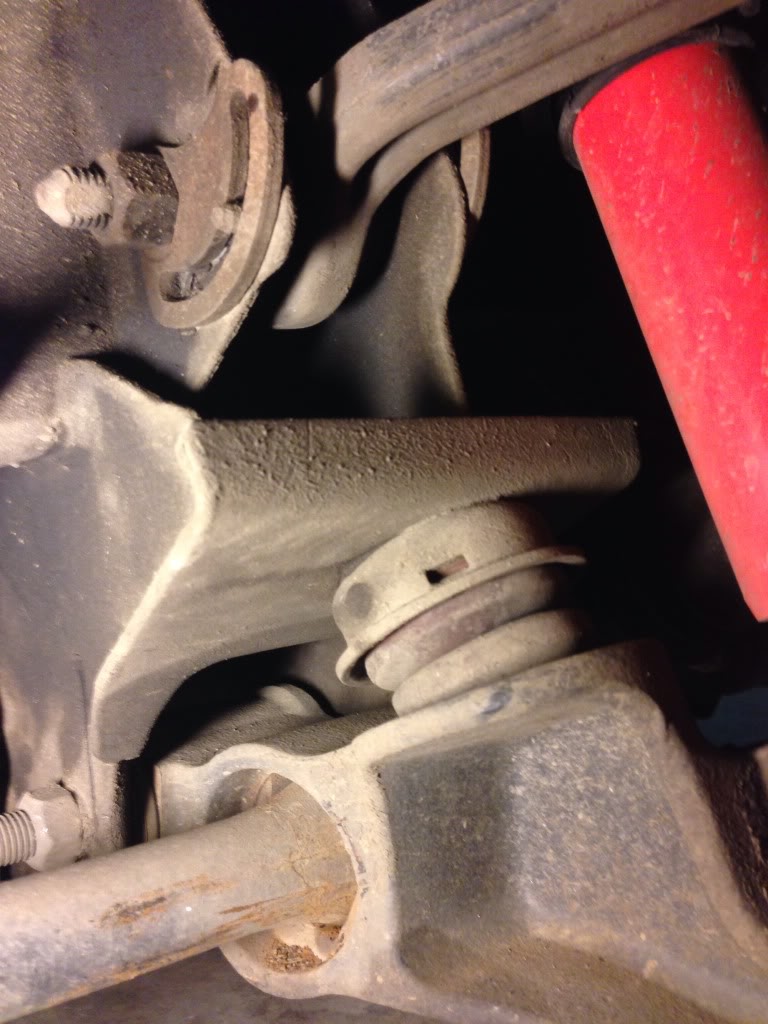
I installed the silver keys and they are cranked all the way in. I'm not sure what's supposed to be going on with the bumpstops. I had previously cut off the last nub but they are currently ridding on the bumpstops all the way. I have ordered replacement ones and am planning on drilling holes through them.
Here's the drivers and passengers sides.
What have you guys done with your bumpstops when using keys? Should I put my factory keys in and crank them down? I'm thinking I'm too low right now with the aftermarket keys cranked all the way up. There's no adjustment left.
I haven't driven yet, but resting on the bumpstops like that can't be good. I've always read that the bumpstops should just be kissing the lower control arm. I'm not sure how people have theirs setup with decranked keys.
Here are the measurements the way it sits. From the floor to the fender lip
DF 30.5
DR 31.25
PF 30.75
PR 32
I need to get the front suspension dialed in so I can install my rear helper airbags. Right now, I've got about 1/2 of clearance between the driver's side exhaust and rear differential. I may have to remove the exhaust and go with a single setup. I was planning to anyway when I got to the turbo install.
I bought some keys off of here about a year ago. After I installed the shackles and hangars, I figured I needed to put in the keys to get the height correct.
At first glance, the black keys looked the same as the factory keys. I'm still not sure if they're all that different.
So I ordered a set of lowering keys off of eBay.
I tried to align them all.
I installed the silver keys and they are cranked all the way in. I'm not sure what's supposed to be going on with the bumpstops. I had previously cut off the last nub but they are currently ridding on the bumpstops all the way. I have ordered replacement ones and am planning on drilling holes through them.
Here's the drivers and passengers sides.
What have you guys done with your bumpstops when using keys? Should I put my factory keys in and crank them down? I'm thinking I'm too low right now with the aftermarket keys cranked all the way up. There's no adjustment left.
I haven't driven yet, but resting on the bumpstops like that can't be good. I've always read that the bumpstops should just be kissing the lower control arm. I'm not sure how people have theirs setup with decranked keys.
Here are the measurements the way it sits. From the floor to the fender lip
DF 30.5
DR 31.25
PF 30.75
PR 32
I need to get the front suspension dialed in so I can install my rear helper airbags. Right now, I've got about 1/2 of clearance between the driver's side exhaust and rear differential. I may have to remove the exhaust and go with a single setup. I was planning to anyway when I got to the turbo install.
 Oct 27, 2013 | 03:59 AM
#219

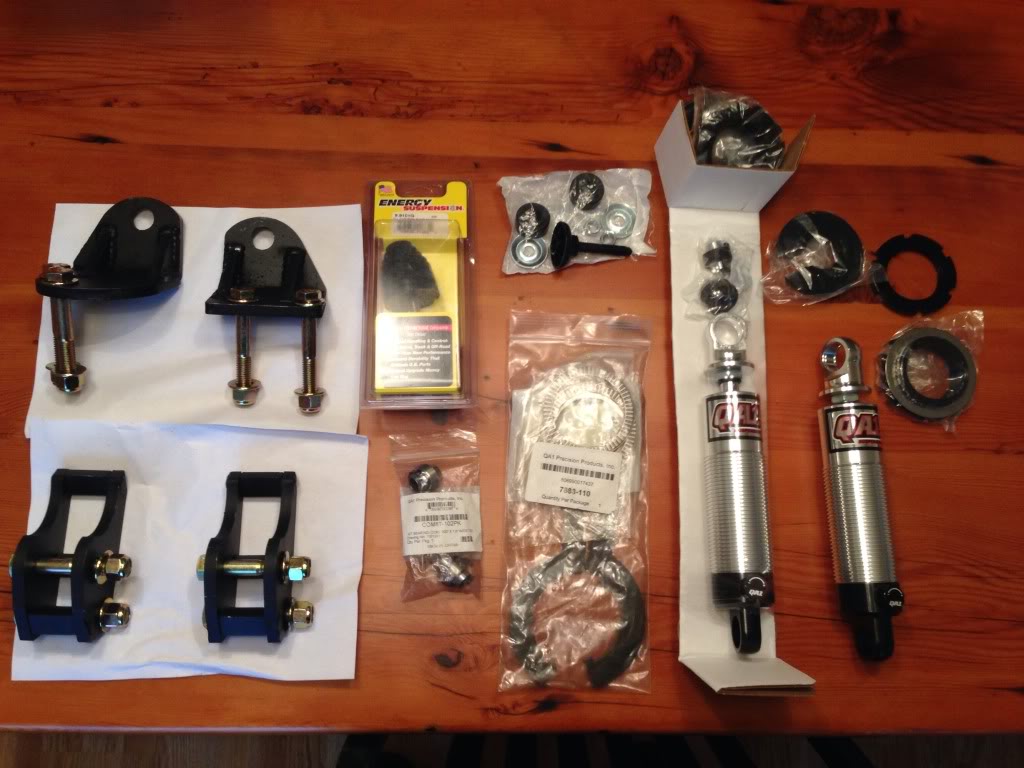
Not happy with the lowering keys I decided to man up and go with Atomic's Coilover setup.
Awesome !