When you click on links to various merchants on this site and make a purchase, this can result in this site earning a commission. Affiliate programs and affiliations include, but are not limited to, the eBay Partner Network.
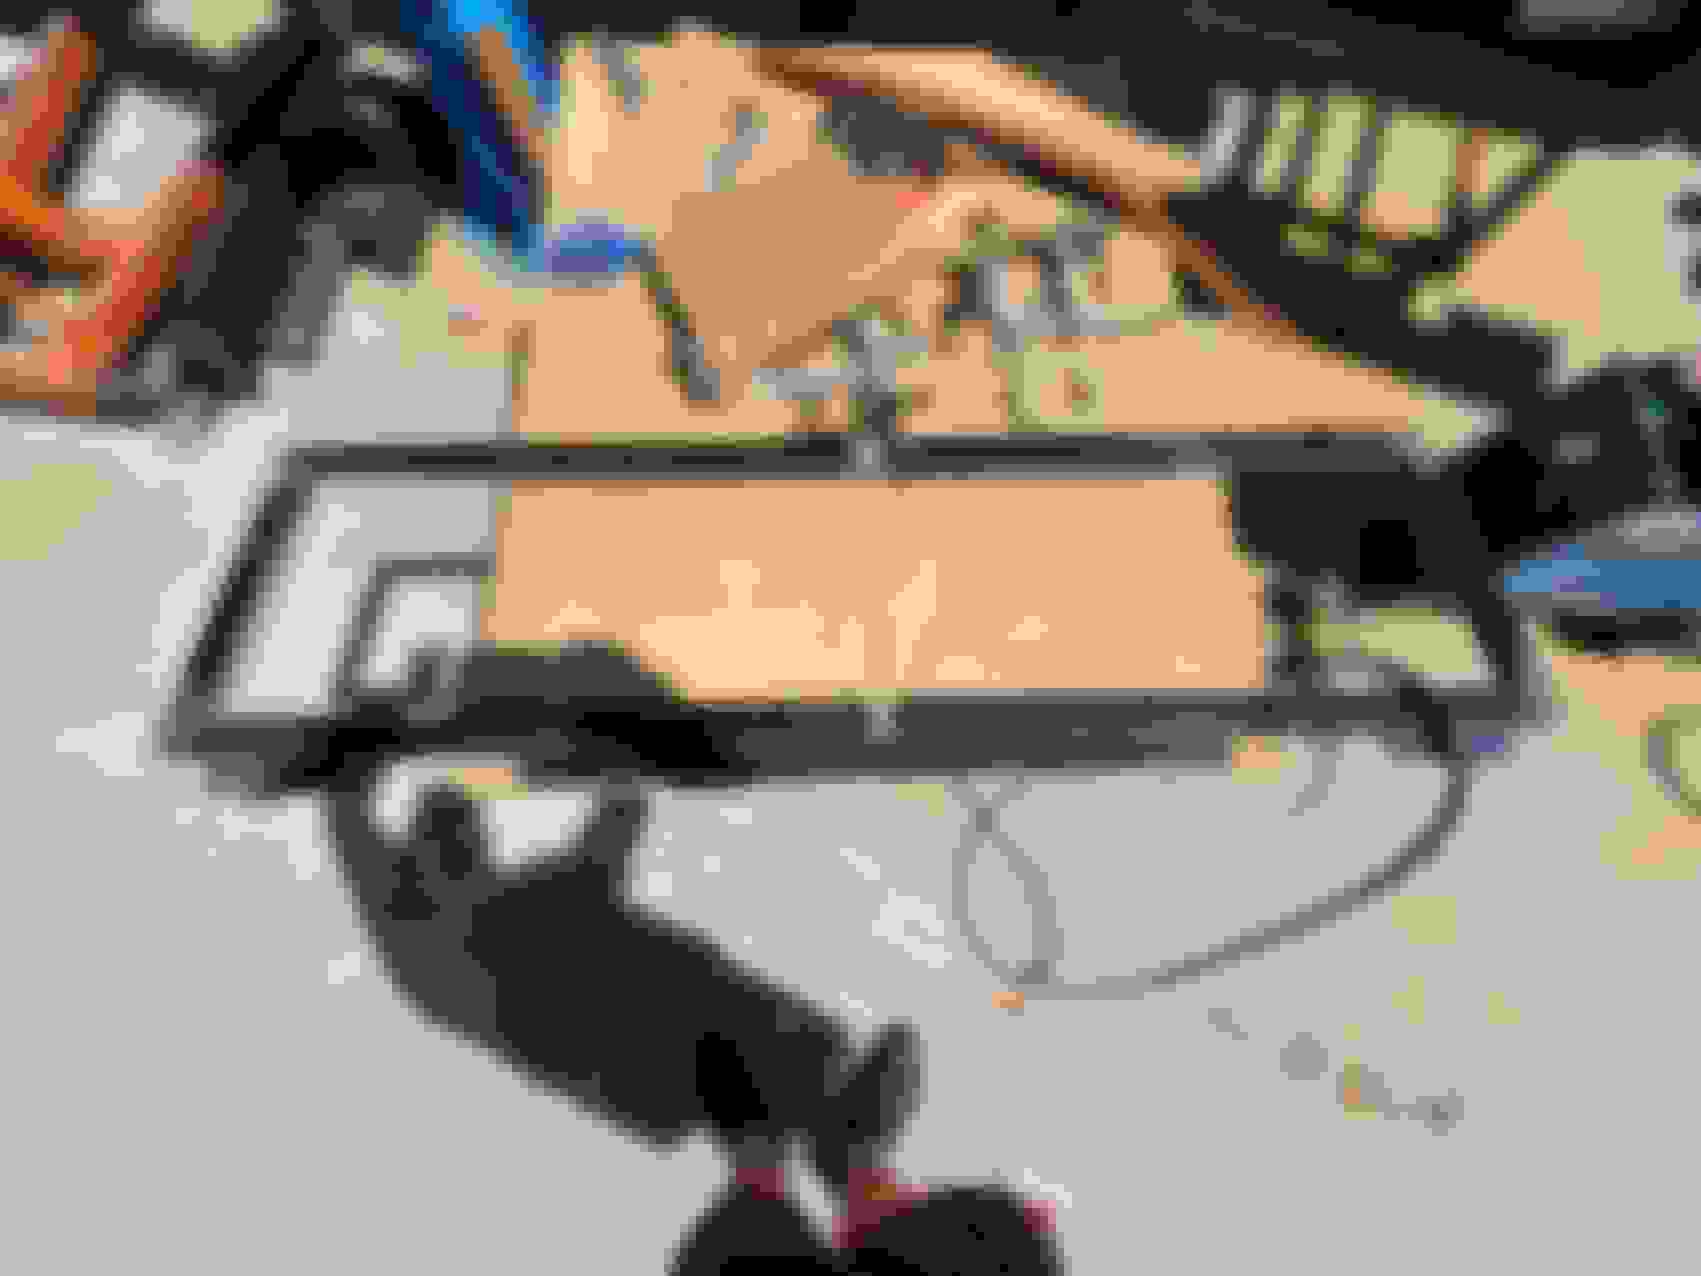
Removed the windshield frame and drilled out a bunch of spot welds on the side portion. These spot welds hold the �brackets� which mount the door seals.
Since I wont have door windows, no door seals are needed, so off came the brackets.
Then I cut the window frame into 4 pieces and decided that a 4-inch chop was going to be the best for what I'm building.
Some measuring, a few templates to make sure left and right match, and voila�
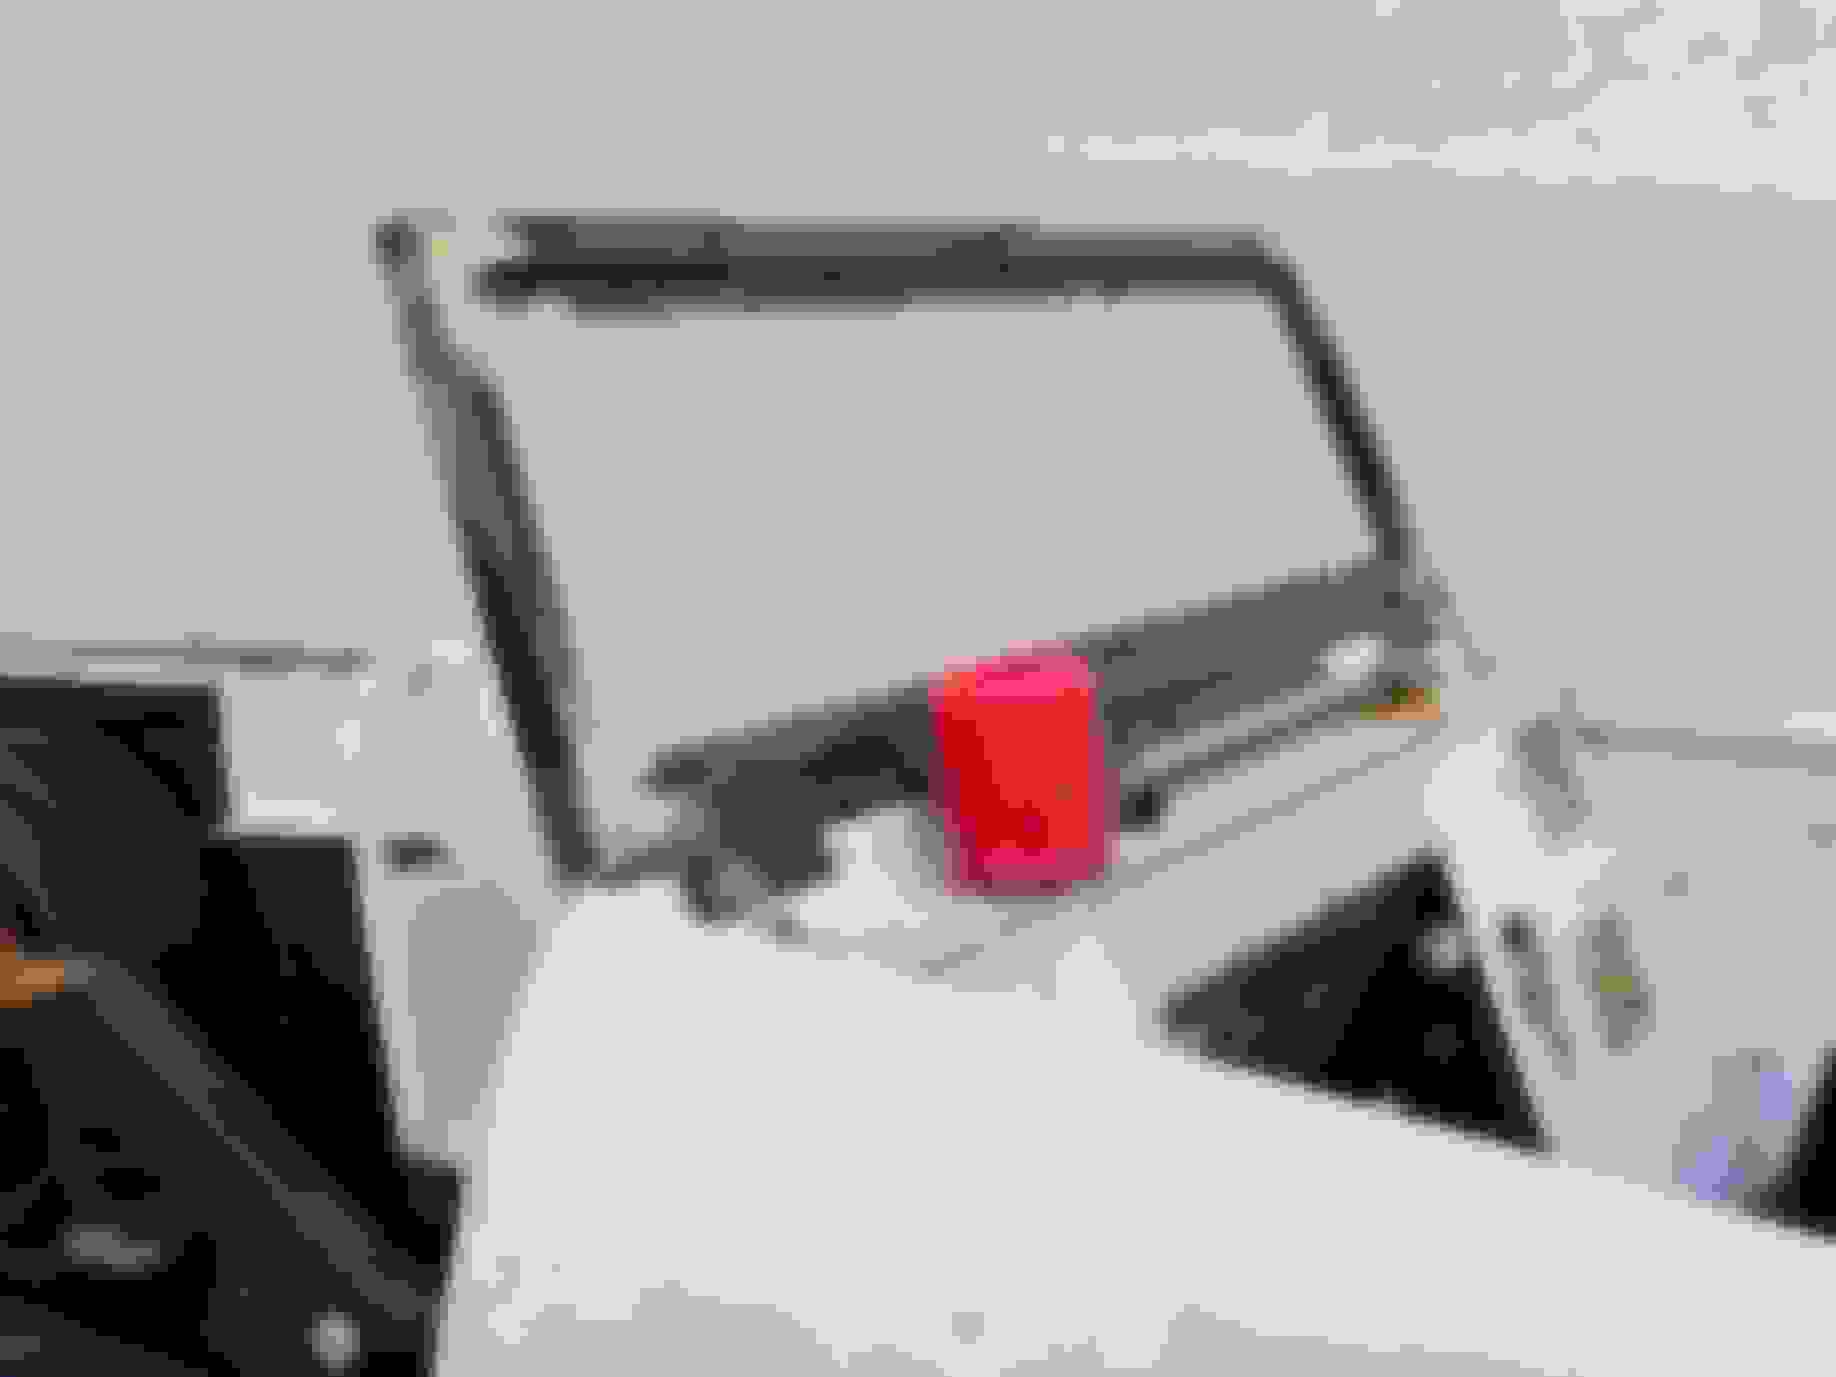
It�s welded back together, and next is rounding the corners of the windshield frame.
So today I was working on my 4 link tabs, and a buddy came over.
So shootin the sh*t we started talking about the windshield, and a few hours later, the metal work is nearly done.
Some sanding, some bondo and primer and itll be ready for paint.
Then ill drop the frame off at the window guy and let the take it from there.
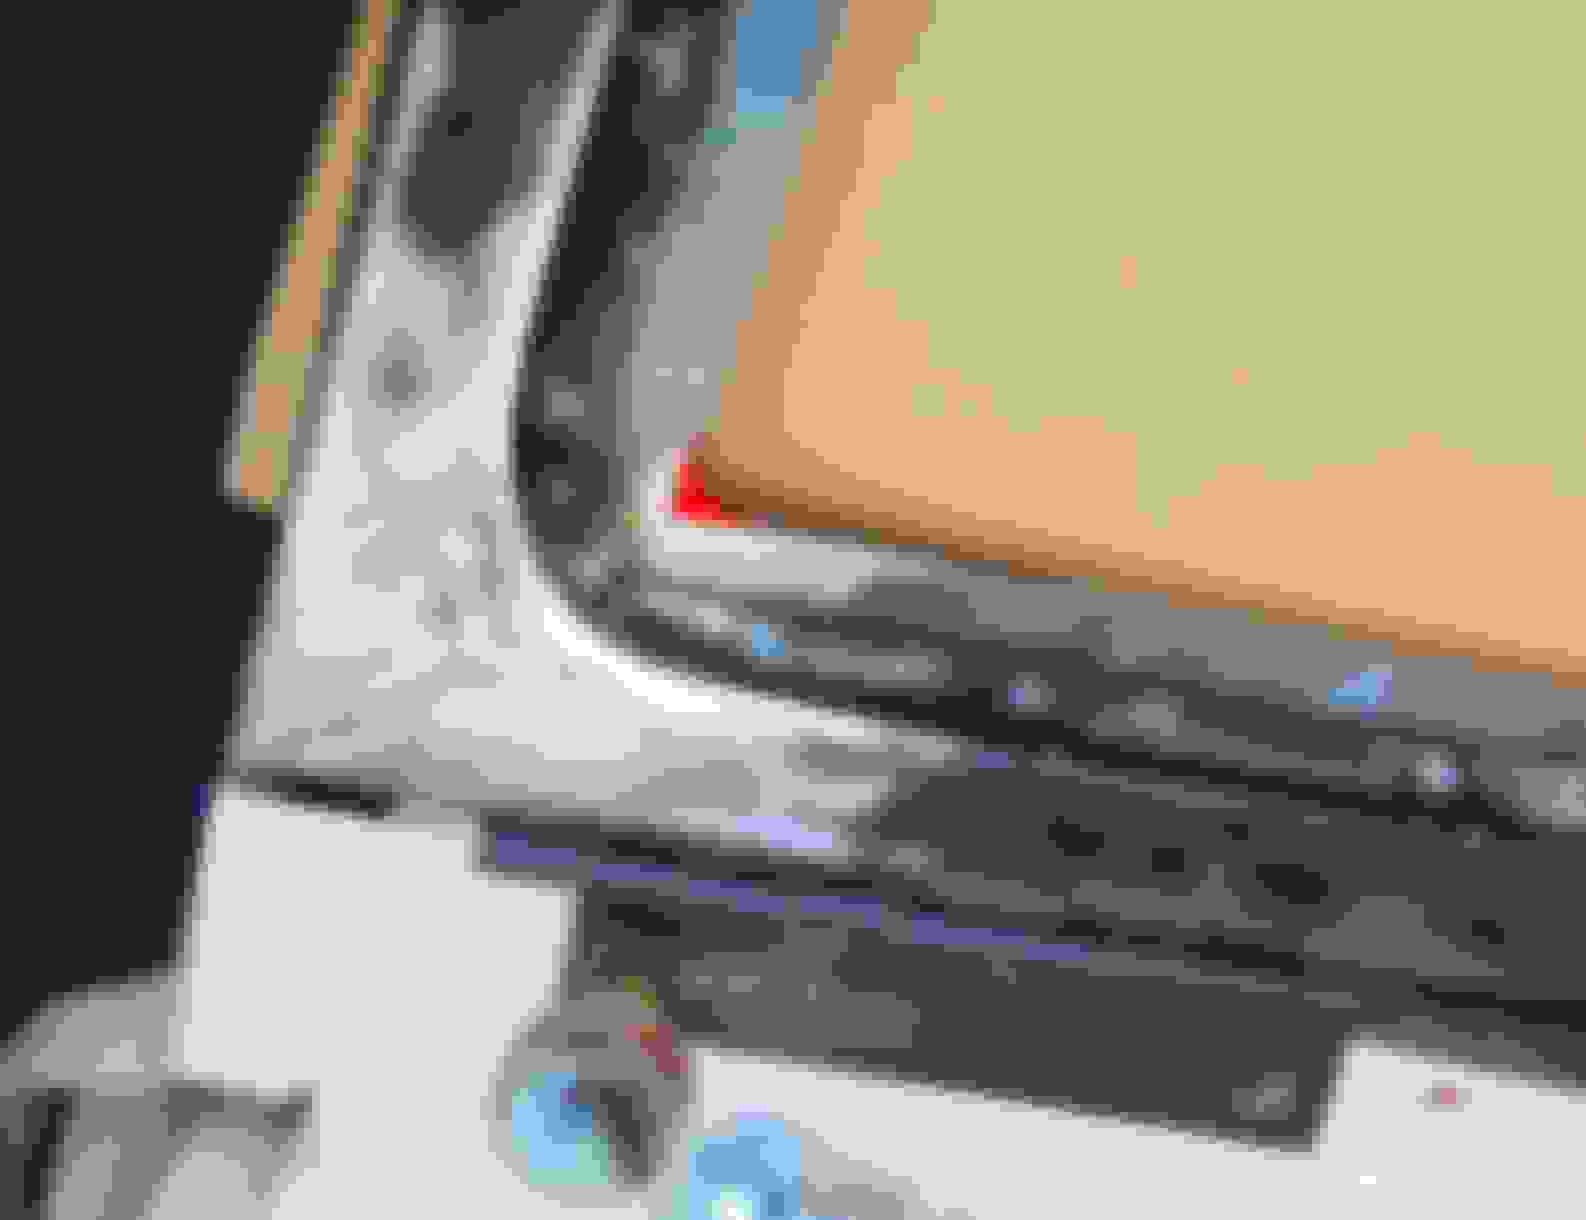
I want to paint it body color before dropping it off for the window to be made and glued in. This way I will know it is got epoxy, primer, paint and plenty of rust and corrosion resistance before the flush mount glass is mounted.
I'm not sure if the ‘red triangle’ needs to be made or not. Currently it is a not so 90 degree corner. I'm guessing the black around the glass will hide the corner. But, it’s something I got to figure out.
Hope you all like the chop, and the rounded window ‘corner’s
So as some of you might remember from my rendering, the door lines aren�t �scout� lines. The scout doors have that inward angled portion on the back.
One of the modifications I wanted to do was suicide doors, and I don�t like how the rear B pillar is on the scout bodies.
Not anytime soon, but my plan is to use my old truck, �Alice� door jambs and flip them side to side and shorten to fit. Peel off the door skins from the scout and modify them to attach to the 2001 doors frame.
This way, itll have inner hinges that are factory reversed for a reverse or suicide opening, just like it came from the factory.
I put the �drivers/left side� door jamb next to the passenger side of Allison to see how much work it will take. I think I need to narrow the door jamb about 4 maybe 5 inches to fit, but, it appears to be a relatively easy modification. I think in a weekend or so I could have the �new� doors hung and functioning. Not fully completed, nor body worked, but able to be opened and closed.
No I won�t be putting the angled lower portion of the door as the scout had, it will be a normal �square� door with rounded lower corners.
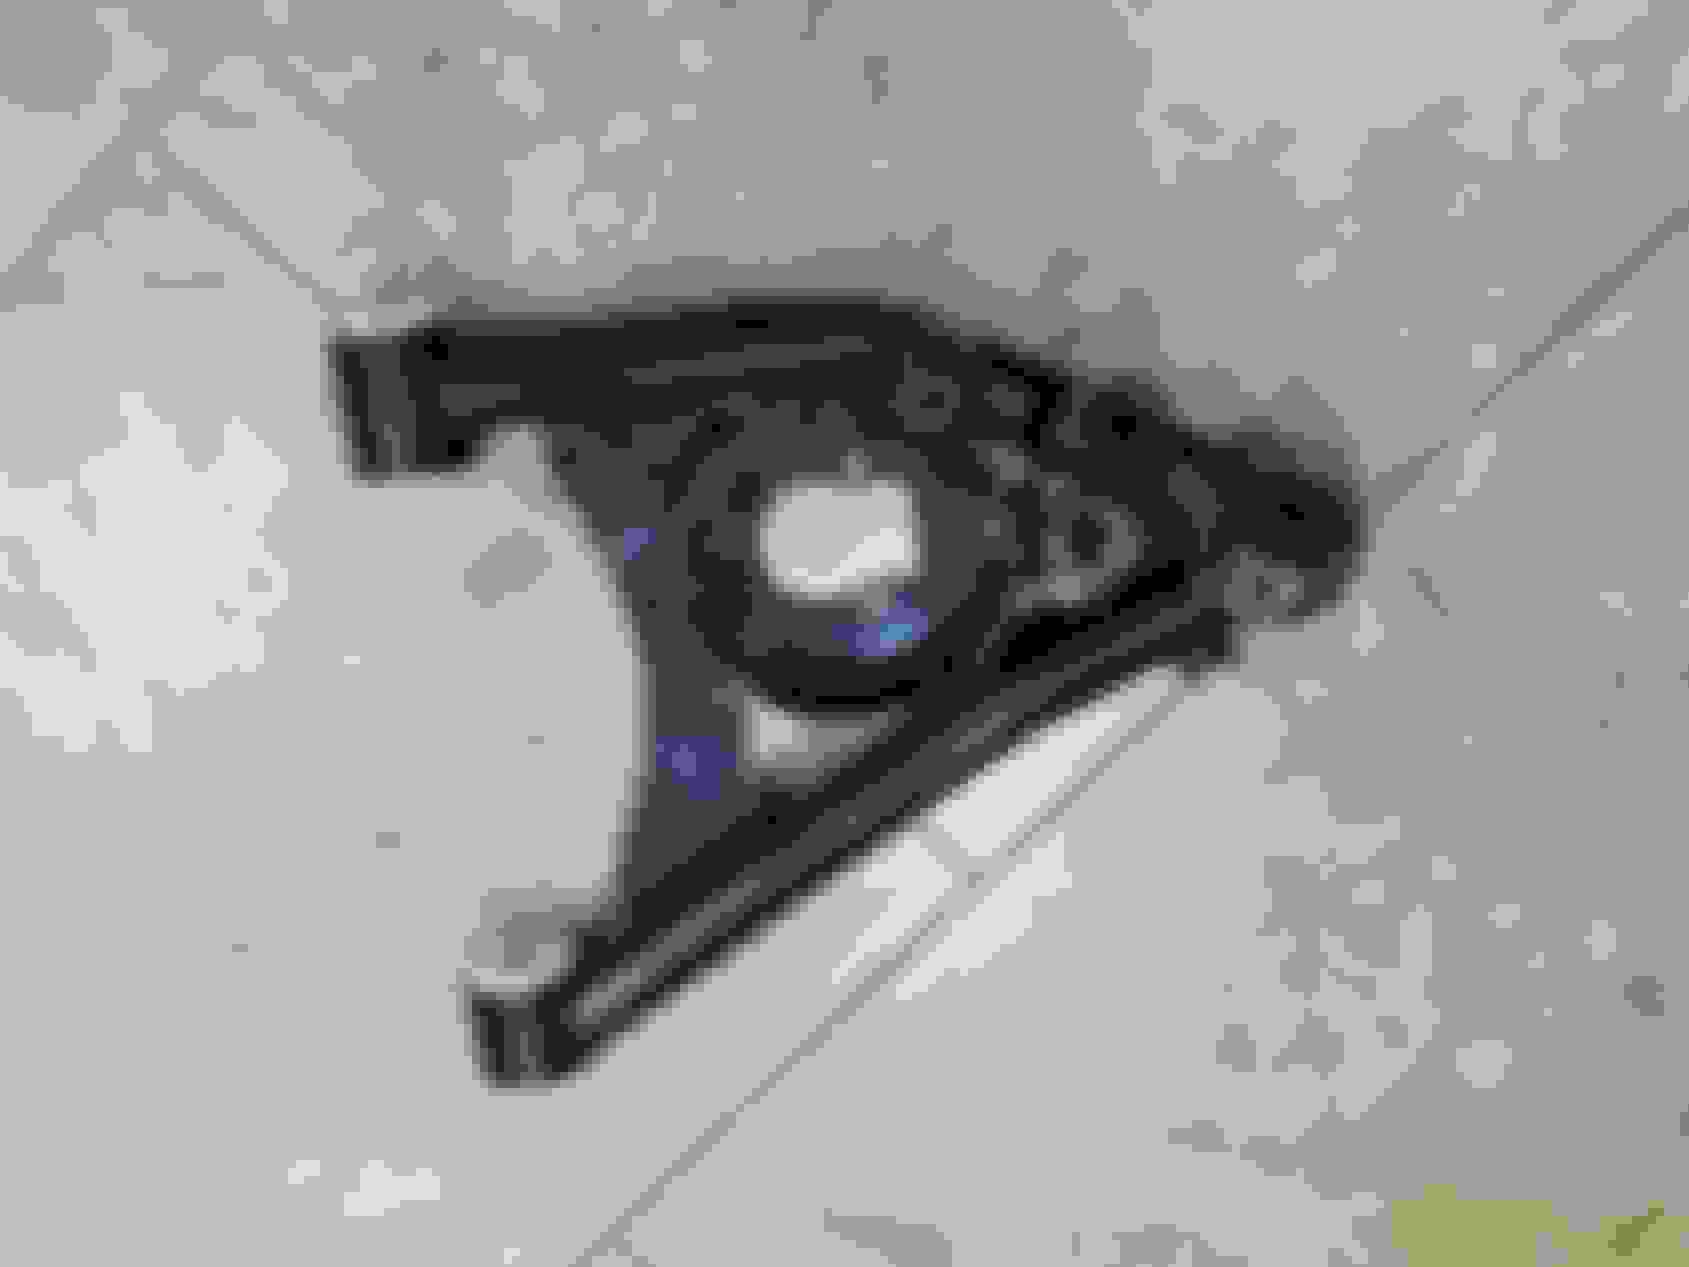
This evening, I had about 2 hours to spare, so I grabbed the new lower control arms and hacked off the bump stops from them.
Pulled off the front suspension and stuck on the new lowers.
I found it they 'went' up higher than the dehumped stockers I had previously, but they still hit part of the frame.
The sun was getting pretty low and visibility was very low, so I pulled the suspension, jacked up the front of the frame and slid in an airbag for a picture.
The opening. cut out for the airbag is very rough at this point. I am just trying to get everything to fit and operate correctly before it all gets torn apart for the frame rack, final fabrication and welding.
My S22 phone still amazes me at the pictures it takes. This below pic was nearly pitch black out. I couldn't walk without my flashlight, but yet, the phone can take pics like its 5 pm in the afternoon.. crazy
Tomorrow morning ill finish cutting the frame section that is hitting the lower control arm and do a bit more clearancing for the air bag. The object here is to get the suspension going up and down, steering, engine/trans mounts made etc..
Then tear down for final fab work, powder coating etc..
-oh, and no I do not know if I am keeping that sway bar mount there or if I�ll cut it off and move it.
Today, slightly hung over, i wet sanded the window frame and sprayed the base/clear onto it. Tomorrow I'll drop it off for the flush mounted glass to get cut and installed.
The color is a tri-stage, grey base, violet pearl and then clear.
I had planned on gold pearl, but i didnt have any when i thought i did. So i grabbed the violet to see how it looks.
Now that this window frame is completed, i can get back to fabrication...


 Sep 12, 2024 | 10:30 AM