When you click on links to various merchants on this site and make a purchase, this can result in this site earning a commission. Affiliate programs and affiliations include, but are not limited to, the eBay Partner Network.
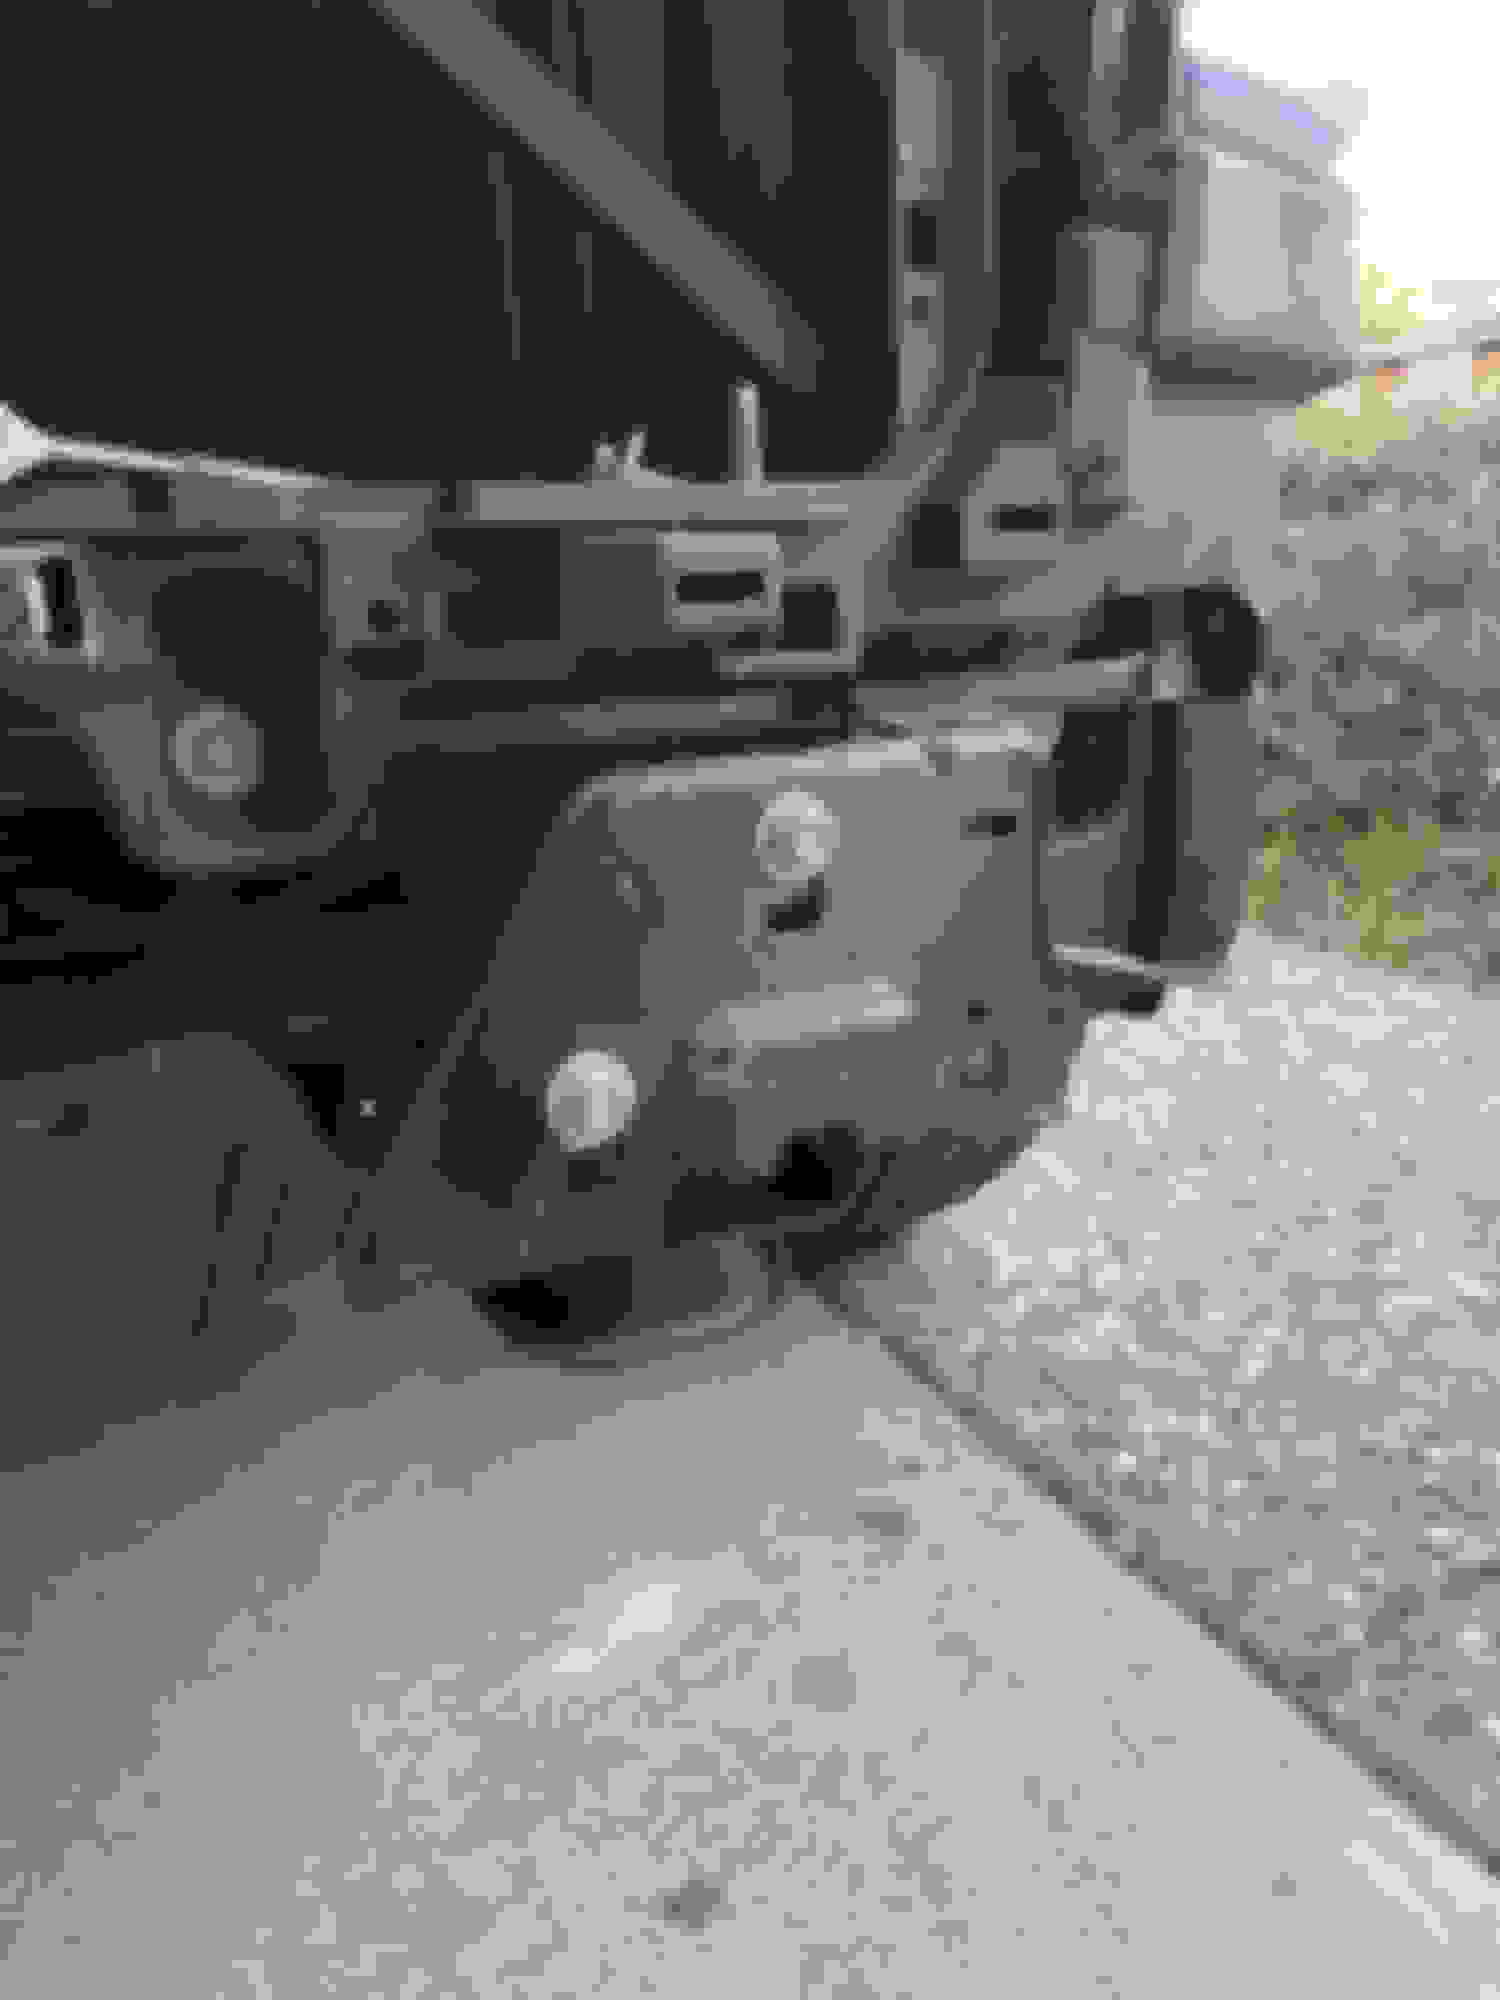
So ive been seeing the conversion on 08-13 Sierras , and very popular on Silverados even the 14-16 conversions. On feb 1 some jack *** cut me off and hit my front bumper and fender , lucky for him i was already looking into doing a 2018 denali headlight conversion with the gen5 wiring harness and 2015 HD front bumper with 2500 all terrain grille To keep the theme going. As I researched could not find anything on the 2014-2018 sierras being converted to HD , all the guys i saw on IG with them had shops or buddys do them. Some guys welded either the 1500 or 2500 brackets lower ,enlogated the holes lower, redrilled , some had no gap -some liked oem gap between the grille/fenders. I did find two guys I kept intouch with they were a lot of help. One sent me pictures on how to re-drill the stock bumper brackets lower and cut some parts off it to clear the bumper , the other told me 1/2 above the existing holes . I took it upon myself to source a complete front bumper from ebay with everything $750 with shipping all i have to do is paint it , found a all terrain grille on ebay for $300 , had to buy the 2500 bumper guides and 2500 bumper fillers no luck on hood yet.while the parts arrived i bought the 2018 denali lights from fankie on here and the harness from gen5 easy bolt on by the way. When all the parts arrived i grabbed my grinder and drill .
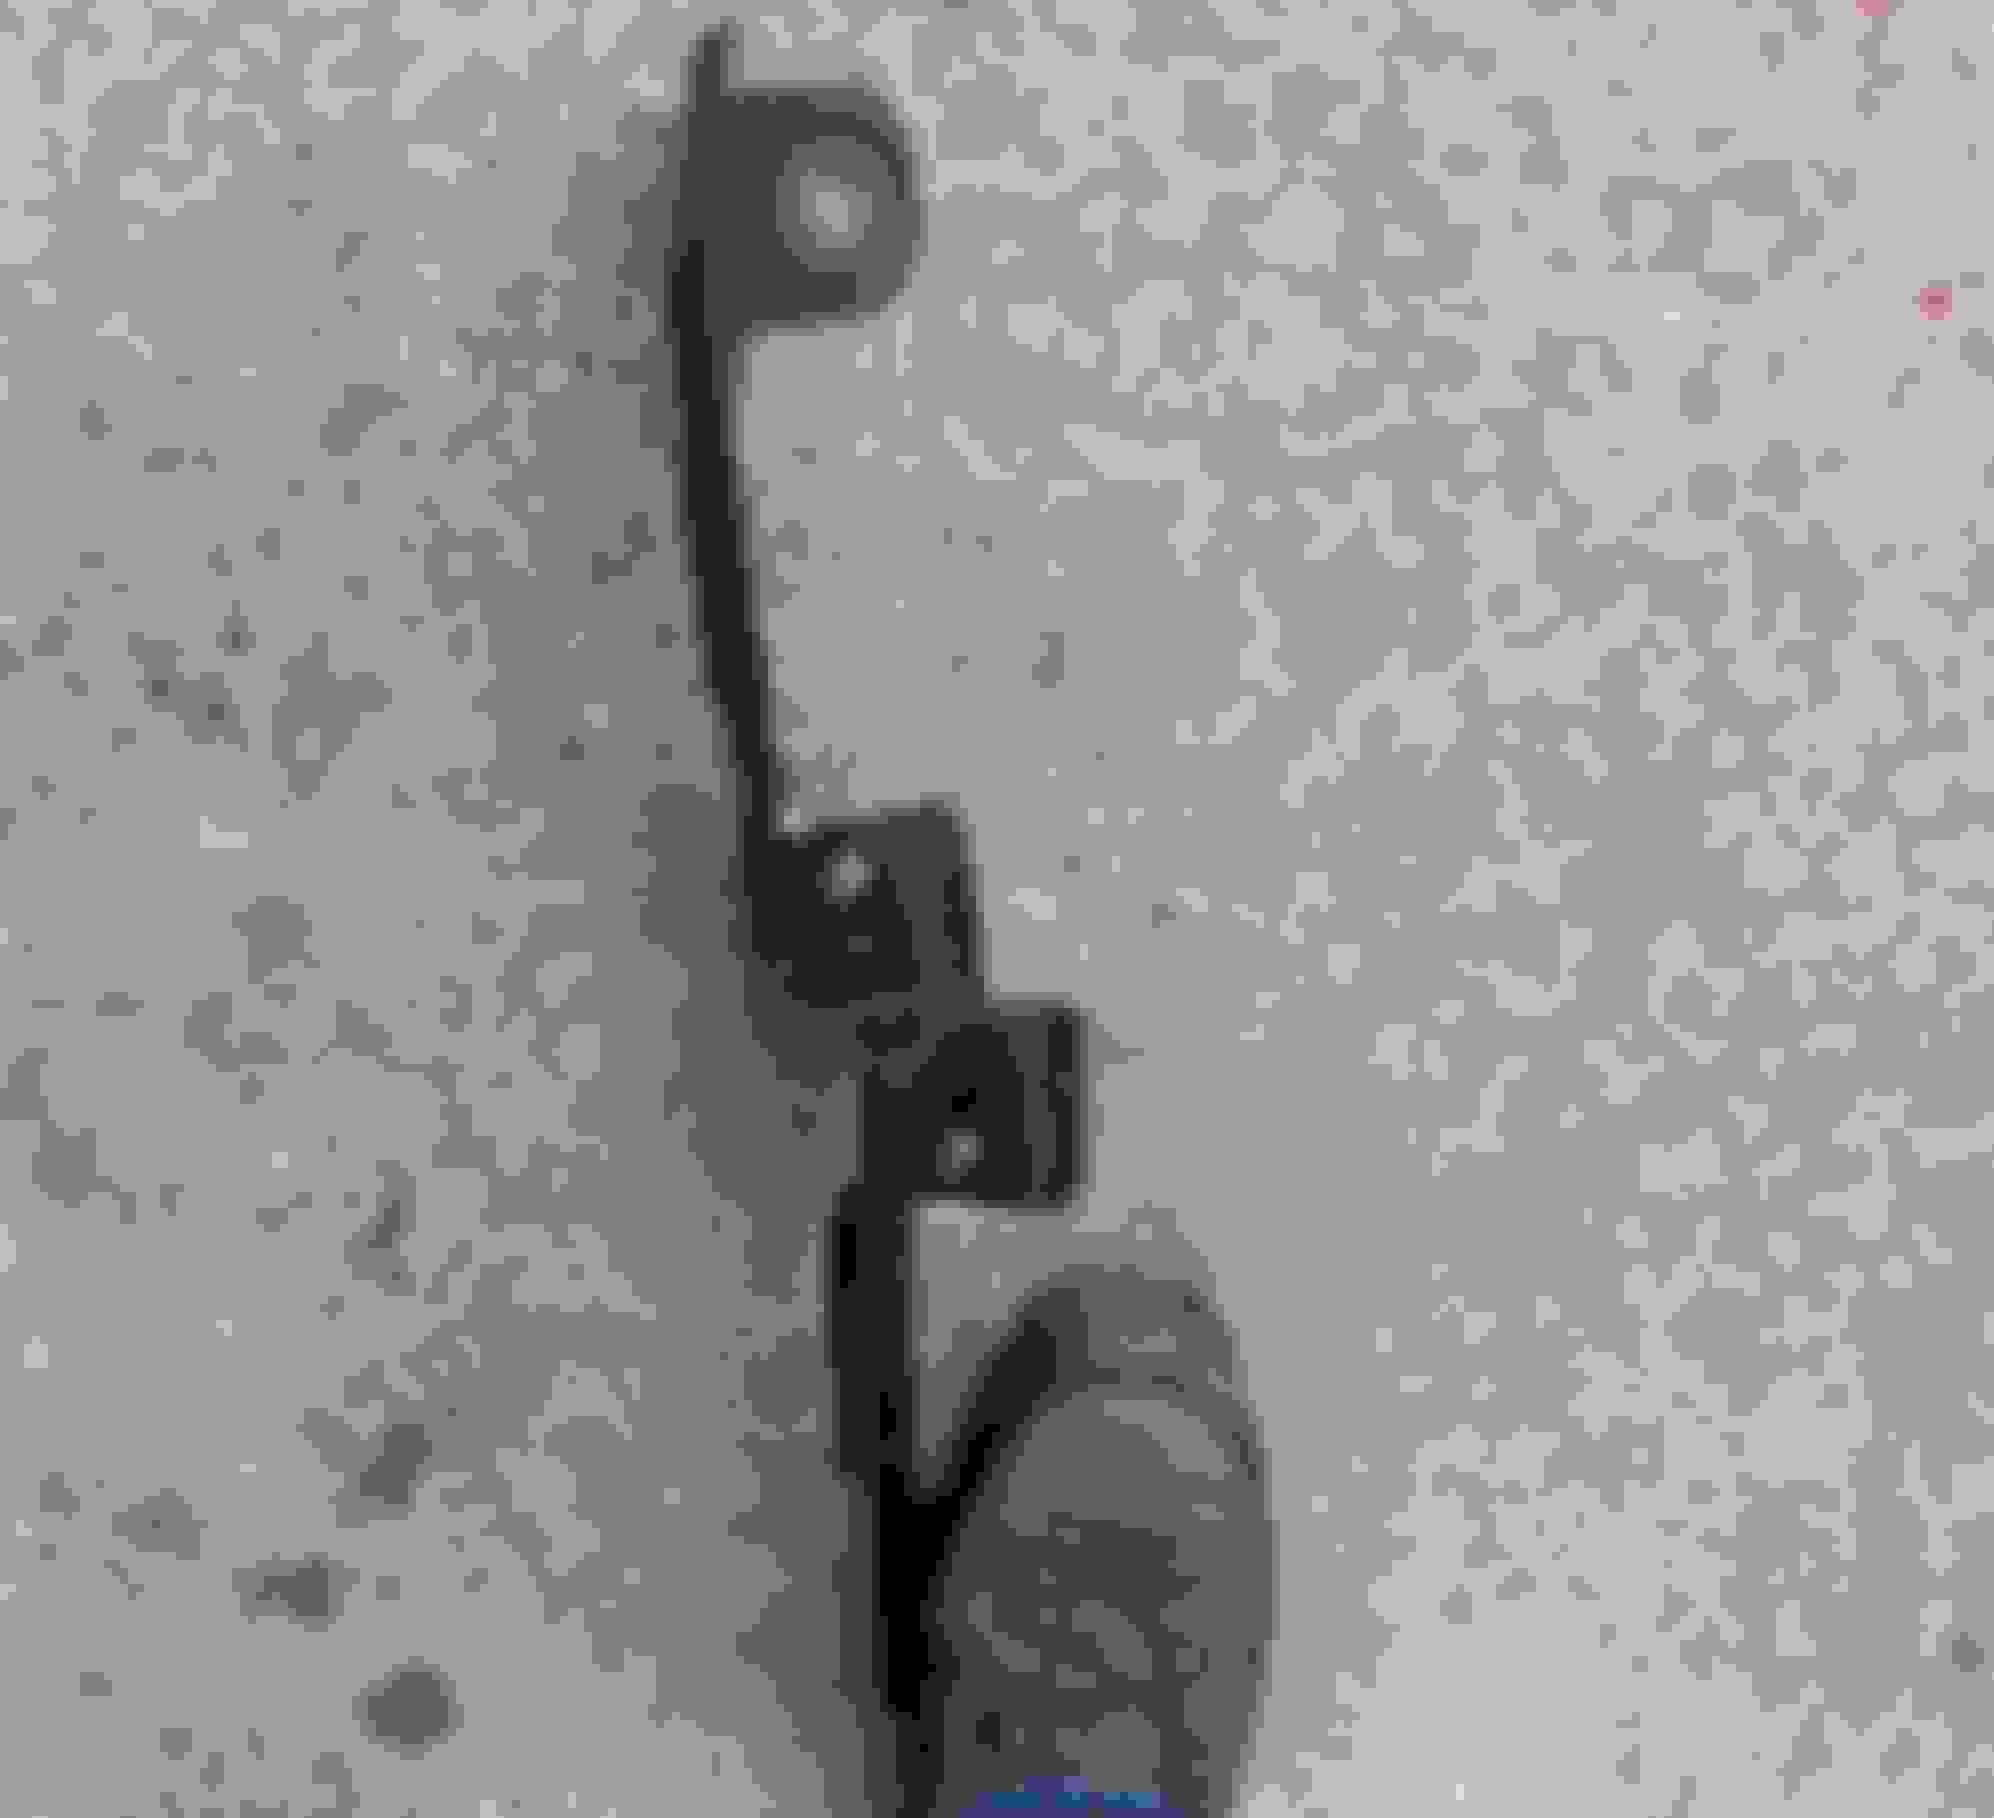
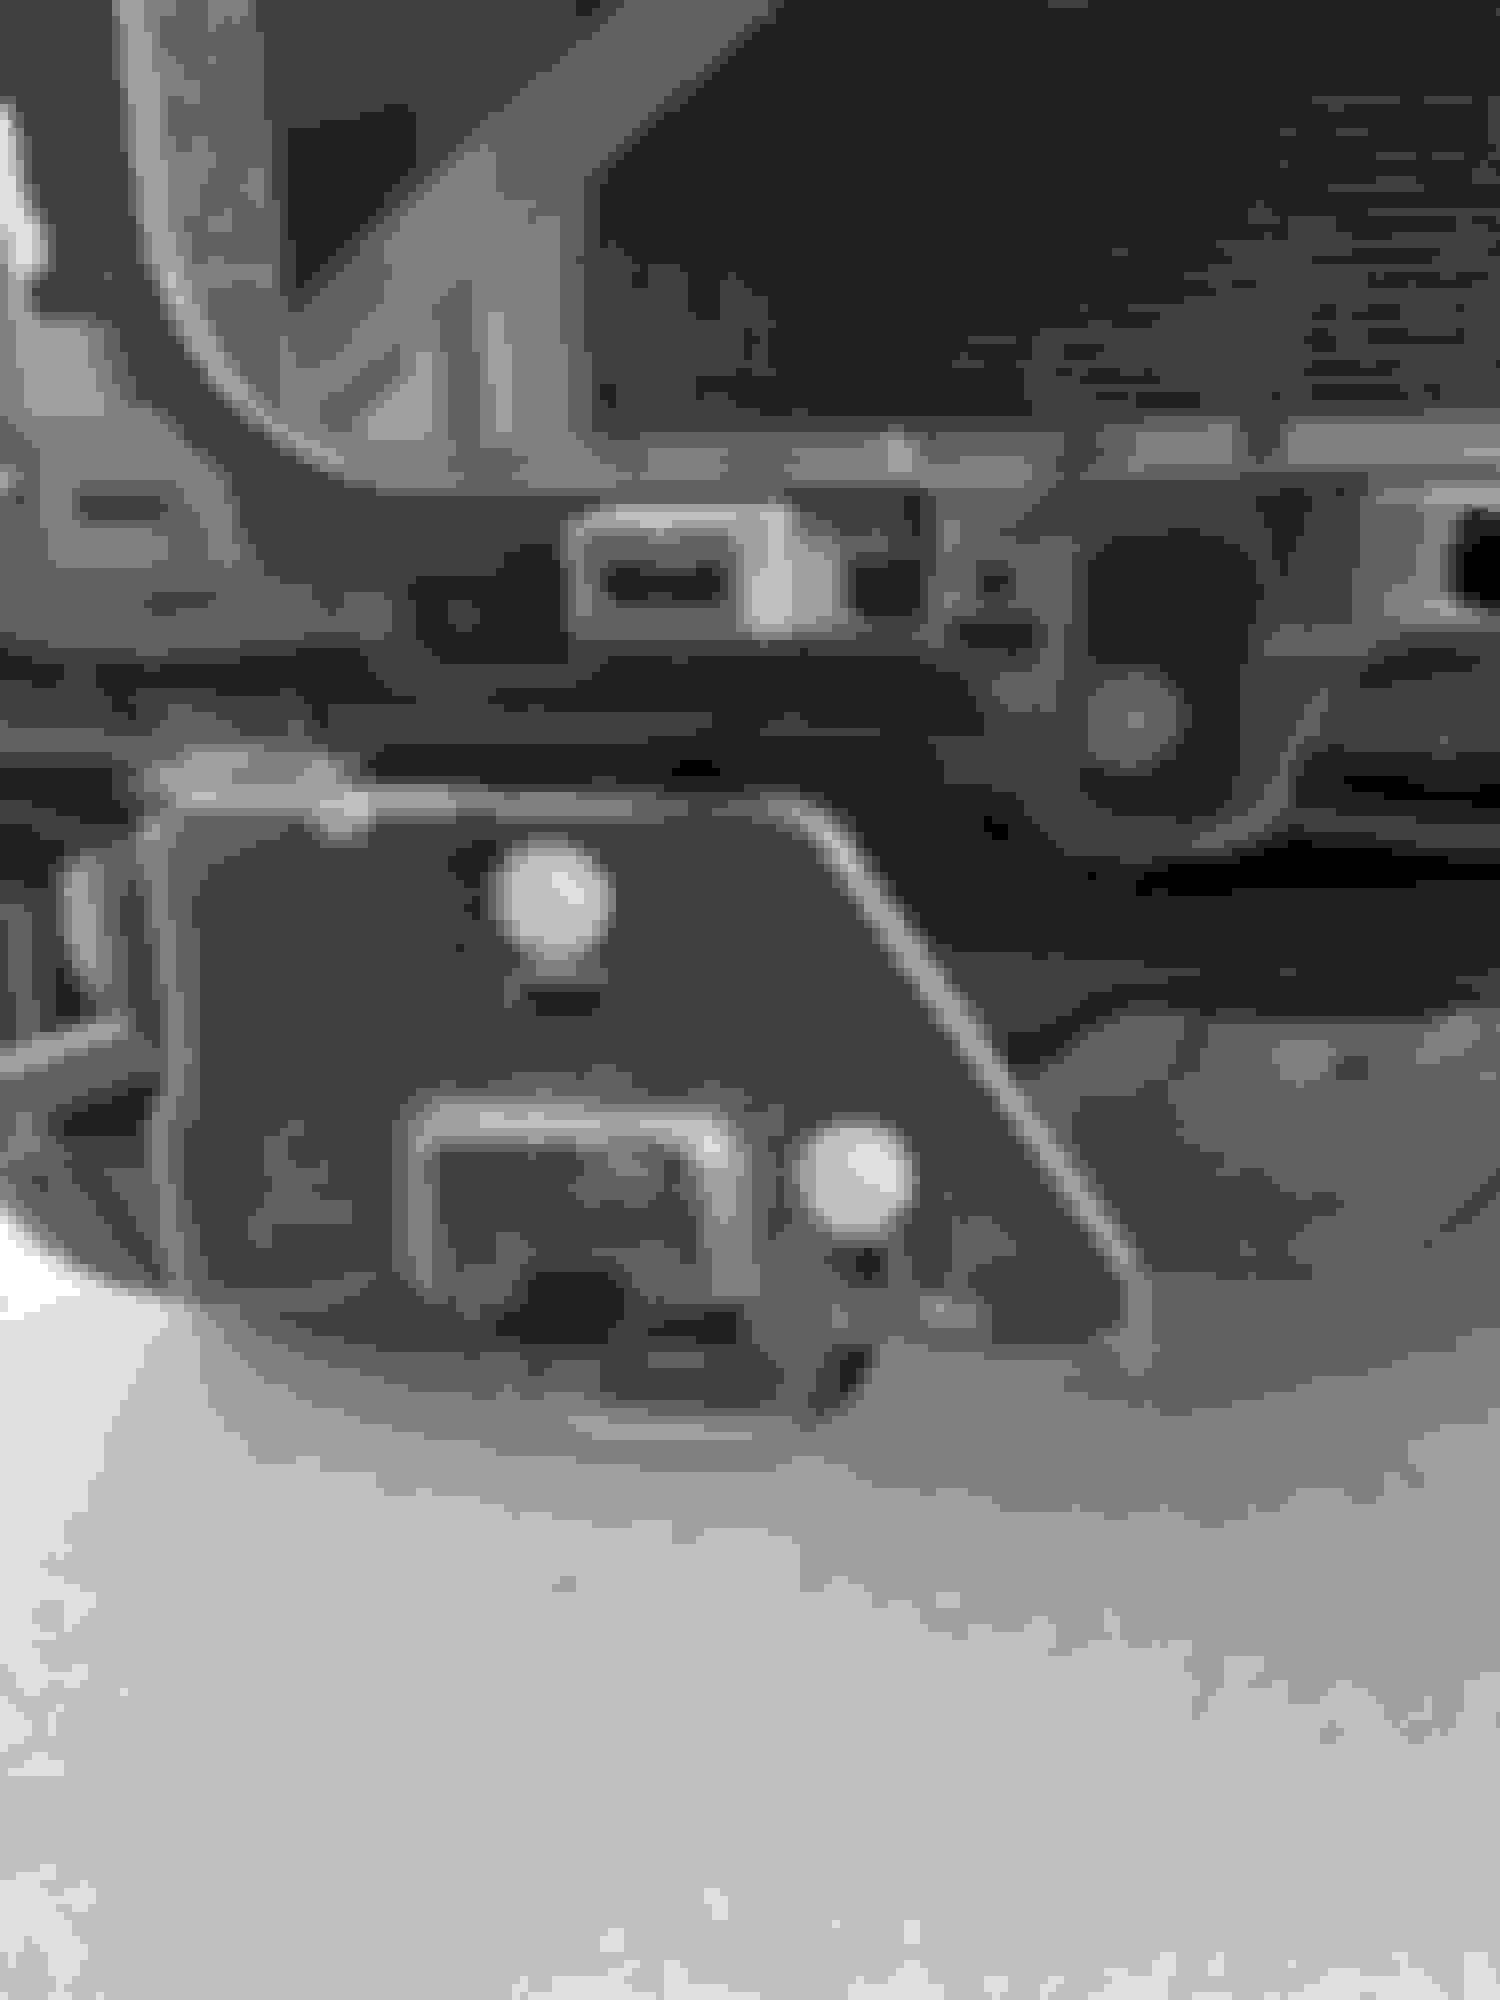
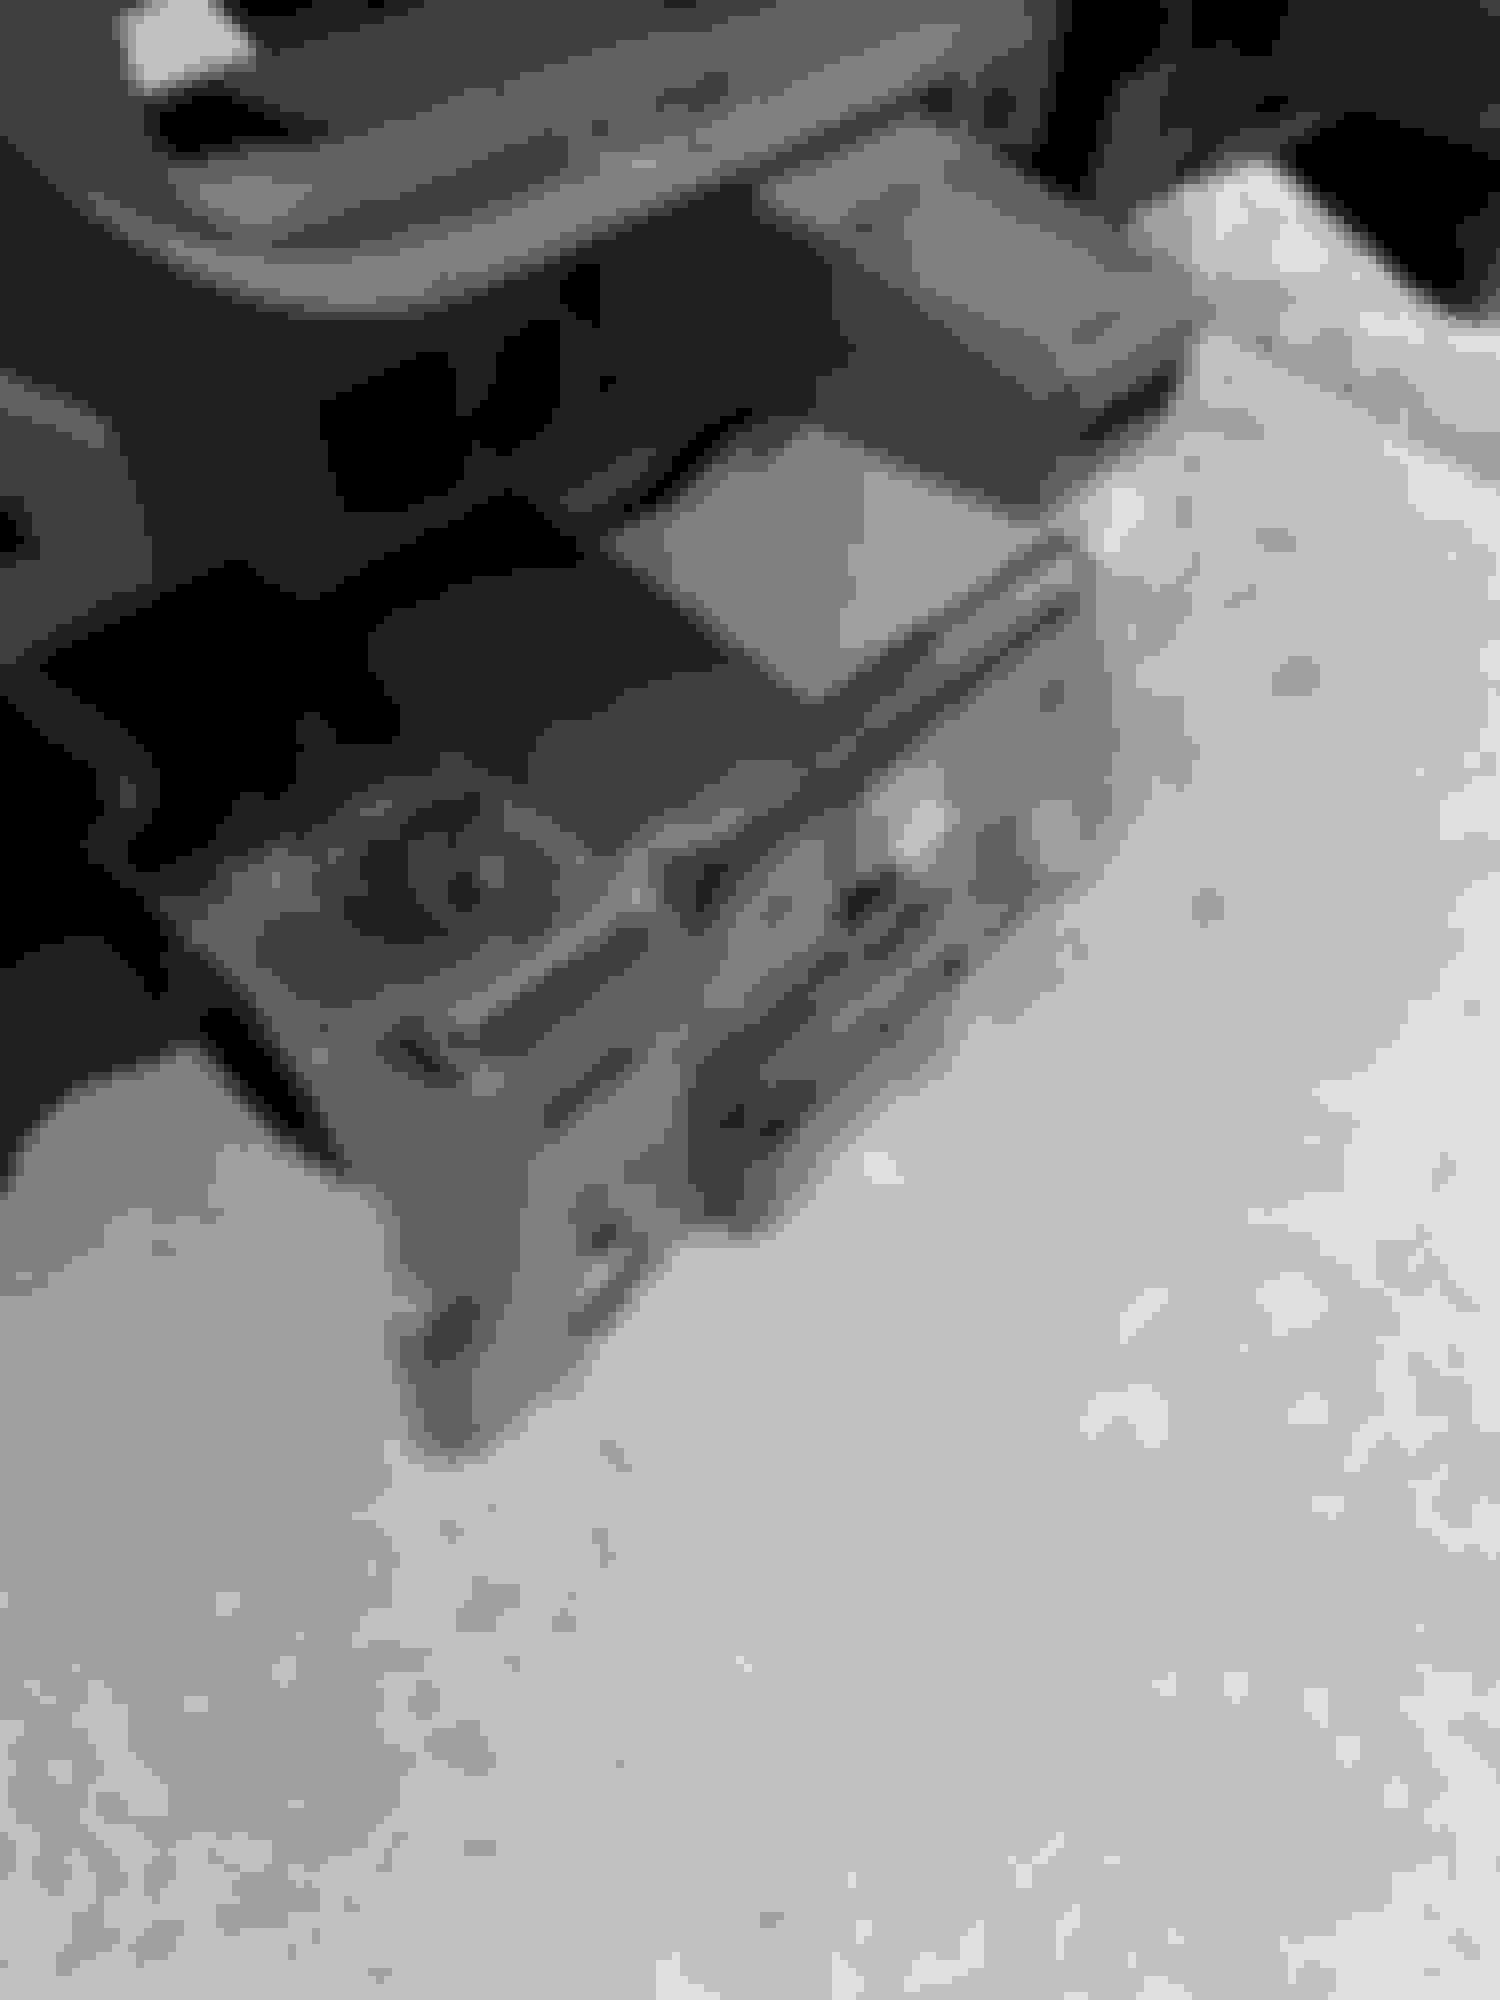
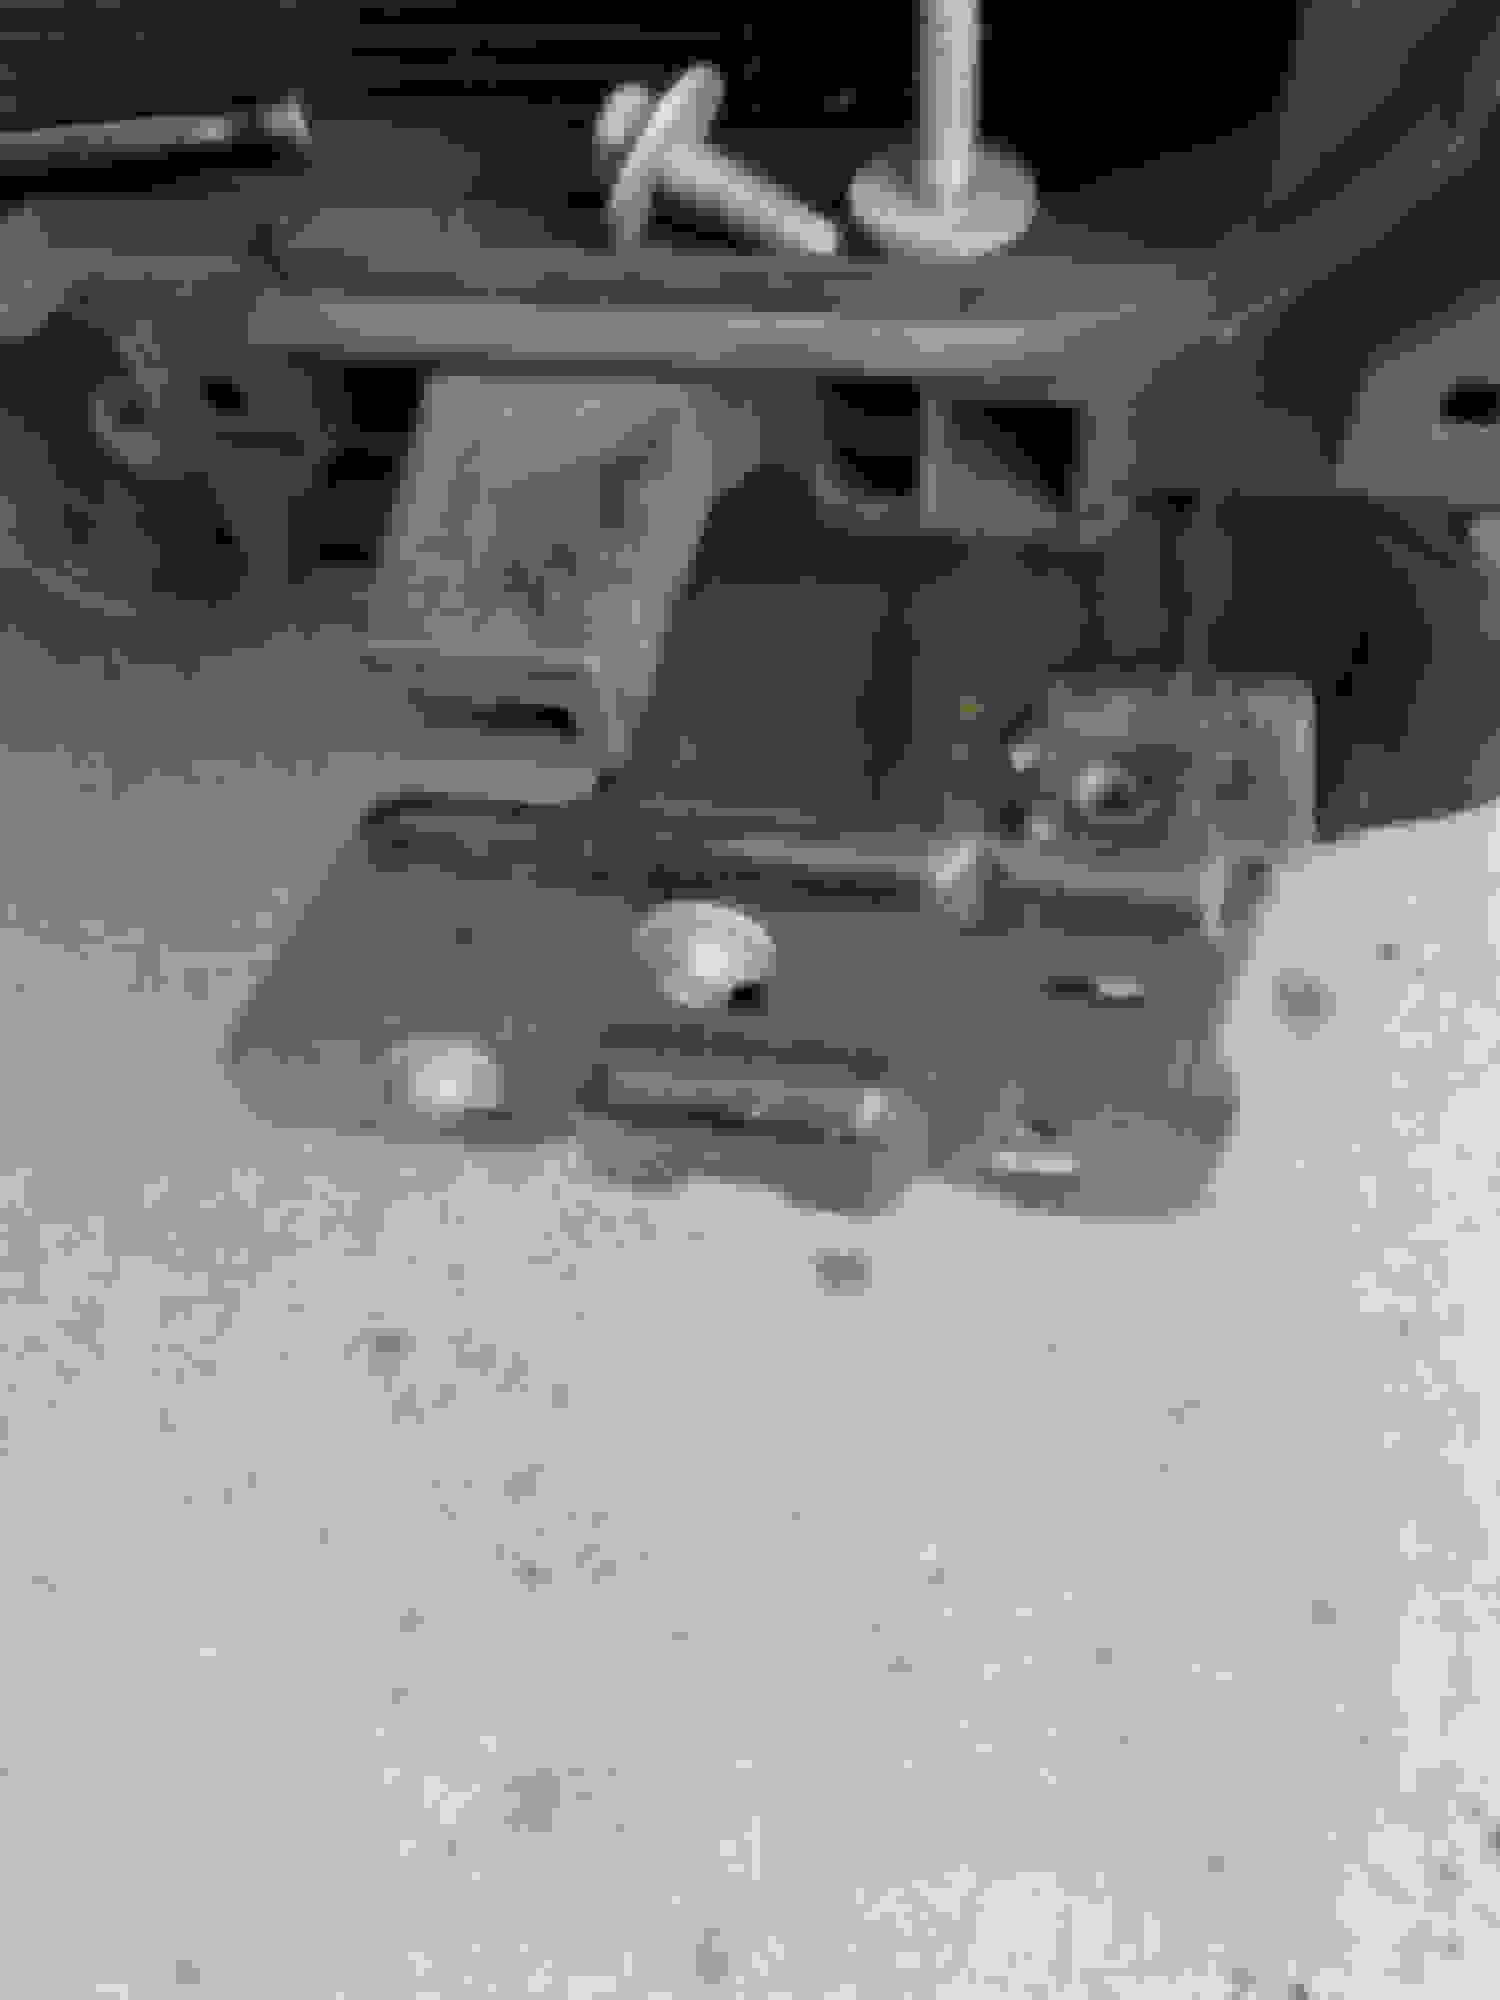
To start i took the 15torque head screws and 7mm from the sides of the wheel wells , took the 12 plastic clips from the upper cover , removed the 4 top 10mm bolts ,pulled off the bumper filler pieces between the grille and bumper , exposing the 10mm 4 bottom grille bolts , then removed the grille. Gaining access to the 4 18mm bolts that hold the bumper on the brackets, i loosened but did not remove till i went under the front bumper and removed the 2 outter 15mm bolts that hold the bottom of the bumper , i loosened the inner 15mm bolts but did not remove , once that was done i removed all 18mm bolts holding the bumper and took it off . Once off the stock 1500 bumper brackets have 3 15mm bolts in a triangle pattern, i removed all 6 and removed the tow hooks , the tow hooks will be eliminated from this . Once i had the brackets off i measured 1/2 inch above each hole . Now this is important if you want oem gap like myself i drilled a hole slightly bigger than the bolt going threw at the center of that 1/2 mark . If you dont want gap id suggest drilling under the 1/2 mark and possibly enlongating that hole down wards for adjustment. By drilling the hole a 1/2 inch higher it drops the bracket to clear the 2500 grille . In addition to redrilling the bracket you have to cut an L shape on top right next to the top bolt thatthe bracket has , i actually cut the bottom of the bracket and eliminated the bottom slot for the second 18mm hole because i was having issues lining up , ended up not being the problem , i found that out of the 6 15mm bracket bolts you only use 4 the top and inside 15mm the outter 15mm that completes the triangle actually hits the hd front bumper and it sags in the back ,so removing levels the bumper flush , i tried grinding the head down and still no luck removing was the fix. With the bumper off , you want to remove the 1500 bumper guides 3(7mm) bolts rachet wrench works best and socket aswell , install the 2500 bumper guides with same bolts same place these support and clip on to the new 2500 bumper filler pieces under headlights which youll have to buy . They clip and slide right on , the two bottom outter 10mm bolts that held the old grille will hold these in place and the other two 10mm in the middle from the old grille will be eliminated. See pictures.To finish securing the bumper filler and guides you have to screw the 7mm and 15 torque screws by fender trim , you will either have to buy the 2500 or 18 fender trim pieces or just trimyours roughly enough to bolt on the remark to trim perfectly and level like i did cant even tell .So Once the guides and fillers are installed grab the redrilled bumper bracket to your liking in gap, make sure its clearanced with the L shape you can rebolt bolt to frame leaving the outter 15mm off at that point you can lay the new bumper on the brackets rebolt the top 18mm bolts the bottoms wont line up -i eliminated by grinding off ,see pic -you can reconnect the lower 15mm outter brace and tighten , youll find out that it bolts right up and if you drilled at 1/2 center like me you keep that stock oem gap maybe a bit tighter gap actually but it looks good , you can then install the grille by pushing the clips in and only bolting on the the top 4 10mm bolts once done youll find that the gap is nearly perfect if you drilled at center of the 1/2 mark , some drill under the 1/2 mark to get less gap and some enlongate the hole lower towards the original hole to adjust and have no gap , but i see that as rubbing issues with paint.
sorry for rambling on on the install , i will try to post allmy pictures size will be limited and ill go back to proof read fix anything that i missed. Let me know waht youguys think or if you need help Bracjet marked 1/2 Clearance the L shape to lower Top view Tried grinding but couldn�t clearance enough Bolt was hitting Bolts caused to hang and gap was messed up Had to remove 3rd outside bolts
Had to redrill Red- old grille bolts hold bumper fillers now yellow get eliminated only four top bolts hold the grille now Had to redrill the pastic hole a bit bit not noticeable Had to cut the fender wheel trim- i cut a bit long to drill in place and recut to correct flush measurements after mocking up
Last edited by Silverbullet99; 03-09-2021 at 10:06 PM.
I love detailed write ups like these. Awesome work man.
What all is involved in putting newer headlights in a 14/15 truck? Besides the obvious, needing the newer lights.
(I did read the post and where you mentioned gen 5 harness but I don't know what that is... so I was looking for a little more detail on the headlight swap if you don't mind)
all is needed is a gen5 harness depending on what lights you hve installed -SLE non drl or SLT- drl . They can help you out plug n play
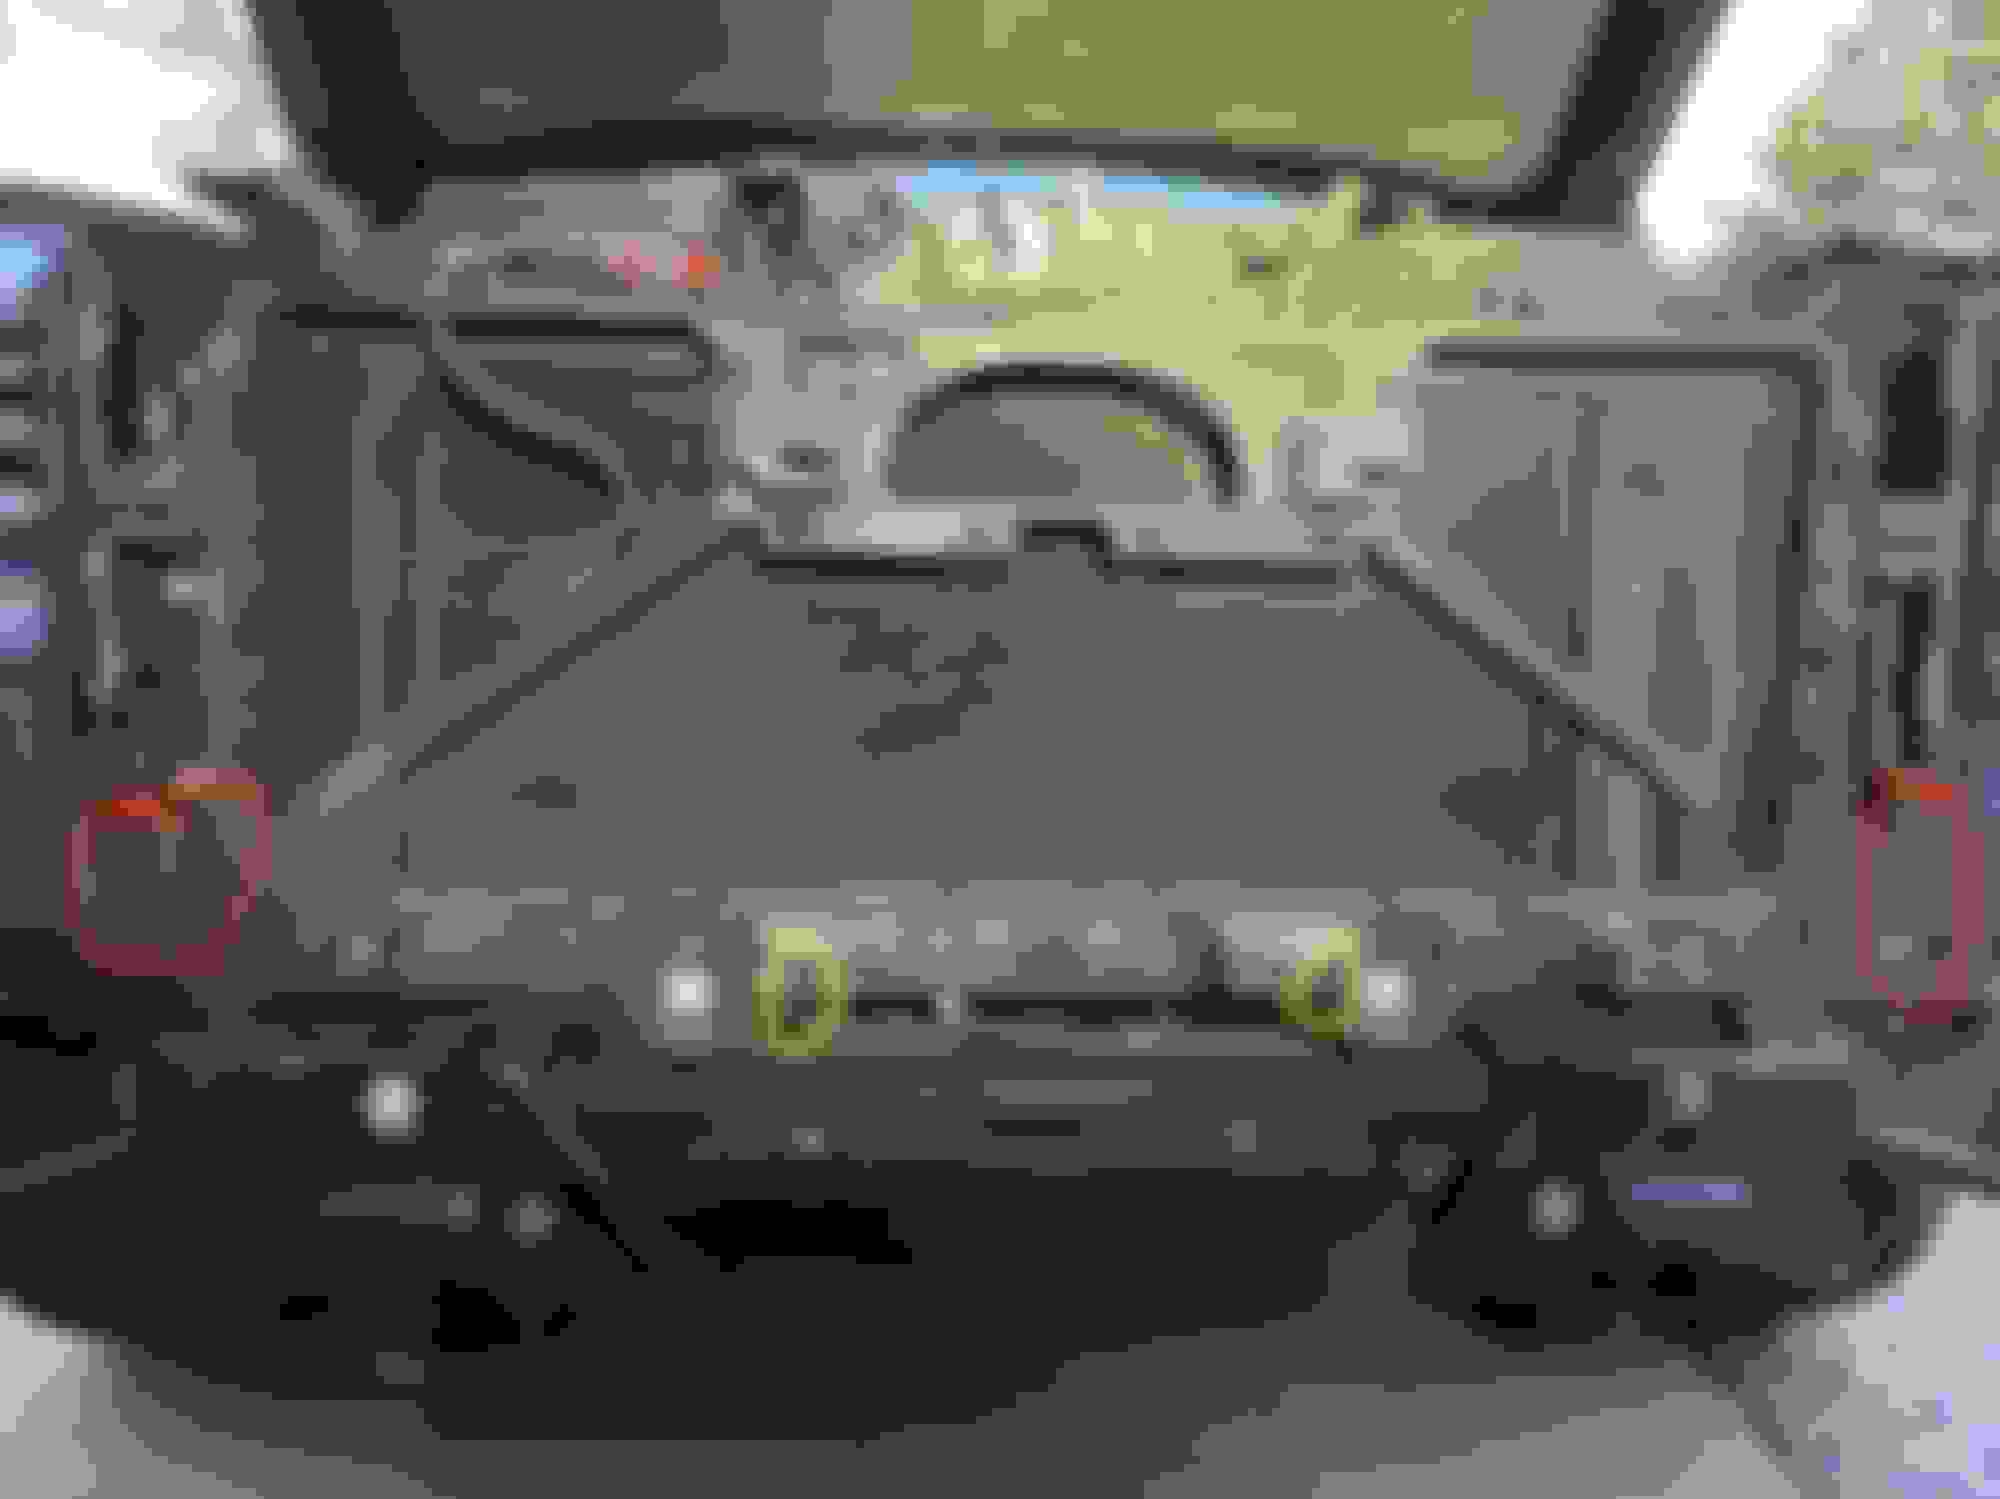
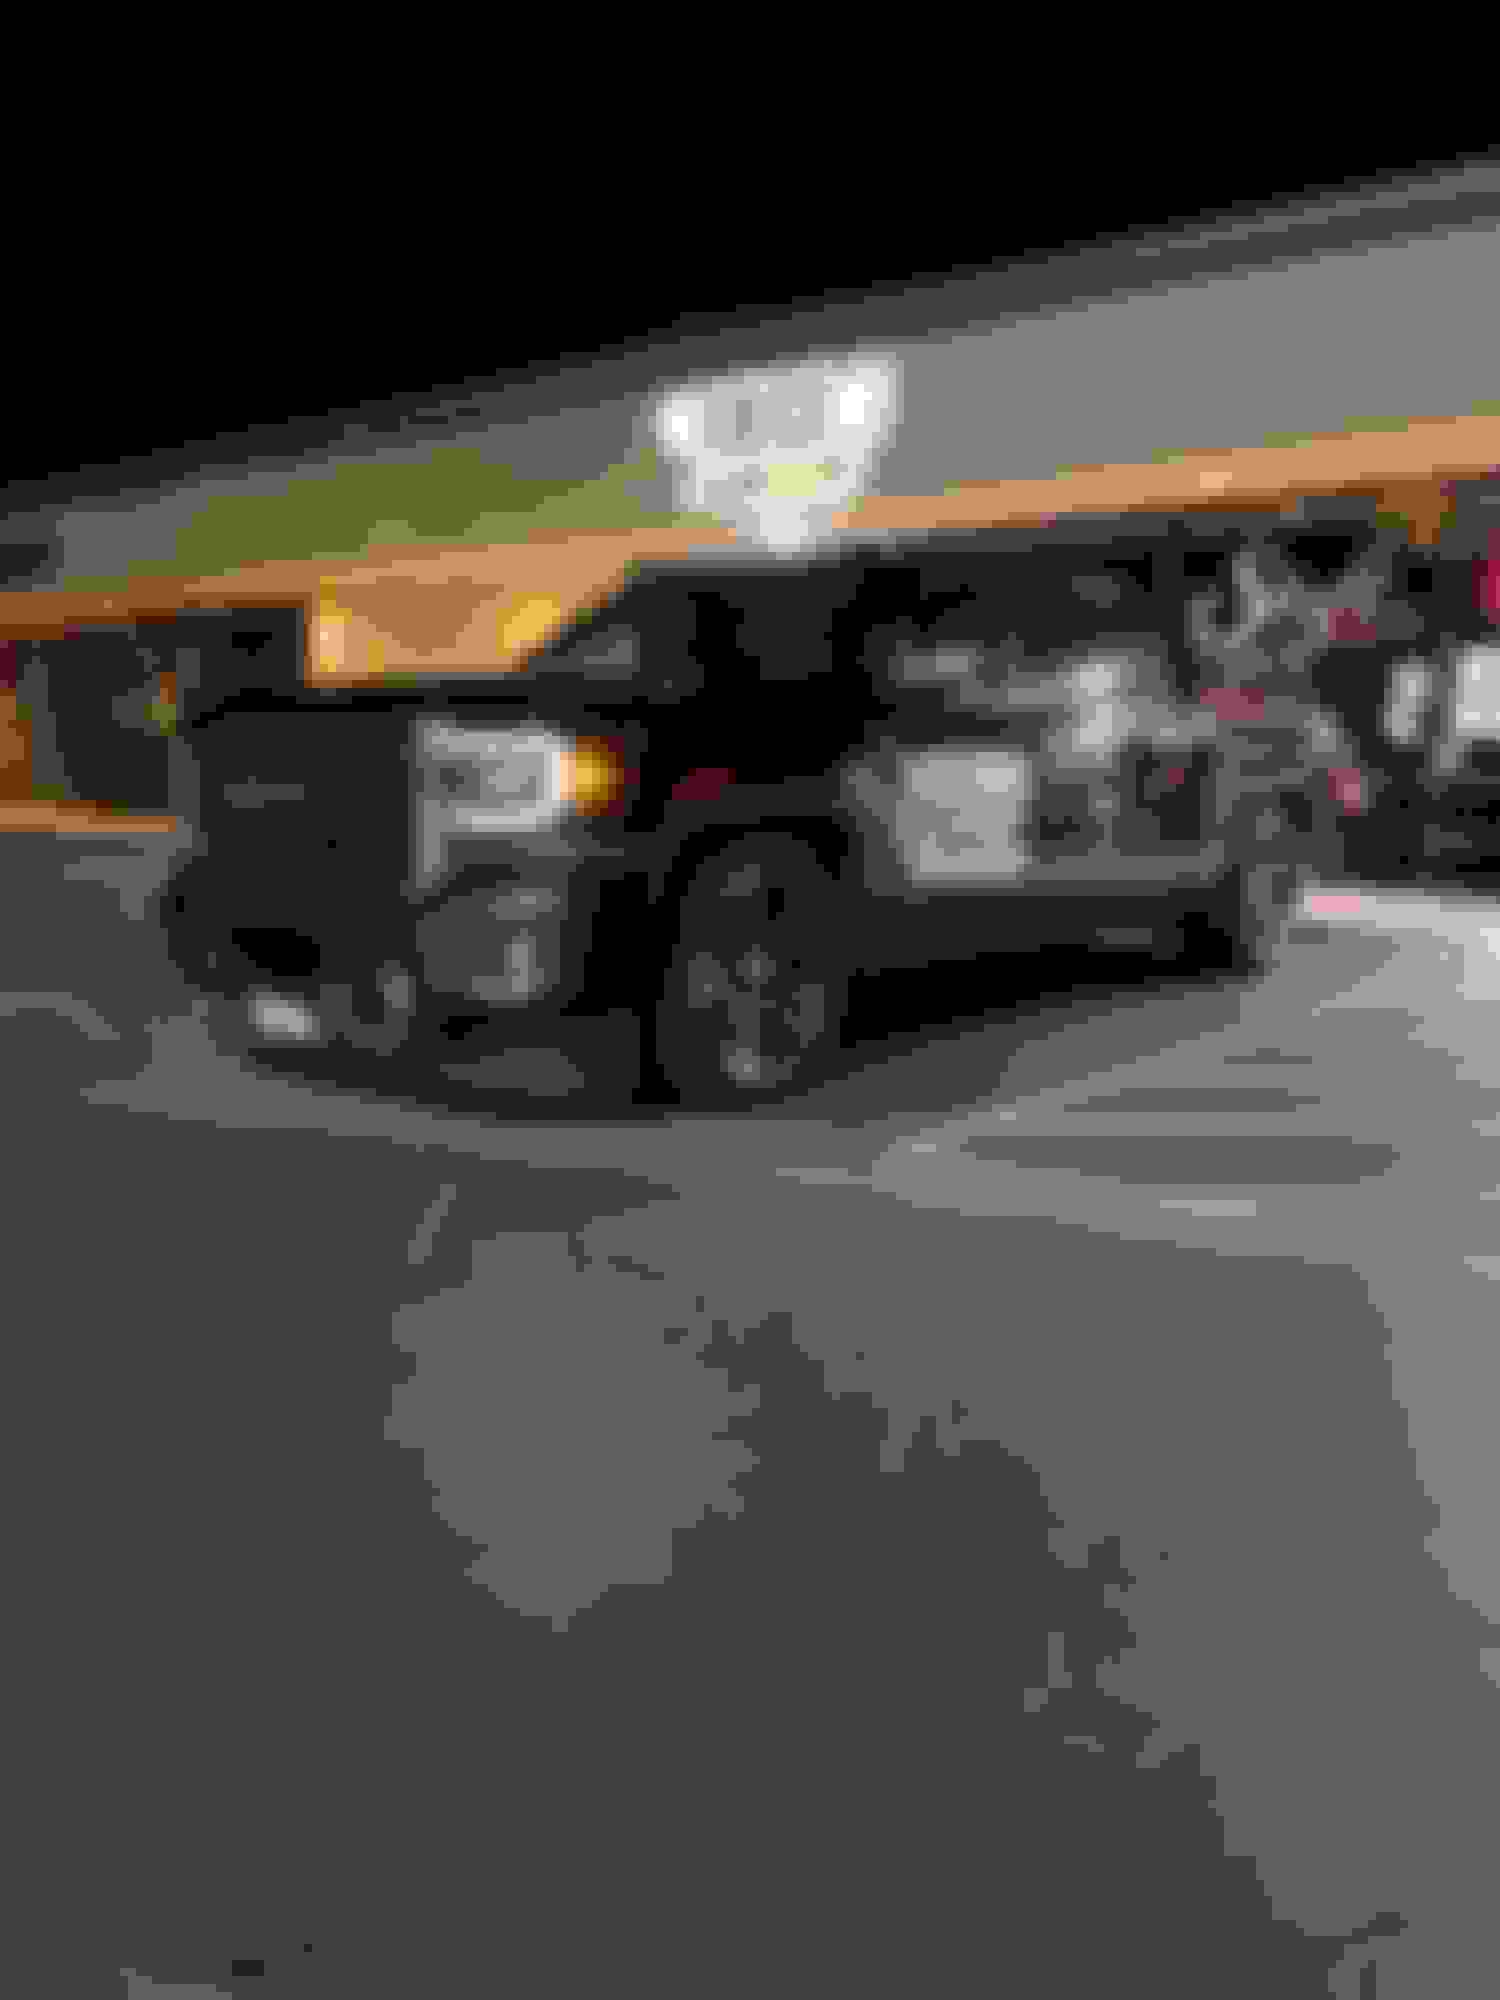
Before ,stock 1500 front bumper , 3 bar all allterrain grille and stock 2015 SLT drl lights After 2018 2500 HD front bumper , 4 bar allterrain grille and 2018 denali headlights
Last edited by Silverbullet99; 03-25-2021 at 12:13 AM.
 03-09-2021, 09:58 PM